

In today’s Slanted Lens lighting tutorial, we are going way back to the very basics of a one light setup to light a face. Our talent Tiffany Taylor is beautiful and it’s very easy to demonstrate on her face.
Everything in the world is a ball, a cube or a cylinder. The human face is nothing more than a ball with features. Let’s look at how to light the face and background to create separation and interest with a single light source. We are using a Dynalite continuous light source for our portraits because we are shooting on the Canon 1DC and will pull still images from the video footage. This was an interesting process and one we will talk about in our next lesson at length. Let’s look at the basics of a one light setup.

One Light Setup
Jay P Recommends for Photography


Jay P Recommends for Videography


Video Transcription
Hi. This is Jay P. Morgan. In today’s Slanted Lens lesson, we’re going to take a step way back to the very basics of a one-light setup. Let’s take a look at what it takes to light a face.
Everything in the world is a ball, a cube, or a cylinder. A face is a ball, a round surface. Because it’s a round surface, as we set our key light, we get a nice highlight across the face. We have a nice shadow line there, where it drops into deep shadow away from the light. As we fill this shadow side, we create what’s known as the core. This is the core, the area of transition between filled shadow to highlight. If you fill in that core too much, or too broadly, it becomes very uninteresting. We want a nice ratio of highlight into shadow, where it fills up to that core, but doesn’t wipe it out completely. The problem is most people are, even though we are a round-type face, we have features. When you add a feature, in this case, when you have a nose, you’re going to want to get your light up a little higher than this one is, in order to create a bit of a Rembrandt on the side. If I lift this light up just a bit, I start to get a bit of a Rembrandt on the side. This will give us a nice triangle on the cheek here, if this was stuck next to our ball. The interesting thing about our setup here, is that we have the highlight side on the ball, and in the background, we’ve turned our light just so that we get a nice shadow side on that side of the ball that’s lit.
I’m going to rotate this to where the shadow from the softbox, is going to hit right along the line of the shadow of the person’s face, so I will have a nice highlight side on the background that separates the shadow side of the face. I’ll have a nice shadow side on the background that separates the highlight side of the face. There’s the basics of a one-light setup. The way that you get a person to stand out from the background light, both the background and the person with a single light. Then we simply bring in a fill card to fill in the shadow side, not obliterating the core, giving us a nice core transition to the front. Let’s take a quick look at a person’s face in here and see how these principles apply.
I’m loving that Kessler Crane today is giving us a lot of great shots. We’ve got Tiffany Taylor here on set with today. She’s gorgeous, so that makes this very, very easy to do. We have this softbox here. It has the face off, that gives us a very hard light. I’m doing this in order to see, on the background, exactly what it’s doing; it’s a little more obvious that way. We have the highlight side of her face. It transitions to the shadow side of her face. We have the highlight side on the backdrop, which gives us a nice contrast to the dark side of her face, and we have the shadow side on the backdrop that gives us a nice separation to the highlight side of her face.
What we’re doing today is we’re shooting on the Cannon 1DC. Everything we’re shooting is video and we’re going to pull stills of the different shots that we do here of Tiffany. We’re going to have her move her hair around. We’re going to do some interesting things with her hair and movement, and we’re going to look at those things. We won’t shoot any still today; it will all be pulls from video. I’m going to go ahead and put the softbox face on. Then we’re going to get this lit so we can get a nice shot of her. If you put the key light in the right place, it allows your model to turn her head from a Rembrandt, into a butterfly, into a split light. This gives your talent a lot of room to move and has nice light in that entire rotation.
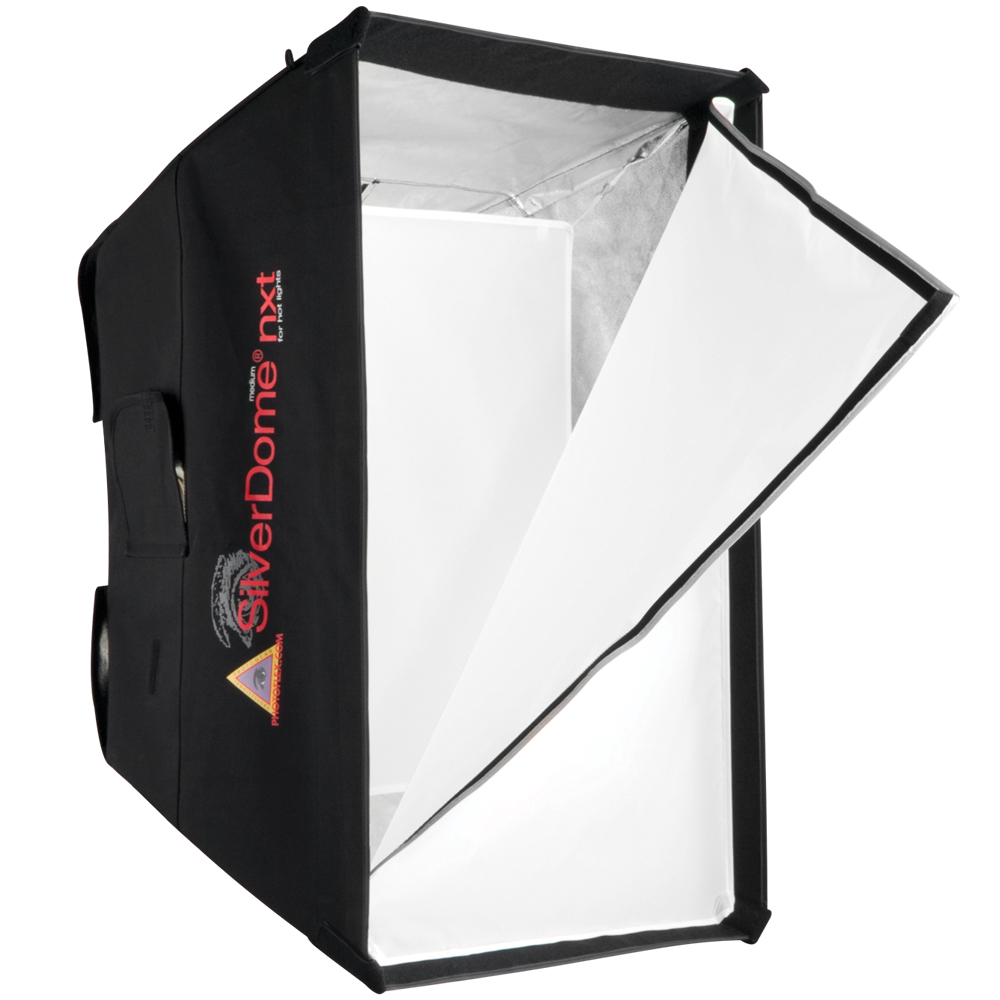
For our key light, we’re going to use a Dynalite 1600 watt pack with an MH2065 head. We’re using a medium Photoflex softbox as our key light. I love this setup because this head from Dynalite gives me the ability to use all of my strobe modifiers with a hot light. It gives me a nice key light for my talent. Our background is a white seamless. As a fill, we’re going to use a P22 panel, to bounce a little bit of light back in on her face. Using a fan can be a little tricky. I have found that if you turn the fan down very low, and then you point it slightly up from the ground, it gives the best look for the hair. If you run it too high, it’s going to dry out their eyes and really is tough for the talent to work underneath.
I am very excited to be shooting today with Tamron’s new 70mm to 200mm, 2.8 zoom lens. This is a great SP lens. It’s very sharp and a great companion with our 1DC. Shooting video on the 1DC and then pulling stills was quite a new experience, to say the least, for me. I found it a little hard, because I was always wondering, “Did I get something? Am I getting something?” Without the ability to look back at each frame and see exactly what I was getting, I found it a little bit frustrating. It was hard. That 1/50 of a second gave us a lot of motion blur, even on a simple move of her head. We’re going to talk about this more on our next lesson: Pulling Stills Using the 1DC.
Here’s some of the stills that we pulled from our first setup. We’re now going to push our makeup a little bit, make it a bit more interesting, and come back and shoot some more. Kerry Groves of Makeup Magic did a great job; kind of gave us this Egyptian look. We did a few shots of her with a small hat on; I thought that one was very cool.
Julene brought a piece of sequin material that was very interesting just to shoot through. It even became more interesting as we brought it closer to the camera. At that point, it became a diffusion material that just gives a nice soft diffusion across the whole image. As you get it that close and shoot through it, it softens everything in the image. This is an old trick. People used to wrap hose, nylons, all kinds of things over the lens do give this kind of soft look. Here’s a couple of images looking through that material.
This has been a great shoot today. Sometimes it’s very elegant to just go back to the basics; use a single light to create a very nice light on our talent’s face. It has a very elegant look. I hope you had as much fun as I did today. Keep those cameras rolling and keep on click’n.