
Today on The Slanted Lens, we are still up in Midway, Utah, shooting in what little snow there is left. We started out with no snow falling and ended with a good amount of wet snow coming down hard. It’s very difficult to keep the cameras dry in this situation and keep shooting. Snow presents its own problems. We are going to take a look at how the meter in your camera works and how adjusting camera meters in snow is a good idea if you want the right exposure. We will look at how to make a correct exposure in the snow and then how to light our mountain man and wife using strobes and ambient light.
Snow is the perfect place to look at how the meter in your camera works. The in-camera meter wants to make everything 18 percent gray. So when you point your camera at a predominantly white scene, the exposure will be very dark.
This was a great shoot. It got a bit wet by the end, but things worked out well. This is just the first work we will do to help us understand our meters better. There’s more to come on that subject.
Thanks for watching. As always, keep those cameras rollin’ and keep on clickin’.
Enter our new giveaway for April!
Win a $500 Gift Card to Samy’s Camera
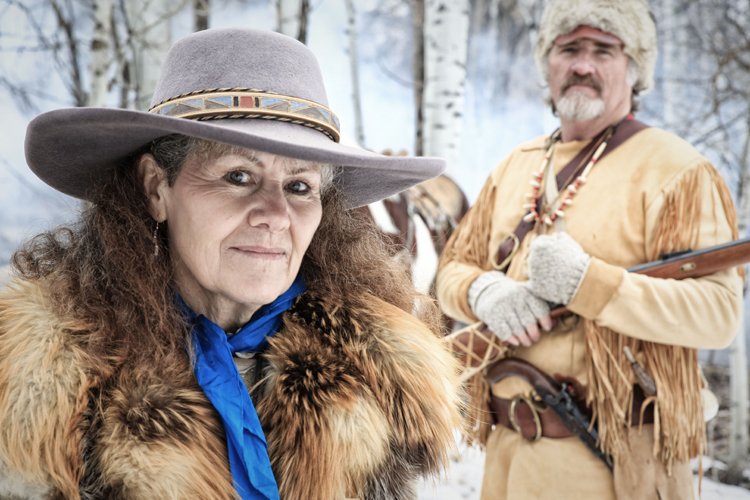
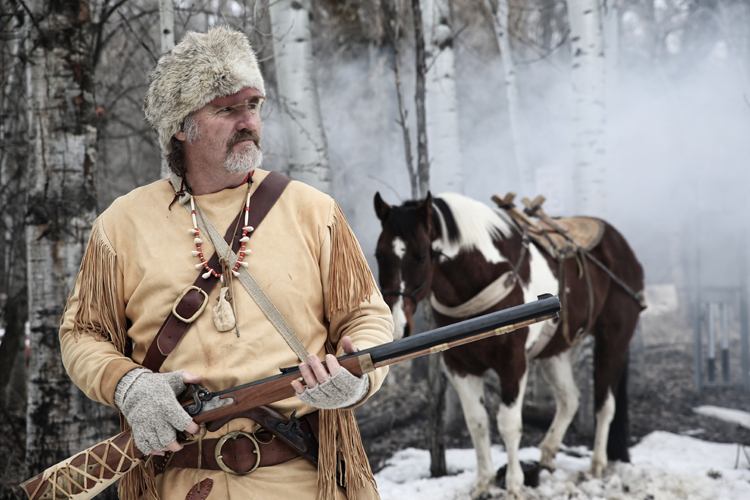
The Final Images

The Lighting Breakdown
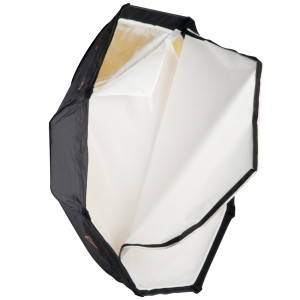
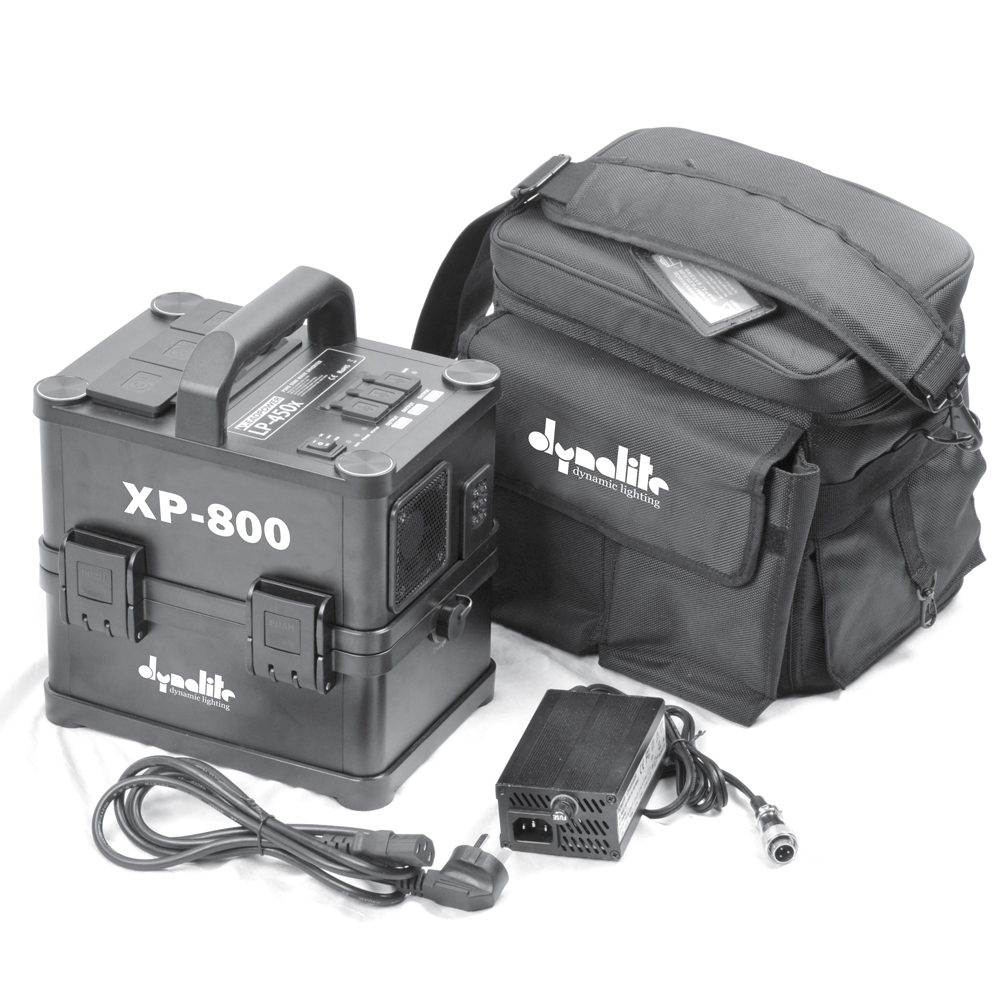
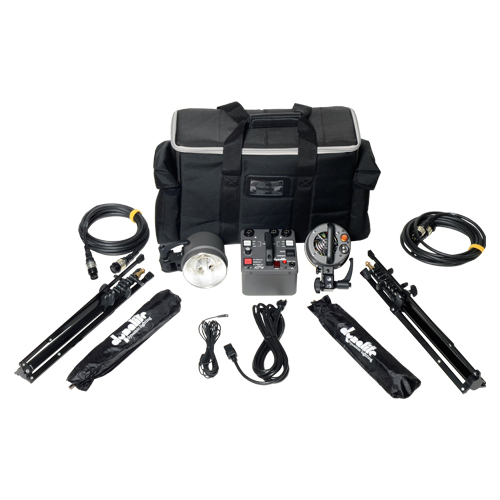
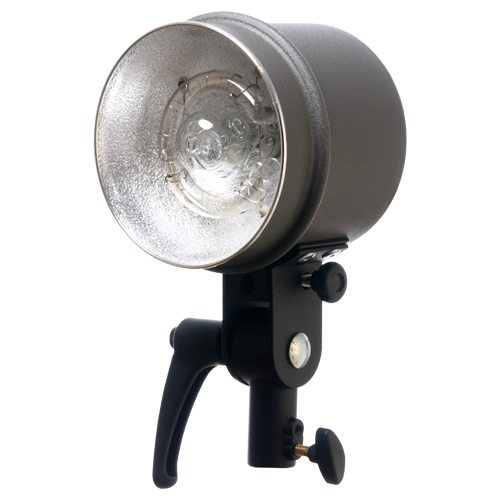
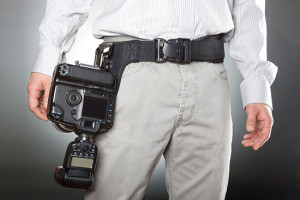
Jay P Recommends for this Shoot


Video Transcription
Don’t forget to check out our new giveaway. Sammy’s Camera is giving away a $500 gift certificate. Check it out at the end of the video.
Today on The Slanted Lens, we’re still in Midway, Utah, shooting in what little snow they have left here in Utah. You know, we start out with no snow falling at all but by the end of the day, we had some really wet, heavy snow coming down. It’s pretty hard to keep the cameras dry and keep shooting in this situation. Keeping the cameras dry is not the only issue you’ve got when you’re shooting with snow.
We’re going to take a look at how the mirror in your camera work and how you can use it to take pictures in the snow. We’re going to look at how to make a correct exposure of the snow and then how to light our mountain man in white by using strobes and ambient light mixed. The in camera meter wants to make everything 18 percent gray. So, when you point your camera at a predominantly white scene, the camera when it says it’s a correct exposure, is going to be very dark. The white scene fools the camera meter. Here’s a white reflector in direct sun. The meter says this is a correct exposure and makes the white reflector 18 percent gray. The background is very dark. When I open up and over expose the scene, according to the meter in the camera, by 1 1/3 stops, the white reflector starts to become white and the background becomes more correctly exposed. When I open up two stops, the white reflector finally becomes white and we can see the background much better. So when a scene is mostly white likes now or sand or just a big white wall, you get an exposure like this; it’s very dark. When I show an overexposure in my camera by 1 1/3 two stops, I finally get a correct exposure for a scene that’s predominantly white.
So let’s see how this relates to our mountain man shoot we did in the snow. The first thing I’m going to decide, as I am going on a shoot generally while I’m outside is what’s my ambient reading, how’s that going to affect my exposure. I’m going to set my aperture and then I’m going to set fairly shallow; about f4.5. I then am going to decide my shutter speed; it’ll work with my strobes to give me a correct exposure reading. When I did this, the camera tells me that this image here was a correct exposed image. As you can see it’s very dark. The camera’s being fooled by the whiteness of the scene. It’s telling me that this is a correctly exposed image when it’s really about a stop and a half too dark. Here’s your image when we open up about a stop and 2/3. This is a much better ambient reading. Now, I’m going to go into meters and why a handheld meter really gives you a much more true picture of the scene, but I’ll do that in a future lesson. But just know that handheld meters can be much more reliable than your in camera meter when it comes to these kind of very bright light white situations. Let’s move on now and see how we lit our mountain man.
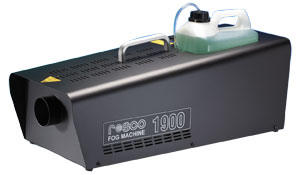
Here’s our first shot with just the ambient light. Now, remember my in camera meters telling me that this is about a stop and 2/3 too bright but because of the white smoke and all the white we have in he scene, I’ve opened up a stop and 2/3 from what my meter in the camera’s telling me, which has given me a correct ambient exposure. We’re using a down light 400 watt pack with an octodome of a grid; this is coming in from the camera right site. Here’s our image ad in our key light. This gives us a really nice side light on his face when he’s turned to the right and a nice split light when he looks at the camera. The light is just brighter than the ambient by about 2/3 of a stop, so it blends well but gives us a little nice highlight on his face. I’m going to add a down light trail head now as a back light. Nothing fancy, it’s just an open face head that’s meant to light the smoke that’s coming from a Rosco smoker. Rosco’s coming out with a whole new line of smokers that will be perfect for those of us who shoot stills. Look for us tore view those that feature, there’s some great things coming with you guys’ smokers. They’re also coming out with a fogger which I cannot wait to use and show you the advantage of a fogger in some situations over a smoke machine. You know, I do love smoke, you know that. It simplifies the background and creates a lot of separation for our subject. Here’s a great example. The smoke is just right and allows us to kind of remove the background in this white kind of wash, but it gives us a nice standup for our town up front. It’s hard to get the smoke perfect like this. You really have to fight it when its outside because the wind of the things you’re working against; a lot of fan in that smoke as it comes out, be able to break it up, cover your scene. Here’s another example of how the smoke cleans up the background and allows our subject to stand out. So here’s some of the images that were shot before we’ve done any post work or editing. I put a plastic cover on my camera to keep the wet snow off my camera. You know, we were in deep snow as soon as we got up here in this area and we need snow shoes to get around. Luckily Sara was helping us she had several sets in her car; that was a lifesaver. Who keeps several sets of snow shoes in your car? Only people who live in Utah.
We’re still using our same octodome with a grid. That 400 watt dynolight pack with a head. We’re also using the XP800 battery pack for our power. The Photoflex ocotodome was getting just wet. I just kept shooting and that night, laid it out to dry. It dried just fine, ready to shoot the next day. Here’s our first shot with just the ambient light. It needs something on his face, it’s pretty dark. The octodome from camera left gave us just enough light on his face to work. It was snowing and we were getting wet. There wasn’t much time for the shots. We just kept pushing ahead. Here’s some of the images that were shot in the second setup. Nothing’s been edited or retouched, it’s just the raw footage. For editing, I took the images into nit color effects pro and worked on them. I did several things: I used a bleak bypass, kind of bleached some of the color out of them and then I would kind of just dial that layer back and forth until I liked the amount of color that was there and used as my final image. I wanted them to have a bleak, kind of old fashioned look, kind of fit with mountain man thing.
This is a great shoot. It got a bit wet by the end but things worked out well. This is just some of the first work we’re going to do to help us understand our meters better. There’s more to come on that subject. We’ll talk about hand held meters and in camera meters more extensively in a future lesson. So keep those cameras rolling and keep on clicking.
We’re offering a free download that was put together by our team Adelaide Lawren and Hector Olguin. It’s sponsored by Squarespace but it’s a great free download on how to design your webpage or landing page so it’ll bring people and convert them into clients called the “7 Steps to a Home Page That Sells” so go to theslantedlens.com/7steps and download this free download. It really is a great download that will teach you the things you need to do to set up a webpage that shows your great photography but converts the people that come there into clients that want to hire you. It’s “7 Steps to a Home Page That Sells” free download sponsored by Squarespace. Check it out on theslantedlens.com/7steps.
Our new giveaway is a $500 gift certificate from Sammy’s Camera. Sammy’s is a great camera store I have used them my entire career, literally, my entire career. They’ve been a great place for me to get all the equipment that I need – Sammy’s Camera. They’re giving away a $500 gift certificate, so go to theslantedlens. com. Check out how you can enter there. The $500 Sammy’s gift certificate will let you buy whatever you want on their website, so go to theslantedlens. com where you can see how to enter.