

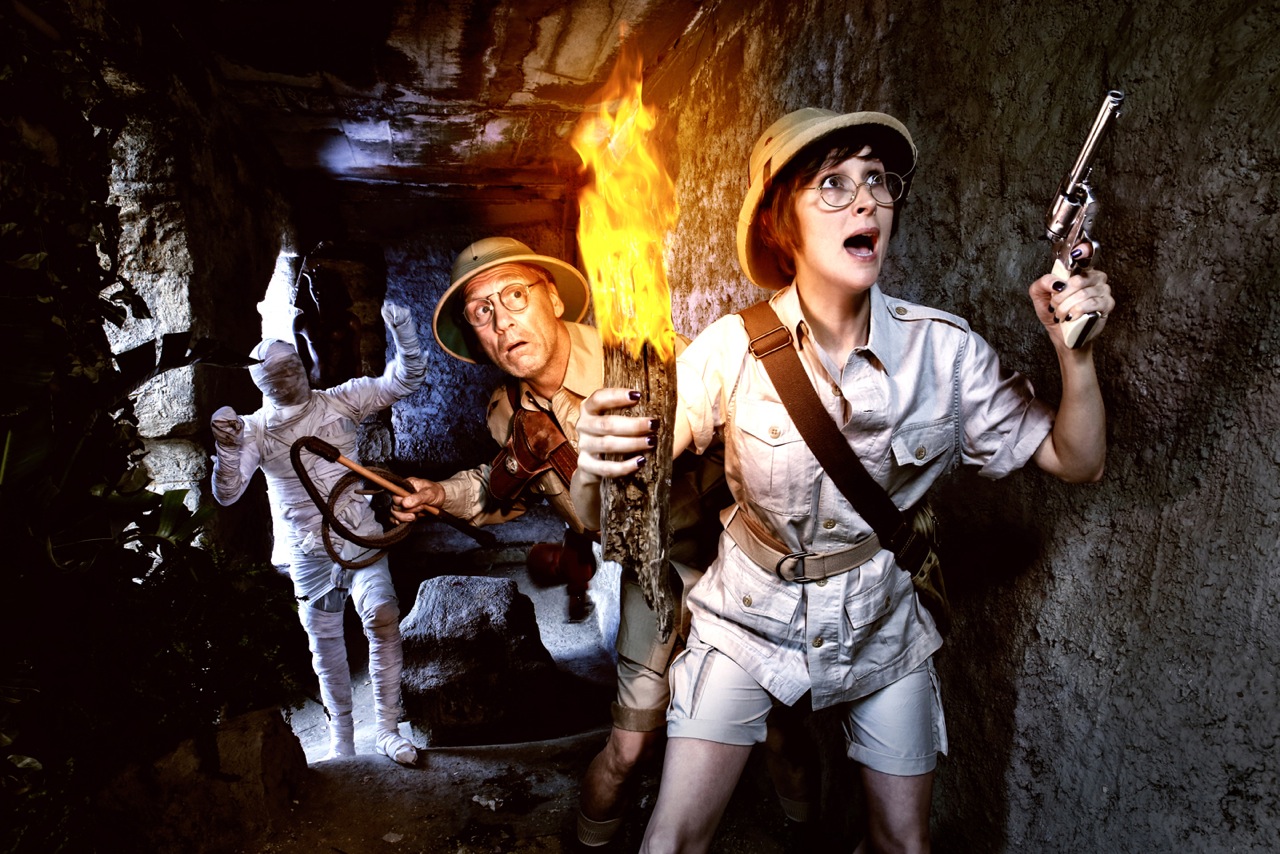
Today on the Slanted Lens, we are shooting out at the old LA Zoo in Griffith Park. It used to be a creepy place, nestled in the overgrown brush about the current LA Zoo. While it has been cleaned up and is open to the public to visit, the creepy factor is still there. We are going to shoot a campy, retro, B-movie image of a mummy chasing some explorers in a cave with only a torch for light.
Sometimes you just have to do these sort of set ups for no other reason than to just have some fun and get cool images. This was just a quick set up for some campy lighting, but I hope you learned something of value.
Thanks for watching. Keep those cameras rollin’ and keep on clickin’.
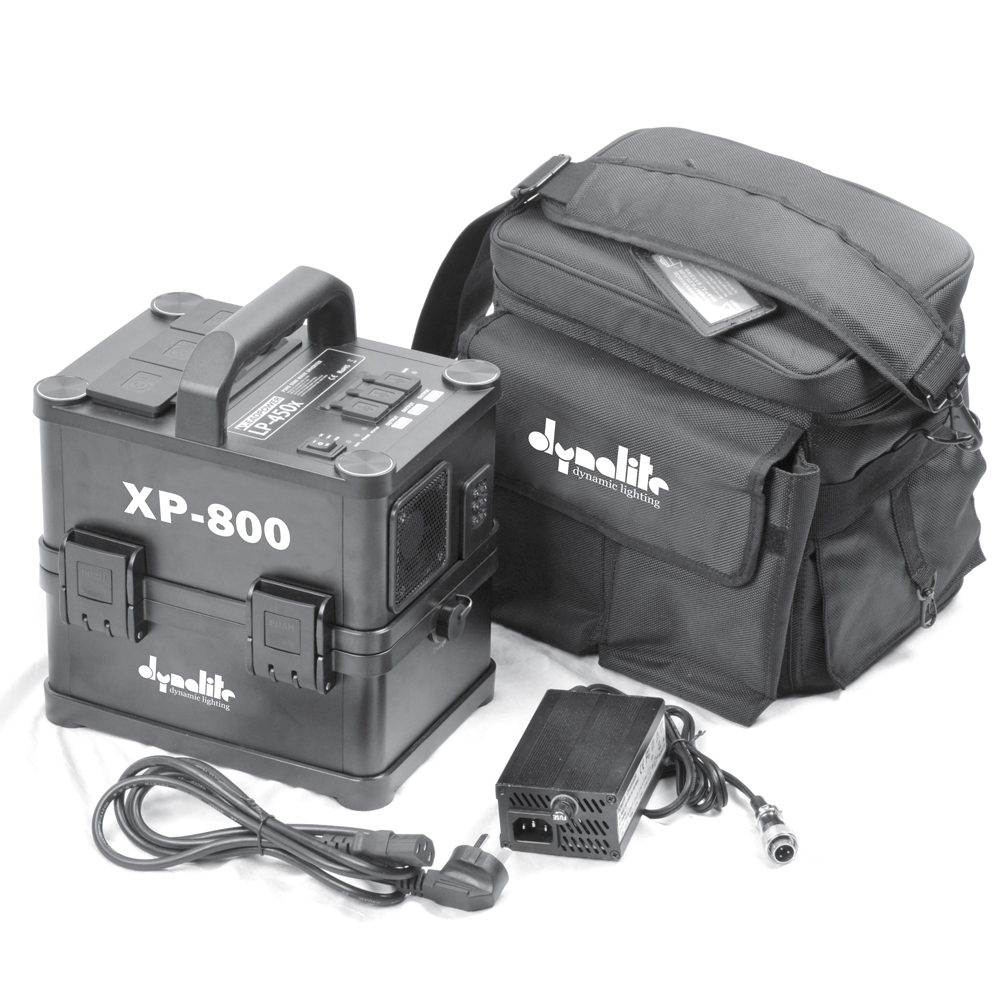
Don’t forget to enter our September 2014 giveaway to get a chance to win a Dynalite XP-800 Pure Sine Wave Inverter!
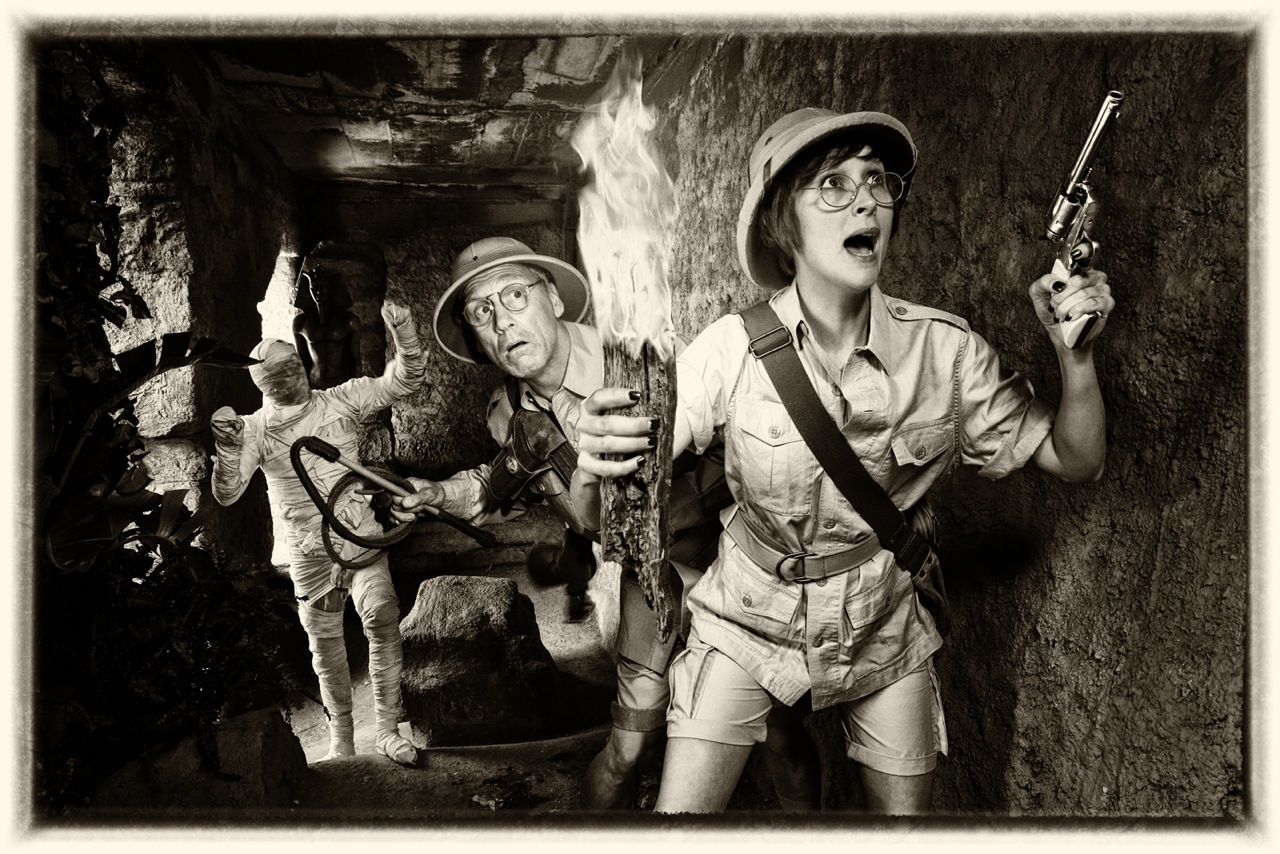
The Final Images

The Lighting Breakdown
Jay P Recommends for this Shoot


Video Transcription
Stick around to the end of the video we’re giving away and XP-800 this month, great piece of equipment.
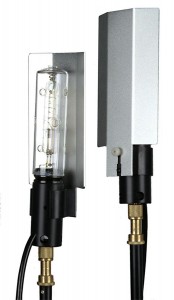
Today on The Slanted Lens we’re shooting out at the ol’ Los Angeles Zoo. It used to be such a creepy place, nestled in the overgrown brush above the zoo, [unintelligible] Arts Center, students would jump the fence and go into this area and shoot some really cool images. Today it’s a place where people come to do picnics, but the creepy factor is still there. I wanted to shoot a campy retro b movie mummy image with two explorers making their way in a dark cave with only a torch for light. I was gonna use a flame on a stick for the main light, but the city of Los Angeles said they would need a fire martial and police and all kinds of stuff. Well to overcome that thought I decided to use a Dynalite Pencil Light and tape it to the back of the torch, I also taped a warm sun gel around the light to warm it just a little bit, this gives me a nice warm glow coming off from the light. This was the first image, when I see an image like this it always scares me a little bit, the light’s all over the place, it’s too bright on his face, so I have to start by fixing one thing at a time. The exposure is too bright, so I’m gonna go for that. This first image is shot at F5.6, 1/5 of a second at ISO 800, that’s gotta come down quite a bit.
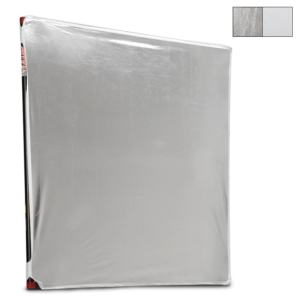
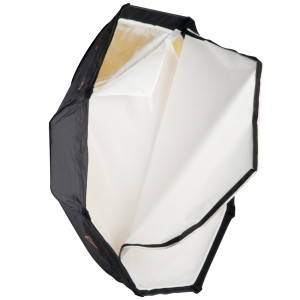
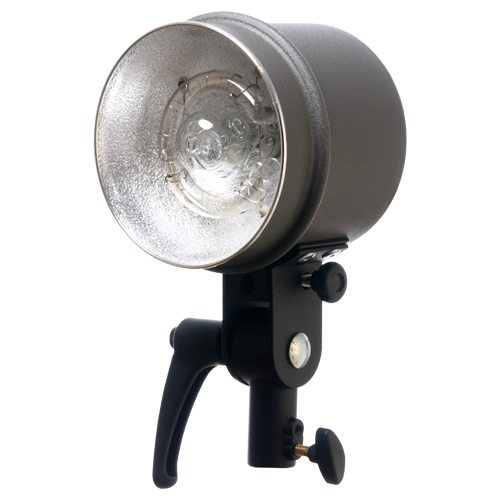
I moved the aperture to F11 to give a correct exposure on his face, I now opened up the shutter to 1/8 of a second to bring the ambient light into play, I’ll now get my talent in place and refine the light. I’ve only one hour to light and to get my shots, so I’ve got to get goin’. I’ve adjusted the aperture and shutter just a little bit to help keep my people from blurring. The pencil light was way too bright on her face because she’s holding it, so we put just a little piece of tape along the side of it, I actually let just a little bit of light bleed out underneath that tape, but that blocked off most of the light on her face and evened out the exposure between her and the guy behind her, it also cut all the light off of the cable all upfront which really helped out. I’m shooting at F13 because I want deep depth of field so I can see the mummy in the background. Here’s our first image with just the ambient light, our outside light goes blue because I’ve set it on tungsten. We will now add our pencil light that is taped to the back of the torch as our key light. Here’s our image with the pencil light. The guy was standing there in the first image but we didn’t see him because there was no light on him whatsoever, he kind of appeared out of nowhere when we added our key light. We added a Dynalite Travel Head in the background just straight into the cave, it was too harsh and didn’t really work back in there very well. It was hard to get it to balance out and to look nice, so we put up a six foot by six foot light panel, shot the light through that light panel, that light panel diffused the light into the cave and just kind of helped it to fill in the back there and it was much softer, much nicer. Here you can see the cave light in the background on the wall. Things are taking shape now, we need to fill the image though just a little bit; I’ll add a small Photoflex Octodome over my shoulder on the camera right side, it’s going to open up the shadows and allow us to see her a little better.
Here’s our final image with all the lights in play, the shadows are much more open now which gives us a lot of latitude. Here’s some of the images before there’s any editing done in post. When I turn her gun into the fill light it picks up that Octodome and it stands out. Good thing to note in the future. I like this image for the main image 0683, and adding the gun from image 0647. I’m gonna process the raw image for the gun so the gun is bright and not worry about the rest image and we’ll strip that into the shot. Juline’s now gonna composite our image together, add the gun, but more importantly add the flame. First shot of the flame was a little small, didn’t have much of a glow, Julene put a larger flame in and a little bit of warm glow around it, feels like atmosphere in the cave and it’s starting to look very nice. I’m now gonna take this image into Nik Software and add some effects to it. I first went into Silver Efex and change it to a black and white image, I tried two different versions. First a straight up conversion no other effects, it’s just a black and white conversion, it looks pretty good. Then I used a recipe called yellowed number 2, I like the vintage look this has, it’s kind of a cool look. I looked at two colored versions, first a color stylizer in Color Efex 4. I added deep browns, my color of choice which gives it kind of a nice sepia tone, but sepia tone with color, I like this look a lot. Then last of all I did a bleach bypass with a vignette, I like all of these, it’s pretty hard to decide but I’ll probably end up with that brown stylized look. Sometimes I just have to do these kinds of images that just don’t mean anything other than it’s just fun to do. So I hope you learned a little something, keep those cameras rolling, keep on clicking.
The Slanted Lens giveaway for the month of September is an XP-800 by Dynalite, this is an incredible battery supply you take out on location to run your power packs. But the way to win is you have to guess how many times this XP-800 will fire a 400 Watt second Dynalite pack on full power. How many times? Take your guess, the person closest wins.