

For today’s The Slanted Lens lesson, we are shooting out at Luke Air Force Base in Phoenix, AZ. We want to get shots of fighter pilot Josh “Chunk” Moffet with his F-16. What an incredible airplane!
The first obstacle we have to deal with is the plane facing the direction opposite of what I wanted and not being able to move it. In choosing the best angle to photograph the F-16 in this position, it will have me looking into the sun. I will need to light the shadow side of the jet with 400 watt strobes. Not an easy task. Let’s take a look at how we will accomplish lighting an F-16 with 400 watt strobes. Oh yeah, did I mention it was 105 degrees Fahrenheit outside?
This was a great shoot. I loved the location and the subject matter. It’s not that easy to light a large object with smaller strobes, but it’s very doable.
Thanks for watching! Keep those cameras rollin’ and keep on clickin’.
Don’t forget to enter our June 2014 giveaway to get a chance to win one of two Photoflex Portable Speedlight Kits!
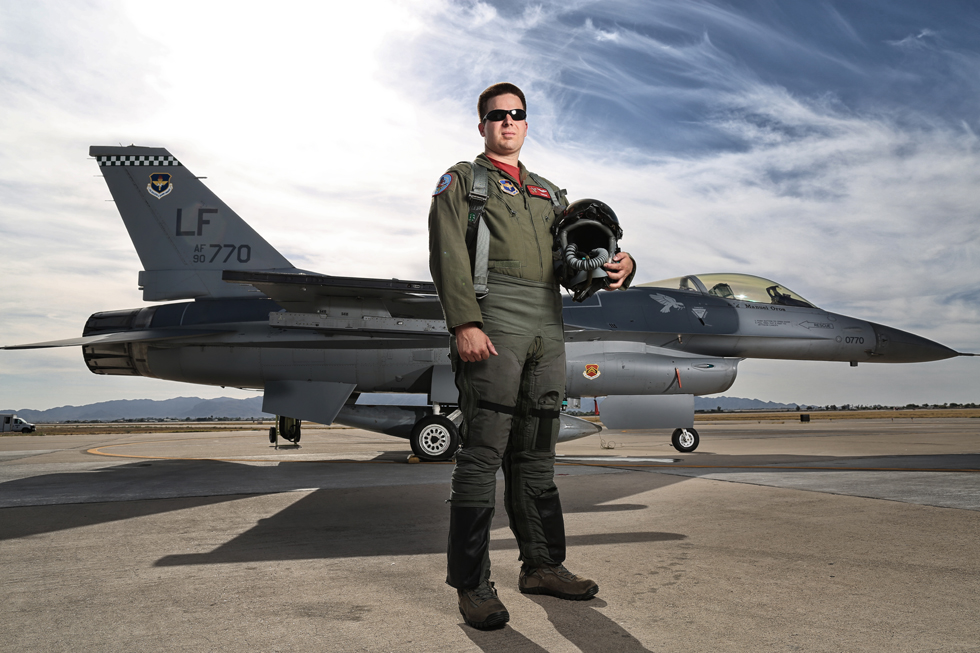
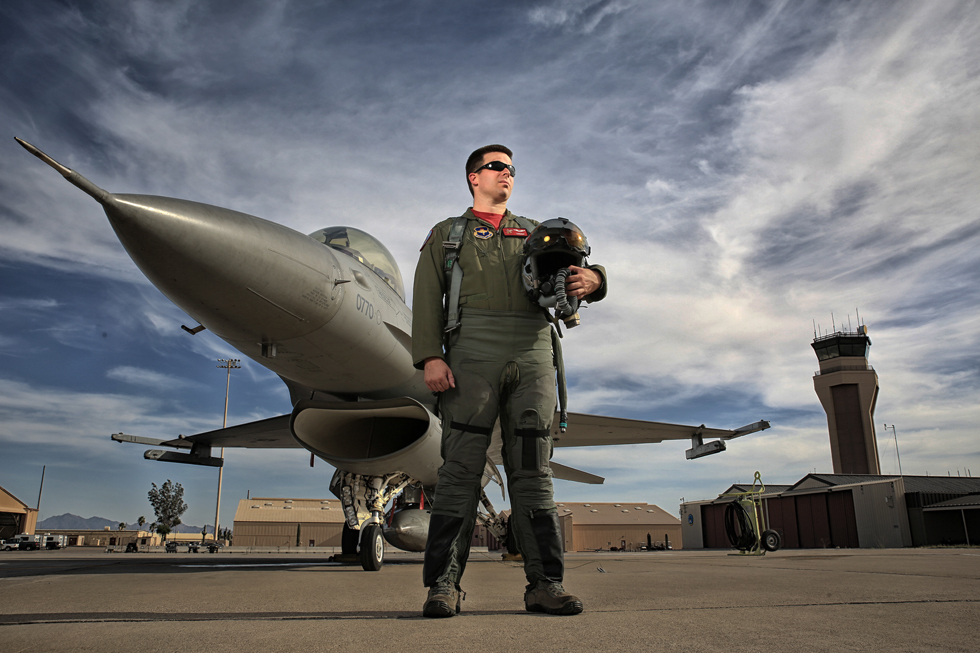
The Final Images

The Lighting Breakdown
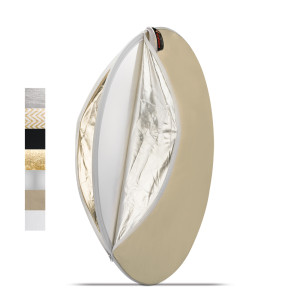
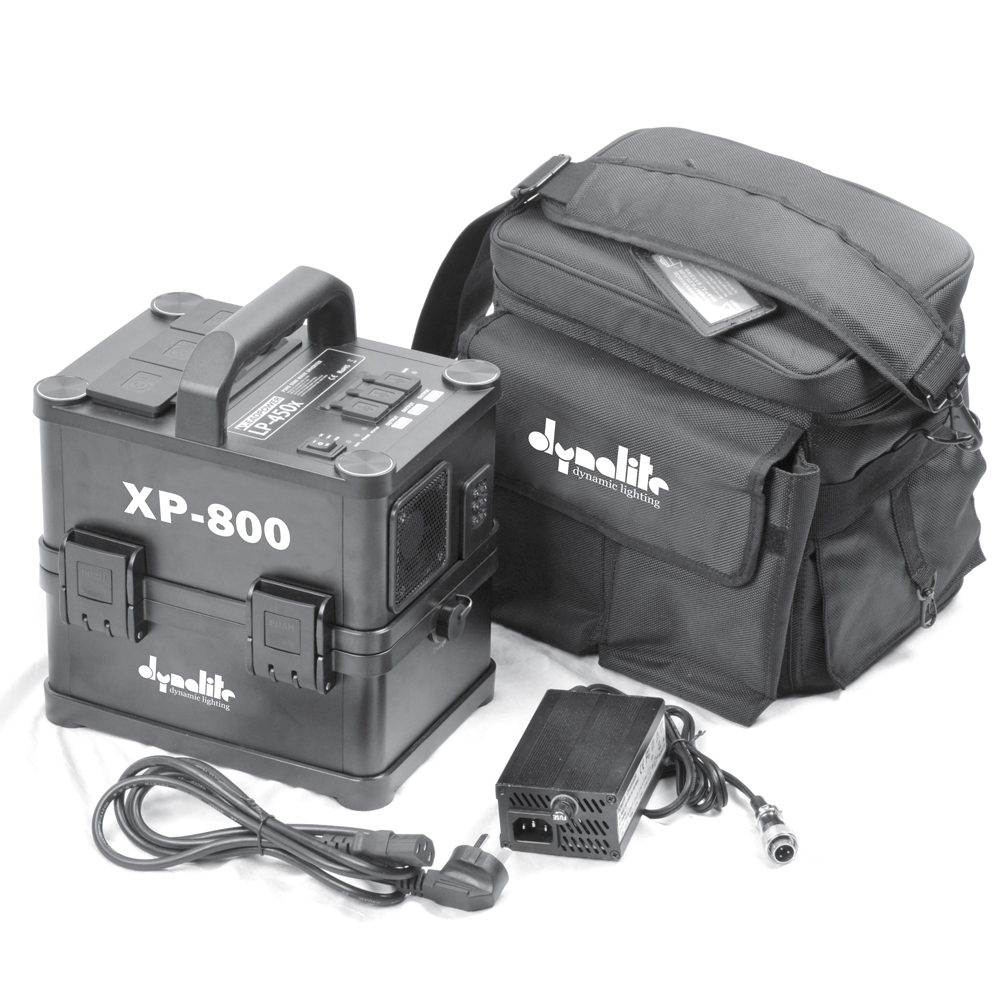
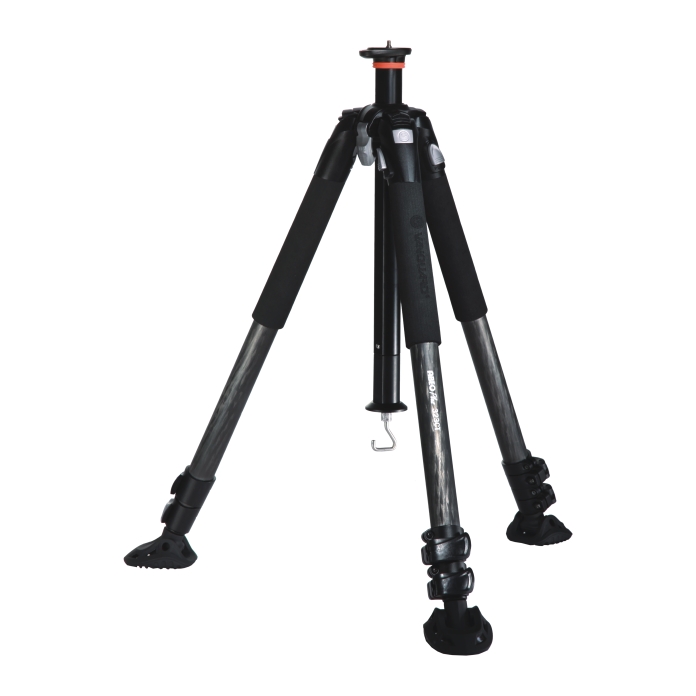
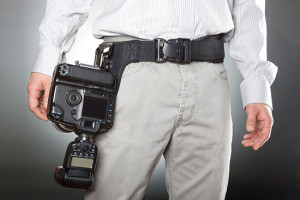
Jay P Recommends for this Shoot


Video Transcription
Stick around till the end of the video. We’ve got two Portable Speedlight Kits from Photoflex to give away.
For today’s Slanted Lens lesson, we’re shooting out at Luke Air Force Base in Phoenix, Arizona. We want to get shots of fighter pilot Josh Moffett,is nickname is Chunk, with his F-16. What an incredible airplane. I really do love this sort of thing. Here are our obstacles. The airplane is aiming the wrong direction and we can’t move it. Secondly, my view requires me to light the side of the F-16 with 400 watt second light. It’s pretty hard to fight the sun with 400 watt lights. And last of all, it’s 105 degrees out here. When we arrived, the airplane is aimed at the wrong direction. I had hoped it would be towards the mountain so we could be looking north. That would have given me a great front view of the airplane with no distractions in the background. I can’t shoot the tail of the airplane, so we’re going to have to shoot the side of the airplane. That’s going to be our best option. So the west side of the airplane looking back towards the covered areas was not very nice. There’s too much distraction and the plane isn’t very broad light. Looking west, the setting sun will be over his shoulder and wash out the background, unless I expose the sky and light the airplane. Let’s look at the camera settings.
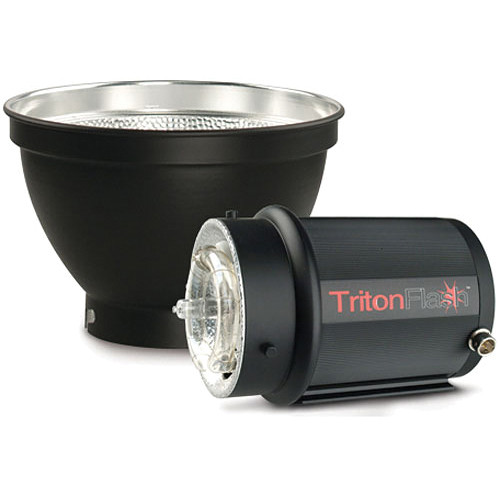
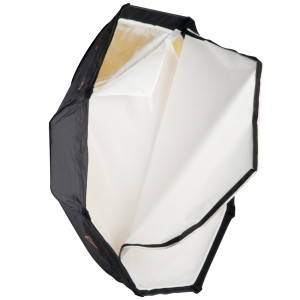
I’m going to shoot at 100 ISO because that is as low as I can go and I need a little exposure as I can get. I’ll shoot at 1/200 of a second. That’s going to help darken the background. And last of all, I’m going to set my aperture at f13 to balance my exposure. We’re looking slightly northwest and here’s our first image with just the ambient light. I’m going to set four strobe heads. Head number one will be on our fighter pilot. I’m going to use radio slave to able to sync all these heads together. I’ll use the PocketWizard. Our first head is a small OctoDome with a FlexFlash. That’s going to be our key light on our pilot. Here’s our image with just the first light. Head number two is a TritonFlash that’s going to be aimed at the tail section. I’m using a Triton with just a reflector so I get all the power out that I can get that’s going to help brighten up that tail section. So now we have our key, our ambient and our tail light. We’re slowly starting to build the light on the airplane.
Head number three is a FlexFlash that only has a reflector on it. It will be placed on camera right and light the midsection of the wing of the airplane. That brightens up the midsection. We’re getting very close. We’ll just need to have a light on the front of the airplane. Head number four is a FlexFlash only reflector. It will be placed camera right and light the nose of the fighter. I tilted it up slightly to keep it off from the ground. It was brightening up the tarmac just a little too much. Here’s our final lighting. You know, it took three lights to do it, but it really looks nice in the background. Let’s take a quick look at that lighting build-up one frame at a time.
Now, here are some of the images with no retouching. We photographed him standing and kneeling around the airplane. We shot as much we could. It was very hot and he was in his flight suit. He was a trooper. He hang in there all the way. As we were finishing up and packing up the equipment, I took him around to the other side of the airplane and shot some more images. This turned out to be a great angle and a lot easier to light, for sure. Here’s our first shot with just the ambient light. I brought the FlexFlash around with a small octadome just to open the image up and get a little light on his face. In NeXT software, I took the image in it and added a dark contrast layer. And then I used subtraction points to remove 70% of the effect from his face and his body. I then add a straight contrast and desaturated the image in that layer. You know, I’m very pleased with this look. So here’s some of the edited images.
This was a great shoot. I love the location and the subject matter. You know, it’s just not that easy to light a large object like that with small strobe heads. But you know, in the end, it was very doable. So it’s something we just have to go after and make it happen. So keep those cameras rolling and keep on clicking.
This month in The Slanted Lens we’re giving away two Portable Speedlight Kits. This is two small OctoDomes, two stands, two brackets to be able to set up your Speedlights, put it in the OctoDome and two of the speed rings to be able to set up your OctoDomes. It comes in this great carrying case so it all goes together. You can put your Speedlights in there and you’re ready to go. So we’re giving away two of these. Go to TheSlantedLens.com. Make sure you sign up to win a Portable Speedlight Kit. We’re also selling this Portable Speedlight Kit at TheSlantedLens.com. It’ll be a B&H prices and we’ll throw in free a digital download of our DVD series called Mastering Strobes. Great information for $79 value. We’re going to add it to this kit if you buy it from TheSlantedLens.com. So make sure you sign up to win. And if you don’t win, make sure you purchase it from TheSlantedLens.com.