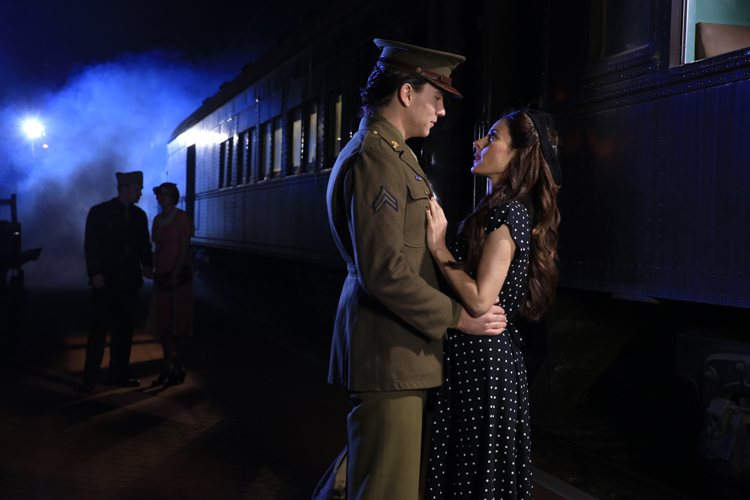
Today on The Slanted Lens, we are shooting out at the Orange Empire Railway Museum. They gave us access to their steam train and WW2 passenger cars. We will use this setting to look at the process of mixing HMI and LED lights.
We are lighting a very large area. It’s three train cars long, and we are going to need some serious power to make this happen. Because we are shooting both stills and video, we will need to light everything with constant light sources.
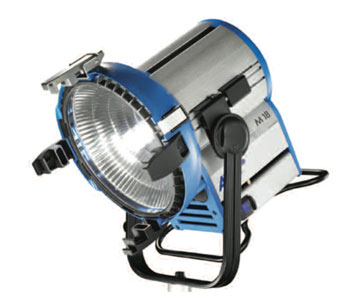
The area to cover is very large, and we will require a strong instrument to serve as the backlight. We rented an Arri M18 HMI. It’s 1800 watts and runs off a single 20-amp circuit.
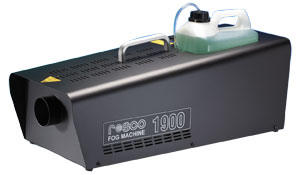
We will set up the M18 deep in the shot and layer smoke from the Rosco 1900 in the background between the light and the scene up front. I’m okay seeing the light in the scene and will let it be in the frame in most of the shots. On this light we added a 1/2 blue Rosco gel to cool it off. I will be shooting at 1/50th of a second and f5.0. I will push the ISO to 1250 to get a proper exposure.
Thanks to the Orange Empire Railway Museum for allowing us to work at their museum. It was very cool. Remember, I’m a train nerd. Thanks for watching.
Keep those cameras rollin’ and keep on clickin’.
The Final Images
The Lighting Breakdown
Jay P Recommends for this Shoot
Video Transcription
Stick around at the end of the lesson ’cause we got a great giveaway for you this month.
Today on The Slanted Lens, we’re out shooting at the Orange Empire Railway Museum. They gave us access to their steam train with those World War II passenger cars. Very excited about shooting here. I’ve wanted to do this shot for a long time and they are nice enough to give us access to their trains so we can do it. You know if you wanna really make their day, like them on Facebook, it would really be a great boost for this little museum out in the middle of nowhere. It’s called Orange Empire Railway Museum. It’s Facebook at Orange Empire Railway Museum. Anyway, make their day.
More importantly than where we’re shooting is how we’re shooting tonight. We’re going to combine HMIs with LEDs. I’m in love with this thought of LEDs and HMIs working on the same set together. You know how much I love LEDs, I wanna see tonight how they work when you got a big gun HMI on set. So let’s get started to see what we can do. We’re lighting a very large area tonight. It’s three-train cars long, we’re gonna need some serious power to make this happen. Because we’re shooting both stills and video, we’re going to need light everything with constant light sources. Like I said, the area of coverage is very large. It’s gonna require a very strong instrument in the background as sort of the back light. We rented an HMI Arri M18, it’s 1800 watts seconds and runs up a single 20 amp circuit. This is one of the most powerful HMIs out there that runs on a regular Edison 20 amp circuit. We’re going to set the M18 deep in the background and rake it along the side of the train car. We’ll then put the Rosco 1900 smoker up and put a nice layer of smoke between the light and the foreground. This is how you get some great deep background and it will look excellent. I’m really okay seeing the light on the scene which it’s gonna let it be in the frame in most of the shots. The light has 1/2 blue on it to kind of cool it off, that gives us a starting point for our shot. I’m going to shoot a 150th of a second at F5.0 and I’m gonna push the eyes on a 1250 to get the proper exposure to make all this lights work together.
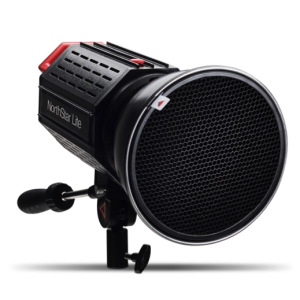
Here’s the first image with just the HMI, you can see that we have an angle of incidence problem on the car. The light is on an angle, it’s gonna reflect right into the side of that train car. If we have a lift or some kind of a way to get that light higher, we’d wanna get it higher to get rid of that angle of incidence but we don’t have a lift so we’re gonna have to live with that angle of incident and hope that the smoke diffuses enough that it won’t be a problem in our shot and I think that will be the case. You know now that the broad strokes for a lighting set-up tonight are laid with that HMI, we’re going to add LEDs to kinda paint in the image. The nice things about single LEDs is that they allow us to use a single light in many different ways. For our first light we’re gonna place a NorthStar Lite inside the second car in the background which is just a seven inch reflector, it’s aimed out the window towards the ground to create light window patterns on the walkway and it give some nice light shafts in some of the images. We will put 1/2 CTO or warm GL on this light just to warm it up a little bit. In this image you can see those nice shafts of light coming through the windows in the background. I love this look, this is kind of a nice dreamy background for images.
We will now at NorthStar Lite with the seven inch reflector on the camera’s left side to rim the couple. It’s going to imitate the look of that HMI in the background but we need that strength up front. The HMI is just too far back there to rim the couple upfront. Again we’re gonna put 1/2 blue on that light just to cool it off. I love lives in a motivated by something that feels real on set. In this case, we’ve got rolled windows that are going all the way down the train. I can put my key light inside the train car just off the camera right side. You don’t see this train car but we’re going to use the windows to restrict the lights with only light certain areas and then light our couple. Again it’s an LED with a seven inch reflector. We’re shining it through the windows and they’re very dirty so it softens the light up a lot and gives us a nice look on their faces. We’ve got a nice light on his face because it keys to the window from the train on the right, we’ve got a nice rim on her. But still a little too dark upfront, we’re gonna need to add one more light.
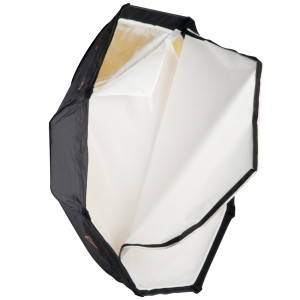
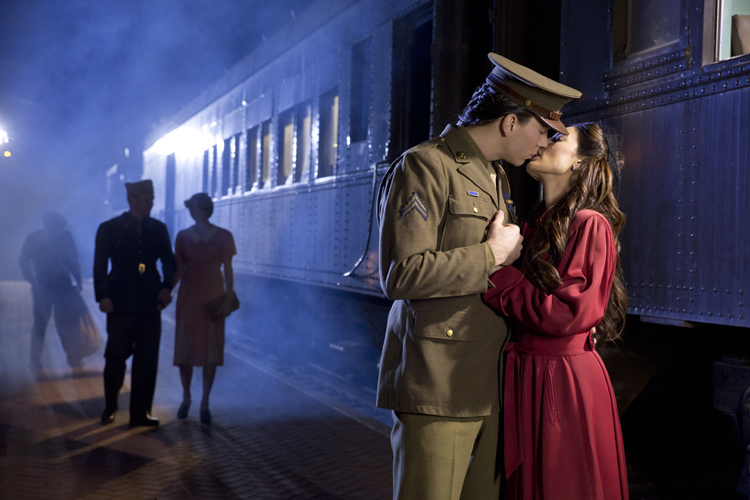
Our last light is an OctoDome on a NorthStar Lite just to the camera right side. I’m gonna pan it towards them just open up the shadows a little but and ten a little bit of that light open up the side of the train. Our talent, she’s in a black dress. It’s a little dark, his uniform is dark, she’s dark, kinda makes the whole seen a little difficult to put together. And so we had a red jacket there that we put on her, it gave us a good color contrast, it really helped her to stand out. Let’s see how that changes the image. So here’s some of the final images with that red dress. You know it’s now time to shoot some video for our shot. I really like to motivate the camera moves on action so I’m going to have a person walk into the frame on the camera left side, cross the couple and get on the train. This means I can pan down low and pan up to the couple off in the action of the individual walking in and then I can settle in to see our couple as they have their intimate moment. I don’t know how intimate it was but as they have a moment as they kiss. You know switching back and forth of the two couples I have like shoot some of the times one couple on the front and then the next time the other couple. So we got a few shots of each of them. I love the idea the old shots I saw people kissing out the windows of the train as they are leaving so I got the camera up high to get a look at this couple kissing and be able to see the couple on the background. It was a really great look.
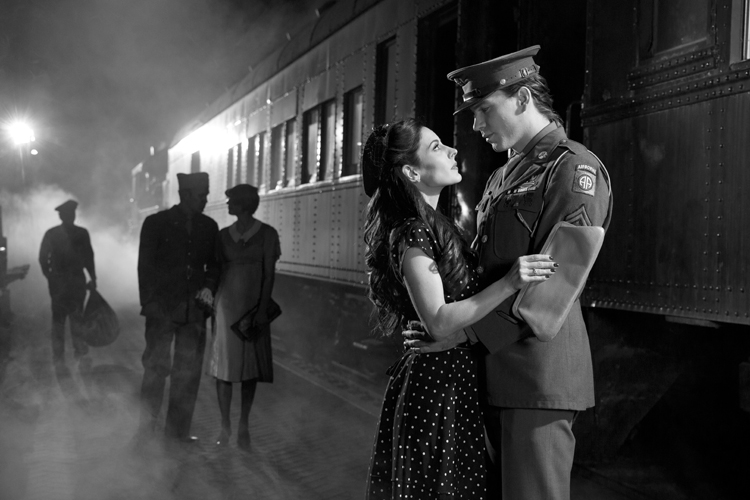
I took some of the images in the Photoshop and change it into black and white just for fun. You know I went to image adjustments then selected black and white, this brings up a panel with different color sliders representing the different colors in the spectrum. I pushed the magenta to 135% or even more and some of the images, this brightened up her face and brightened up her dress and helped her to stand out in the foreground of that black and white. As you push that yellow up, it brightens at the background, helps him stand out better. This was an epic shoot, there was a tremendous amount of work but after the shoot I feel very comfortable mixing LEDs with HMIs. They are both daylight balanced, they just work very well together. HMIs lay down those big lights to give you the big look and then the LEDs go in to give you the little touches that kinda light the shot and make it really work. You know I must say I’m spoiled because we run six or eight of this LEDs off from one circuit. It’s just so nice and you can run six lights up from a single 20 amp circuit. That’s unheard of in the past. Now the HMI different story, it’s gonna have it’s own generator.
Again I wanna thank the Orange Empire Railway Museum for allowing us to work on their museum. It was very cool of them, we appreciate it very much because remember I am a train nerd. So keep those cameras rolling and keep on clicking.
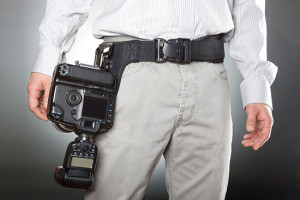
So this month we’ve got an incredible giveaway for you. We’ve got Lens Pro To Go that’s gonna give you like $300 with a Lens Pro To Go bucks. We’ve got Spider Holster too that’s going to giveaway their SpiderPro single camera system. We also have Photoflex, it’s going to give away a speed light kit which is a great little set with two OctoDome for your speed lights and an incredible kit take out location and last of all, Squarespace is going to give away memberships on their website so check this out. All four of these things go to the TheSlantedLens.com, you can sign up there, can win in anyone of four different ways so don’t miss out on this giveaway this month.
