

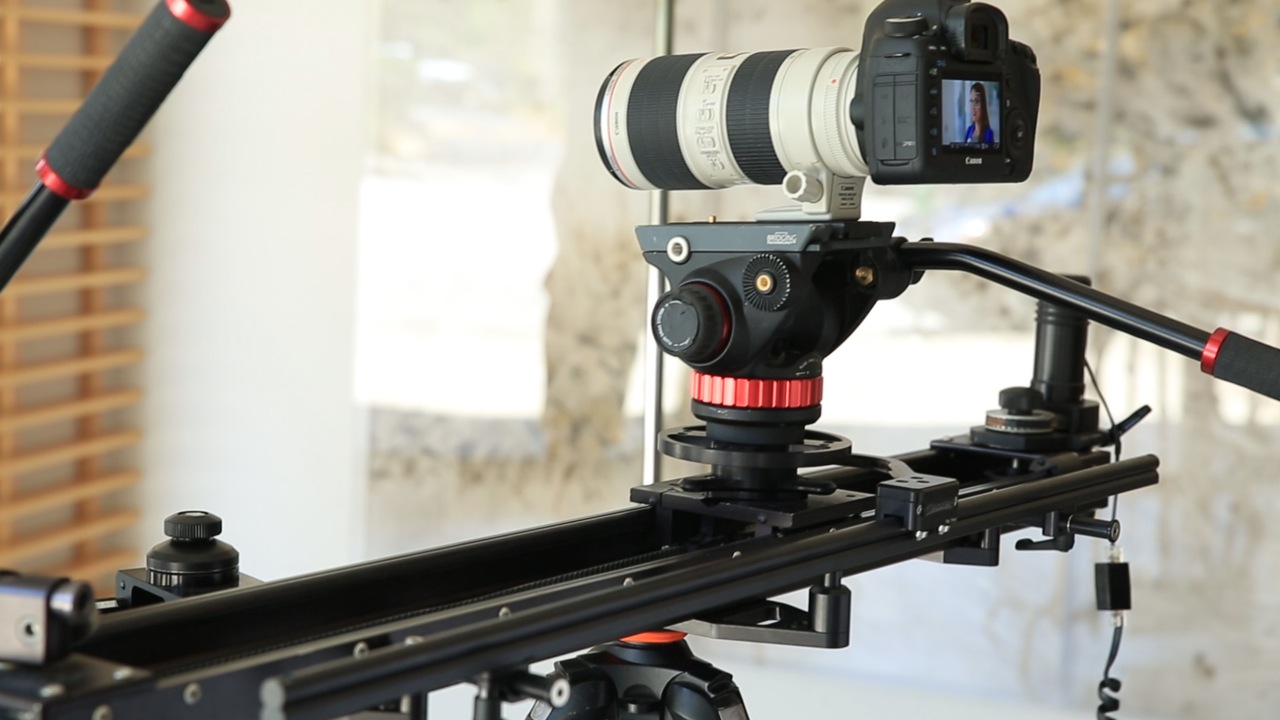
On this Slanted Lens product review, I am going to talk about Kessler’s new Parallax bar. This attaches to the last two generations of the CineSlider. Now Kessler is one of our sponsors so this is a shameless plug for their product, but this really is a great product. It ups the production value of your videos. What is does is it keeps your camera centered on your subject while the camera moves down the slider.
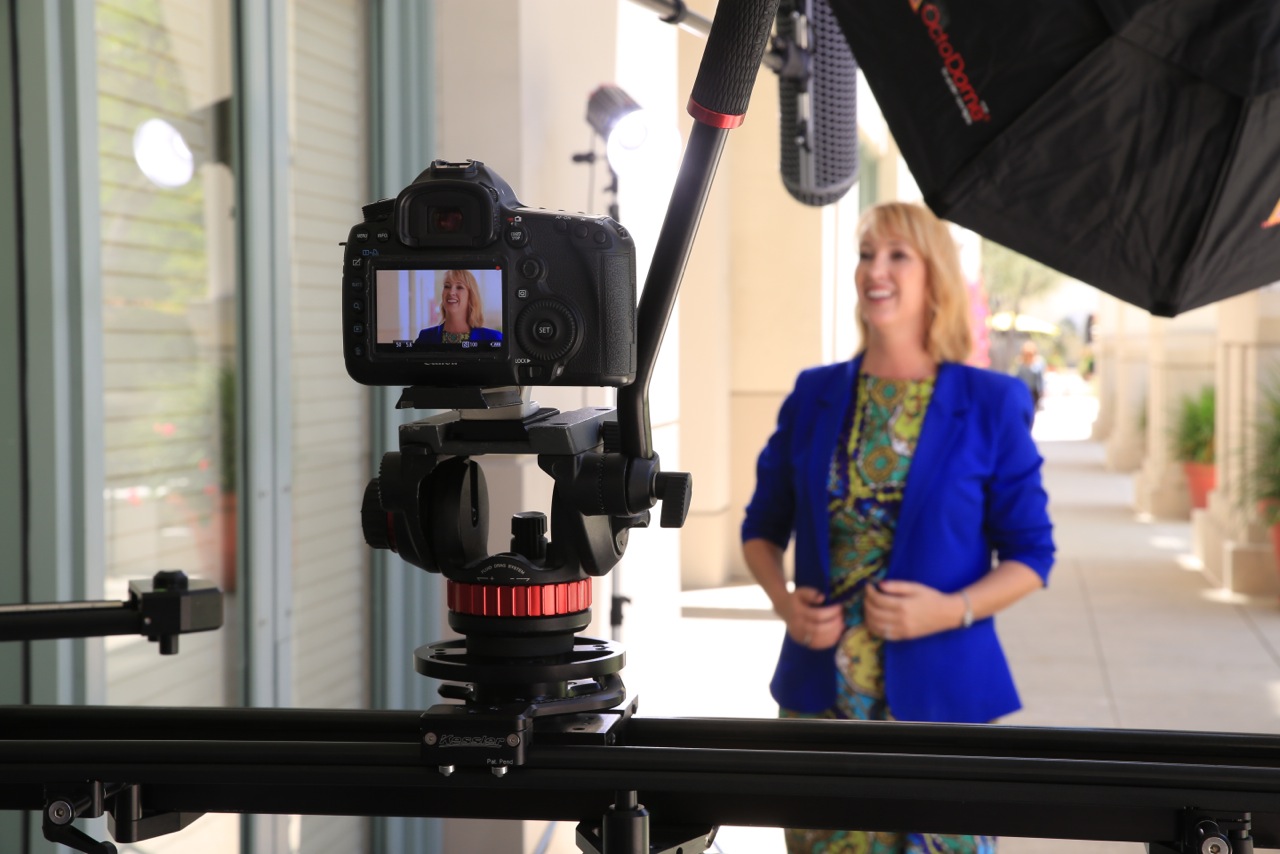
I recently used the Parallax bar on a series of interviews I did at a bank and it produced some great looking video. The only thing that I don’t like is that it is a little big which makes it harder to move the slider around. I didn’t want to keep putting it on and taking it off each time so I got the special case that Kessler makes that fits the slider and the bar. Other than that, it worked really well and I was very pleased.
As with any tools, the more production value, the more time it takes. So it did take a little more time to set up and use than if I hadn’t used it, but it is absolutely worth it.
Thanks for watching. Keep those cameras rollin’ and keep on clickin’.
Video Transcription
– Hi. This is Jay P. Morgan. Today on our Slanted Lens we’re going to look at Kessler’s new Parallax bar. This attaches to the CineSlider, the three-foot CineSlider. It’s great. It, it attaches to the last two generations of these CineSliders. Now I know this is our sponsor, so this is a shameless plug for their product, but let me tell you right now, this is absolutely worth the price, because it ups the production value of your video. It really makes ’em look very nice. What it does is, it keeps your camera centered on your subject. You set it up so that both ends of the slider are the equal distance away from your subject. Point your camera directly at the subject in the middle, roll it to left side, loosen this bar, as you push this bar in, it pushes the camera over towards your subject, and tighten the bar. Bring the camera over to the other side. As you pull this side out, it’ll push the camera towards the subject. Tighten the bar. So the bar’s gonna be on angle, not perpendicular to the front of the slider. Now as you go across the slider back and forth, it’s gonna keep the camera always focused on the person you’re shooting the video of. We used this on a bank project that we just finished shooting. It was incredible, ’cause it really gave us a high production value.
The only thing that kinda bugged me about it is, it’s just, it’s a little big and makes the slider a little harder to move around. I got a special case that Kessler makes for it to be able to accommodate the bar on the side, ’cause I don’t wanna have to take it on and off every time we use it. So other than that though, it worked flawlessly and gave us great images, and really worked out very well. So take a look at some of these shots that we did.
As with all tools, when you’re doing video or any kind of work, the more production value, the more time it takes. So it takes a little more time to set it up and to get your shot, but lemme tell ya, it’s absolutely worth it. Just a simple slider shot that’s going back and forth like this turns it in to a much nicer look. If you have someone’s hands as they’re writing a note or something, with the camera just swingin’ around that, it really makes this look like a high-end move. I mean, we’re always tryin’ to do that as the slider. You know, I’m pushing with one hand, the slider head, and I’m tryin’ to do that same move with the head of the tripod on top. And it’s not near as smooth. This just makes it very smooth, clean, gives it a great look. So I think it’s worth the money. It really is.