

For today’s The Slanted Lens lesson, we are shooting a commercial with Joel Ackerman of Ackermania Creative. They create viral-style commercials that are highly entertaining but still focus on selling the product. We will be using double reflectors to light a cave as we shoot out at the old LA Zoo in Los Angeles. We are shooting our talent in a mummy infested cave with a dirty toilet. We must use reflectors since the openings to the cave are all in the shade. The light must be bounced around a corner to get our talent. We’ll take a look at the technique we used to accomplish this.
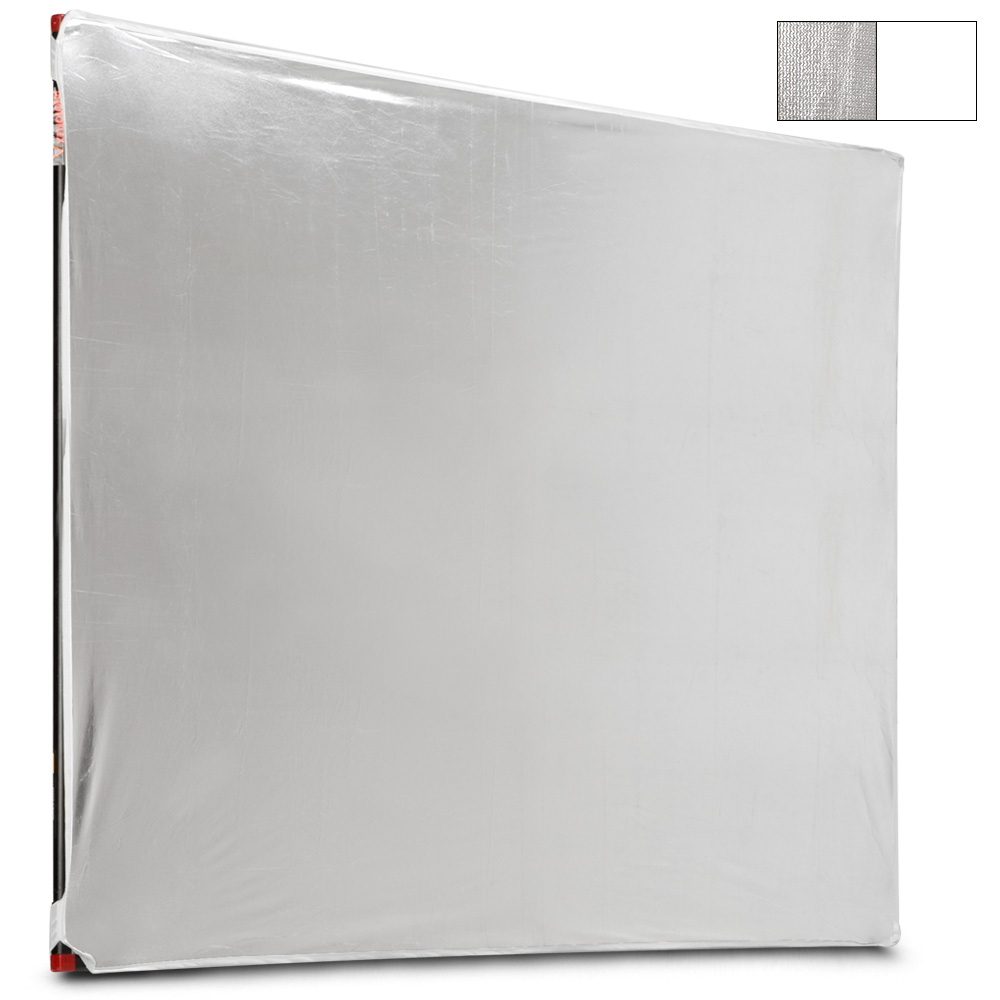
Doing a double bounce is not as difficult as it sounds. Any small reflector will work. I always start with a hard reflector that will bounce into a soft reflector. This will work with LitePanels or round reflectors or a combination thereof–a simple technique that is very effective.
Thanks for watching! Keep those cameras rollin’ and keep on clickin’.
Don’t forget to enter our June 2014 giveaway to get a chance to win one of two Photoflex Portable Speedlight Kits!
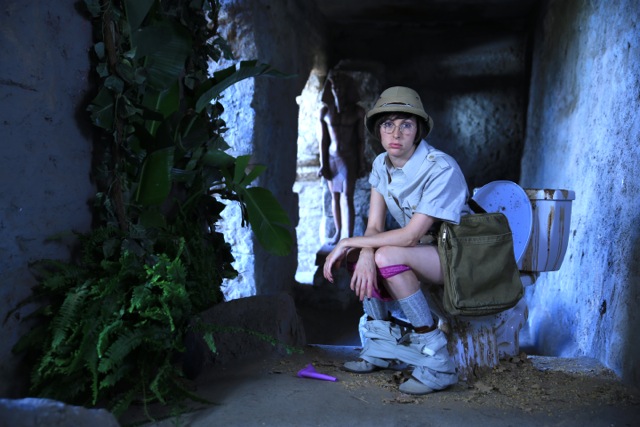
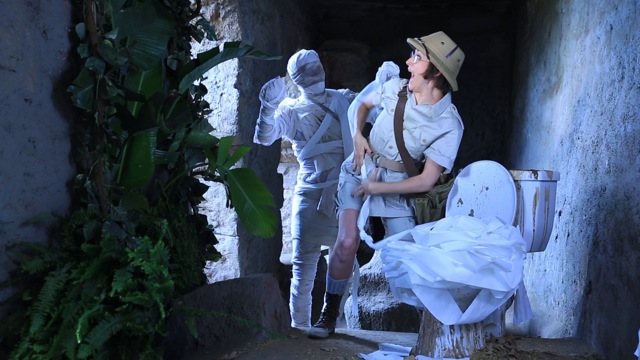
The Final Images

The Lighting Breakdown
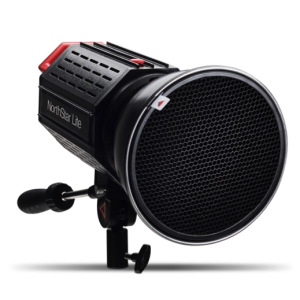
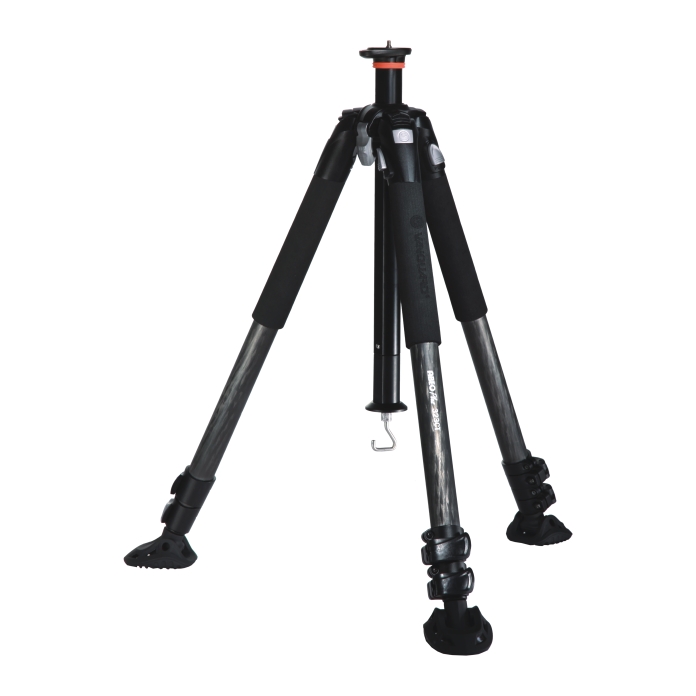
Jay P Recommends for this Shoot


Video Transcription
We’re shooting a commercial today created by Joel Ackerman of Ackermania Creative. They create viral-style commercials that are highly entertaining, but still focus on selling the product. We’re shooting our talent in a mummy-infested cave with a dirty toilet. We’re going to shoot at the old L.A. Zoo in Los Angeles. It’s a very cool place to shoot. A little bit pricey, but a great location.
We’re going to show you how to use two reflectors, and double-bounce the light to be able to light our talent inside a cave. Here are the obstacles. The openings of the cave are all in the shade, and we’re lighting with reflectors. There are three openings. The two in the background have reasonable reflector access from the outside, but the one at the mouth of the cave is in a corner and it’s very dark. Of course, that’s the opening where our talent needs to be. That’s the obstacle. We’ve got to reflect our light around a corner, and light her inside the cave. We’ll be shooting both video and stills in the setup.
Let’s look at our camera settings. We’re shooting at 200 ISO, and 50th of a second shutter speed for our video, and wide open at 2.8. I’m on the Tamron 24-70 millimeter lens, shooting at about 40 millimeters. Here is our image with only the ambient light from outside. We’re bouncing ambient light through the cave windows with a 12 foot by 12 foot silk. It will bounce a nice, soft ambient light into the cave. I’ve set my color balance to Tungsten to allow the daylight reflecting into the cave to be very blue. It’s something I do a lot, I know. We’ll use a NorthStar light as a fill light inside the cave. It’s not strong enough to bounce with the ambient light from outside, or I would use it as the key. We will bounce it into a 6 foot by 6 foot photo flex reflector. That reflector’s laying against the side of the cave wall. Here’s our image with just that fill light. We added a 39 by 72 inch PhotoFlex LitePanel in the background to bounce light through that first opening onto the back wall. Wiggling the light back there will give us the illusion that the light’s bouncing off from a pool of water. Here’s our image with the reflector on that back wall. For our key light we’re going to use a double reflector technique to get light around the corner, and onto our talent. We’ll set a reflector out in the sun, and use the Hard Side. That will be reflected into a second reflector, standing in the shade, which will be aimed around the corner and onto the talent. Here’s our image with a bounce light reflected off the second reflector onto our talent. Let’s look at this lighting in a piece of video. [female screams] Here’s some of the still imagines. Using the double bounce is really not as hard as it looks. Any small reflector’s going to work. I always start with a hard reflector that bounces into a softer reflector. This will work with light panels or round reflectors, or a combination thereof. Simple technique, but very effective. Keep those cameras rolling, and keep on clicking.
This month of the Slanted Lens, we’re giving away two portable Speedlight Kits. This is two small OctoDomes, two stands, two brackets to be able to set up your Speedlights, put it in the OctoDome, and two of the Speedrings to be able to set up your OctoDomes. It comes in this great carrying case, so it all goes together. You can put your Speedlights in there and you’re ready to go. So we’re giving away two of these. Go to TheSlantedLens.com. Make sure you sign up to win a portable SpeedLight Kit. We’re also selling this portable SpeedLight Kit at TheSlantedLens.com. It’ll be at B&H prices, and we’ll throw in, free, a digital download of our DVD series called, Mastery In Strobes. Great information, $79 value, we’re going to add it to this kit if you buy it from TheSlantedLens.com. So make sure you sign up to win. And if you don’t win, make sure you purchase it from TheSlantedLens.com.