
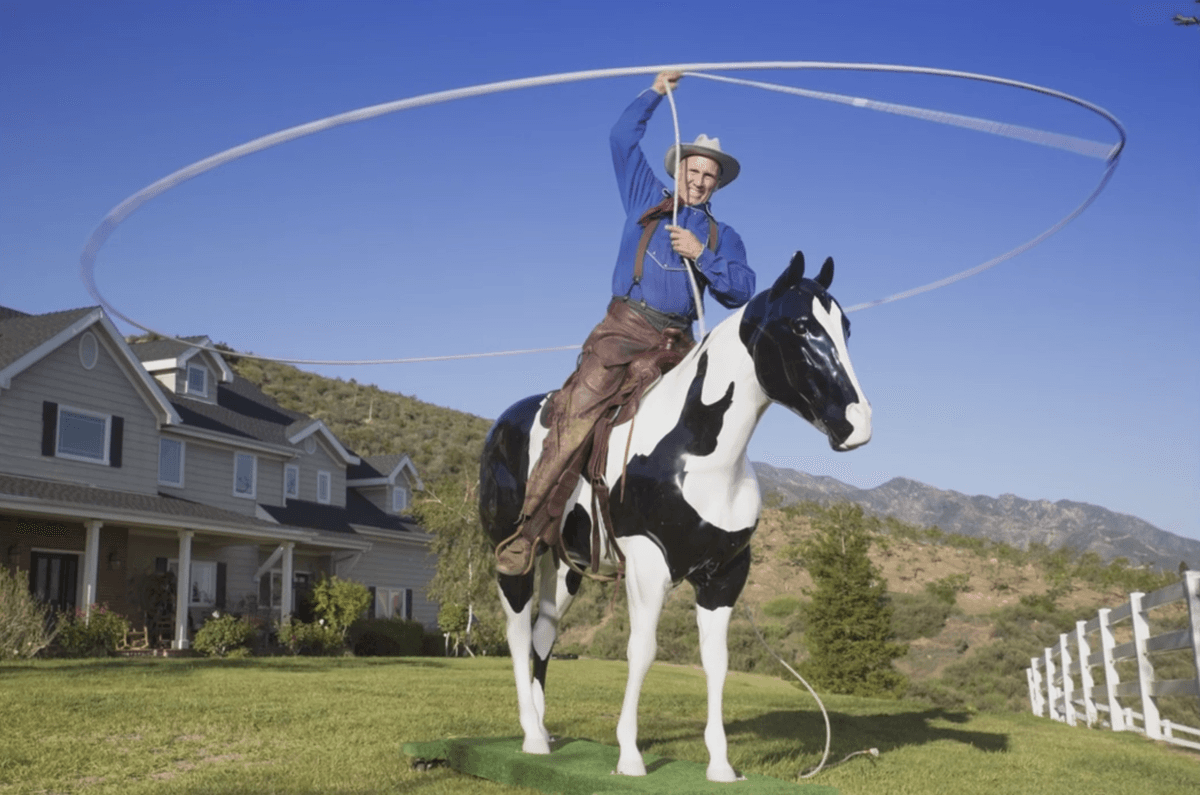
For today’s Slanted Lens lighting lesson, we are back with cowboy extraordinaire Will Roberts. Our goal was to get a shot of Will spinning a 50 foot lasso on top of a plastic horse. This shoot had three obstacles to overcome:
- Isolate the talent in the background
- Overcome the lighting challenge from that background
- Make room for the 50′ rope
The Solutions
Due to the power lines, only two directions would work for the background. The sun in the back would wash out the background, so I ending up using the sun as a key light to get a nice deep, blue background.
To make enough room for the rope, I had to aim more towards the house but this was too much house, so I split it so I’d have the house on one side and the fence on the other.
I just used a single Photoflex FlexFlash as a fill light to open up the shadows.
For the camera settings, I set the ISO at 100, shutter speed at 1/125, and aperture at f9.0. I am using a Tamron SP Lens 24-70 mm at about 35 mm.
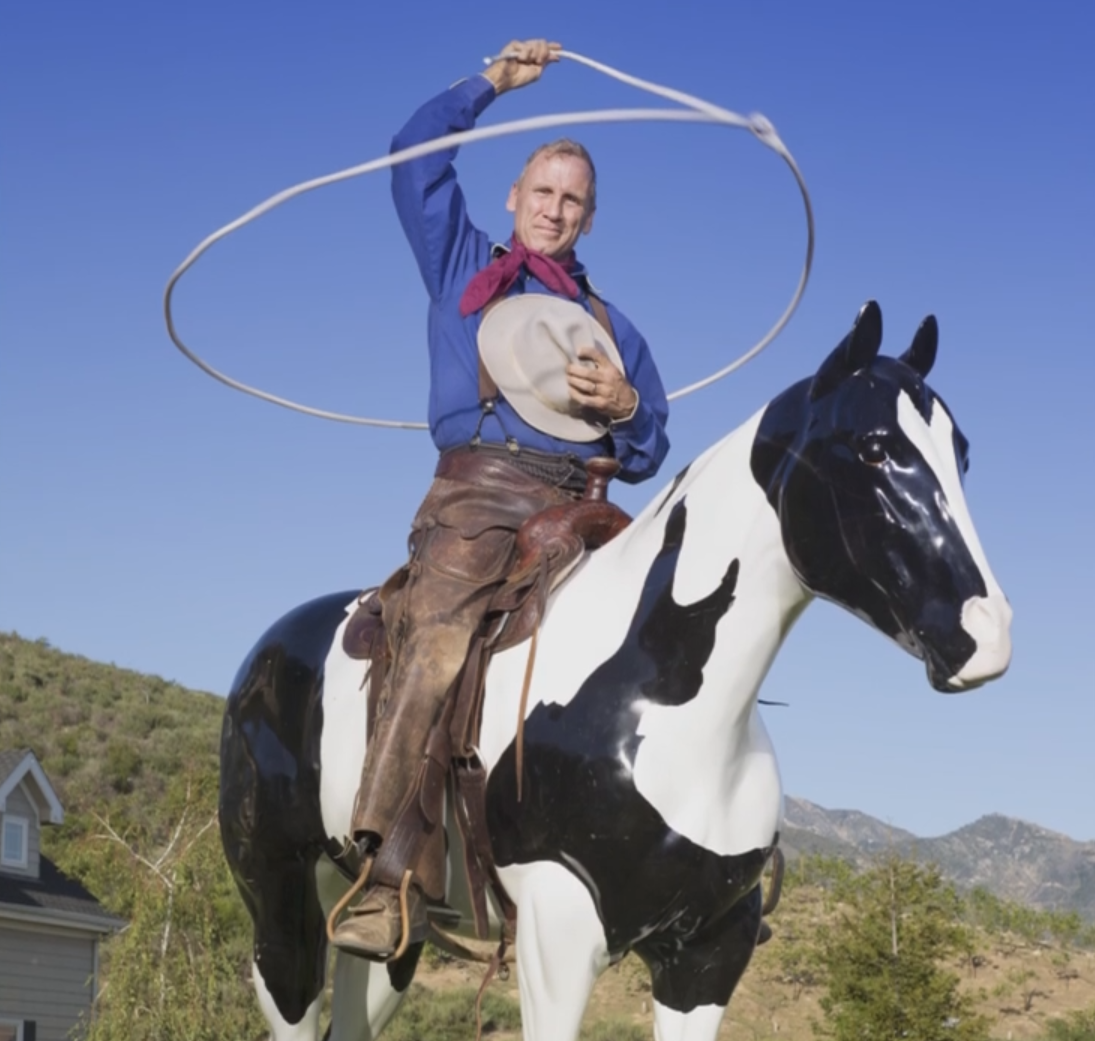
Here are some final images:


The Recap
We needed to isolate the talent in the background, get nice light with that background, and find enough room for the rope. To overcome this, we used the sun as a key light with a FlexFlash as a fill light. We moved closer the house to fit the rope, but then aimed the camera more toward the fence to avoid having too much house in the background.
As always, keep those cameras roll’n and keep on click’n.
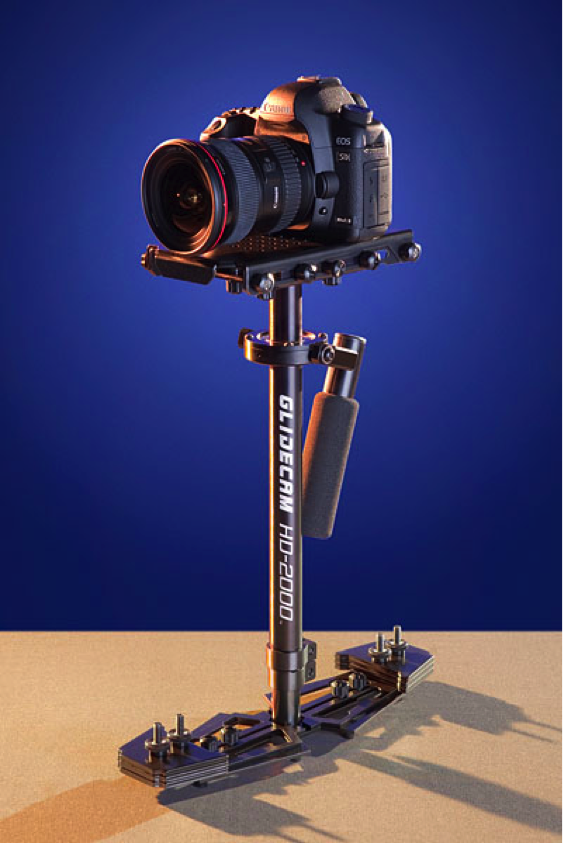
Don’t forget to enter our May 2014 giveaway to get a chance to win one of three Glidecam XR 2000s!
Jay P Recommends for this Shoot


Video Transcription
Most of the successful business people that I have met in my life had a mentor. Someone that helped them, directed them, and helped them to accomplish things that they really wanted to do in their businesses. We want to be that for you. We’re going to start The Slanted Lens coaching class. It will meet once a week, we’ll have great speakers that come in once a month. We’ll have different coaching classes each week. If you miss a class you can go online and catch up to the things that you missed out on. We’re going to teach you how to set up your business, we’re gonna teach you the things you need to do to be able to grow your business, we’re going to hold you accountable to do them, and then we’re gonna watch your business grow together. So go to TheSlantedLens.com, click on the Business Coaching tab, and sign up for a business coaching class that starts in June. Let me be the mentor that helps you grow your business.
For today’s TSL lesson, our objective is to get shots of Will Roberts, our world-famous trick-roper sitting on top of a plastic horse spinning a 50-foot lasso. Here are the obstacles. First, choosing a simple background that’s going to work with our talent. Secondly, overcoming a lighting challenge presented by the background we’re going to use. Third, the talent needs room for his 50-foot lasso. Let’s start with the background. I always want a simple background to allow the subject to stand out. This case was difficult because there were power lines to the north and to the south, making those directions impossible to shoot at. Much too busy. I only had two choices: looking into the setting sun, or using the sun as a key light. Looking west, the setting sun will be over his shoulder, and wash out the background. I don’t have enough strobe power to light him and darken that sky. Regardless of what I would’ve done that sky would’ve been white. I really want a deep, blue sky. I turn him so the sun will be acting as a key light, and this will allow me to expose for his face, and that will give me the deep blue background that I want. I’m going to need more room for that rope, he’s hitting the tree on the right hand side of the frame. So I’m going to have to turn my camera more towards the house. In doing so, it’s just way too much house, so I’m gonna try to split the difference so I can see a little bit of fence, a little bit of house, and give me a nice one-point perspective as I look between those two. This gives me a simple one-point perspective with the house on one side and the fence on the other. There’s just enough space for the rope, I think it’s gonna work fine.
I’m going to go with a very simple lighting solution here. One FlexFlash as a fill light. Gonna open up the shadows, kinda get us a nice light on his face. That’s gonna be all we’re gonna do. That opens up the shadows very nicely and allows that sun to work as a key light. Let’s look at the camera settings. I’m setting my ISO at 100 because I want as little light as possible. I will shoot at 1/25th of a second so that the rope does not blur too much, but does give it some movement. And then I’m going to go to F9 to give me a correct exposure. I’m shooting on the Tamron 24-70 MM lens at about 35 millimeters. It’s now time to photograph Will doing his roping. He’s a very talented guy. He said he used to drive down the strip in Vegas, sitting in the back of a convertible swinging his 50-foot lasso around the car. It’s pretty fun to watch. The first thing I’m going to do is take my image into RAW, and I’ll be able to process it there. I’m simply going to go in and I’m going to bring the exposure down a little bit, so the light on his face looks correct. I’ll then open up the shadows just a little bit to give us a nicer fill.
I’m going to open up my image in Photoshop. I’m going to my old CS5, because I’ve got that connected to Nik software. I’ll then open up the image by double-clicking on Color Effects Pro. The reason I’m going to do that is I want a nice blue sky, and I’m also going to make the grass just a little warmer. I like the look. I’m going to select the blue from my upper color. A nice blue that I’ve put in the program before and used. So I’ll use that nice, deep blue, has a little bit of purple in it. I’m then I’m going to go to the color that I want for the foreground. As I was experimenting with this, I mixed myself a color that was just a little bit warm, we could add to the grass to give just a little bit of a warmth to the grass in the foreground. I’m now going to go in and I’m going to take this effect off of his face. I’ll put a negative control panel there to be able to take the blue effect off of his face. I’ll do the same on his hand, so his hand’s not blue. And I think I might even do one on his hat, so his hat’s not so blue. Cleans that up a little bit. That’ll take care of his hand and his hat. I’m now ready to say okay, and I’ll quit the image. And there we see the application of the color effect we chose, the bi-color. It’s very strong. So I’m going to go up to my opacity, and I’m going to draw this down to about 47%, maybe somewhere around 50 to 47% just seeing what I like. It gives me a nice background color, nice foreground color, but doesn’t overrun the image. And that’s my final image, I’ll go ahead and output it as a Photoshop document. And I’m going to immediately output it as a JPEG. And have both those versions. I always like to keep the photoshop document just in case I wanna go back and adjust the color or play with it. So there’s the look of our final image. Here are some of the final images.
I’ve learned a lot of things from this assignment. There are always compromises. I wanted a dark blue sky, and a clean white simple background, so I needed to use the sun as a key light. We made it work with a single ISO fill, but not necessarily my favorite lighting setup, but one that worked for what we were doing. You know, what separates a professional photographer from an amateur is making things happen in the time-frame and the situation you’ve been given. It’s a difficult thing to do sometimes, but it was a great assignment. So keep those camera’s rollin’, keep on clickin’.
– Don’t let him lick you, it’s slobbery… – I don’t want him to lick me. – Don’t forget, you can win a Glidecam XR-2000 by going to TheSlantedLens.com, we’ve got three of these we’re giving away. So go to TheSlantedLens.com, win a Glidecam XR-2000. We’re not giving away the Photoflex Speedlight Kit, because the horse snotted on it. Next month. Glidecam XR-2000. The Slanted Lens.