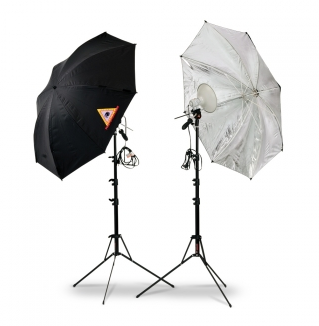
Today on the Slanted Lens, we are going to show you some simple lighting setups for a home or office studio. We are going to use affordable lights that anyone can get for under $300. These are not cowboy lights because I think those are junk and they do not last. Today, we will be using the First Studio Kit from Photoflex that gives you some simple lights with stands and umbrellas that will really give you some nice options for your studio. I set up a white seamless backdrop in my dining room to show you how achievable this setup can be.
Setup #1) One Light Key
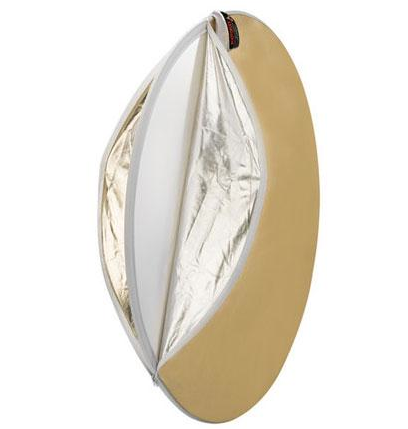
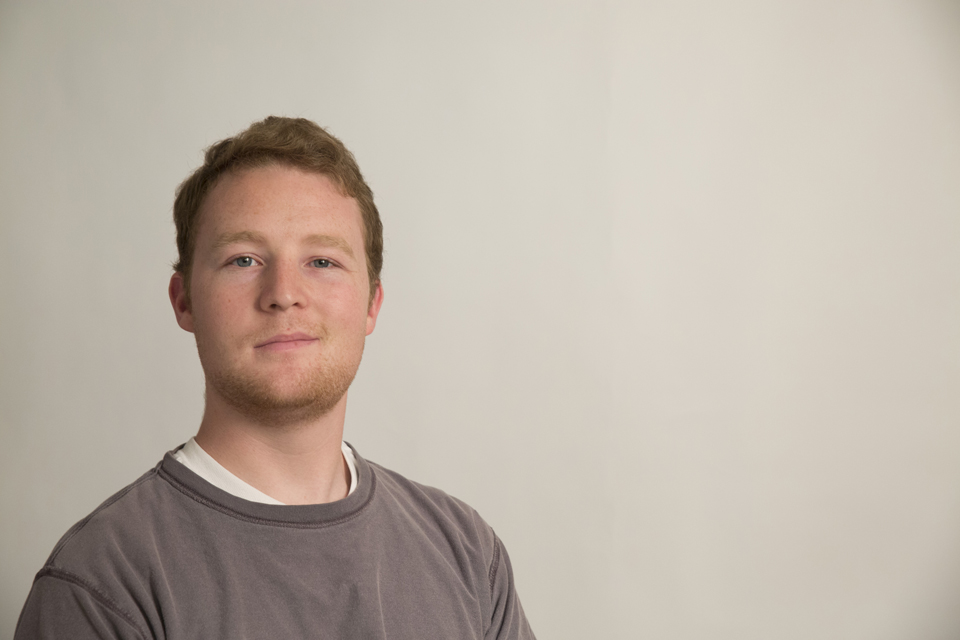
For my first setup, I will use one light with an umbrella as a key light on camera right. You will notice that as you pan the umbrella left and right, you get more or less light on the subject’s face and consequently more or less light on the backdrop. To open up the shadows on the left side of his face, I could bring in a reflector. If you don’t have a reflector, just find something white do bounce that light back in; a bed sheet would work.
Setup #2) Two Light Setup
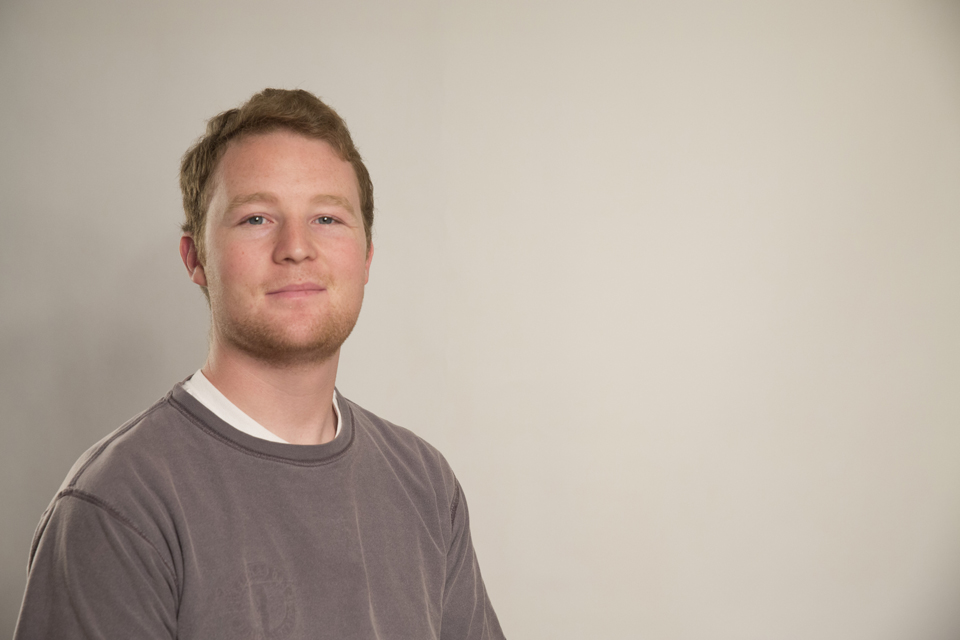
I am going to keep my first light and bring in a second now on camera left to use as a rim light. I will push the umbrella closer to the source to prevent too much light from spilling all over the set and the subject. This rim light will open up the shadows on the side of the subject’s face and works great when you are only trying to light one person.
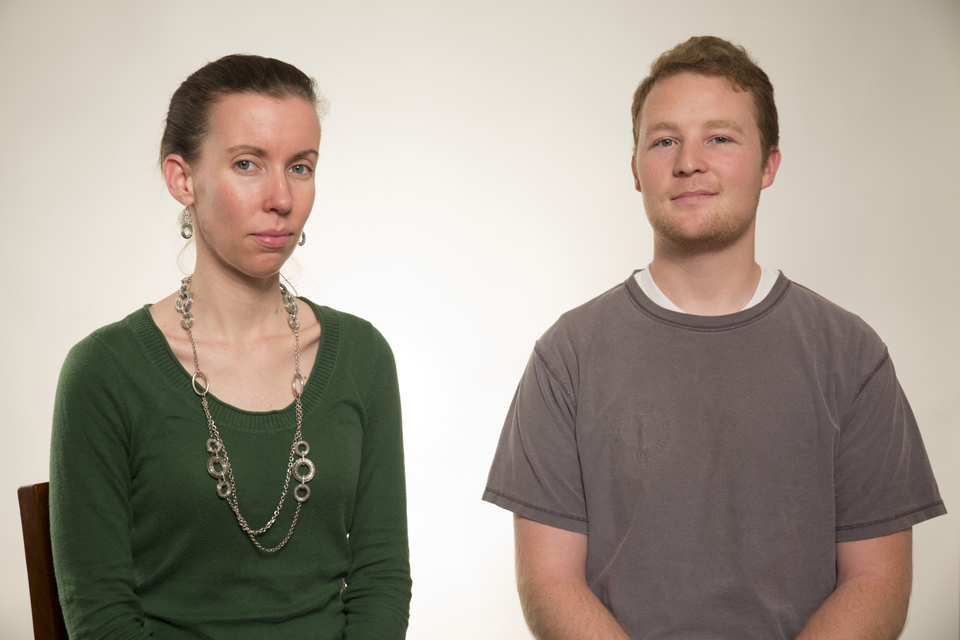
Setup #3) 2 People, 2 Lights
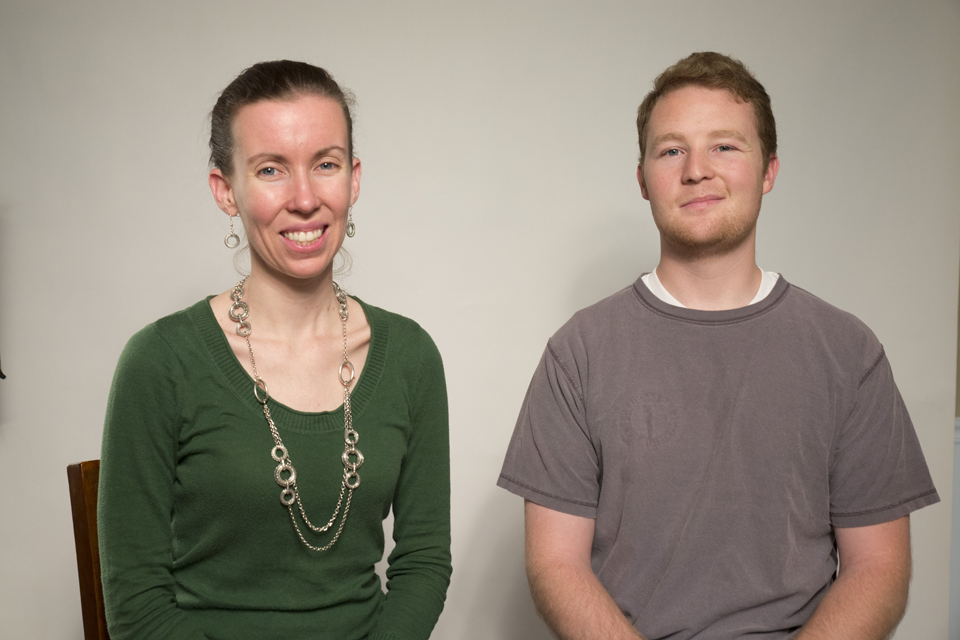
If you have two people doing an interview or posing together, the placement of the lights in setup #2 would cause shadows to fall across the their faces. To prevent this, I am going to move my key light directly in front of the subject, right above my camera. Now both of their faces are bright. I don’t get a lot of light on the background with the key light directly in front because the subjects are closer to the light than the background, but this is still a nice look.
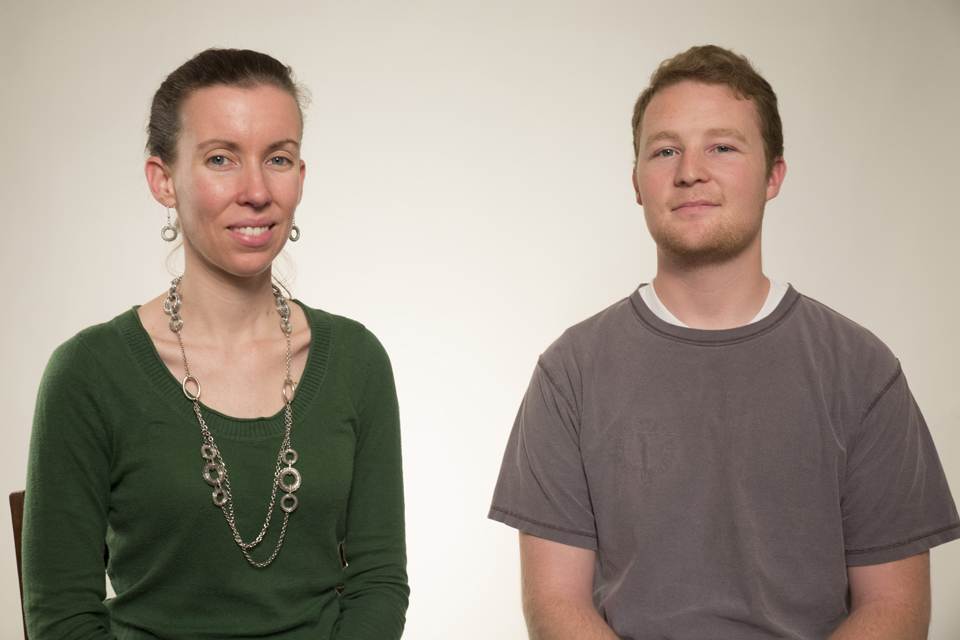
Setup #4) 2 People, 3 Lights
Building on the previous setup, I now want to brighten up the background but keep the same amount of light hitting the subjects’ faces. To do this, I will add a third light low to the ground between my two subjects. I like these First Studio lights because they are small enough that I can put the light pretty close to the subjects and the backdrop and not worry about getting too hot or starting a fire. Because we do not have a lot of room in our home studio, there is not room for an umbrella on this third light so it is pointed directly at the backdrop. Right now, this light is too bright, as you can see in the next image.
If you do not have diffusion or ND to add to the light, parchment paper is a good alternative. Yes, the parchment paper that you use to bake cookies. Since it is made to withstand the heat of an oven, I know that it will not burst in to flames when I put it on the light. Here is our three-light setup with some diffusion on the middle light.
The first four setups are pretty basic for a nice wash of light over the subject(s). You can also get some dramatic looks with just one of these lights that I have here.
Setup #5) Dramatic Lighting
First off, I have a huge source with this big umbrella. I want to get a dramatic look but it is lighting everything! I am going to move Spencer several feet away from the backdrop now, closer to the key light. Now there is more light on his face so when I lower the exposure in the camera, the background becomes darker. I am also going to pan the key light so that only the edge of the reflected light is hitting his face. This gives me a nice Rembrandt look on his face.
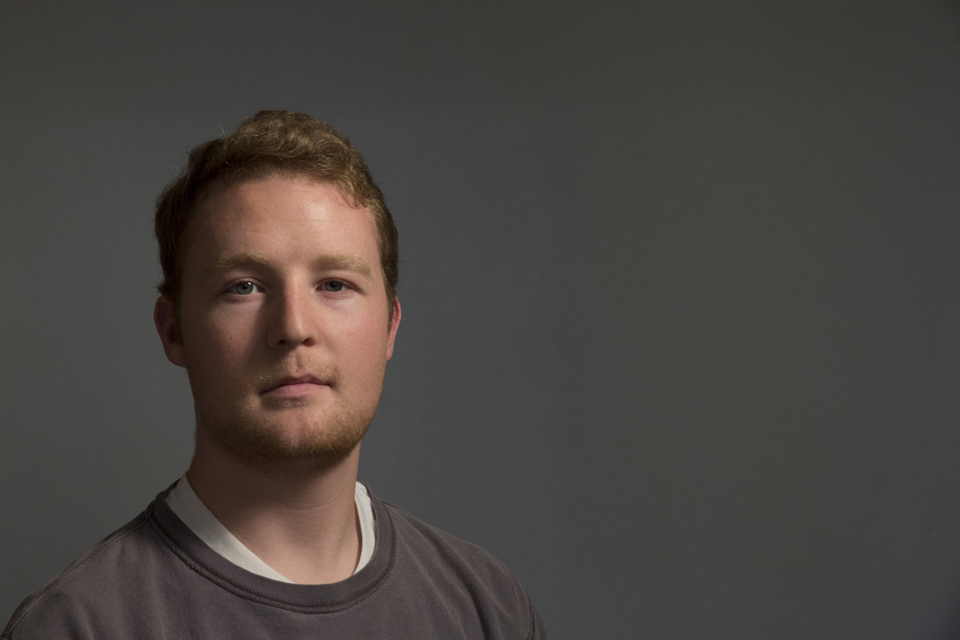
If I want to open up the shadows on the left side of his face more, I can bring my reflector in again.
We are working with really inexpensive lights here but it isn’t about the type or cost of the light that matters as much as how you learn to use and feather them to get the look you want. So there’s some great lighting setups for your home or office studio so keep those cameras rollin’ and keep on clickin’.
Don’t forget to enter our February 2015 giveaway for a chance to win 1 of 4 iSeries 1914-8 Waterproof Cases!