

Download “How to Estimate a Shoot” today! http://bit.ly/1VQTs0C
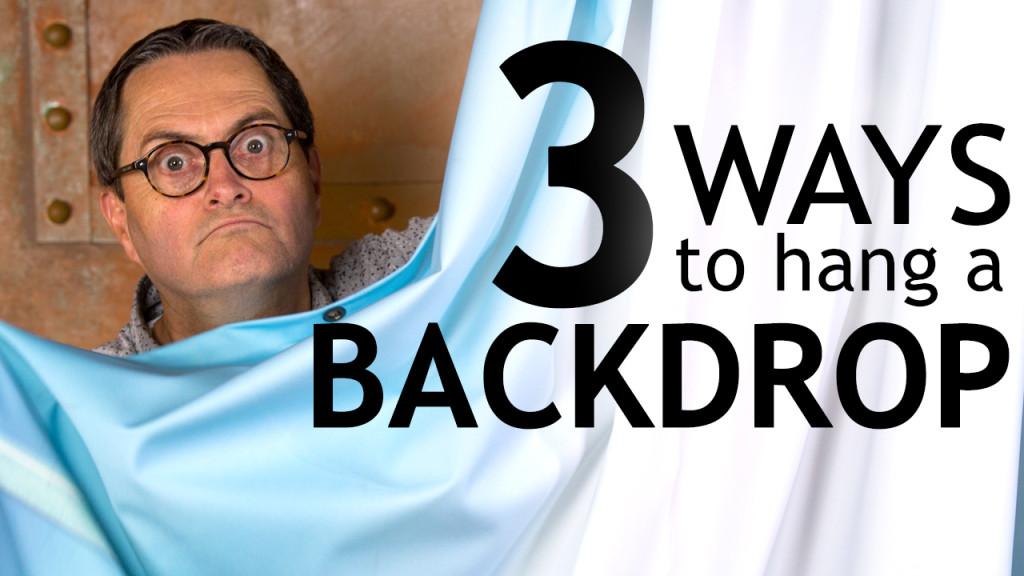
Hi this is Jay P. Morgan. Today on The Slanted Lens I’m going to show you three ways to hang a backdrop: two simple and one more complicated. I’ve shot backdrops my entire career and hanging them up has always been a problem. I started in the beginning with these huge backdrops. Taping them, and clipping them, and clamping. I have a whole closet full of them.
We’ve talked about this first one before in “6 Tips for Setting Up a Home or Office Studio”. http://bit.ly/1kddMhp We just use half-inch plumbing pipe with an elbow and a plate that attaches to the wall or ceiling depending on how you’ll use it. Then you slip the one-inch pipe over the ends and clamp it in place. One inch is my absolute favorite pipe because it’s just strong enough that it’s not going to bow on a ten-foot length, but not so heavy that it’s just a huge old pipe to have to haul around. One listener sent me a picture where he had taken several of these and painted them all black so they looked really cool. He hung them on the wall at different heights. You could put three backdrops up at once. So these are really simple.
For our second option you simply take your one-inch conduit, put it through your backdrop sleeve and attach it to a C-stand on each side. That’s it, you’re all set to go. If your backdrop doesn’t have a sleeve on it you can simply attach it with clamps. Now the expensive part about this setup is that you have to have two c-stands. Well if we don’t have c-stands and we don’t want that expense, we can put these on regular stands. We simply drill a 5/8-inch hole and it will set right on the stands. And the one-inch conduit is strong enough and wide enough to do that.
Now we’ve got this ten-foot piece of pipe that’s too long to carry in our car. So we’re going to cut it to six foot. And then we’re going cut a ten-foot piece of inch and a quarter conduit to six-foot. Now we have two six foot pieces of pipe, which are still pretty long but much easier to carry in a car. You sleeve them together and can make it longer or shorter as needed. You pull them out to ten-feet and there’s enough of an overlap there with that foot that it’s not going to bow. It’s not as wonderful as a single pipe but it certainly transports a lot easier.
For our third solution we needed something that would allow us to get different angles without running out of backdrop. On a recent shoot for the hair product Pura D’or we had a 25-30 foot drop but it still wasn’t enough. So we decided to bend the pipes. We put a one-inch into a one and a quarter inch and I just bent it by hand. I’ve been working out. So now the pipes can’t come apart but there’s a straight piece of this one-inch conduit that sticks out the end. I can put a straight piece of inch and a quarter conduit on. Those two come together. So now I have a straight piece and a curved. We have the sleeved backdrop so we slide it on. To get it up in the air we attached a couple of Cardellini clamps and then hooked c-stand arms to those and hoisted it.
So there you have it- three ways to hang your backdrops from The Slanted Lens. If you have any other topics you’d like to see or questions about the backdrops let me know in the comments, I’d appreciate it.
Thanks for watching and remember, keep those cameras rollin’ and keep on clickin’.