

Join my for my free business coaching call. Don’t miss out; sign up today!

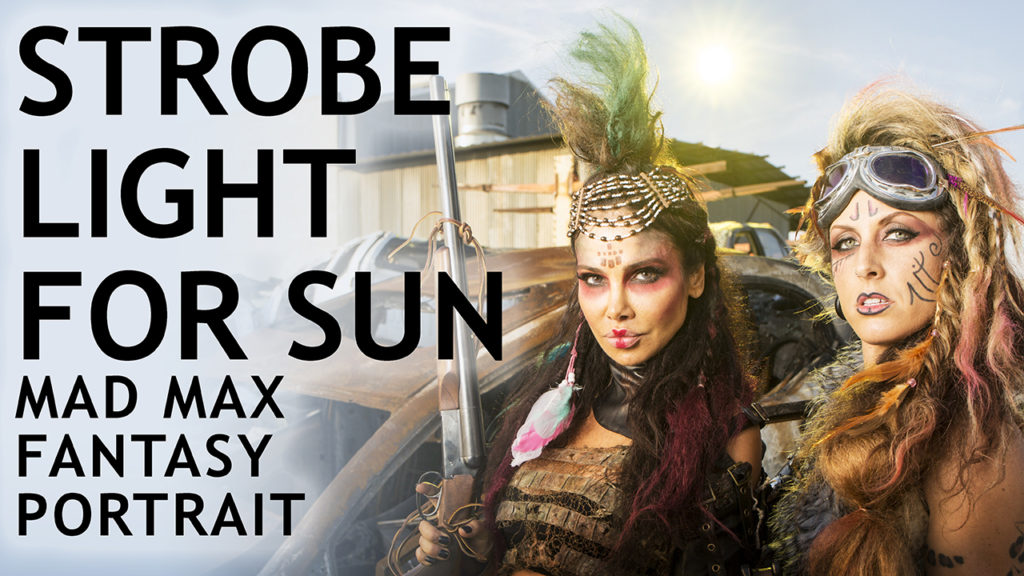
Hi, this is Jay P. Morgan. Today on The Slanted Lens we’ll teach you how to use strobes as a stand in for the sun in a Mad Max Fantasy Portrait. Let’s get started and see what we can do.

For this image I wanted to have burned up cars, flames, smoke, and most importantly, a hot sun beating down, flaring into the camera from the background. It just really seemed like Mad Max to me. Down in Sun Valley, California, which is part of L.A., there’s a car district. I went door to door there and started asking the car salvage companies, “Can I come and photograph with your lot in the background?” Finally found a great guy Alex, over at Valley Motors, in Sun Valley, California. He said, “Sure, you can come and photograph in our back lot. I’ll move cars around for you, I’ll do whatever you need to.” He was great. He brought in his forklift, he moved some burned cars over, put it on top of other cars. He had a great setup and he was really great to work with. Once we got the car into place that really became the foundation of the photograph for me. I’m kind of spatially oriented. I have to see the set and see the location and have it all kind of set for me before I can start to light.
With the cars in place now we are going to start lighting. First off my camera settings are going to be a hundred and twenty fifth of a second at 5.6. I’m using 100 ISO. It’s direct sun outside so we’re going to put a Photoflex 72×39 inch light panel with a translucent cover beside her to knock the sun off from her face and body. In the background we’ve got this car with the hot sun on it. We’re gonna throw up a 12 foot by 12-foot silk on a t-bar. Put that up in the air and take the sun off from that car. So here’s our first image with only the ambient light using our camera settings. As I said at the beginning, I want the sun flaring into the camera. Now I can’t get the sun to be exactly where I want it all day long. You know we’re going to be working here for several hours. So I’m going to use a strobe head. A Dynalite pack, an 800-watt pack, with a travel head on it. I’m gonna use that as my sun. I know I’m going to see the stand, I’ll retouch that out later, it’s not a big deal. When I put a Rosco straw 12 gel on that head it gives a nice yellow warmth from behind. Flaring sun and it looks fabulous.
Take a look at this image with our first light. I now added a Dynalite Baja B6 with a medium Photoflex Octodome as my keylight. That Octodome is big, I want that big soft light. I’m gonna be tilting it up, tilting it to the side. I really use that to kind of paint the scene. Sometimes I don’t want it on the ground, sometimes I don’t want it as much on the background. So I’m tilting, and I’m panning that light constantly to just change the look of the light in the shot. If you really want to learn how to feather light, go to our lesson called Learning How to Feather Softboxes and you’ll understand this a lot better. Just a note. I’m using my Baja B6 with this proprietary 616C trigger, and that trigger does not fire my 800 watt second Dynalite pack in the background. The flex four fires my pack in the background and then my 616 trigger is going to set off the Baja B6. It works flawlessly those two together. It’s really a nice setup.
When I’m shooting out in this kind of situation I love my Spider Holster. I’ve got a handstrap on it. I can shoot, drop it in my holster. Make it really easy to work with. It’s really fabulous in this kind of situation.
The last thing we added was another Photoflex light panel. It’s got a hard white cover on it. I’m going to use that as a reflector on camera right side. We’re gonna push that in and just bounce a little bit of that keylight back in on her face. Just open up the shadows a little bit.
The last thing we did was add a burn bar. This is just a propane tank with a line that goes to a pipe with a bunch of holes drilled in it. I put a Sterno underneath it so as you put propane into the line it always comes on fire immediately. Doesn’t have a flash by propane hanging around on the ground. We actually put this in the car for awhile and then it started the car on fire. But we put it out and we kept on shooting. So here are some of the unretouched images from this first setup.
That first set of images were all shot when the sun was up. We had to put silks up to soften the light on our talent. But when the sun goes down everything’s going to change. And then we’re going to add my favorite thing in the world, smoke.
My shutter’s going to go slower and slower until I get to almost a 15th of a second. When I pass 60th I’ll get it on a tripod. My aperture’s gonna stay at 5.0. The sky’s gonna get dark now but that’s okay. So here’s a few of the images.
The last thing we did was take the Rosco straw 12 off the Dynalite head in the background. This gave us a cleaner color in the background. Made it feel a little less stylized. And we shot away again.
Things went well, it was a fabulous shoot out here. I love being able to mix my Baja B6 with my old Dynalite equipment. And using that Plus4 allows me to do that. It’s just a great setup.
So there you have it. A little fantasy portrait at the junk yard. So keep those cameras rollin’ and keep on clickin’.
-Jay P.