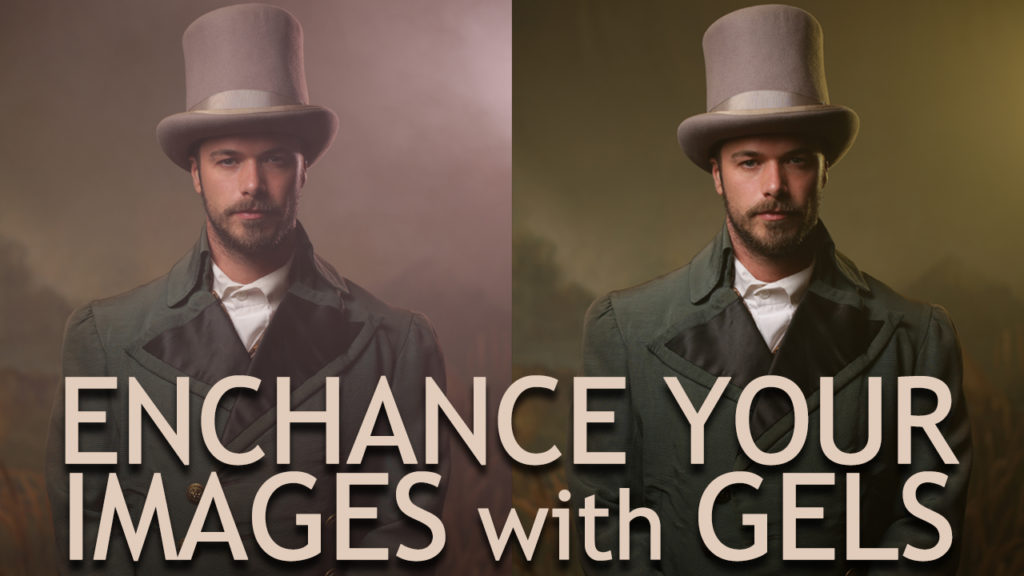
Hi, this is Jay P. Morgan. Today on The Slanted Lens we’ve got a Quick Tip that will help you enhance the look of your images. I use Rosco gels frequently on my shoots. Adding a gel to your rim light gives you the ability to change the look of your images, either subtly or in a big way.
Choosing the Light
I add gels to my rim light because it gives me that added color just where I want it. If I were to add it to the key light, everything on set would turn the color of the gel. That’s great if you’re shooting the next promotion for “My Little Green Martian,” but not so great if you’re just trying to add some extra oomph. I also prefer getting some atmosphere in the air when I’m gelling my images. This helps spread the color and enhances the images very nicely.
Choosing the Gel
When I choose my gels I first figure out what color I want to use. Then I go through and see which of those I like best. It helps to choose a gel that’s within the color palette of the image you’re working on and choose just one or two. If you go through gel after gel you can get carried away. So limiting it will help with the process.
Rosco 12×12 Gels
The Rosco gel size I prefer and use most often is the 12×12. It’s an easy size to carry and throw up on a light. You can hand hold it in front of the light to audition it really quickly. The gels also come in a handy carrying packet, and are numbered so you can easily keep them organized.
Check out the gels we auditioned and let me know which you like best. Do you agree with my decision to go with Industrial Vapor for the final image?
Thanks for watching. I really enjoy using gels when lighting my images. As I said I use them often. When purchasing your own gels from Rosco you’ll help support new content from The Slanted Lens by purchasing using our affiliate links with Amazon and B&H Photo Video. Remember, keep those cameras rollin’ and keep on clickin’!
-Jay P.

