


Hi, this is Jay P. Morgan. Today on The Slanted Lens, we’re starting a series called “The Laws of Light.” These principles were taught to me at Art Center College of Design by Charlie Potts, who was the head of the photo department there. I was taught these principles, I’ve been building on them for 25 years, and I’m now going to pass them on to you. These truly are the laws of light, the things that happen every time you turn on a light. You can’t change them. You can’t make them go away. But you can control them and use them to your advantage.

Light is Your Tool
Remember, in photography and videography, the camera is not your tool. The camera is simply the object that records the light you place in front of it. Without light, the camera can’t work. So, our tool as photographers, as videographers, is light.
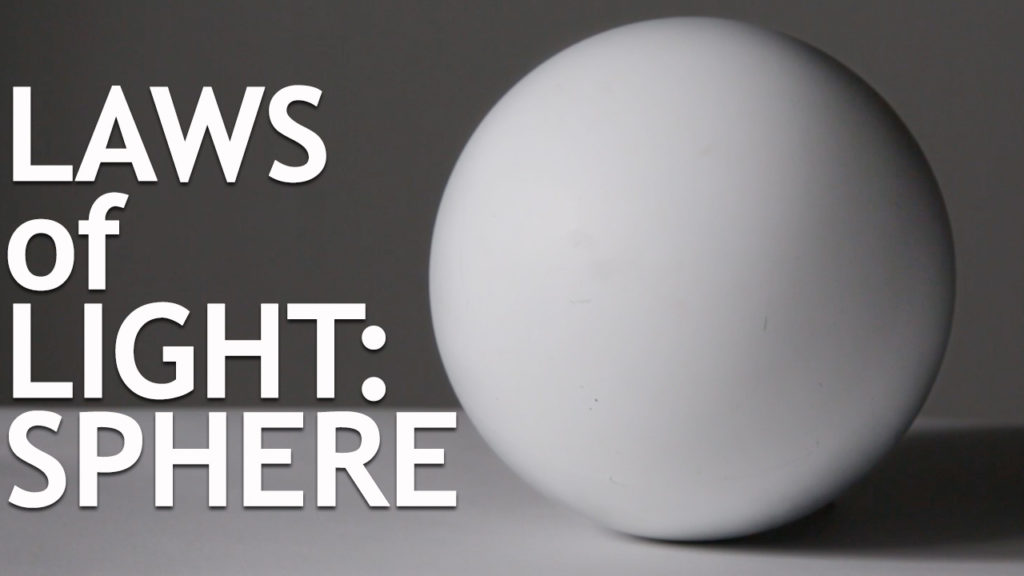
Every time you light something, you have to decide where to set the light. So let’s talk about angle of light. If I take a light and set it at camera angle, zero to camera, and turn it on, I get a very flat subject. There is no dimension to the object. We’ve got a sphere here that becomes a round circle without dimension. It’s just a white, round circle. To create dimension, all I have to do is to move this light off from camera axis.
As I move the light away from camera angle now, we’ve gone from zero to about 60 degrees. Every time we turn on a light, five things happen. When I put the light at camera angle directly at the subject, the five things happen but they happen away from the camera. The camera can’t see them. But when I move the light around into a nicer angle and turn it on, the five things happen where the camera can record them. So let’s talk about those five things.
Creating Dimension with Light
First, we have a highlight side. Second, we have an incident highlight. Next we have a core, which is a transitional area from the highlight to our number four, the shadow side, and last we have a cast shadow. Those are the five things happening when you light an object.
Our highlight is simply that, the area that is lit by our light. The incident highlight is the angle of our light off the subject and the incident angle to the camera. The core is the light’s transition from bright to dark, or highlight to shadow. It’s the area where the transition starts to happen. Then we have the shadow side after the transition has completed itself, and finally the drop shadow is the shadow that drops onto the surface around the object.
Those five things happen every single time you turn on a light. You can’t avoid them. But what you can do is use them to your advantage. You can put the core where you’d like it to be. You can change its position. As you move your light source, you change where and how each of these five things is used.
So these five things create dimension. The ball that was absolutely flat when the light was right at the camera, now has great dimension and looks circular when the light is moved away from the camera. Photography is a two-dimensional experience in a three-dimensional world. A sphere is a three-dimensional object. But if it’s lit incorrectly, it looks one dimensional. If it’s lit correctly, it has a three-dimensional quality even though we’re looking at it in a two-dimensional experience.
Types of Light
So now, looking at these five things that happen every time, let’s look at them in context of different qualities of light. A strong, pinpoint light that is from a single, small source is going to have a harder core and a sharp fall-off from highlight to shadow because it’s very directional. The stronger and more pinpoint the source is, the quicker it will fall off to shadow.
Now with a more diffused light we have the same wonderful five things that are happening, but they’re happening in a different way. We still have a highlight, we still have an incident highlight, we have a core, but the core becomes very soft. As that highlight wraps around into the shadow side it’s very soft. It’s got a bleed around it on both sides. So all those five things are happening but in a much softer way. The softer and the larger a source, the slower it will transition from bright to dark.
There are subjects that love both of these types of light. People used to say, “Cars could only be shot in that end-of-the-day, beautiful light”. And then photographers went out and said, “Look, I’m gonna shoot cars in direct sun and they look beautiful.” That sheet metal responds to direct sun if it’s shot correctly. So you can do some really interesting things with hard directional light and there are some subjects that just cry for it, they want it. And there’s others that need softer light. And so you have to make a decision as a photographer, “What do I want to communicate about my subject and what type of light am I going to use”?
Creating Different Qualities of Light
So, let’s talk about what creates different qualities of light. A hard, pinpoint source of light comes from a bulb, something very small and concentrated. The sun is so far away that it’s a small source of light. A soft light, on the other hand, comes from a large source. You can get a beautiful, soft light using softboxes. It really is one of the go-to light for people. Put up a softbox and you get a beautiful soft transition from highlight into shadows.
You can use some kind of reflector to help create a softer light. Light can’t look around corners, but a bigger source allows light to spill around. A pinpoint source can only see from one spot. A larger source allows you to see around and softens the light on the person’s face or on a sphere. So there are different ways to create that light. Bouncing, reflecting and soft, or pinpoint, directional, and hard- aimed straight at the source.
Creating Separation
So we’ve used a single light to create dimension using our highlight, incident highlight, core, shadow, and drop shadow. But now we may want to create separation from the background. Using the same light, we can pan it onto the background and we’ve now created separation with our light. We have a highlight side, which is separated from the shadow side of the background. We have a shadow side that’s separated from the highlight side of the background.
With that single light, we’ve created dimension in our subject matter, it no longer looks flat, it looks round. And we’ve created separation from our background so that it no longer sits in a one-dimensional experience, but has become more three dimensional because it’s separated from the background. So light creates separation.
We could also easily do this by adding a second light onto the background. Adding a second light gives us the option to create separation not just by value but also by color. We could change the color of that background light. That would create separation as well.
We can also create separation by putting a rim on our subject matter. We still have our three-dimensional experience here but we’ve got what I call a “crossover core.” You’ve got your core here but now you also have a core from the rim rolling in from the back that crosses over again. It’s really important that you put that light in the right place for that to work. I think on a sphere it becomes too complicated. It’s better to have that simple highlight to shadow. But on people’s faces that rim light can look very nice as you get rim in the hair, in an area that you want to give a little rim light to separate from the background. So that’s a way to separate as well.
Light to Shadow Ratio
Now, we’ve got great separation and we may decide we want the shadow side of our subject matter to be a little brighter. All we have to do is bring in a fill card and we get to decide now how much, what’s the ratio we want? A one to two ratio, that means a one-stop difference. A one to three ratio, which is three stops. The closer we get the fill card in, the brighter our shadow becomes, even almost to the point of filling it in completely. But as we pull it back out, the ratio becomes stronger again. So we get to decide how we want to communicate with that shadow side of our subject matter, and how much fill we want to have in there.
The easiest way for us to fill in the shadow side of our subject matter is with a bounce fill. It takes the light that’s already coming in and puts a portion of it back onto the subject matter. When we add a second light here, we add a second core. That’s going to cause problems for us here on the sphere. So we don’t want to create a second light and add a second light source. It’s just easier to use a simple reflector.
So that becomes almost a go-to or a simple setup for a photographer, for a videographer. You’ve got a key light. You’ve got your shadow, and your highlight, and your core. Then you add a reflector on that one light back in that creates the ratio that you like. And then a simple light on the background that creates separation for you. You can get away with this as you turn it and as a single light doing both of those things. But it gives you two different ways to work with a one or a two-light setup.
Examples of Lighting a Sphere


So there are the laws of light as they relate to a sphere. You know, everything in the world is either a sphere, a cube, or a cylinder shape. In our next lesson, we’re going to look at a cube and how that relates to the laws of light. Eventually, when we understand all three of these, there isn’t anything that we can’t light.
Keep those cameras rollin’, keep on clickin’.
