

Hi this is Jay P. Morgan. Today on The Slanted Lens we’re going to talk about using shutter speed to create motion in time-lapse, with the help of the Genie and Genie Mini from Syrp. We headed down to Hollywood to shoot footage of people walking along the sidewalk. We kept our ISO, aperture and intervals relatively the same, and changed the shutter speed to produce different looks in our time-lapse footage.
Before you watch the lesson, sign up for the free call-in for my business coaching class on March 3rd at 5pm PT.

We’re down here in Hollywood to look at how shutter speed effects time-lapse. We came to a place where there’s lots of people walking around. That’s gonna give us a good background for the time-lapse.
We started out with a short shutter speed at a 60th of a second. At this speed people are going to look more staccato in the time-lapse. As you lengthen the shutter speed they’re going to start to blur. You get this poetic kind of motion in the image. And you can get it almost so long, two seconds or four seconds, that eventually the people almost disappear. They’re just little wisps of color in the shot. That can look beautiful. It gives you the option of setting someone in place and when they’re standing still, everyone’s blurring around them. It has a nice look.
There are four things that control time-lapse: ISO, shutter speed, aperture, and interval. So today we’re keeping our ISO, aperture and interval almost the same, and we’re experimenting with shutter speed to see how that creates motion in the time-lapse. I needed to use a Neutral Density filter to get the exposure dark enough to where I could lengthen the shutter speed. If you’re shooting on a bright day like we were, you’re not going to be able to get those longer shutter speeds and more blurred images without overexposing your image. So using an ND filter will help with that.
We set up two cameras, each with a 24-70mm lens set at 24. One camera was setup with a Genie and the other had a Genie Mini. We were running both at the same time because we wanted to be able to see two different shutter speeds taken of the same footage so we’d have a nice comparison. We’re shooting at 24mm because we want people to be up front and close to us. So that wide lens gives us the ability to get the people up close, and allows us to be right in the crowd. We set up just a small little movement with the Genies, about 20 degrees.
So we started at a 60th of a second, and then moved to a 25th. Now the people moving through the frame are starting to blur a bit. We’ll lengthen the shutter speed to a 15th of a second. Now there’s much more blur but you can still tell who the people are. With half a second shutter speed we increase that motion even more. I love the one second shutter speed time-lapse, that was my favorite. With two seconds the people start to become just wisps of color.
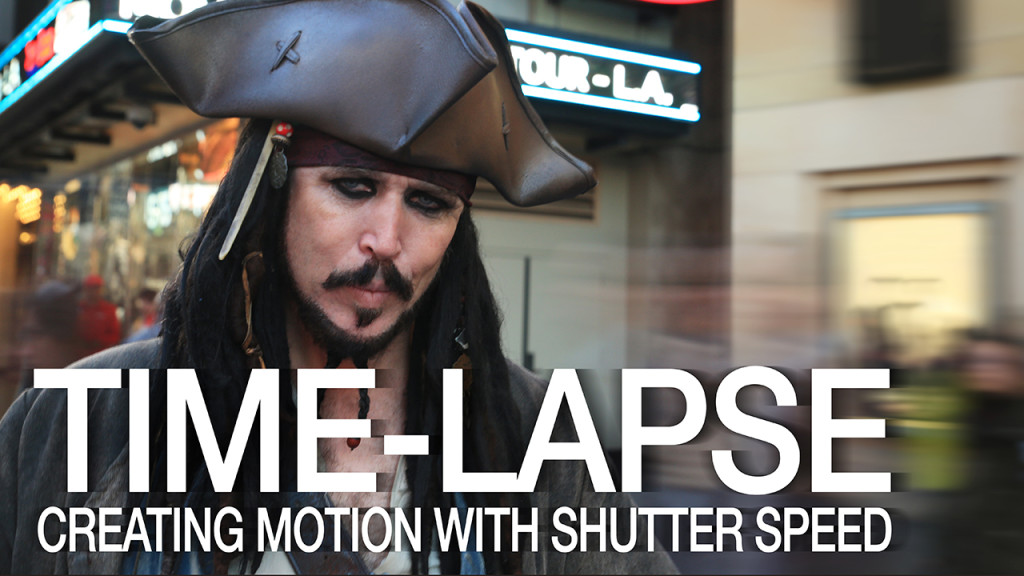
We stuck our Johnny in at one second shutter speed and had let the people just walk around him. It created a great effect, lots of motion.
The Sryp equipment really makes time-lapse so simple, they’re very easy to use. You can even put the Genie Mini on their slider to increase movement. You can control the Mini with an app on your smartphone, previewing the movement. I always put it on live view so I can preview it, and set it to manual focus. That’s very important. You don’t want your camera trying to autofocus as it’s moving. That would not be good.
Remember, you can use those ND filters to get the shutter speed you need to create the type of motion you want in your time-lapse photography. I hope you enjoyed this lesson as much as I did, and learned something new.
Keep those cameras rollin’ and keep on clickin’
-Jay P.