

![]()
Today on The Slanted Lens we’re showing you how to light and shoot do 360 degree photography! Don’t miss out!
Setting up Your Shot
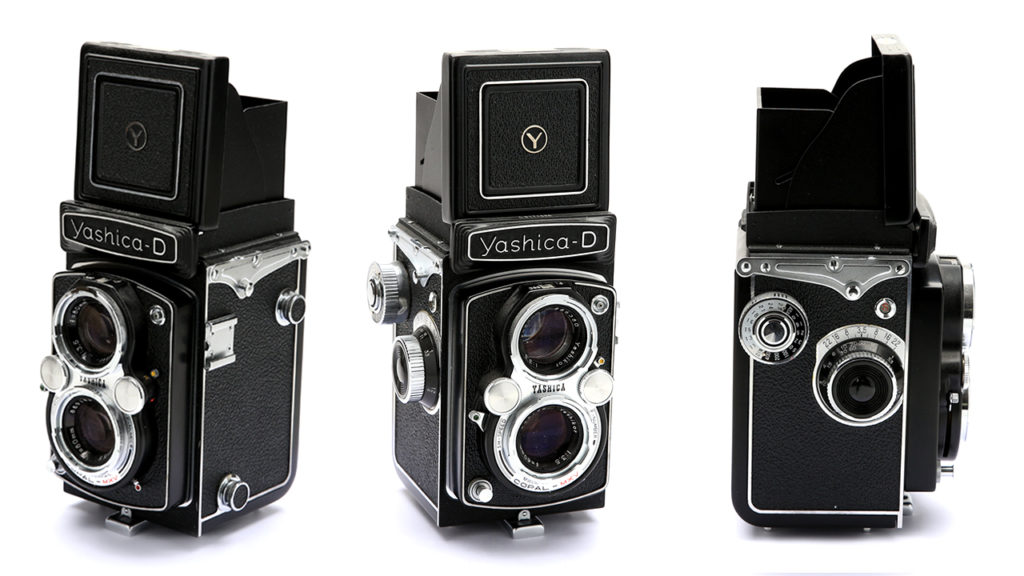
The easiest and simplest way I have found to create excellent product photography is to start with a product table. This table will allow you to rotate the product without having to move it every single time you want a different shot. I prefer using the Syrp Genie Mini and it’s product table for these types of projects. It makes my life infinitely easier! Syrp gives you the option of using either a black or white table, which makes it possible to photograph on just about any background.
You can then use your smart phone to control how many photos you take of the product! The app allows you to control how long the table stops for a shot. You can adjust it according to your needs.
Shooting Stills Over Video
There are a few advantages to shooting stills over video, the first being that it allows you to manipulate your shot more than you would with video. The second is that you are going to get a lot more detail in your product photography using stills than you will if you simply shot a video. Shooting stills allows you to see all the detail and textures on a product. It brings the product to life!

Lighting Your Product
In lighting this shoot, I first laid out a white, roll out backdrop. I then brought in a softbox directly above and slightly back from the product. This softbox lights the background and adds a fill light to the shot. The last thing I do is add in a key light to highlight the product and brighten the light on one side of the product. This will add definition to the shot and give you an even better look at the product.
Don’t forget to join The Slanted Lens Community Group on Facebook and post your work! Let us know what you’ve been up to!
Keep those cameras rollin’ and keep on clickin’!
-Jay P.