

![]()

Lighting a room is a lot easier said than done! Today on the Laws of Light we are demonstrating how to properly setup your lights so that your shots look spectacular.

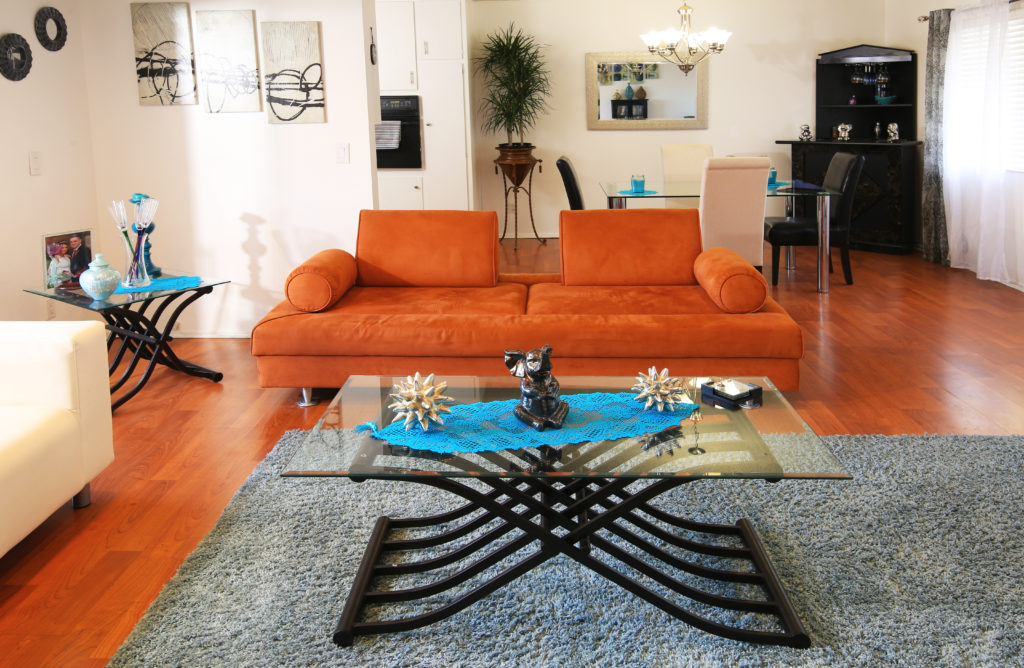
Lighting the Inside of a Room
Most rooms have a window. We most definitely need to figure out how we are going to use that window before we do anything else. You can either tape something over the window or you can use it as a key light. If the window is positioned directly behind the camera, however, you do not want to use it as your key light. That is just about the flattest, most boring light you could use.
Positioning Your Camera
However, as I move the camera off from axis, I change the incident angle and the walls start to show a much nicer degree of separation from each other. If you leave the camera directly in front of a window, you are going to end up with a very ‘Wes Anderson’ look. The room will look much smaller than it actually is. I personally don’t worry about squaring the camera anymore as it can all be done easily in Photoshop.

The next decision to make is at what height to setup your camera. If the room you are shooting has especially high ceilings that you want to accentuate, place your camera a little lower. If the ceilings aren’t the best feature in the room, perhaps highlighting the floors is a good move. Position the camera higher to achieve this angle.
Positioning Your Light
You can also manipulate the separation of your walls based on where you position your light. If you move it farther away from the camera and point it toward one of the far walls, you find an even larger difference in color between the walls. The higher you position your light, the more contrast you will see between the floor and the walls. The lower your light, the brighter and flatter the floor will become. This makes the dimension between the walls and the ceiling become much darker.
So remember that where you place your light in the room has a strong effect on how the room develops different dimensions on each of the walls. If you position the light off axis, like you would with a portrait, you will find much better definition. You don’t however, need to keep the light within a 45 degree angle of the camera. Get creative and position it where it looks best!
3 Points to Remember
- Don’t place the window directly behind you!
- If you add a light to the room, the height of that light affects which point in the room is given dimension.
- The height of your camera determines whether you accentuate the floor or the ceiling in your shot.
Stay tuned for more about architectural photography!
Keep those cameras rollin’ and keep on clickin’!
-Jay P.