


Get a The Great Courses Plus Membership free trial here.
Today on the fourth in our Laws of Light series, it’s time to combine three objects together and light them separately, all at the same time. Before you watch this you’ll want to check out each object on it’s own. Click here for the Sphere, Cube, and Cylinder Laws of Light. And after you’re done with this one, continue on to quality of light here, where we look at it on our model, Loree.

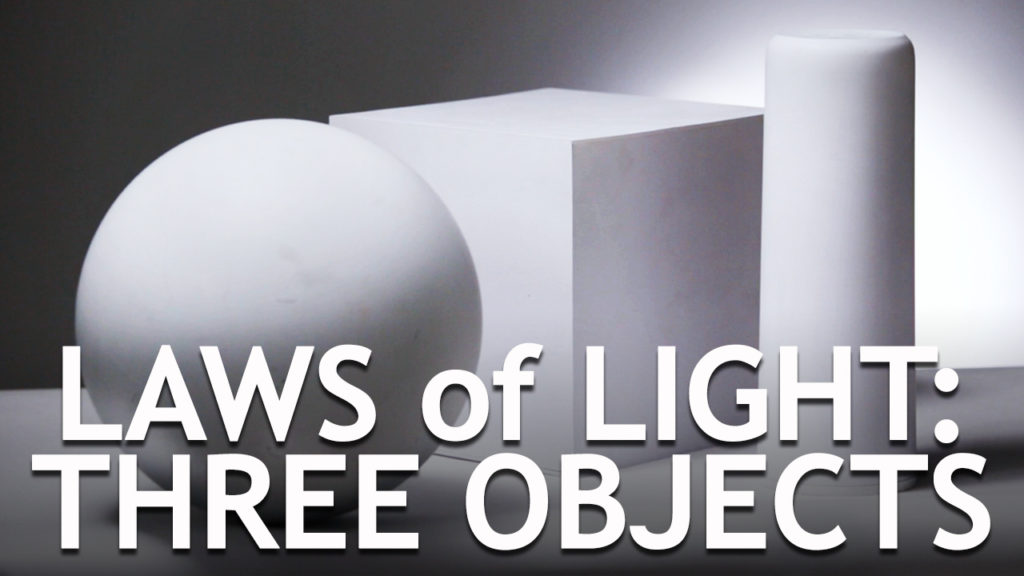
Hi, this is Jay P. Morgan. Welcome to the fourth in our Laws of Light series, photographing a ball, cube, and a cylinder. We’re going to bring these three objects together to help us to understand how to photograph them all at one time. Any scene with an object is going to have one, two, or three of these shapes in it. So let’s take a quick look at all of the things we’ve learned about camera angle, quality of light, dimension, and separation, using three objects.
First, we have to place these objects on the table. We’ve got a highlight side and a shadow side. I place the square so that the highlight side of the square gives me relief on the shadow side of my sphere. I place my cylinder so the shadow side of the cube gives relief to the highlight side and separation to the cylinder. And then on the camera right side we add a light on the background that gives us separation for the shadow side of our cylinder. So each of the objects is giving separation and dimension to the one next to it.
And what happens when we lower the light? Two things. The highlight on top of the cube gets darker, and the shadow moves up the side of the cube. It’s okay to have cast shadows, they create dimension. If it’s really bothering me, I can physically separate the objects a bit more.
But sometimes the cast shadow allows the viewer to see the relation of the objects to each other. I’m okay moving my cube in and having a little bit of that shadow because I like the cast shadows. I think it gives them a nice dimension with one another. We now can take little pieces of tin foil, little pieces of white silver card, and put them in the areas that are dead to camera, where you can’t see them, and they will reflect light back onto the objects. Fill lights can be small; they don’t have to come from a big source. Little pieces of silver and fill can create some interesting highlights back in there. So you can start to fill in the shadows in the image.
That’s an important principle to understand when you’re doing product photography. A broad source fill will open up everything on set. But when you’re doing product photography, you’re going to want to use small mirrors, and small little pieces of reflective material open up different areas. It makes it more interesting, and not just broadly over lit and filled.
We’re looking at this with a very directional, point source light. The same thing is going to happen for us when we go to a softer diffused source.
In this diffused light the transitions are a lot softer, a lot smoother. You see the highlight transition into shadow. Our highlights are not as bright. Our shadows are not as harsh. Everything is just a little softer. It’s a very pretty light.
If we take this light and move it overhead, we now have light coming from top to bottom. We’ve lost most of our cast shadow. There’s a little bit but not very much. So we can get rid of a lot of those cast shadows when we go overhead. It’s a pretty light, a different direction of light. But it allows you to place your objects a little closer to one another.
If I take this light around behind the objects it creates wonderful shadows that fall forward. We get nice highlights on top. It’s not going to help our cylinder out as much as if we just bring the light a little bit to the side. Our cylinder starts to have some wrapping from right to left. Our sphere wraps from top to bottom, our cube wraps side to side. It gives a little bit of dimension there. So placing the light will really depend on the height and size of each of the subjects.
Let’s look at some images that capture combining a ball, a cube and a cylinder.
So there you have a look at a ball, a cube and a cylinder. How to light them together, how to separate them from one another, and how to separate them from the background. These are the objects you will face in life when you photograph, when you light, when you shoot video. This is very much a building process. It’s helping you to see that there are different objects in every image, and how to get each of their surfaces to look correct. Next time we’re going to take a look at the principles that you’ve just learned, and start applying them to real objects- people and places.
Until next time, keep those cameras rollin’ and keep on clickin’.