

5 Things I Do to Get My Equipment Ready for the New Year


Click here to watch the video!
Now that we’re over the holiday hump, it’s time to get back to work! We can’t do any work if our equipment isn’t properly cared for. I’m going to show you the five things that I do every year to make sure my equipment is clean, organized, and ready for action!
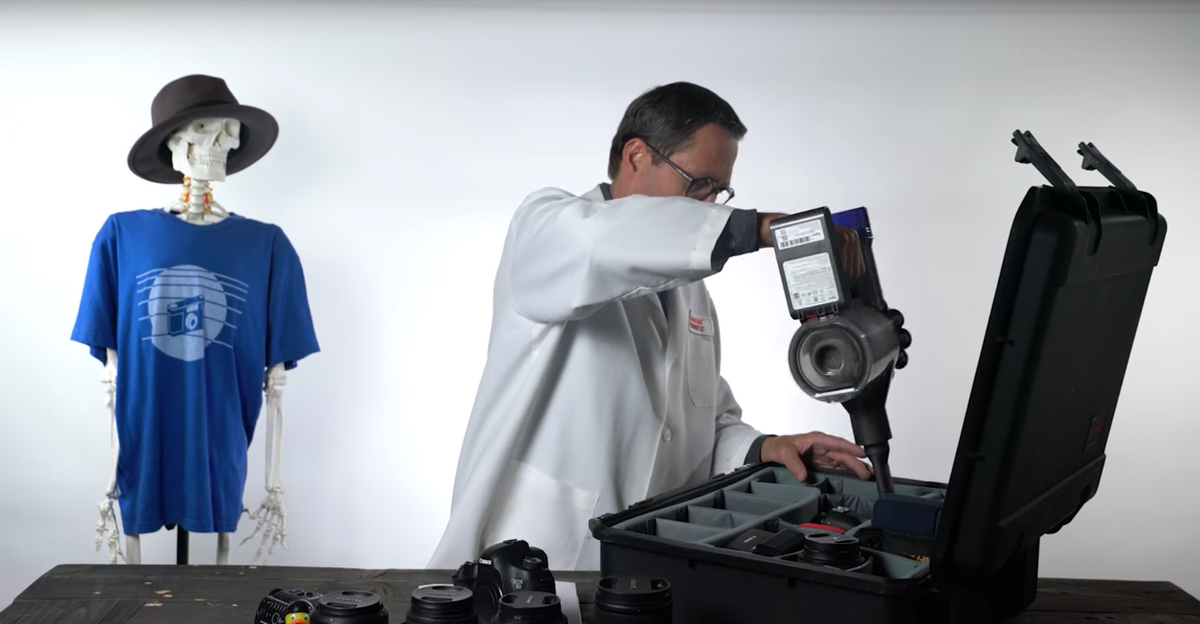
Step 1: Take EVERYTHING Out of Your Case
You can’t imagine the type of crud that gets in the bottom of your case after a year of neglect. So what I like to do is take everything out and vacuum the inside. Get all the corners and the deep crevices.
Step 2: Check Your Equipment to Make Sure It’s in Good Condition
Stuff gets banged up when you’re going from place to place! Sometimes things can’t be helped. But I like to take this time to spot-check that all my equipment is in good working order. All the lenses don’t have scratches or dings. The focus rings work. All my accessories are still working and not bent or unusable. If I find anything that needs to be replaced, I’ll write it down so I remember to order more. If a lens or other piece of equipment needs to be serviced, I’ll write that down too and make sure to take care of it as soon as possible.
While cleaning out my case, I noticed I’ve been carrying around a broken Manfrotto quick release plate. It doesn’t have the rubber ends on it! That means I either have to get more rubber, or buy a new quick release plate. Either way, it doesn’t belong in my case!
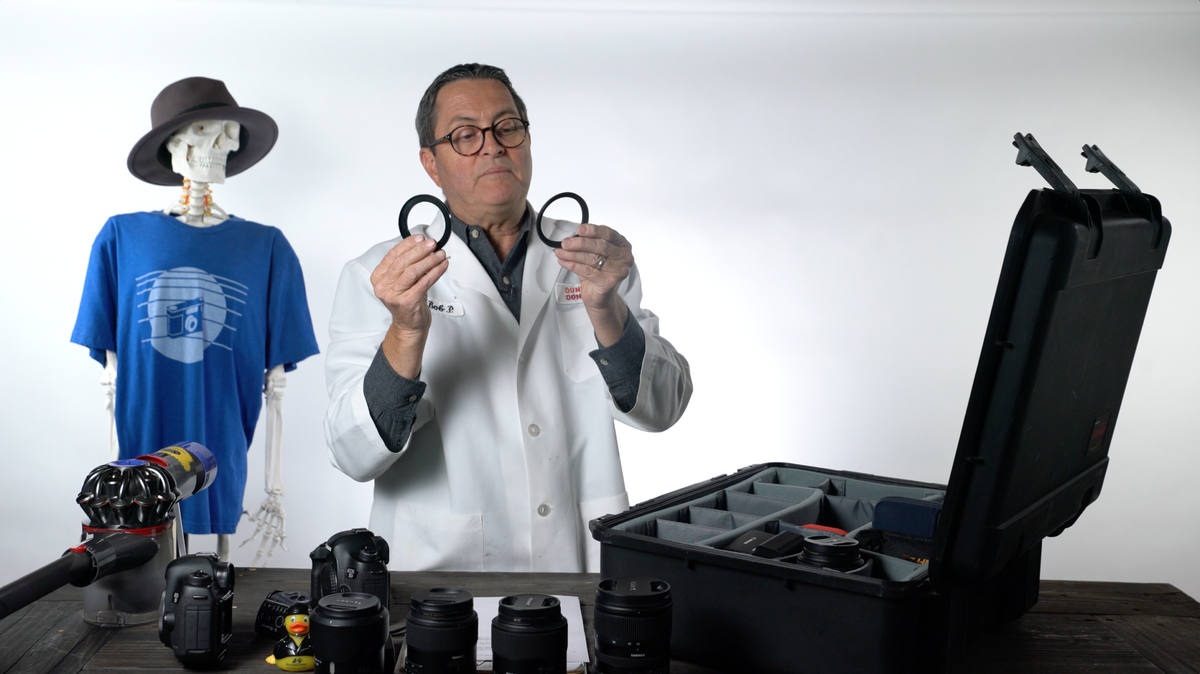
These two step down rings are bent! I can’t use that!! So I set it off to the side and make a note that I need to order more.
Side Note: I always make sure that I have some inserts in my case that go from 1/4″ 20 to 3/8″ 16 Male Threaded Screw Adaptor in my case. I also make sure that I have extra camera mounting screws so just in case one of them gets lost or I want to screw two of them to one camera, I can do so.
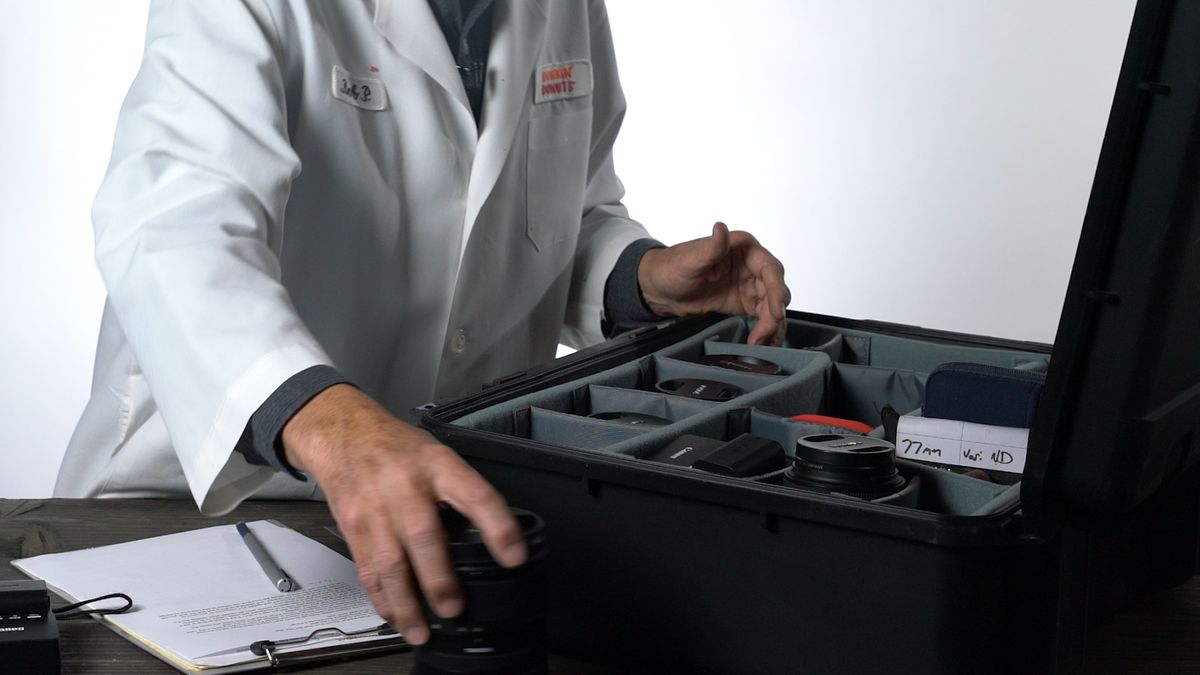
Step 3: Decide What Equipment You are Keeping and What You Are Selling
Now that everything is out of your case, you have a pretty good picture of the equipment you’ve been lugging around for a whole year. Have you used everything that’s in your case to justify it being in your case? Sometimes we need to let things go and sell equipment that isn’t useful anymore.
So take this time to make a decision: do I want to keep this? Or sell it?
Now that you’ve figured that out, you can put all of your equipment back in the case in whatever order works for you. For me, I like to keep my lenses in numerical order. So I’ll put my 24mm, then 35mm, 45mm, 85mm, and 90mm in that order. So I know exactly where everything is and I can quickly grab something from my case when I’m on set.
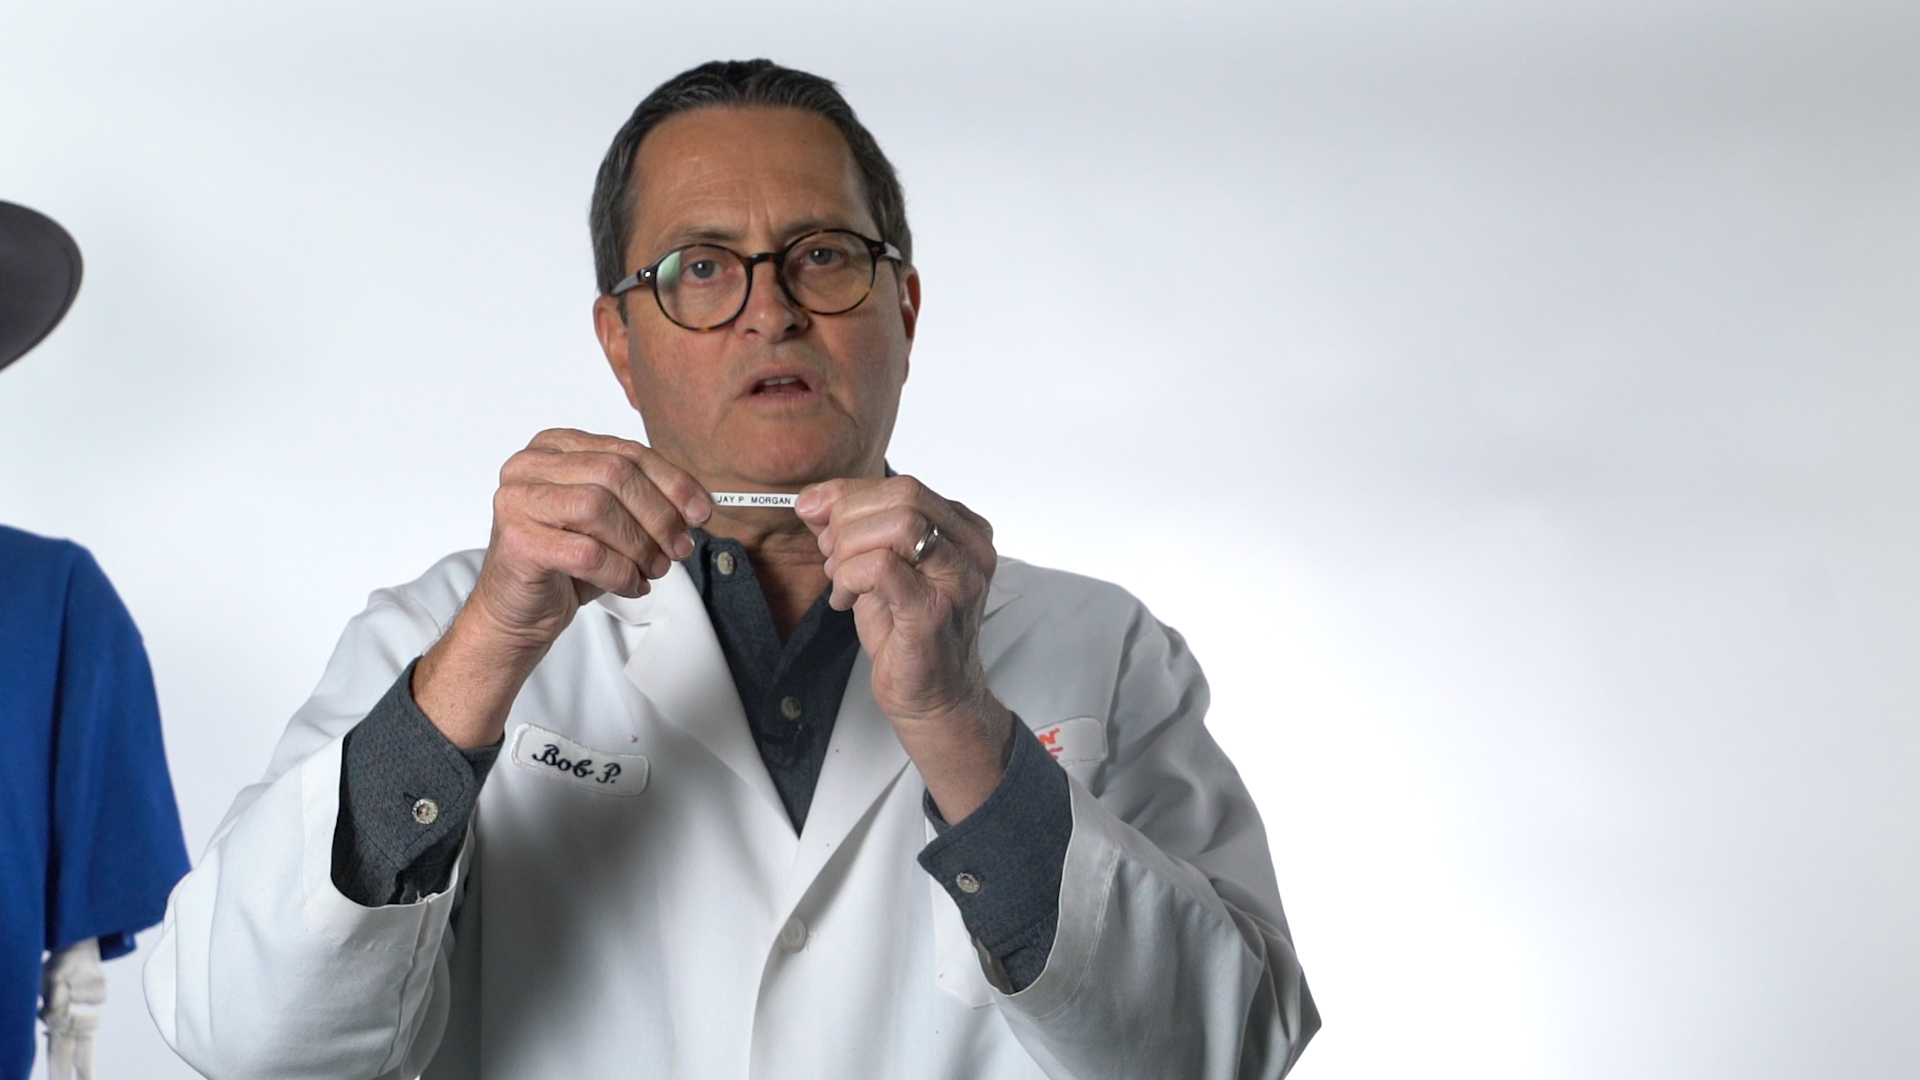
Step 4: Label EVERYTHING!
This step is important. Make sure you go through all of your equipment and see if there is a label on it. If not, PUT ONE ON! I’ve been on set multiple times where me and another shooter have the same equipment. Labels will help you differentiate what is yours and what is not.
The label should have your contact information on it, NAME, PHONE NUMBER, and EMAIL so that your equipment can be returned to you.
For this process, I use a small label maker, which you can get here.
You can also get custom labels printed that have this information on them so you can just grab and stick! I put them on everything! Lenses, cables, batteries…these small things are what seem to disappear from my case most often.
Last but not least, I also label everything that I own with a YELLOW tape. The color doesn’t matter so much, but I chose yellow because it’s different than all the other colors that people I work with use. If the equipment rental house uses red, use blue! It just has to be a color that is recognizable and unique.
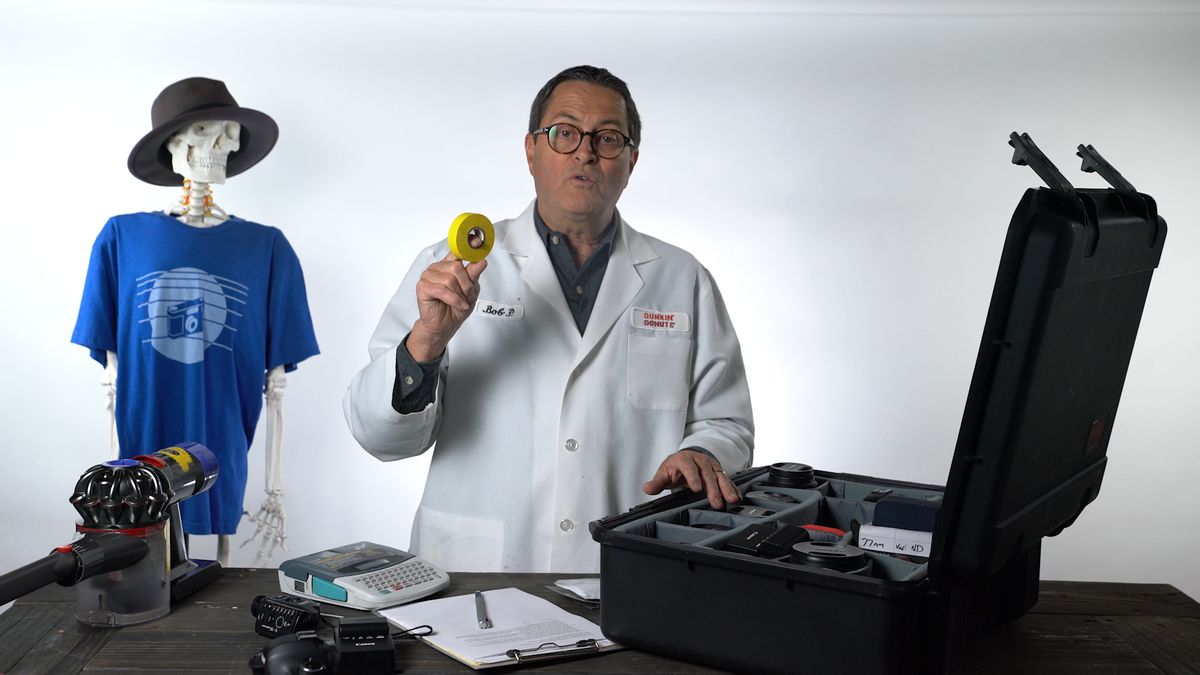
The yellow tape helps when I’ve got a bunch of my C-stands with other people’s C-stands. So I can grab them and go. It just makes my life a whole lot easier.
MORE LABELS
I use this list which has all of my cases and what’s in them. I print out a master copy and use it as a reference while I go and check to make sure all the equipment that’s supposed to be in each case is there! I have over 70 cases that I check – you might have more or less. Just follow this same procedure and you’ll do just fine.
When looking in the case, make sure all the equipment is there! Make sure it’s in good condition. If you need to order more parts, replacements, or have items serviced, make sure you take care of all of that stuff.
After that, you can go through your list and see if you can consolidate cases or if you need to add another case because you got a new toy. Like the Phantom 4 Pro that I got for Christmas. Still have to add that to the case list…
Not only is this list great for organization, it also helps when I’m trying to get ready for a shoot. Since I know exactly what’s in each case, I can just pick out the cases I need for a shoot, rather than digging around and guessing where I put something in my over 70 case collection!
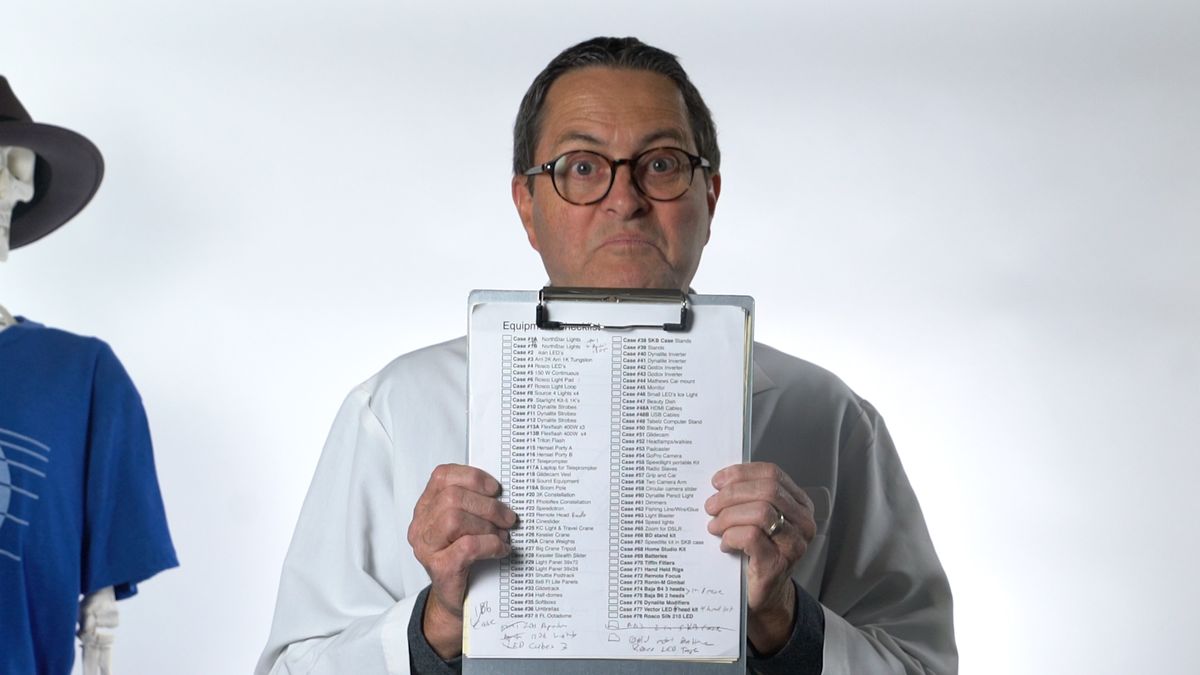
So for example, if I need audio equipment and some light stands, I know that those are in case 5 and 30, so I just go looking for those cases and put it in the truck. Easy!
Step 5: Update Your Equipment List and Insurance
Don’t pay insurance for equipment you don’t own anymore! Remember back in step 3 when we talked about putting aside equipment that you don’t want to keep? This is where that step comes back.
If you’re selling your Canon 5D, there’s no reason why you need to pay insurance for it. Alternatively, if you recently bought new equipment that wasn’t on your insurance last year, IT’S TIME TO PUT IT ON YOUR INSURANCE. Nothing is worse than having your brand new gear get smashed to pieces that wasn’t insured because you forgot to do this simple step in the beginning.
If you don’t have insurance, you can check out your home owner’s insurance and renter’s insurance for some options. Tom Pickard is also a good option. There are several insurance companies out there, so just do a search and find the one that works for you.
We’ll be doing a video later in the year breaking down all the different insurances out there and choosing one that fits your needs.
Start Now!
It’s not too late to start, if you have just one case or a hundred cases. Follow these five steps to get you started in the New Year so you can get outside and start shooting.
Remember, if you need to pick up any replacement parts or other gear this year, check out our affiliate links down below. They really help support the channel!
If you liked this video or this post, please tell your friends about us and spread the word. It’s another way we can continue to produce free content for this awesome community!
Keep those cameras rollin’ and keep on clickin’
-Jay P.
MY GEAR IN THIS VIDEO:

SKB iSeries 3i – http://amzn.to/2DhcTyk / https://bhpho.to/2DhVfdq
Rubber Chicken – http://amzn.to/2DgKlov
Dyson V7 Vacum – http://amzn.to/2DnsDD4
Canon 5D MIII – http://amzn.to/2Dmb4Dt / https://bhpho.to/2CLvEtk
Manfrotto Quick Release – http://amzn.to/2DrSKZE / https://bhpho.to/2DHaHRF
82mm to 77mm Step Down Ring – http://amzn.to/2DdwdfC / https://bhpho.to/2DbT5w5
10 Piece Step Down Ring Set – http://amzn.to/2rhtws0
1/4″-20 Male to 3/8″-16 Male Threaded Screw Adapter Tripod Screw Cover – http://amzn.to/2DGRr6J / https://bhpho.to/2DGNjDE
D-Ring Camera Mounting Screw – http://amzn.to/2mEW4Gr / https://bhpho.to/2DhiQLG
Rubber Duck – http://amzn.to/2DdojTG
Tamron 24-70mm – http://amzn.to/2DrLVY8 / https://bhpho.to/2DGV3FP
Tamron SP 85mm – http://amzn.to/2DLq4sp / https://bhpho.to/2DdjDgw
Tamron SP 35mm – http://amzn.to/2rfonk1 / https://bhpho.to/2DJp7ki
Tamron SP 45mm – http://amzn.to/2B9vTwE / https://bhpho.to/2DfPf50
Tamron SP 90mm – http://amzn.to/2Dftylw / https://bhpho.to/2DhjcSw
Label Maker – http://amzn.to/2DdhT6Y
Rosco Yellow Tape – http://amzn.to/2FMx9sZ / https://bhpho.to/2DJ5ybI