We are using the Intellytech’s LiteCloth to light our scene. Intellytech’s LiteCloth is a LED mat that has a very low profile. It’s convenient to use due to the fact that you can get right next to the ceiling which makes it easy to use in a tight space. We put a grid on the LiteCloth focus the light on the table, which made the table more of a focal point. It also gave a great light on the faces of our cowboys. We also set a second LiteCloth the side, to help open up the shadows.
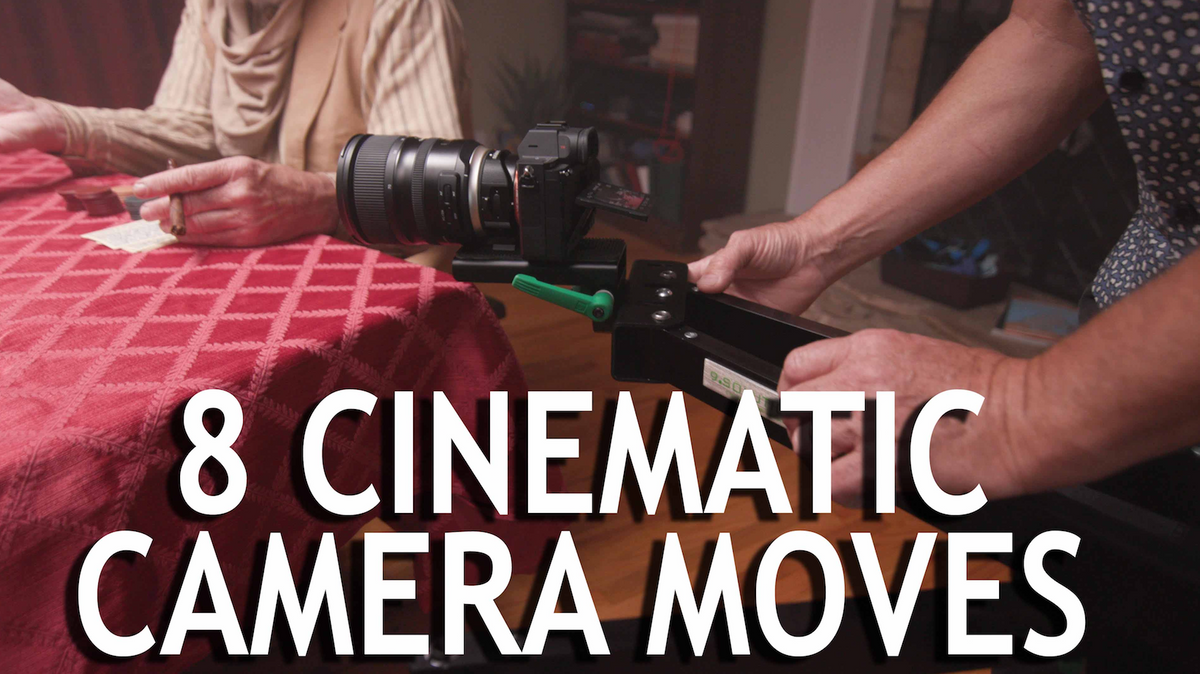
The first camera move is the Horizontal Slider move– this is probably one of the most commonly used for filmmakers and is a staple in shooting. By utilizing the Horizontal Slider, this allows me to introduce each character in an interesting way. I used a horizontal movement with the C-Pan Arm, first showing our actor Keith, and then moving across the table to introduce the game setting on John. This is a way to introduce the scene and characters and keep the viewers’ interest.
Our next move is a Parallax move. This move is like the horizontal slider move except the camera makes arcs around the subject and keeps the person or thing in the middle. It keeps the subject in the center of the frame. As the camera moves it keeps our attention on our actor John. The difference between a Parallax shot and Slide shot is overall that the slider will glide by objects whereas the Parallax keeps the subject in the center of the frame.
The next shot is an overhead shot or a Flyover. Flyover movements allow the camera to glide overhead showing a birds-eye view of the scene. This can show something that the actors are looking at or give us a view that reveals something the actors cant see and create tension.
The next 2 moves are very powerful and easy to do. They are a Push In or Pull Out move. These movements are exactly what they sound like. As a filmmaker, you may decide to push in or pull out to create drama and startle the viewer. Whether an object or subject is looking to be zoomed into or panned out from, the C-Pan Arm allows these movements to be smooth and quick to get.
There’s the Crane/Jib, which allows craning the camera up or down, and over or under the scene. I can come from under the table above the table on one move. This allows me to direct the viewer and to change the perspective and frame quickly.
The crane shot is much like a horizontal pan only vertically. The Vertical Parallax is like a horizontal parallax only moving up and down. I keep the camera on the subject as I move from low to high. This can allow the focus to be either looking up at the subject or object for a ‘heroic’ effect (the camera would be below eye-level for the actor), or looking down (above eye-level). This move can diminish the actor going from low to high or strengthen the actor as we go from high to low.
Our last move is an Outward Curve. The outward curve is the opposite of the Parallax move. The camera, as it travels, turns out on each end and covers a larger area of the scene. This is perfect for a large-spread scene when wanting to cover a larger area.
With these eight different moves and techniques, you can add dramatic effect and overall enhance the scene. However, with that being said, I don’t think you should use all of these moves together and all the time, as that could potentially lead to just too much going on.
To wrap it up make sure you share the camera moves you’ve learned on our Facebook page! Make sure you subscribe to our YouTube channel. Keep Those Cameras rollin’ and Keep on clickin’.

