

These are the camera settings you should have at all time when you are doing time lapse and they’re going to save you once you get back to the editing room. I can’t tell you how many times I forgot to turn off the auto-focus or whathaveyou and it totally ruined the shot!
Tamron 35 mm f/1.8 Instagram Giveaway
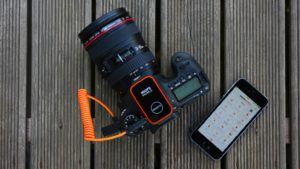
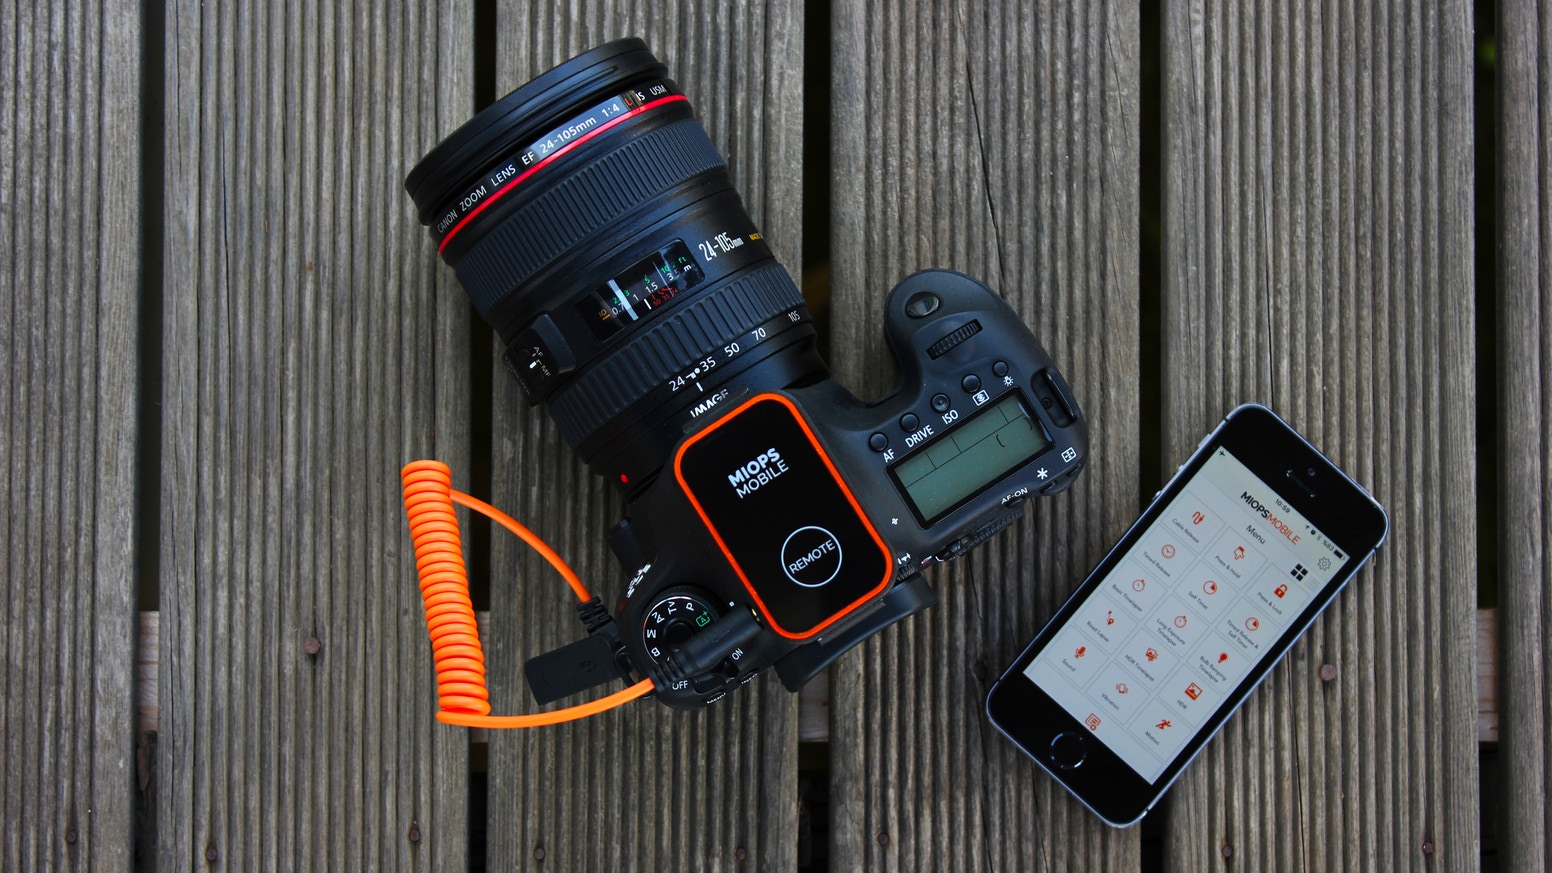
1: Get an Intervalometer
An intervalometer is going to help you set the timings of your shots. You can set it to be two seconds between each exposure, or as long as a minute! It depends on what kind of look you’re going for.
We use the MIOPS mobile device which works with most of the camera manufacturers out there today. It comes with an app that you can use to trigger the shutter by your phone, set the timings, and change settings.

2: Choose File Format
Are you going to be shooting RAW?Jpeg? Both? Decide before you start because this is going to affect your memory card space! I like to shoot both so I have a preview image to work with and I still have an uncompressed version to play around with when I get back to the studio.
3: The Exposure Triangle
We are concentrating on sunlight-daytime exposure so set your shutter, ISO, and aperture accordingly.

4: Set Your White Balance
Since we are in direct sun like this, I’m going to set my white balance to daytime. But if I was doing day-to-night or night-to-day, I would set my white balance to auto.
5: Set the Interval
Before you start, make sure you set the interval on your intervalometer. I usually use a two-second interval because I like to get a lot of information. When I get back, I can throw away every other image if I want to. But I want to get a lot of information as the sun is changing. Some people do four seconds or longer, depending on what you’re doing.
It’s important that your interval is longer than your shutter speed. If you’re going to a nighttime scene at a 10-second exposure or your shooting stars at 20 seconds, your interval needs to be longer than 20 seconds. Like 21 seconds or 22 seconds.

6: Focus Your Scene
Auto-focus your first frame, or use manual focus. But be sure to set a focus point.
7: Turn the Auto-Focus OFF!
Do NOT use auto-focus when doing a time-lapse! This is going to kill you in post and you most certainly won’t be able to use most of the shots. This causes ‘lens breathing’ which is when your lens is searching for focus. It doesn’t look pretty. And you might get some frames that are out of focus for this reason.
8: Turn off the VC Control on Your Lens
Turn off any auto-anything that your lens might have. This will add to lens breathing, which as stated before, will make your images blurry and will ruin your shot! This compensation will make your lens breath.
9: Set How Long the Time Lapse Should Be
This part requires a bit of math. You want to capture at least 30 seconds of footage, which means if you need 24 fps, you multiply that by 30 which is 720 frames. So you need to get at least 720 frames to have a 30-second clip. If you want your time-lapse to be longer, then just calculate how many frames you should have at the end.
Most times, I’ll just let the camera roll and I’ll get good segments in between of some clouds. So most of my time-lapse videos will have over a thousand sometimes two thousand frames.
10: Shut the Preview off in your Menu
If you’re going to be shooting a bunch of time lapse, you should turn off your preview in the settings. This will help you conserve battery life.
Post-Processing
Now that we’ve got all of our assets, it’s time to edit our footage! Before we do that, we want to make sure our monitor is calibrated, so we use the DataColor Spyder. If you don’t calibrate your monitor, it won’t give you accurate readings and you’ll be correcting your images wrong!
We start off sorting our images in Bridge, then we move them over to Photoshop Camera Raw for processing, and then we import them into Premiere for editing.
Once I’ve located the start and end points of my time-lapse, I’ll import them into Camera Raw and select a clip that is in the middle of my sequence to try and get a middle exposure so that when I app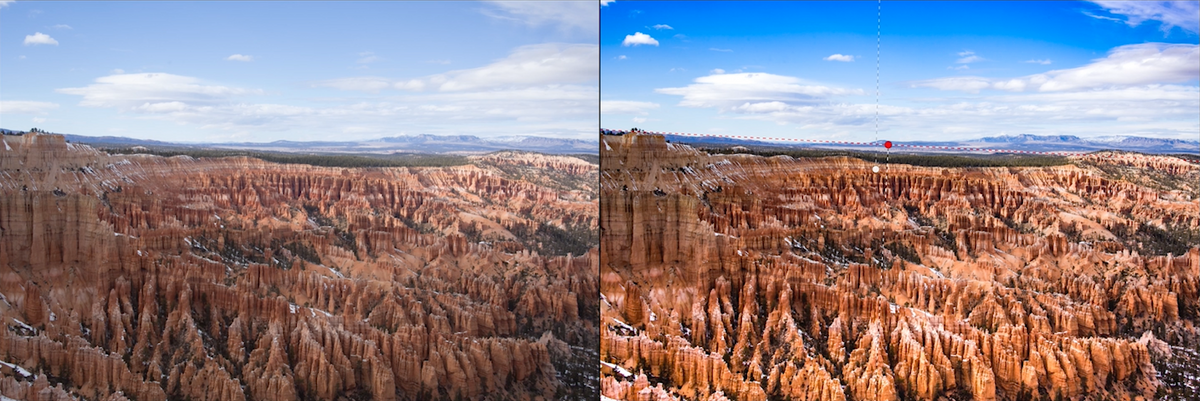
From here, I’ll adjust the exposure, de-haze, and put a gradient on the sky and rock to try and pull the colors in more.
After I make all of those adjustments, I’ll get my spot removal and paint out the spec of dust that I have on my sensor. Typically people don’t notice these very often, but if a white cloud comes over that spot, it’s going to be very noticeable. It’s an easy fix!
Once you’ve finished adjusting the image, you can select all of the images in your sequence and apply your adjustments to all the images. Make sure that you check off spot removal and local adjustments.
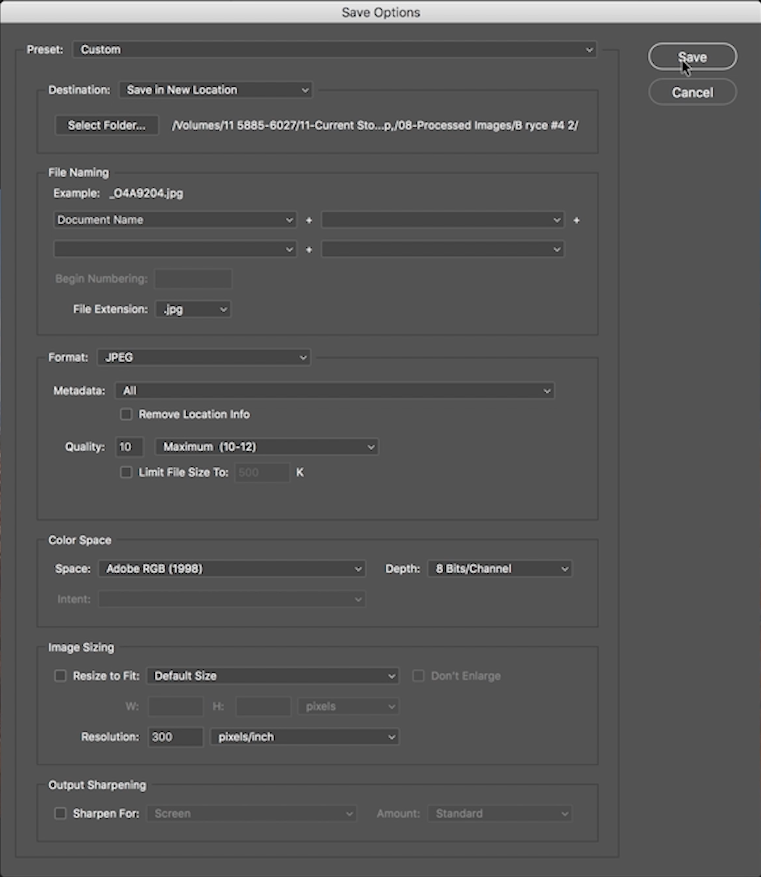
You can save the images to a new folder or keep them in a subfolder. Whatever the case, be sure you know where you’re saving them because it’ll be a pain to try and find them later.
When you import the new images into Premiere, make sure you click ‘IMAGE SEQUENCE’ so that Premiere will treat them like footage. You can export the images now to .mov or .mp4 so you can use them in other projects!
Hope this was helpful for you. Check out the gear we used in this video:
Canon 5D Mark III: B&H / Amazon
Datacolor Spyder Pro: B&H / Amazon