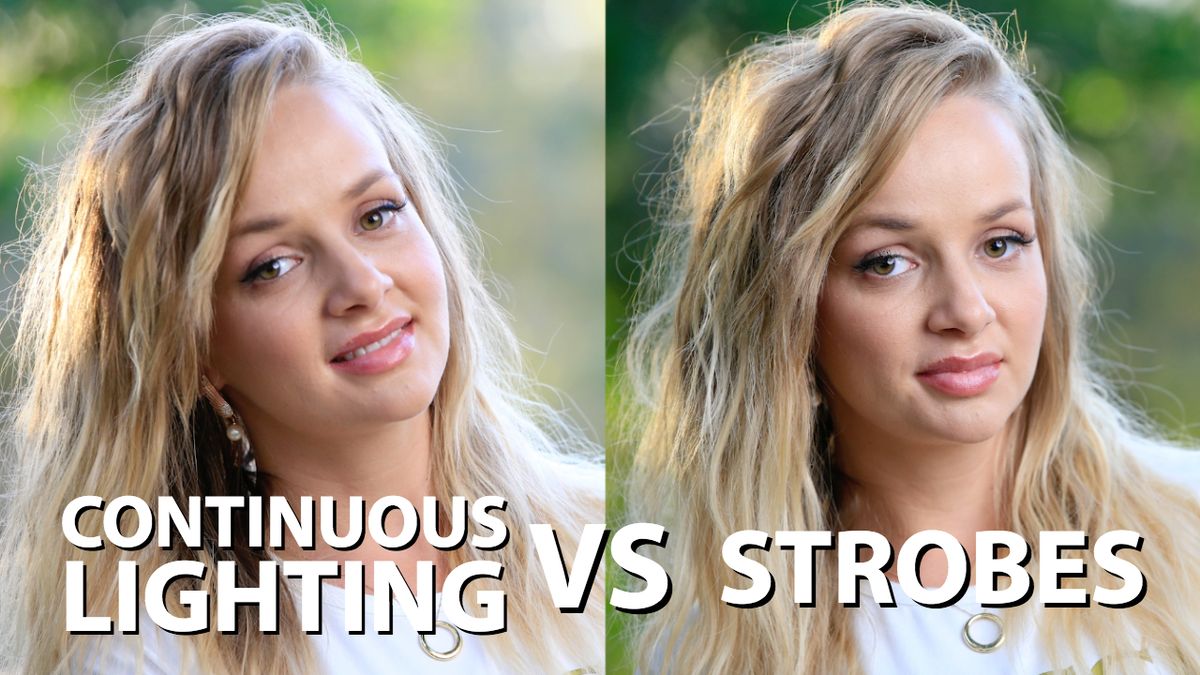
 It’s Jay P here with another episode on lighting. This week we compared the pros and cons of strobes vs. continuous light and conducted some indoor and outdoor lighting tests between the two for you to decide which one to use when you are shooting.
Thanks to our model Elena G. (@elenahappiness) for helping to make this video!
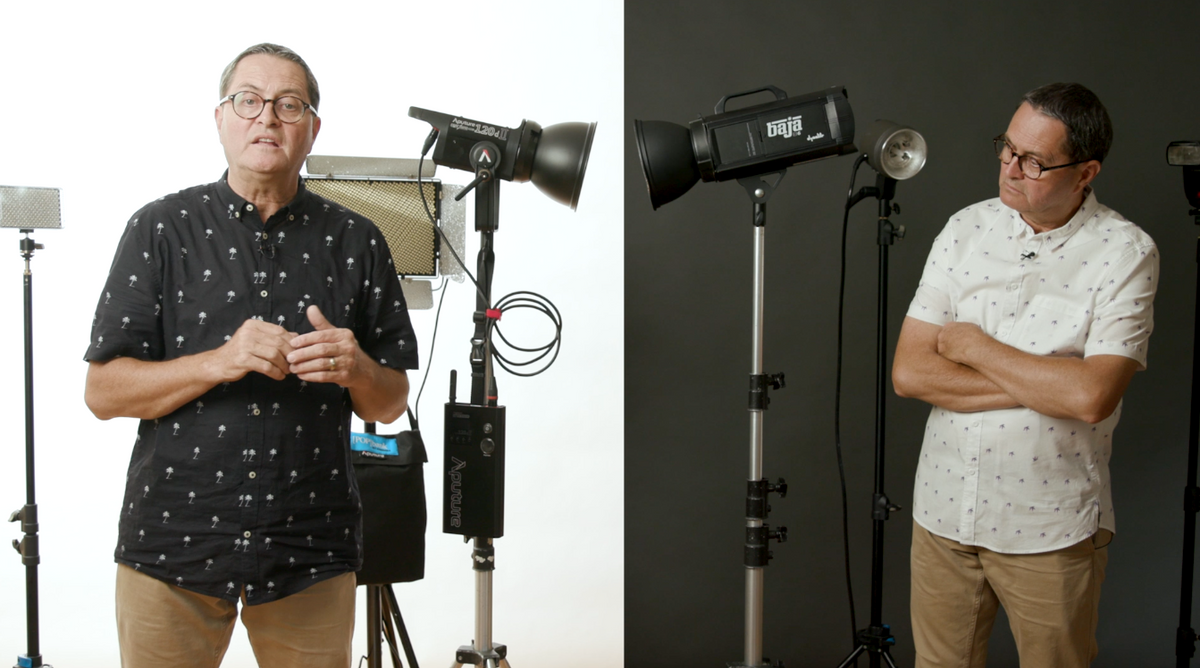 What is Continuous Light?
When I say continuous light, it can be tungsten light, it can be LED, it’s basically any light source that stays on when you turn it on! A part of my personality just loves continuous lighting and that’s because I love video. These are some real advantages to using constant lights.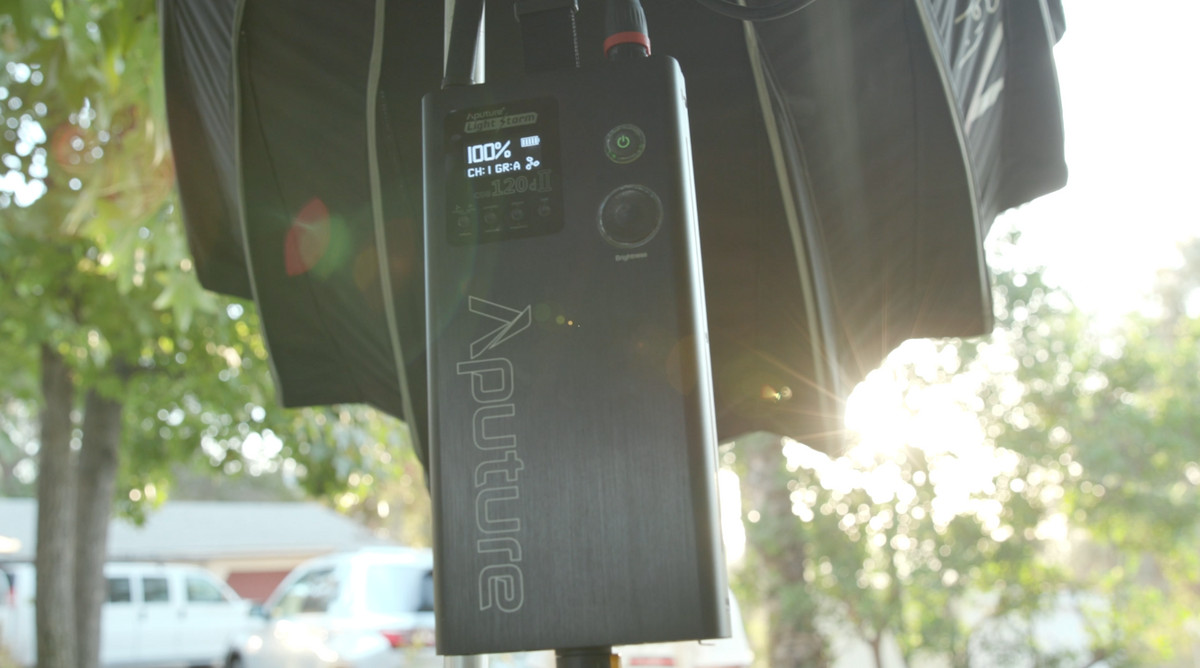
PROS of Continuous Light
What you see is what you get!
With constant light, when you turn on a light you see your light as you move it. That’s why most people gravitate towards using it because it’s a lot easier to pick up and to use.
Easy to Modify
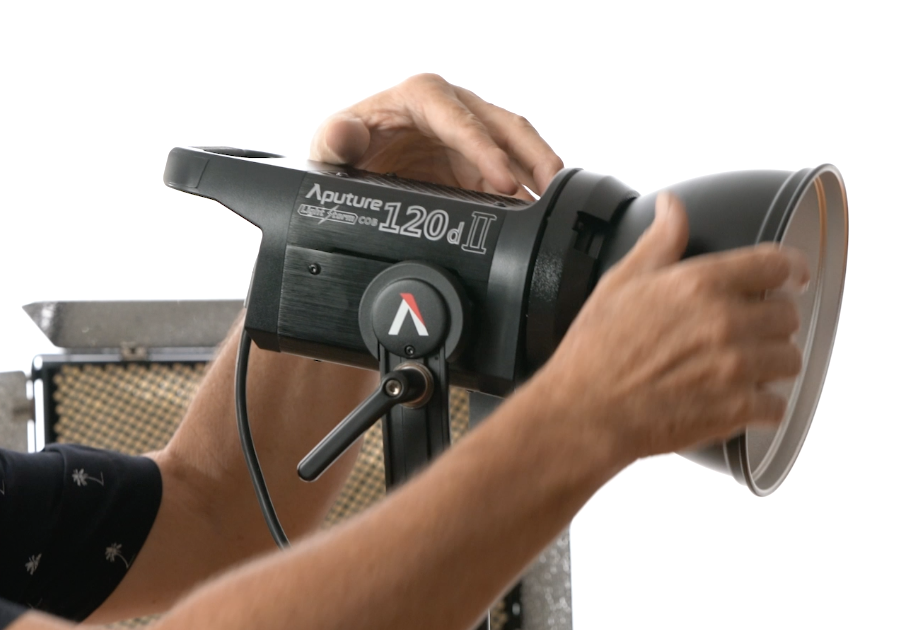 So with a Bownes mount on our constant light source, I can modify the amount of light for the shot. It allows me to put a softbox, a beauty dish or anything else you want on it, so we can diffuse the light. In the still world, you use one light and you modify it. In the video or film world for the past 20 years, you used to use 20 different types of light to create a scene.
Nowadays, we are moving into a light world that allows you to use just one or two lights and modify them so they give an appearance of a different kind of light source. It’s also a lot more affordable for someone who wants to learn how to light stills with constant light.
Cinematic Look
Working with constant light gives you a great cinematic feel to your videos and images. It’s also a great light for stills and videos because you have the flexibility to use one light and work in both of those worlds. It also gives you the ability to capture some motion in your portraits. So for example, if you have your model wearing a beautiful dress and you want to capture a soft blurring motion in your picture you can do that using a continuous light.
What are Strobes?
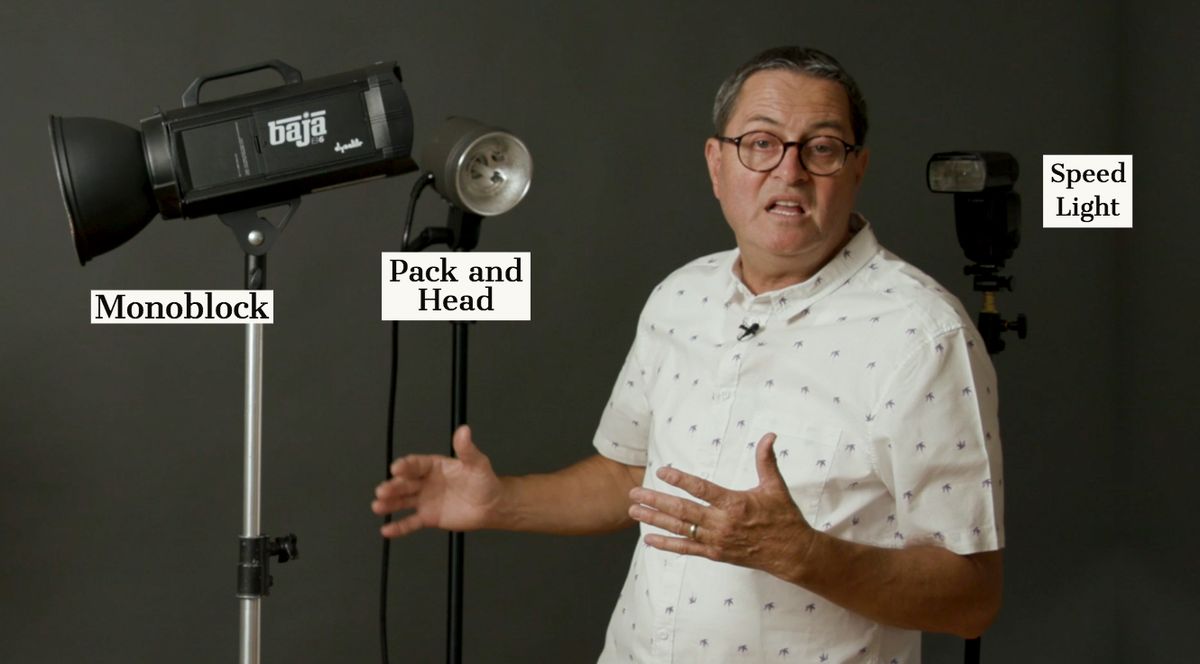 Strobes are simply a power pack that delivers a flash that syncs with your camera. Most people start with small strobes lights, which is a little speed light you put on your camera. A pack and head system, has a pack generate that power, and then the head which gives you that flash. Then we have mono-blocks, which are essentially a power pack and a strobe head combined into one unit and you have a lithium-ion battery. This is the best of all worlds!
PROS of Strobes
Freeze Action
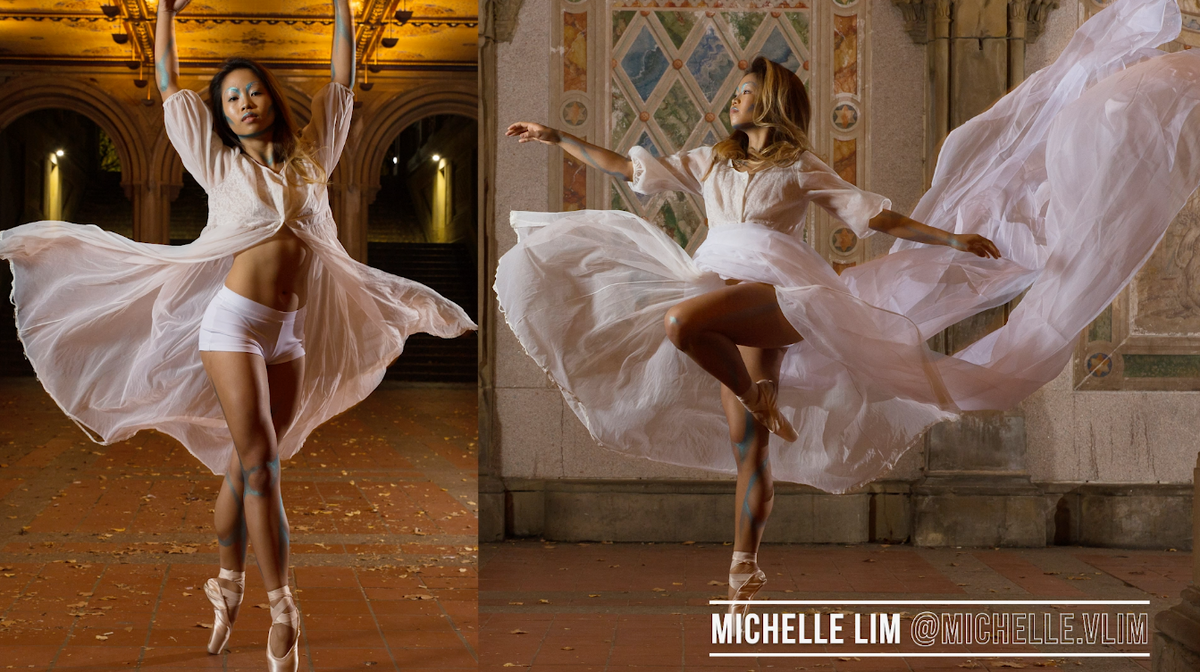
You don’t have to worry about things blurring. Strobes are really fast, so they can capture that shot in an instant. We shot some action shots with our beautiful dancer below and not only does she look great, but her dress looks amazing and sharp as well!
More Power!
Strobes just give you more power in comparison to continuous lights. They could even overpower the sun if you use them correctly.
Crushes Ambient Light
Even in a room completely flooded with outside light, you can crush it and turn it into a dark room to give yourself a moody portrait. It allows you to get rid of ambient light with a high shutter speed and a bright strobe. This method of lighting is called black boxing, I use it all the time to prevent outside light from affecting my shots.
Easy Battery Solutions
Strobe lights run on lithium batteries now, which is much more affordable. Unlike LED lights, you pay for the battery and the light separately, which ends up costing you over $1000.
Easy to Modify
These Baja lights are super easy to modify because they were made that way, to begin with. With the Bownes mount, you can easily adapt your lights. This is something that strobes share in common with continuous lights!
Lower ISO
Lastly, because strobes are so powerful as a light source, I don’t have to crank up my ISO when I’m shooting. This definitely makes for less grainy photos and just a nicer image.
CONS of Continuous Light
Lower Power
Since it doesn’t produce a lot of light, you have to use high ISO when shooting. Using constant light outside is really hard because it’s competing with the sun and all sorts of ambient light sources.
Slow Shutter Speed
As a result of having lower power as a light source, you have to use a very slow shutter speed, so if your model moves in the slightest bit it will create a blur in the image.
CONS for Strobes
Can’t See What You’re Going to Get
With strobes, you have to constantly test to see how your lighting is affecting the image. You have to use trial and error in order to put your light in the right place. So that means you have to take a shot, and then modify it a little, and then take another shot just to make sure it turns out right. With time, however, you will learn how to set the light properly and what exactly what lighting you’ll need. It’s a harder platform to learn, but it can be beneficial if you do learn it!
Needs a Syncing Device
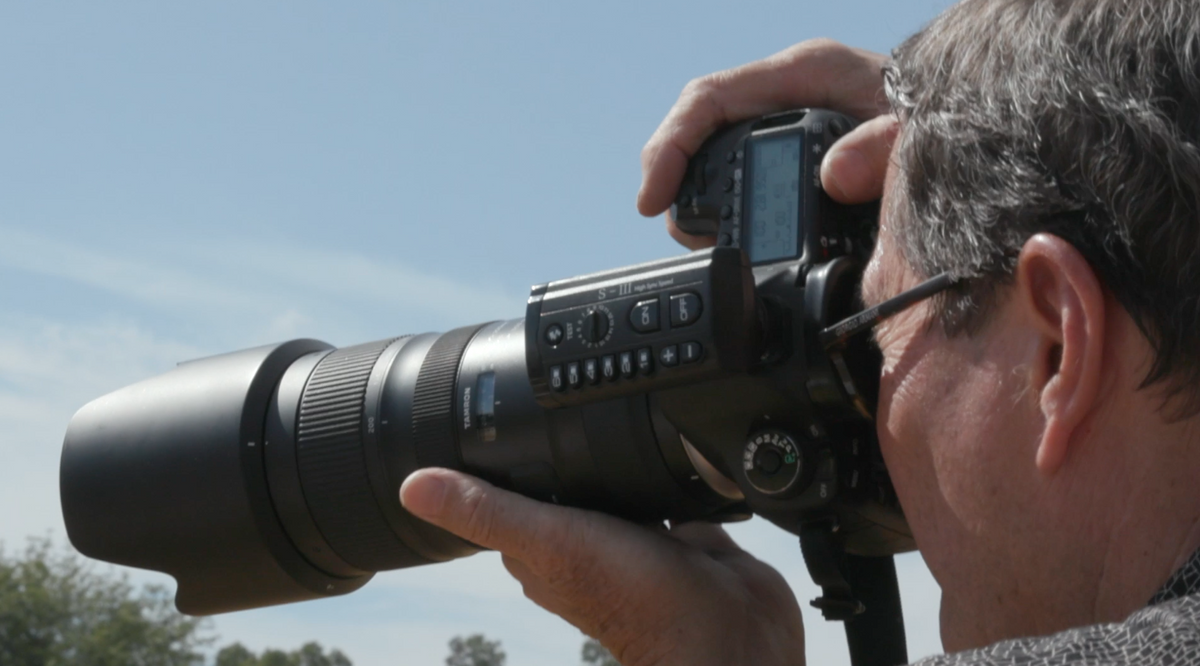 With all strobes lights, you need a device that will help you sync the strobe to your camera. The nice thing about the Baja is that it comes with a strobe head to put directly onto your camera.
Can’t Sync at More than 1/200 Sec
Strobes also can’t sync at any faster than 1/200 of a second unlike you use high-speed sync mode. On HSS mode, the power of the strobe goes down significantly about a 1/12th of the original light.
Demonstration
So enough about the pros and cons of these two light sources, let’s take a look at some images using both of them.
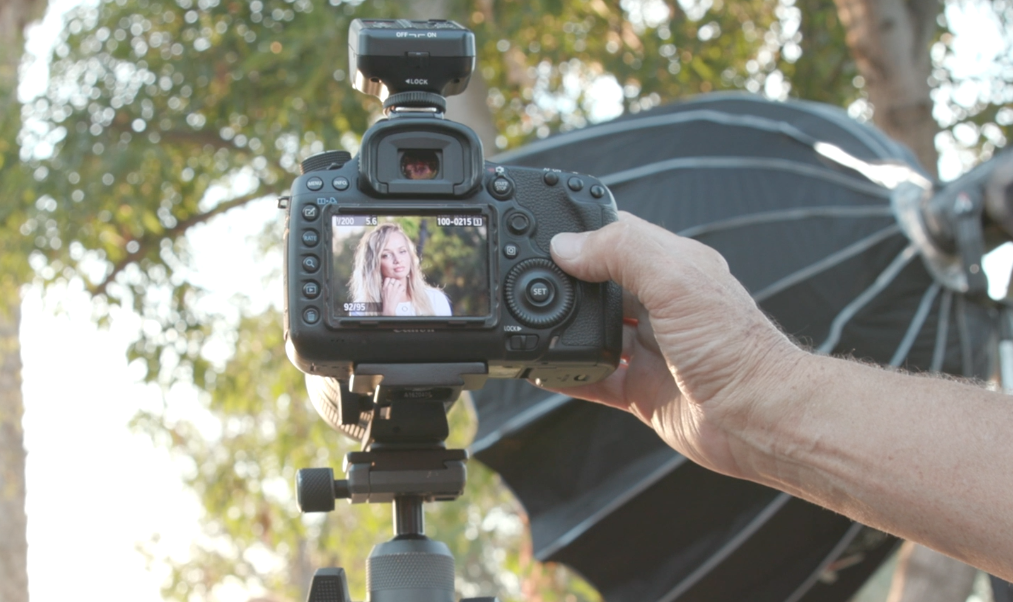 We are going to be using the same position, same person, same shot for both images. For all the continuous light segments we are shooting today, we are using the Aputure 120DII, which combines the power block and the control module into one unit. Even though this unit has a wonderful output when you modify it a lot as we did, it lessens the amount of power you get from the light.
For the strobe lights, we are using the Dynalite Baja B6 Battery-Powered Monolight.
Studio Test
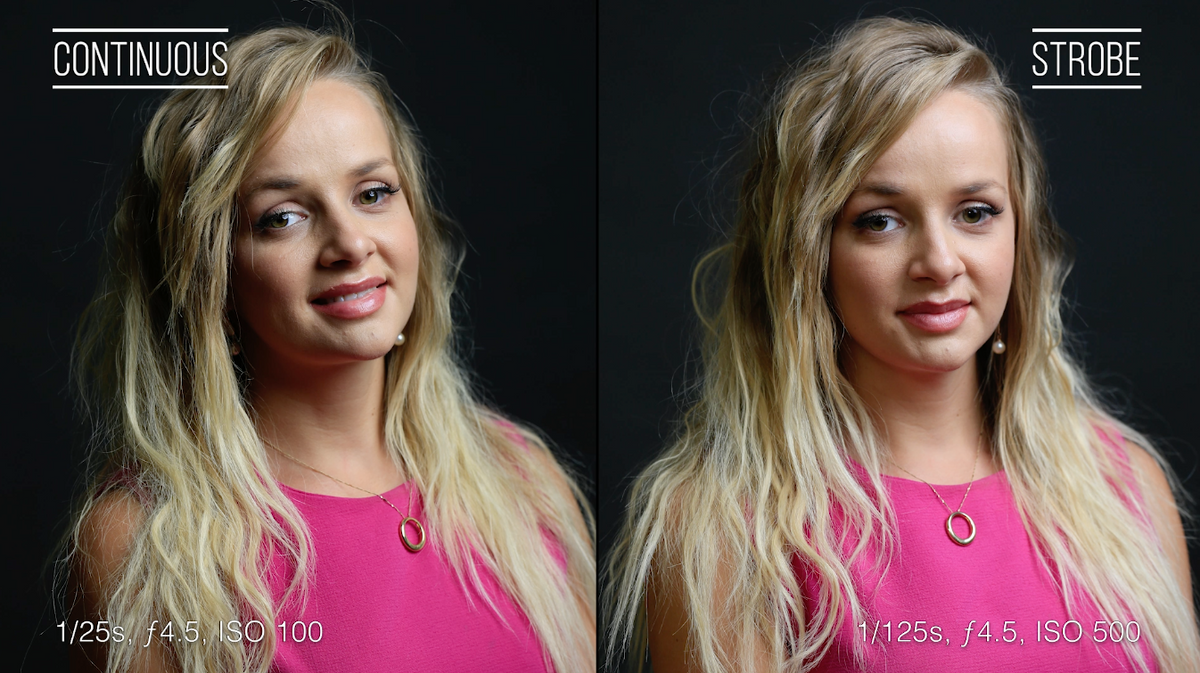
We are going to use a controlled studio setup for our first test. We have darkest in the room and complete control of the light. Let’s look at a comparison of the two images.
So they both look pretty good, the only difference is that with the continuous light I am using 1/25, which is an extremely slow shutter speed. Now shooting in a controlled dark room is great, but now let’s go outside in the sun and see how the lights fare.
Outside Lighting Test
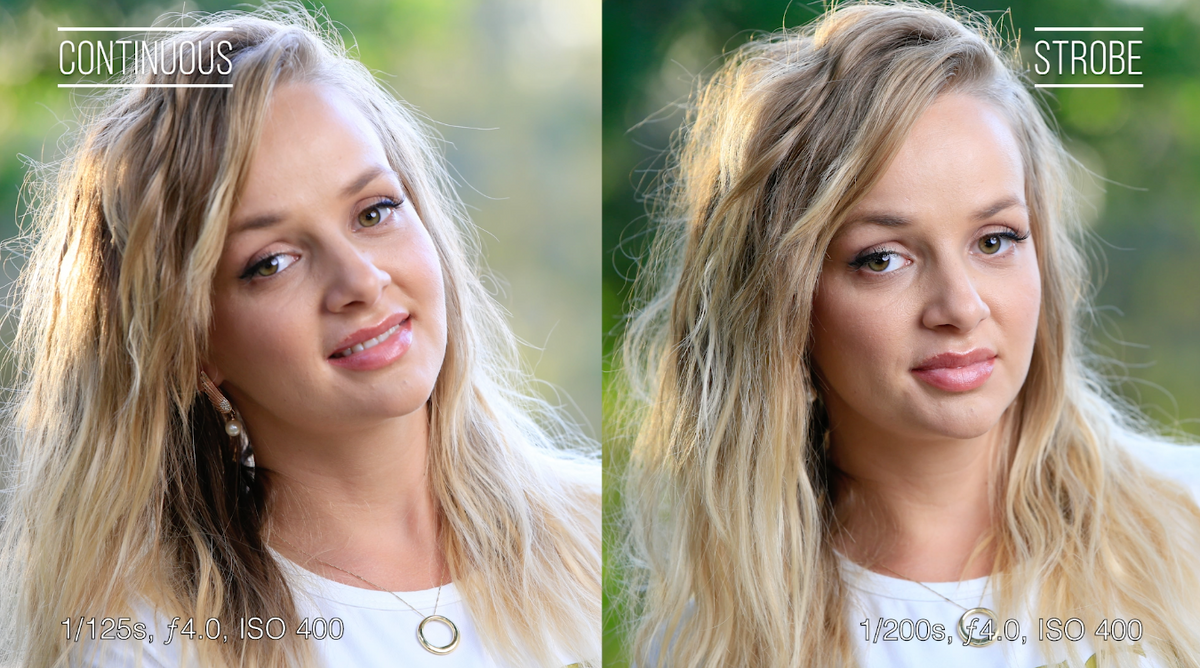
The way I like the setup my models when I shoot outside to put the sun coming up from behind her as a rim light. It gives her a nice light on her hair, but it also gives us a darker background to create depth within the image. The first shot we did with the LED lacks a little bit of a snap. Whereas with the strobes, I have a little bit more control over the light on her face. The light looks crisper and sharper on the strobe image.
For the continuous light image, I was shooting at a slower shutter speed. With the strobe light, I was able to crush the background by making the shutter speed faster.
Harsh Backlit Setup
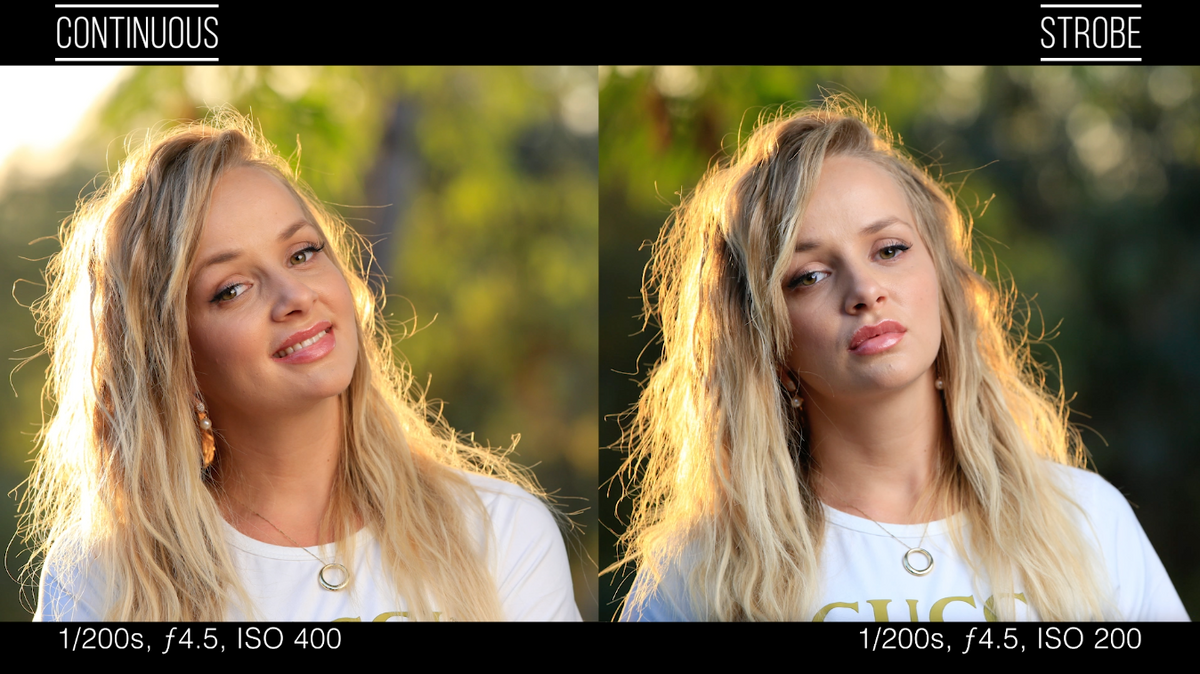
It’s hard to get a bad shot at the golden hour, but I put her in this harsh backlit lighting to see what the lights would do. I brought in the LED as tight as I could, but I just couldn’t get enough light out of it because of the sun’s harsh rays.
So here’s a side by side comparison of the two, the strobe light definitely did a lot better in my opinion because it was able to control the light and bring that nice highlight onto her face. The continuous light was letting a lot of light in from the sun and also was just a bit too mushy in terms of the clarity.
In a Nutshell…
For those doing just still photography, I would learn how to use strobe lights. There are so many opportunities for weddings and events for the strobes to give you a good exposure. If you are going to do videos and stills, I would recommend using constant light, which gives you plenty of flexibility for both.
Remember, good light is good light no matter what you use! As long as you learn to understand the basics of lighting and set up your lights properly, you are on your way to becoming a professional in no time. Just get out there and keep clickin! If you haven’t checked out our Youtube channel, you can watch our video on this write-up here!
Gear Used:
Canon C200
AMAZON: https://amzn.to/2ICQPBJ
SONY A7r3
Amazon: https://amzn.to/2O1pVZX
Van Guard Alta Pro 2 + 263 CGHT Carbon Fiber Kit
AMAZON: https://amzn.to/2OwAkfO
Aputure 120DII
AMAZON: https://amzn.to/2IDBcJW
DataColor SpyderCHECKR
AMAZON: https://amzn.to/2Rmd56J
Dynalite Baja B6 Battery-Powered Monolight
AMAZON: https://amzn.to/2O2DLeG
Aputure Light Dome II
AMAZON: https://amzn.to/2E6DjaX
SKB iSeries Case
AMAZON: https://amzn.to/2OyEYcZ
Illuminati Light and Color Meter
AMAZON: https://amzn.to/2OFTJuZ
