

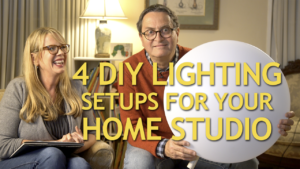
The DIY Solution
You’re just starting out with your photography, YouTube channel, or whatever it may be, the last thing you want to do is spend a bunch of money on equipment. There’s a lot of start-up costs with doing these types of things, and we’re here to tell you about some inexpensive do-it-yourself solutions that will help get your feet wet.
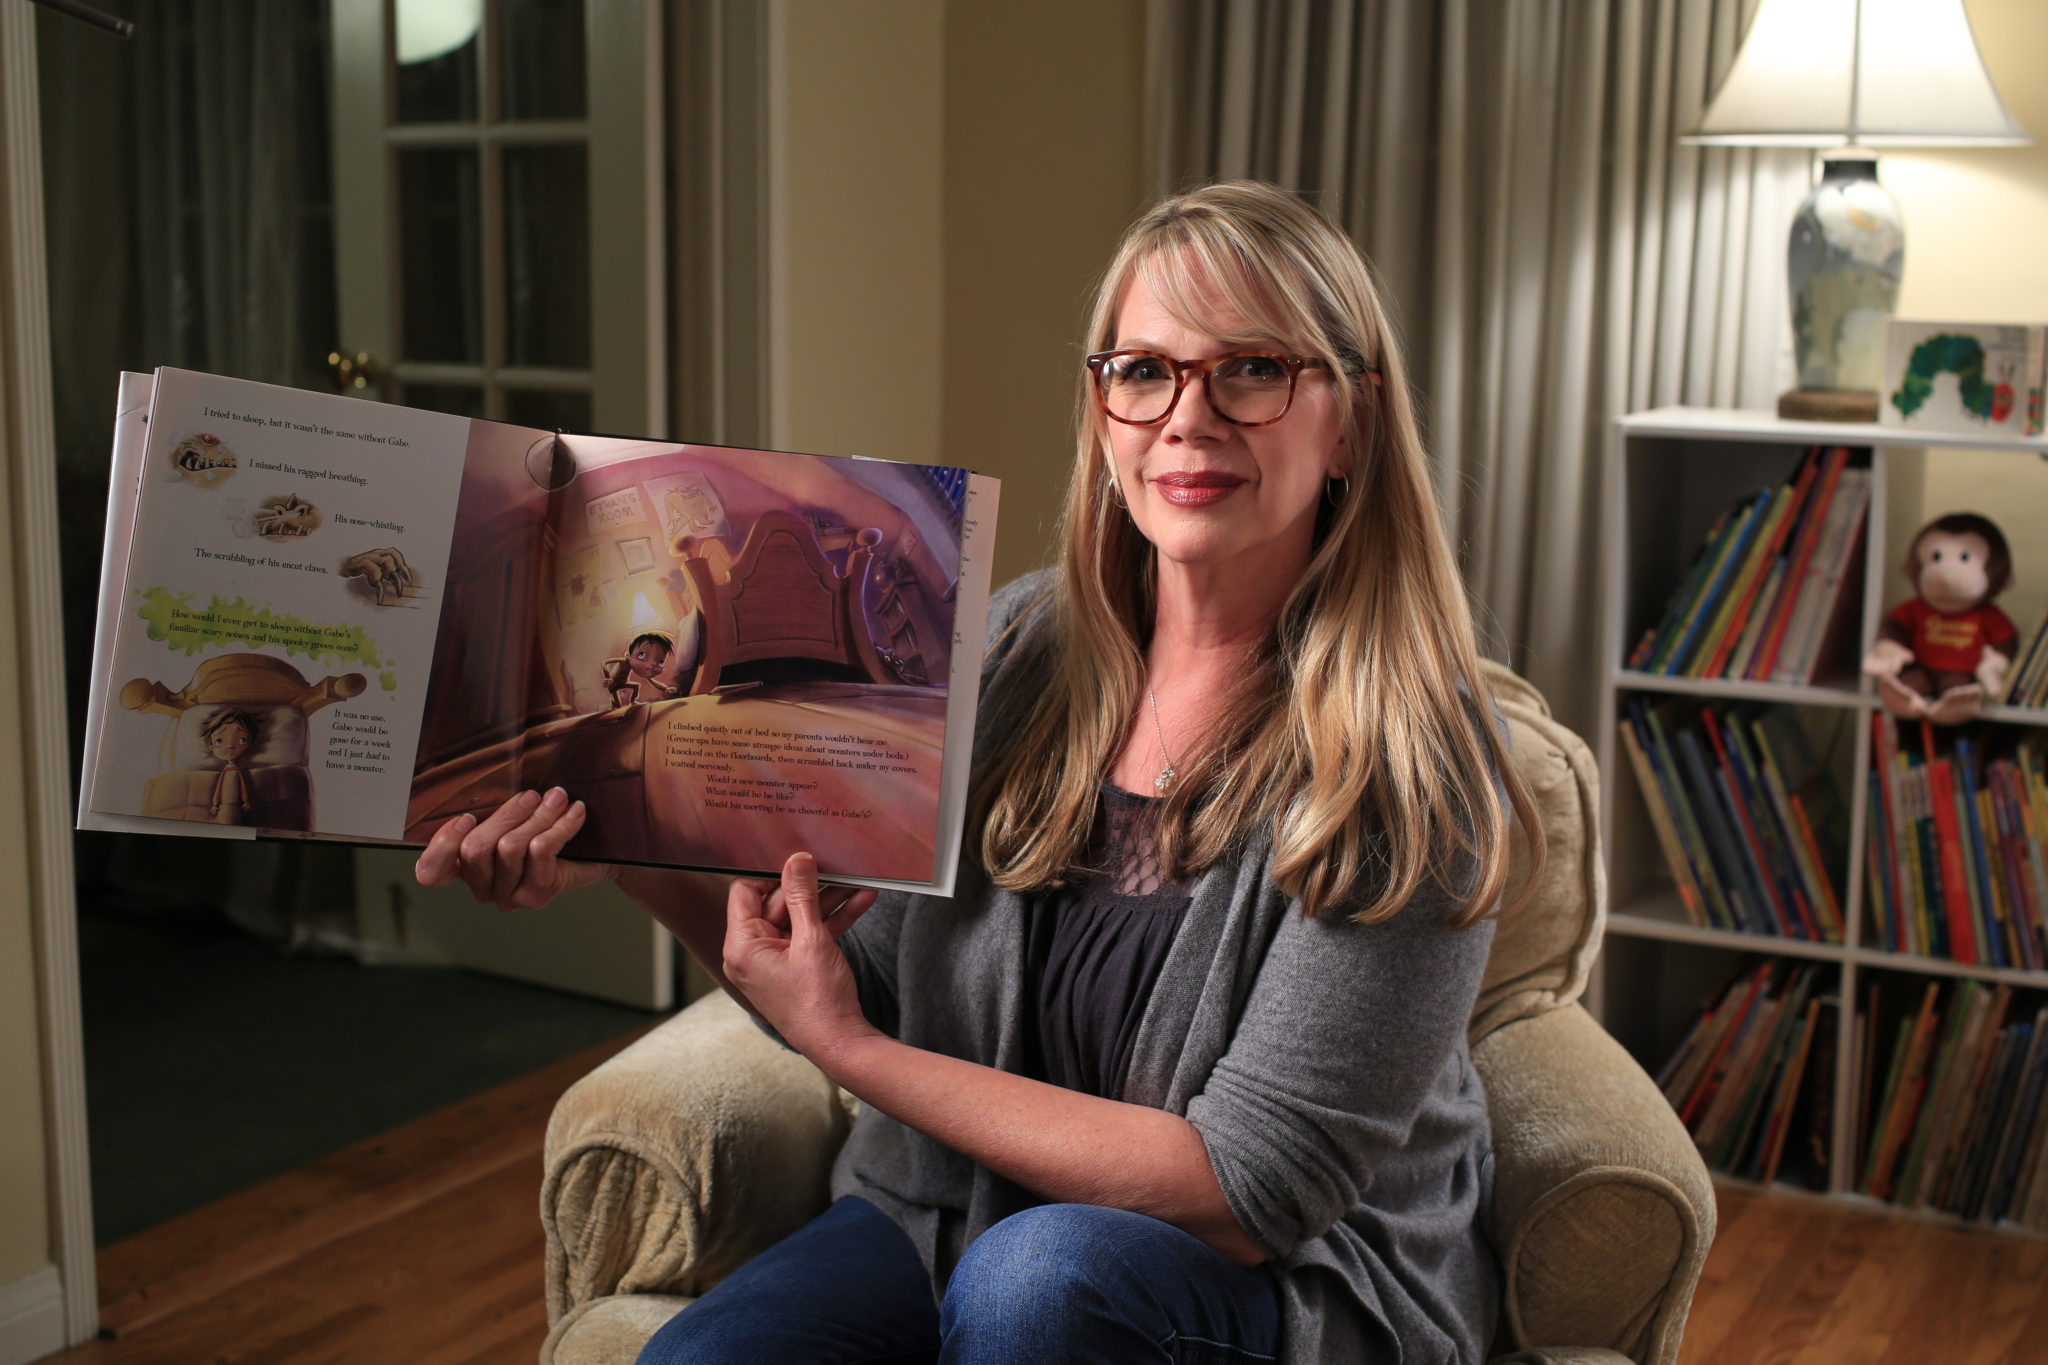
Today we’re going to be helping Awnie out with her home studio for her YouTube channel: Awnie’s House. Awine reads children’s books and does a fabulous job! Check her out!
Awnie is just starting out, so we helped her set up her home studio by using some home improvement lights. LEDs at the hardware store are an inexpensive quick-fix solution that will do the job when you’re just starting out. They’ve come a long way since where they were even five years ago. They’re more color accurate and output a lot of light – both positives!
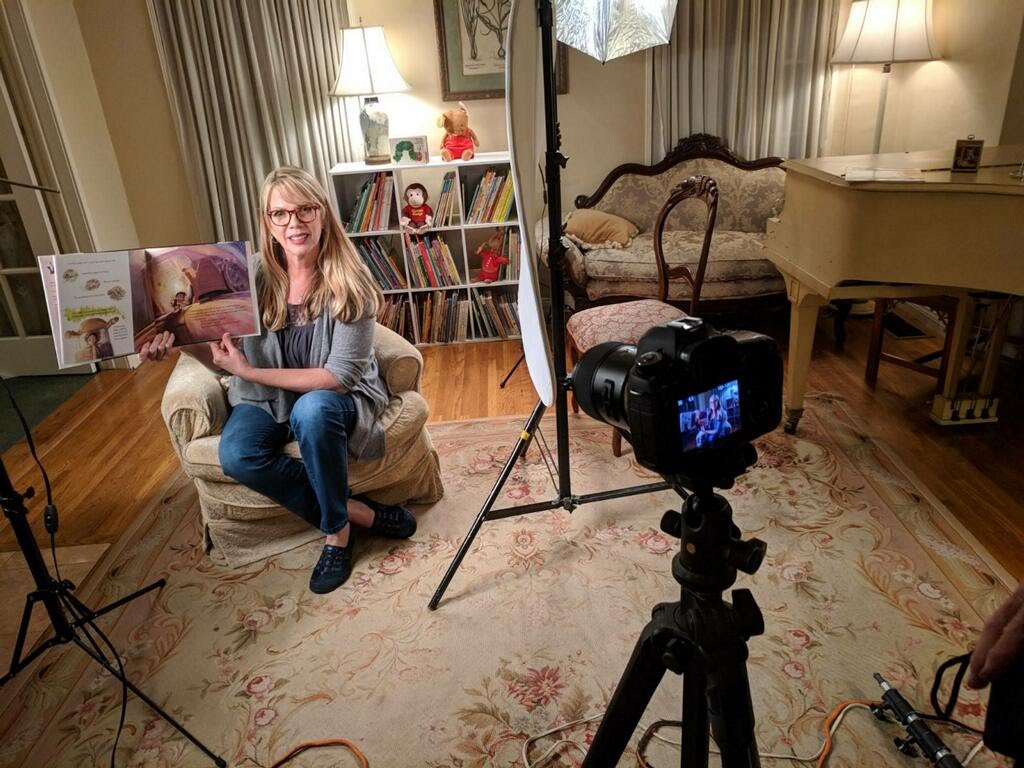
Right now, Awnie is having trouble lighting her face, the book she’s trying to read, and not getting glare on her glasses or the book while she films. So we’re going for a wrap-around light which will be a bit of a challenge since these LEDs from Home Depot are a bit directional. But let’s get to it!
Setup #1
The key light is your main source of light. For this, we want a large source of light because that’s going to give us the most flattering look. We went to the hardware store and grabbed a kitchen overhead light. It’s a simple LED that we drilled some holes in a PVC pipe so we could stand it up on a C-stand.
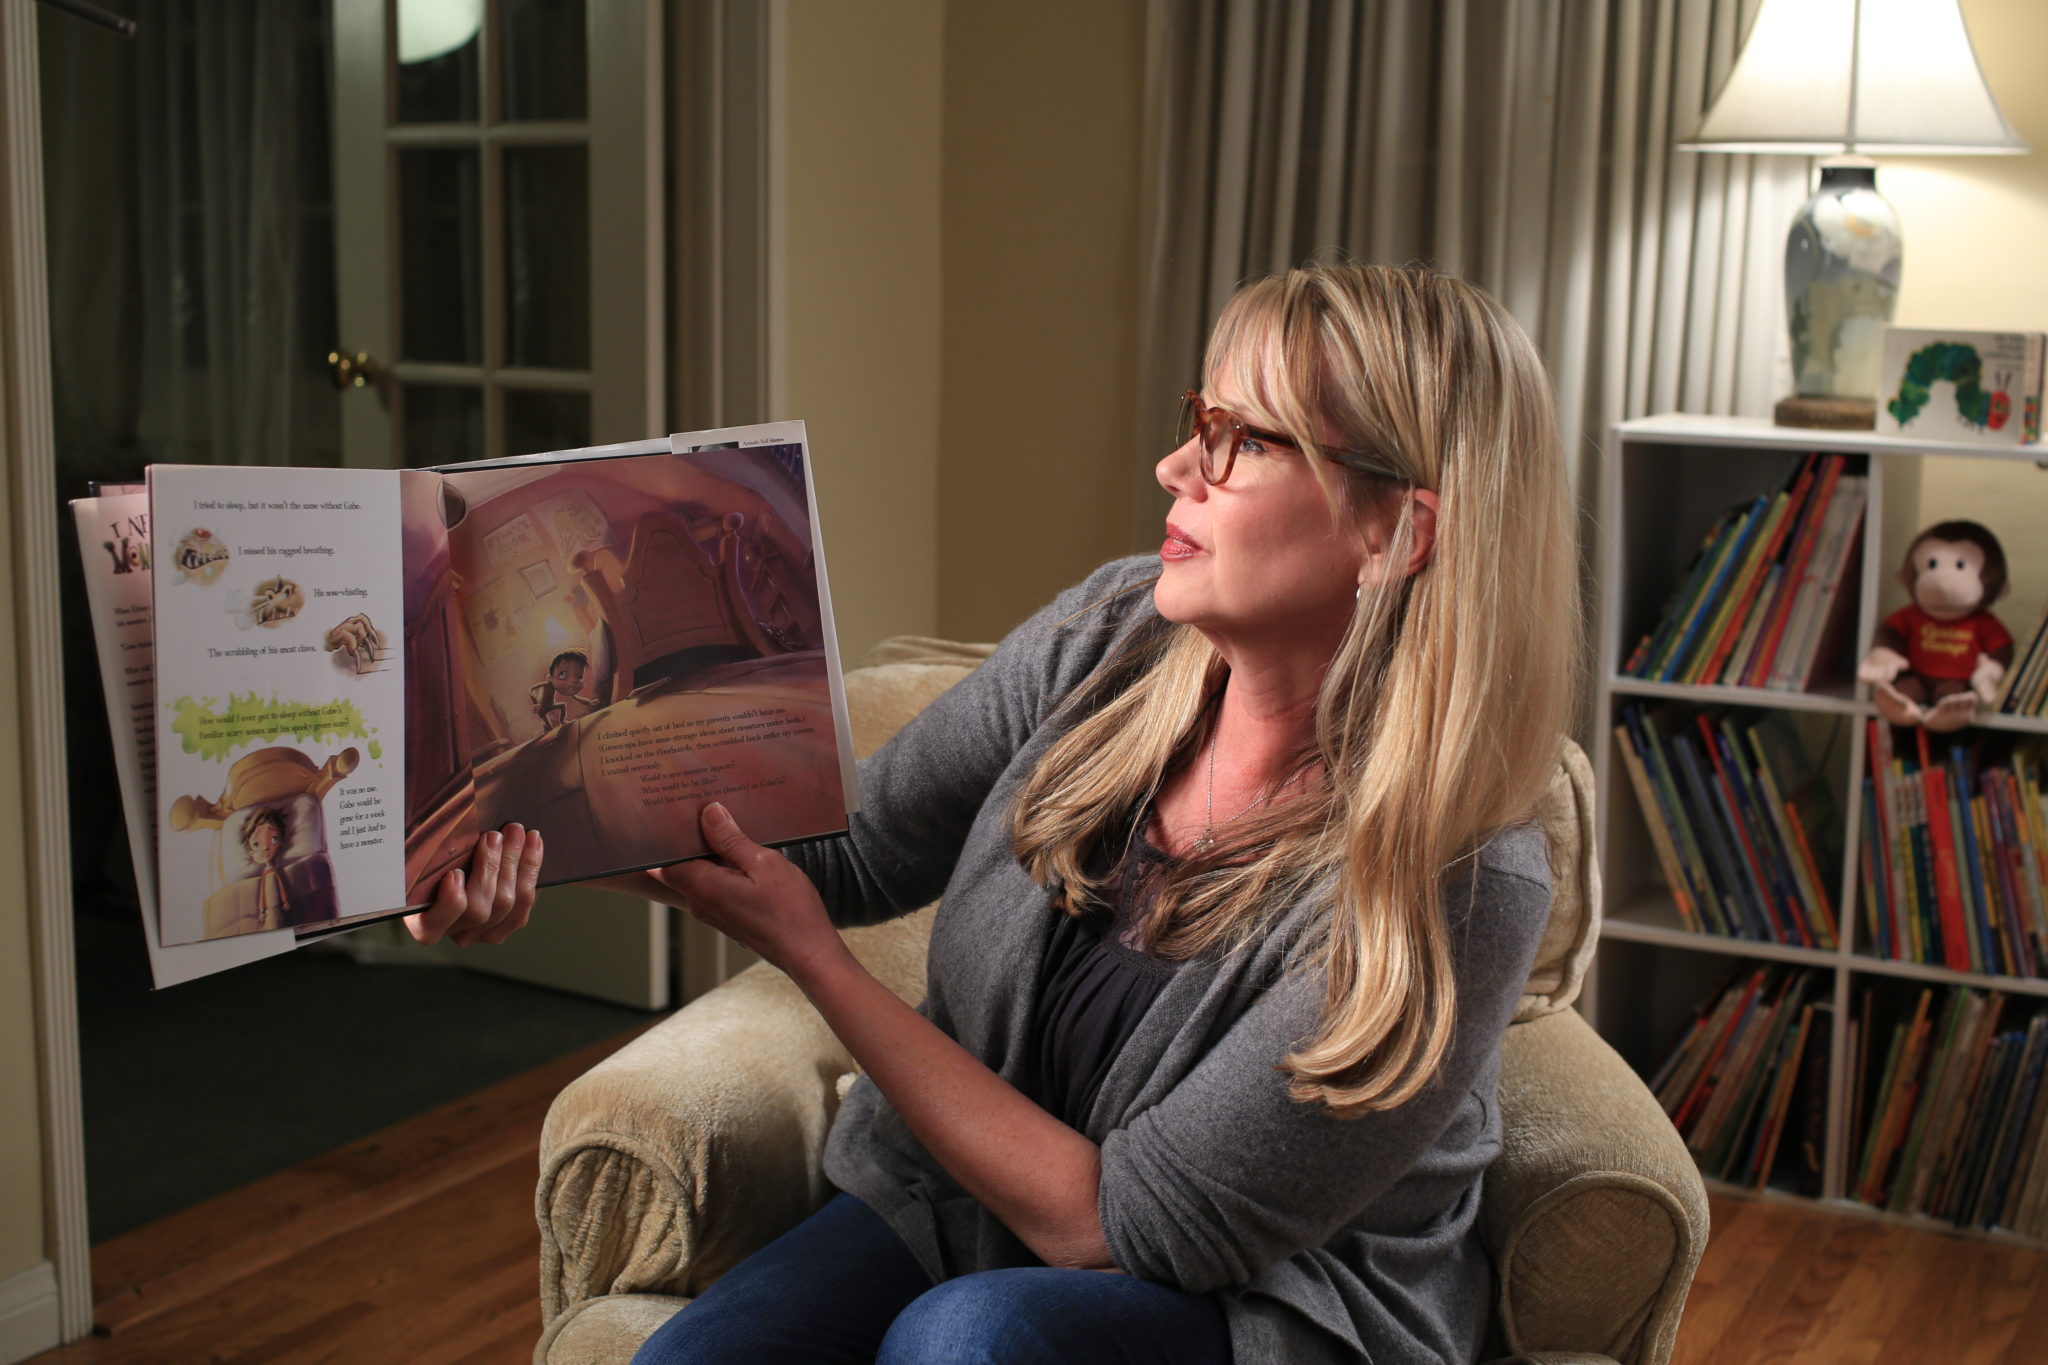
It’s also a good idea to have a practical light of some kind in the background. Not only does it light the background, but it creates separation from your subject in the foreground and the background. This helps with creating depth in your image.
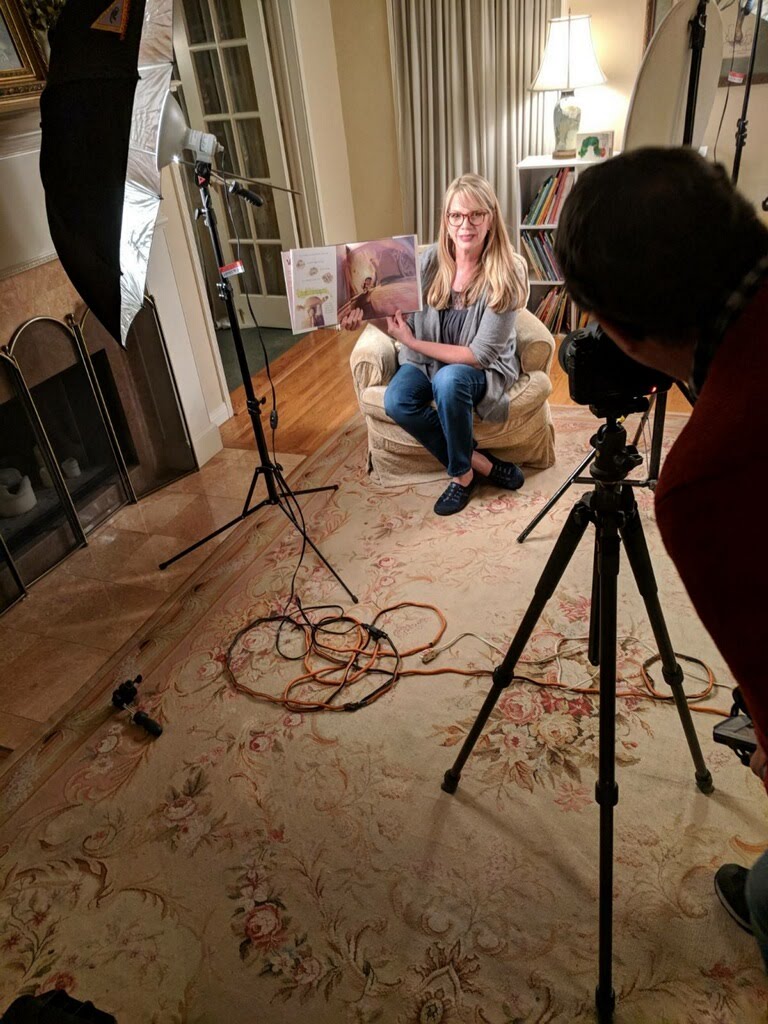
This leads us to our next light – the rim light. We usually put this light behind and to the side of the subject. This rim light sort of does the same thing that the practical light does. It helps to create depth in our image and separate our subject from the background. It’s going to catch her hair on the side and have her really stand out. Now we put a reflector to open up light and make her face shine. If you wanted to DIY your own reflector, go to any home improvement center and buy some cheap beadboard, strip the aluminum off and bam you have a reflector (we have a video on this as well!). To be as cheap as possible, use your beadboard for filler light and stand from Amazon. This will have you pay no more than $150.
SETUP 1 COST- $100-$150

Setup #2
Let’s keep things simple. We are using a Canon T5i held at 400 ISO on a Vanguard ALTA Pro 263 CT stand. We have a 4150 lumens LED light that can have an interesting effect on our picture. Having the long bar face towards her is a bit too much on her face, but having the light in another room or overhead (creating a rim light effect). This is a cheap light with a lot of utility, it comes with a loop that can fit nicely on our stand. This set up with the lights and stands will be in the same price range as the first setup, about $100. Finally, we can’t forget to put up a reflector.
Since our LED light is pretty hard and putting about 400 lumens on our subject’s face, it is a good idea to face the light more to the right of our subject and reflect that light back towards her face. It’s like playing with mirrors and lasers! Not only does this work, but the light looks much softer on her face.
SETUP 2 COST – $100-$150
TSL Platypod February Giveaway
Setup #3
With LED work lights (running about $60 each) let’s see if we can set up a good shot. These lights come with a stand and switch but cannot dim. We have about 4000 lumens to work with here, about the same as the LED light in the previous set up.
Again we have the same issue when we place the light in front of her, it’s too hard. A quick and cheap solution is a diffuser (only costs a couple dollars). Heres a great trick for you to use when it comes to applying a diffuser- arch the piece of paper in front of the light. Heres the fun part, align the top and bottom of the paper with the top and bottom of the LED work light. When we turn the light on, the arch will capture all the light and disperse it into a larger much softer source. We have two lights with two stands which run $120. To top this scene off, we will put in a cheap stand with our own reflector to fill in darker areas.
SETUP 3 COST – $120
Setup #4
Using this light, we have some great utility because when I twist it off, the mount is quarter twenty- its fits perfectly on our stand. Everything should be manufactured to be quarter twenty! We already know that this light is going to be very focused and hard with the single LED and magnifier, so we can put a cheap diffusion on it. Turning on our 1000 lumen Rim light in the background and setting our reflector, this image looks good. We have a warm lamp in the background that gives the image some more depth and makes things look nice. To recap, we have our Key light, a nice rim light and fill light.
This light up works great, it’s a cheap way to get going. You know what, there may be some color issues or small things you have to compromise on but in the end its DIY. Follow the Slanted Lens. Drop some comments below with questions you have or issues you have run into. We are here to get you going so that you have the best-looking channel, or page, or picture for that one uncle you’ve been neglecting.
Gear We Used:
Canon T5i – https://bhpho.to/2FqMQql
Tripod – https://bhpho.to/2nJKOsA / http://amzn.to/2nOi8Pv
Light Stand – https://bhpho.to/2GBtNsG / http://amzn.to/2FnzMBX
Light Meter – https://bhpho.to/2HDgfy5 / http://amzn.to/2EWASGW
1/4 20 Screw – https://bhpho.to/2GC0TZm / http://amzn.to/2FjUdQ1
Overhead Kitchen Light – http://amzn.to/2EWh2f8
1000w LED Work Light – http://amzn.to/2F0Sf9B
LED Ice Light – http://amzn.to/2ELKAg5
Reflector – https://bhpho.to/2E5sp4L / http://amzn.to/2ELxyey
Beadboard – http://amzn.to/2ELpxud
A-Clamp – https://bhpho.to/2rBfIsB / http://amzn.to/2EJtvTS
Diffusion Paper – https://bhpho.to/2GDnhl7 / http://amzn.to/2EKrkzn