

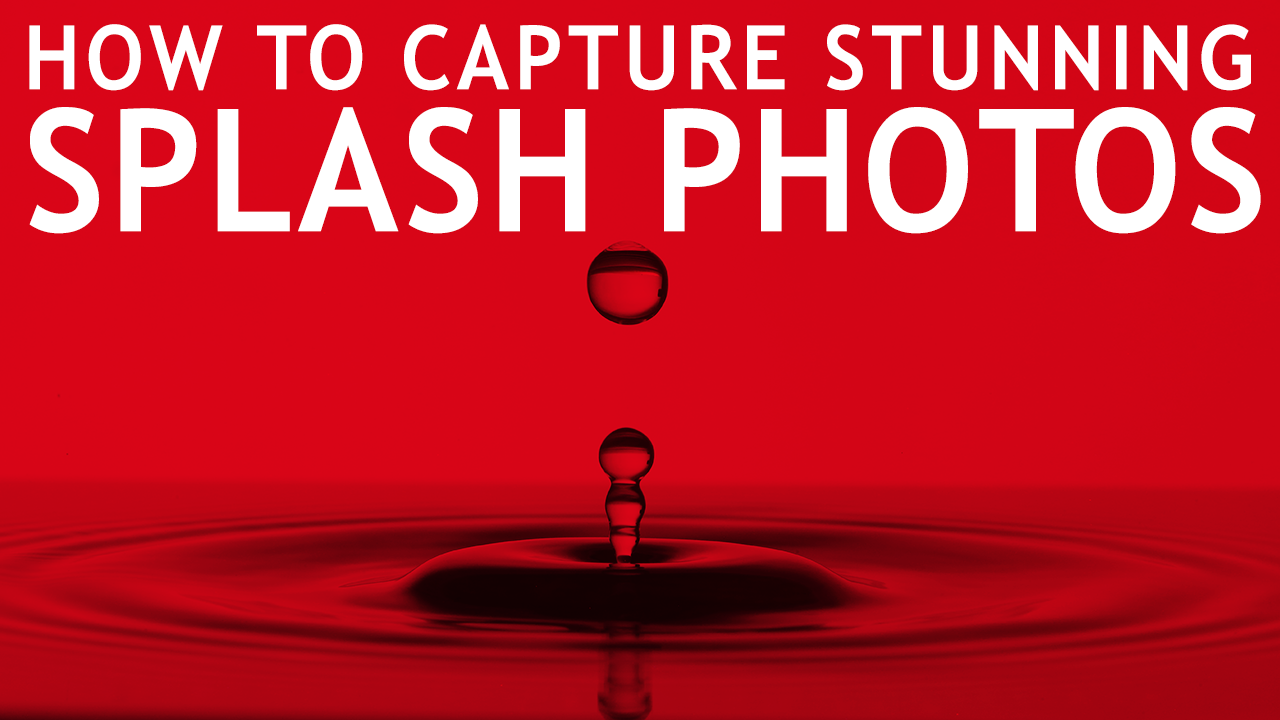
Hi, this is Jay P! Today we’re going to be doing some splash photography using the MIOPS Water Splash kit, which is the world’s first ever Bluetooth-controlled water droplet splash kit.
At The Slanted Lens, we’ve always loved the triggers from MIOPS. They make great devices to capture anything from time lapses to high-speed motion. It’s a difficult thing to have consistent results in photographing water splashes, but with the MIOPS Splash kit, it’s not something you need to worry about. Not only are we going to talk about how to set up and use your splash kit, but we’re also going to discuss three different lighting techniques for splash photography.
The Set Up
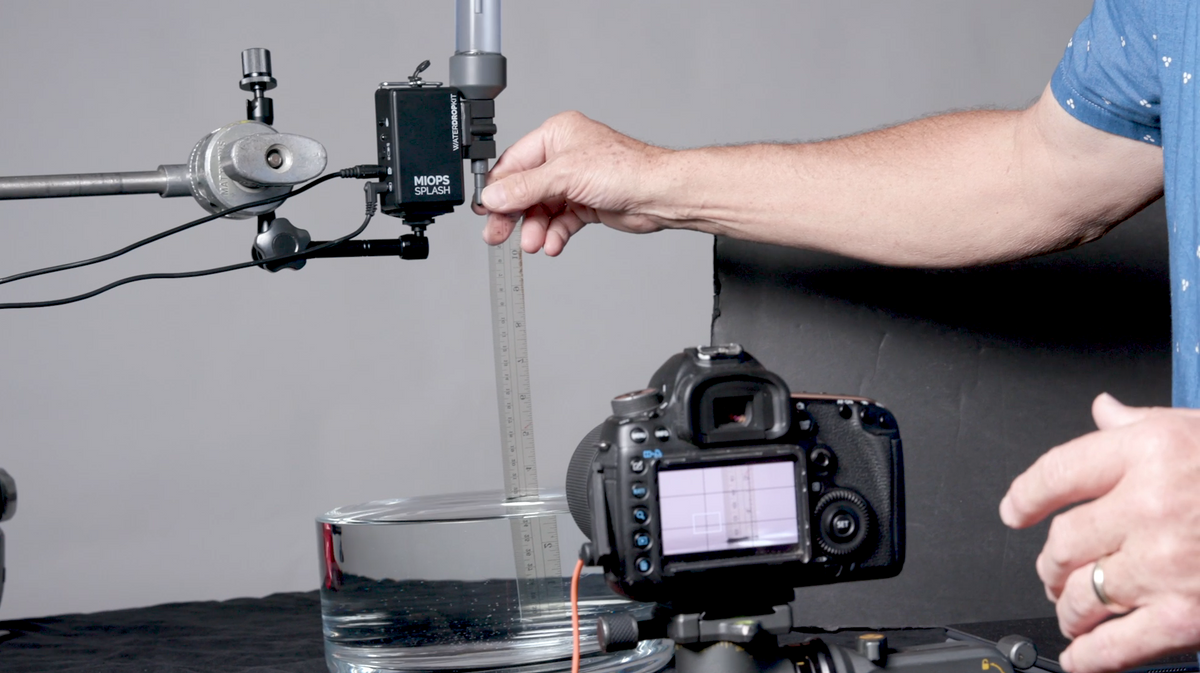
The device has an articulated arm that connects to C-Stand or another stand of your choice to position it over your splash bowl. When activated, the device releases a drop of water from the water reservoir attached to it and simultaneously triggers your camera (which subsequently triggers your speedlight and/or strobes).
All of these actions can be executed by just a touch of a button on your phone or iPad. Changing the settings can completely alter the entire process of capturing the splash, so we’ll be giving you our settings for the drop height, delay time, camera settings and more.

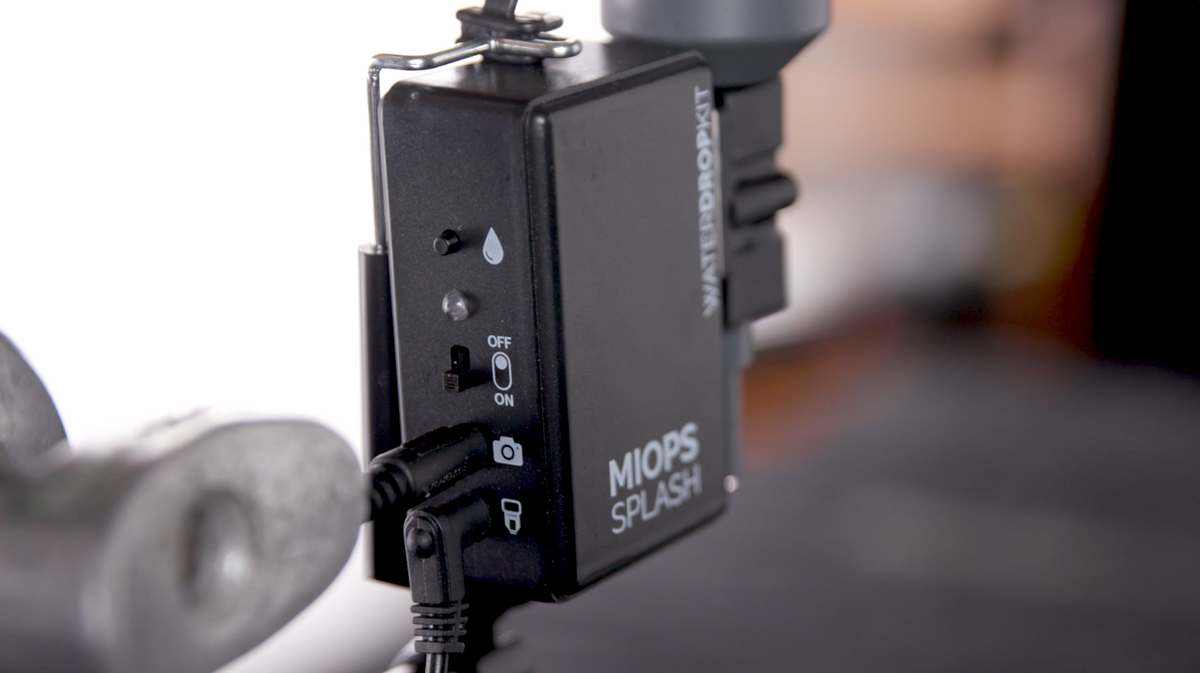
Begin by opening the app, select the connection type as “Miops Splash”, and sync your device. On the menu, there are options to add up to four drops one after the other. It’s recommended to not make the first drop too big, so we chose to set our first drop at 50 ms. To save your value, swipe down on the icon.
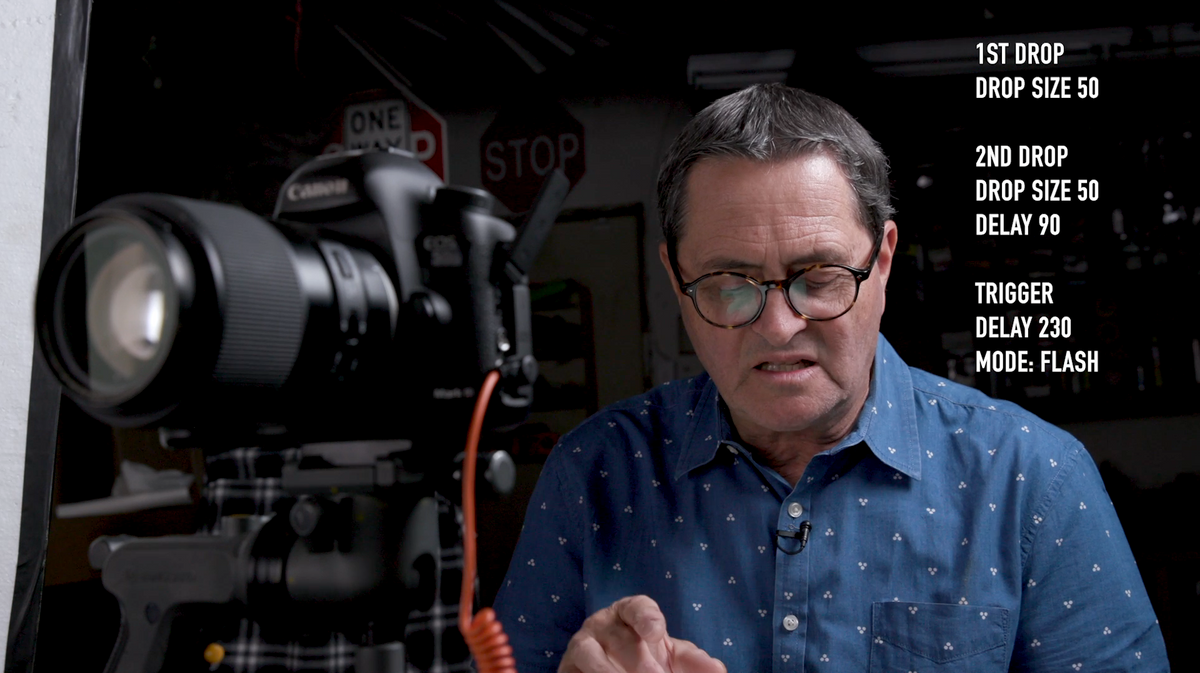
If you don’t make the delay long enough between the first and second drop, they begin to blend together. For our second drop, we chose to also set it at 50 based on testing done earlier in the day. To set the delay for the second drop, swipe over the icon and input your value. We set the delay for the second drop at 90, which we found to be perfect at a drop height of 8 inches.
Now we set the trigger for our camera and lighting. To do this, select “trigger” on the menu, input your value, and again swipe down to save. We didn’t want our trigger to go off as the drop is coming down, we want it to go off when the drop hits the water, so a delay is necessary. After more testing, we found that the best delay for the trigger was 230.
Something important to note: make SMALL adjustments to your settings! The amount of time from when the water droplet comes out till the moment the flash is fired is very short, so your margin of error is small. Making big adjustments will just have you chasing your tail. Here are the overall settings on the Miops app:


The lighting for our first setup is a single 600ex speedlight shot through a softbox at camera left and aimed at our white seamless background. This gives us nice, bright-looking water but with deep, dark shadows as the water rolls towards us.

Second Shot:
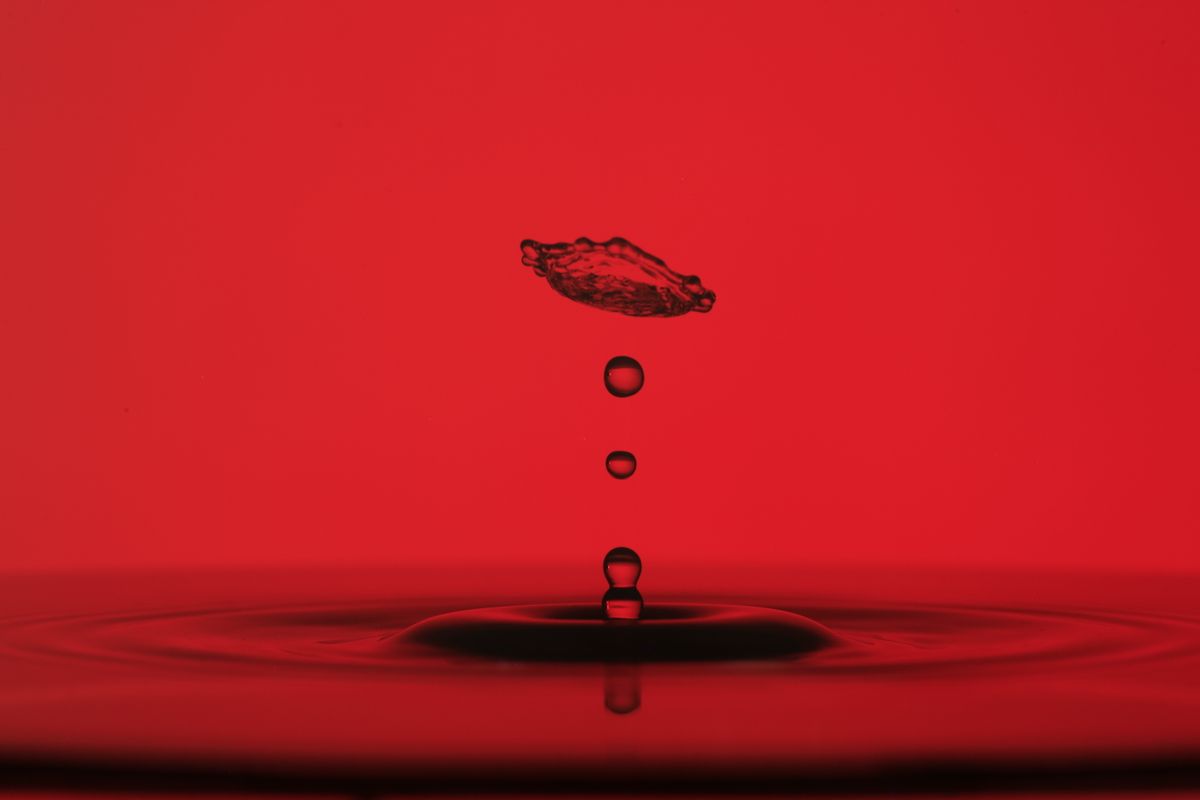
For our second shot, we added in a Dynalite Baja A6 strobe with a red gel at camera right aimed toward the bowl. To avoid lens flare from the strobe, we flagged off the front right side of the camera with some black cardboard.
Third Shot:
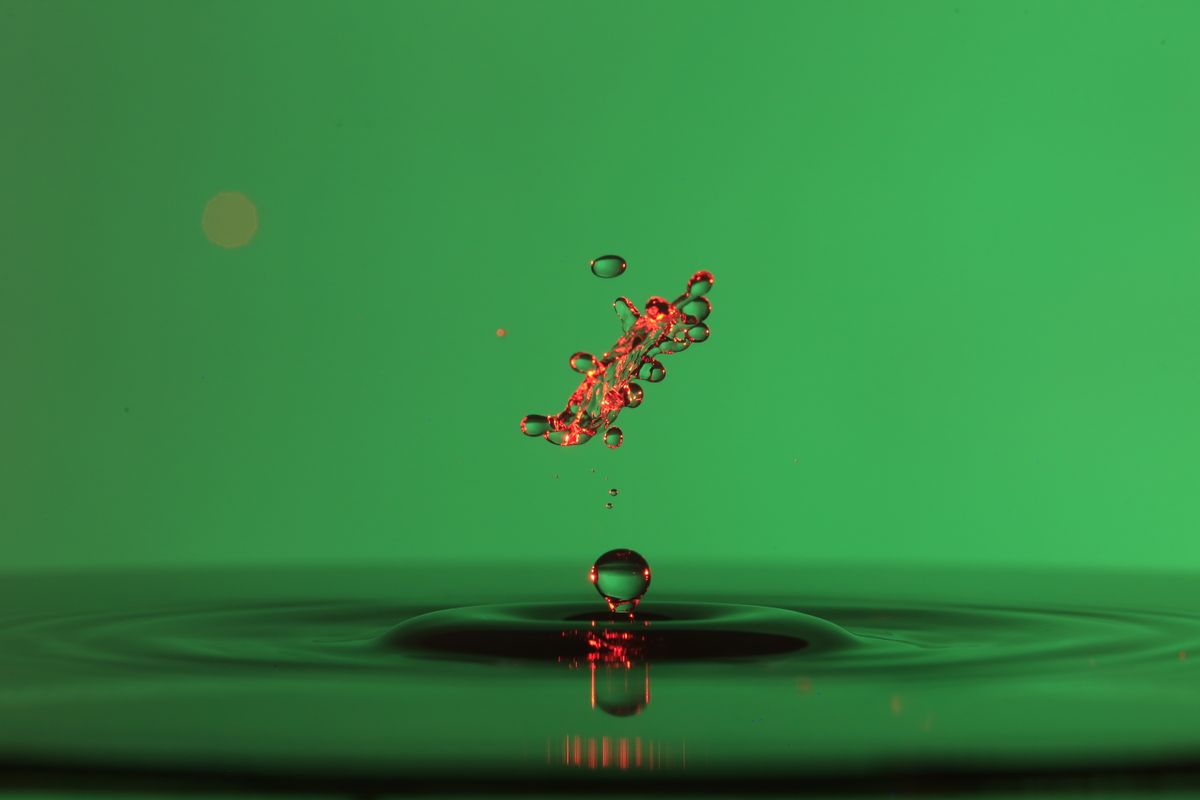
We put our red gel on the Speedlight at camera left, a green gel on our strobe at camera right, and we aimed them both toward the white background. This gives us a nice blending of those two colors together into a pastel look instead of hard red and green.
Fourth Shot:
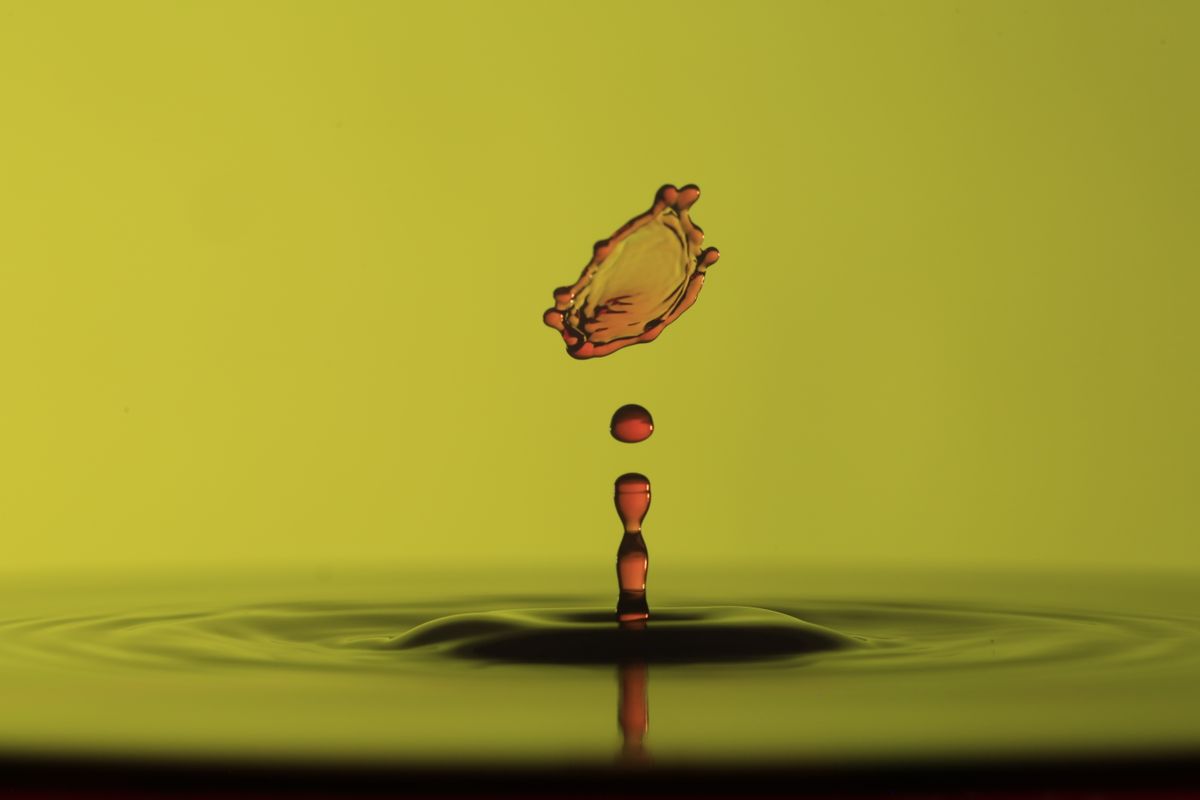
Instead of trying to create color with just lighting, for this shot, we added some red food coloring into the water in the bowl and in the droplet reservoir. To juxtapose with the red, we the put a yellow gel on our speedlight and took out the strobe from previous shots. This gave us some interesting looking water formations with that color combination. Check it out:
So there are some cool examples of what you can do with the Miops Splash Kit! There are so many different color combinations you can come up with using direct light, indirect light, food coloring etc.