Today we are going to do a video on how to use practical RGB lights for setting up cinematic lighting. and I have with me here today, Jema (@jemmadallender) from England.
RGB Color System
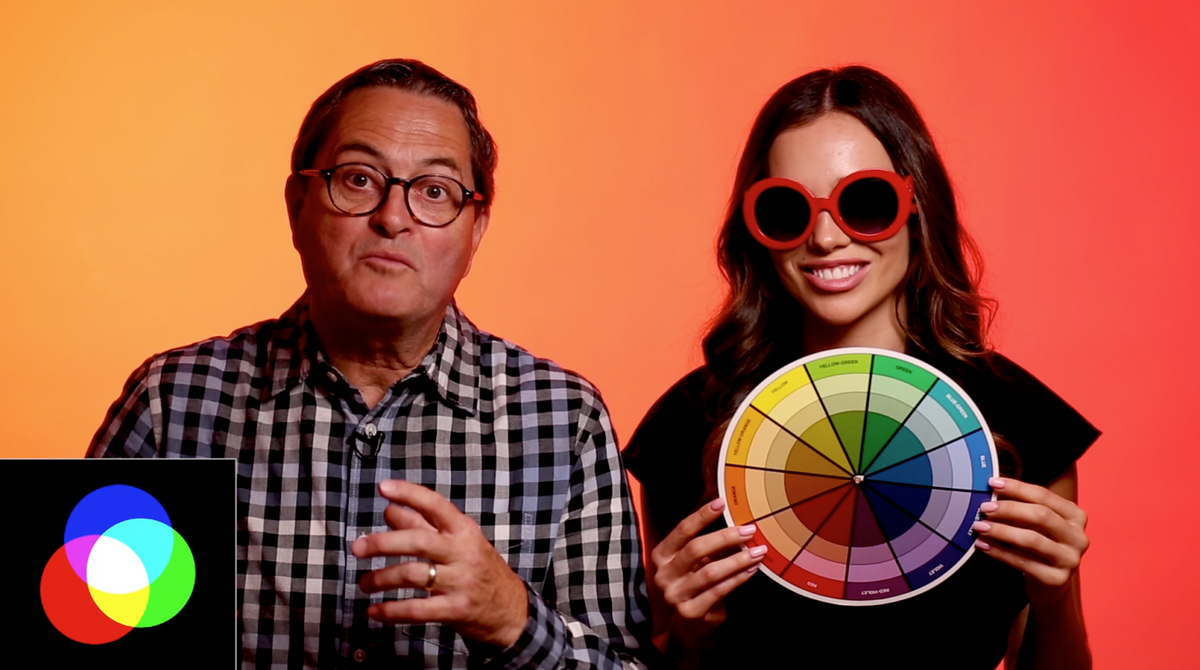
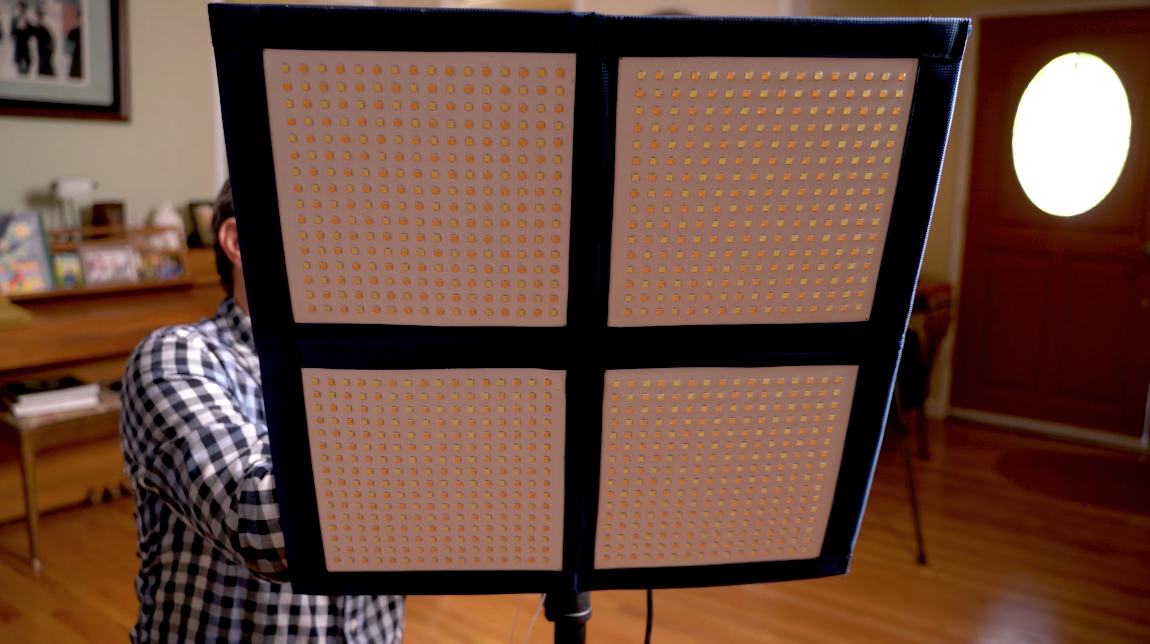
This light is built based on the RGB system which is an additive system of the colors red, green and blue, which combined together make white. Just like with our color wheel here, you can mix together the primary colors to get the colors that you want.
If you under how to mix colors together then you’ll understand the basics of how to use this light. When you add red and green together, you get yellow. Red and blue is magenta.
Green and blue = cyan. You don’t have to know the specific formula for each color, but you have to know which colors to add in order to get the color you want. If you want your light to be a little bit more yellow, then you are going to add red and green. When you add all these colors equally together, you get a white light.
Why use RGBW Lights?
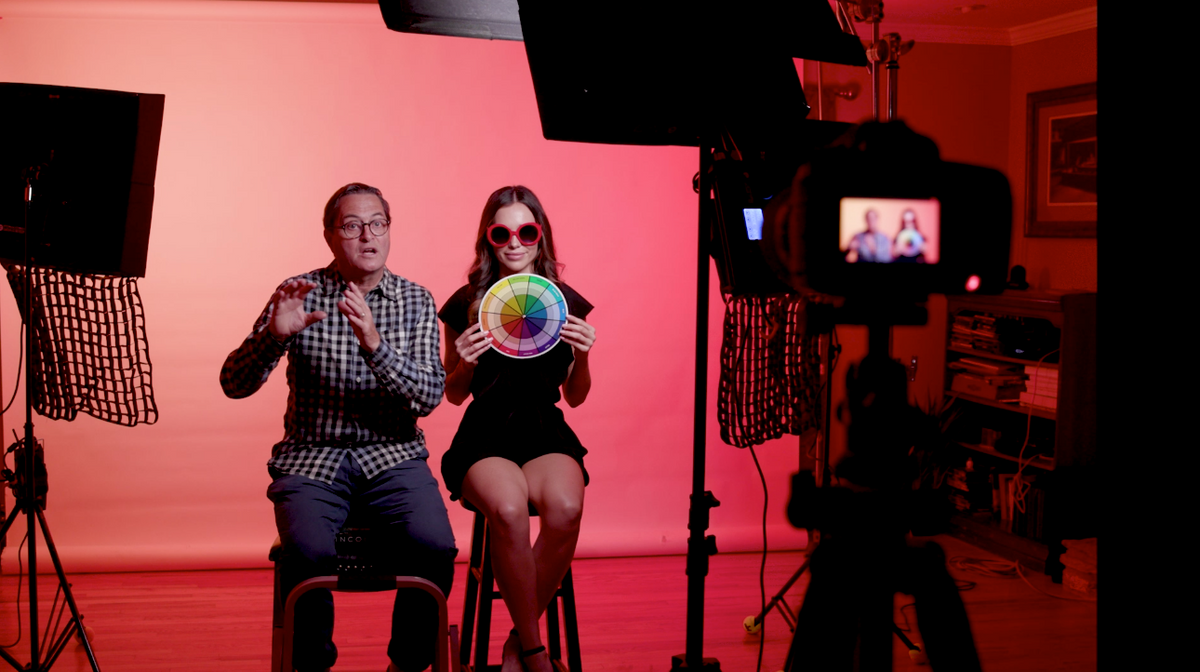
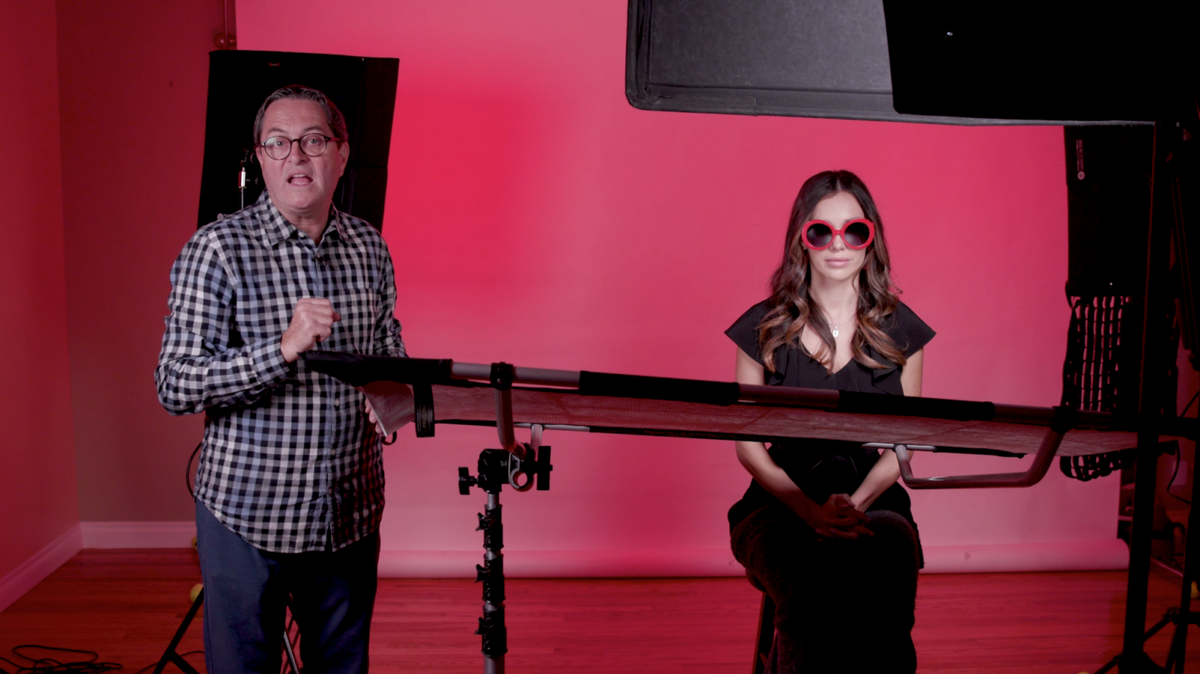
So why do people use RGB lights? It’s very simple, you don’t need to mess around with gels and tape anymore. These lights make it easy to control light when on a set. Let’s take a look at several lighting setups and color options. We are taking a bit of a fashion style to these setups because we are using a white backdrop to set everything up.
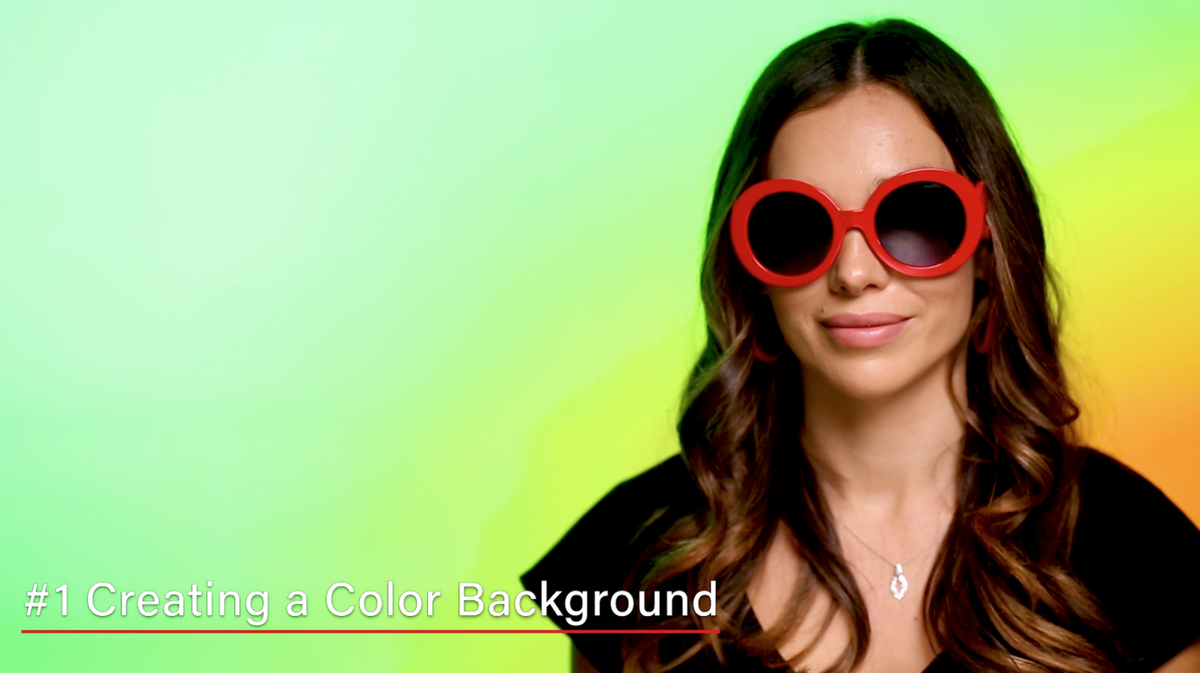
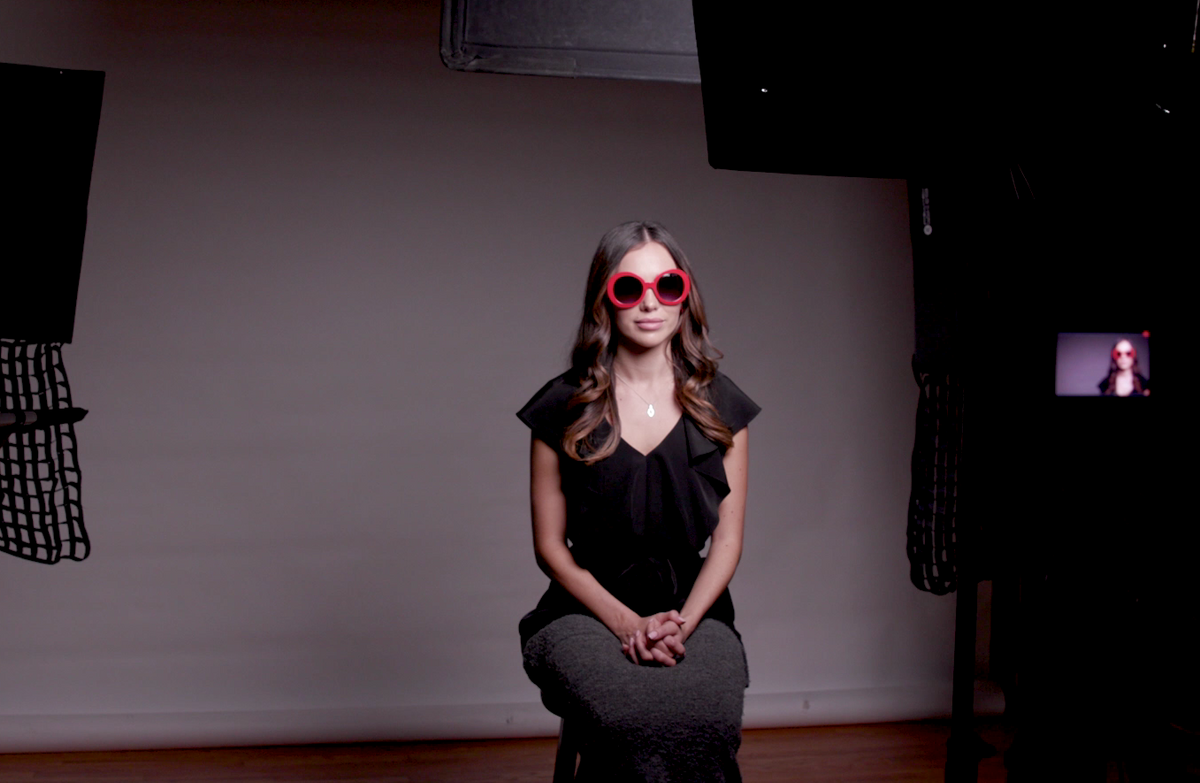
Lighting Setup #1: Creating a Color Background
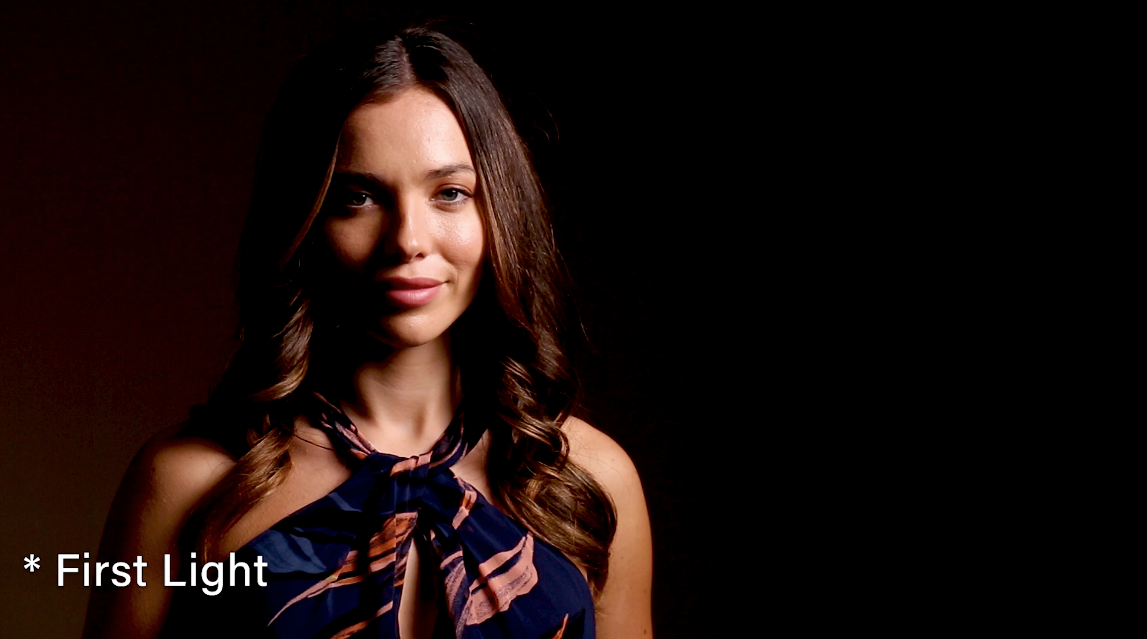
I’ve set up a butterfly light on her face and to keep it off the background. I want to protect the colored light from the background as much as possible.
Then I added a flag in order to block out a lot of that light that is spilling onto the background because the more light you get onto the background the more desaturated your color is going to be.
I added two Intellytech RGB Lite Cloths to give the background a nice red and set it to about 75%. To lift the shadows from her face, I’ve used a reflector to bounce the light back onto her face.
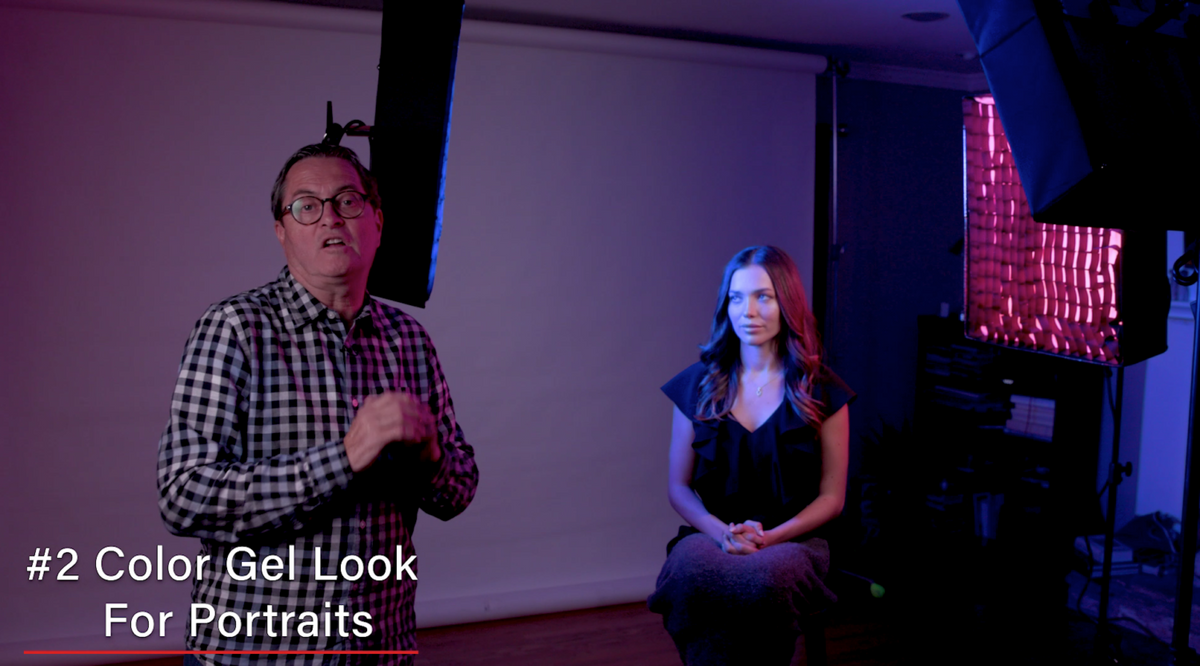
Lighting Setup #2: Color Gels for Portraits
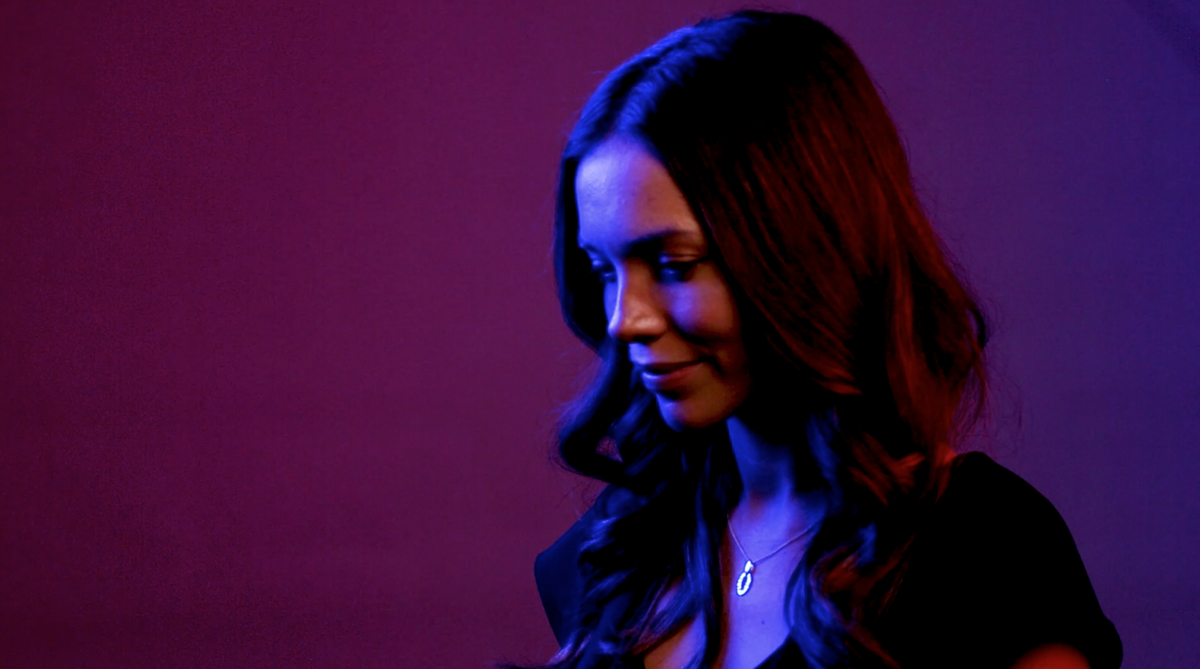
This is a very saturated style that we are going for, so all of the colors are going to be strongly contrasting on her face. My first light is blue and set to 190, it’s all in reference to exposure.
So if I’m at f11 then I’m going to have to dial the light up a lot more, but if I’m wide open then I can dial the blue down. It doesn’t change the color as it does the intensity.
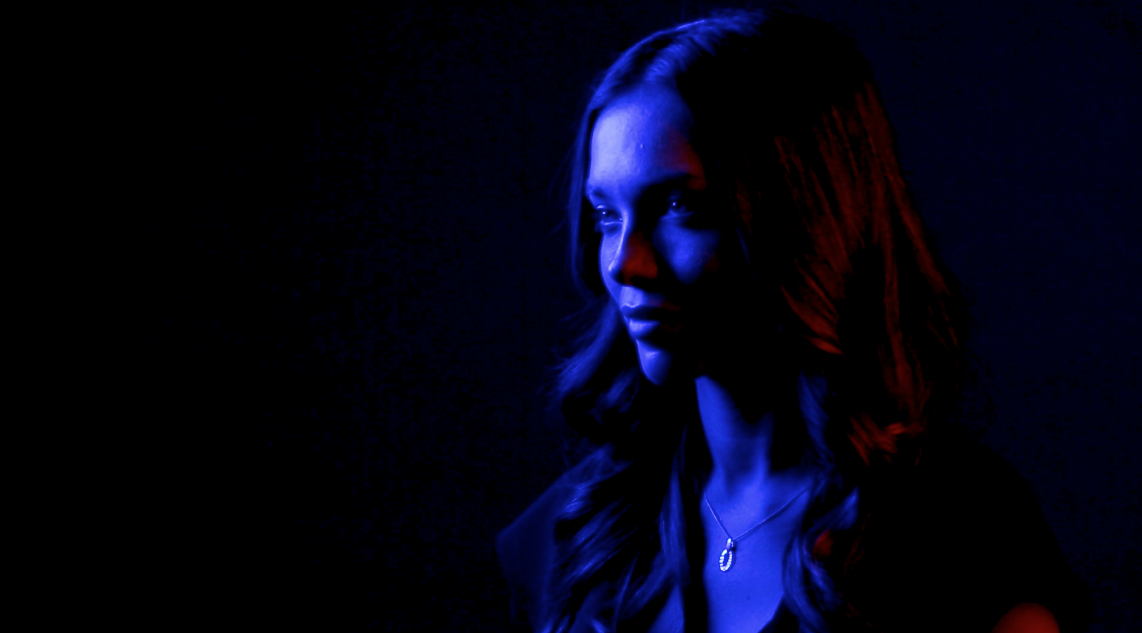
The second light is red and set to about 90. The idea behind this lighting is to get a nice red on her hair and a nice blue on her skin. You can really be flexible with this coloring. Without the BTS lights on, the RGB lights become extremely heavy and saturated.
If we use one white light to brighten up the image, it really cleans up the color and opens up the background. When I turn the red light away from her, I can spill some onto the background, which adds a nice wash to the image. The positioning of the lights is key when it comes to using these RGB lights, so you can get a nice contrast of colors in the shot.
Lighting Setup #3: Creating a Party Scene
Now, these lights don’t have this particular effect on them, so what we’ve done is simply just scroll through the presets to make this repetitive light effect.
By taking off the antennae of one of the lights, it doesn’t respond as quickly creating a delayed response time.
So we begin building the set by setting up a warm rim light on her head. Then we set up our other two lights to go off around her that creates a great party light atmosphere. Now even with one RGB light, you can create this effect too, it just gives a bit darker of a vibe.
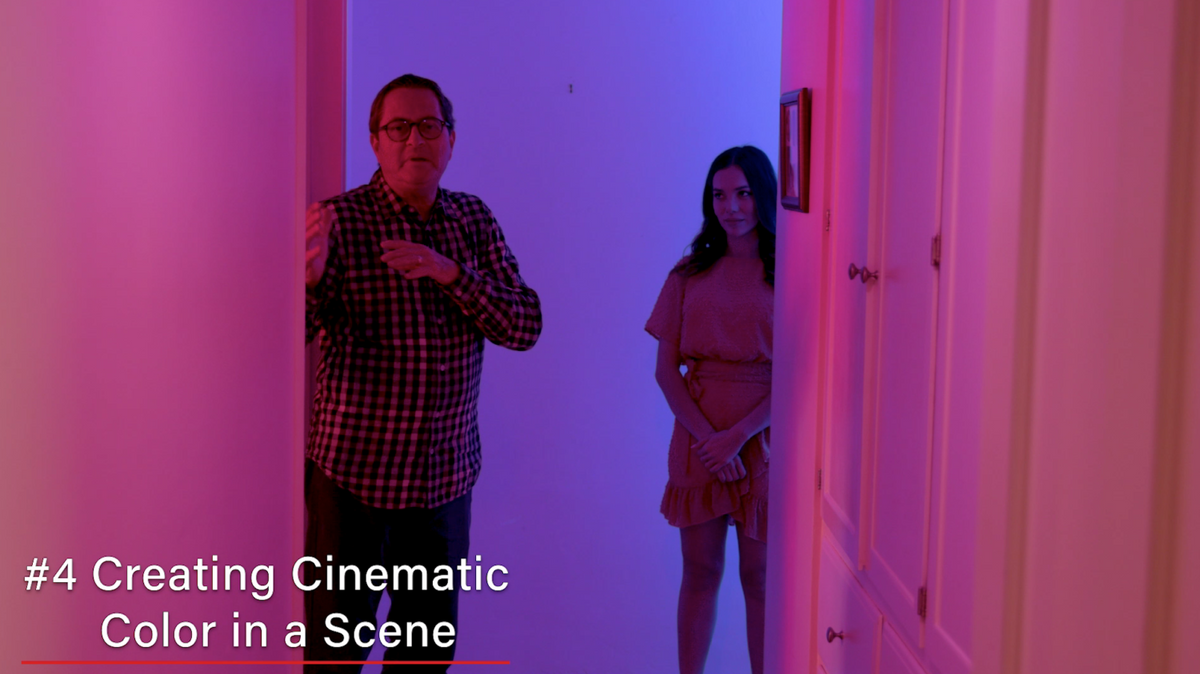
Lighting Setup #4: Creating Cinematic Color in a Scene
We made this hallway into a more moody atmosphere by using the RGB lights as cinematic lights. First, we have a blue light at the end of the hallway bouncing towards the wall to create a flood of blue light as she enters in the hallway. Then we have a red light coming in from the room lighting the rest of the hallway.
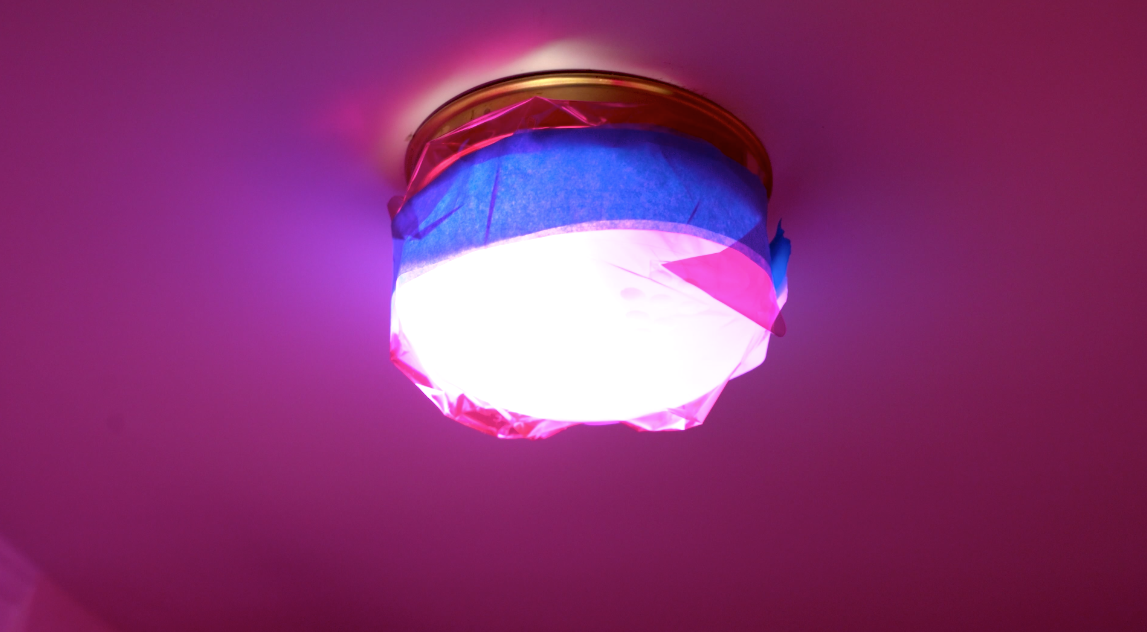
We didn’t have another RGB light, so we went old school and taped the overhead light with gels. Another great thing is that you can use RGB lights to match the gels that you already have.
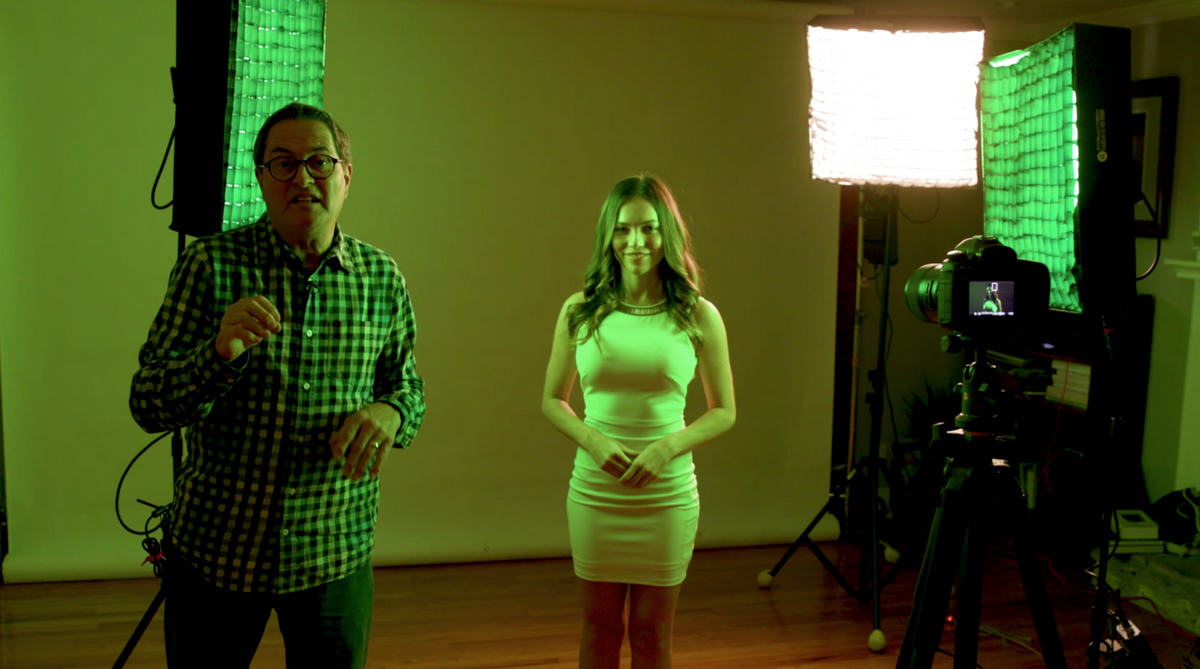
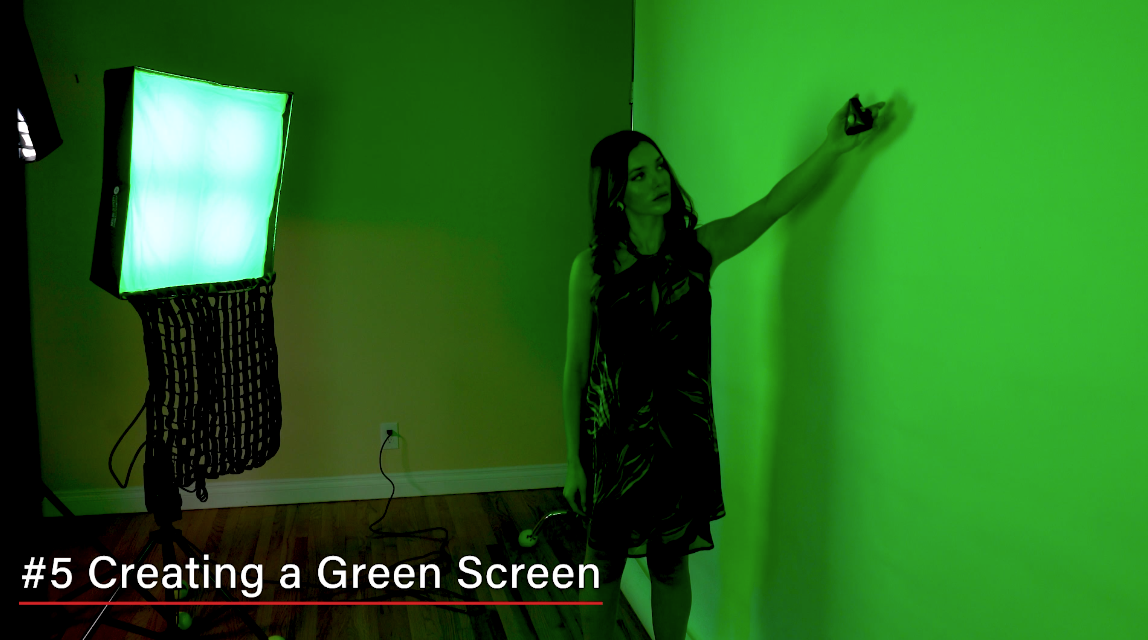
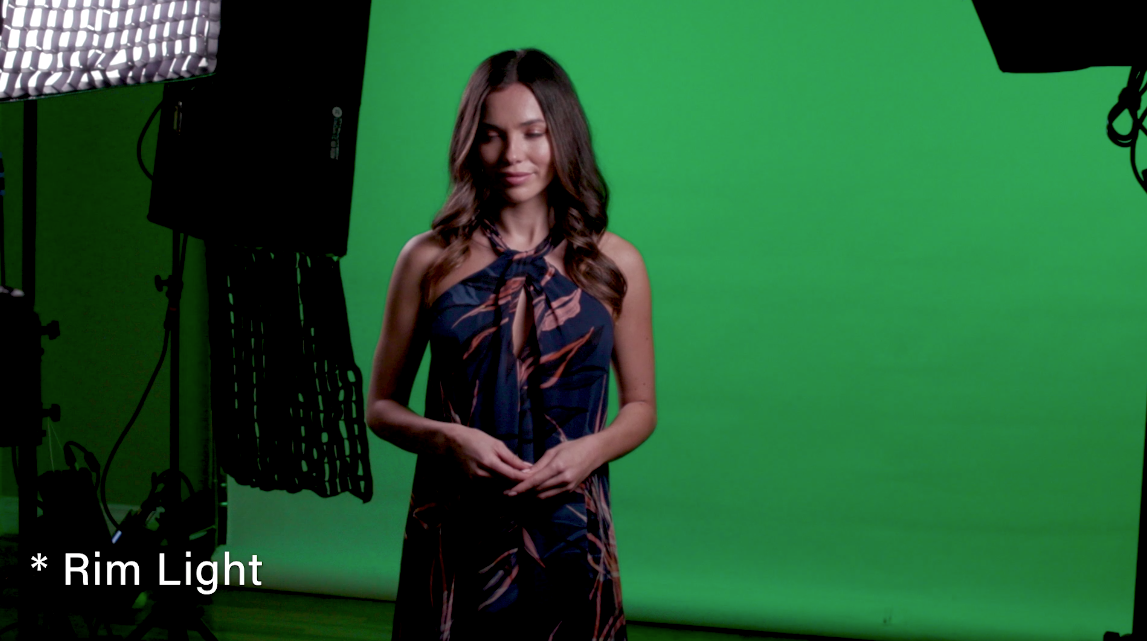
Lighting Setup #5: Making a Green Screen
We’ve got a white background here and we are lighting it green on both sides. The model is a good deal away from the screen so that there is no green light spilling on her.
Then we have a white light on her face with a nice rim on the back. It’s just a simple and easy way to create a green screen without the hassle of using the cloth. Important to remember is to keep the green screen a quarter stop underexposed.
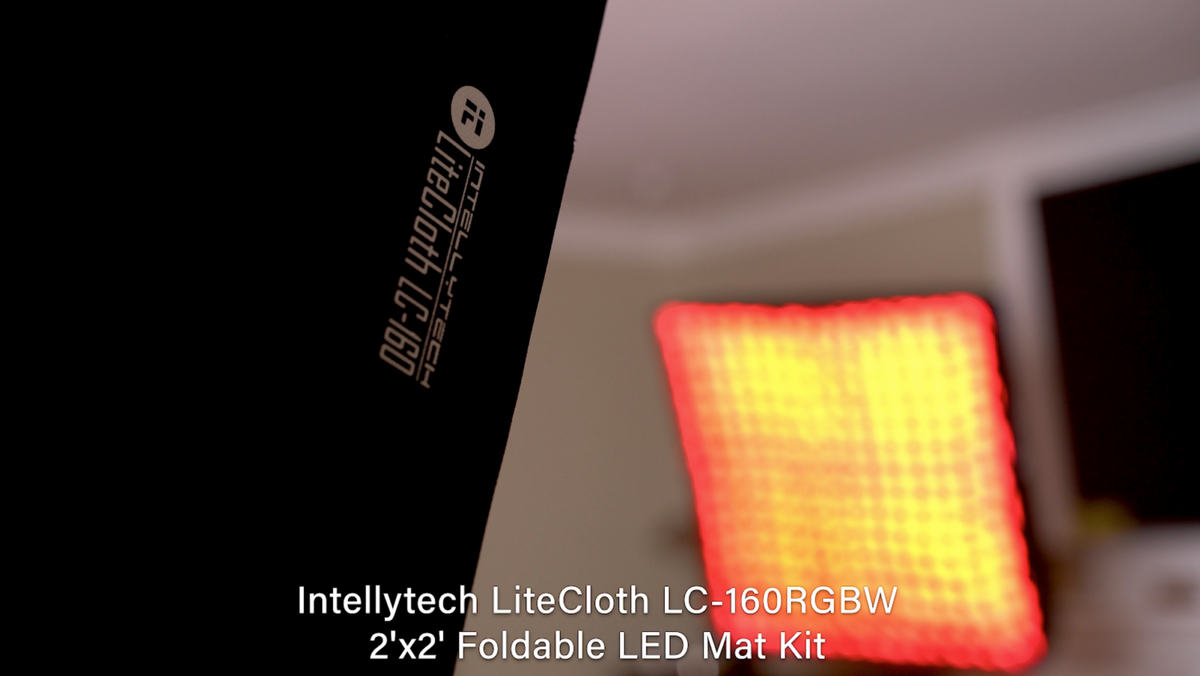
This light is just so great and versatile. We are using the Intellytech LiteCloth LC-160 RGBW 2 by 2 for this video today. You can use it to get great vibrant colors onto your set with one easy light without the hassle of gels and all sorts of additional expenses.
If you are interested in learning more about how to set up and use the light, we talked about it in our previous video here.