 The Good Old Days
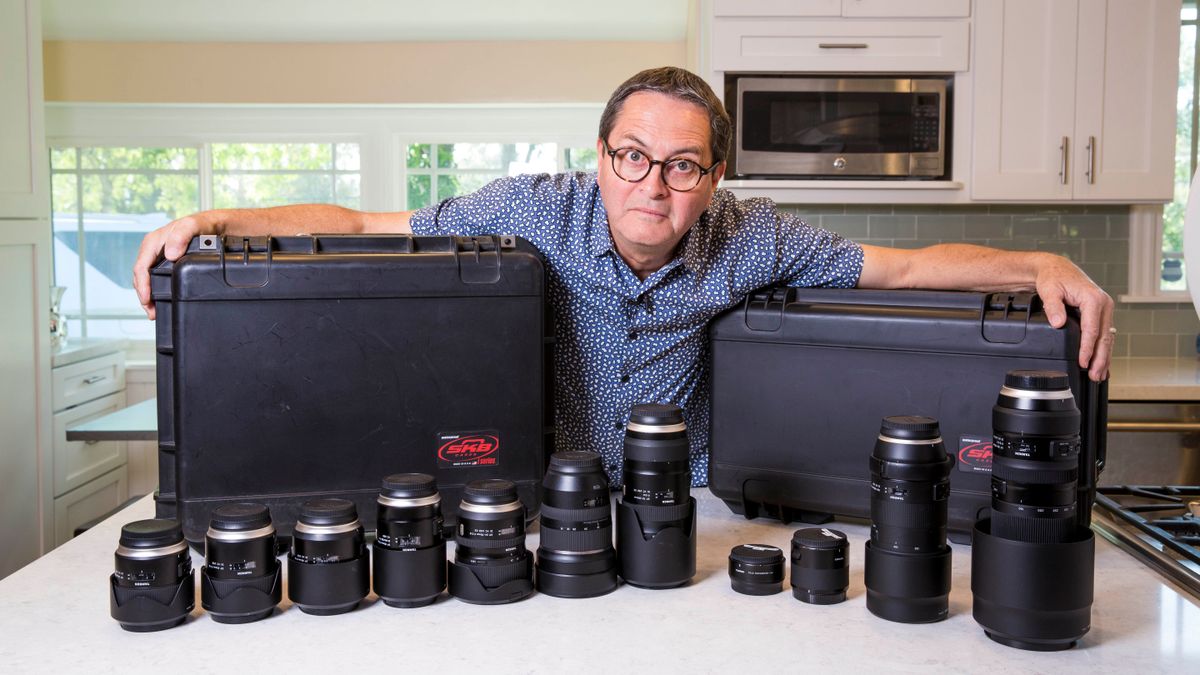
Everyone starts off with one camera and lens. Then everyone moves along and grabs a few more lenses, and a few more, and a few more!
Sooner or later you have to upgrade your bag to fit your gear. And then you find yourself in a predicament. Now you have a separate bag for your camera and another one for your lenses.
Great! But now you have to find a way to have all of that stuff fit nicely into your new case. Most of the time these cases come with inserts with velcro and you can easily rearrange the slots to fit most everything. The downside to this though, is that it’s not a snug fit and your precious gear could still be flying all around in your bag.
This is when getting custom foam inserts for your case is a good idea.
To Infinity and Beyond!
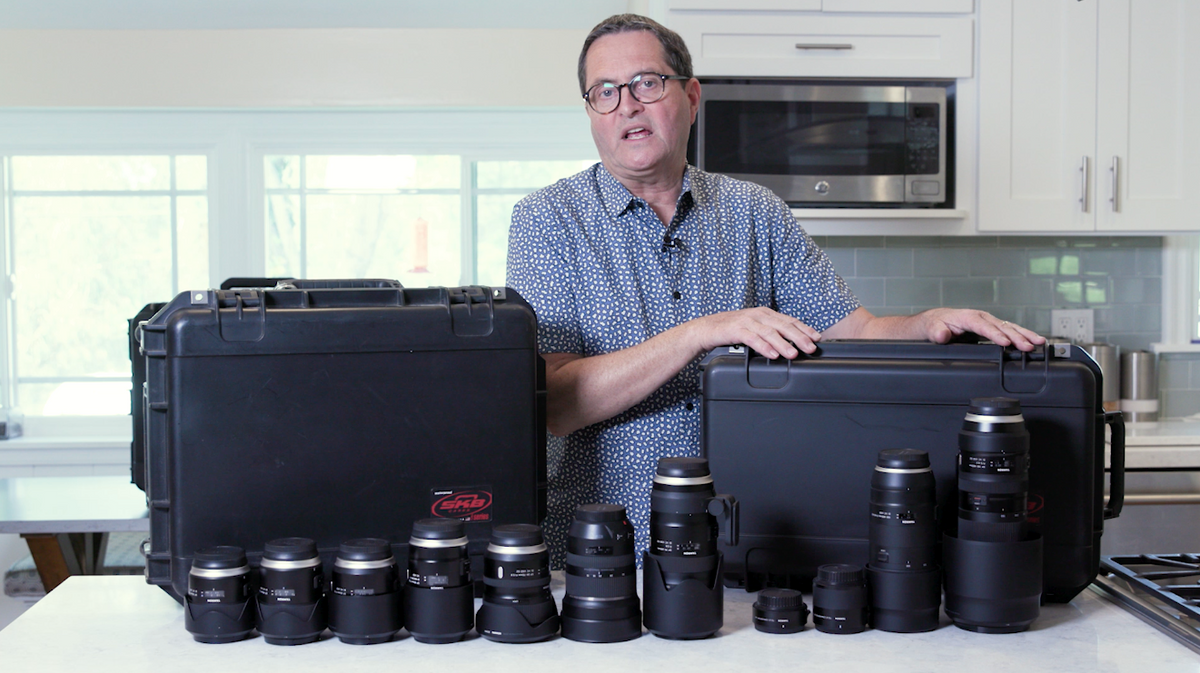
I love the SKB 3I-1914-8 case. It’s big enough to fit most things but not too heavy to where you can’t carry it alone. It’s got a slide out handle and wheels so it can tag along with you.
So I’m going to put all my lenses in the 1914 case and it’ll travel with me on all my shoots. Then I’ll put my telephoto lenses in a separate case. I like the SKB 3I-2011-7 (it’s my second favorite case).
Most of the time, you don’t need your telephotos to be with you always. These lenses are heavy and bulky so I’d prefer to not have them around all the time. But if I’m doing wildlife, sports, or action photography, these lenses are right by my side.
Custom Foam Inserts
Mycasebuilder is a great company that does custom foam inserts for any shape or size case that you could imagine. They have a huge library of cases to choose from all of the manufacturers. You can also measure your own case if it’s not on their site.
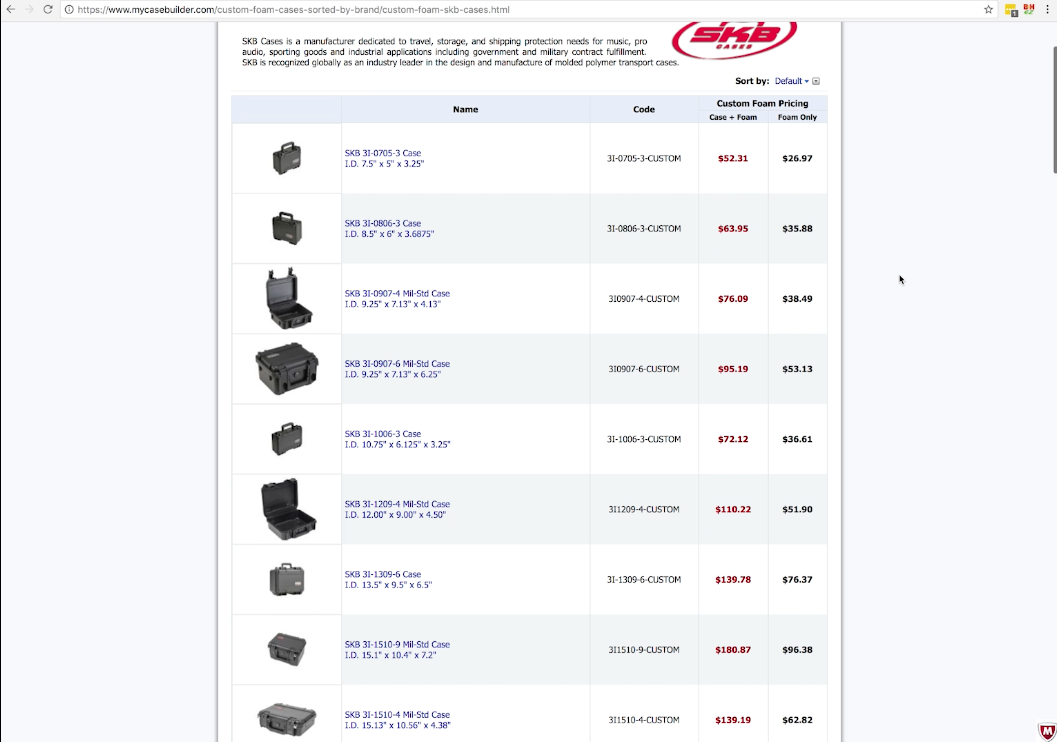 Once you select your case size from their library or from your dimensions, you are taken to the case editor page.
Be sure that you have a username and login information so you can save your work and come back to it later.
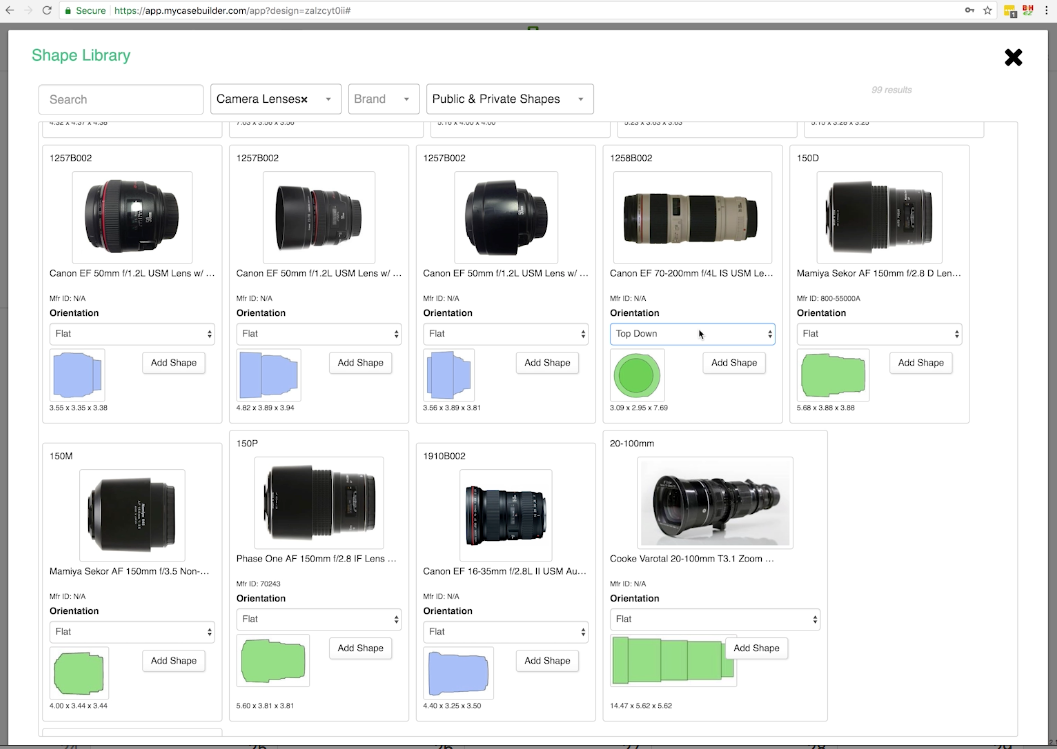
In the case editor, you have a few options to choose from when adding shapes. You can select shapes from their library, you can take a picture of the shape and trace it in their system, you can create circles and squares, and free draw a shape.
Most of my lenses weren’t in the library, so I had to measure out my lenses to find out where to put them.
 I organized my lenses based on focal length. Mycasebuilder doesn’t have a great way to label these, but you do have the option to at least put a title on each element. You do have to select each one individually to see the title.
It also gives you some aligning and grouping functions so you can keep the green circles in check.
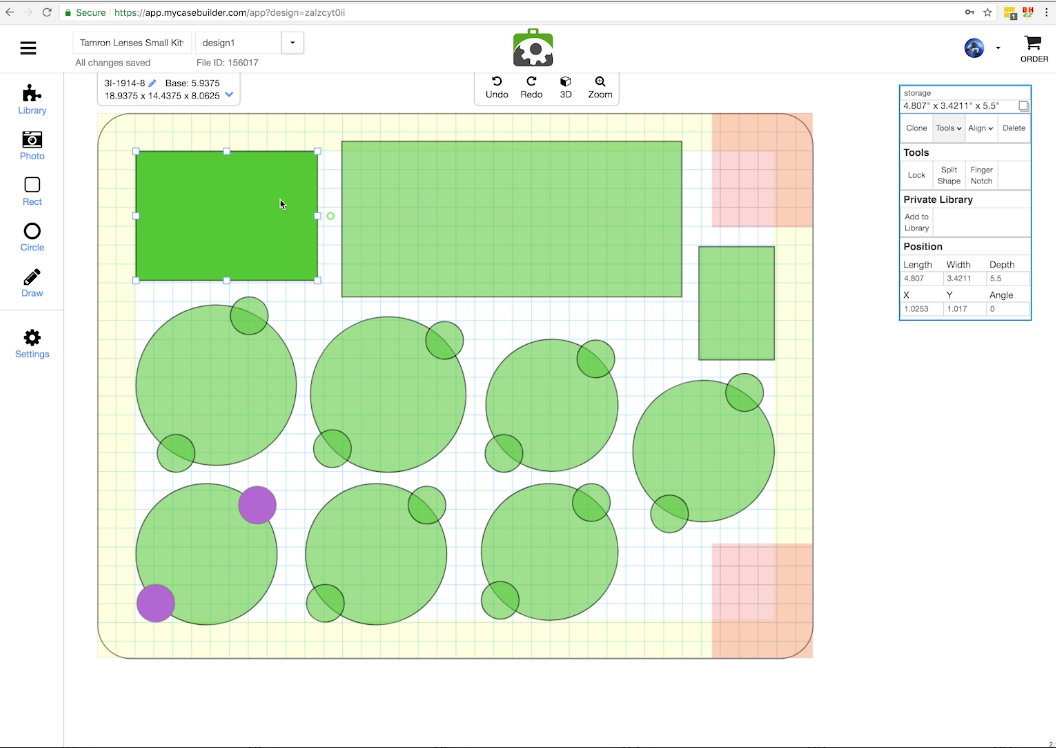 You have the option to put finger notches on the circles and squares you make. I opted to put my finger notches at an angle to minimize the dead space in between the lenses. Since the foam is laser cut, you don’t have to worry about it breaking as easily as pick-and-pluck foam.
If you have an awkward shape, you can take a picture of it and trace it in their system. Be sure to measure it across and give depth measurements so they can figure out the dimensions of your object. This is great for weird cameras like the C200 or your rubber duck!
Be sure to give yourself about half an inch of room between each thing so you can ensure that there won’t be any issues. 0.25 inches apart is a bit too thin.
Once you have your case the way you want it, you can look at it in 3D! This helps you to visualize your case and catch any mistakes you might have made. Make sure you check that none of your inserts cut through to the bottom of your foam. Having at least a half inch of room on the bottom is recommended.
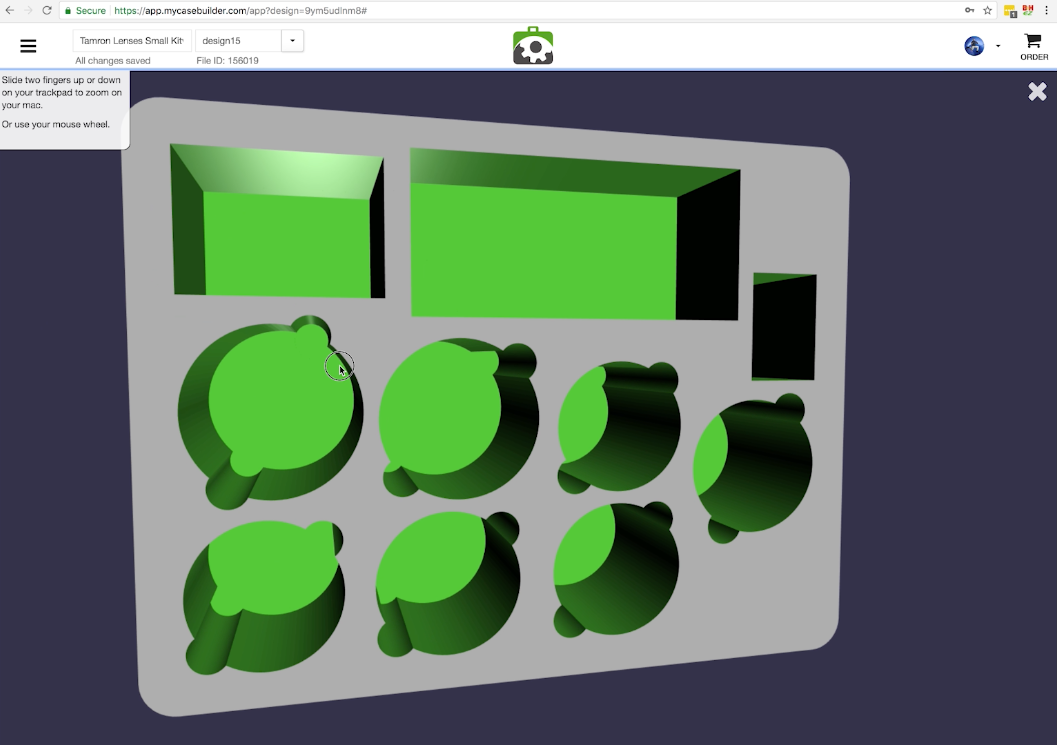 If you ship the insert and it’s not to your liking, as long as you pay for insurance, you can create a new insert and have them send it out for free.
Gear Used
Tamron 100-400mm: B&H / Amazon
Tamronn 1.4x Teleconverter: B&H / Amazon
Leave a Reply