

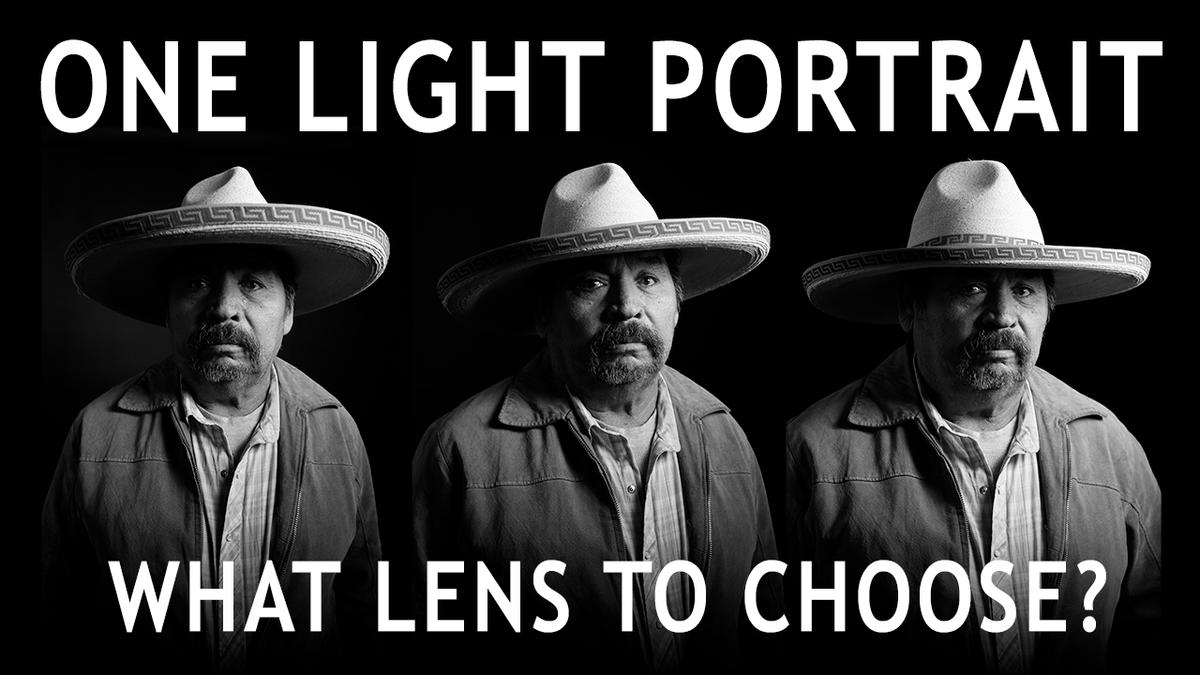
Hi, this is Jay P! We’re starting a new series on The Slanted Lens called “One Light Portraits” where I take my black background out on location and capture portraits of real people while teaching a single principle at a time, so you can understand the portrait process. Today our principle is the lens!
We shot with my neighbor, Isidro. I see him out riding his horses all the time and I’ve always wanted to do a portrait of him, so we finally made that happen. Most people think there’s only one lens you can use to take a portrait, and that’s just not true. There are several different things to consider when choosing lenses, so I’m going to experiment with different Tamron lenses and see which one is going to be best for your one light portraits.
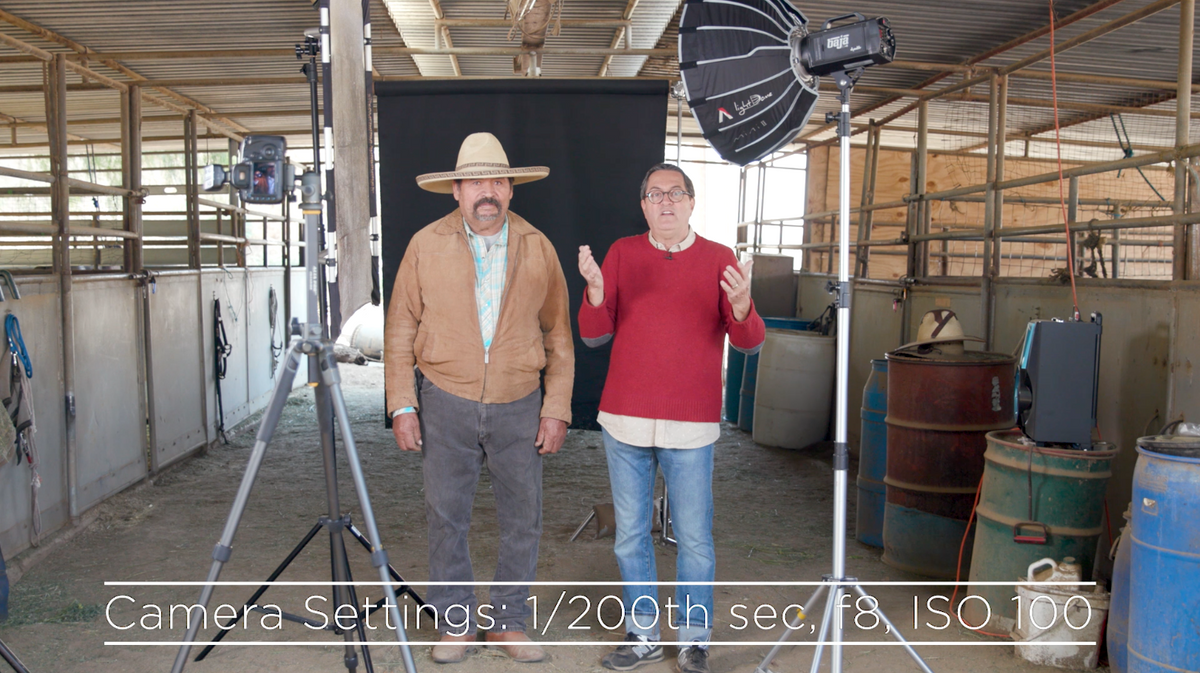
Here is our camera and light setup for today:
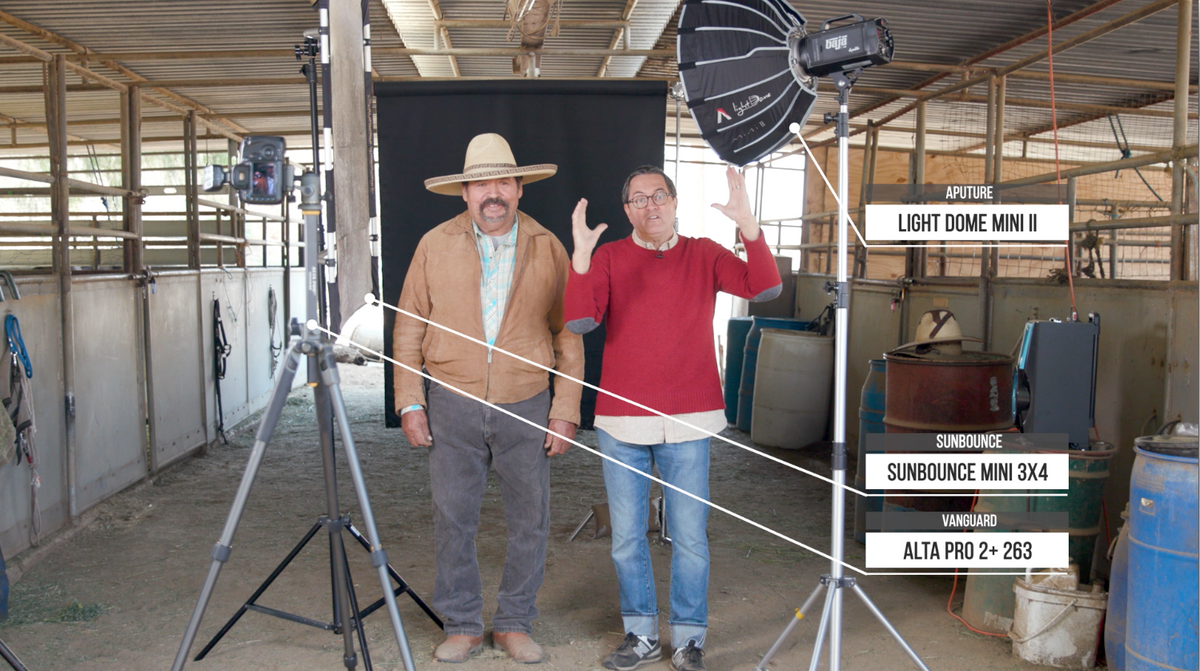
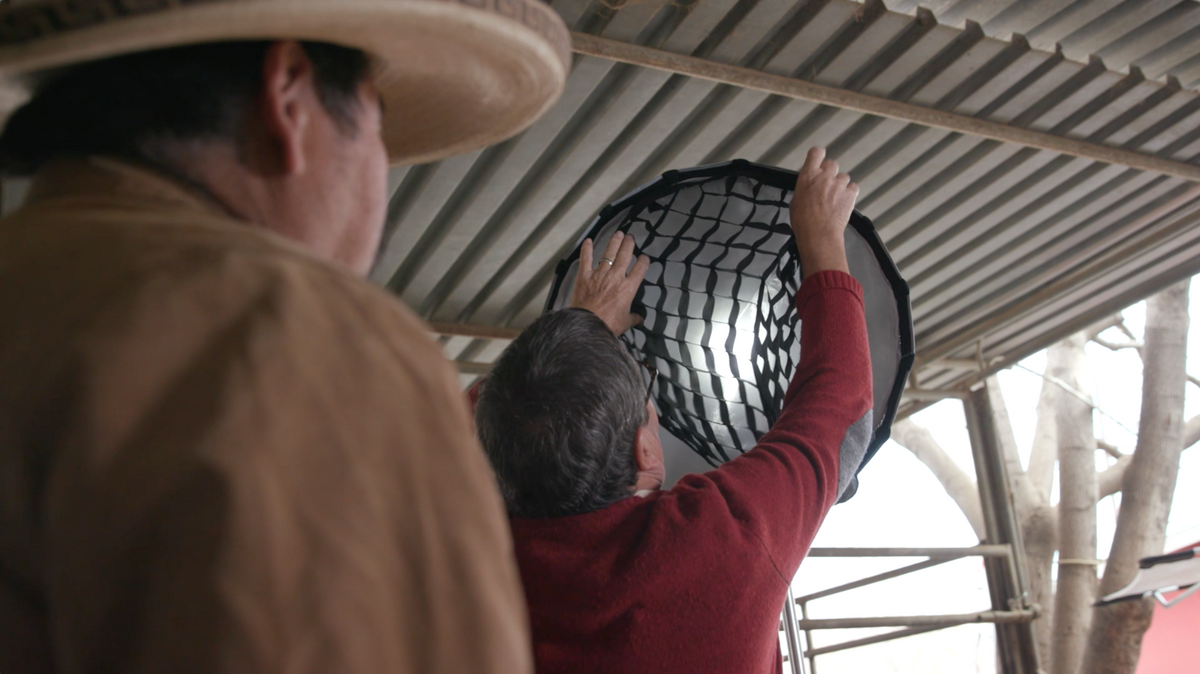
The Aputure Light Dome Mini II is a small, round octadome that has a grid that allows me to tilt up and shadow some of the light from his chest and to create a nice pool of light. It also gives us a harder light that is great for black and white portraits to accentuate the face.
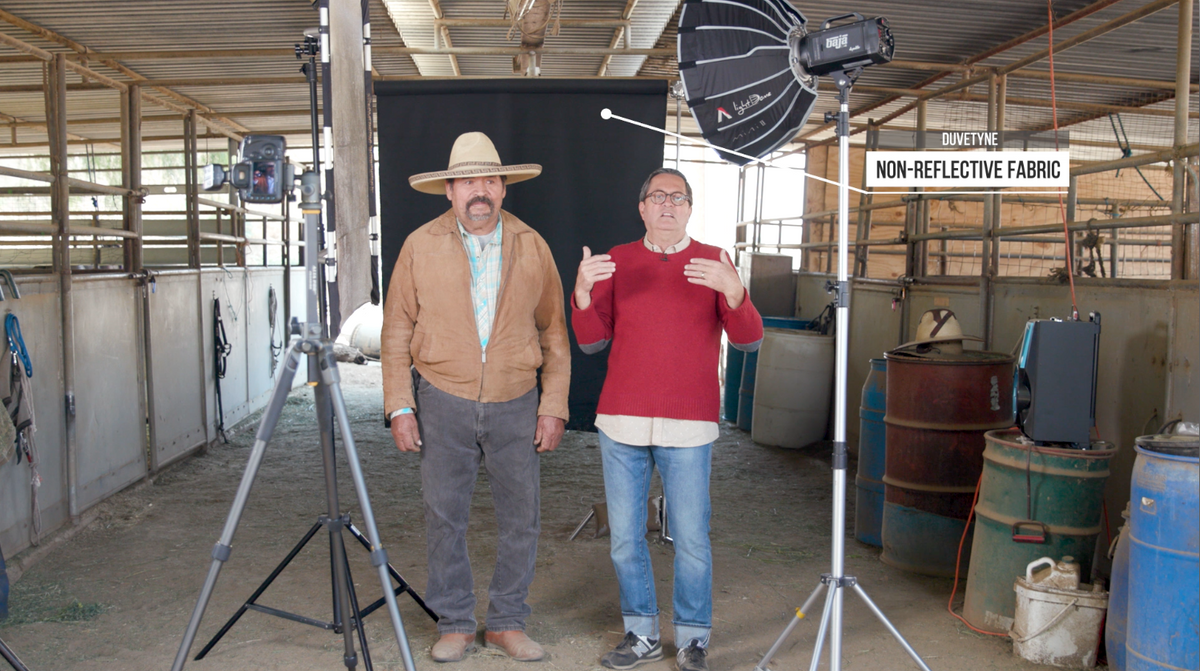
For the background, we used a piece of duvetyne that is a black, non-reflective surface you can get at B&H or a fabric store.
Our camera settings will be locked in at 1/200th sec, f/8, and ISO 100 for each lens we test.
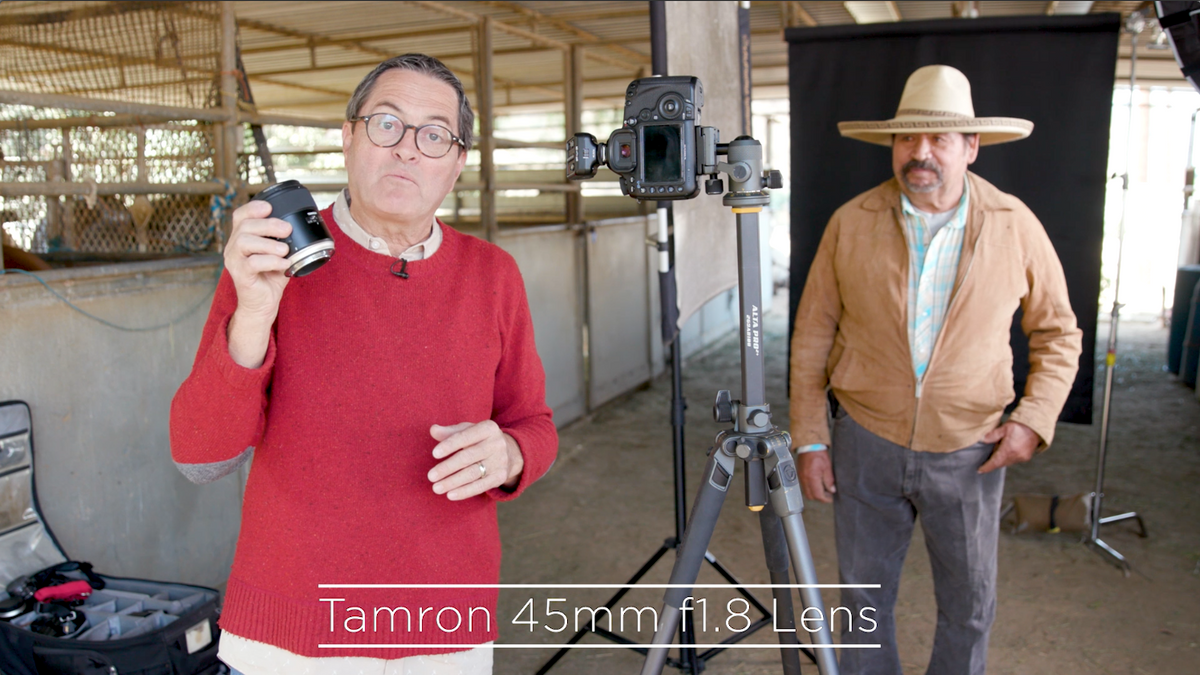
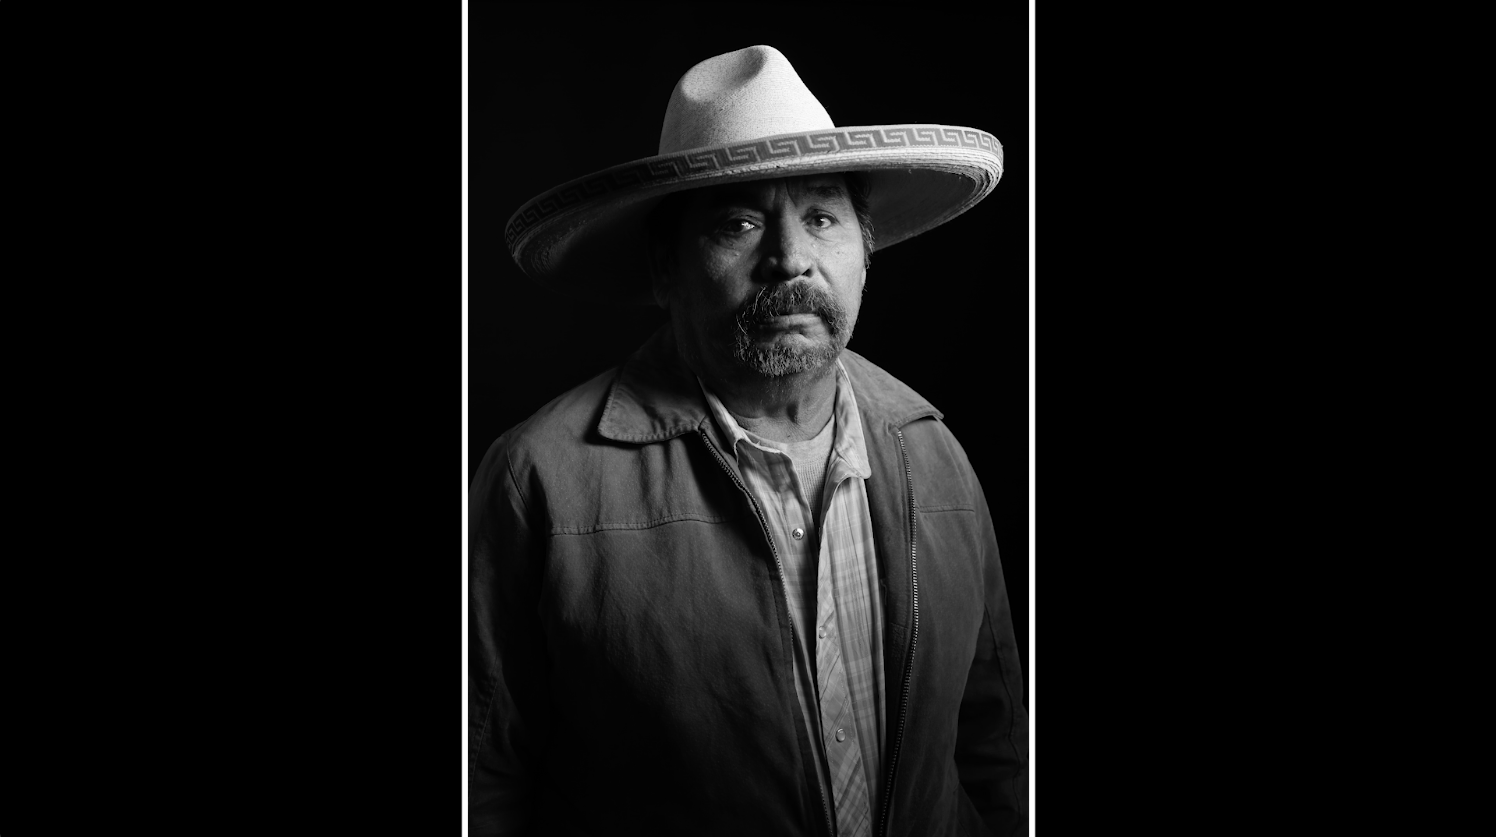
Lens #1: Tamron 45mm f/1.8
Here’s the resulting photo from the 45mm:
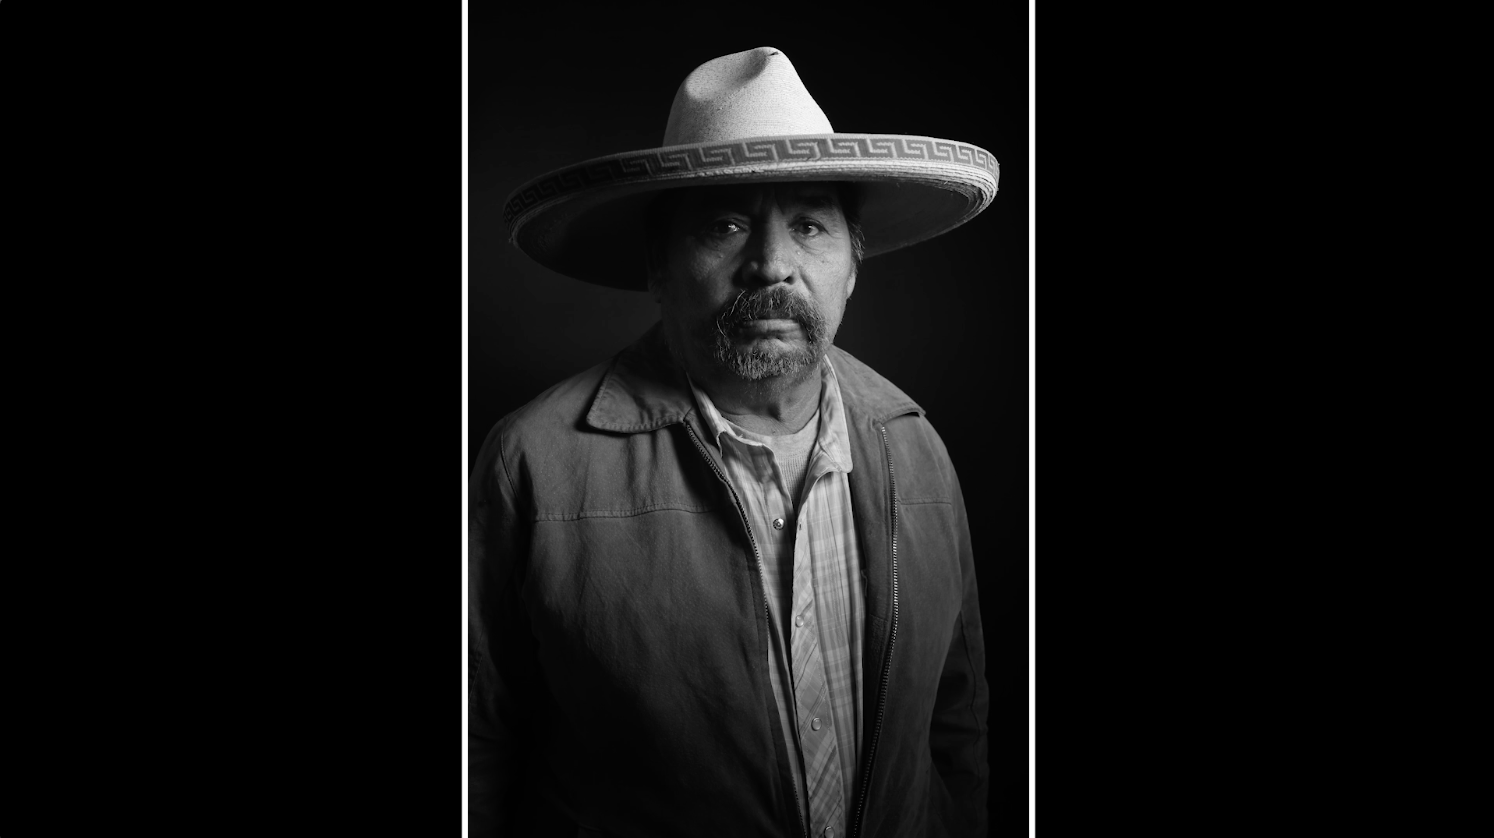
Lens #2 Tamron 35mm f/1.8
Now let’s go with something a little wider. Why would I choose to go with a 35mm or a 24mm for a portrait? Well, that means I can go in much closer and it gives us that intimacy of being closer to the subject. It can distort the face and give the photo a more comical look, but it also gives you context with the background and how close to or far away your subject is from it. So it’s your decision, stylistically, if you want to choose this lens. It’s great for environmental portraits to give a great view of everything around you. But to fit our background into the entire shot, we had to move it in a lot closer. Here is what we got:
Lens #3 Tamron 24-70 f/2.8
We’re going even wider for the next lens, a Tamron 24-70mm f/2.8. It’s difficult to keep the background in view, so we had to move a little closer to Isidro.
His face became larger and his shoulders became smaller as they fell away into the background.
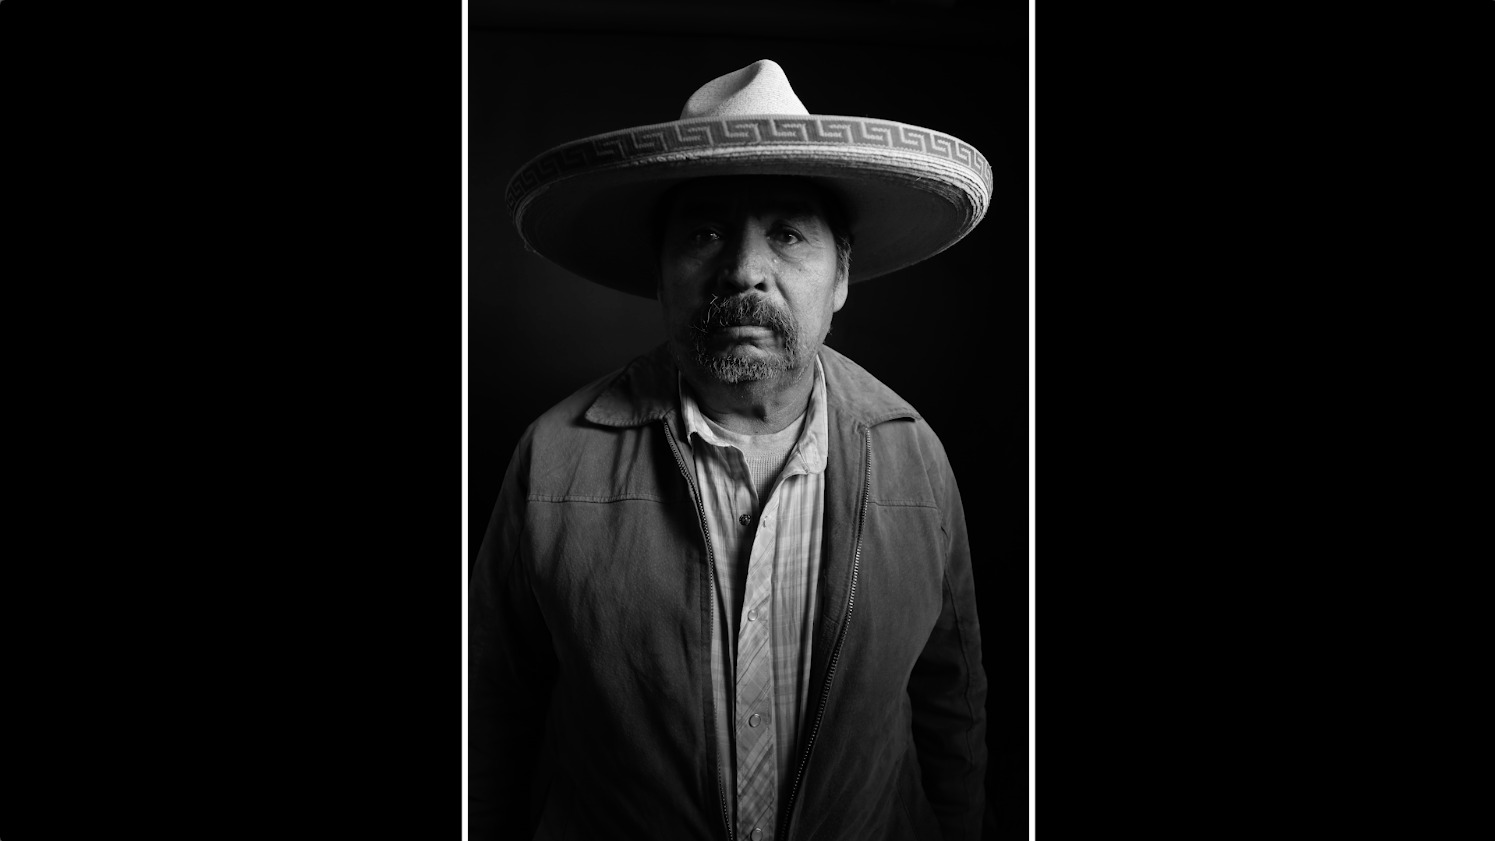
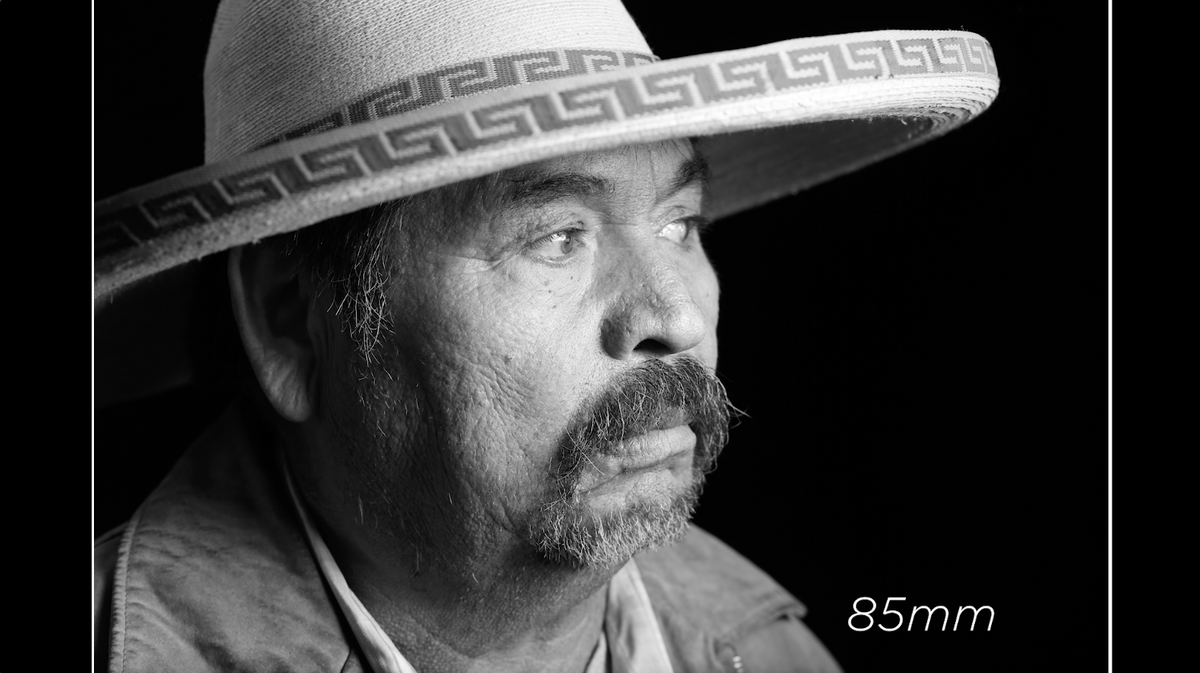
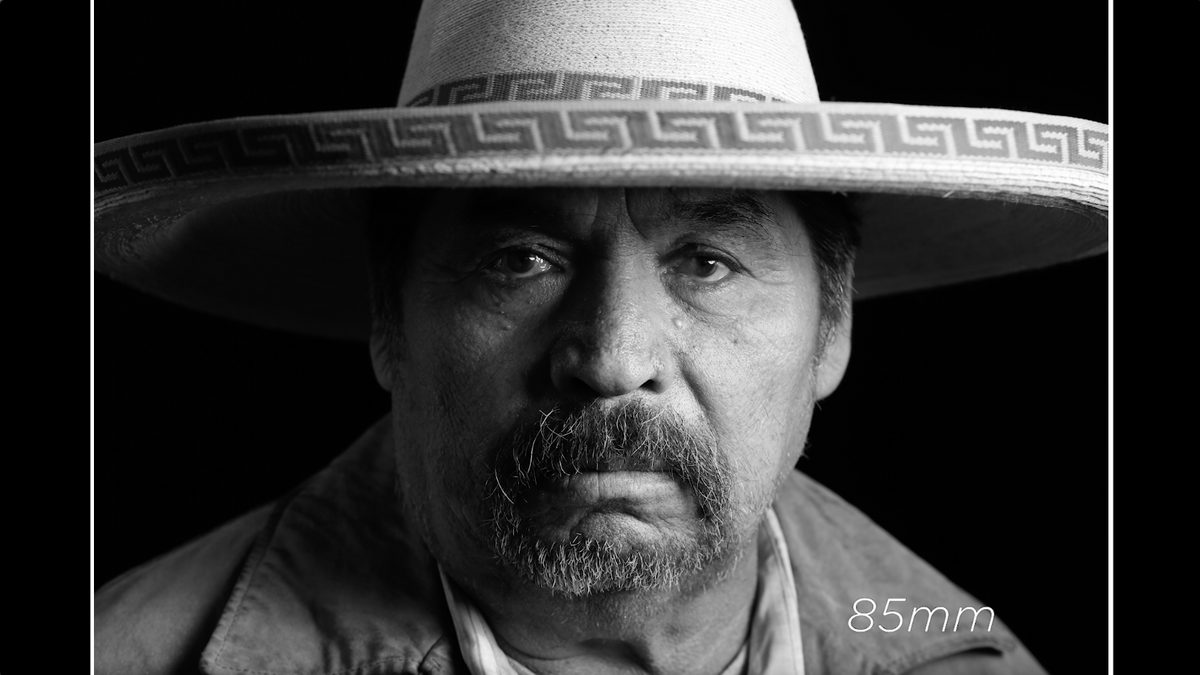
Lens #4 Tamron 85mm f/1.8
For the next lens, we are moving onto the Tamron 85mm f/1.8. Tamron also makes a macro 90mm f/2.8 that gives you the face flattening properties of a telephoto, but also has macro capabilities if you want to really get in tight. But with the 85mm that we used, I could then move the background back again where the light isn’t spilling on us to give a nice deep black on the background. We can also bring our fill card in a little more.
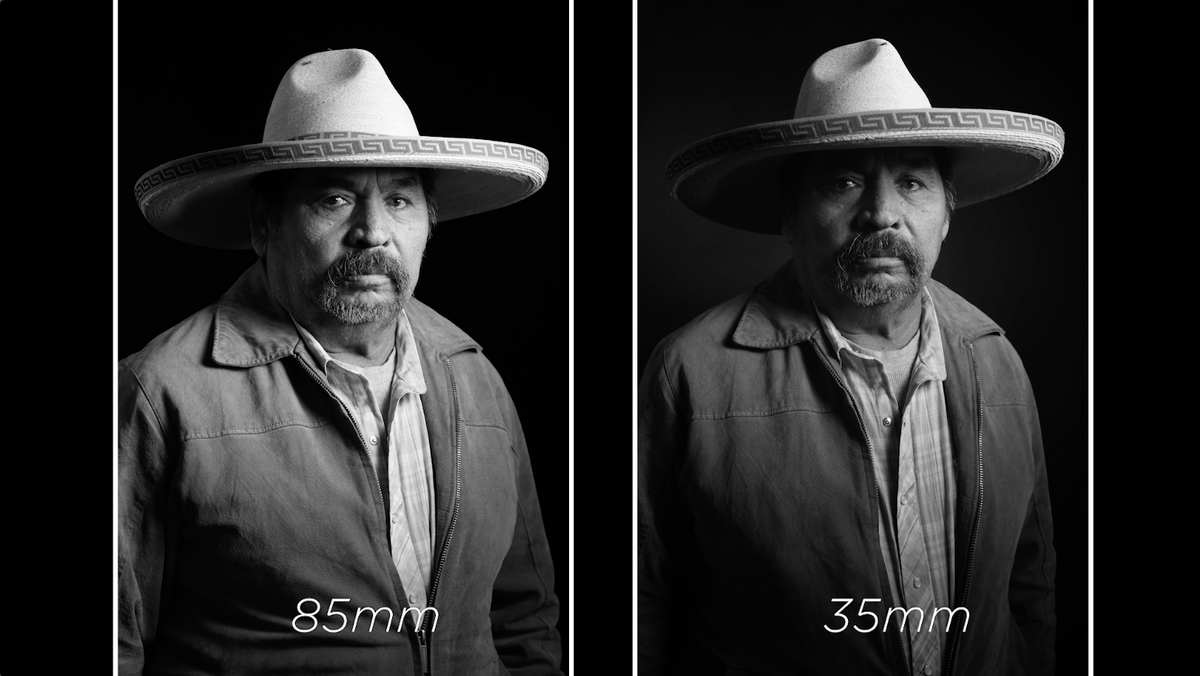
Contrary to what you might believe, an 85mm makes people look a little bulkier because it compresses and makes everything a little larger, and you’ll see this with the comparison of the 85mm vs. the 35mm photos:
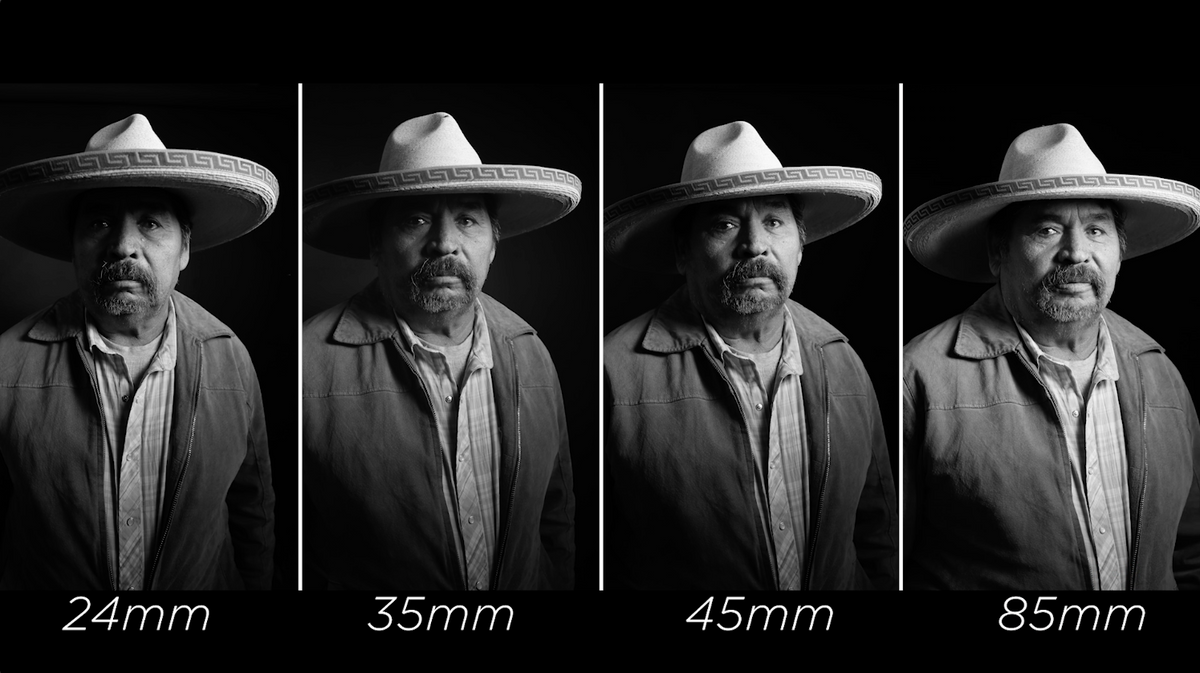
And even more so with all of the previous focal lengths next to each other:
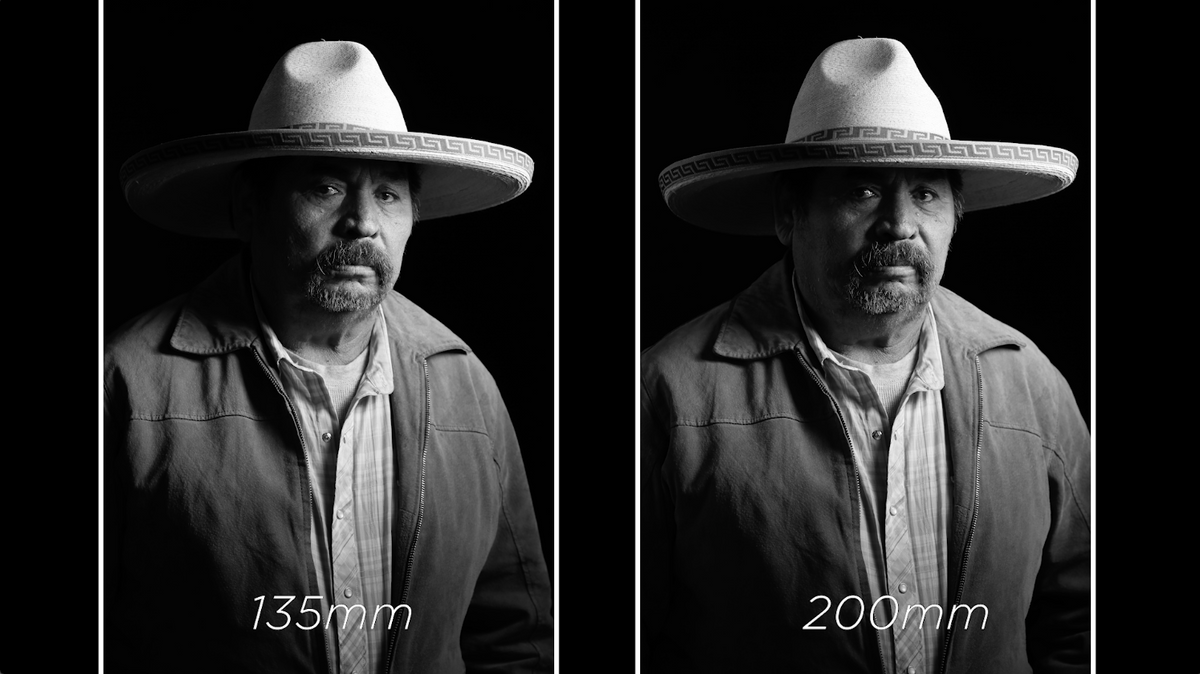
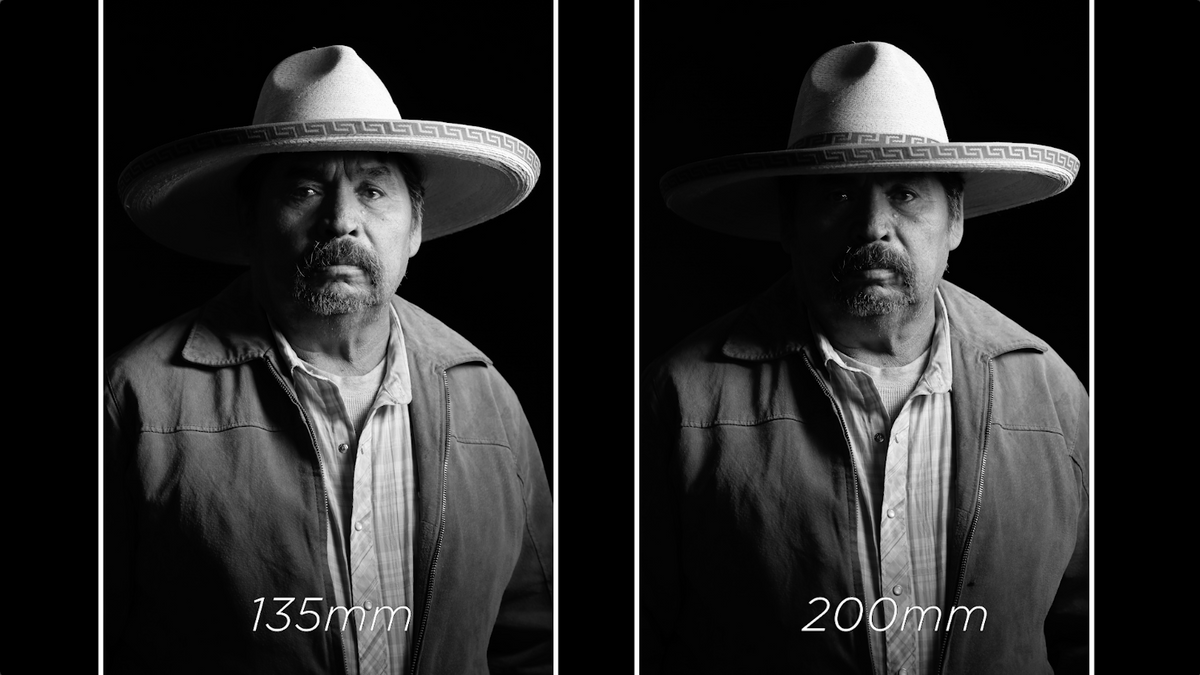
Lenses #5: Tamron 70-200mm f/2.8
Now, we’re going to go to back-to-back with shooting at both 135mm and 200mm on the Tamron 70-200mm f/2.8. We didn’t need to change the background because the longer telephoto lenses bring the background in even more. A lot of people like shooting at 135mm for faces, but it’s important to note that the subject will become flat and wider. What’s the true advantage of shooting with a telephoto lens? You get gorgeous bokeh in the background.
Bokeh: from the Japanese word boke. “The way the lens renders out-of-focus points of light, especially backgrounds.”
Also, because long telephotos bring your background in, you can shoot on a very small background.
So now that we’ve shot with each lens, here are some comparisons so you can see how each focal length affects the face in each of the images:
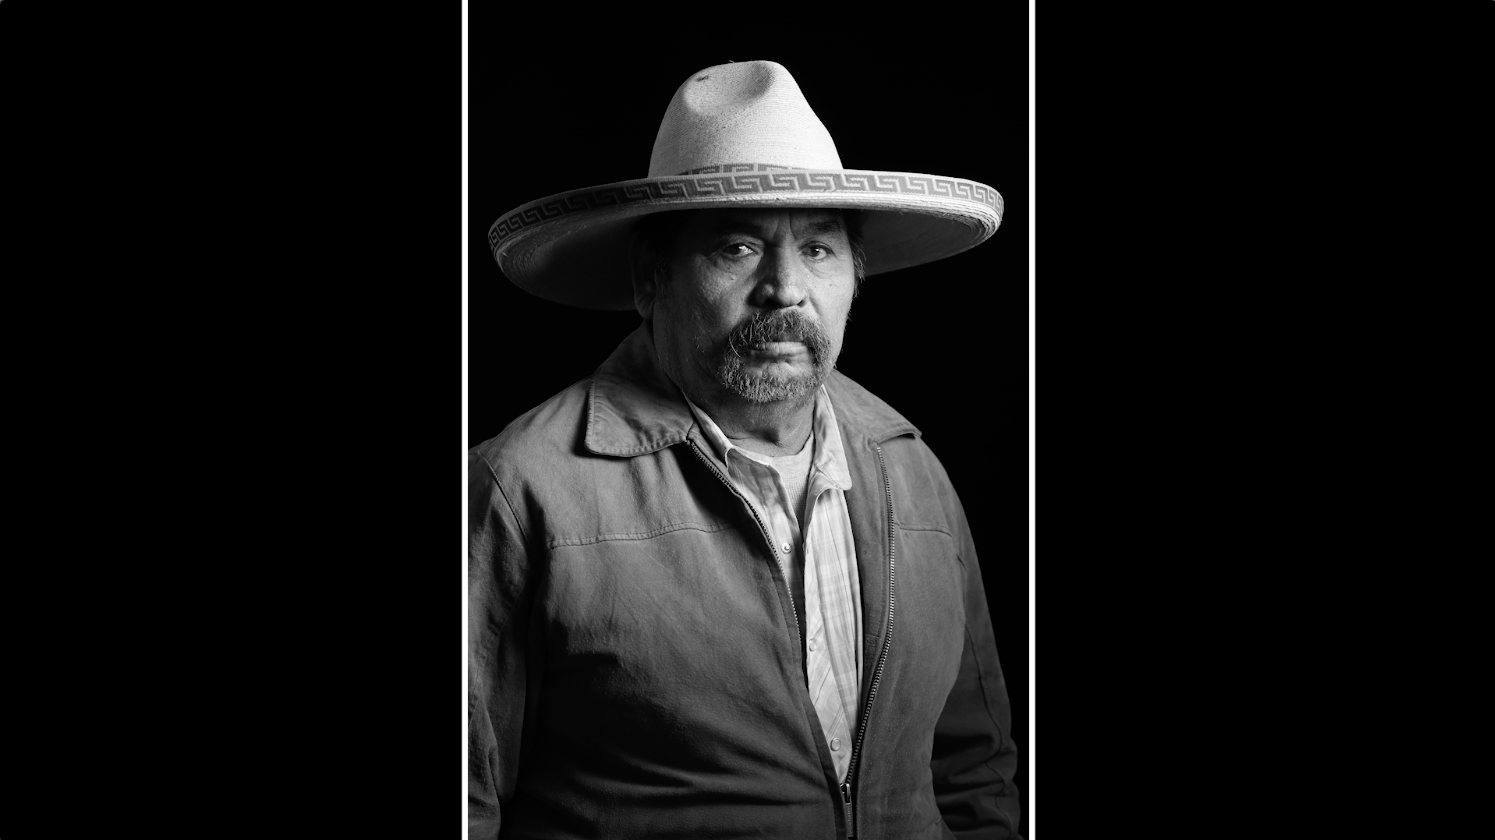
For me, the sweet spot is the 85mm, it’s a beautiful look:
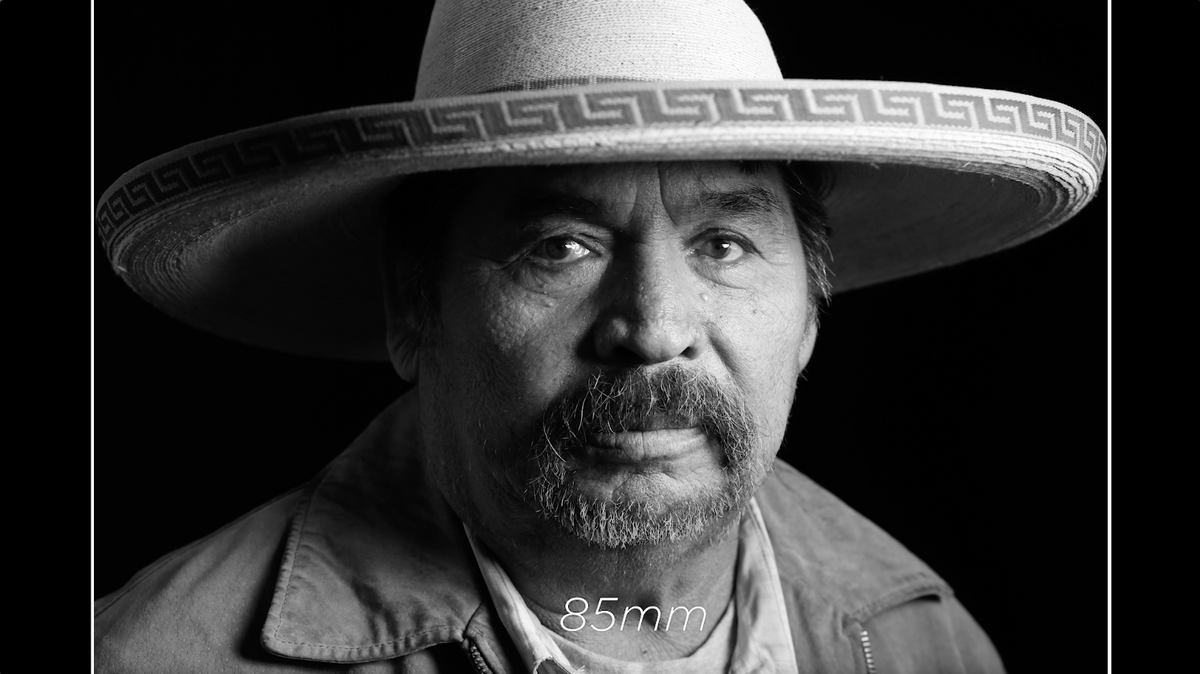
Whichever focal length you choose is really up to you and your style as to what you believe would look best. There are other important factors, such as the size of the room you’re shooting in. If I’m in a small room, I can’t use a 200mm because I can’t get far enough away to get what I want in frame. Personally, I think the 85-135mm range looks best for a face and really shows you the character of a person.
We’re going to be doing one light portraits each month showing different portions of that process such as contrast, focus, and more. So subscribe to The Slanted Lens and follow us on all social media platforms to stay up to date on new lessons!
To view the video, click here
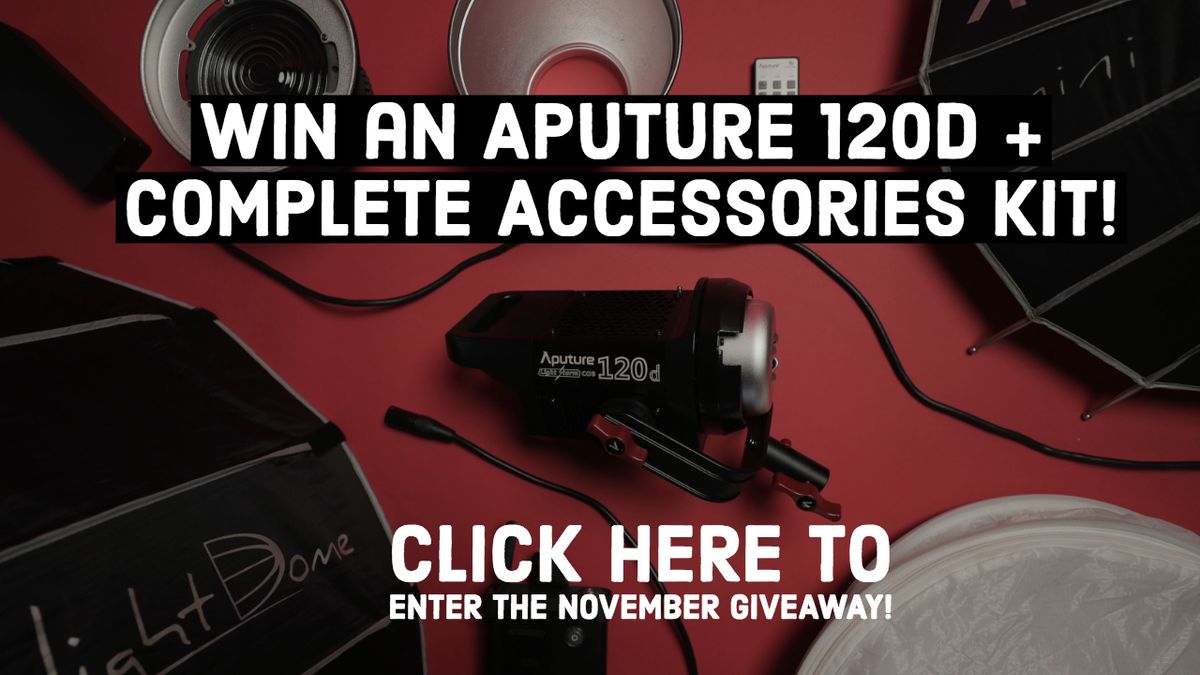
Enter our November GIVEAWAY: https://gleam.io/fb/gPeRR
Gear used:
Sunbounce Black Duvetyne Cloth