

Fun with Flags
What do we mean when we say flags? When someone is referring to a flag on set, what do they mean? Other names for flags include scrim jim or silk. But for the purposes of this video, we’ll be referring to them as flags.
There are different type of flags that cut, shape, and diffuse light in different ways. Your mastery of these concepts will allow you to have more control over your images.
Solid
A solid flag is just that – it’s a solid color (usually black) that’s used to stop light. This flag is commonly used to cut the light from the background in your shot. But you can manipulate light by creating shafts or negative fill with a solid flag as well. A solid cuts the light completely where you won’t have any light coming through.
Net
A net comes in a single or double (which cuts one or two stops of light). These are used to manipulate the light source and have certain areas of your image be brighter or darker. It’s very useful to feather a light if a subject is standing closer to the light source to have both subjects in the frame match.
A lot of these flags come with a jagged edge. This open frame design allows you to clamp the flag onto a c-stand or other stand easily. This open frame design also lets you feather the net without hard lines (which is what you’d get if the frame was closed). Good design choices!!
Win: BlackRapid Retro Strap
One thing to note: a silk DOES NOT change the quality of the light. You are basically dimming the light without actually dimming it. Think of it as just taking the exposure down on whatever you flag your net on. This can be useful in the scenarios we’ve discussed above.
Silk
A silk is going to change the quality of the light (which is different than what a net does). A silk is going to SOFTEN the light source. It will also reduce the amount of light that comes through. This is useful for creating soft wrap-around light sources in studio/portrait settings, or beauty shots.
You often times see silks used to diffuse direct sunlight, or as book lights.
Silks are great at making a hard light soft.
Size Matters
Flags come in all different sizes for your shooting needs. A smaller flag will be 18×24, but you can get an 18×48 or a 48×48 floppy. The floppy is great to use outdoors. It will block the sun away from your camera, while acting as a shade for your cameraman. This allows your crew to work without squinting at a tiny monitor for exposure and save your camera from overheating.
Larger flags cover more area so keep it in mind when you’re in pre-production.
How to Flag
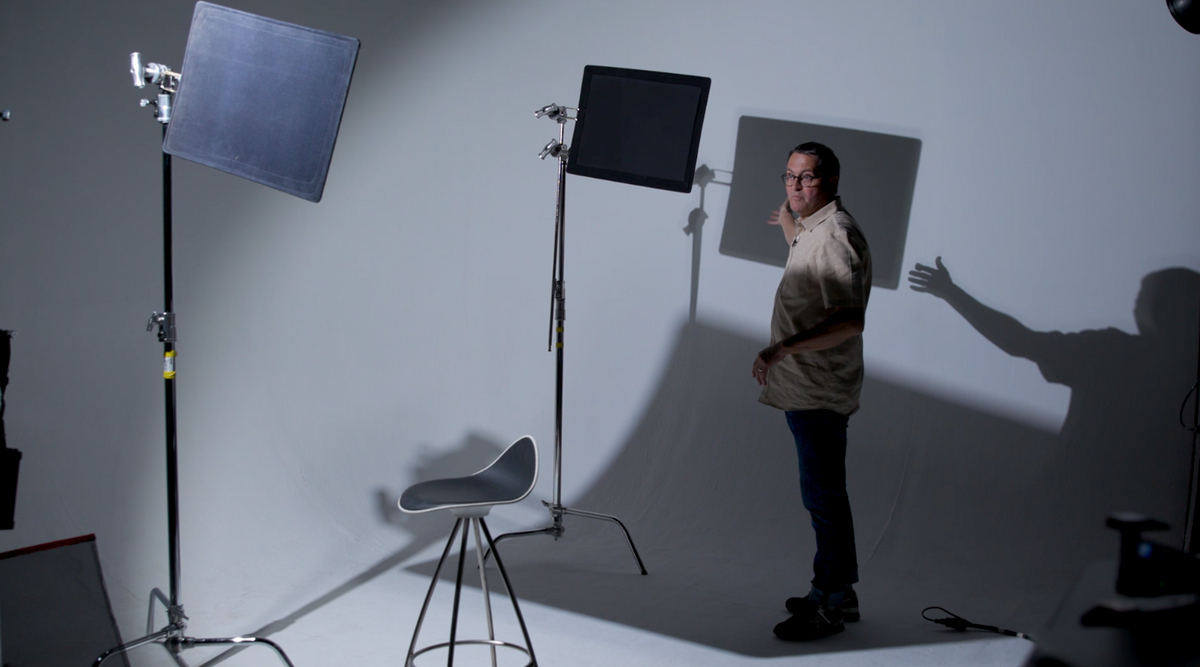
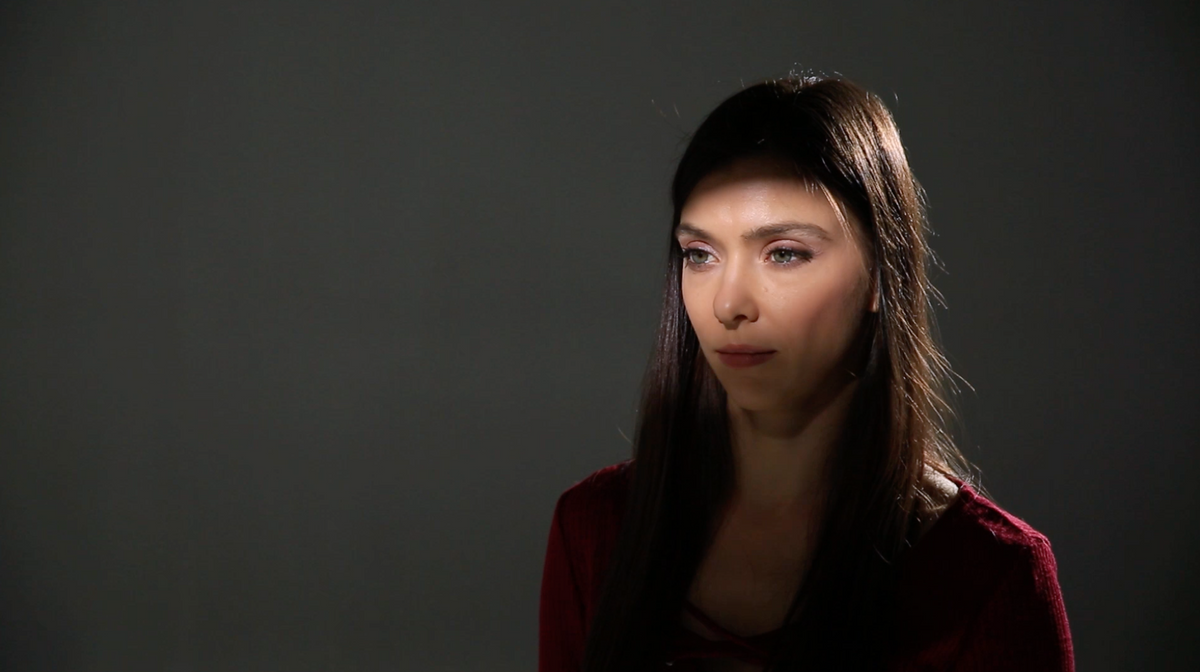
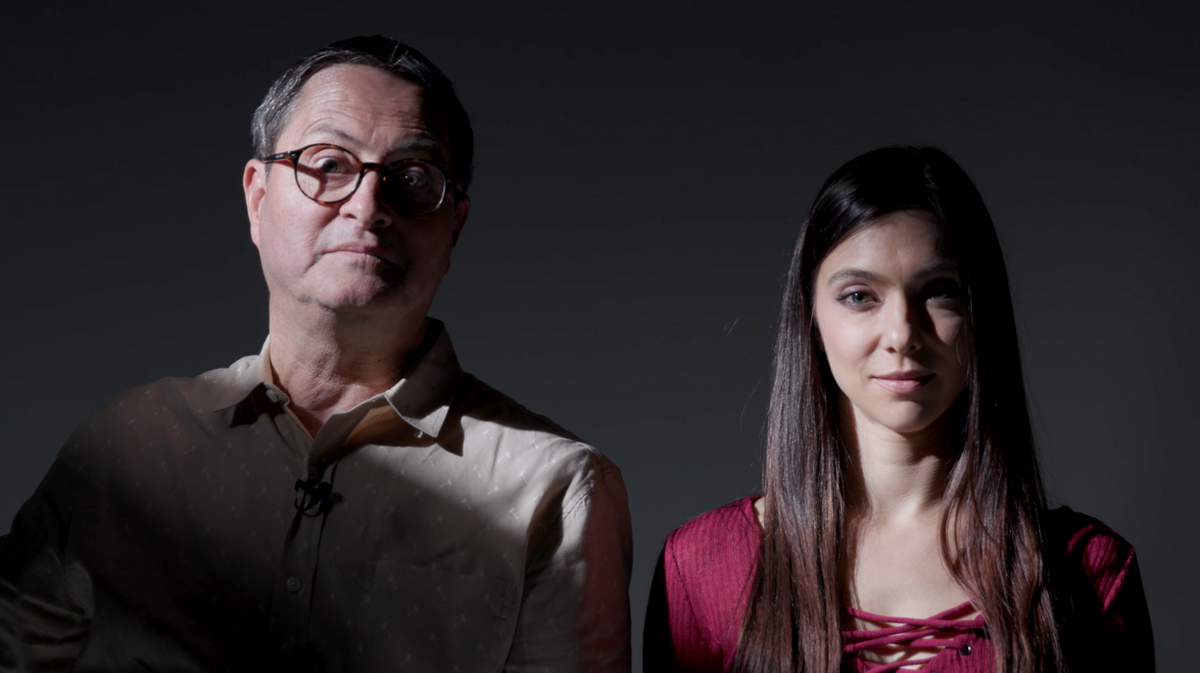
Like we talked about before, flags are used to cut, shape, and modify light. In our studio example, we were lighting our talent with a butterfly lighting setup (one light source in front of your camera at a 45-degree angle above your talent). This is a very flattering light and creates nice contours on our subject’s cheeks. A butterfly light was used prominently in the 1920s because of this.
However, because this light needs to be high and far away from my subject, the light is spilling onto parts of the image that I don’t want. It’s getting everywhere! On the background, on her clothes — not an ideal situation. This isn’t the lighting situation you want to be in because it creates a FLAT image.
Even though she is lit well, because the exposure of the entire scene is similar, she doesn’t stand out from the background. We would use flags in this scenario to create depth and interest into our shot.
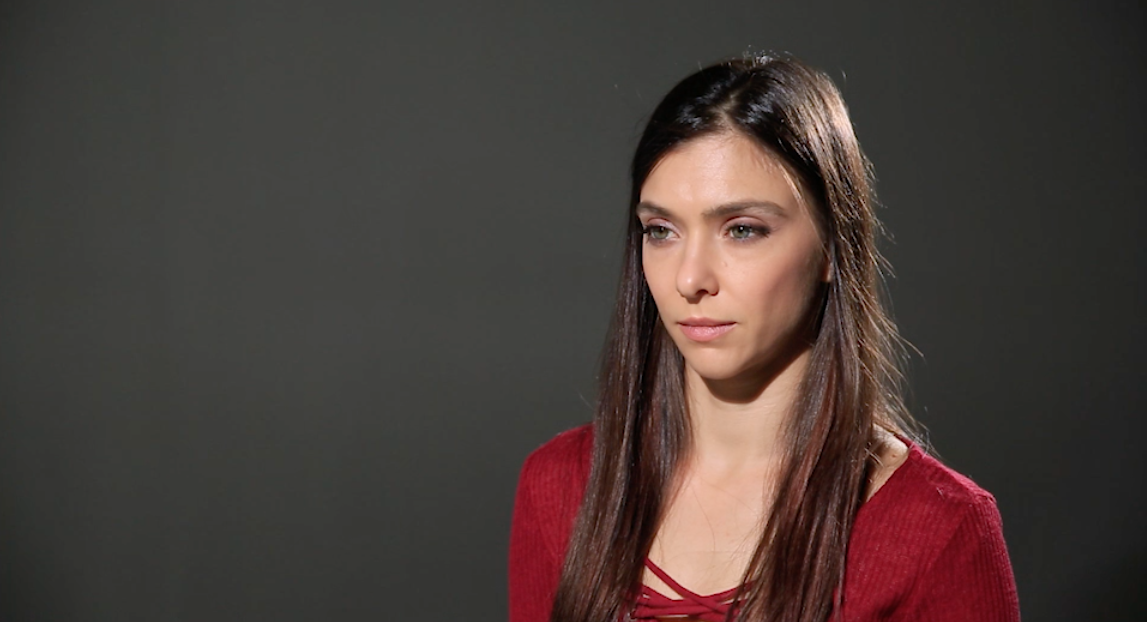
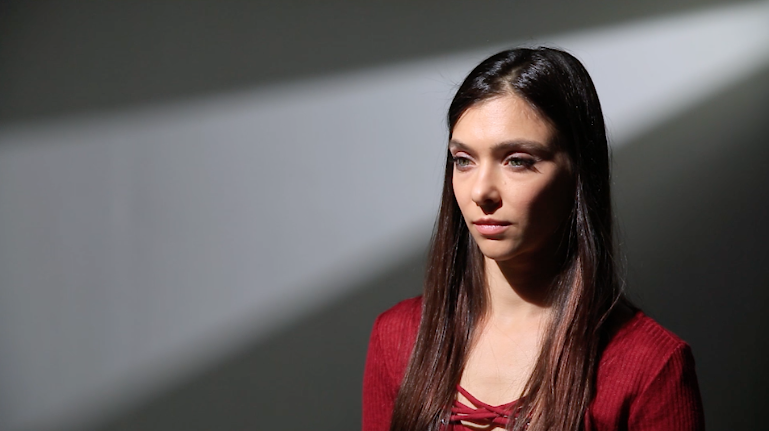
Separation from the Background
In order to get some separation from the background, we’re going to put our flag on the edge of our frame and a few feet away from our light source. The farther the flag is from the light source, the broader the coverage of the flag will be.
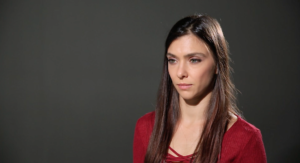
Scenario #1
Using Flags to Kill the Background
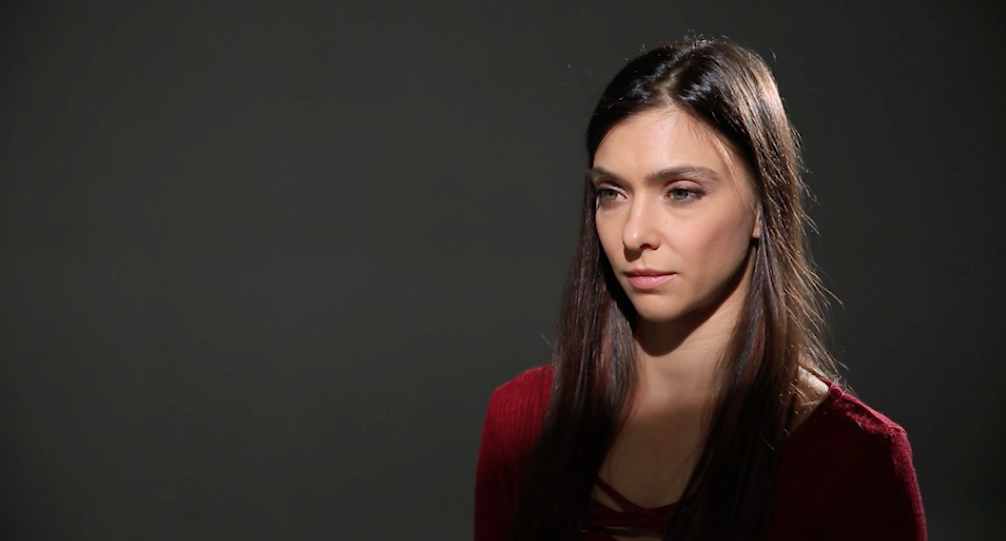
For this setup, we used a solid flag close to our light source to control the spill of our light. We didn’t like how the light made our scene one exposure. The flag was placed on the corner of the frame, just near our subject’s hairline.


Scenario #2
Shaft of Light on Your Subject
This is using the same principle as #1 but we just add a flag on the bottom of our light. We can adjust the shaft by moving the flag up or down.
Scenario #3
“Clam Flagging”
This is a variation of #1. The two flags will form a ‘clamshell’ with the lower flag being flat and the upper flag being at a slight angle downwards forming a ‘mouth. The top flag cuts the background and the bottom flag creates a vignette look.
Scenario #4
Vignette the Light
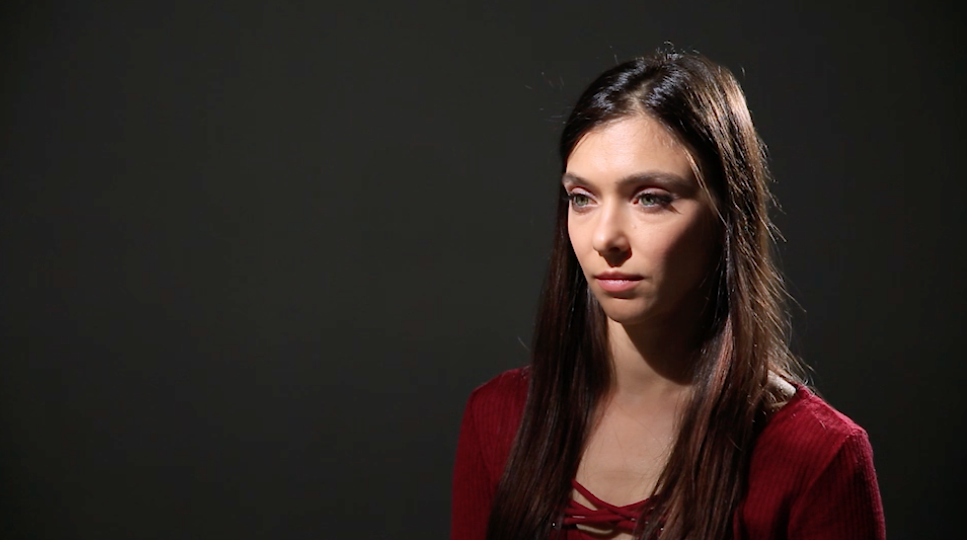
Using the same procedure to cut the light from the background, we use a net on the bottom to create a vignette or a softer dropoff from her shadow side. Again, all we’re doing is trying to cut, shape and modify the light with our flags.
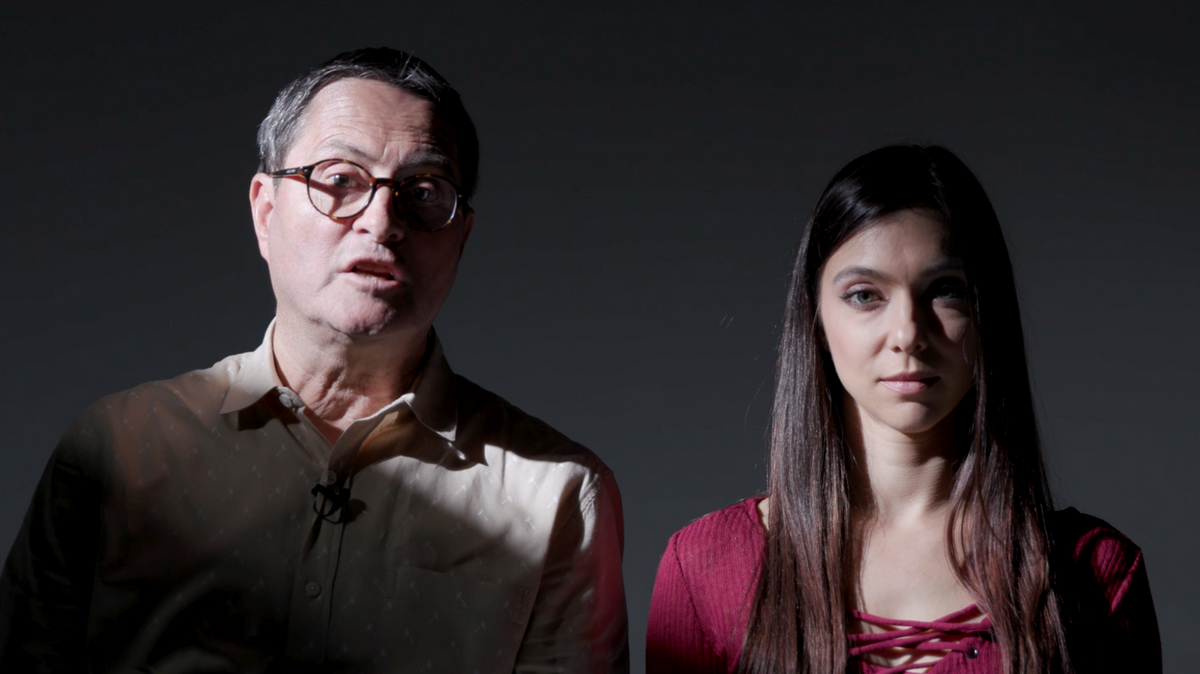
Nets are great to use on talent if they are bald or if you have someone who is closer to the light source and you’re trying to have them both at the same exposure.
Scenario #5
Shaft of Light
To create a shaft of light on the background, we just move our flags away from our subject and pointed at the background. In this example, we have our flags on our rim light to create this effect.
You can use this effect to create barn doors or a square window. I usually use gaff tape to create the square box.
Recap
Knowing how to use flags is integral for working on set. I’ve used flags and nets on almost every set I’ve been on. We’ve taken a look at five different scenarios and different ways to use flags in your work.
Get a grasp on flags and your ability to use them to your advantage.
Gear Used
Kupo Light Stand: B&H / Amazon
Matthews Floppy 48×48″: B&H / Amazon
Matthews Single Net: B&H / Amazon