CRAZY!! Time-Lapse with Green Screen using edelkrone SliderONE v2
Morgan
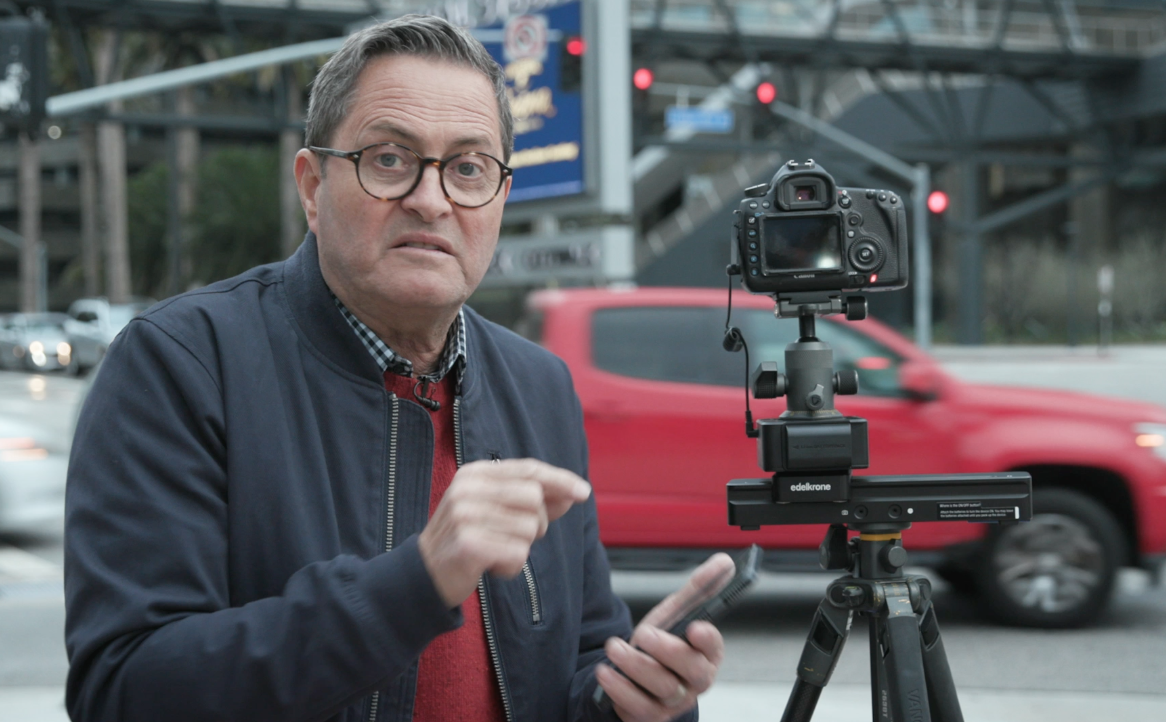
We are working with edelkrone today as we create a time-lapse piece using a green screen! We are using their SliderONE v2 and HeadONE to film the time-lapse, but then we are going to composite that piece with a live-action green screen scene.
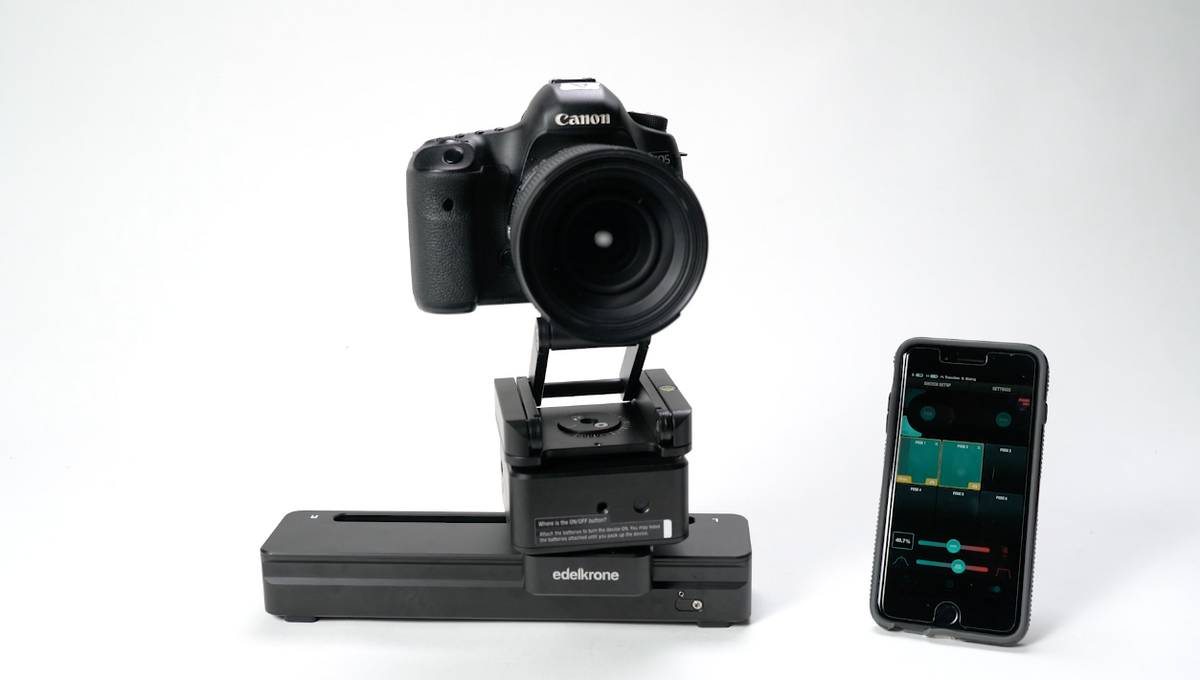
So what I love about this SliderONE is that it is a 10-inch slider that is extremely compact. It fits nicely in my SKB cases and I can fly with it very easily. When you add a HeadONE with it, you can get a nice pan with your shots as well. It adds another level to your time-lapse to create a large movement.
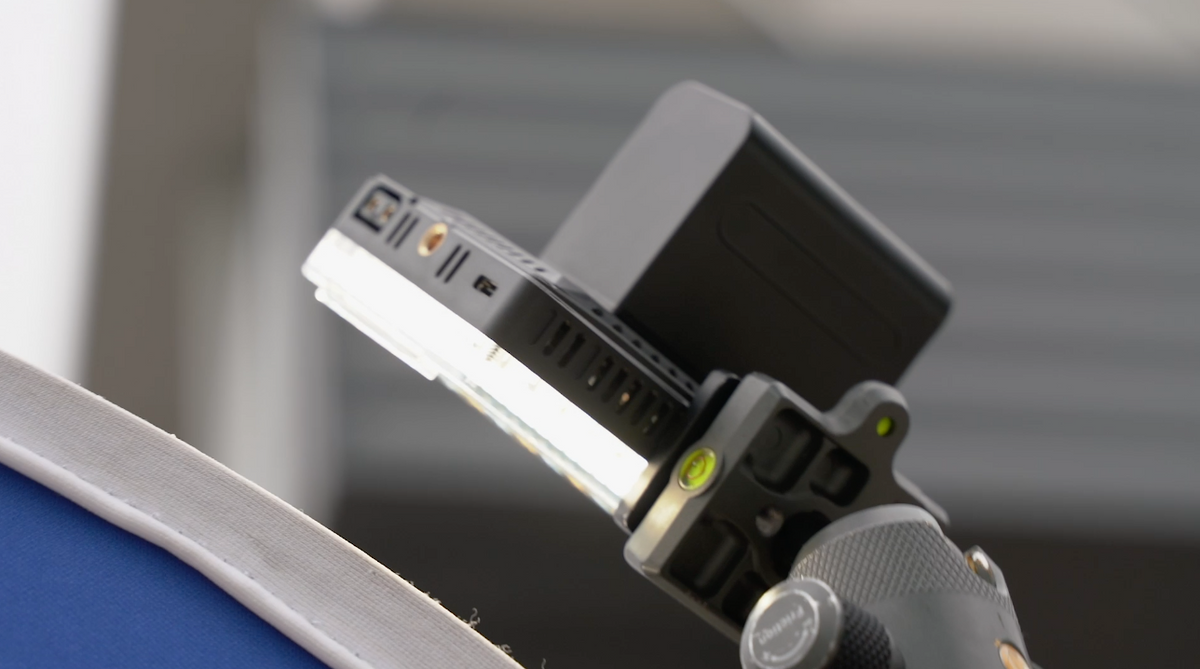
edelkrone SliderONE and HeadONE Setup
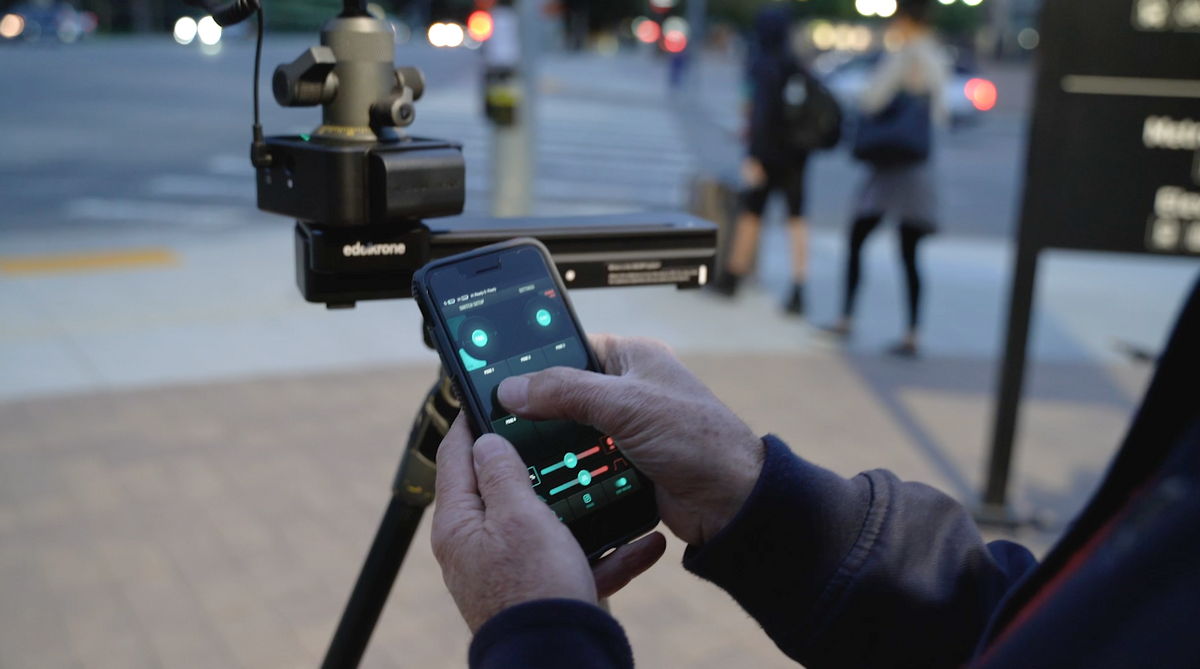
In order to get your movement setup, all you need to do is open up the App and place to Slider and Head where you want the movement to start and mark it in the app. Then you slide and pan into 2nd position and then hit Position 2 on the App.
If you hit Position 1 or Position 2 it will move there automatically. The App pairs with both of their devices quite nicely.
I’m a big fan of their battery solutions as well. They both run on LP Canon Batteries, which I personally love because I have a ton of Canon batteries in my bag and it’s easy to switch them out.
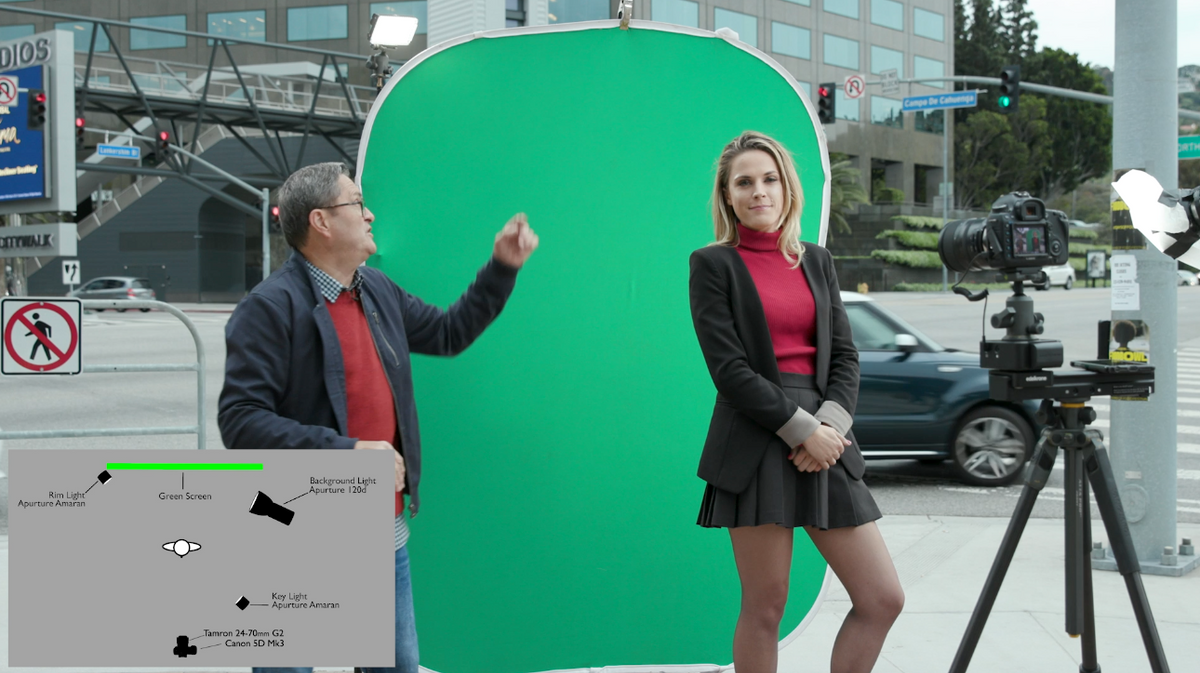
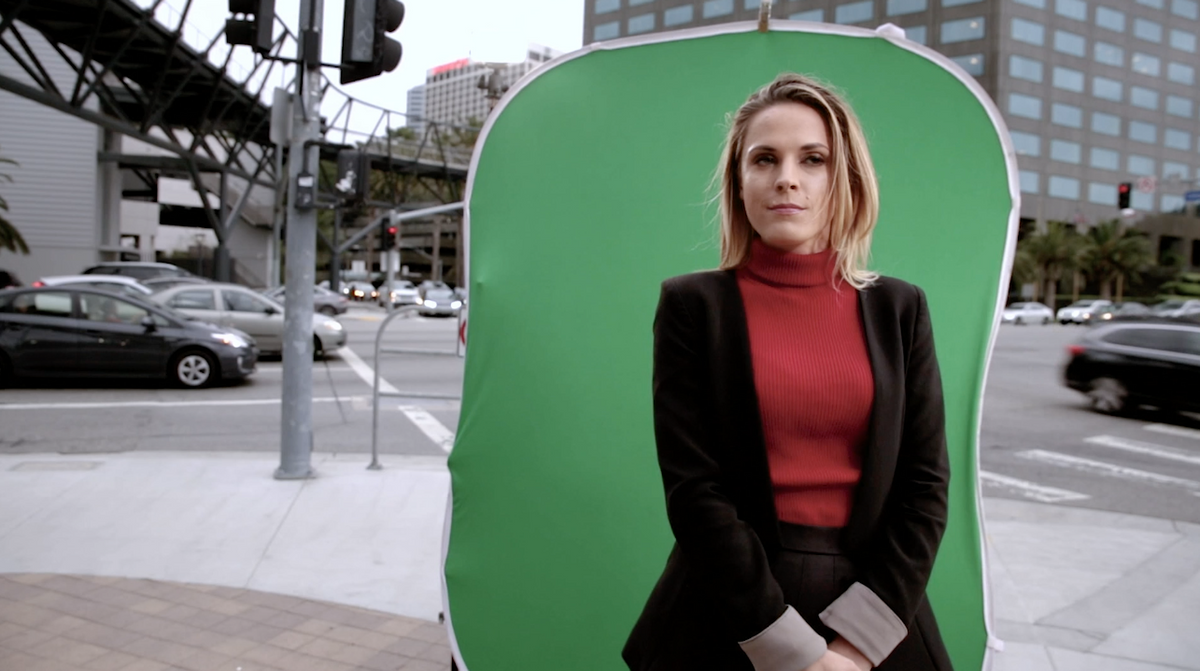
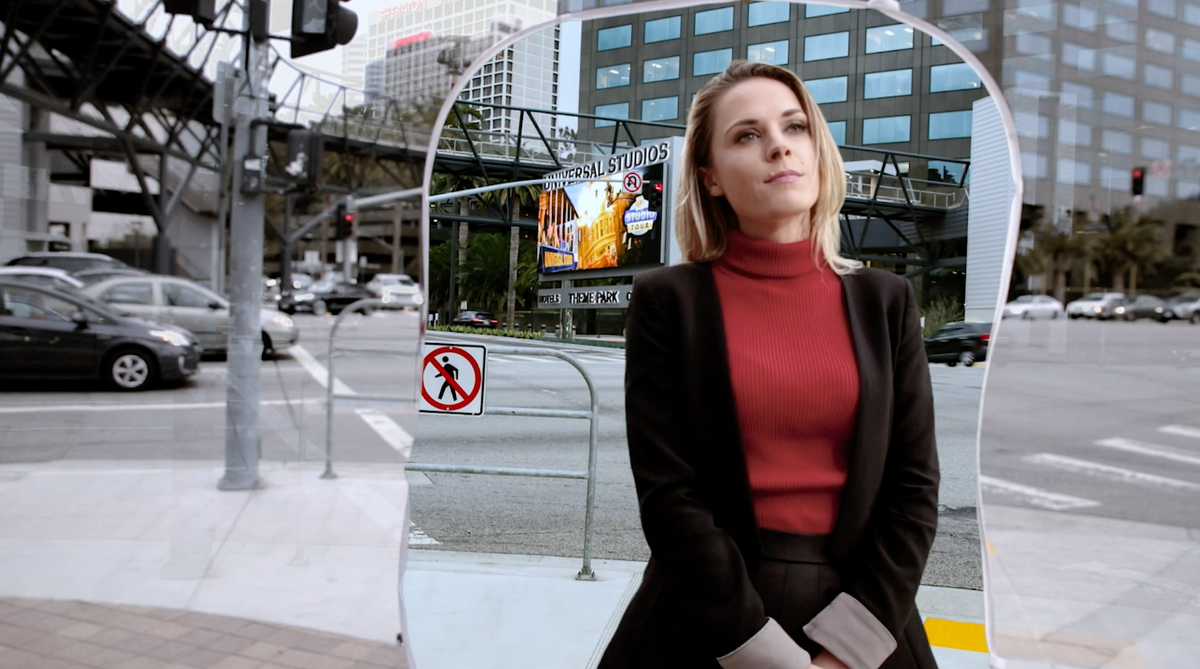
Setting up the Green Screen
1. Your green screen should be equal or darker than your talent.
2. Get some even light on your green screen.
3. Get a nice rim light from behind to separate your talent from the background and clean up the background.
4. Make sure that your talent is far enough away from the screen that they don’t cast a shadow on the screen.
BIG TIP: Don’t let you talent wear green.
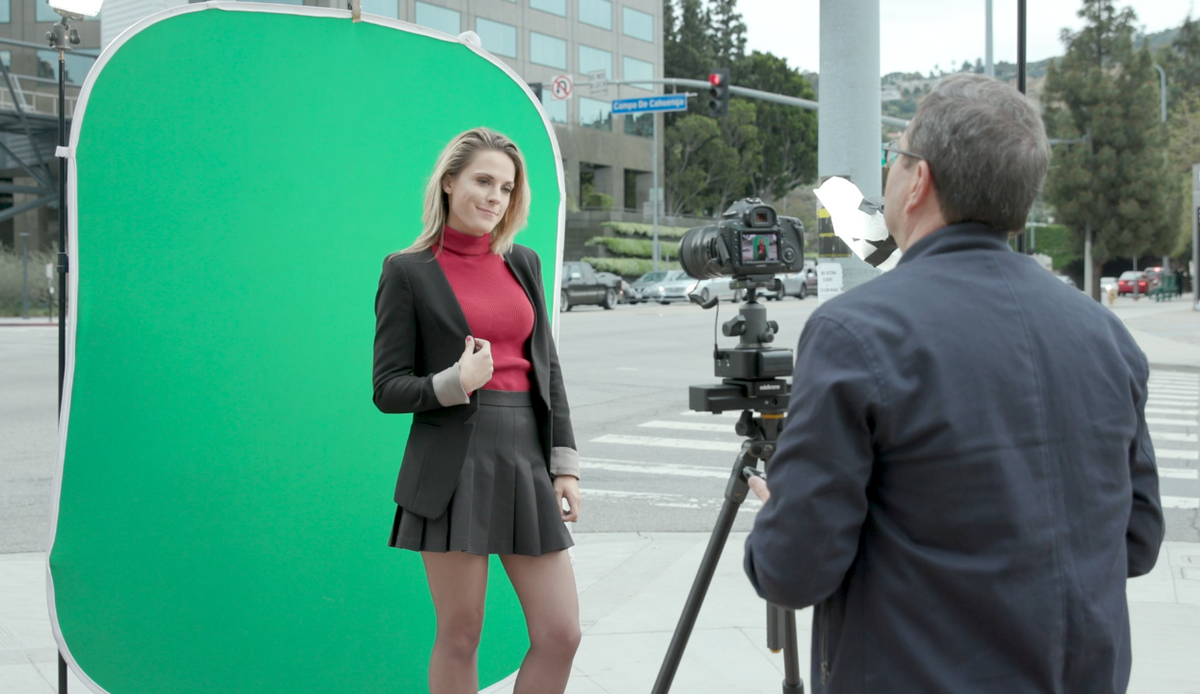
How to Create the Shot
So we decided that we want this shot to be 30 seconds long. We key in the positions that we want for the SliderONE and HeadONE. We position our talent with the green screen in the appropriate position and film her live action.
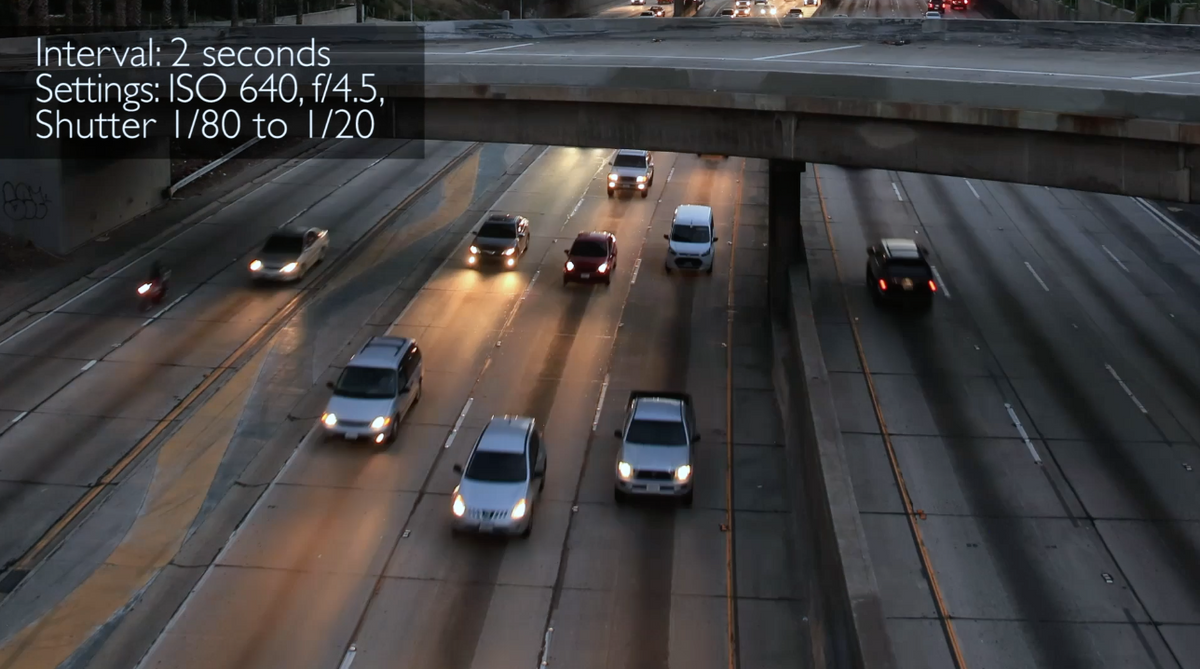
Time-Lapse Settings
Then our next layer is the time-lapse sequence, which is going to be a series of photos compiled to make a video. For our time-lapse, we have several settings that we need to decide, how blurred do we want cars, how many frames do we need?
Let’s do some math We want 30 seconds of camera time and we are shooting in 24 frames per second
30 x 24 = 720 frames
Now we decide on an interval. If we want to take a photo every 2 seconds, the cars would just jump by. If you want a nice blurring effect for your cars then you have to slow the shutter speed down to ¼ to .3 second and also lower your interval to less than a second.So let’s put these two separate layers together back at the studio!
Editing your Time-lapse
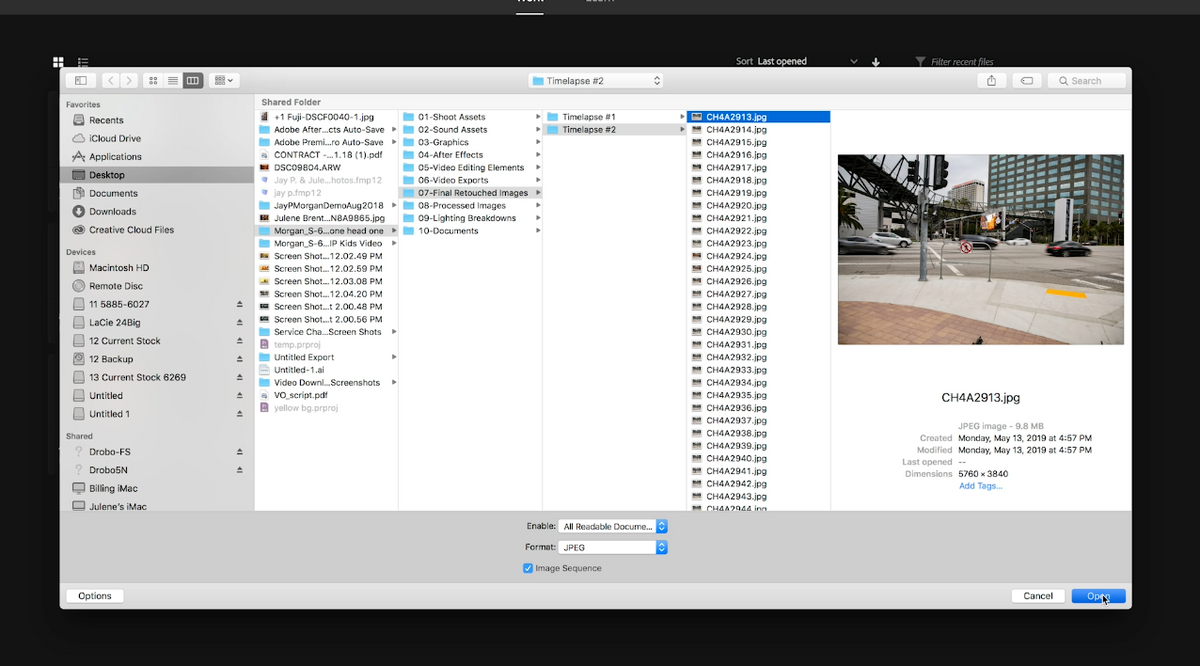
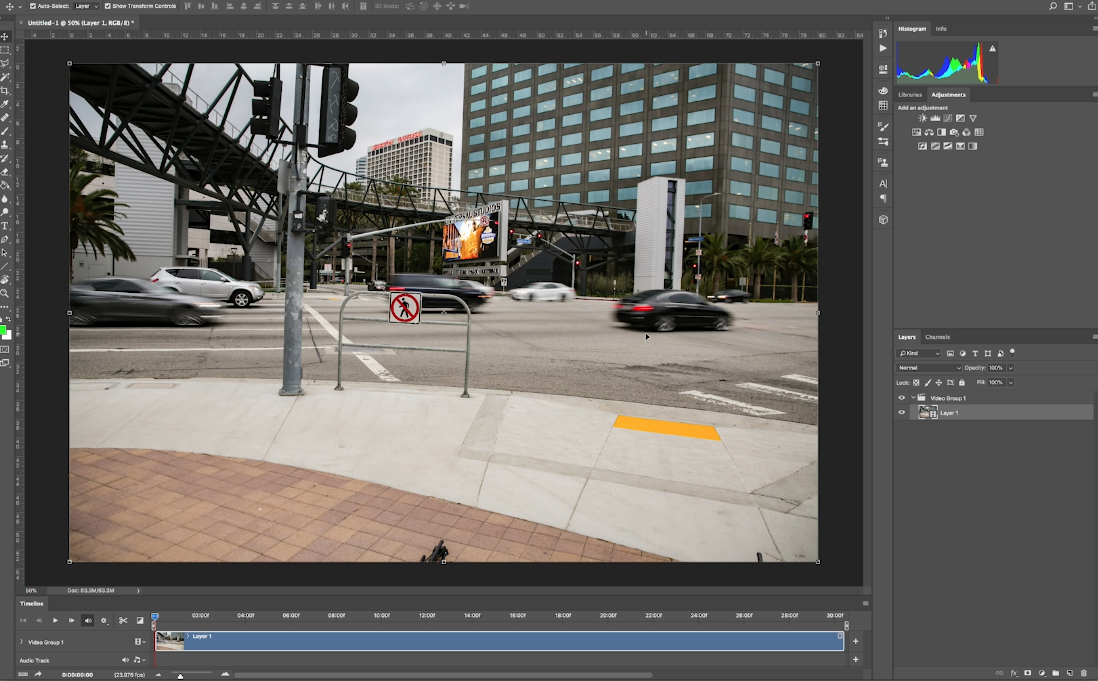
I usually batch edit my photos from the time-lapse in Lightroom because it’s a lot easier to move 720 files around. I export them out after that and I bring them into Photoshop, you can also do the same in Premiere. There is an import option in Photoshop that allows me to make it into an image sequence and set the frame rate to 24.
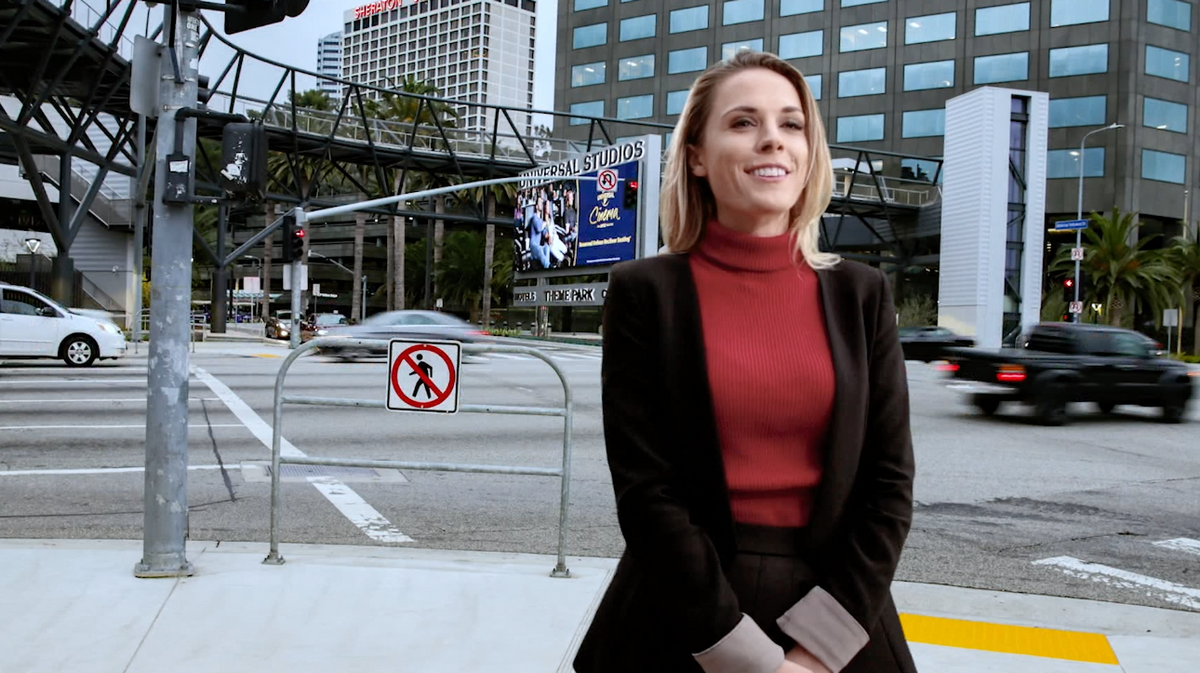
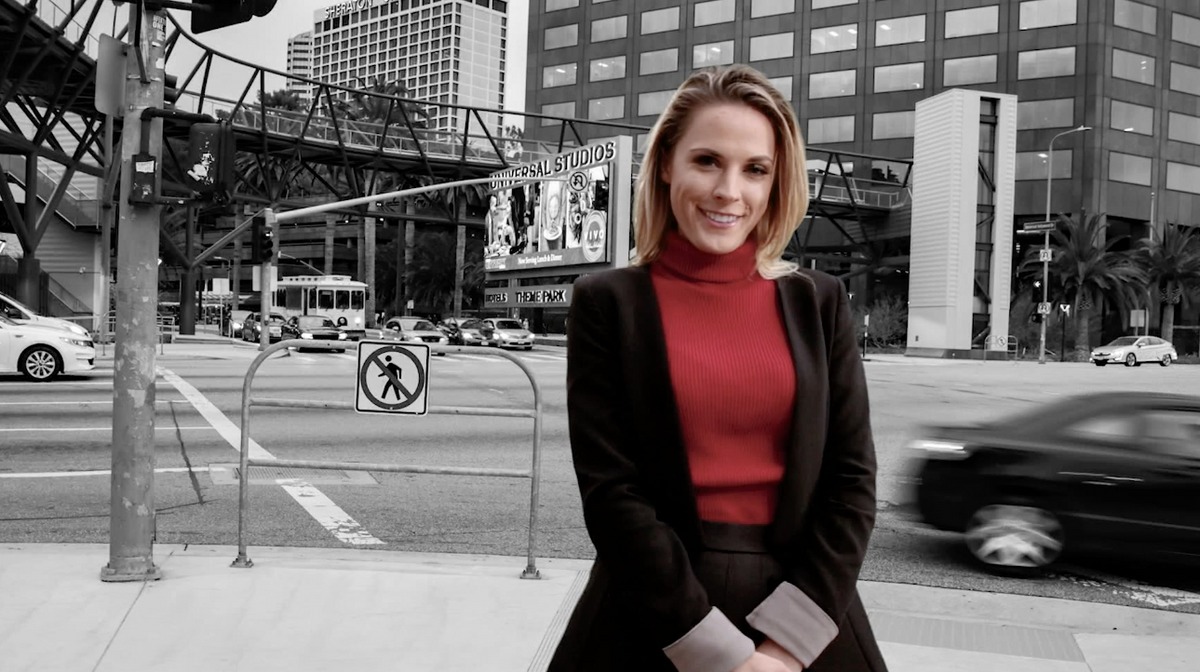
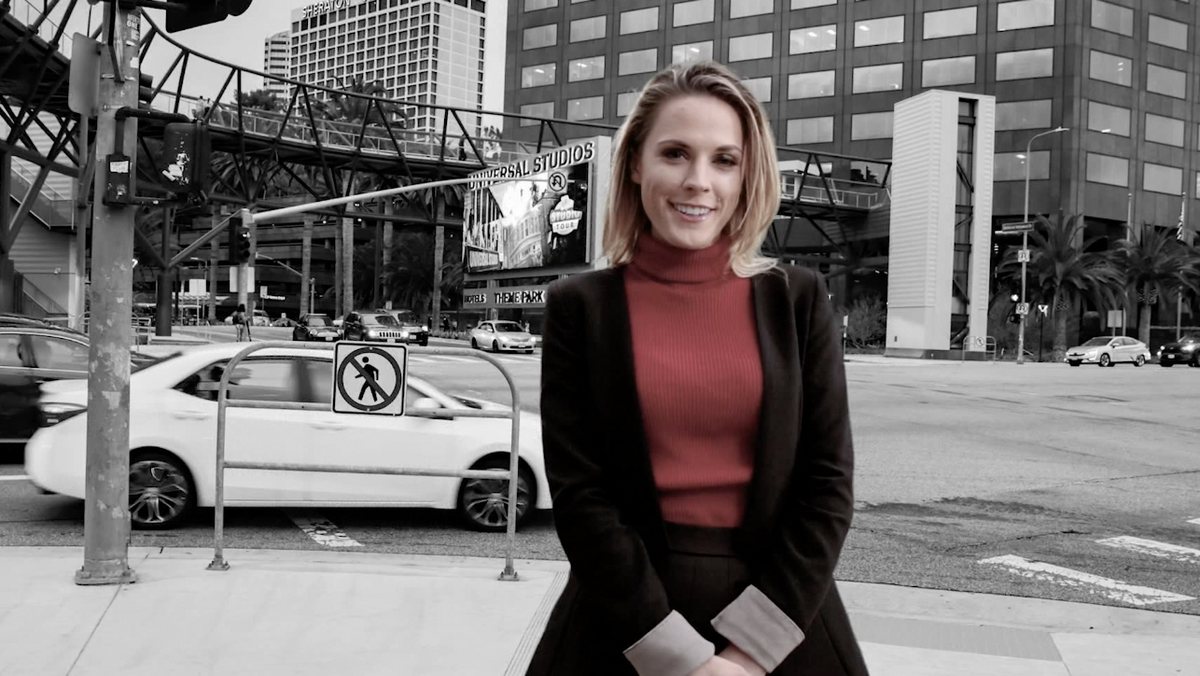
So now I’m going to take a look at the green screen footage. I’m going to drop in the Ultra Matte effects and key out the green and now we have the background. So we are going to crop in and add a garbage matte to the video. To give the video a different feel, we are going to convert the background to black and white. But she stands out a bit too much for me, so I’m going to just drop the saturation on her, so she blends into the scene a bit more.I really like the idea of compositing two different time frames in the same video. You really get the feeling of time passing by. I think you can use this application and idea in a lot of different ways.