
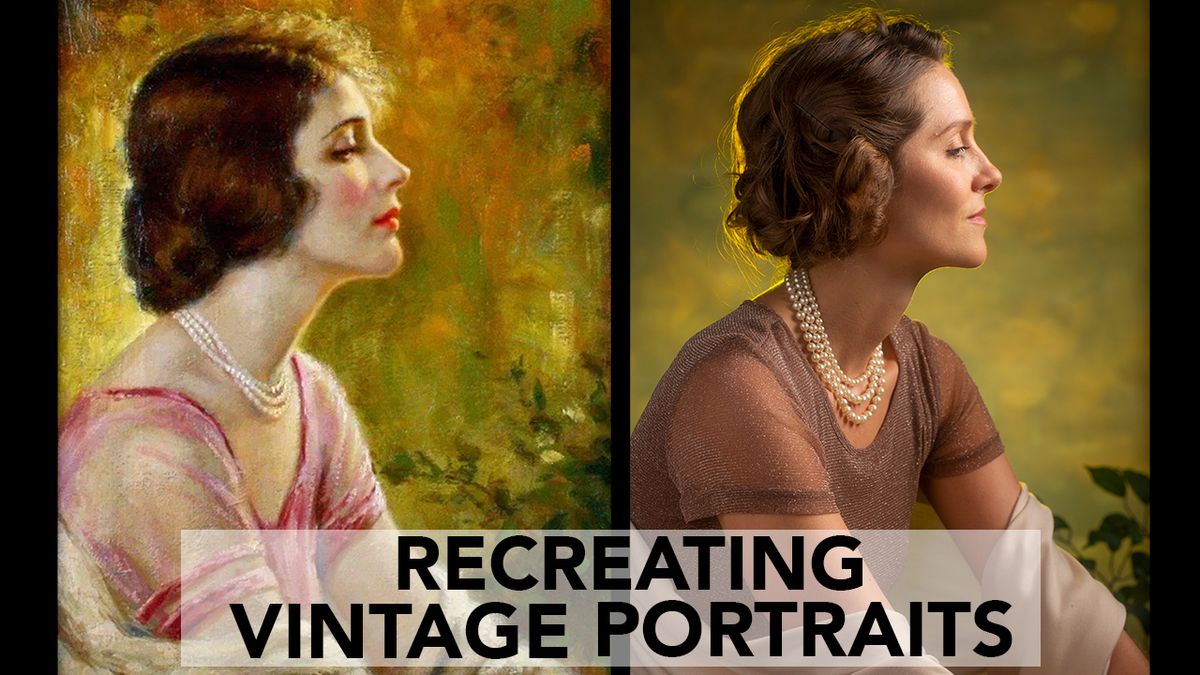

We’re starting a new series here on The Slanted Lens called “Forgotten Artists”. We’re going to talk about artists and imitate their work.

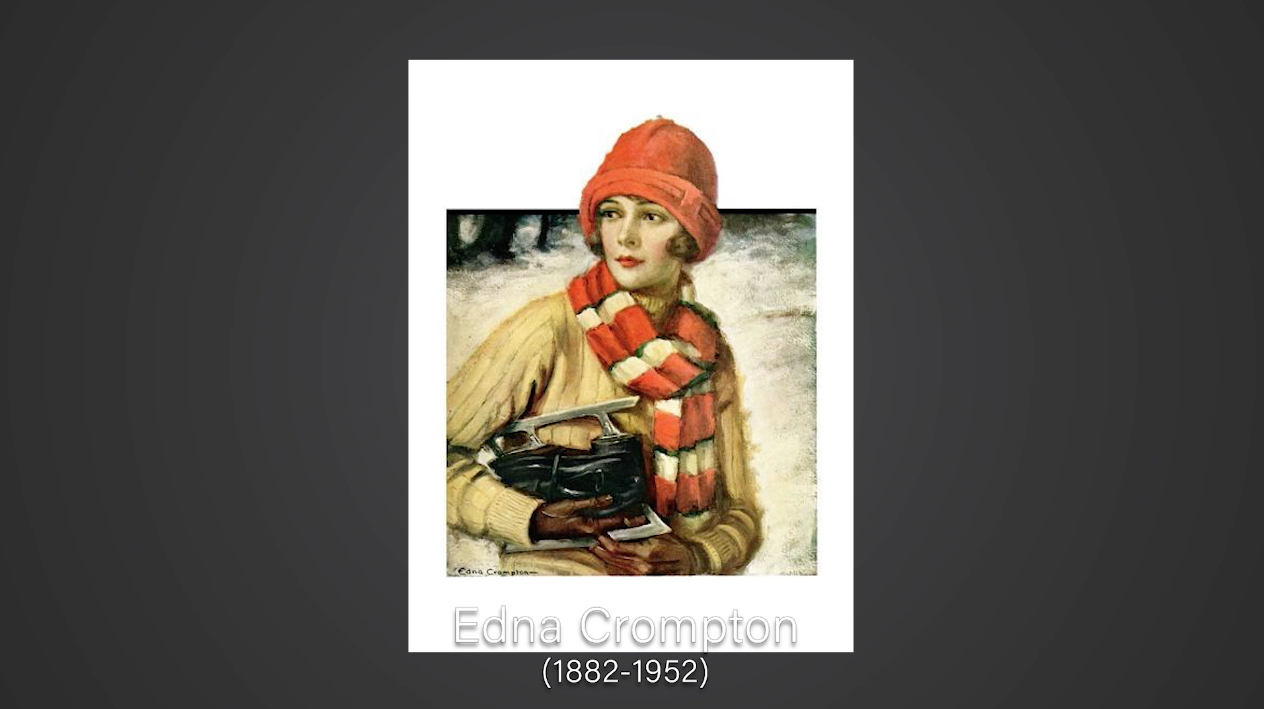
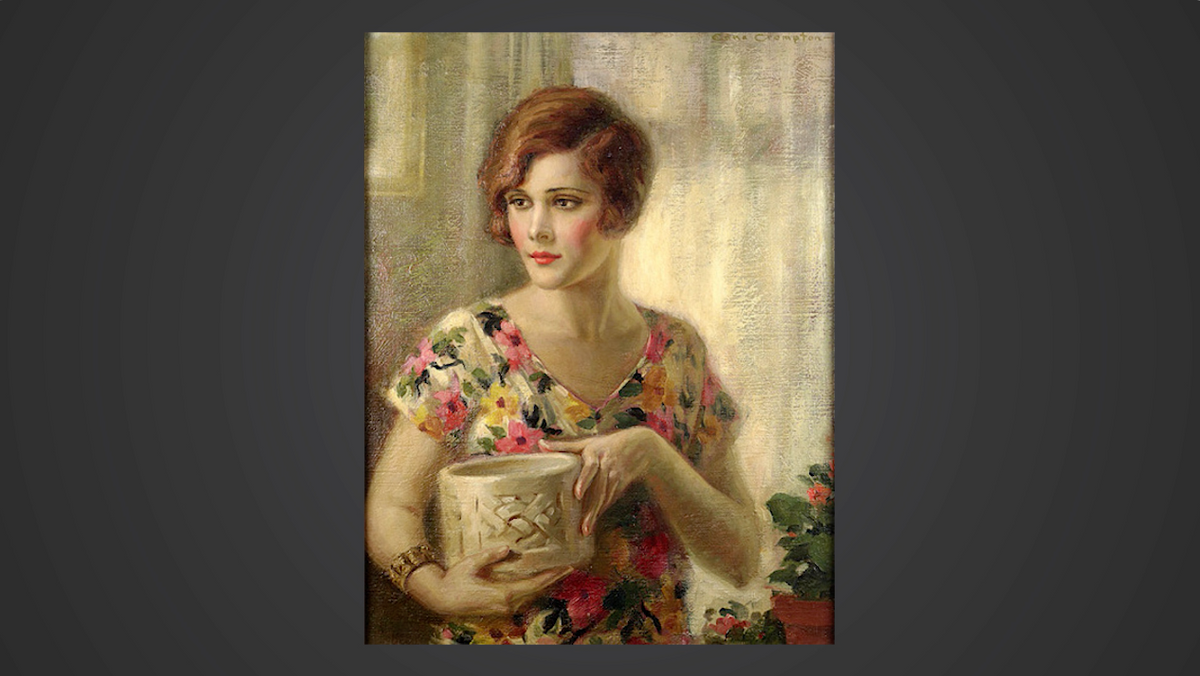
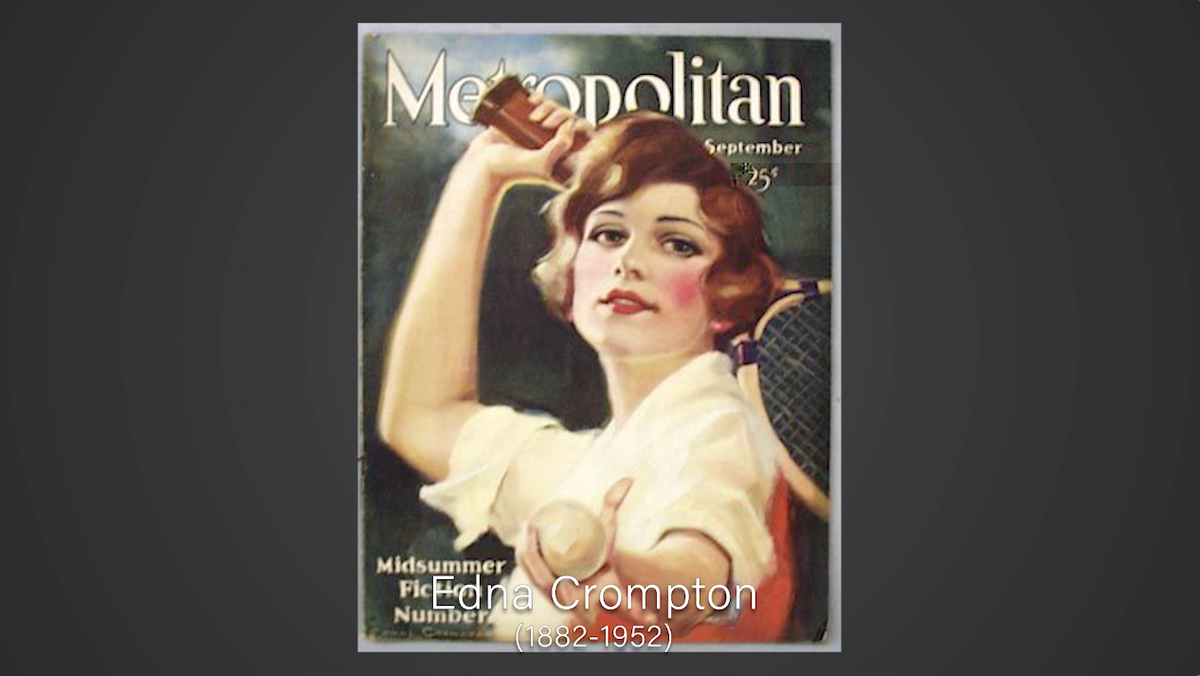
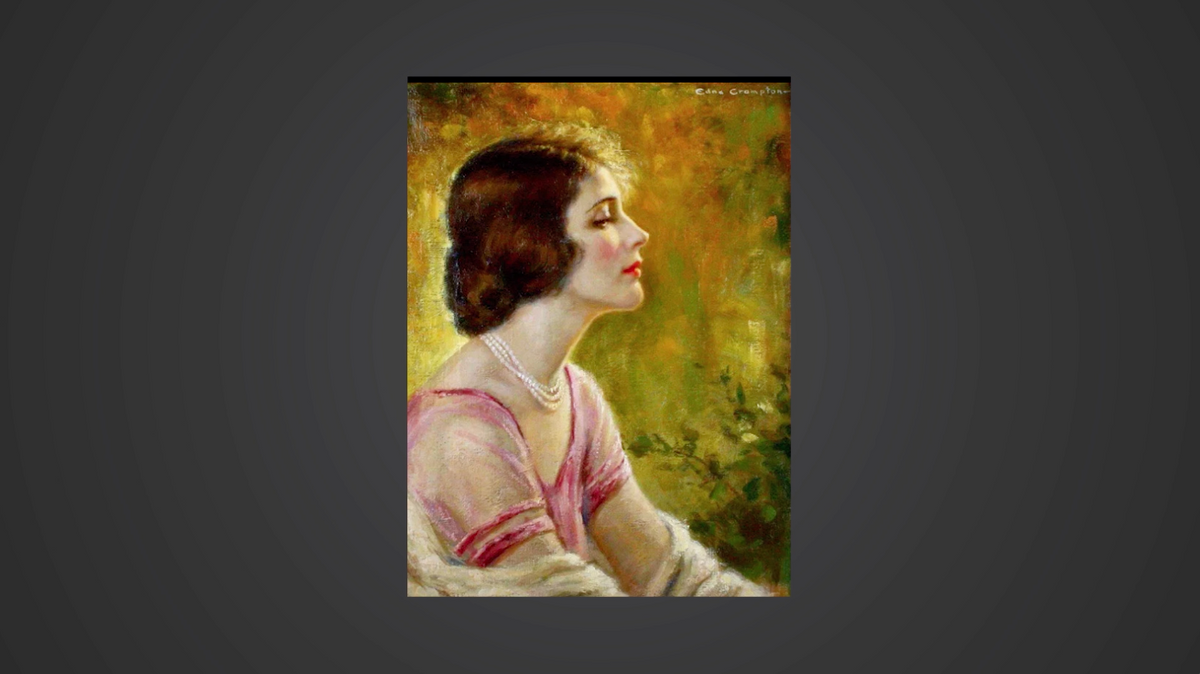
Our first artist is Edna Crompton (1882-1952) who is an incredible artist from the 1920s. She specialized in illustrations and did some for Saturday Evening Post, Redbook, and Metropolitan, all in oils of women in their environments.

We’re going to take photo portraits that imitate her work with the lighting style, the look and the feel of that era.

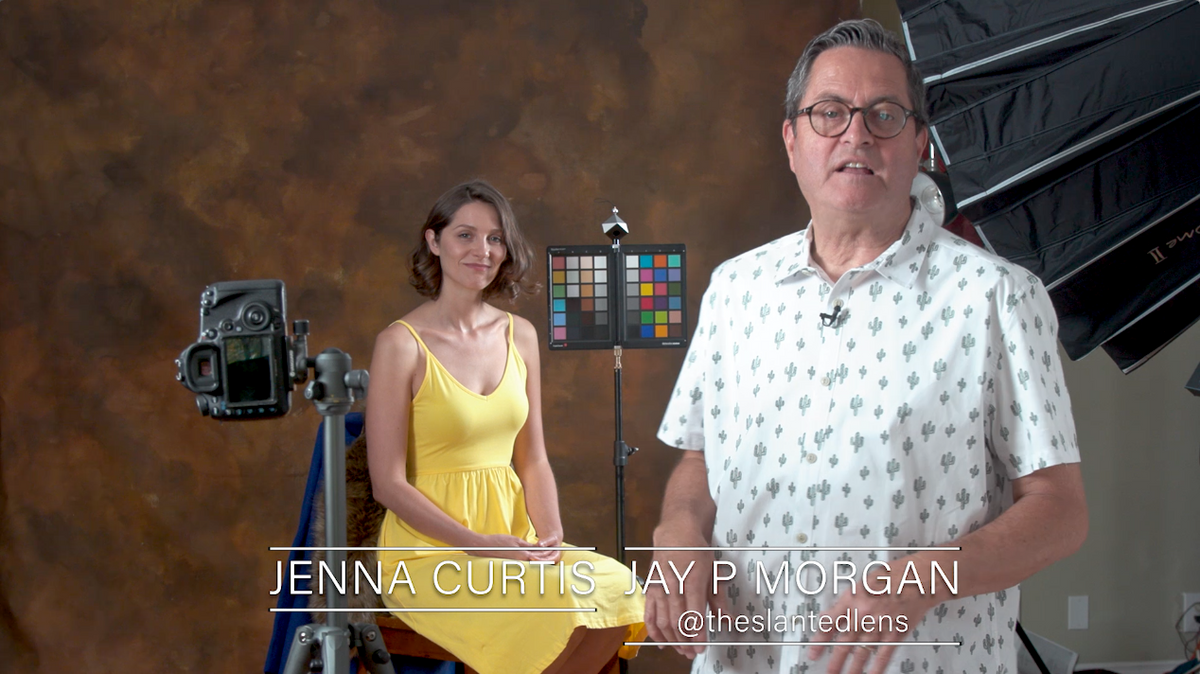
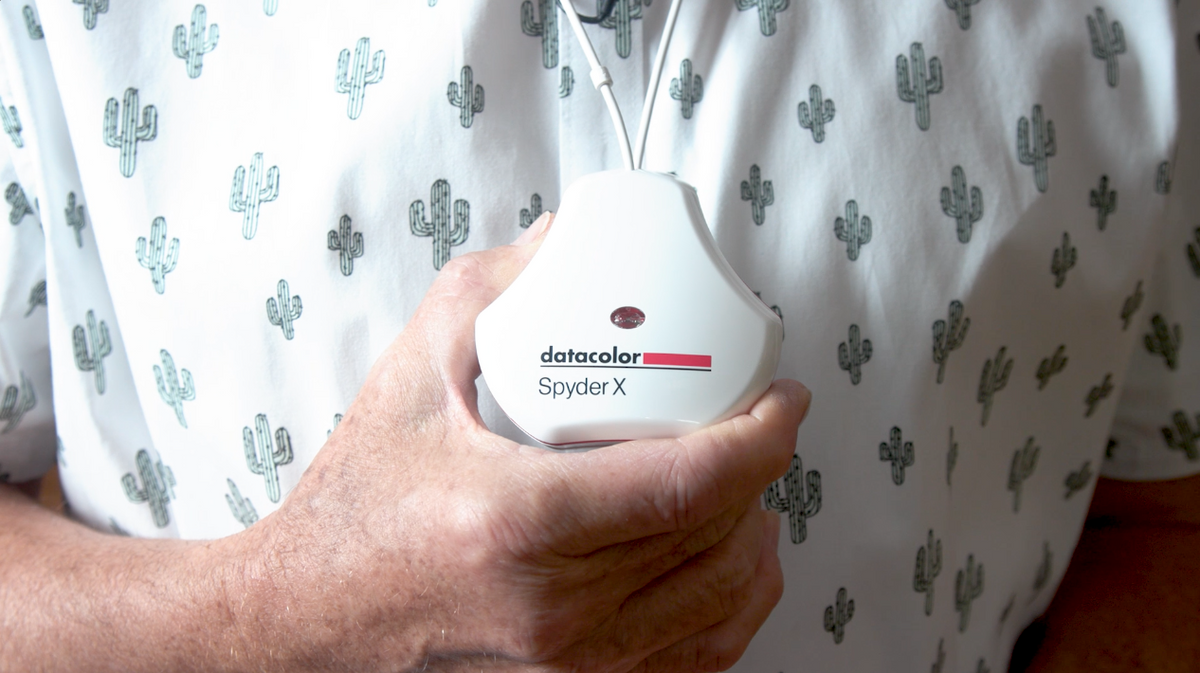
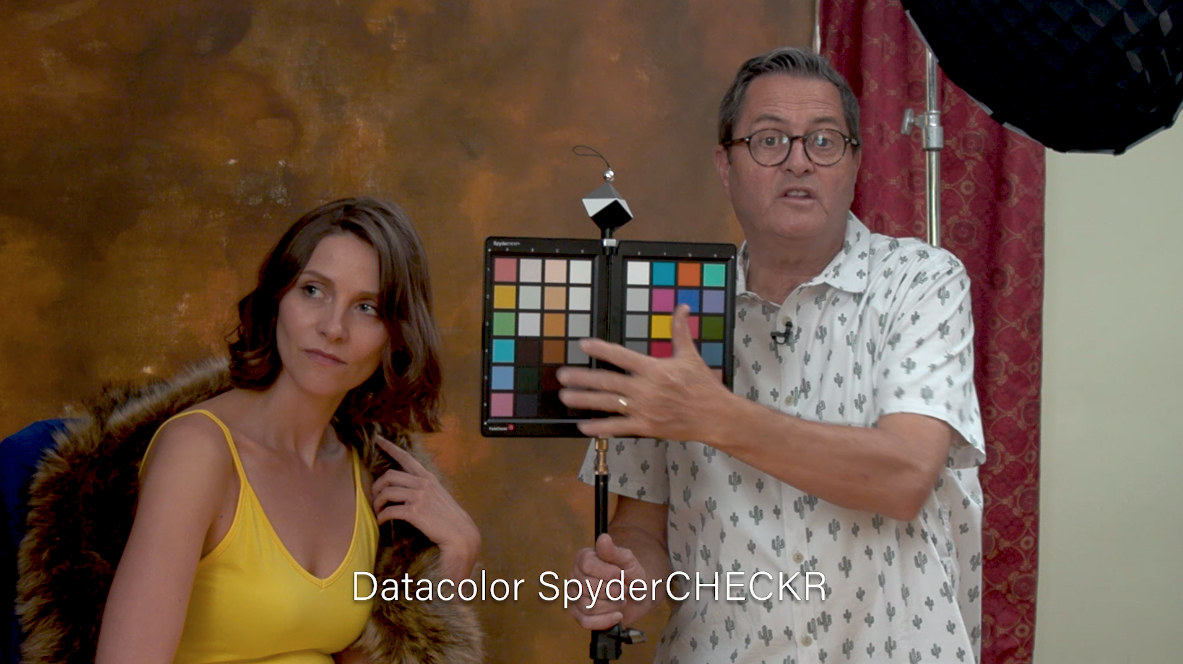
Today with our sponsor Datacolor, we are using the SpyderX to manage color from the shoot to the computer!

Edna Crompton really was the lifestyle painter of her time. In the 1920s she did covers for Metropolitan, she created calendars and always captured women in their daily lives.

We are going to imitate specific images with still photography and do several important steps along the way to make this look as much like her images as possible.
First Shot
For this first image, we have all the components and just have to do some special lighting to recreate this image.


We’re going to put a heavy red off to the right.


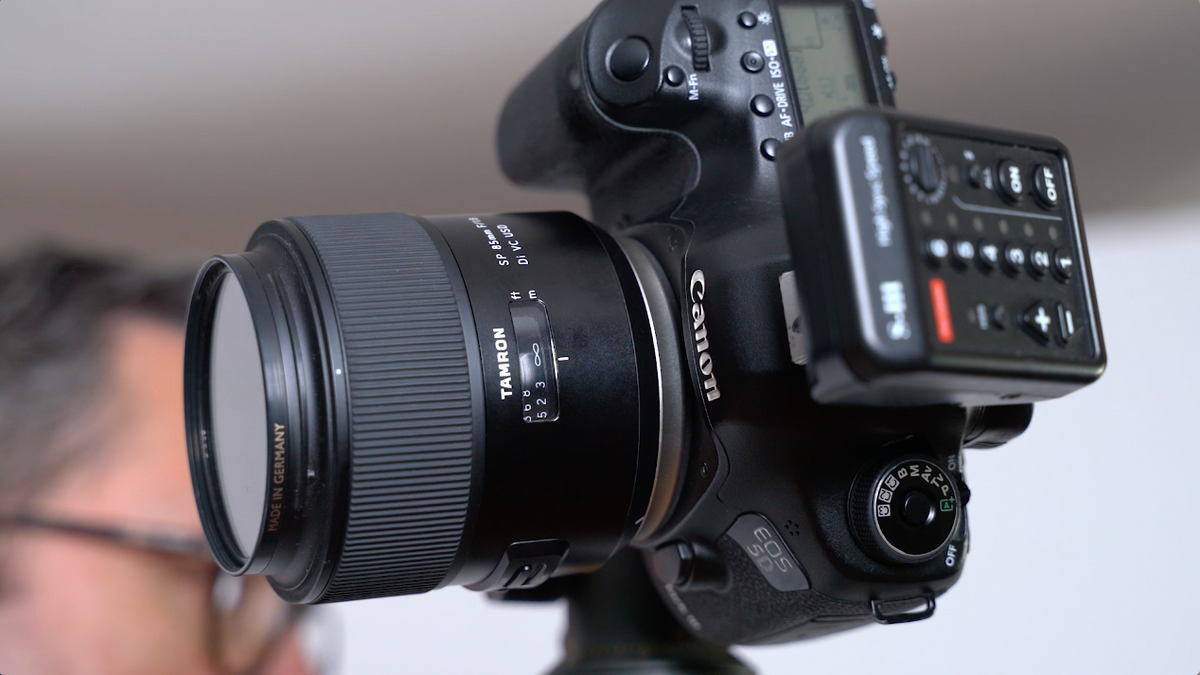
I’m using my Tamron 85mm 1.8 lens. because it’s a little longer than what your eyes sees.

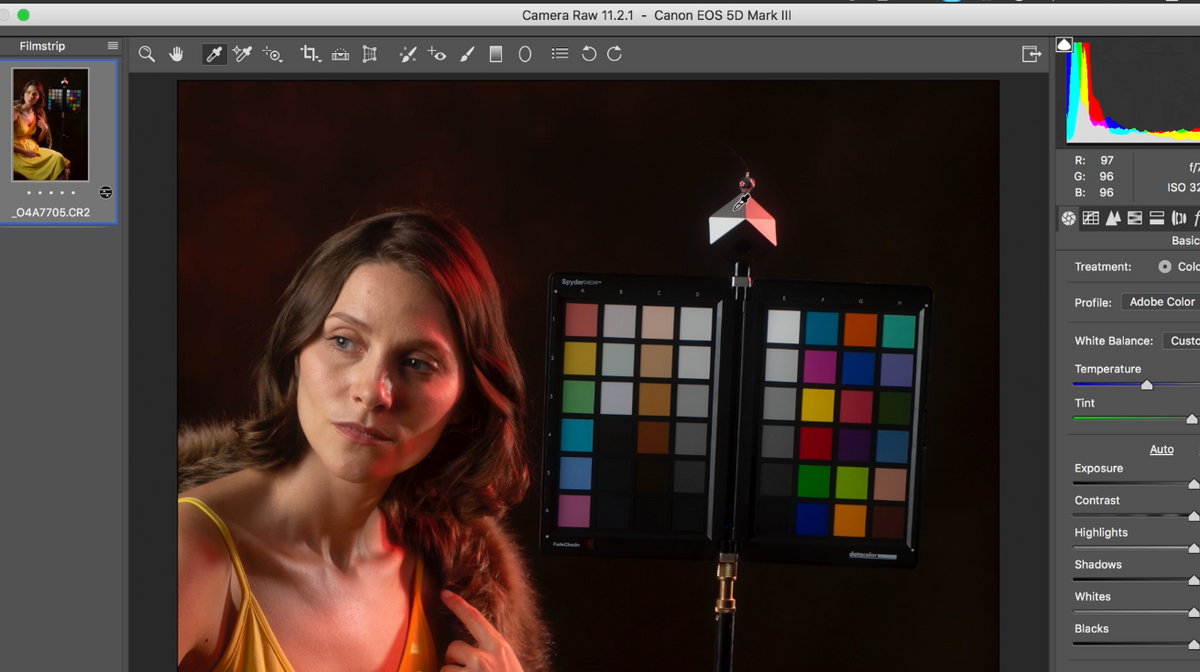
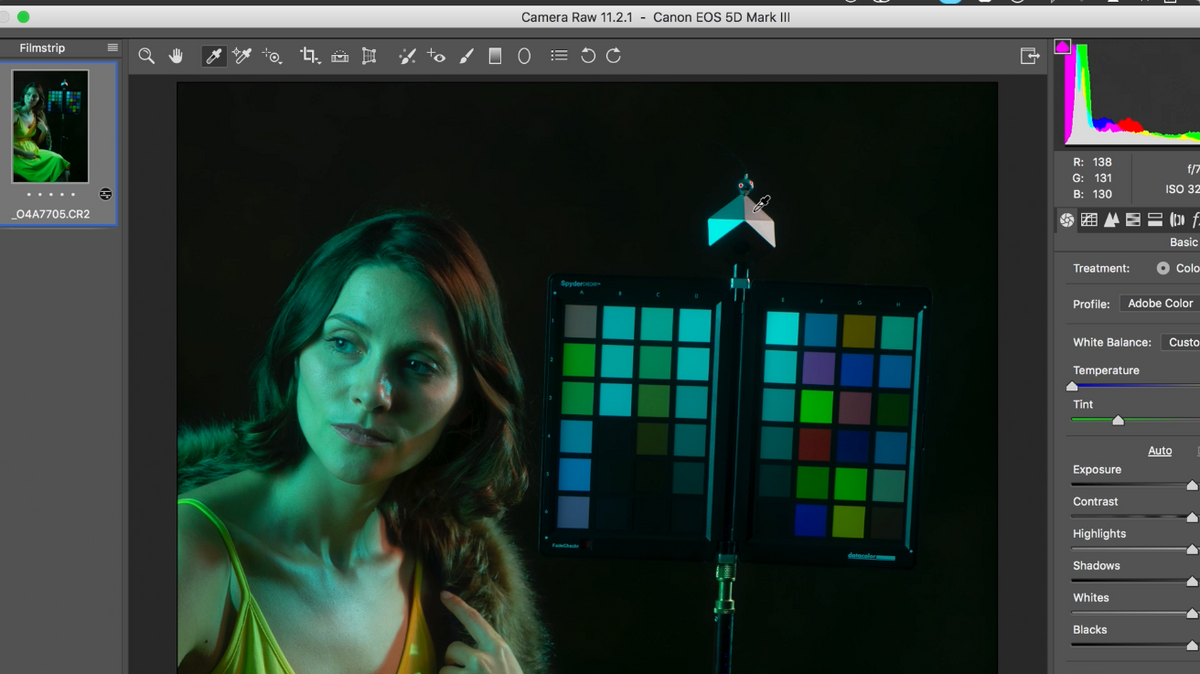
Setting up the Spyder Checkr, I’m moving it slightly forward because I don’t want the red light getting on the Spyder Checkr because when I sample the color, it would try to take all of the red out of the image. All we want is our key light, the white light to get on the Spyder Checkr. So when I clean that up I get a clean key light and let the other light be red. We don’t want to mix those 2 because it would start to mess with the color in the image.


Second Shot
Let’s talk about the breakdown for the second shot.

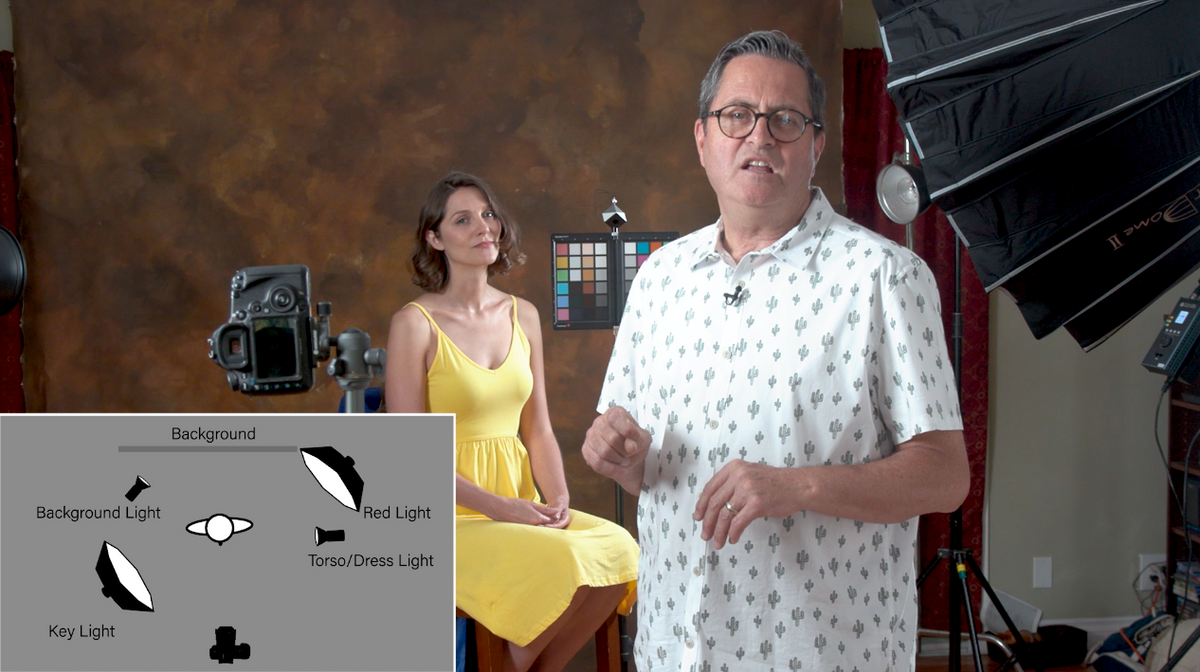
First off, let’s start with out background.
We took a small soft box with a grid in it and a 4415 Rosco gel in it turning the brown backgrop into a green backdrop.
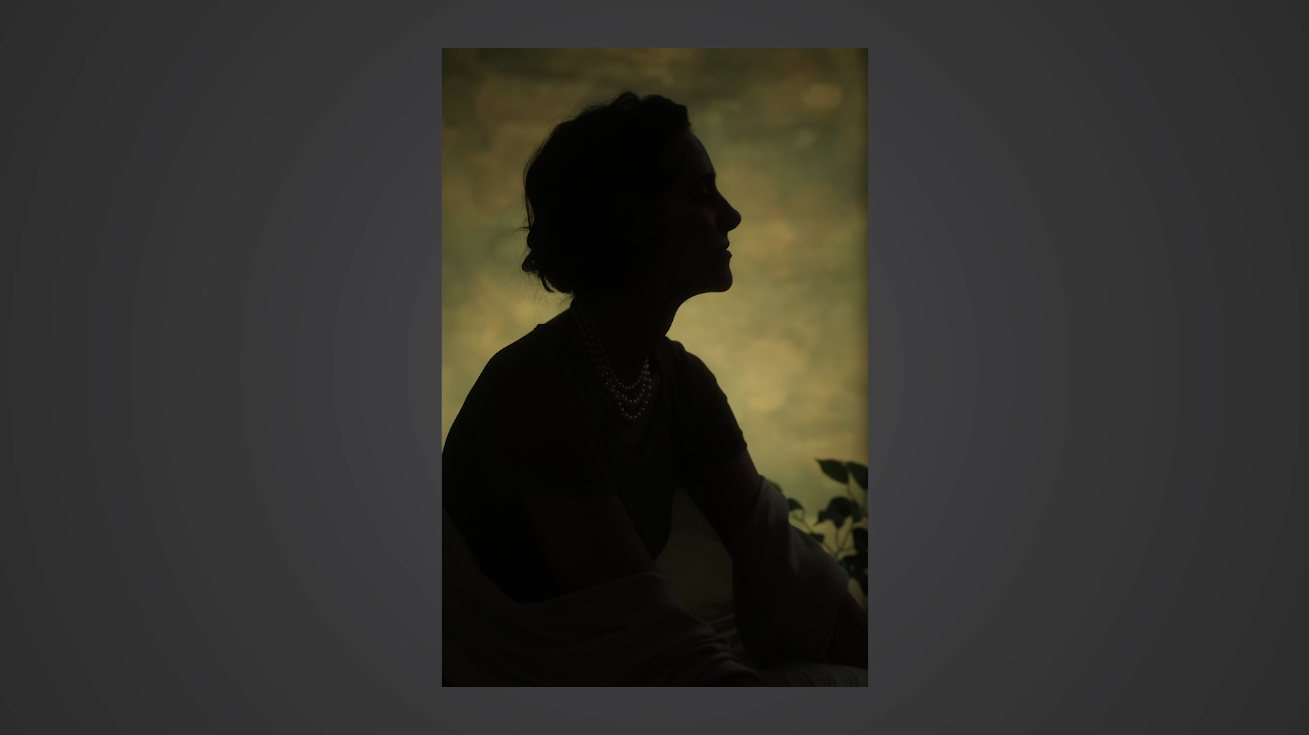

That’s just the beginning. If you look at the image, you can see a lot of backlight around her head.
So we’re using a SMDV Briht 360 light with a grid on it and a yellow and quarter CTO to create a glow all the way around her hair.
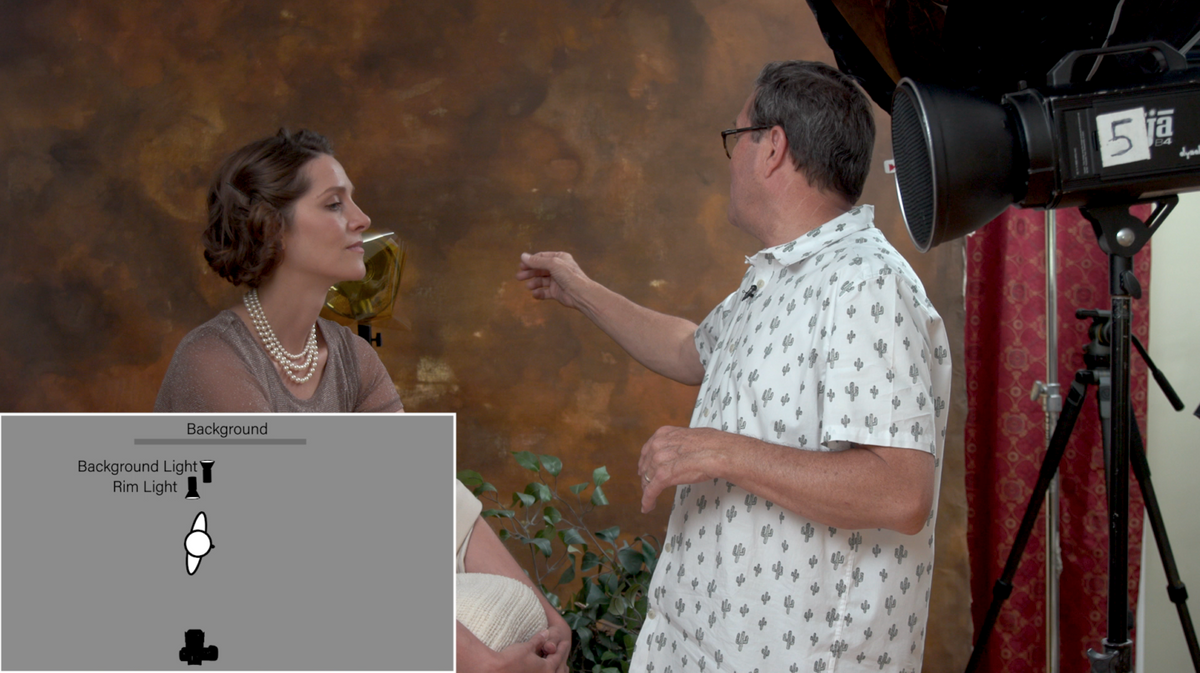
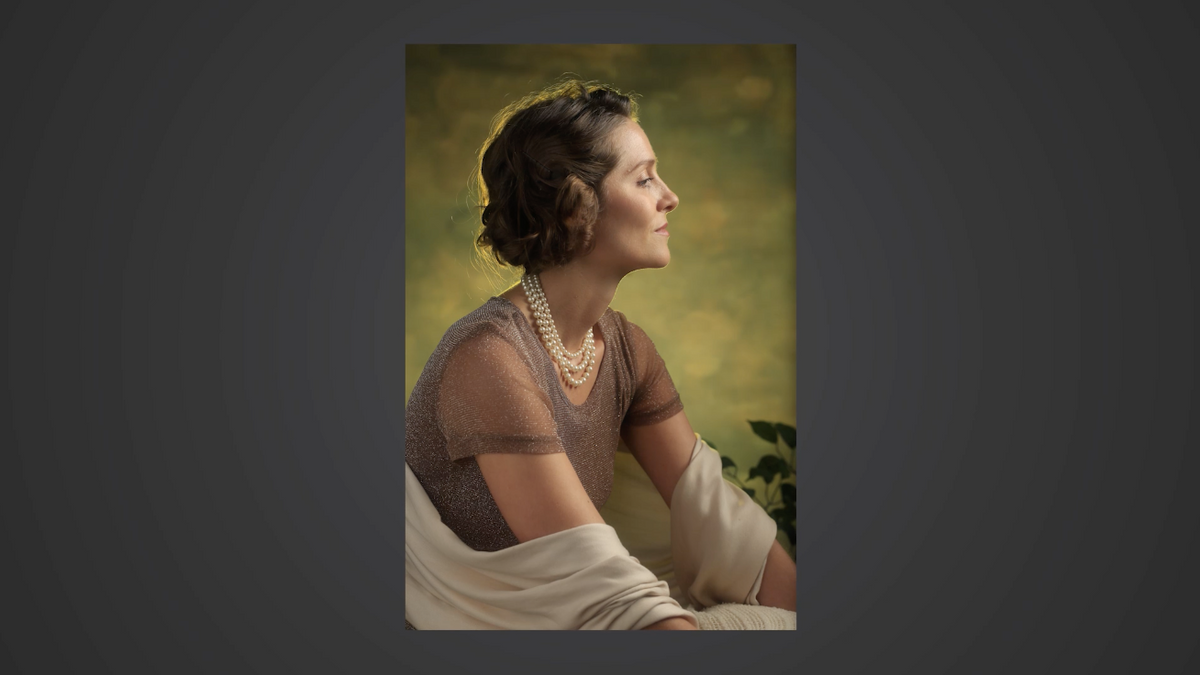


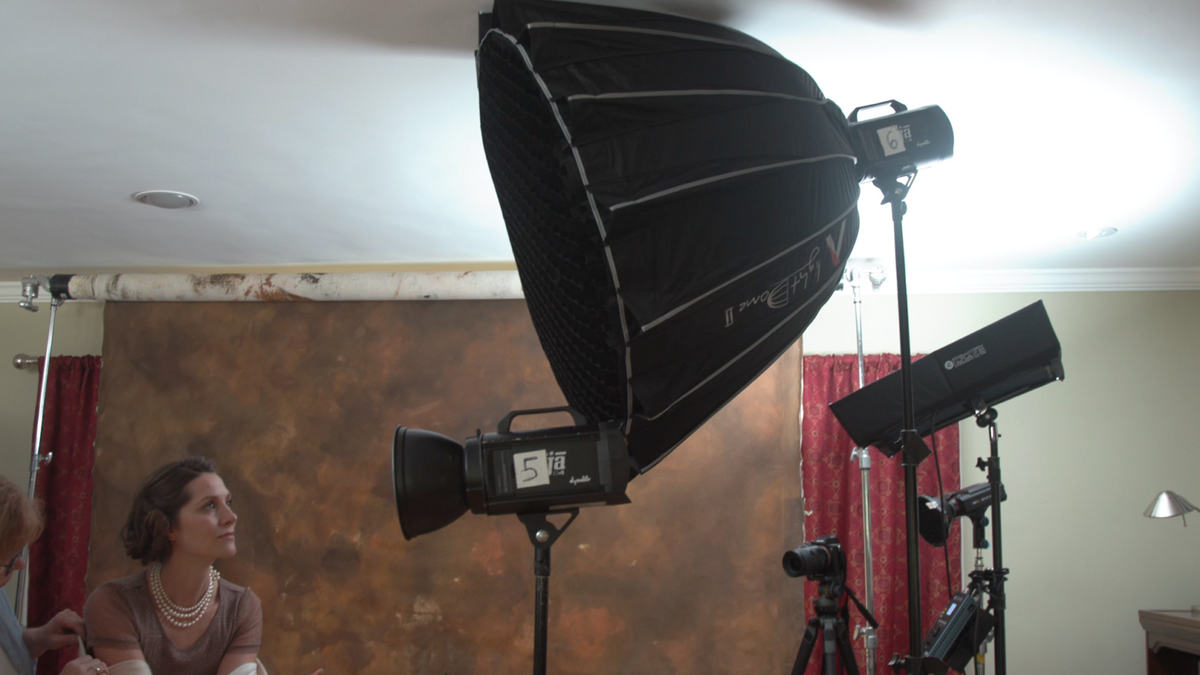
The third light is our key light. We’ve got our larger aperture soft box with a grid in it that’s going to give us a nice butterfly on her face and nice triangles on the side.
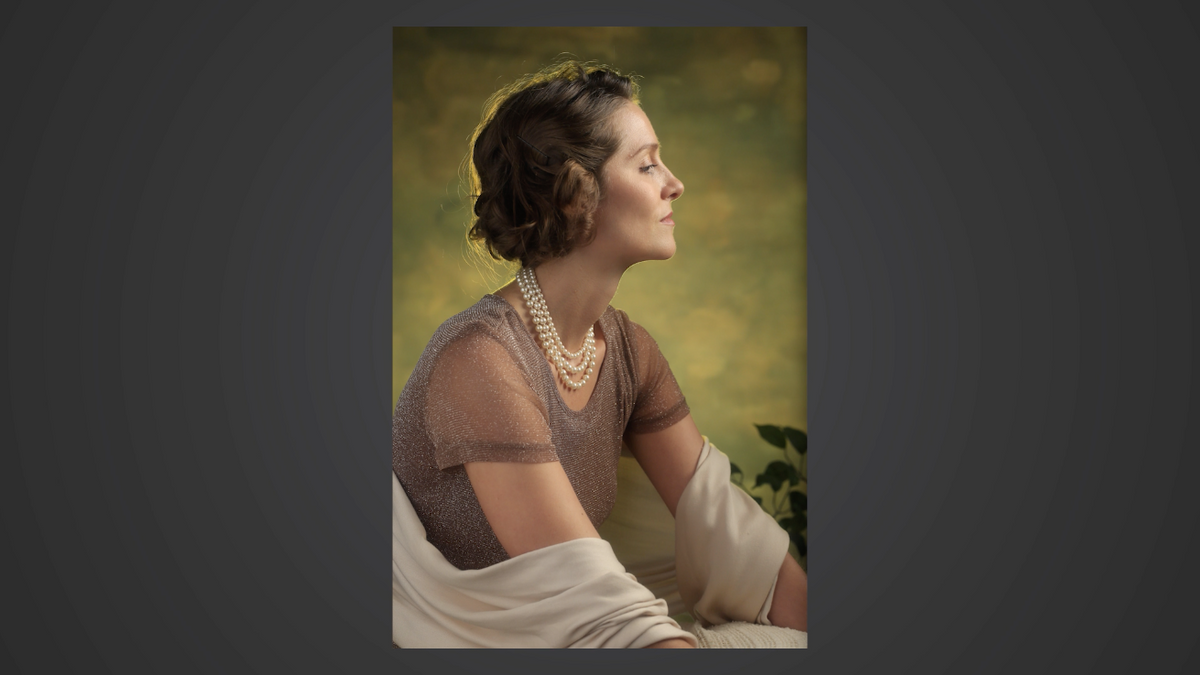

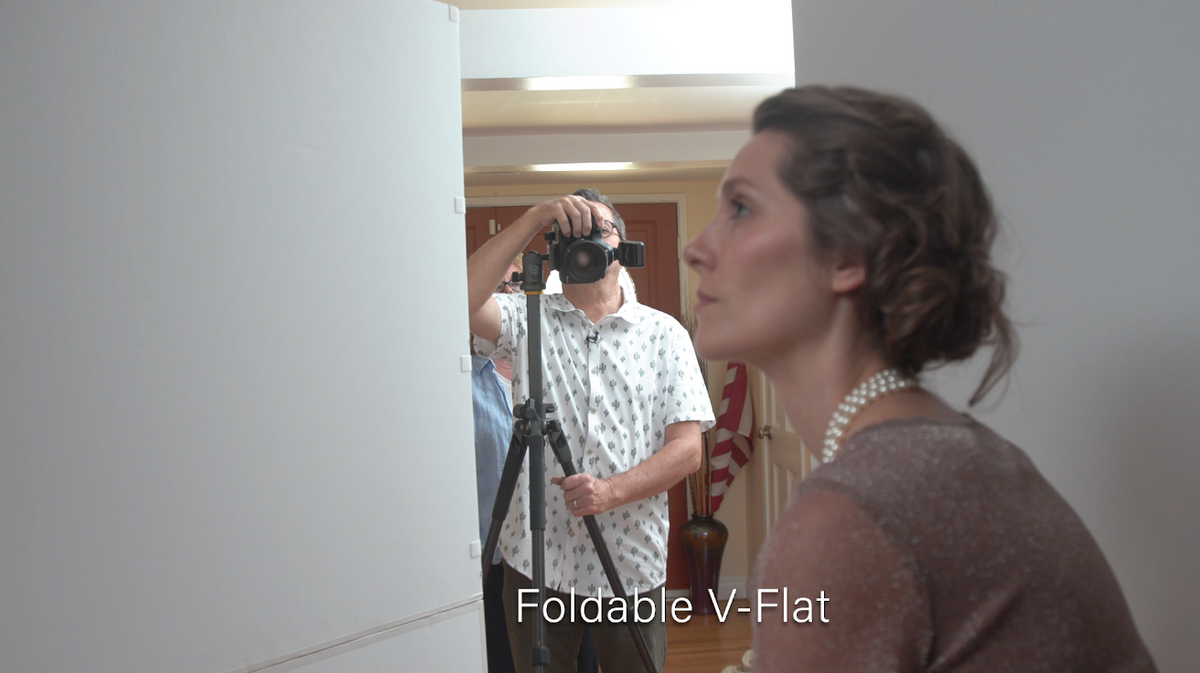
Lastly, we’ll roll out V Flat in, which opens this up a lot as it takes the light from our key light and bounces it back in, and then we added a Baha B4 at low power with 40% grid bouncing off the V Flat to open things up a bit more.

On The Computer
Now that we’re done with the shots, let’s head over to use the SpyderX on the computer.
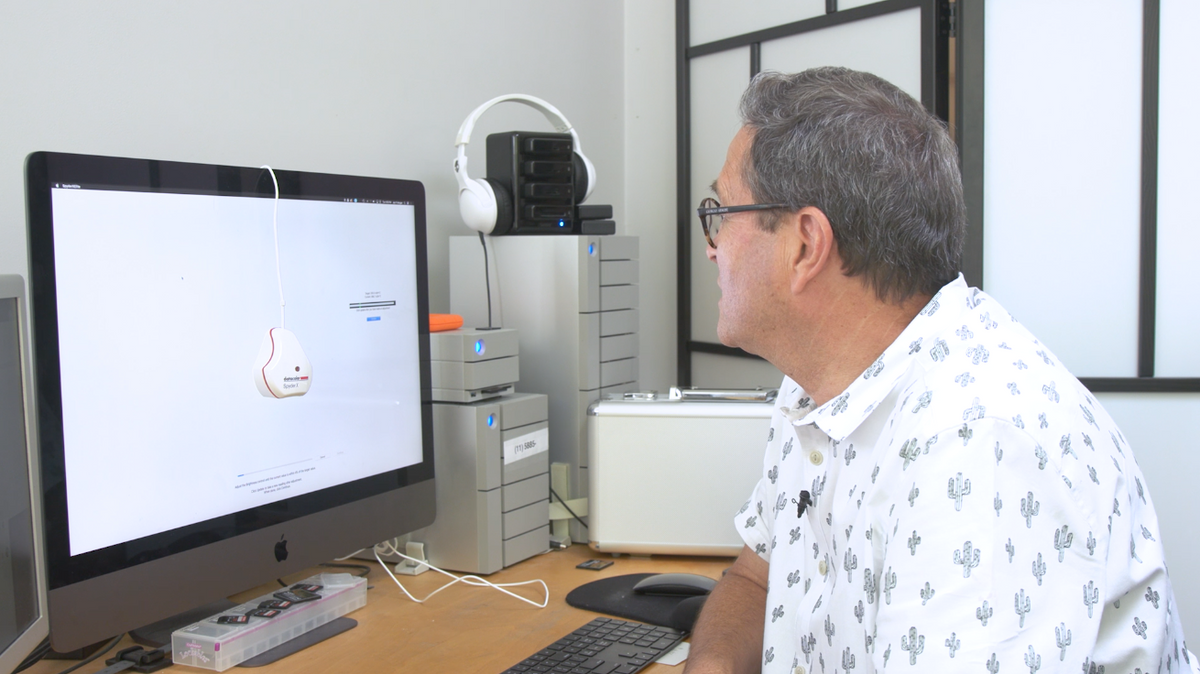

The SpyderX provides significantly more accurate color detail than any other device that I’ve used. So between the speed, accuracy and the ease of use when you click it, it walks you through and you’ll be calibrated in no time.
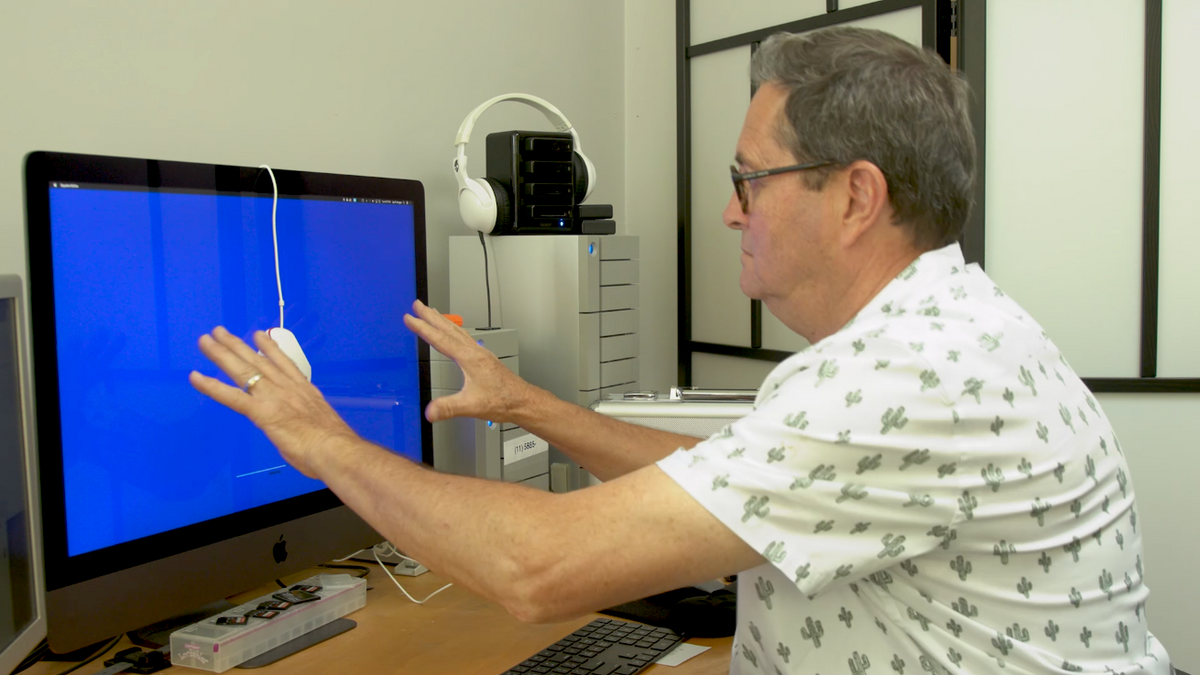

Now that we’re all calibrated and it’s good for 2 weeks, we’re going to hit save and we’re ready to move ahead.
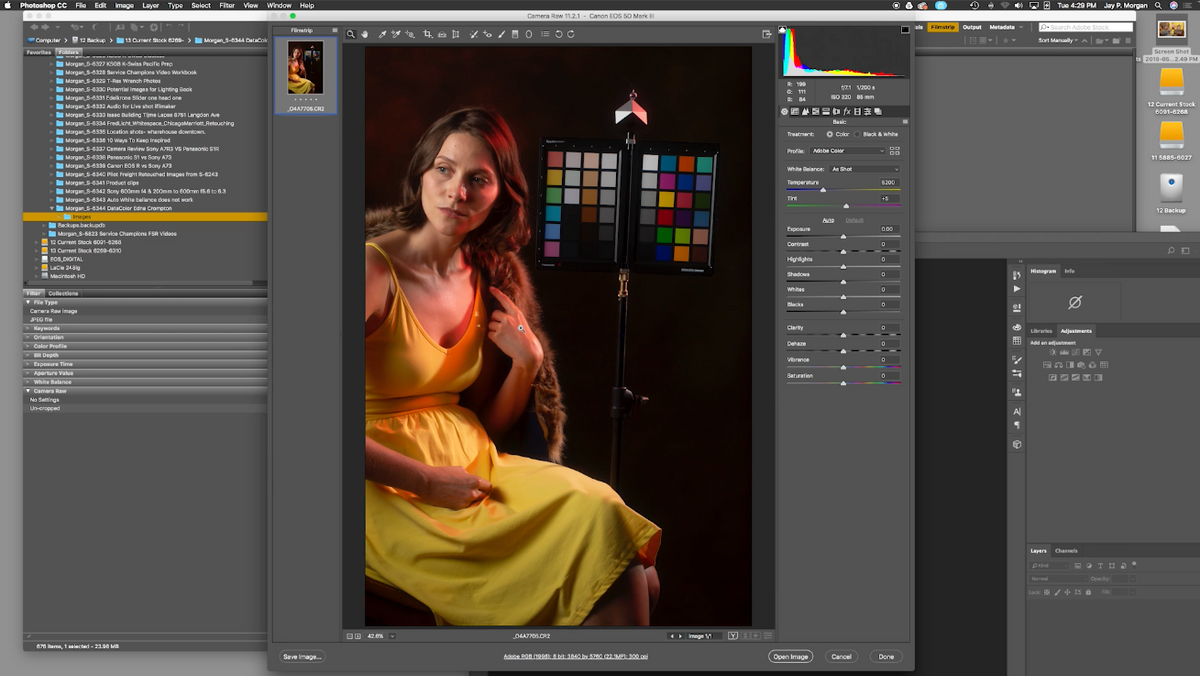

My images are loaded into Bridge, and I’ll find an image that has my Spyder Checkr in it, and I’m opening it up into Camera Raw.
Here is a perfect example of why the cube is so valuable. When I zoom in and click on the grey side of my cube that faces my key light, it gives me a perfect color balance with perfect white on her face. But if I clicked on the side of the cube facing into the red, it’ll try to correct that red and it goes completely green trying to eliminate that red light. Because that’s not what I want I’m going to click on the side of the grey that faces into the clean white key lights, and that’s going to give me my color balance.


Now I’m opening up my shadows slightly to be able to see the hole in the cube.
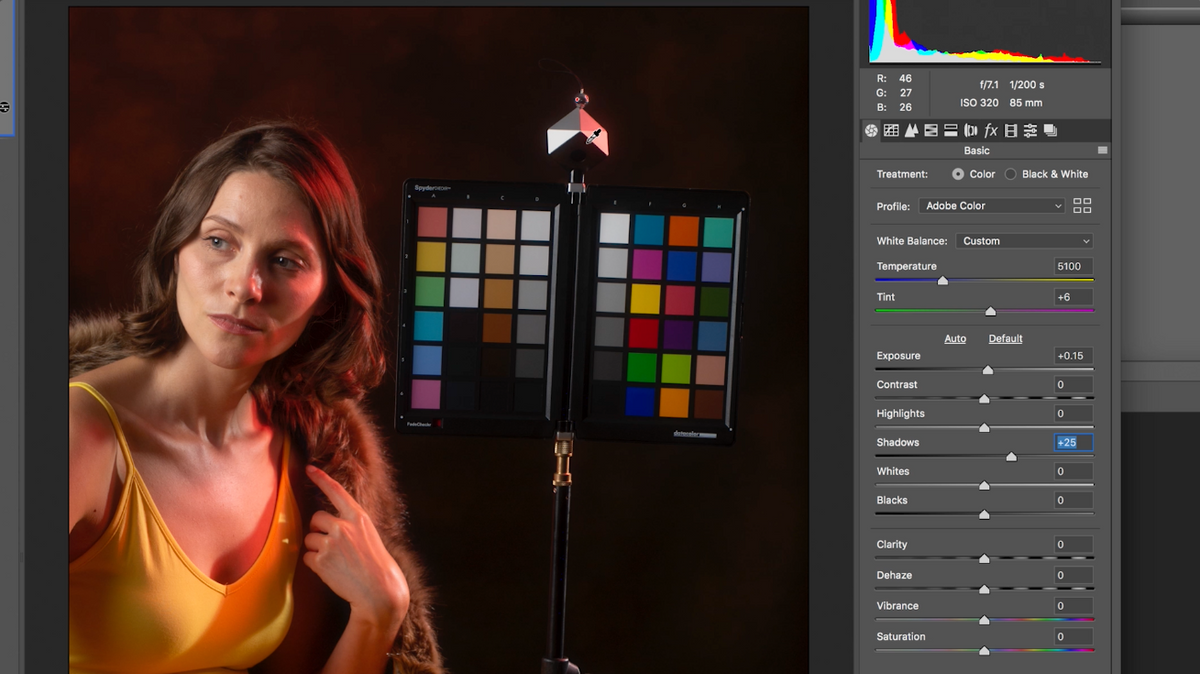

Once I have the color balance I want, I’m going to save my settings, and now I can apply this to all other images as my beginning.
Conclusion
I think this is a great experience on several different levels! Still photographers tend to lean on Photoshop too much and with this, it causes you to think about the artists lights, what motivates the light and how to create this image.
One of the reasons this is so incredibly valuable for someone who does video work or film work is, you don’t have the luxury of photoshop as easily in video as you do with still imagery. This helps you hone your craft as a DP or still photographer because you have to look at the light and create it in camera. You can’t just fix it in post.
I think recreating Forgotten Artists images is a great exercise and I love the opportunity to be introduced to different artists and the way they saw the world and try to do the same with some of the imagery we take.
What Forgotten Artists images would you like to see us recreate next?


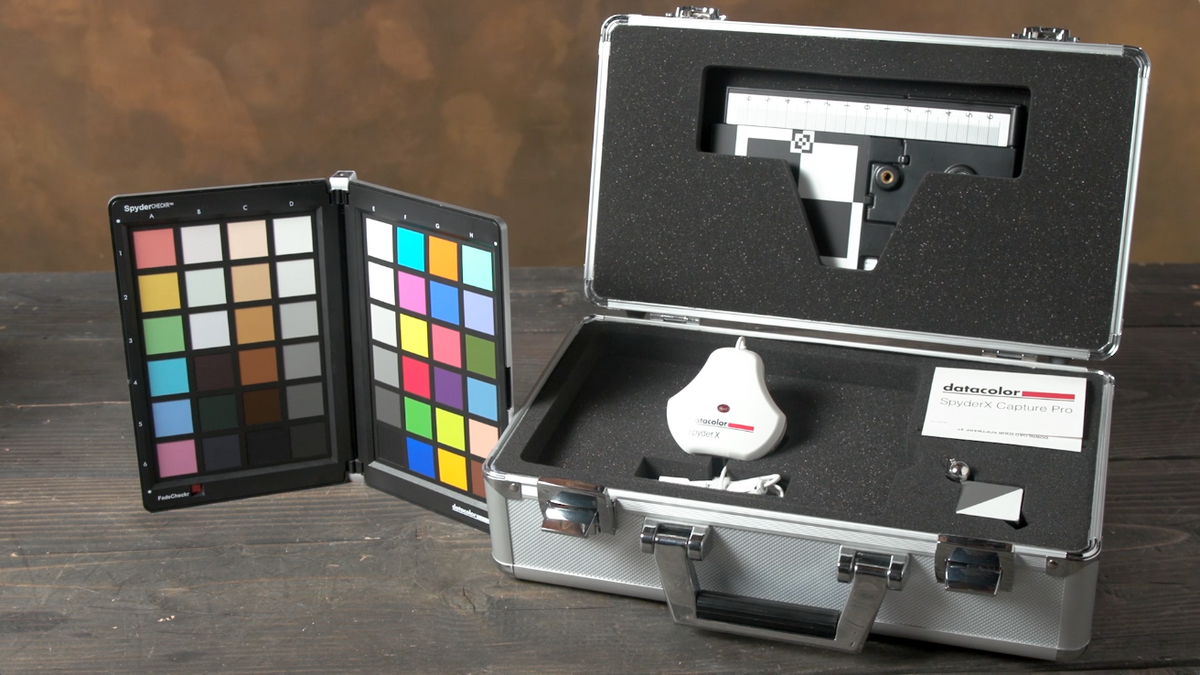
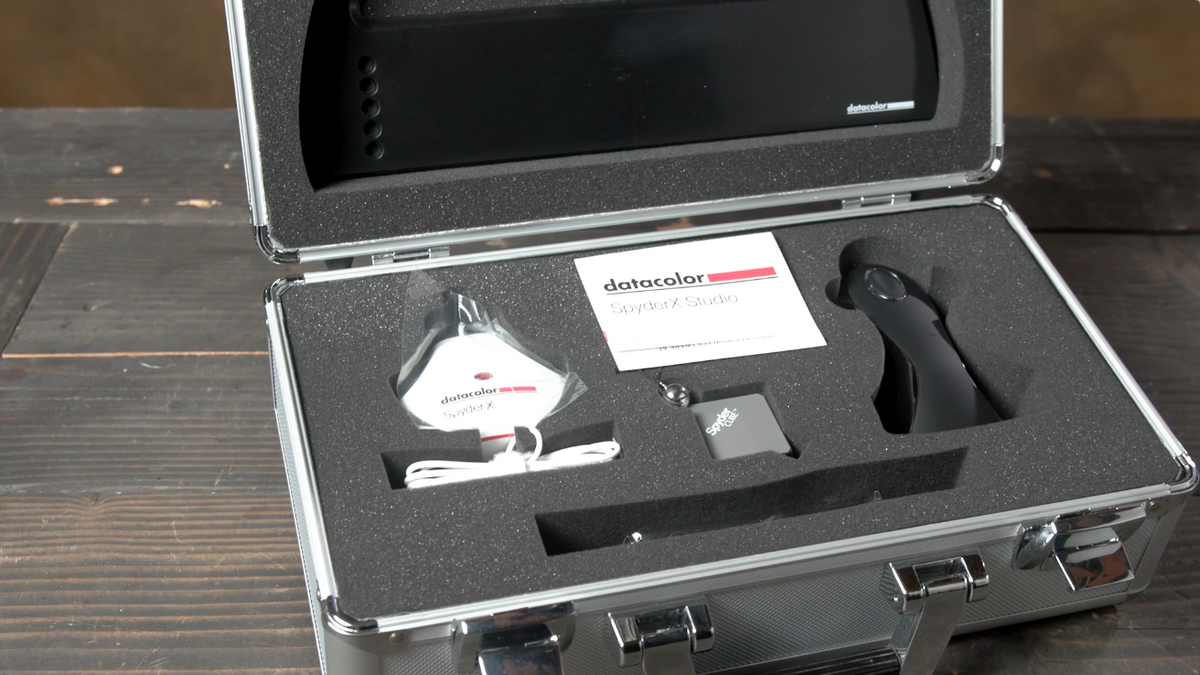
DataColor has just come out with 2 new bundles that have the Spyder X and the Spyder Checkr.

Check them out!
DataColor SpyderX Capture Pro https://bhpho.to/2WS5luC
DataColor SpyderX Studio https://bhpho.to/2WTTKeQ
Featured talent: Jenna Curtis @jennacurtis_lala
Enter the GIVEAWAY: https://gleam.io/en8Jr/win-a-vanguard-tripod
Follow The Slanted Lens-
Facebook: https://www.facebook.com/theslantedlens
Twitter: https://twitter.com/theslantedlens
Instagram: https://instagram.com/theslantedlens
—
GEAR USED:
V Flat https://bhpho.to/2WOznzx
Tamron 85mm 1.8 https://bhpho.to/2DdjDgw
SKB Cases https://www.skbcases.com/music/products/prodlist.php?o=&c=147
Cameras
Canon 5D mark iii https://bhpho.to/2OyuW96
Canon c200 https://bhpho.to/2WQtzWj
Sony a7R iii https://bhpho.to/2DZYHut
Baha B4 https://bhpho.to/2Mk6ciI
SMDV Briht 360
Canon 24-70 2.8 https://bhpho.to/2OCKjgl
Tamron 28-75 https://bhpho.to/2WRRft7
Vanguard Tripod https://bhpho.to/2nJKOsA
Vanguard Alta Pro 2+
Get 20% off anything at VanguardWorld.com with our code: SLANTEDLENS
B&H: https://bhpho.to/2rAZnDY
Amazon: https://amzn.to/2IS2HBR