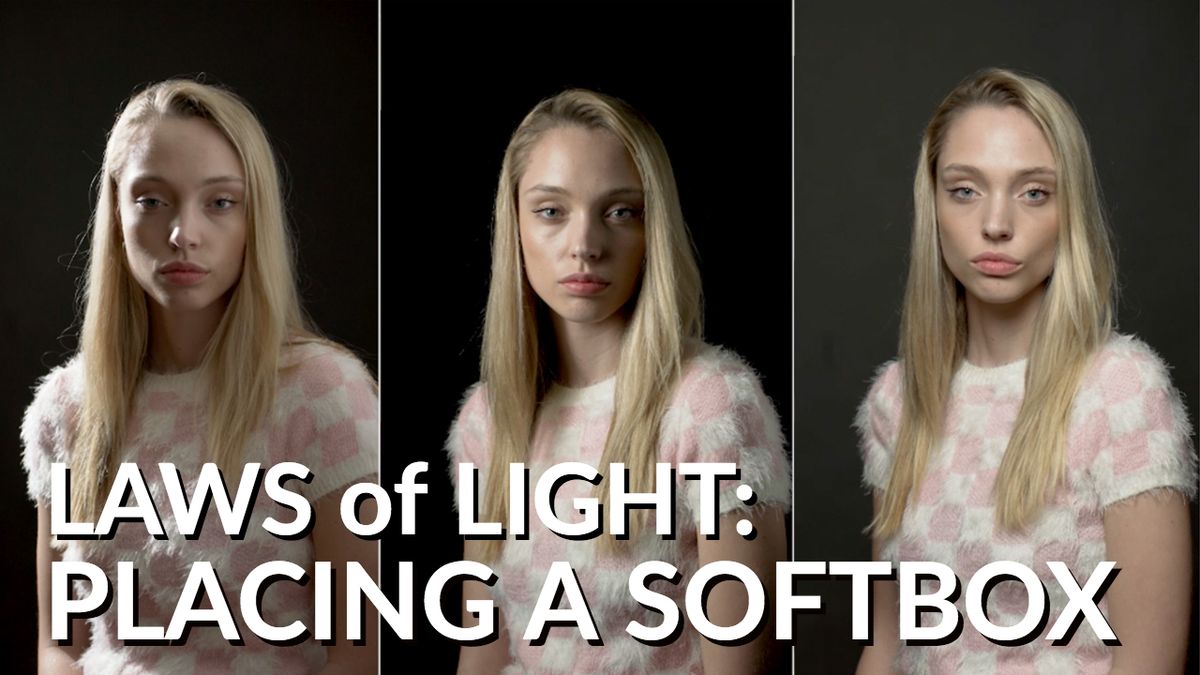
Today we are going to talk about placing a softbox, not the positions that you would use like a Rembrandt, a butterfly, or a loop, but how to place it once it’s in position. Let’s talk about how to finesse the look that you want to achieve while using a softbox.
We have our model with us here today, Hailey West (@haileymichelewest) who is going to help us demonstrate this.
#1 Horizontal or Vertical
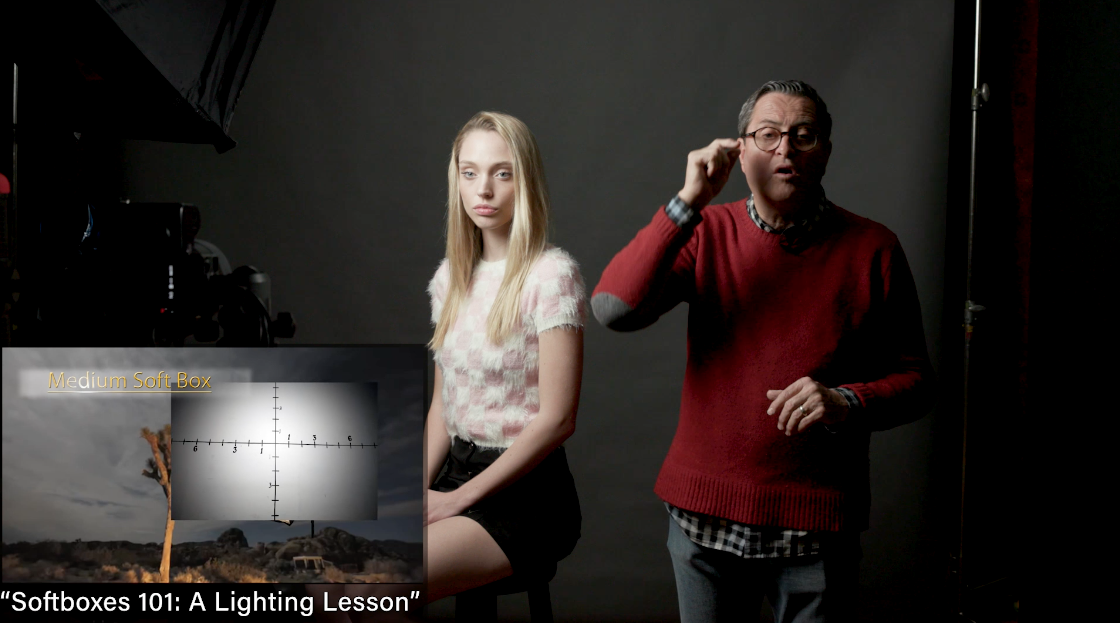
The softbox has a round area of coverage. It doesn’t matter whether or not it is horizontal or vertical, it’s the same coverage. You can check out our other video on Softboxes 101 that goes over the patterns of how the light looks on a wall. However, what does change is what the softbox can see on the subject matter.
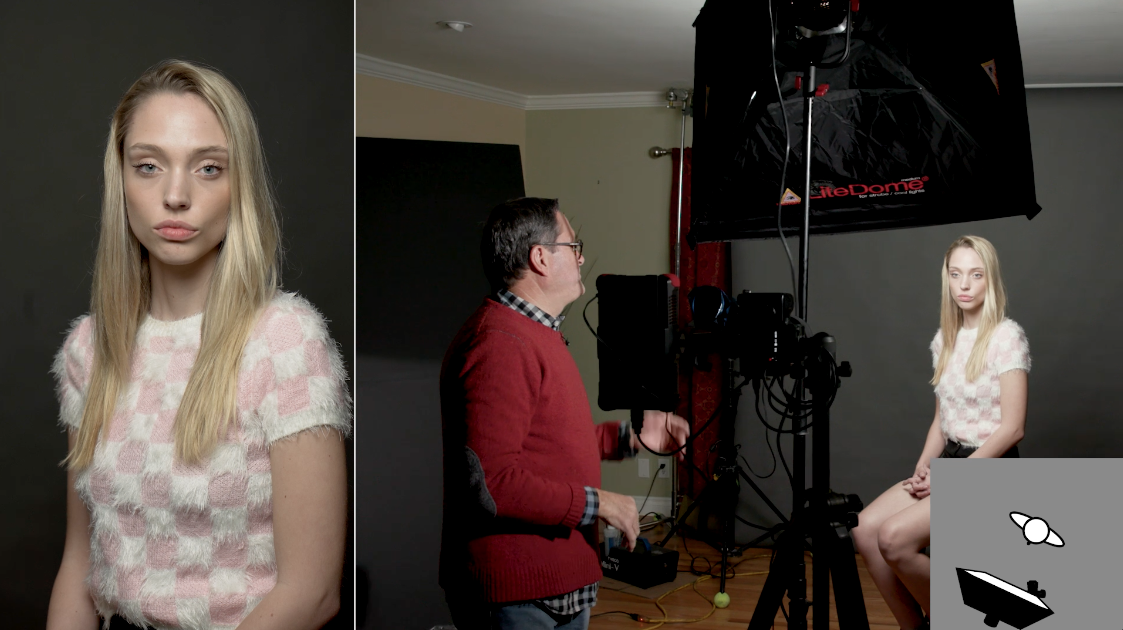
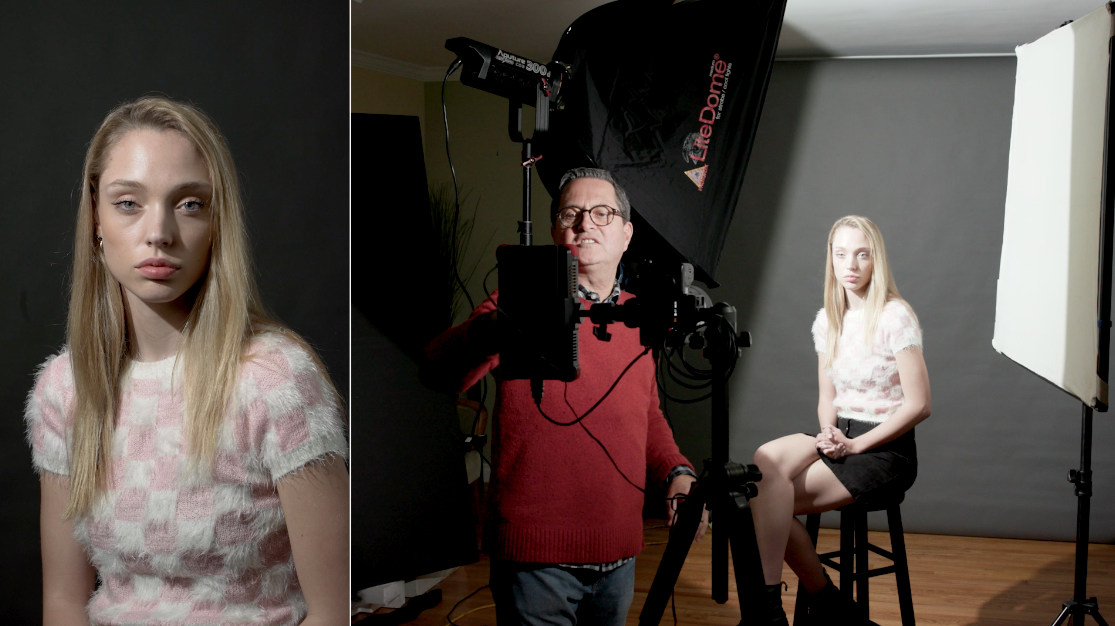
So if you want there to fill on the shadow side, you want your box to be horizontal because now this left side of the softbox can see her face.
Whereas, if I was going for a harder light on her face, I would turn it vertical and bring it back. Now my light doesn’t see that other side of her face. The more I move the light to the back of my model, the harsher the light on her face becomes as it casts a shadow across.
If I use a huge softbox and I move the light right in front of her, it opens up her face beautifully and casts nice shadows on her face.
# 2 How to Setup a Softbox
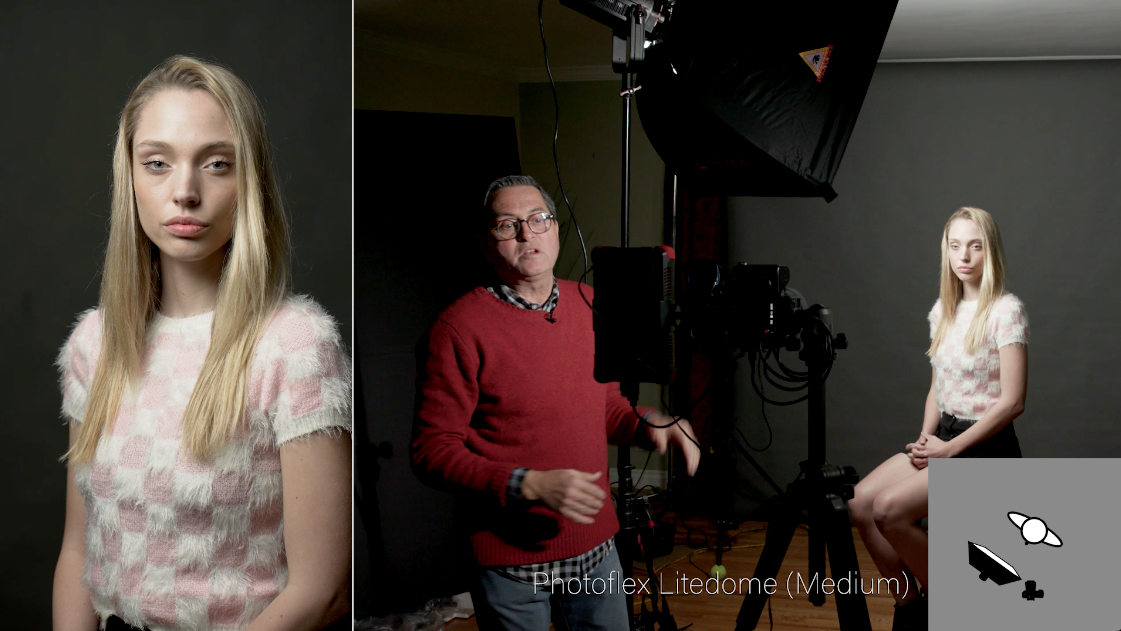
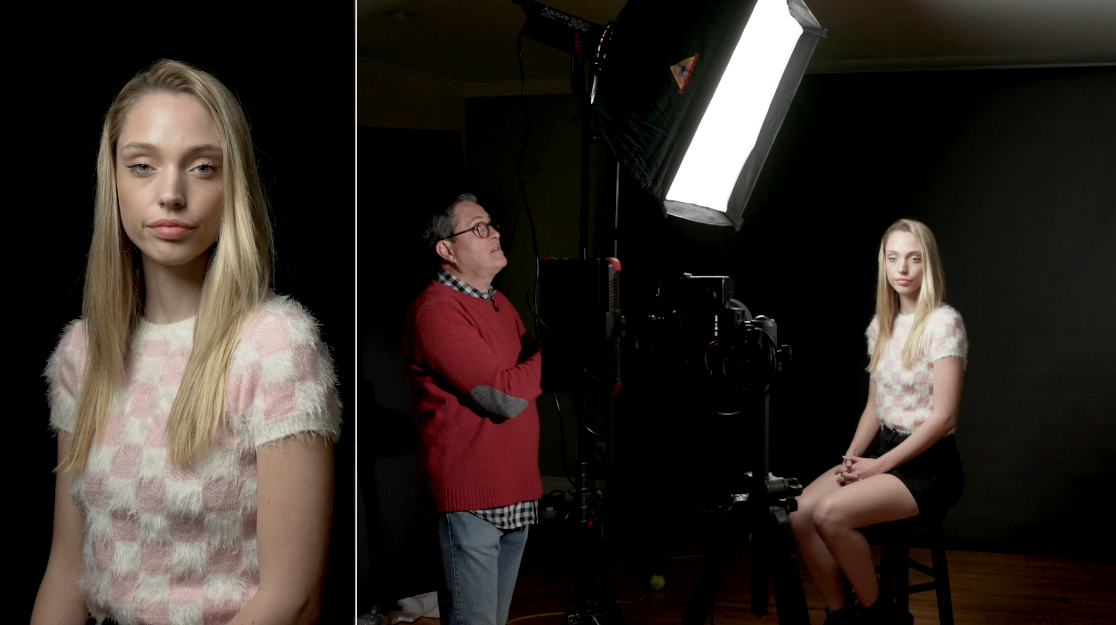
The most important thing I’m going to talk about today is how to set up and place your softbox so that it lights exactly what you want to light. It is really a matter of feathering the softbox. Most people just set up a softbox and aim it directly at their subject, so that it’s lighting her face, her body, and the background all the same way.
Darker Background
If I want the light off of the background, then I’m going to position the light on the side towards her face. I also don’t want that pink sweater of hers to not be so bright, so I’m going to adjust the softbox to feather it up. By just sliding in a fill card on her other side, I can open up the other side of her face.
Lighter Background
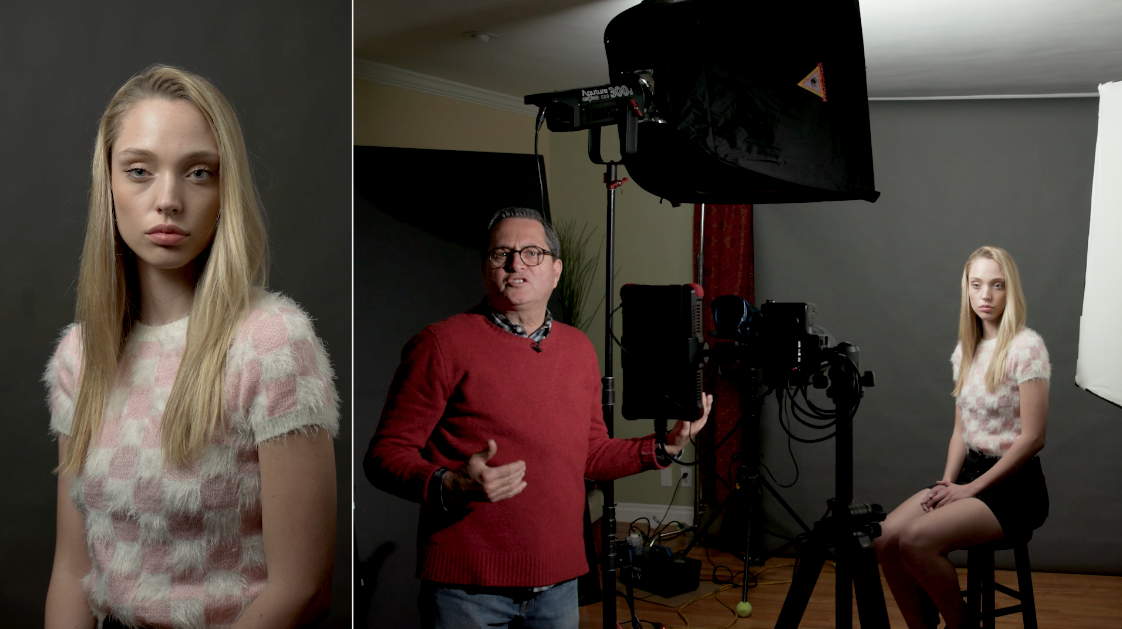
If I want the background to be brighter, I’m going to rotate the light to face the background. I’m going to bring it further in front of her and tilt it down to light her face.
#3 Using a Grid
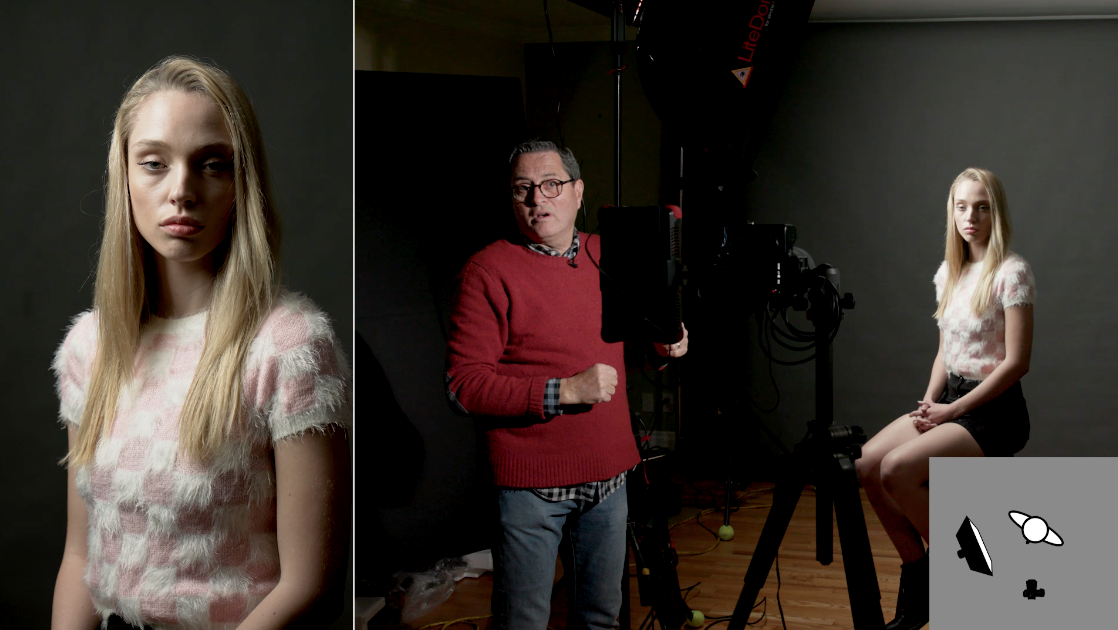
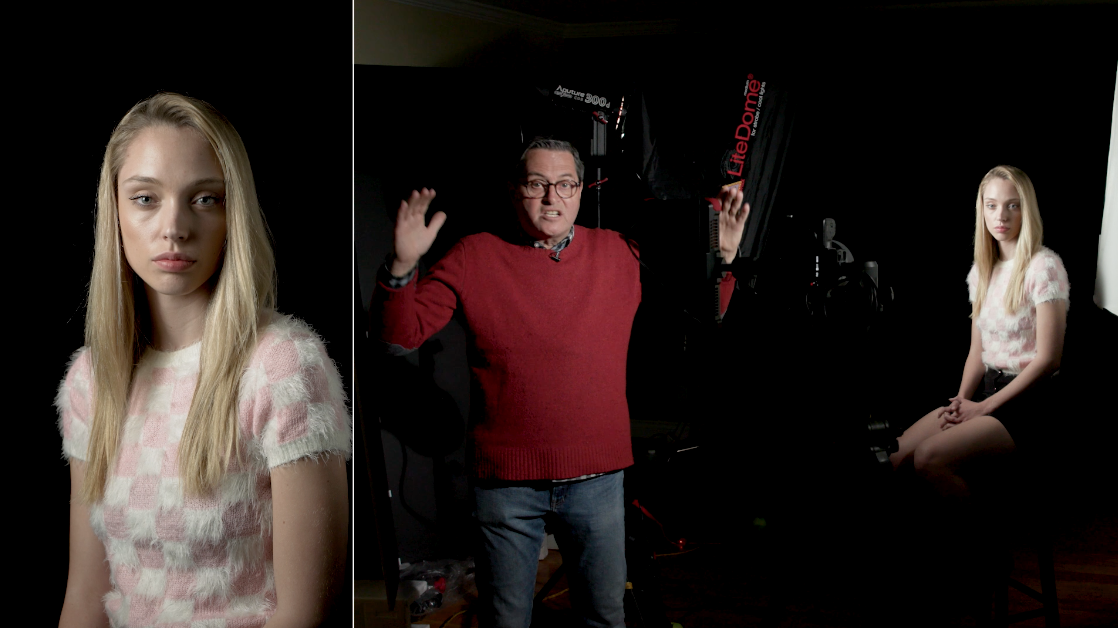
A grid cuts down what the softbox can see. It narrows the angle of view for the softbox, so that it cuts it down significantly. This allows me to get the background black, so I don’t have any light whatsoever on it.
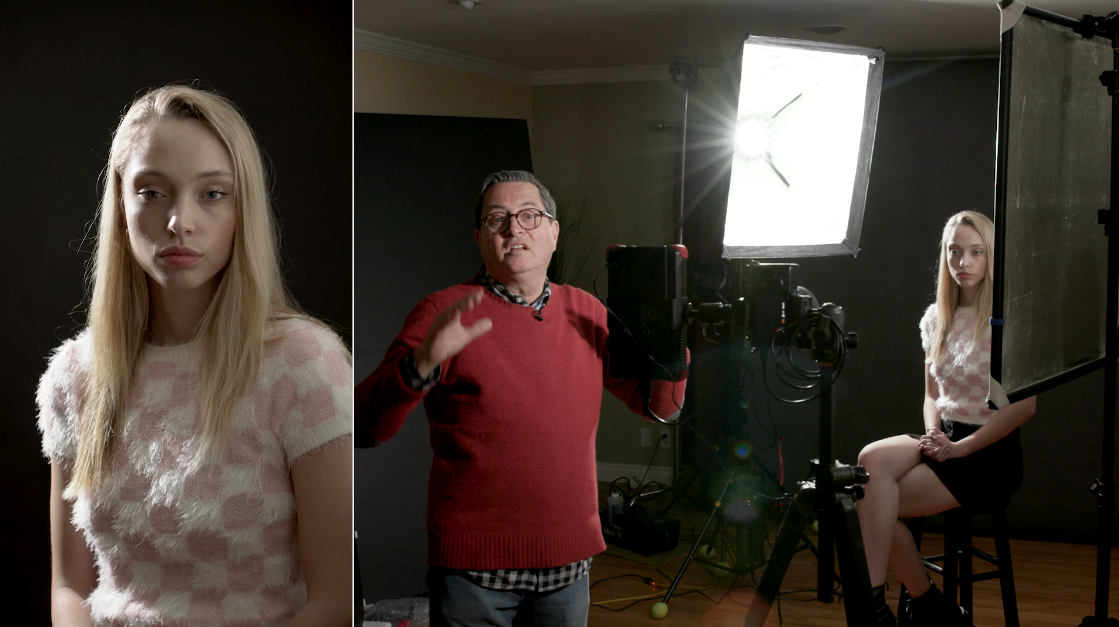
#4 No Grid of Diffuser
Something I can do to make the area of coverage harsher and not so soft is to simply take the grid and cover off. You immediately get a much heavier highlight on her face. This isn’t great to shine directly into someone’s face, but it’s very directional and easy to see where the light is hitting.
We can set this up as a rim light and reflect the light back into her face with a fill card. This setup works great as a sun source.
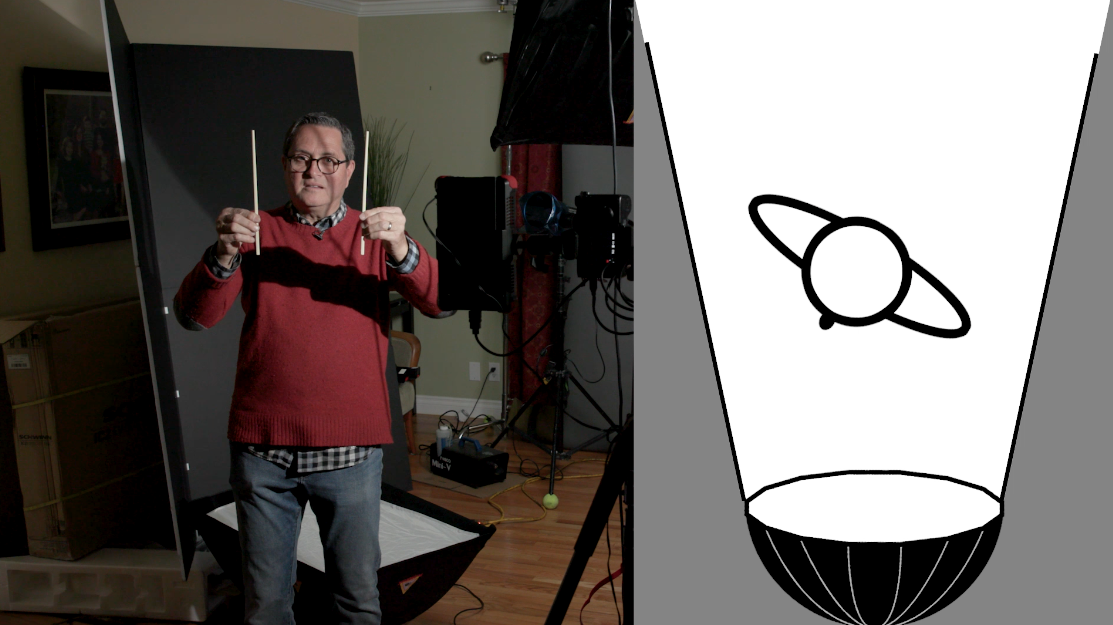
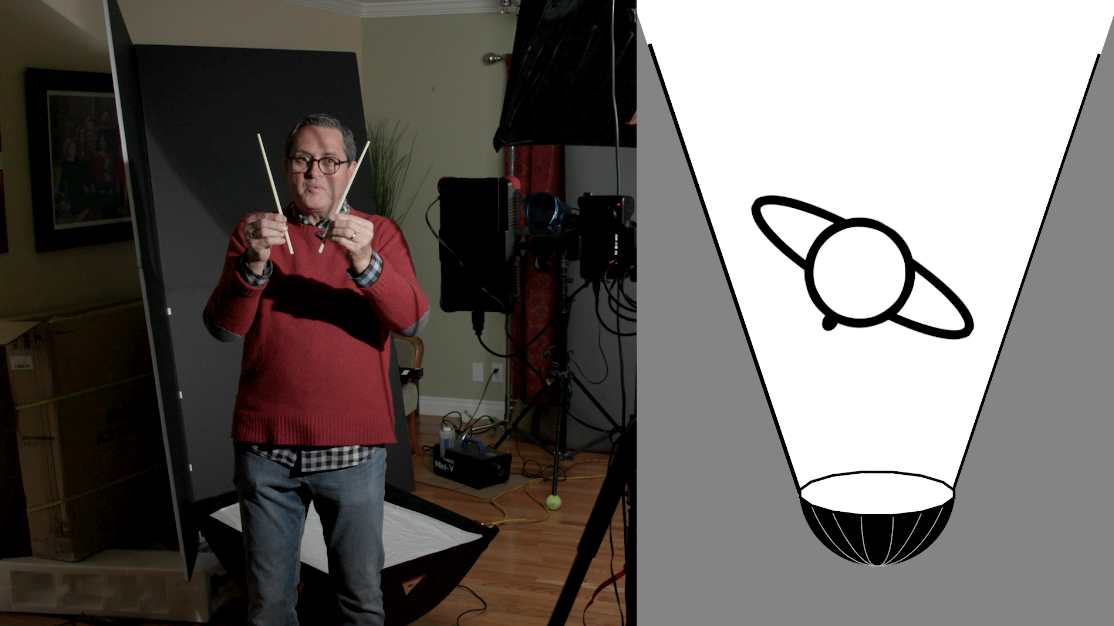
# 5 Large Soft Box
So the benefit of using a larger softbox is that at the point of origin it covers a wider area of coverage. At 6-8 ft, the small and large softbox will cover the same amount of surface area on a subject. The smaller softbox doesn’t see into the shadows as much, so the light is going to be harsher.
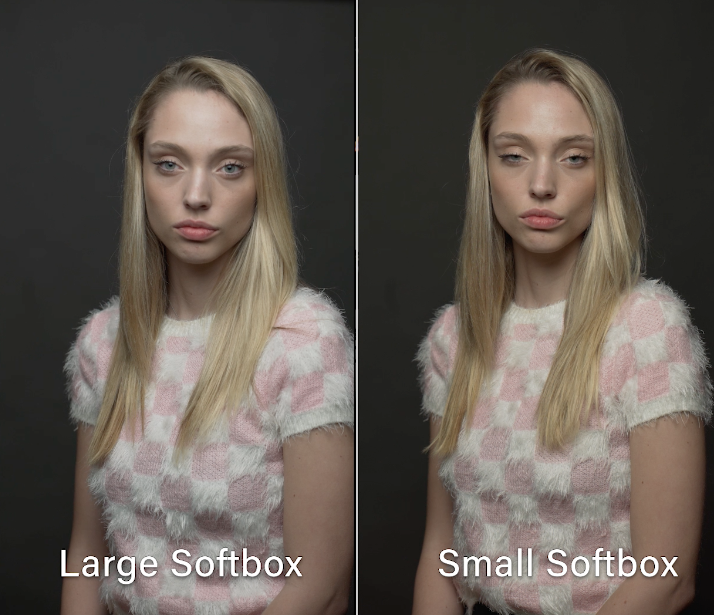
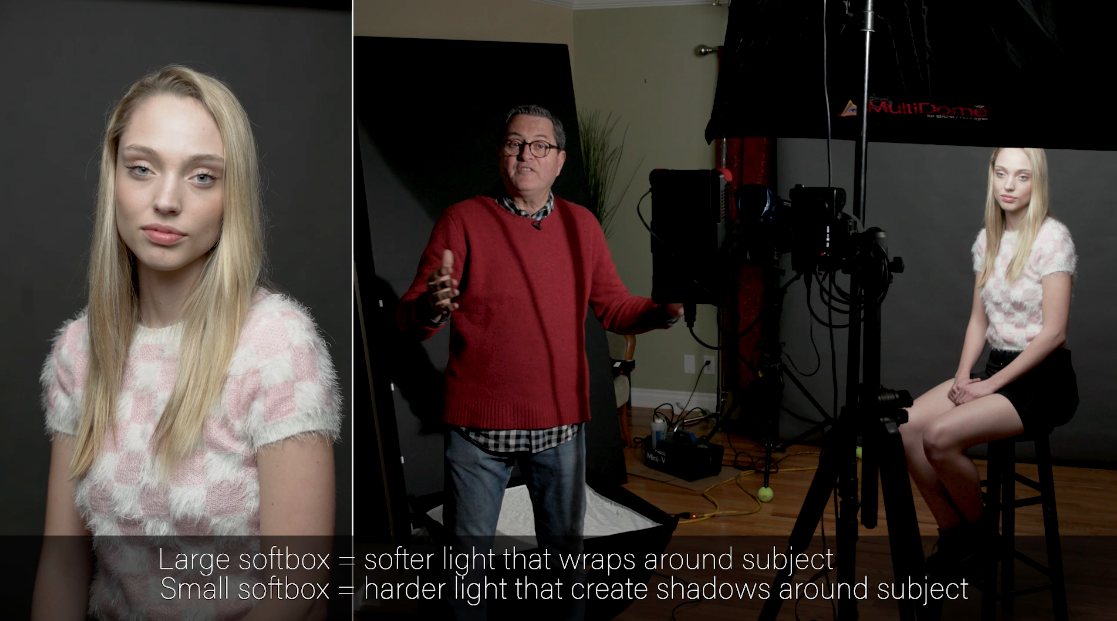
When you put the two images from the large and small softbox next to each other, you can see that the smaller one is a little bit more contrasted in the shadows. Some people prefer larger softboxes because it creates a flatter, softer image.
However, the quality of light really depends on what you are trying to communicate with your image? What kind of mood do you want to establish with your lights? If you want it to be soft and beautiful, then go with a larger softbox.So wrapping up today’s lesson, large sources give a soft light, small sources give harsher light. Remember feathering when directing your light on your subject and background.