


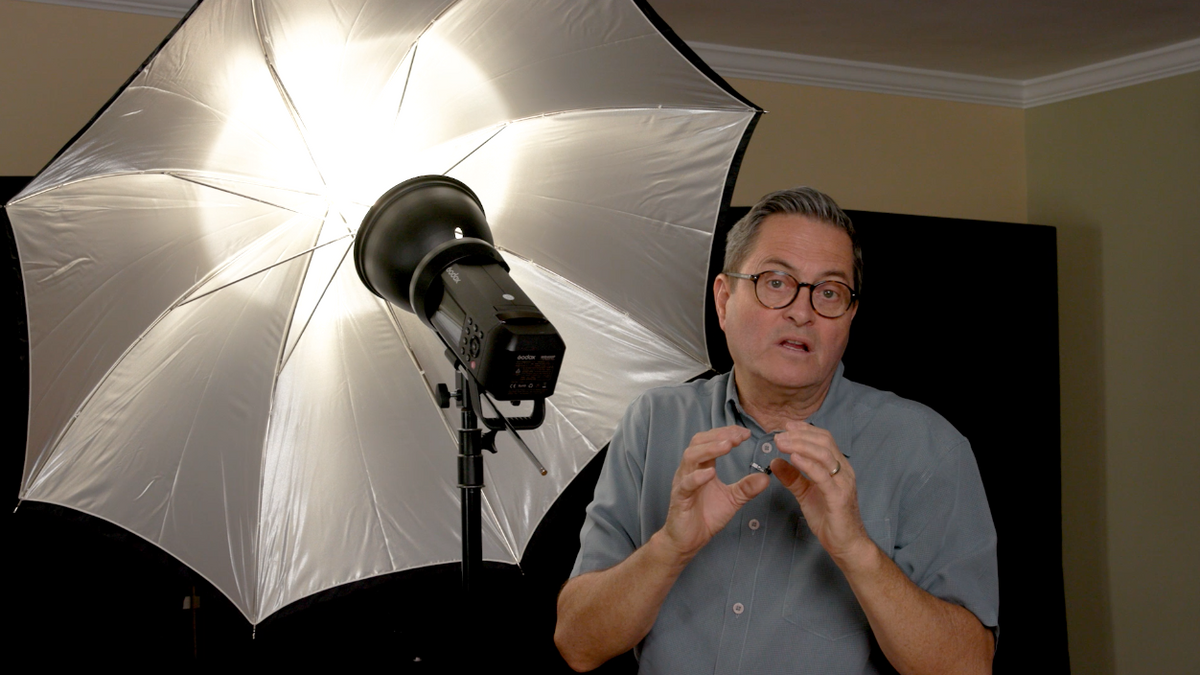
This is Jay P Morgan and today on TSL I’ve got Regan Savannah. We’re going to talk about umbrellas! People have forgotten about umbrellas, they don’t use umbrellas, and they’re a gorgeous way to light. So let’s take a look at them – see how to use them, set them up, and see the different qualities of light with different umbrellas.

Pros and Cons for umbrellas!

Pros
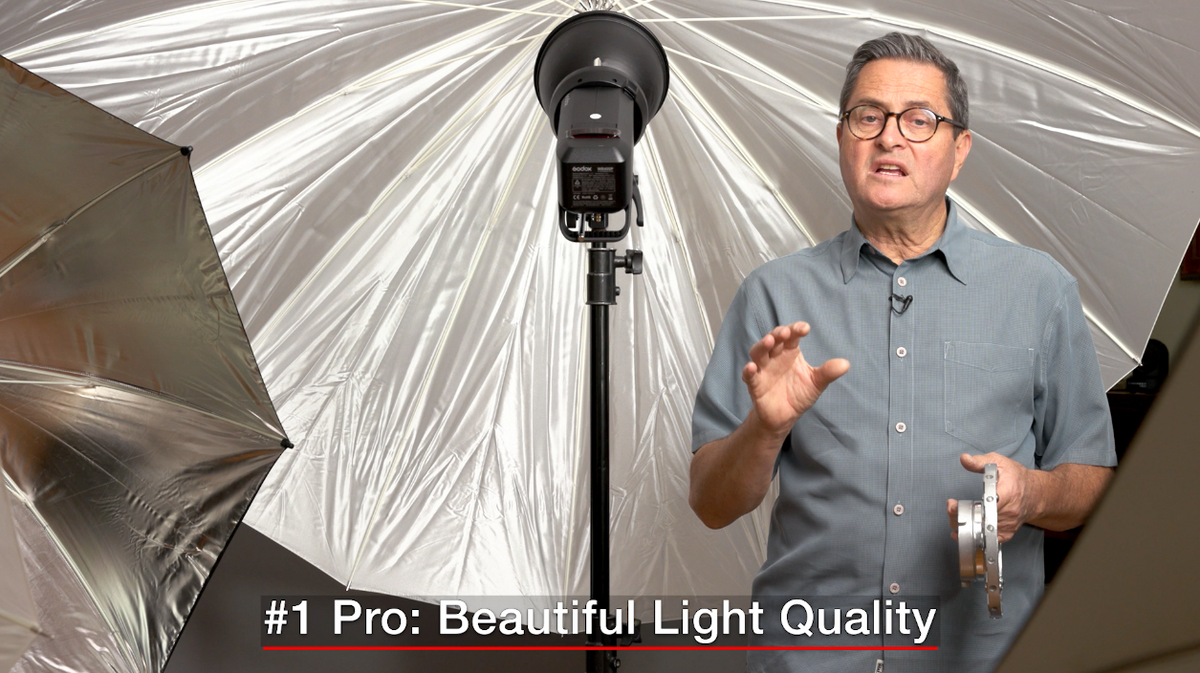

#1 Beautiful Light Quality
If you shoot a light through an umbrella, you get a gorgeous soft light, especially through a large umbrella.
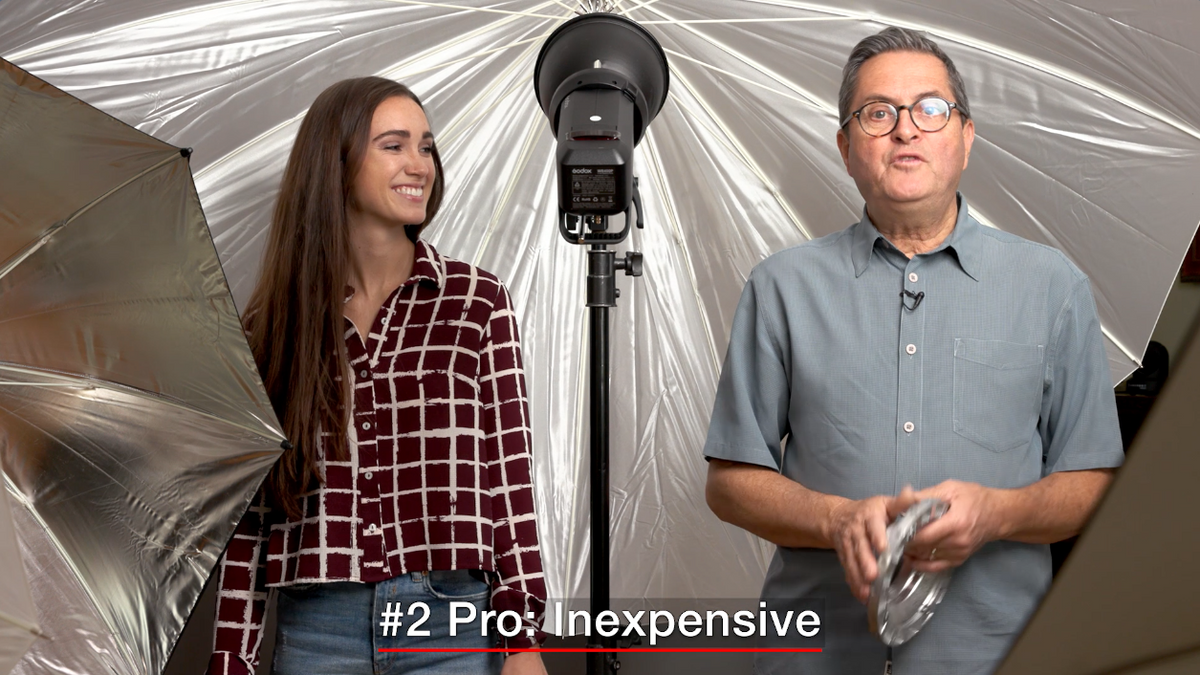

#2 Inexpensive!
If you have a bunch of lights on camera and you need a light to bounce into the background, light to go into the ceiling and several things in the same setup, it’s inexpensive to get several setups to make that happen.
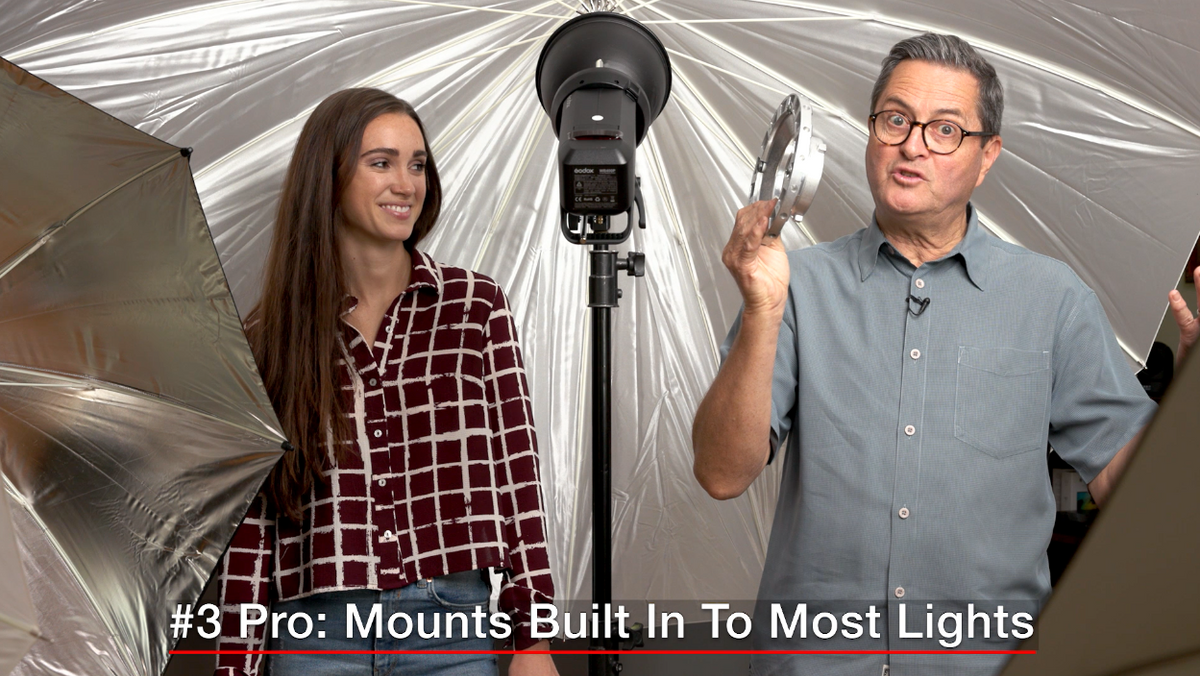

#3 Mounts Built in to Most Lights
About every light has a place to put an umbrella so you can put it on your strobe or hot light and just start to shoot. You don’t need that extra piece of equipment!
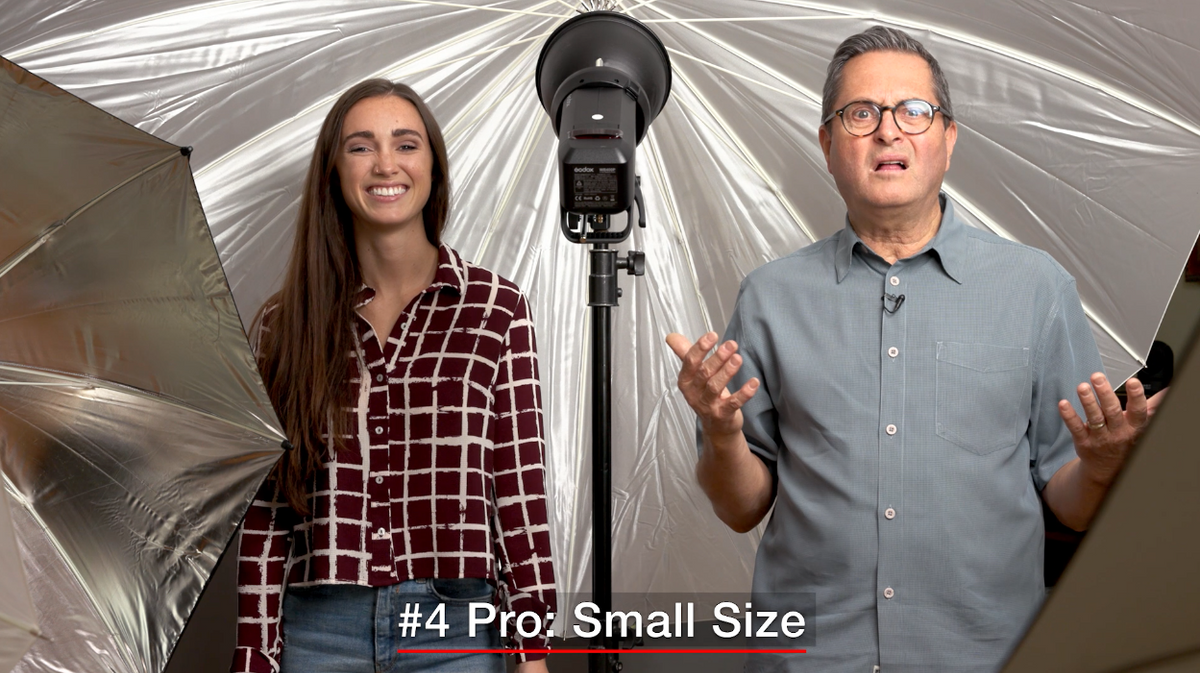

#4 Small Size
They are super compact and easy to roll up and just throw in a bag.


Cons
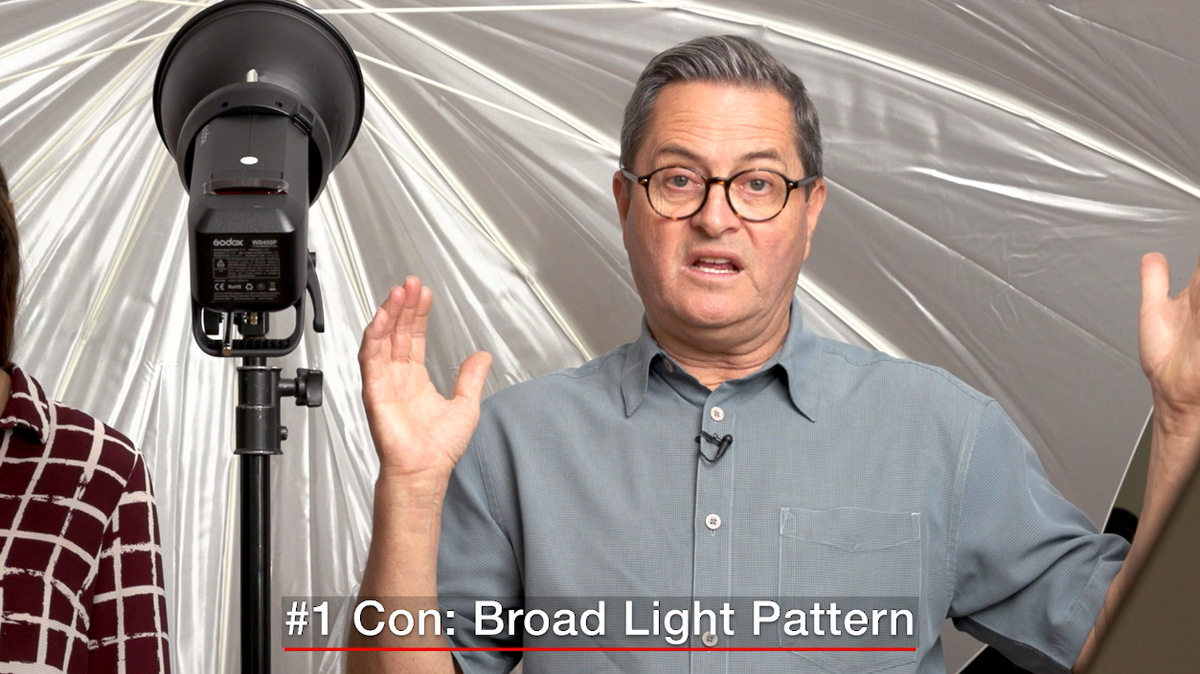

#1 Broad Light Pattern
They throw light everywhere! It’s hard to control the light as it just bounces and goes everywhere. So you have to know how to use them and you can use them correctly and control your light.
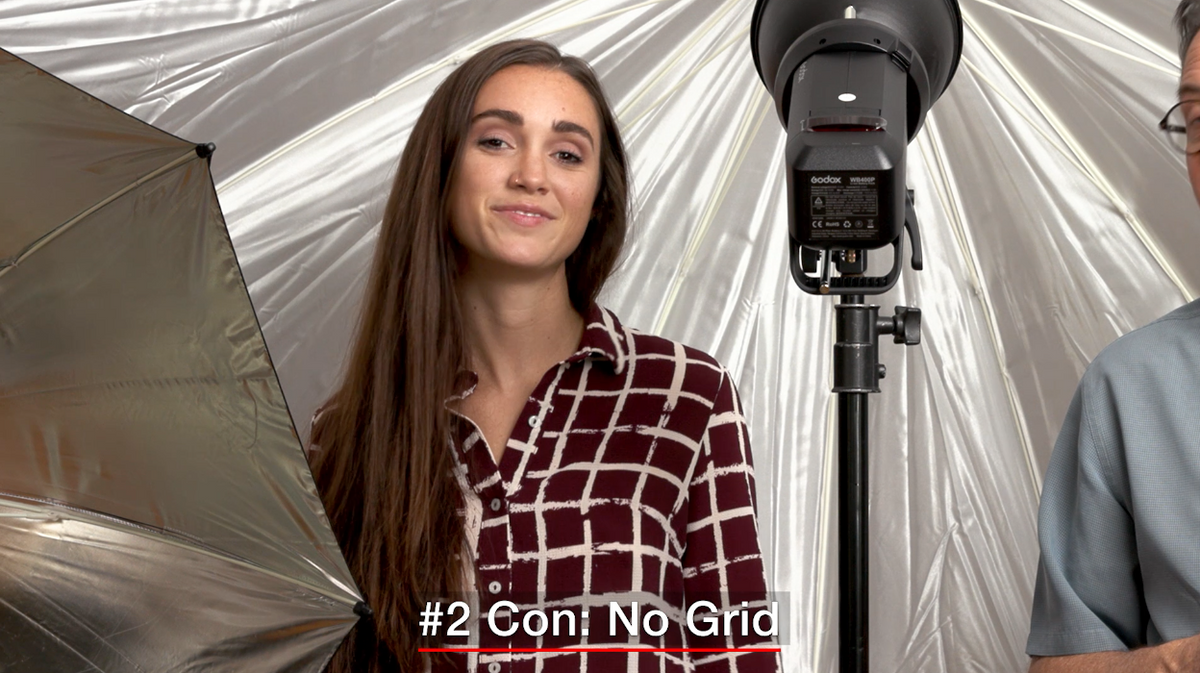

#2 No Grid
Another part of that problem with not being able to control them, you can put a grid on it. With a softbox you can narrow the light, but with an umbrella you can’t have control like that.
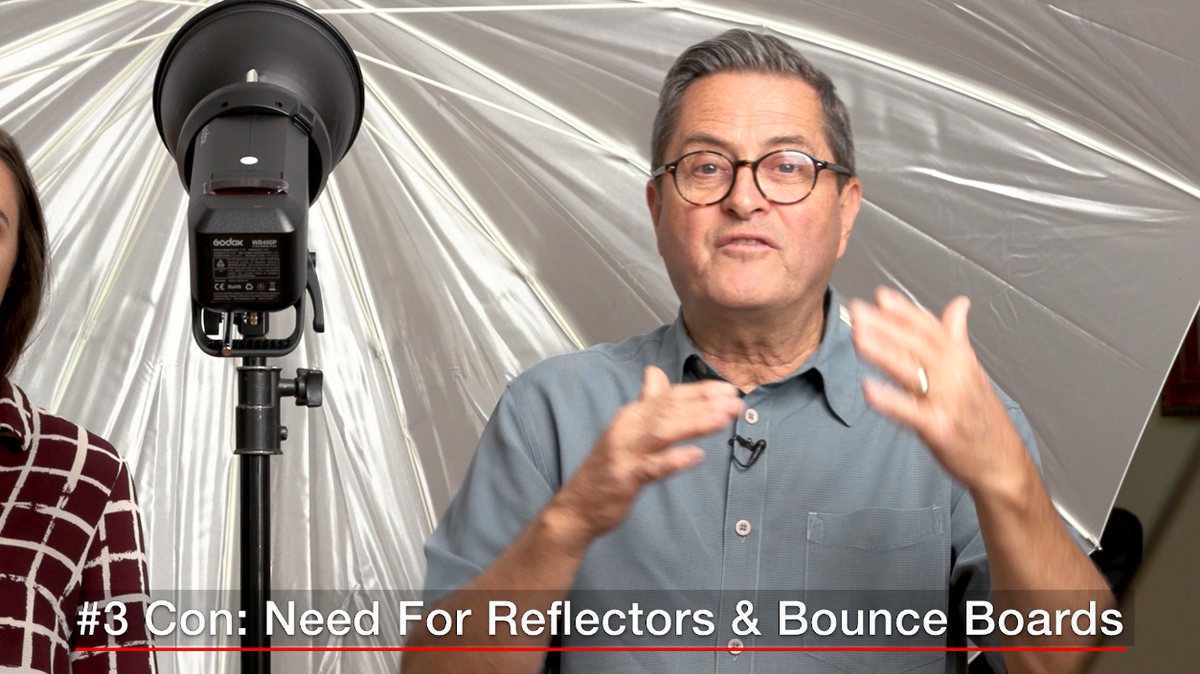
#3 Need Reflectors & Bounce Boards
It’s difficult to narrow the angles and direct the light.
But I’m going to show you a way to use it that does work and creates a great soft beautiful light.
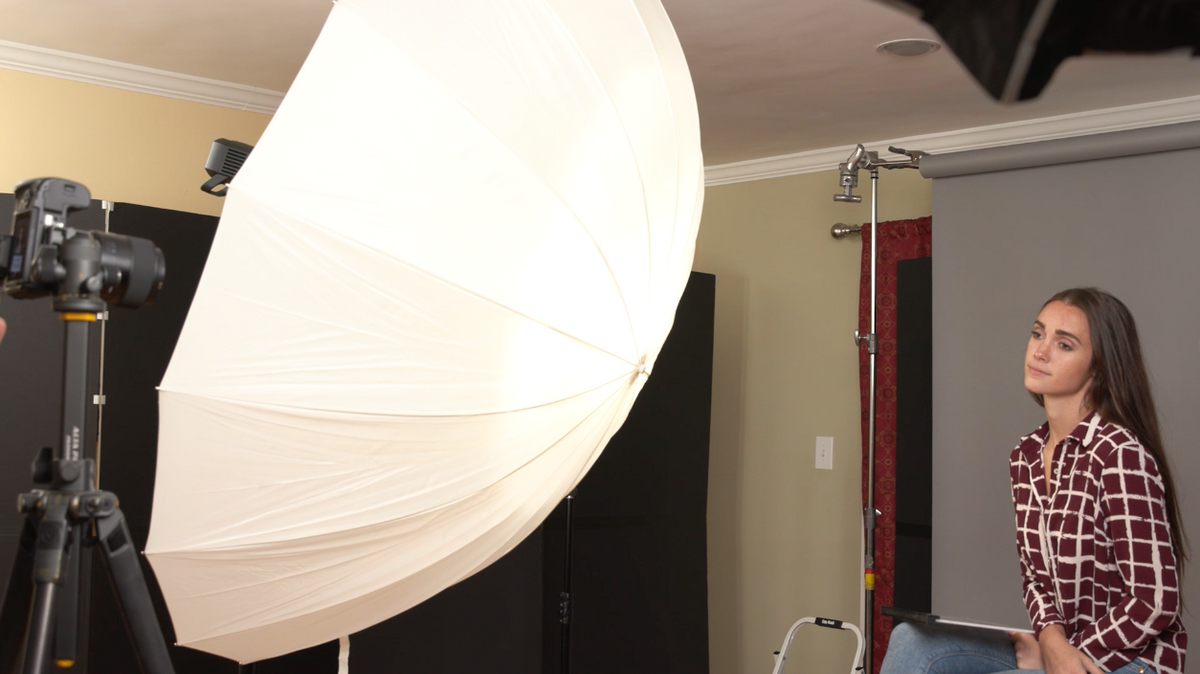

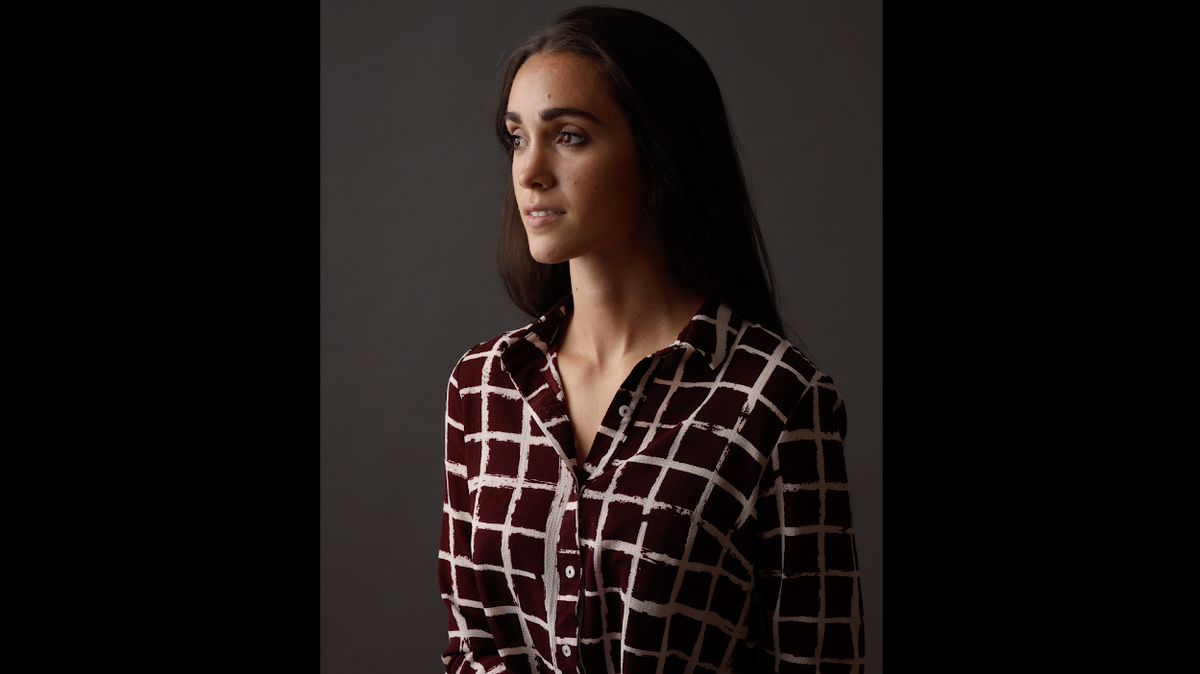
I want to set up a portrait so you can see how beautiful you can make this light look. But before we get to that I was to look at the different sizes, silver vs shoot through, and look at that quality of light on Regan’s face comparing side by side.
Before we shoot out first test, it’s really important to know how to set am umbrella up. Some people jus throw the umbrella up and walk away and they don’t think about this area of coverage here, which is co critical for how this is going to function.

This light is very close to the umbrella, which is making the source very hard. It’s just using this small part of the umbrella!
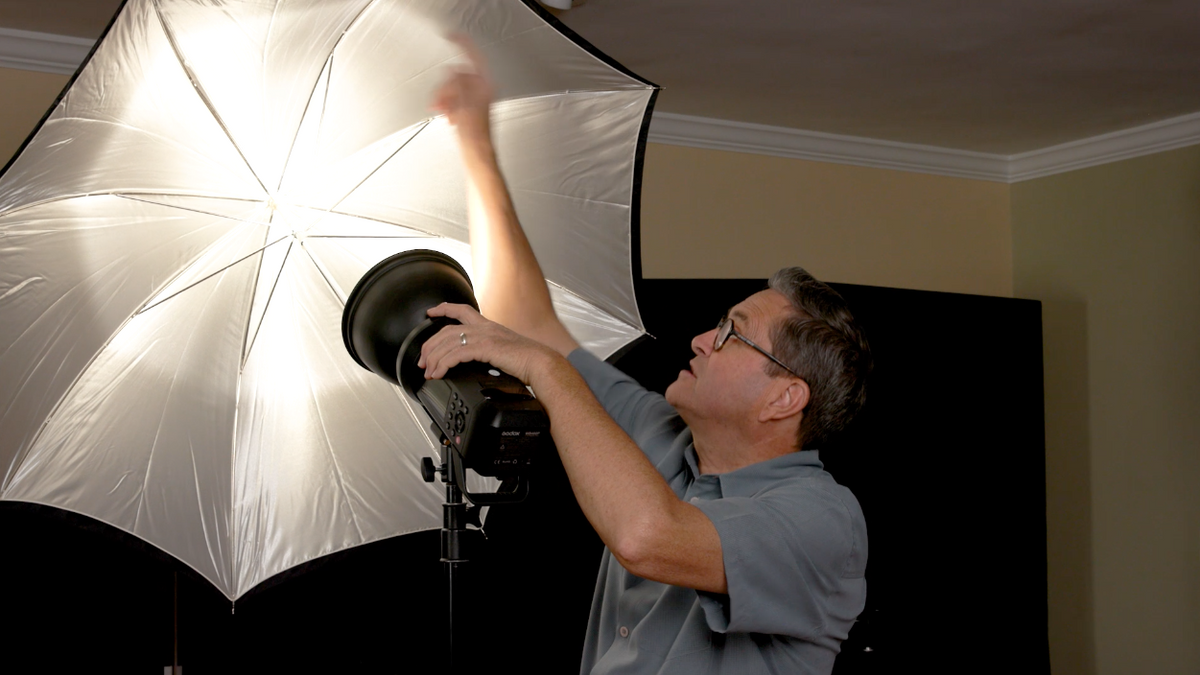

If I pull this out, I allow this to open up and to fill all of that umbrella area and it’s going to become a softer light. We utilize the entire umbrella when I do that.
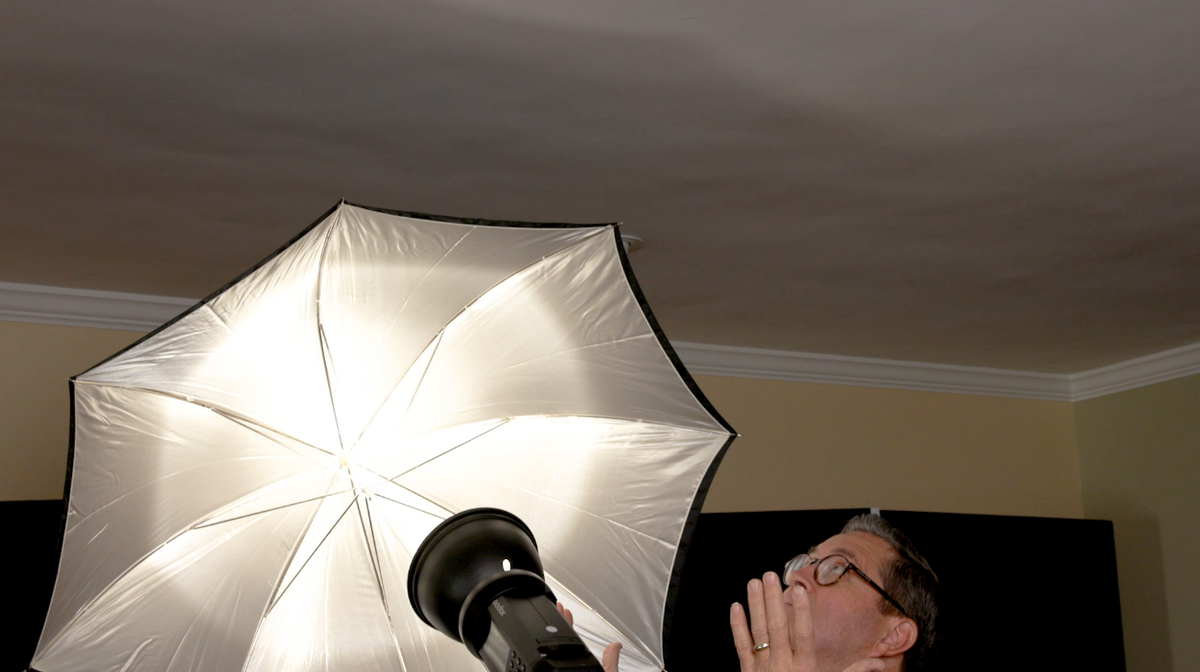

When I go too far though, it starts to spill out of the umbrella, and I’m losing a lot of my light into the room. So I want to find the point where I keep it contained inside the umbrella but it’s still giving us a soft light. But if you want a hard look, just punch in.
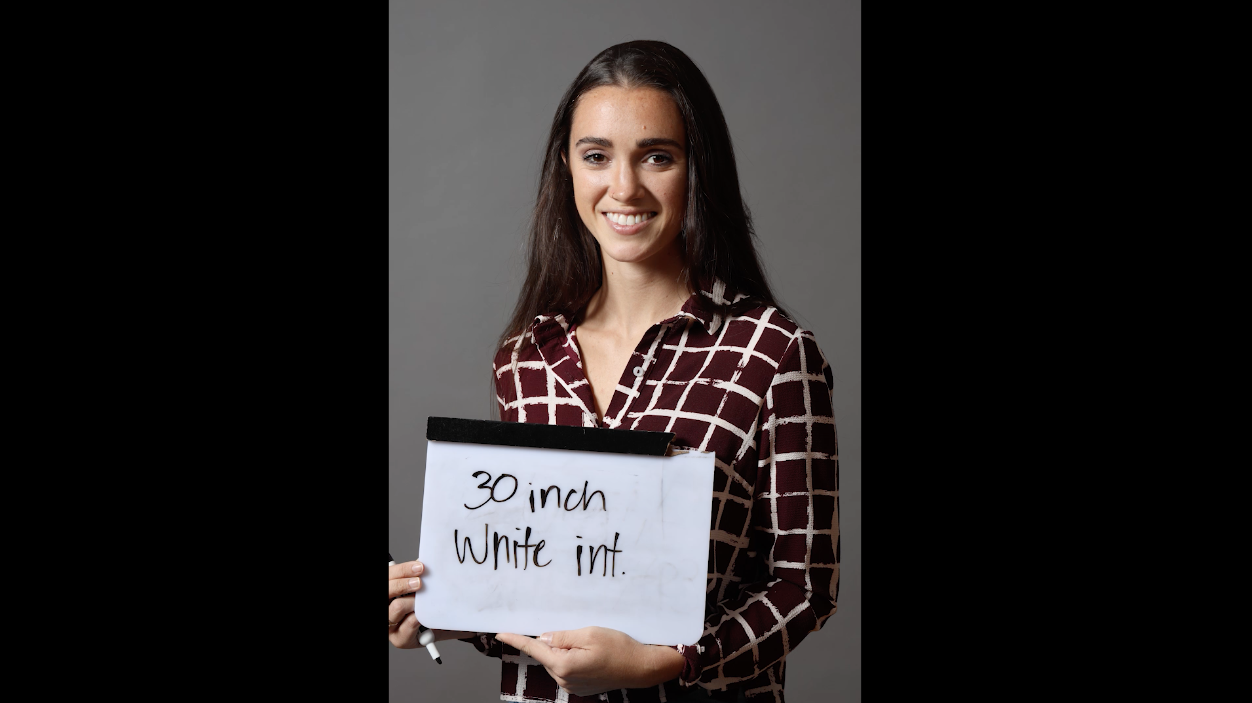

30 Inch White Int
So our first umbrella is a 30 inch, white interior. It should give us a pretty soft light, but it’s a little directional because of that soft interior.


30 inch Silver Int
That silver interior is much more directional, and just look at the background compared to the white!
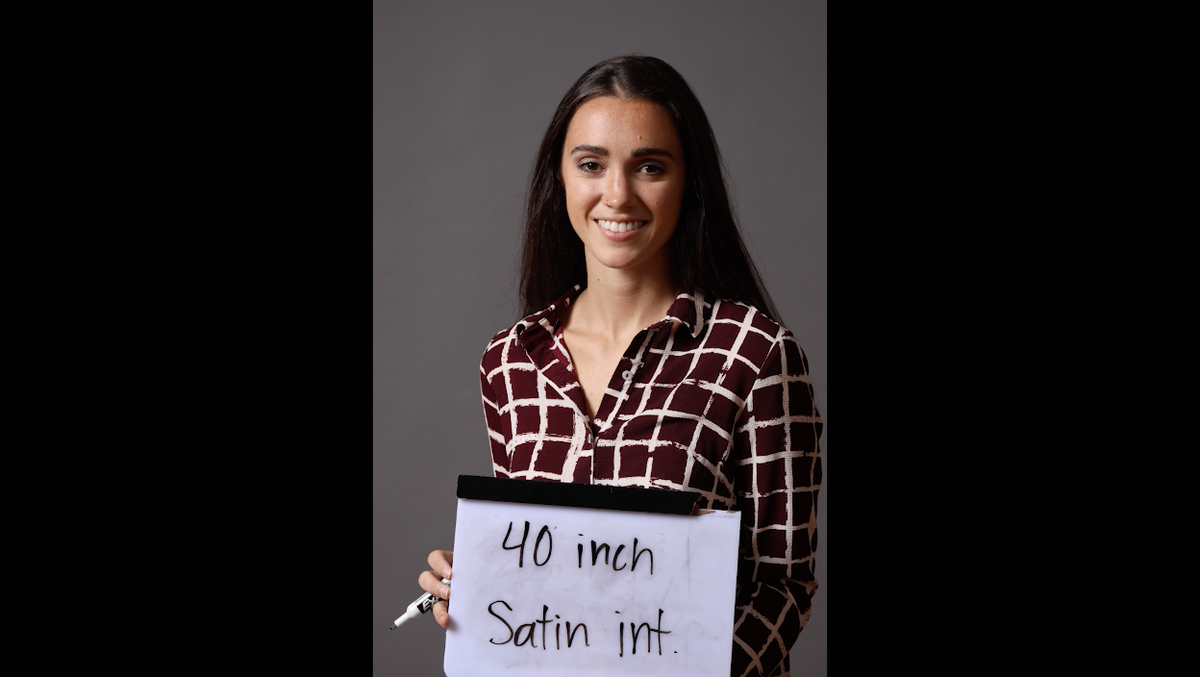

40 Inch Satin Int
It’s already starting to transition nicer between the highlights and the shadows, and that’s how you can tell if a light is soft or hard.
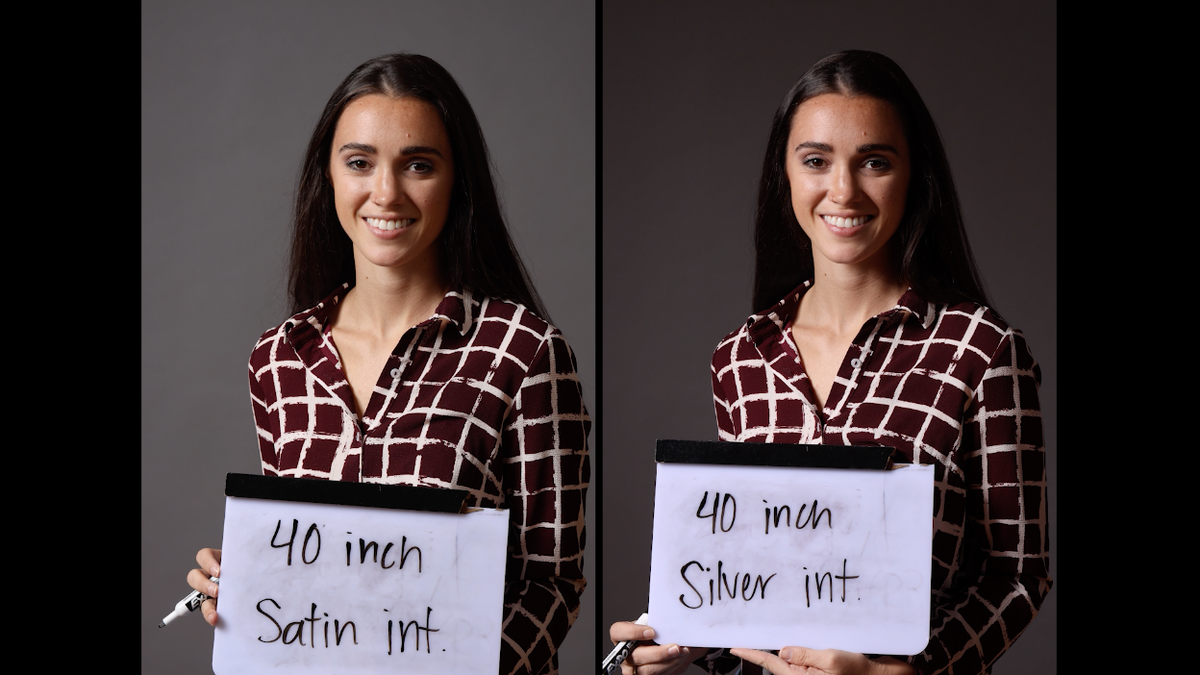

40 Inch Silver Int
We gained a stop with the silver interior and it’s more directional and we really lost the light in the background. These 2 40 Inch are very different looking all because of the material.
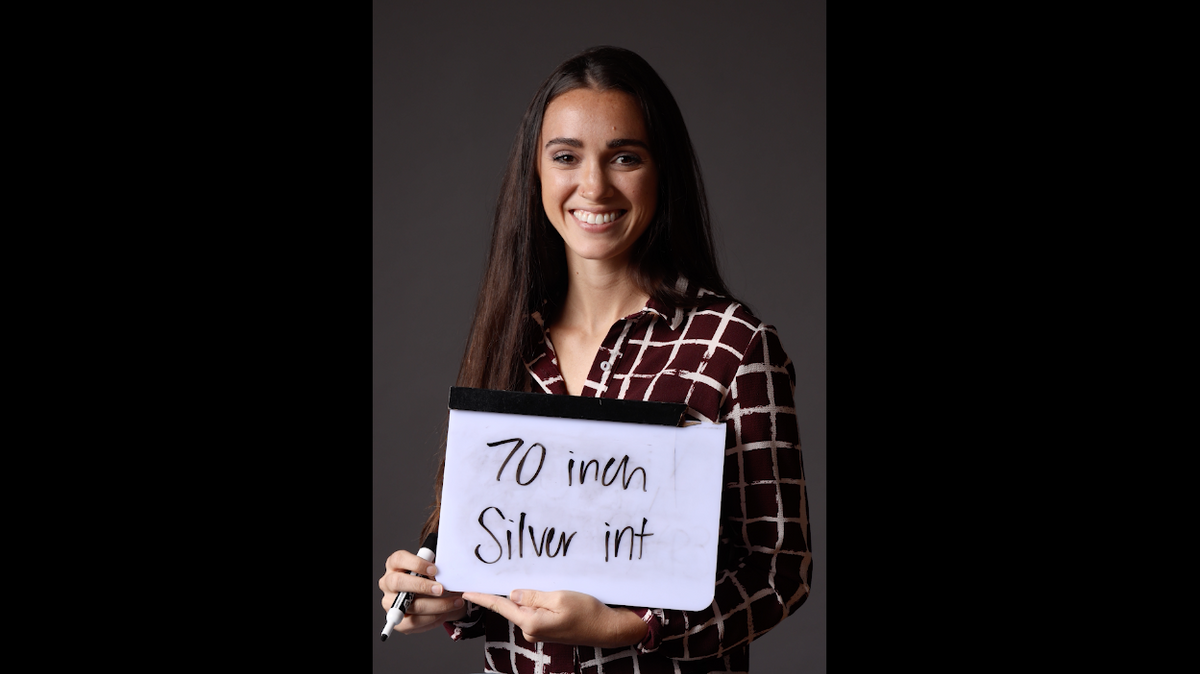

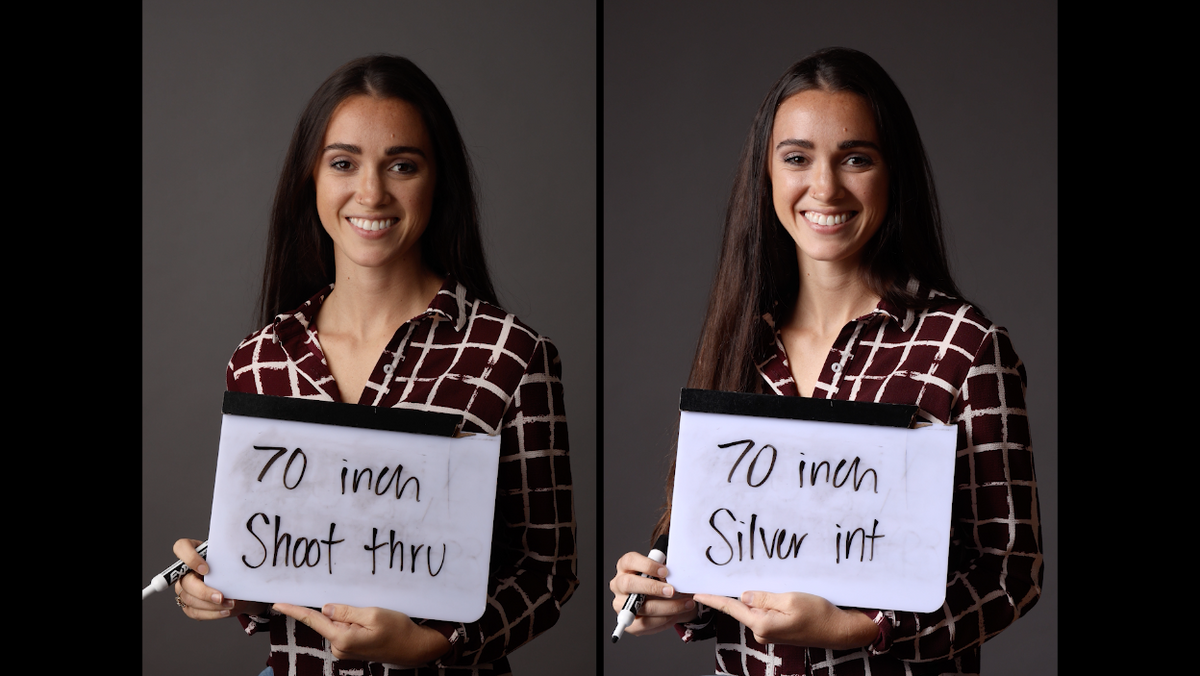
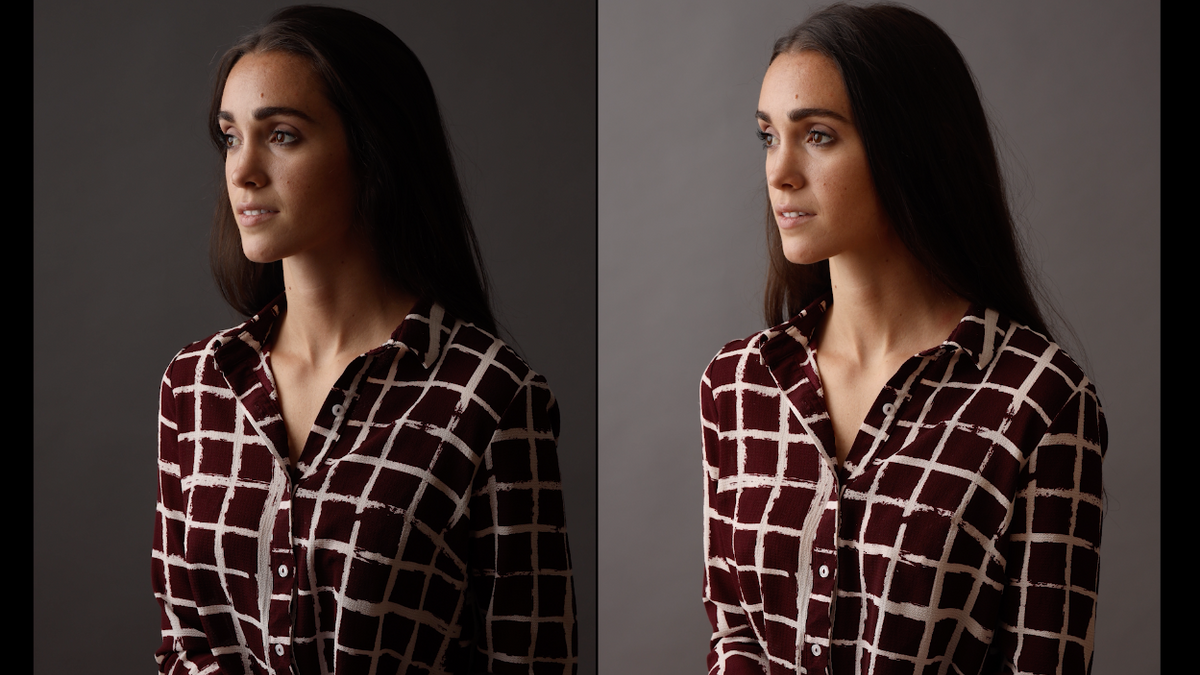
70 Inch Silver Int
It’s really a beautiful light and it still stays pretty confined. It’s on her face, it’s not on the background very much, we do gain that 1 stop, but because of the size of it it’s starting to wrap around her face more than the 40 inch and you see that light coming into the shadow area – still a very directional light.
I don’t have a white 70 inch, but now we’re going to move to shooting through umbrellas.
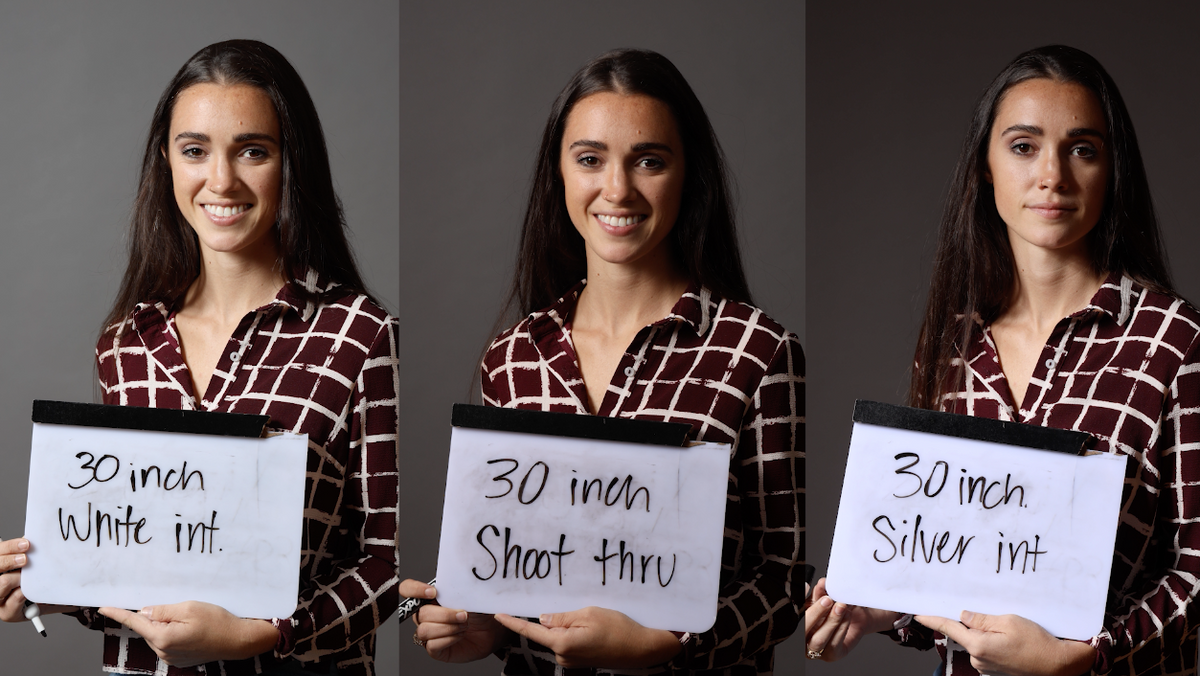

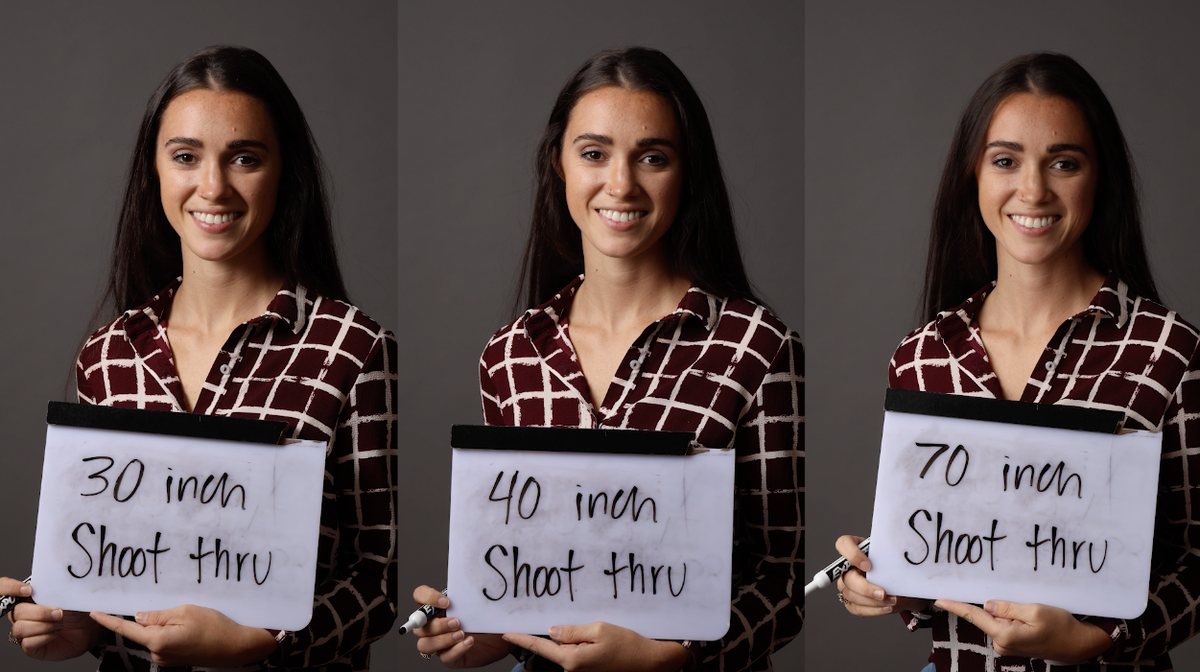
30 Inch Shoot Thru
It combines a quality of the silver bounce and the white bounce because it’s got the directionality of the silver bounce but it’s also got a more open light, but it has a background more like the white bounce, so it’s really interesting, but it does give us that 1 stop more of exposure.
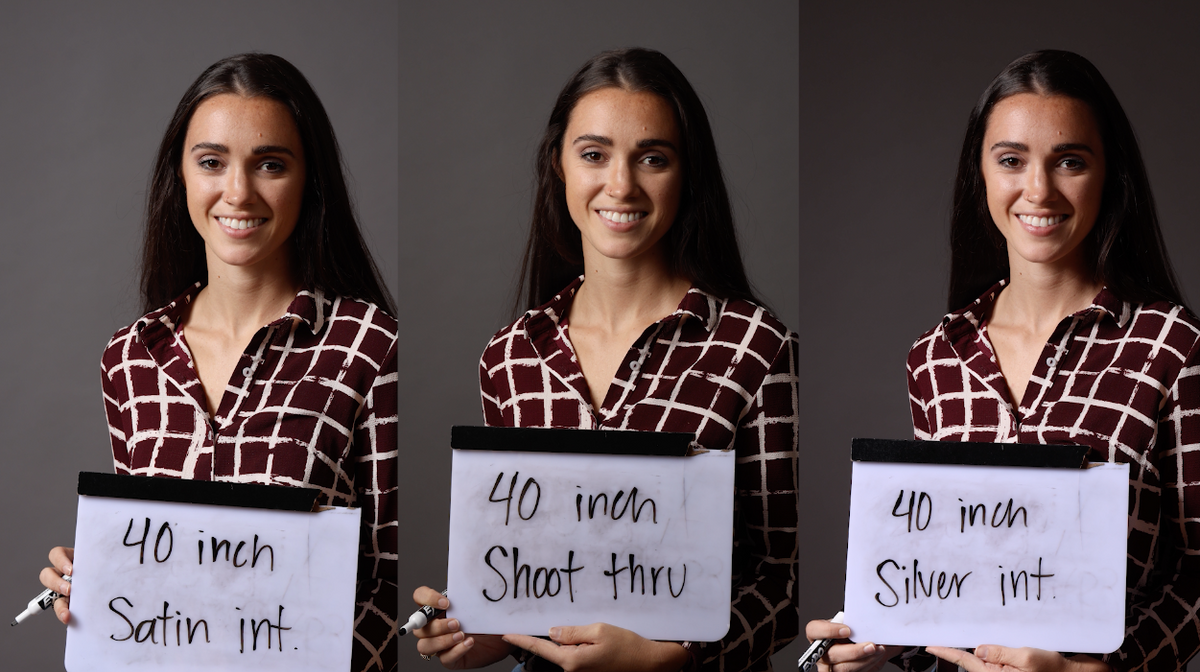
40 Inch Shoot Thru
Again it combines the same qualities. It’s got the harshness and directionality of the silver, but it’s got a throw that lights the background like the white bounce did.
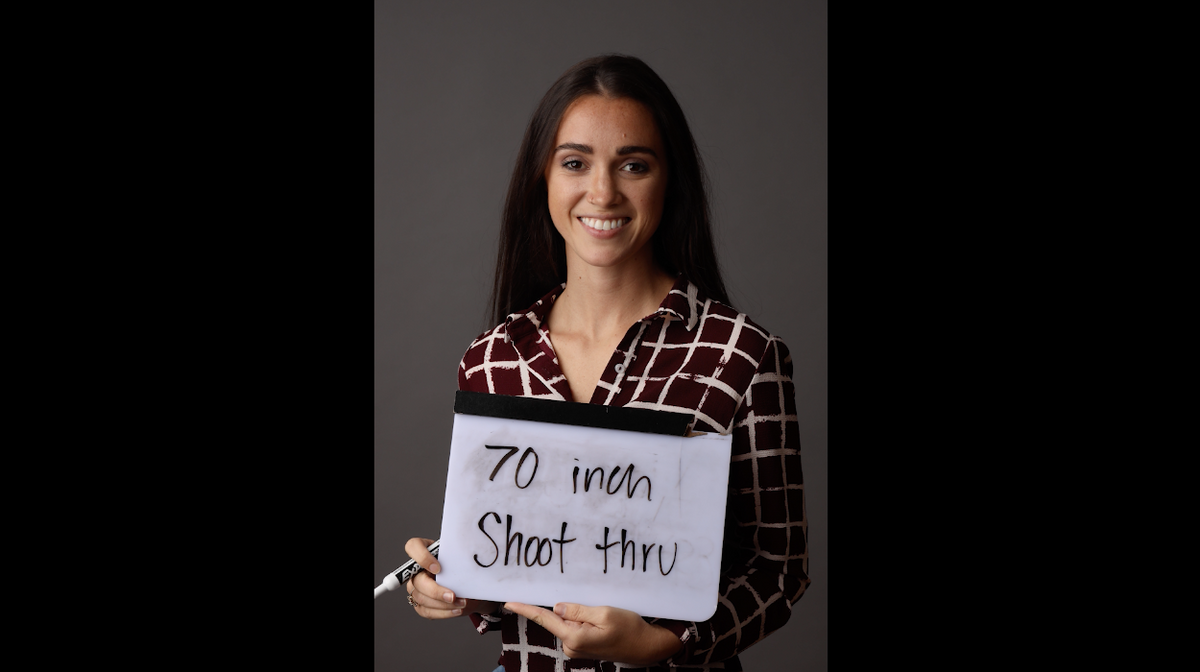

70 Inch Shoot Thru
This again has got the same combination of qualities. I like the light on her face because it’s this beautiful transition. The light’s back far enough that it’s transitioning – I still have some shadow so it looks really nice on her face but it’s just a softer transition just because of the size.
The smaller the source, the harder the light source becomes.
Take a look at the 70 Inch shoot through vs the bounce! I think the shoot through is much softer.

There’s a look at the 30, 40 and 70 inch umbrellas with the different interiors and shoot through. Which do you like the most.
Now I’m going to do a quick portrait here, and set up with the large shoot through because I love the look of that one. I’m going to take the umbrella and I’m going to move it around and I’m going to aim it back towards the camera a little bit.
So there’s that 70 inch shoot through just slightly behind her, I love that look. You can see the beautiful transition to the front.
If the stick in the middle of the umbrella was longer, I could push this furthers and I could fill the umbrella with more light.

I’m going to try something here where I have someone hold the light and umbrella and go back.

Wow! The light is so much softer when you move the umbrella back because it fills the whole umbrella and becomes a much softer source. The problem is it becomes much more out of control, the background becomes much brighter and so I like what we had originally because it was a little more directional and it was a soft light on her face, but it wasn’t all over the background as well.

So there you have it – a look at umbrellas. Don’t discredit them because everyone is using soft boxes. They really have a great place in your lighting kit.
Keep those cameras rolling and keep on clicking.
GEAR USED:
30 Inch White Int
B&H: https://bhpho.to/2PgaICi
Amazon: https://amzn.to/2DRsPcs
30 Inch Silver Int
B&H: https://bhpho.to/2Piys8B
Amazon: https://amzn.to/2YlJzBP
45 Inch Satin Int
B&H: https://bhpho.to/2RoDa7J
Amazon: https://amzn.to/2Ruy21X
40 Inch Silver Int
B&H: https://bhpho.to/2rUlp5n
Amazon: https://amzn.to/2YiiX4Q
40 inch Shoot Through
B&H: https://bhpho.to/3880AnC
Amazon: https://amzn.to/2DLVrDM