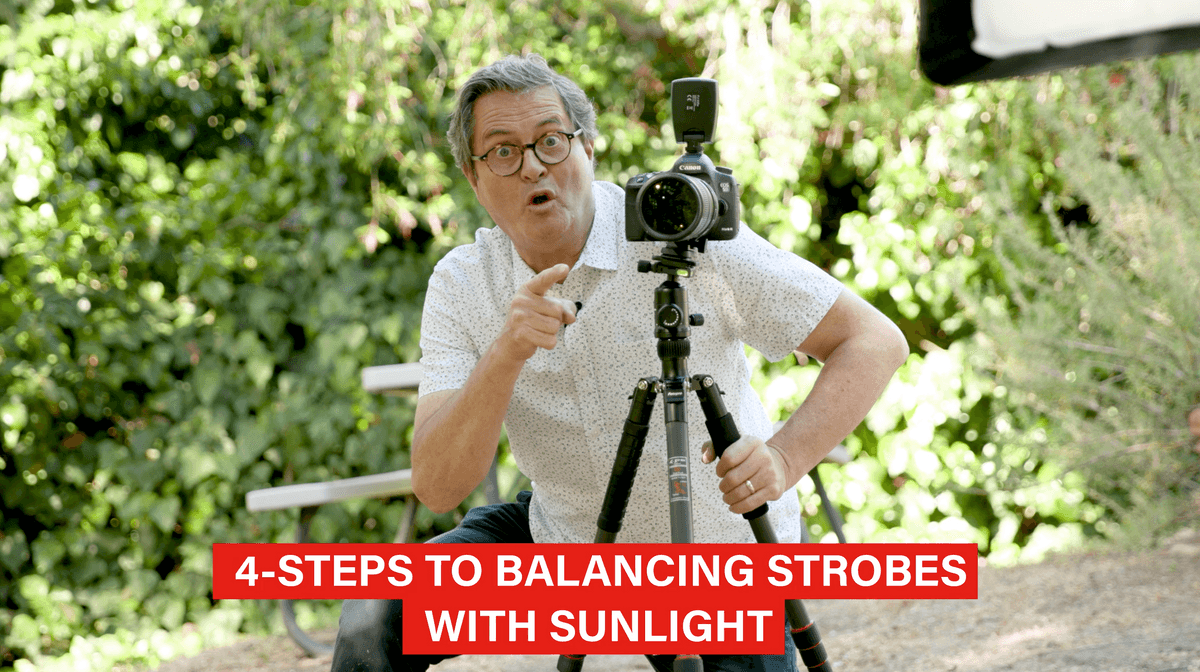
4 Steps Every Photographer Should Know To Master Strobe and Sunlight
Morgan
Balancing Strobes With Sunlight
Four easy steps for balancing strobes with ambient light. Follow this formula.
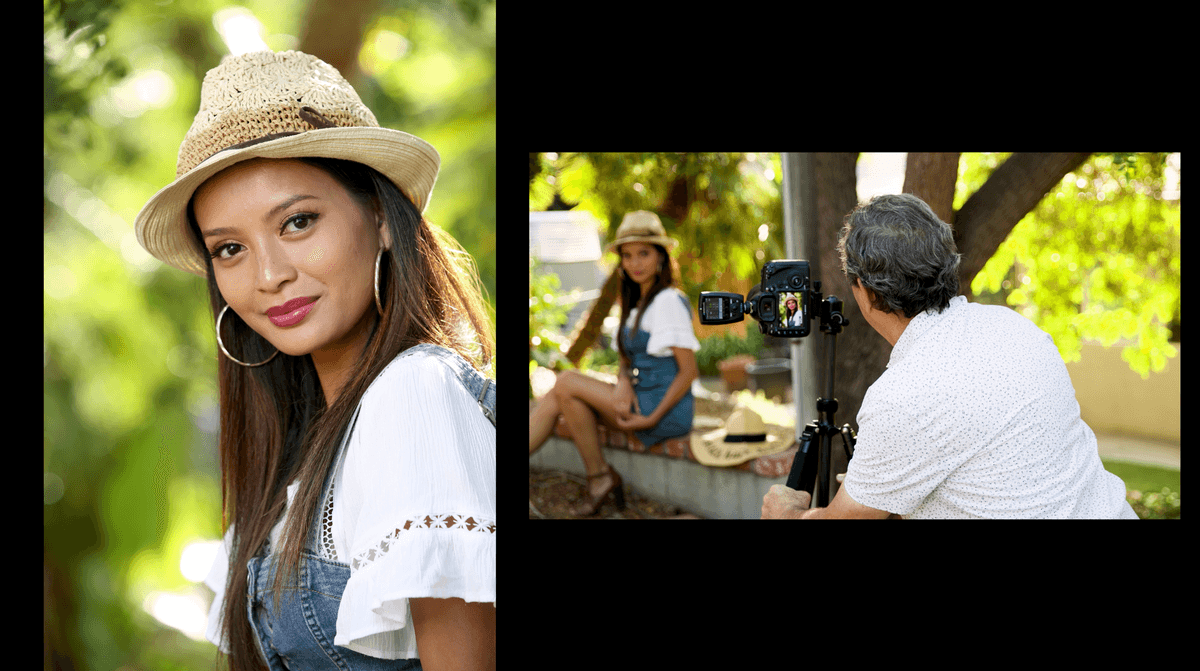
Today on The Slanted Lens I’m out here with Chanda AM, and Chanda is going to help me illustrate how to balance ambient light with strobes. I love shooting in this situation with ambient light and strobe light. I want to be able to combine the ambient light here in this beautiful area with strobes. So the way I generally do this is:
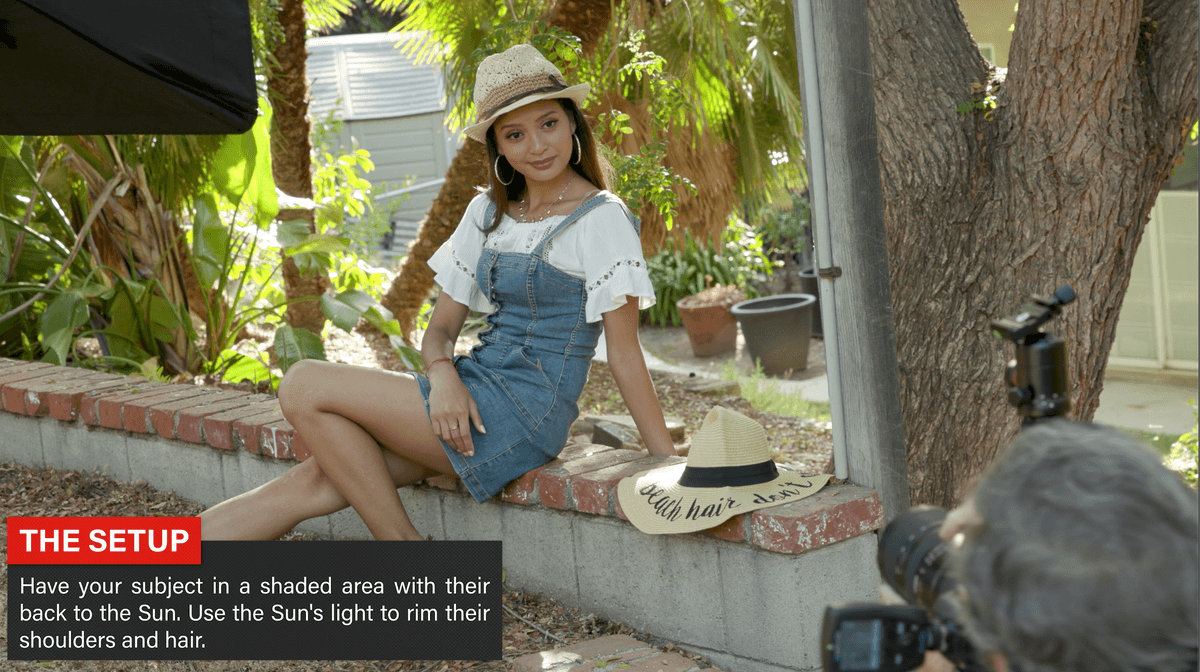
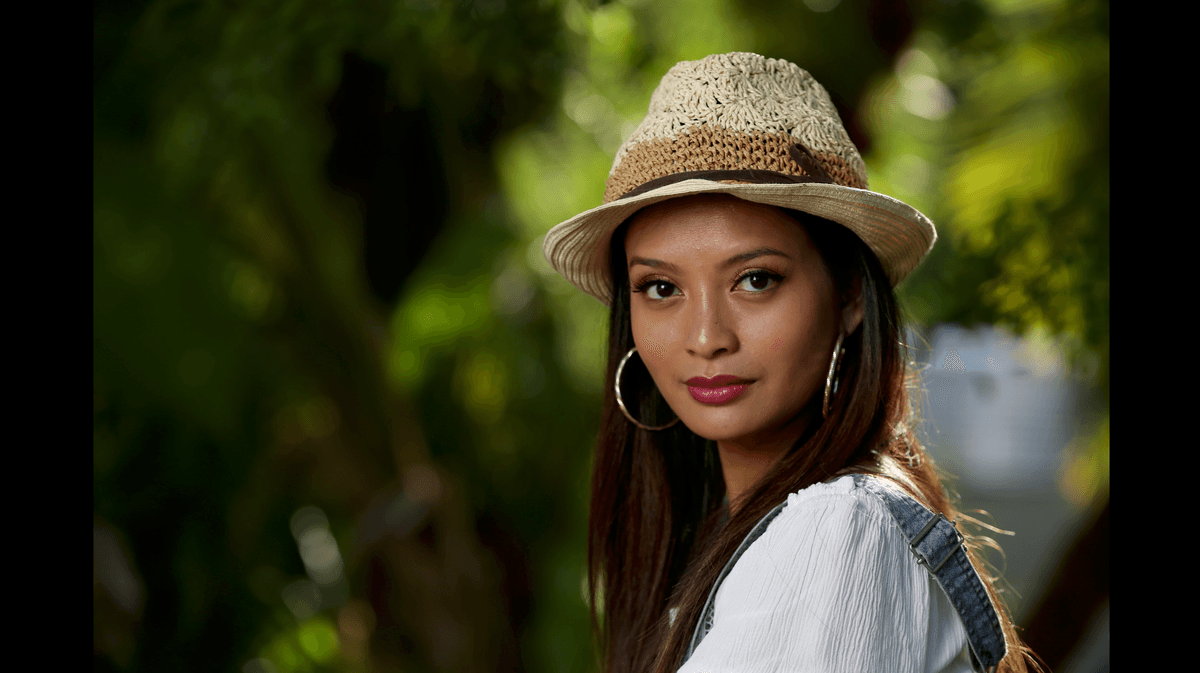
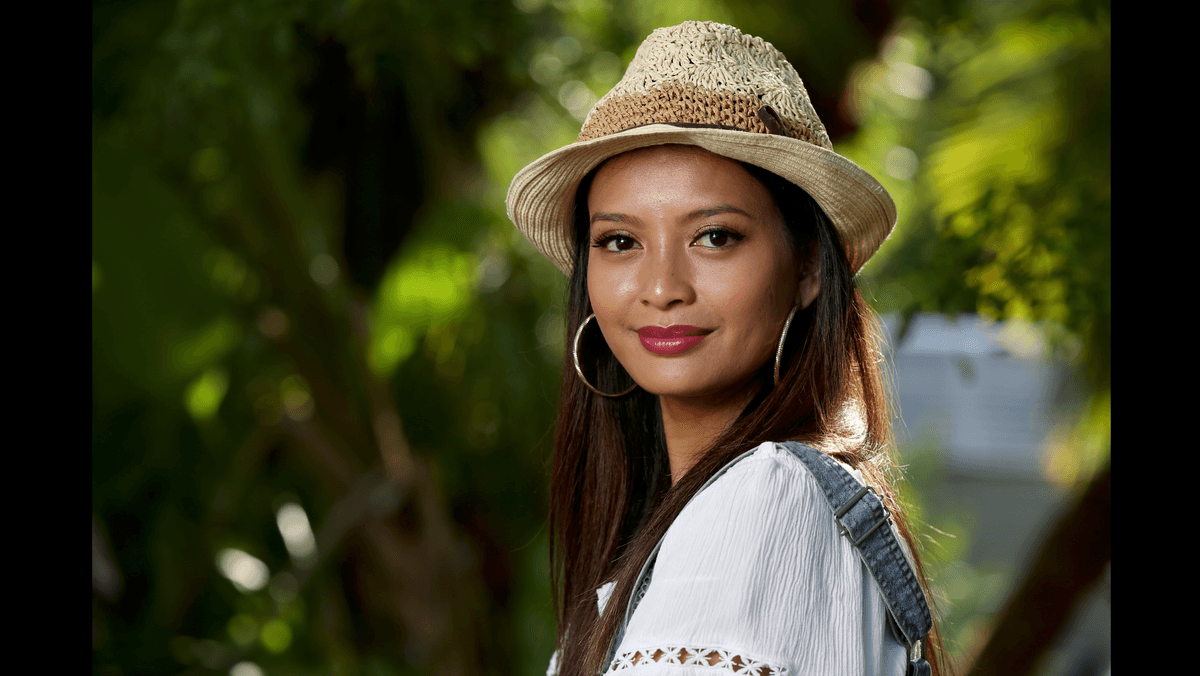
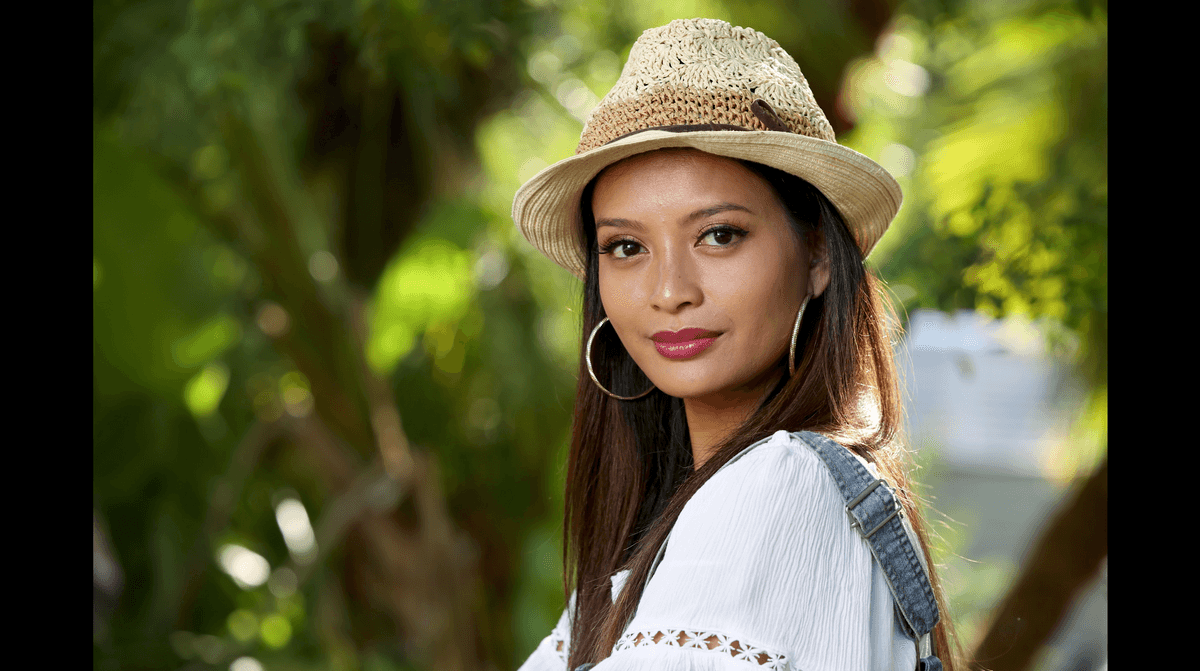
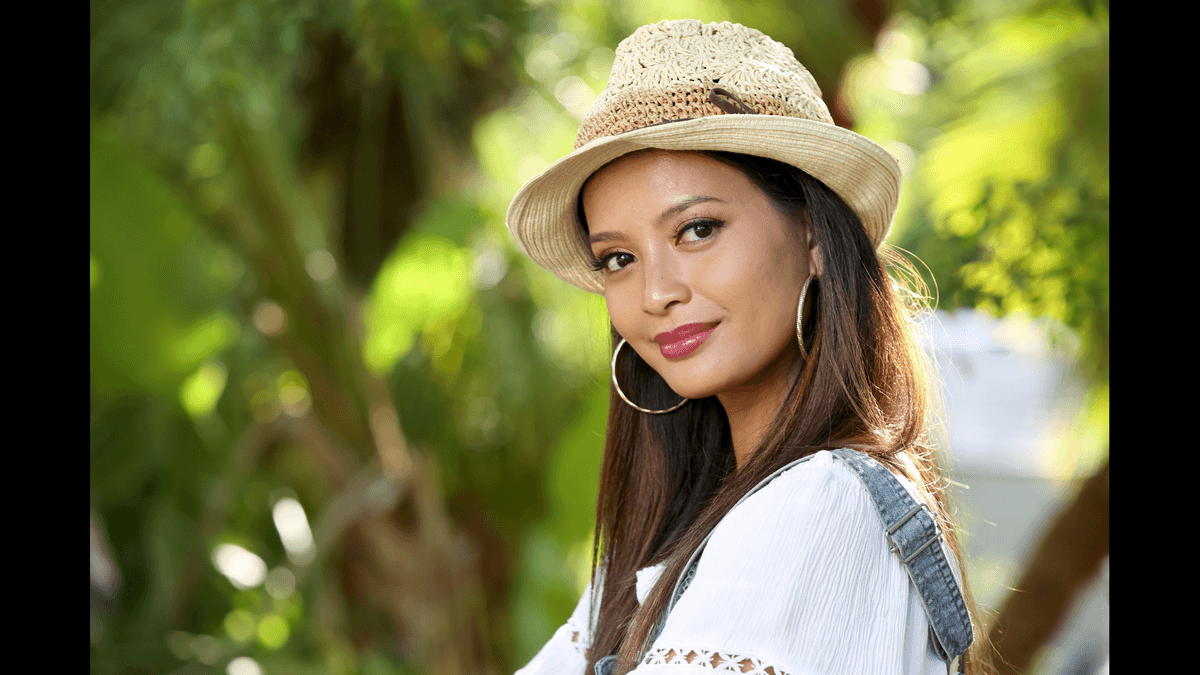
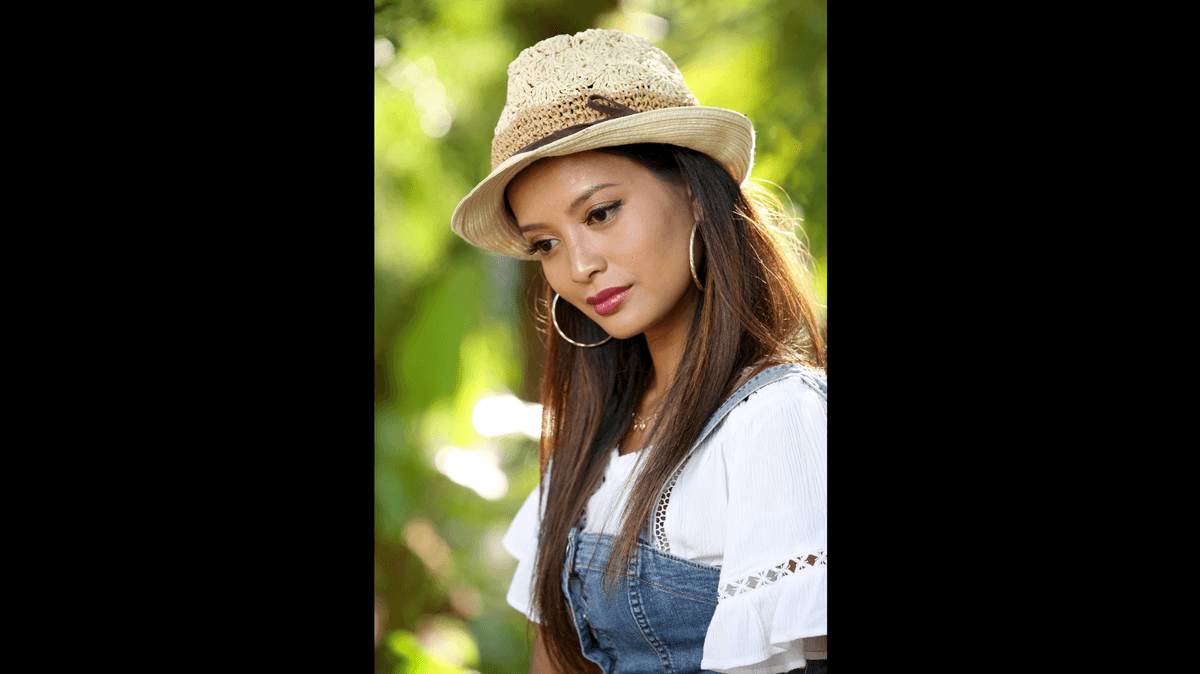
First off, I set her up so that she has the sun coming from behind. I always like the sun from behind because it gives her a nice rim light on her hat and on her shoulders. But I’m going to keep her in the shade pretty much. It’s just that little bit of rim light coming through is giving us a little bit of highlights on her hair, on her back and on her hat. If I’m out in direct sun, I’ll throw up a translucent to make it look like she’s in the shade or just a plain reflector to get her out of the sun.
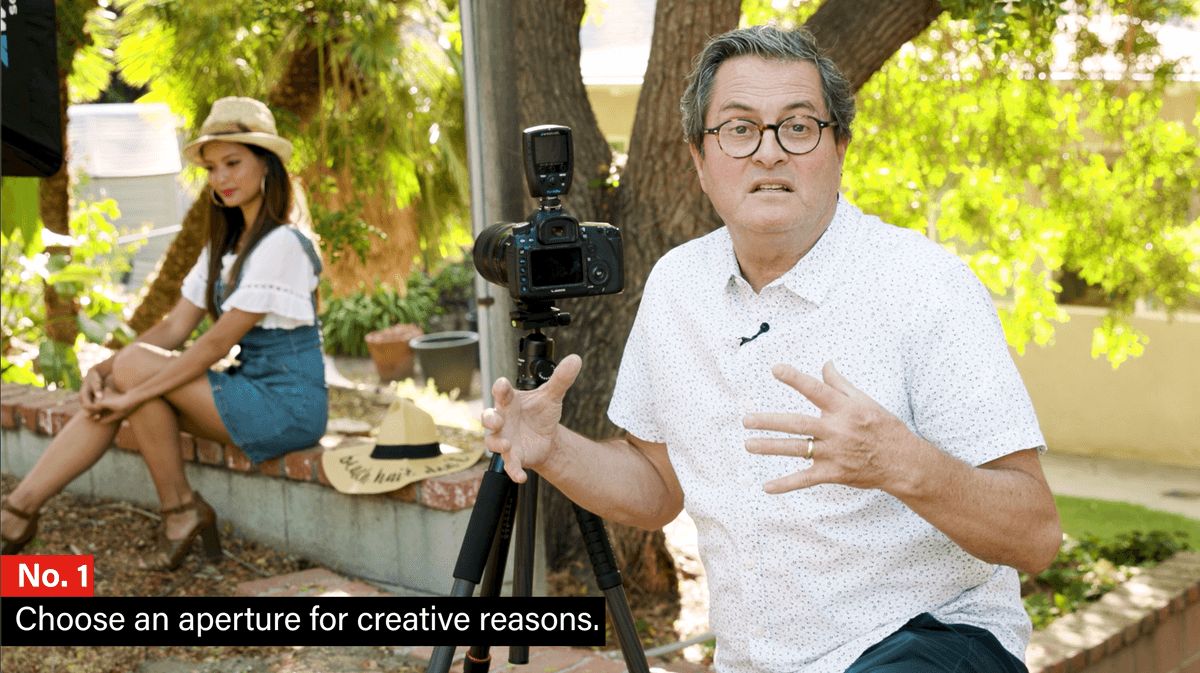
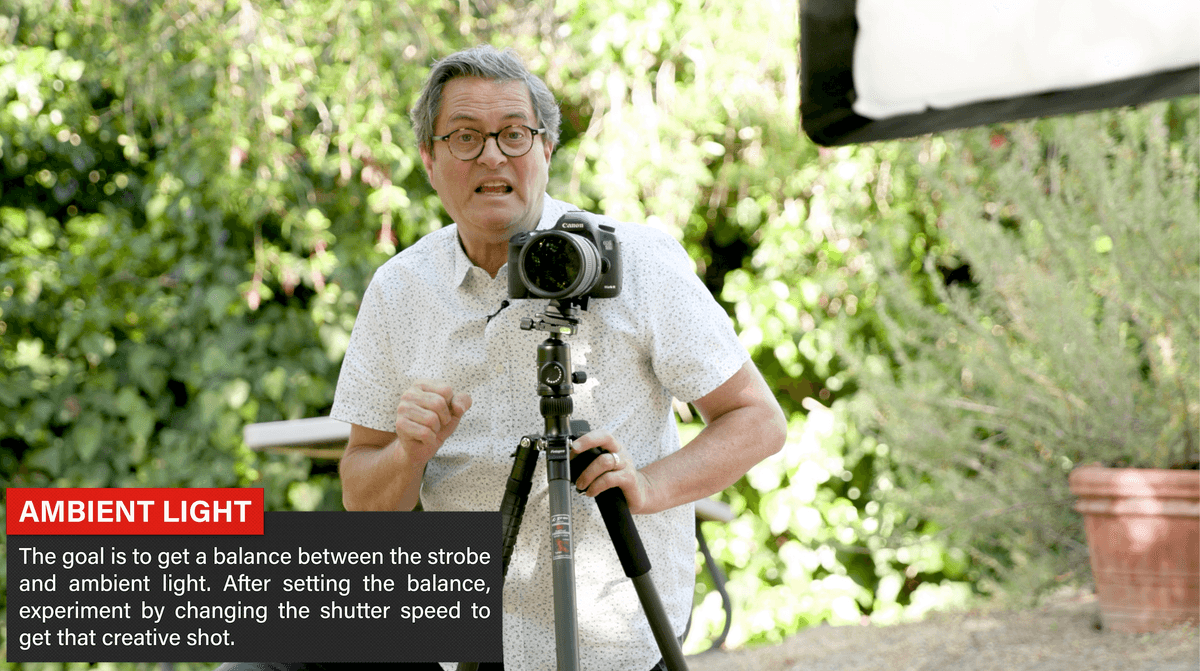
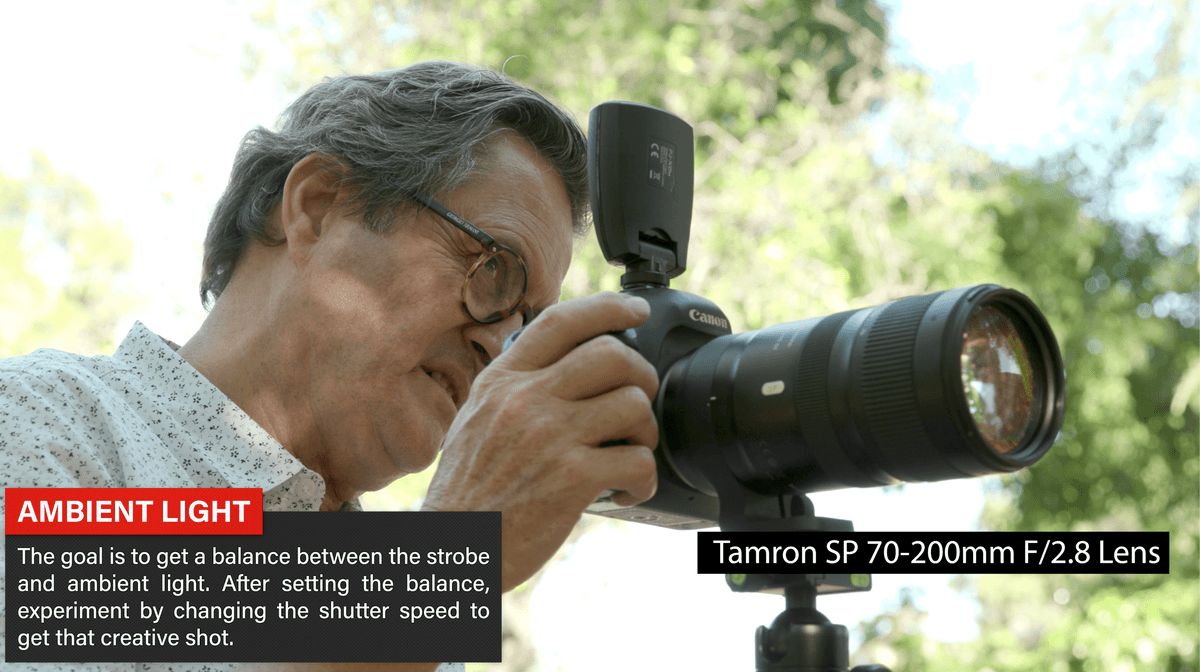
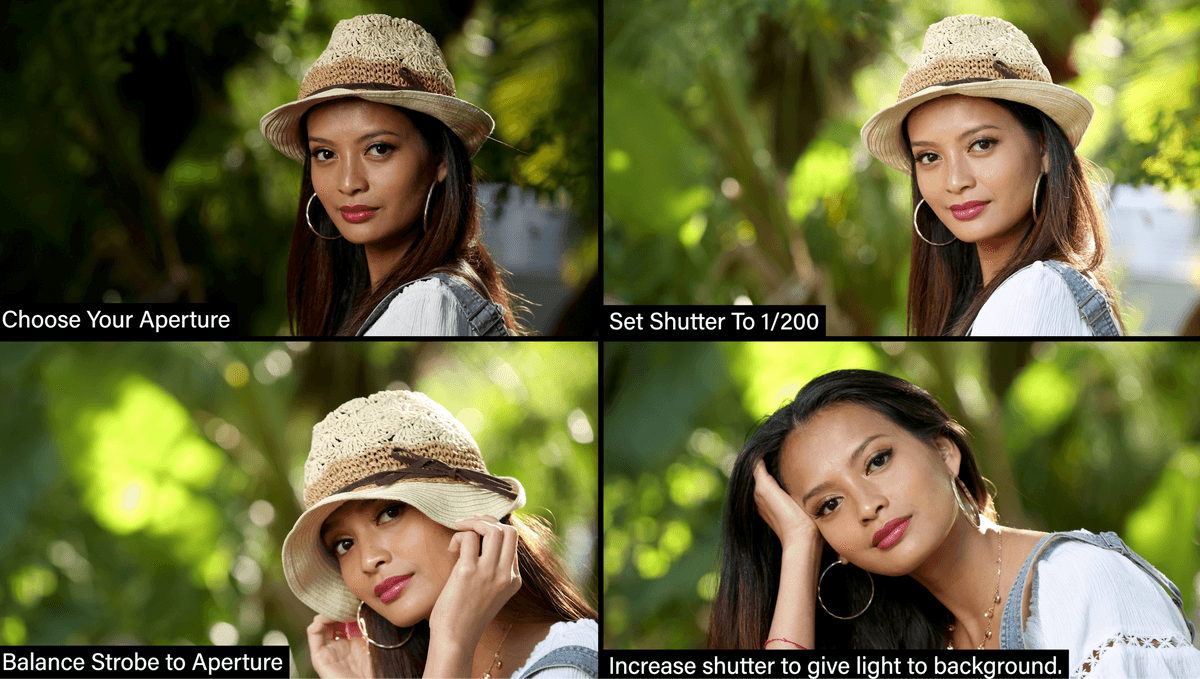
So now one of the four steps for balancing strobes. Choose an aperture for creative reasons: How much depth of field do you want? Do you want a shallow depth of field or do you want a deep depth of field? I want a shallow depth of field. I could choose a deep depth of field, but that’s not my creative purpose. Right now I want a shallow depth of field. So I’m going to go to f/5.0. I can make it shallower than that. But for me, I want enough depth field to keep her face and her head sharp. And I let the background fall out of focus, and 5.0 does that really nicely on a 150mm lens (I used the Tamron SP 70-200mm f/2.8 Lens). So that’s the number one point, choose your aperture for creative reasons.
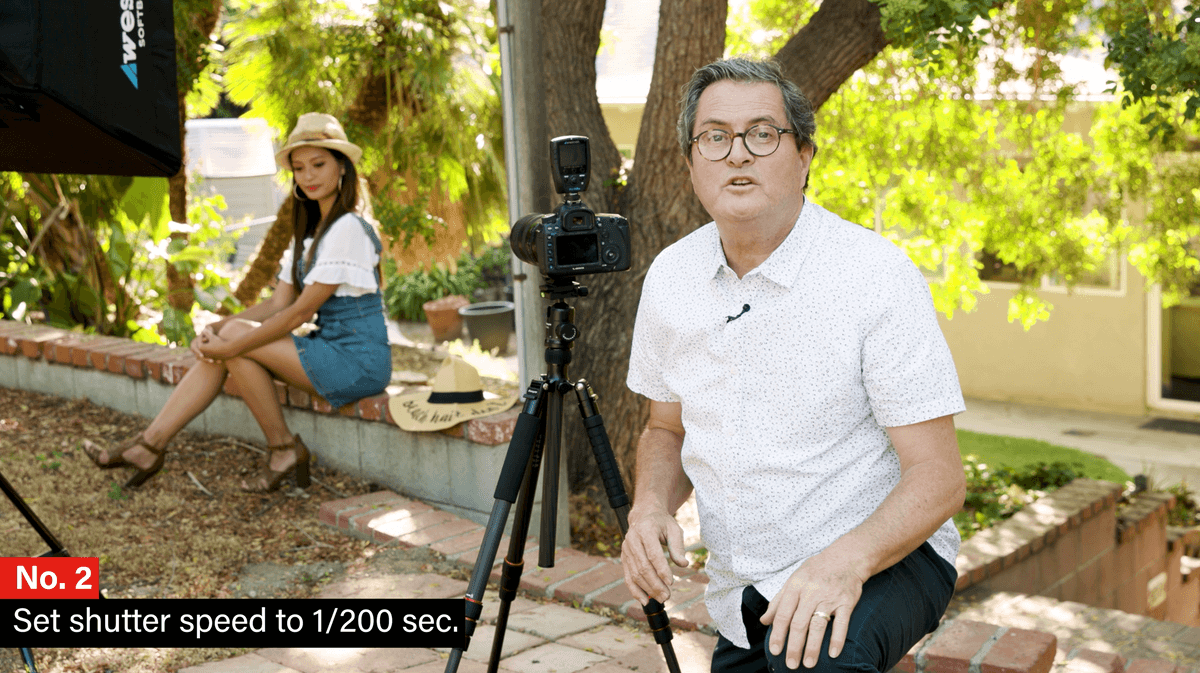
Number two is I’m going to set my shutter at 1/200th of a second. The reason I choose 1/200th of a second is because that is going to get rid of the most amount of ambient possible in the scene without having to go to high speed sync. So I’m at 1/200th of a second, I’ve chosen f/5.0 for creative reasons.
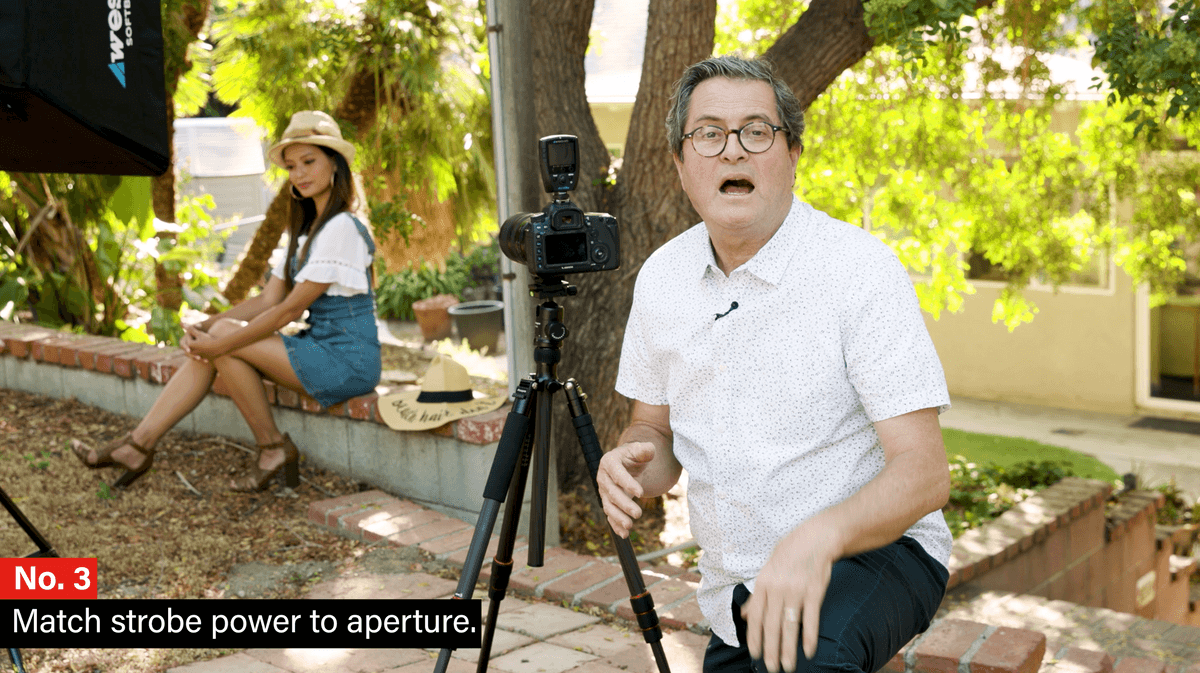
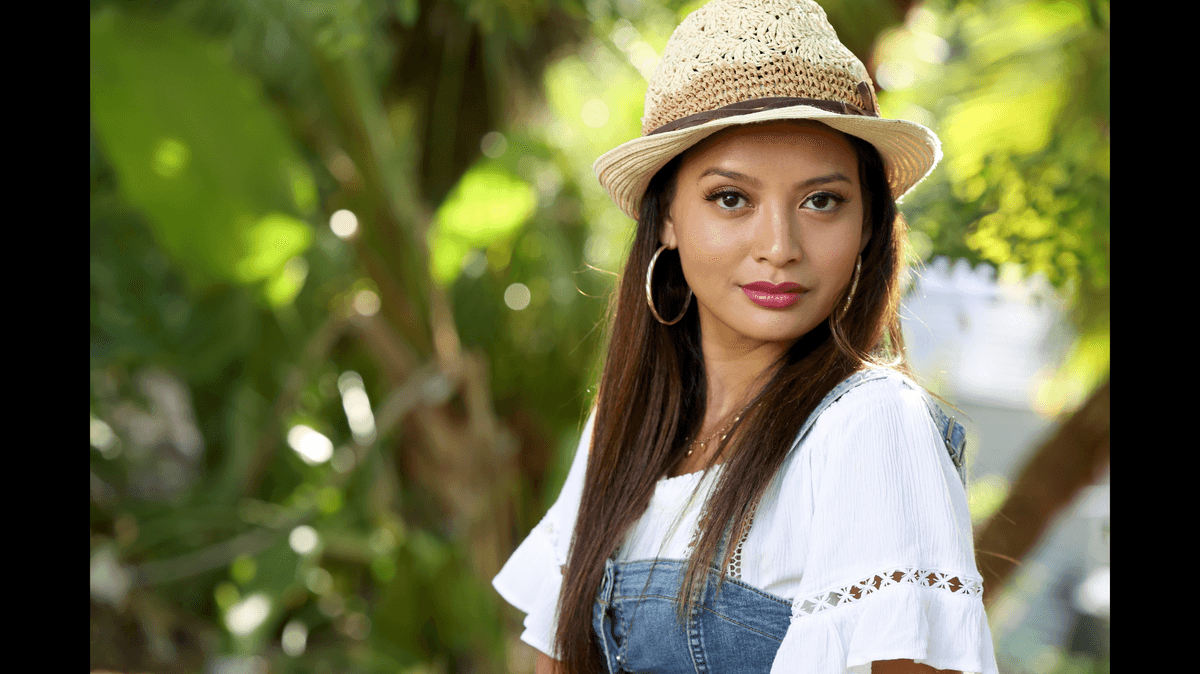
Now principle number three. I’m going to match the power of my strobes to my aperture. (I am using the Westcott FJ400 Strobe and Westcott 2’x3′ Softbox.) I’m going to dial the power up or down until I get the perfect amount of light on her face. I just want the strobes to match the aperture. I don’t care about the ambient light. I don’t care how dark the image looks. I just want the strobes to look right on her face. So at f/5.0 I’m going to take an image here, 1/200th of a second and just see what we got. Here the strobes are perfect. I’ve dialed them up and down, and I’ve made my adjustments on my strobe. I have that strobe in a nice position up front here, the lighter face, I’ve tilted it up slightly. So I’ve got a vignette off from her shirt, but it’s too dark in the background.
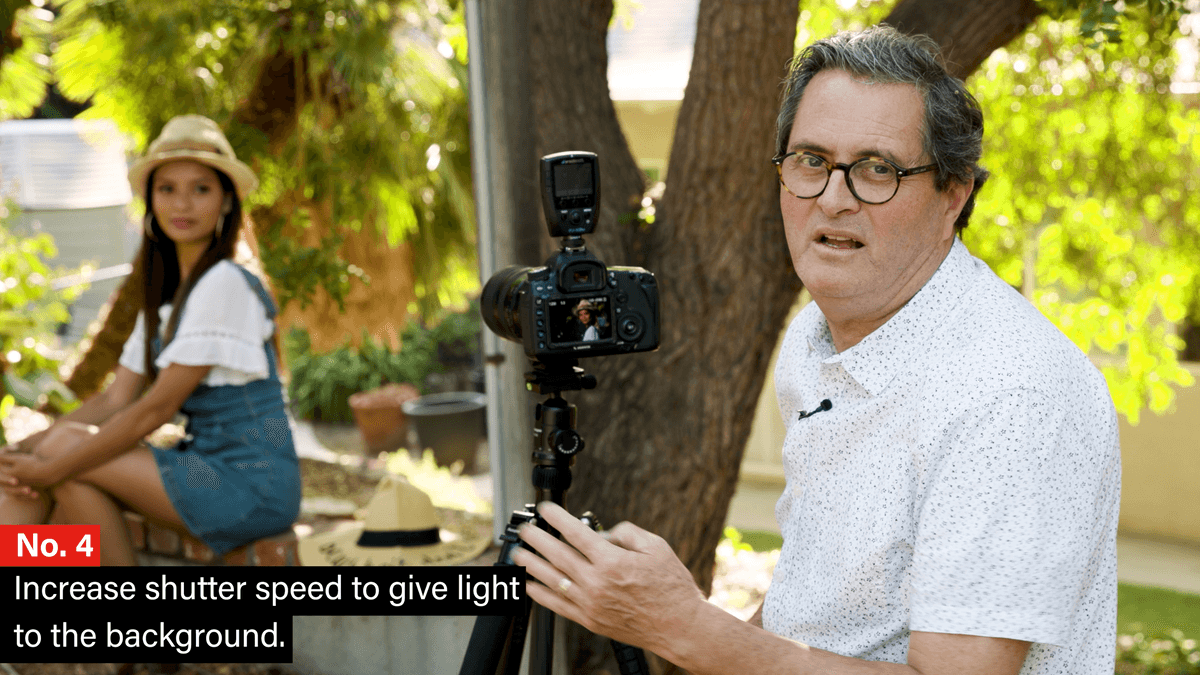
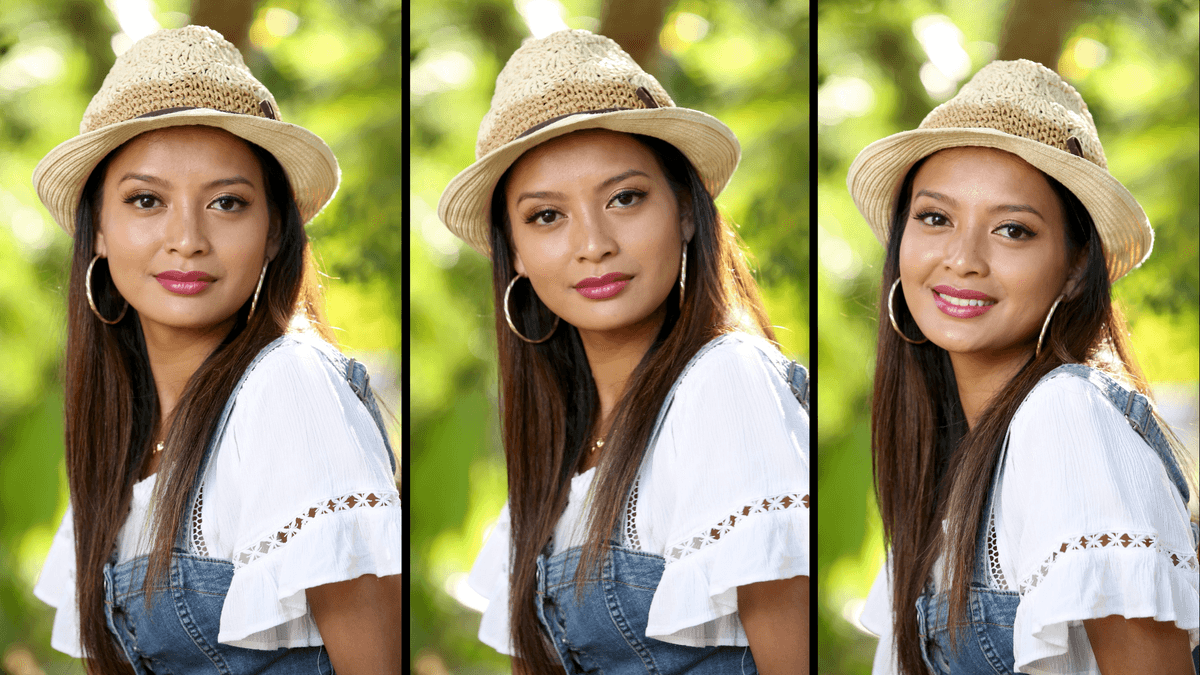
So number four, I now start increasing my shutter until I like what I see in the background. So I’m going to go from 1/200th to 1/100th sec.Now the background is becoming brighter. I like what I’m seeing. I’m going to go to a 1/50th sec. and now I’m getting some life into that background. I could even go I think to 1/30th sec.. Yeah, I’ve got a beautiful background that she feels like she’s integrated with. The strobes don’t feel like they’re lighting it. It looks like it’s just the ambient glowing light in the scene and it looks fabulous.
So there’s a simple formula: 1. Choose your aperture for creative reasons. 2. Set your shutter at 1/200th of a second. 3. Balance your strobe power, dial it up and down until it matches the aperture.
4. Then start opening up that shutter until you like the background the way it looks. And that integrates those two together and then shoot away. I’m going to shoot some.
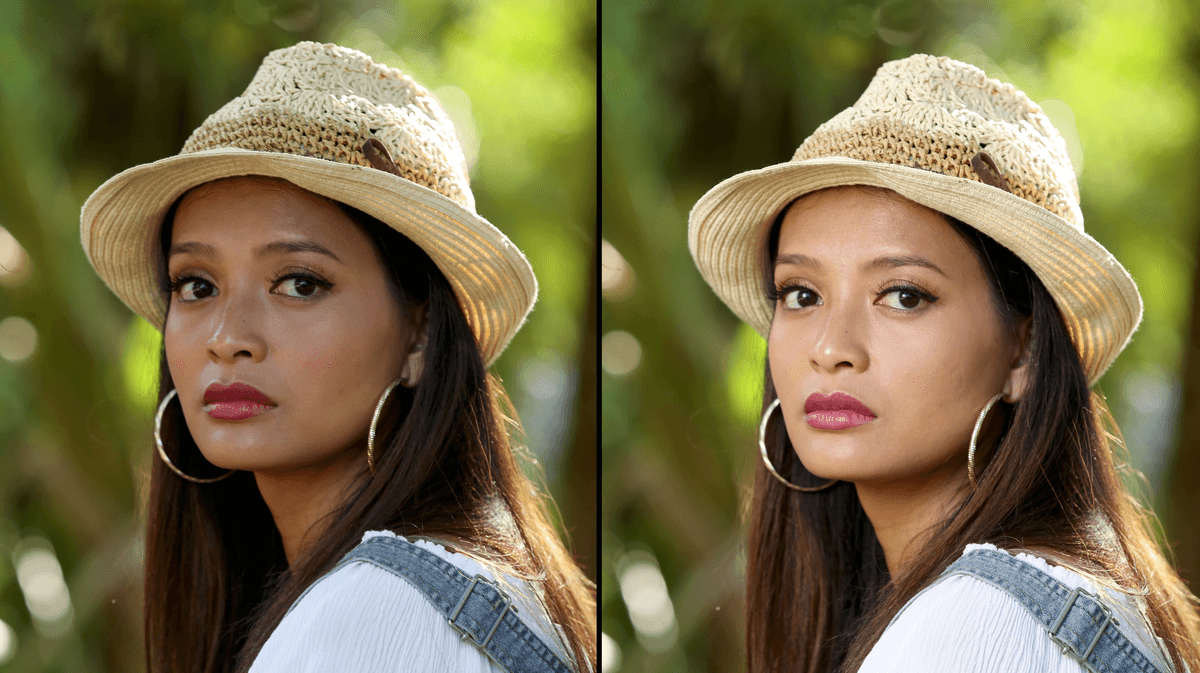
Now if I start getting a hot spot in there, and I can see one right now. You can see just over her shoulders is a really bright spot back there. I’m just going to move my camera a little bit, it doesn’t have to be very much. And I’m going to get rid of that hotspot. So here’s two images without the strobes. You can see the difference. Just adding a little bit of strobe opens up the image and makes it look wonderful. I got there by first getting rid of as much of the ambient as I possibly could. Then I set my strobe to my aperture, then I added the ambient until I like the look and shot away.
So it’s important to note that it doesn’t mean that there won’t be any ambient light on her face. There will be ambient light on her face. But the formula allows you to get rid of all that ambient light on her face. Just see what the strobe is going to do the make sure you like the strobe and then set your aperture. Then you add the ambient back in and you’ll find the perfect marriage of those two, strobe and ambient. Sometimes you may have a lot of ambient light on her face. Other times might not be much at all. But I’m also looking at the background trying to get that background balanced with her face as well. So I’m looking at those two things as I make my shutter longer and longer, adding more and more ambient until I like what I get. (I used the FotoproUSA X-Go Max Tripod on this shoot.)
If you do this at sunset, you can keep dragging that shutter to a second, two seconds, etc. And that gives you a really deep blue sky that looks fabulous.
That’s the formula to be able to balance your strobes in ambient light outside. So let’s wrap this up.
Follow the four steps for balancing strobe light to the ambient light and you’ll get beautiful images quickly, efficiently and creatively every single time. Choose your aperture, put your shutter at 1/200 of a second. Set your strobes to your aperture then increase the length of your shutter until you like the match between your ambient and your strobes and shoot away. It is that easy.
Make sure you leave some comments on our YouTube channel. Subscribe here to YouTube.com/TheSlantedLens. A lot of people come and go and never subscribe. We really need you to subscribe so you become a part of our family here at The Slanted Lens. Keep viewing these lessons and keep those cameras rollin’ and keep on clickin’.