Aperture, the more you know the better you will be with your photography.
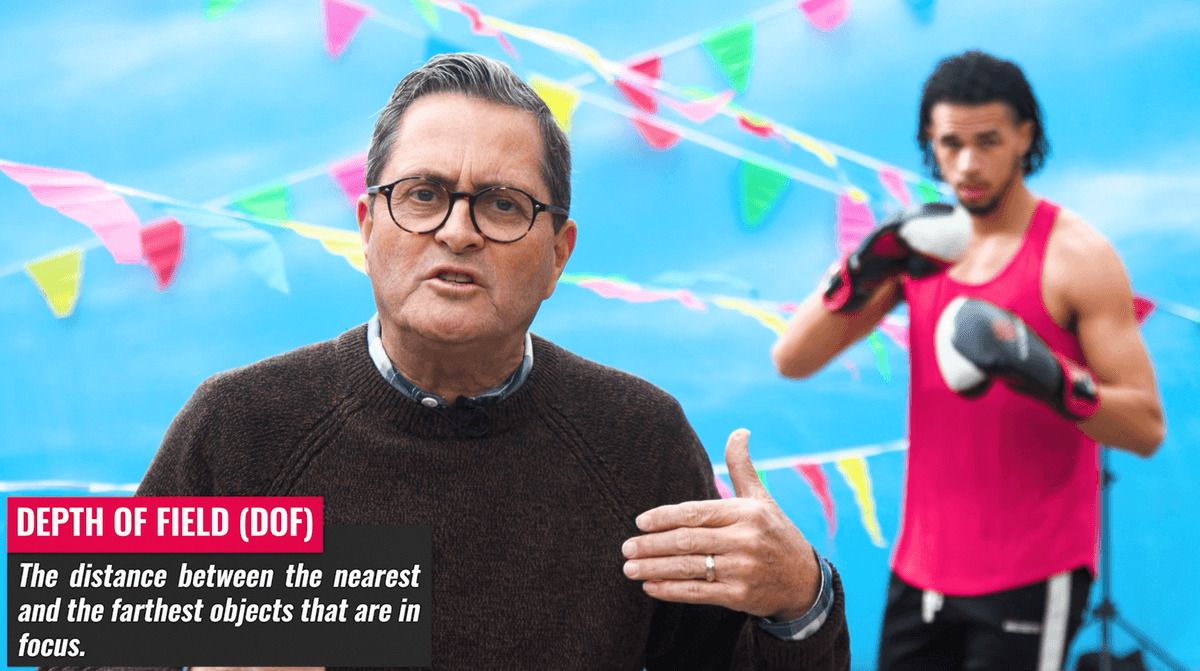
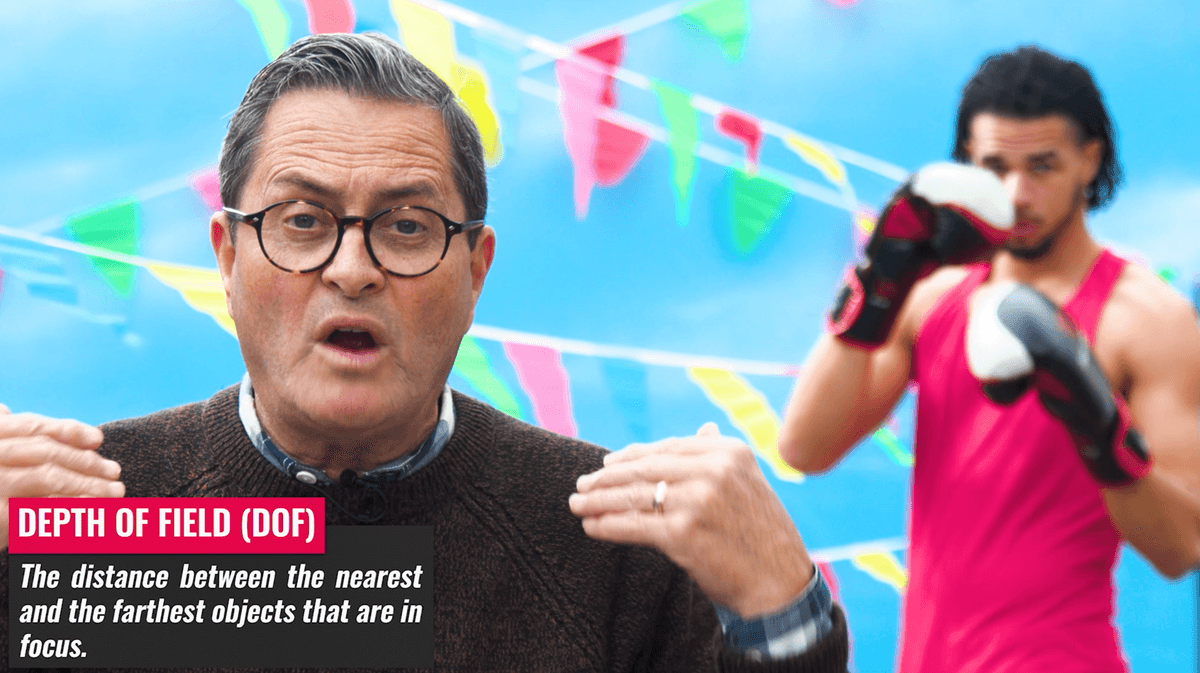
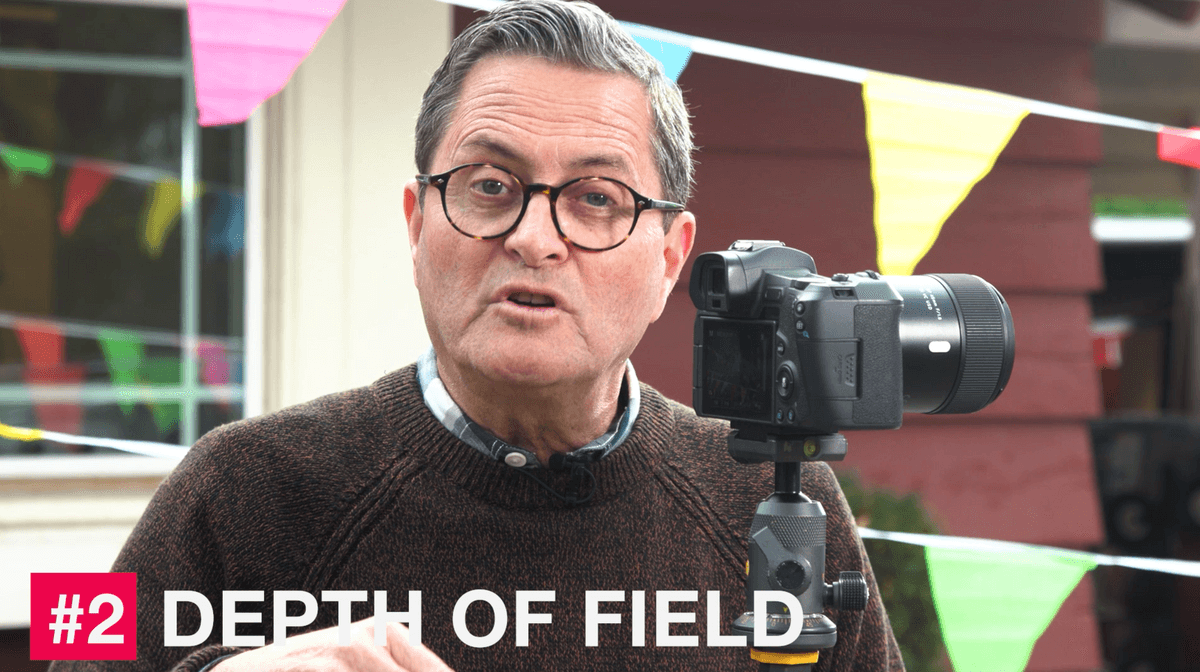
Let’s clarify some terminology before we go forward because I am going to be saying sharp and out of focus quite a bit. What is sharp and what is in focus? Sharp and in focus is what I am right now. I am sharp and in focus. I am clear and discernible. But Jerimiyah is kind of soft and out of focus. But if we change the focus back to Jerimiyah, now I become soft and indiscernible. And Jerimiyah becomes sharp, clear and discernible. That is what focus is. The person, place or thing in your image that is sharp, clear and discernible. When you bring the focus back to me then that is where it is sharp, clear and discernible.
Now depth of field is the amount of that sharp, clear and discernible area in the image. It can be really shallow, just my face, or it can be really deep so a larger area from front to back is sharp, clear and discernible.
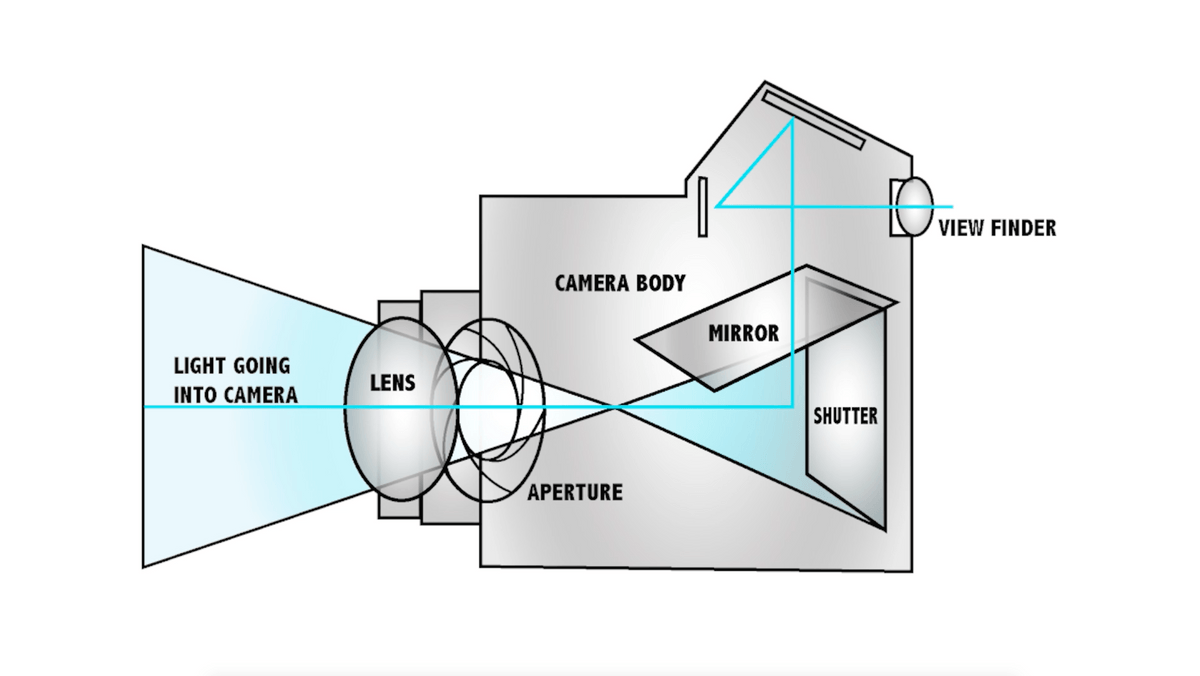
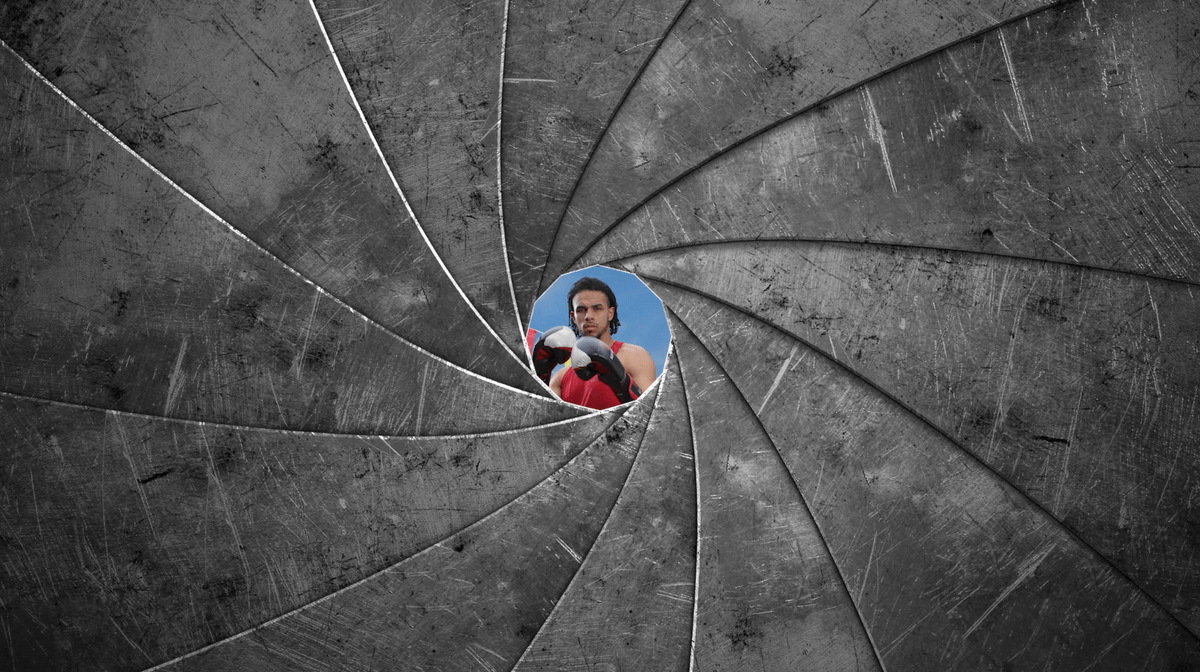
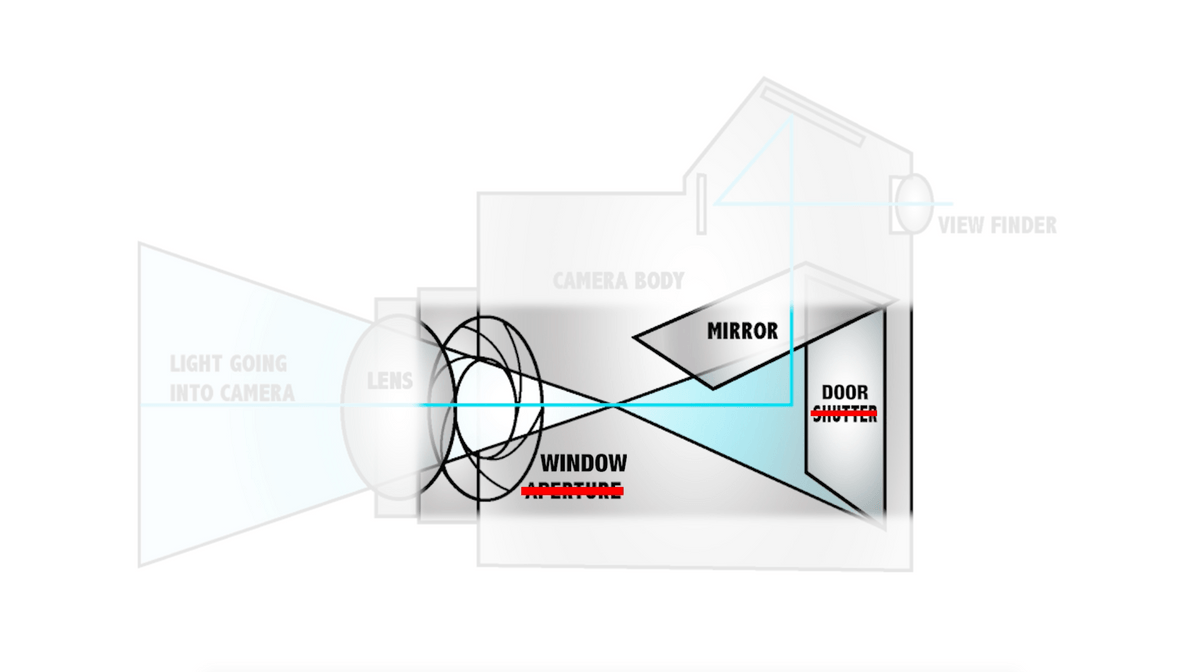
The aperture is a member of the exposure triangle. It is a diaphragm that resides in your lens. That diaphragm gets larger or smaller depending on the aperture you choose. A small aperture like f/2.8 allows a lot of light to pass through. Whereas, a large aperture like f/16 lets a small amount of light pass through. If the shutter is a door the aperture is a window. And you get to choose how much light passes through that window.
Let’s take a look at the decisions you make about aperture and how they affect the image.
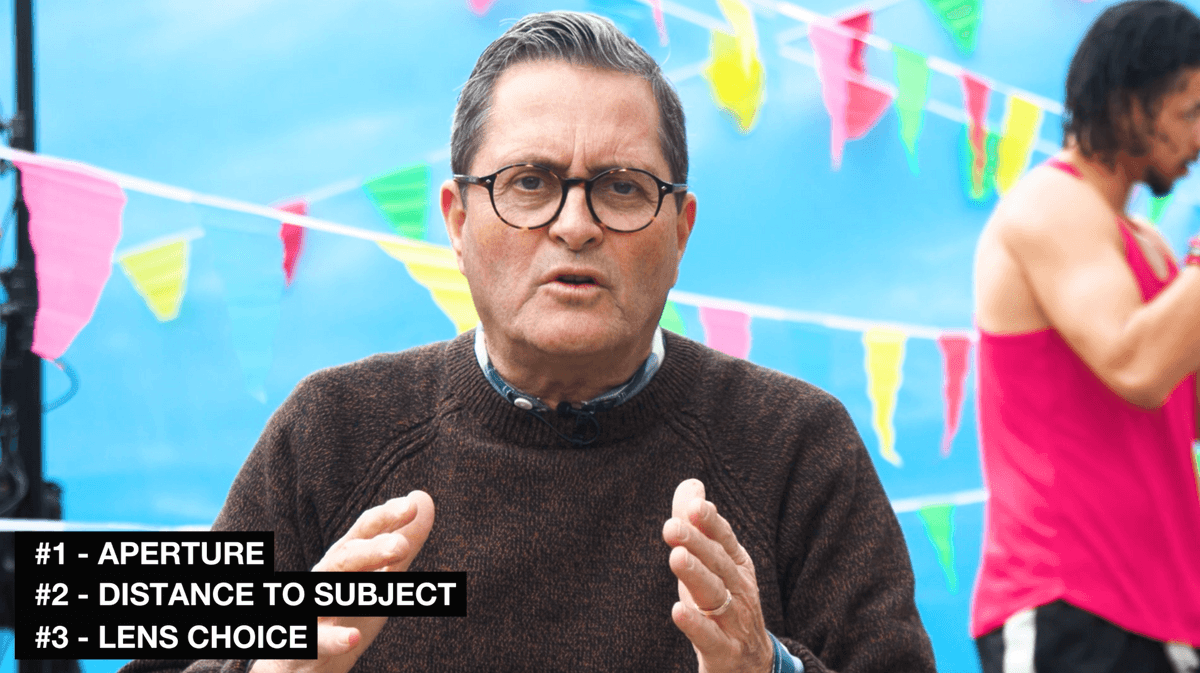
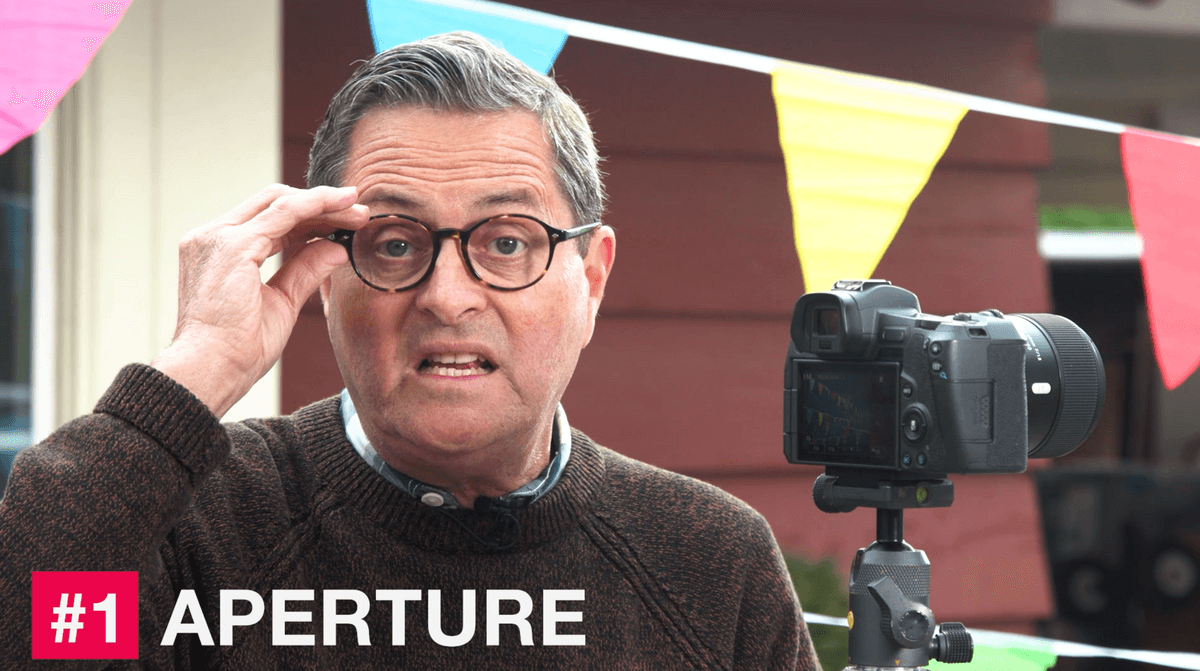
#1 is the aperture that you use that creates or diminishes depth of field.
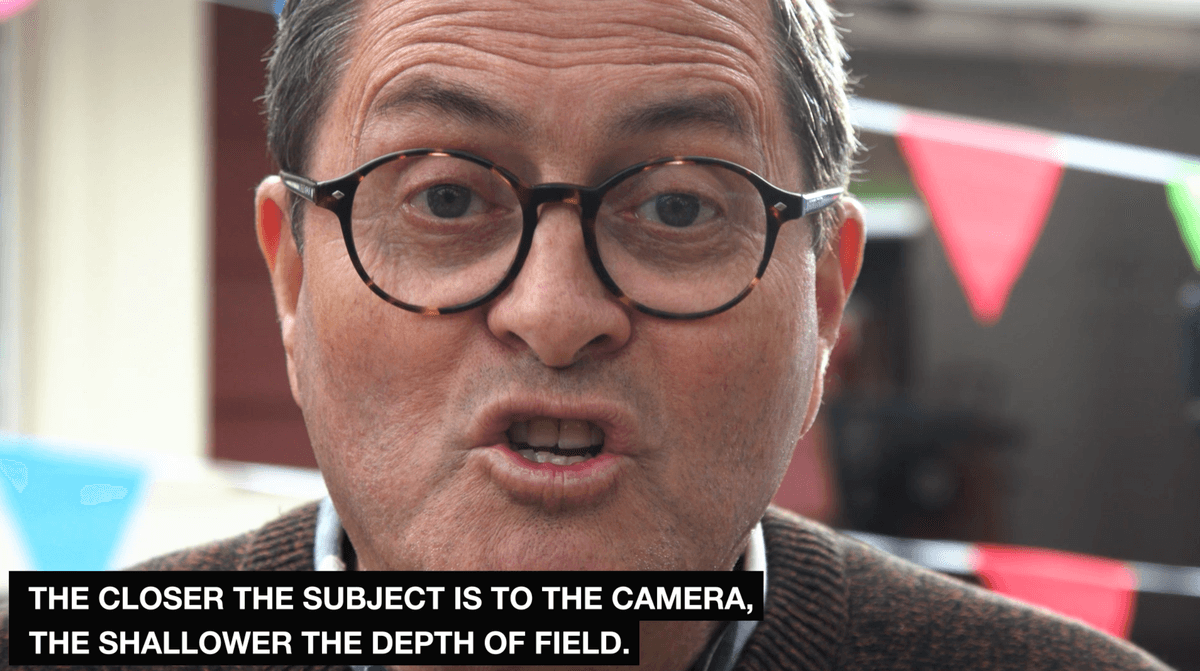
#2 is how close you are to your subject. As you get closer to your subject the depth of field becomes less. As you get further away from your subject the depth of field becomes more.
#3 is what lens you use. Whether it is a wide angle or telephoto that will make a big difference on depth of field. So, let’s take a look at all three of these.
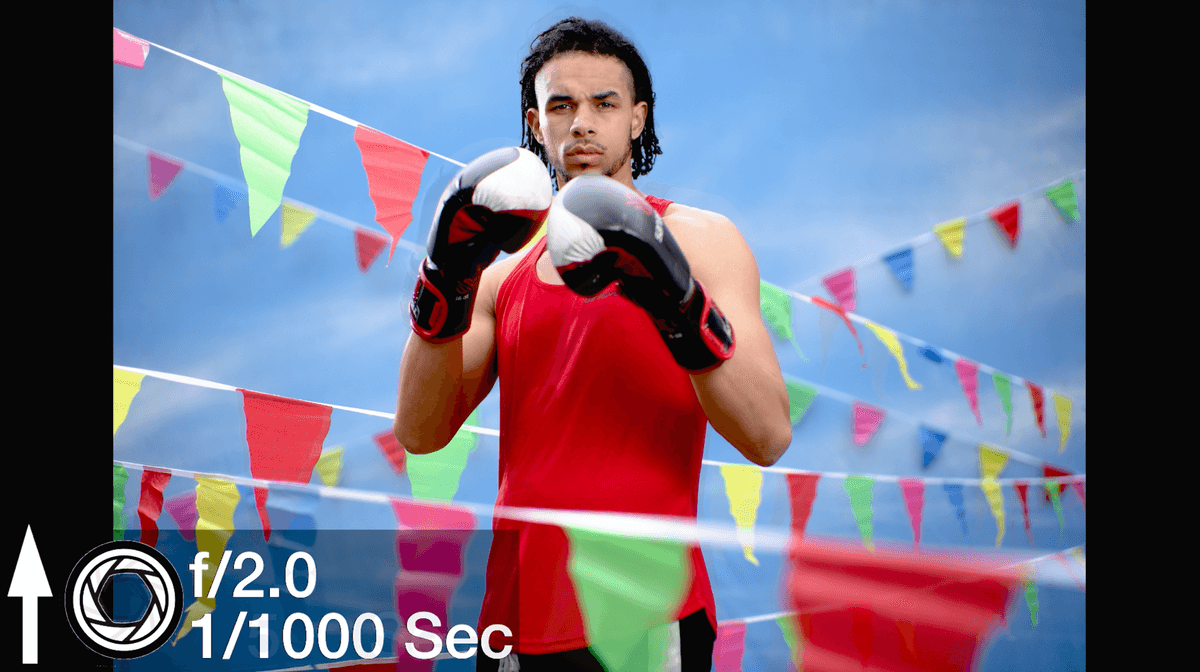
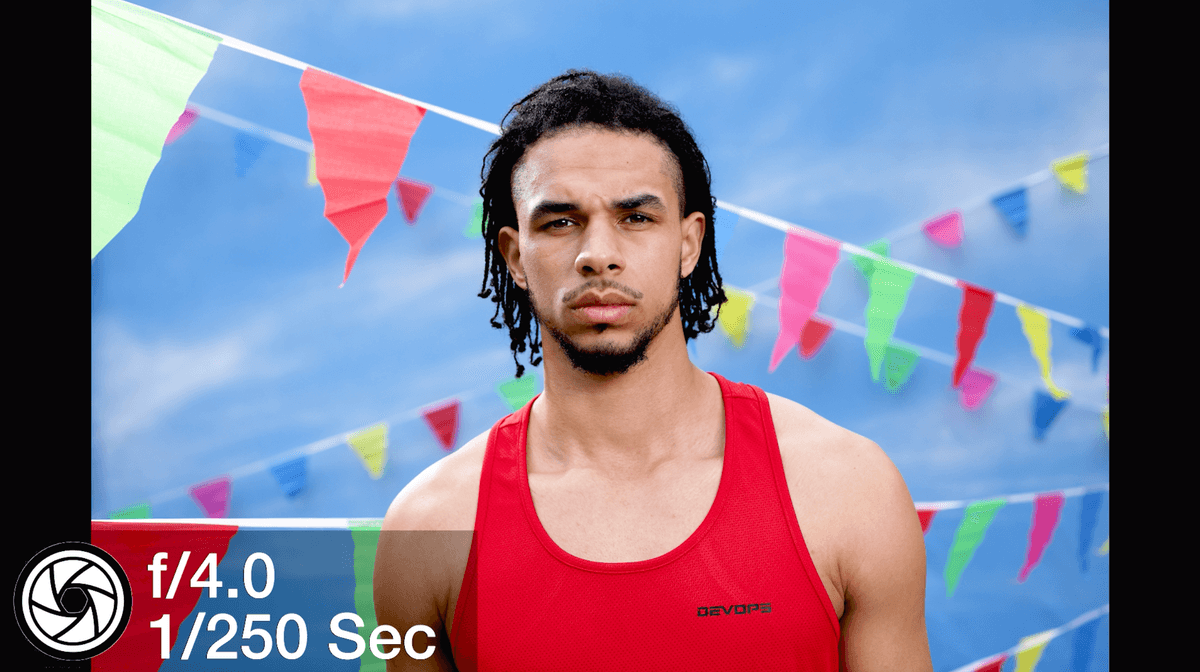
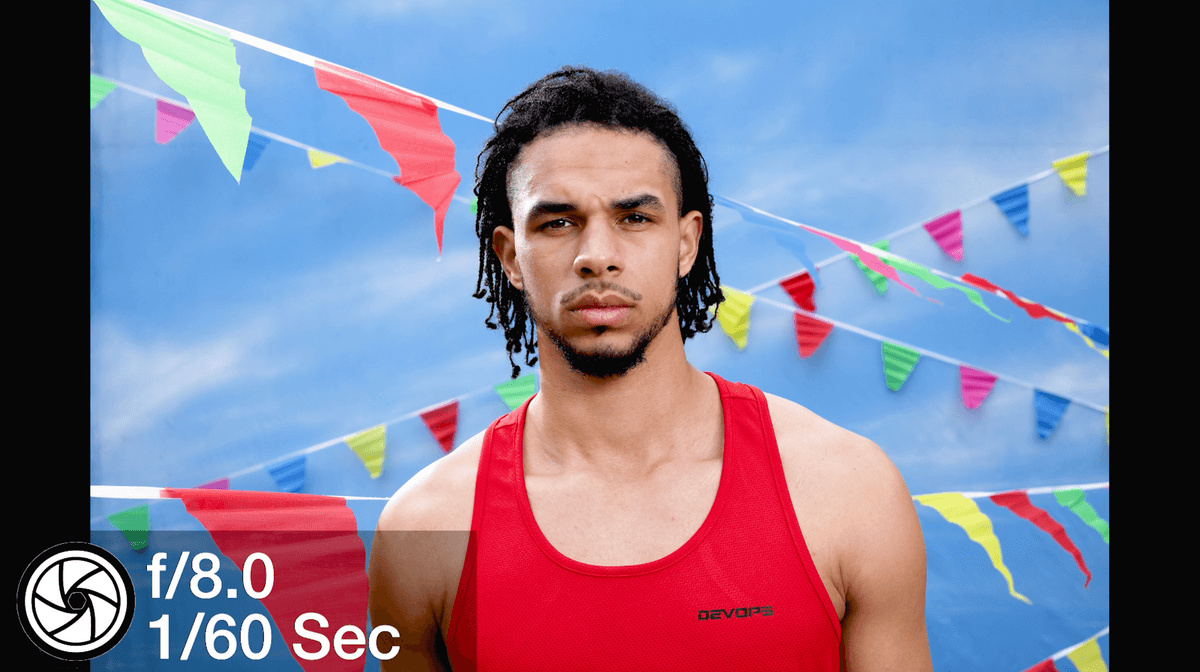
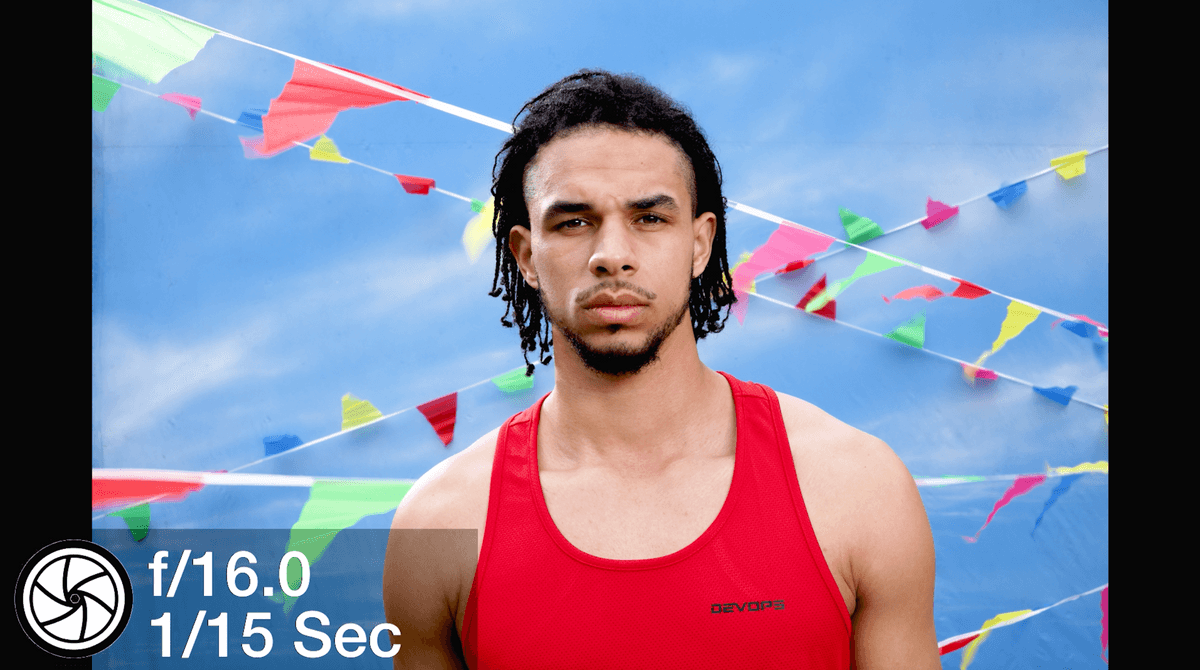
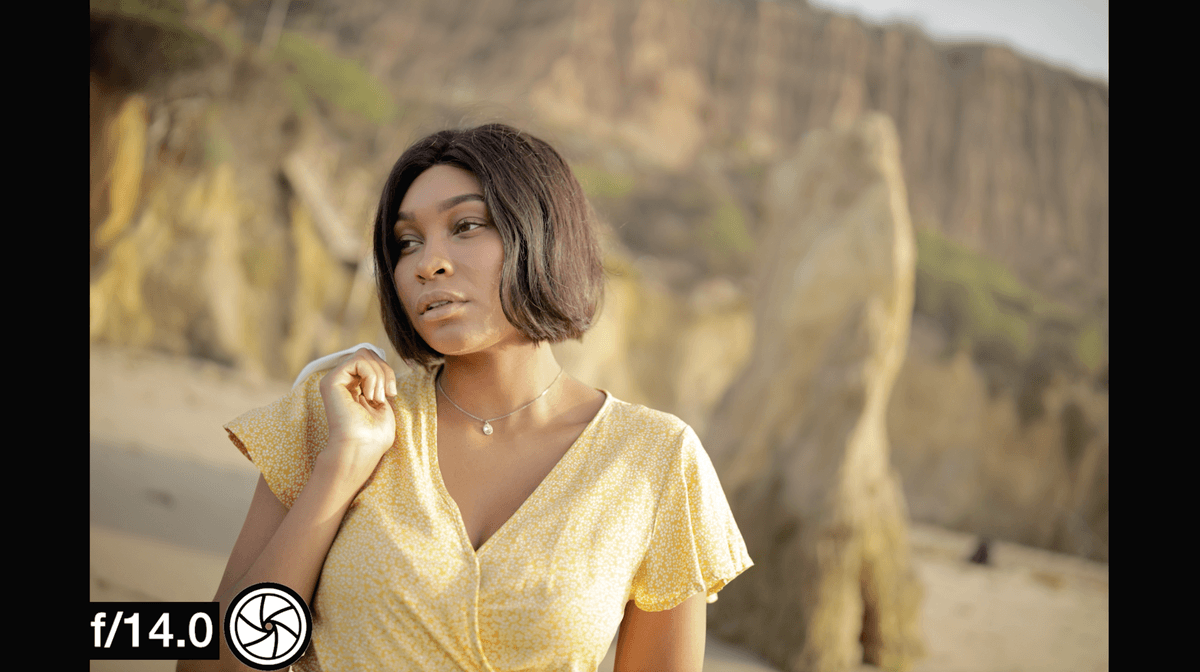
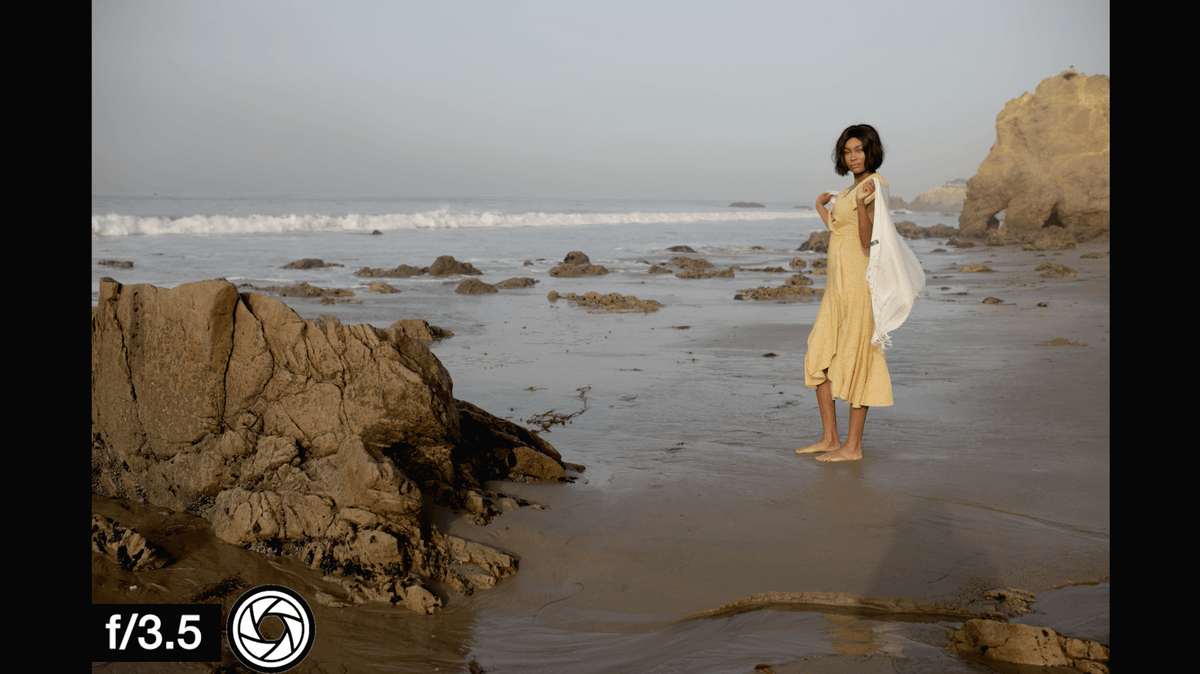
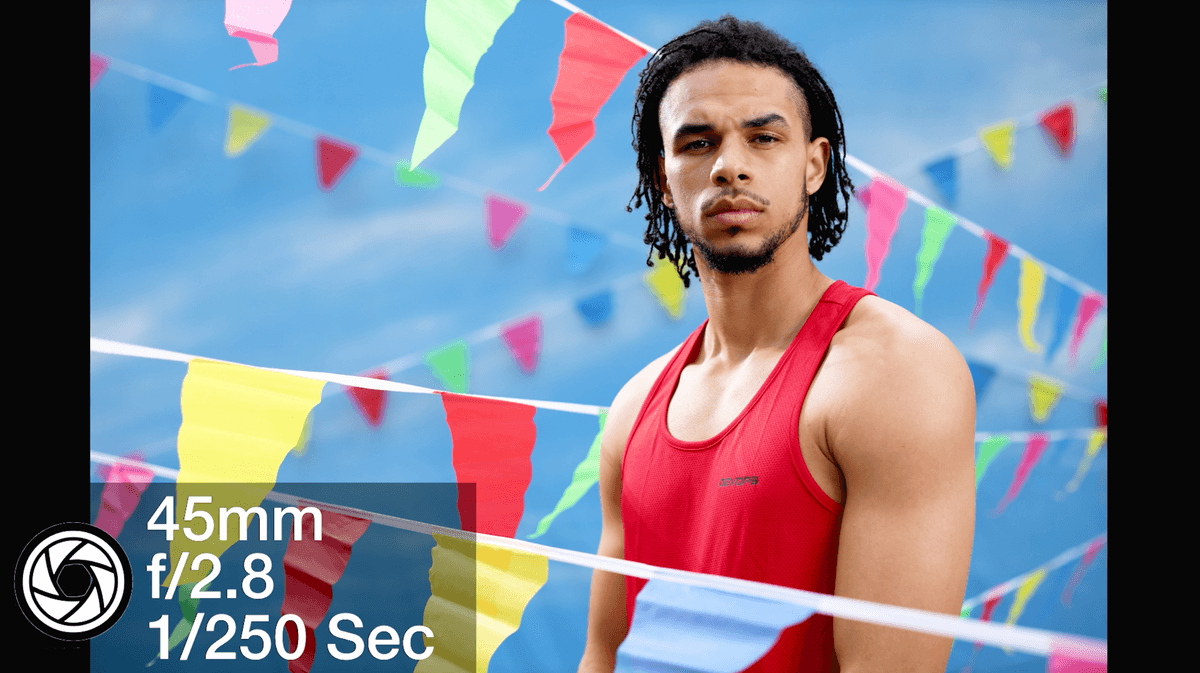
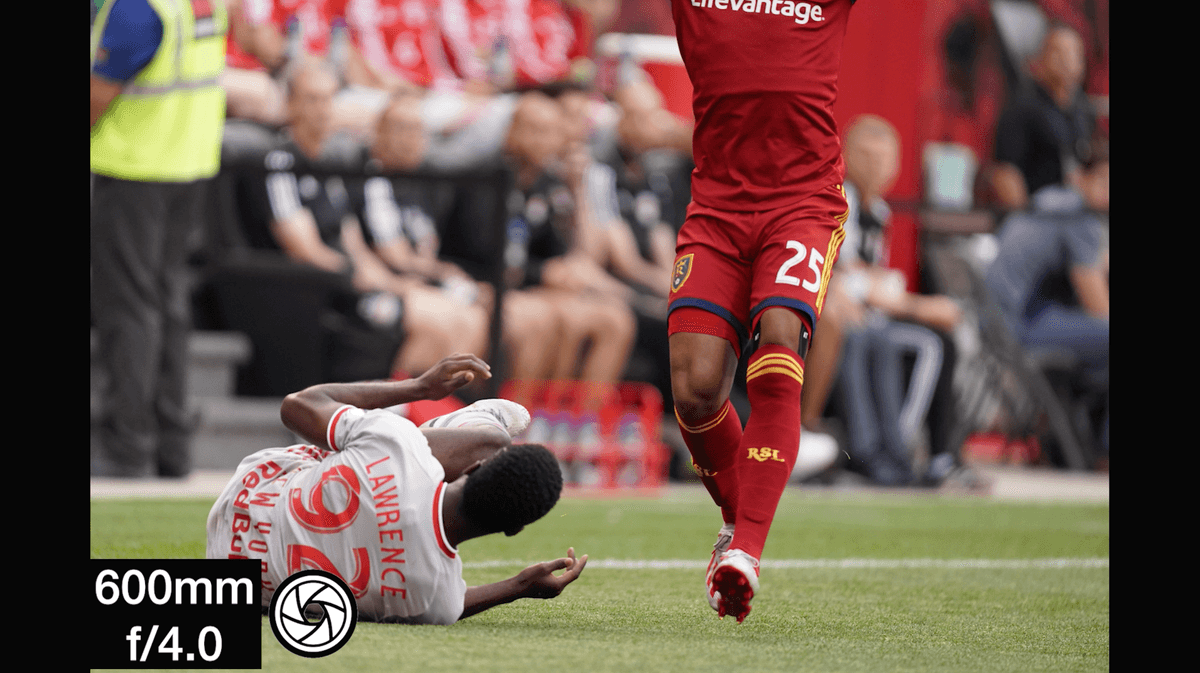
For this first test we are going to take a 45mm lens. So basically, what your eye sees. We are going to frame up our talent and focus on him. Then we are going to shoot through the apertures. So, at wide open at a f/1.8 or f/2.0 there is not going to be very much depth of field. But you will see the depth of field grow. It will slightly come forward and it will go back a little more. About 1/3 forward and 2/3 back. As we increase the depth of field till, we get to f/16 most everything should be in focus from foreground to background at f/16. Now we do have the wind blowing a little bit. You will see the flags waving just a little bit and that sometimes will fool us, so we think the flag is out of focus when it is actually motion blur. But that is another issue. Every one of these exposures is a correct exposure using equivalent exposure. We are going to talk more about that in another video.
Now for the second principle of aperture as it relates to depth of field. In the first example we shot all of our images with a 45mm lens. But now I am going to pick up my lens and I am going to move in and cut the distance almost in half to get to my talent. As I get closer to him, I am going to shoot through the aperture settings again. You will be able to see that at f/16 there is more depth of field than at f/2.8 which will be much shallower. The closer you get to the subject the shallower the depth of field. That is the principle. As we get close to a subject the depth of field becomes much shallower. So, if I just keep moving closer, look at the background behind me. In becomes more out of focus. If I get super close to the camera everything falls way out of focus behind me. So, the principle is that you cut your distance and in cutting your distance it makes your backgrounds fall more out of focus. This gives you a much more interesting subject matter because it isolates the person or object with that shallow depth of field. (Image should say f/1.4) The closer you get to your subject the shallower the depth of field. The further away you are from your subject the deeper the depth of field.
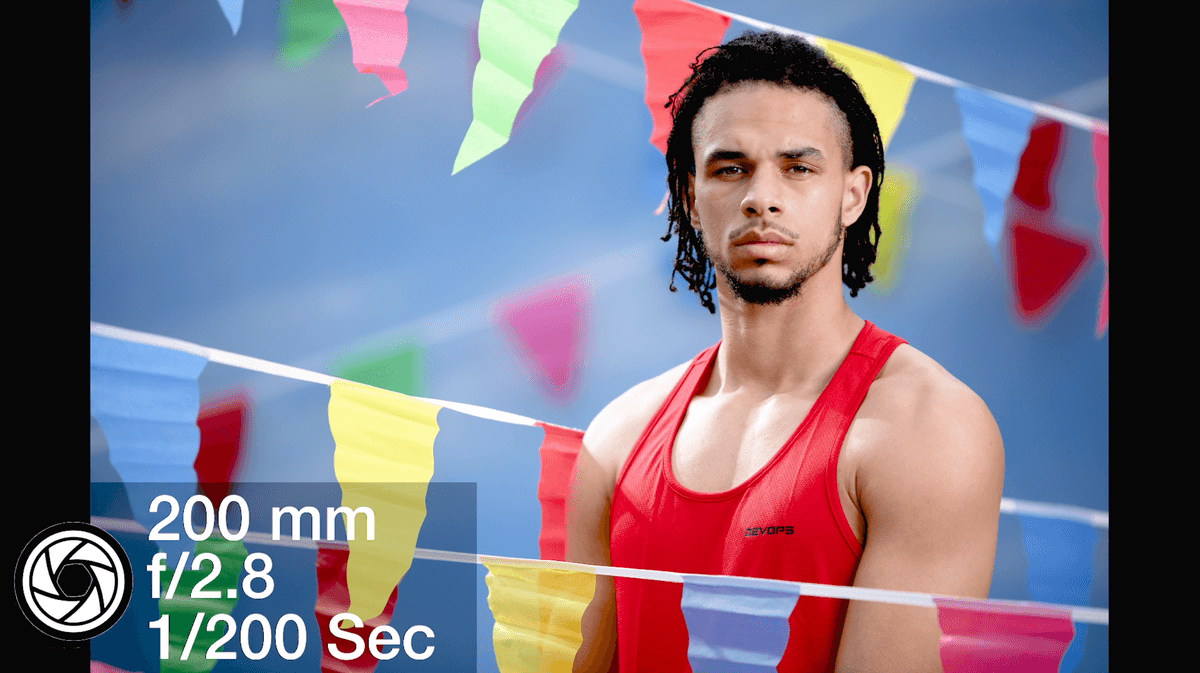
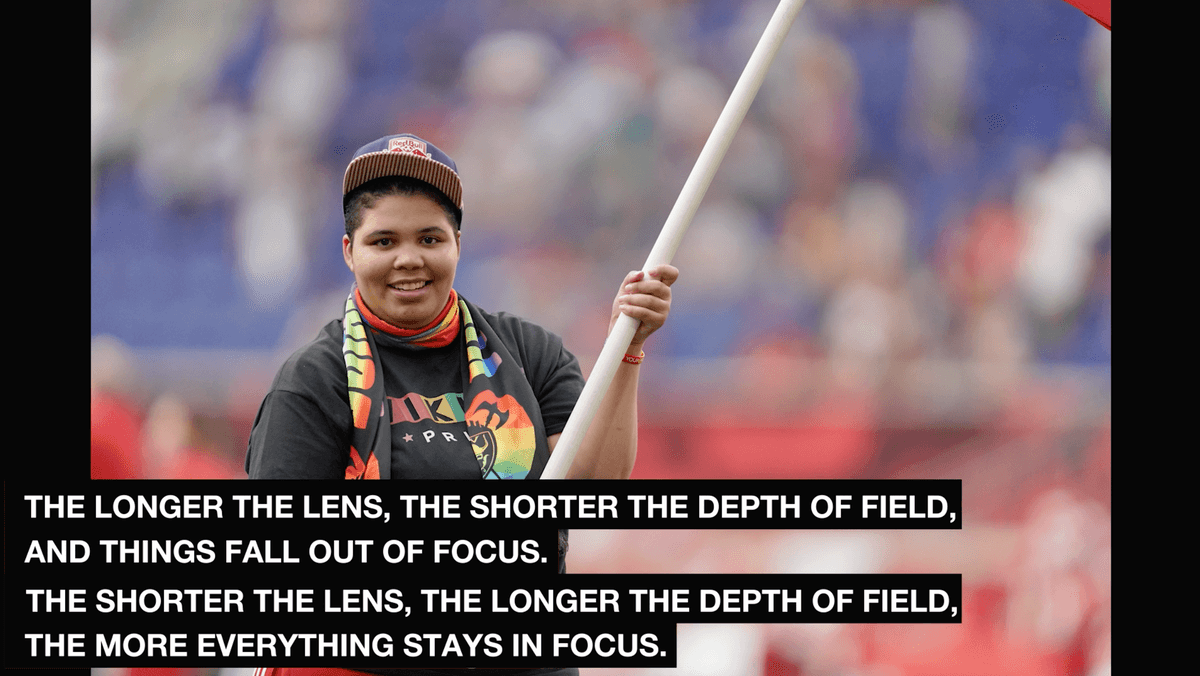
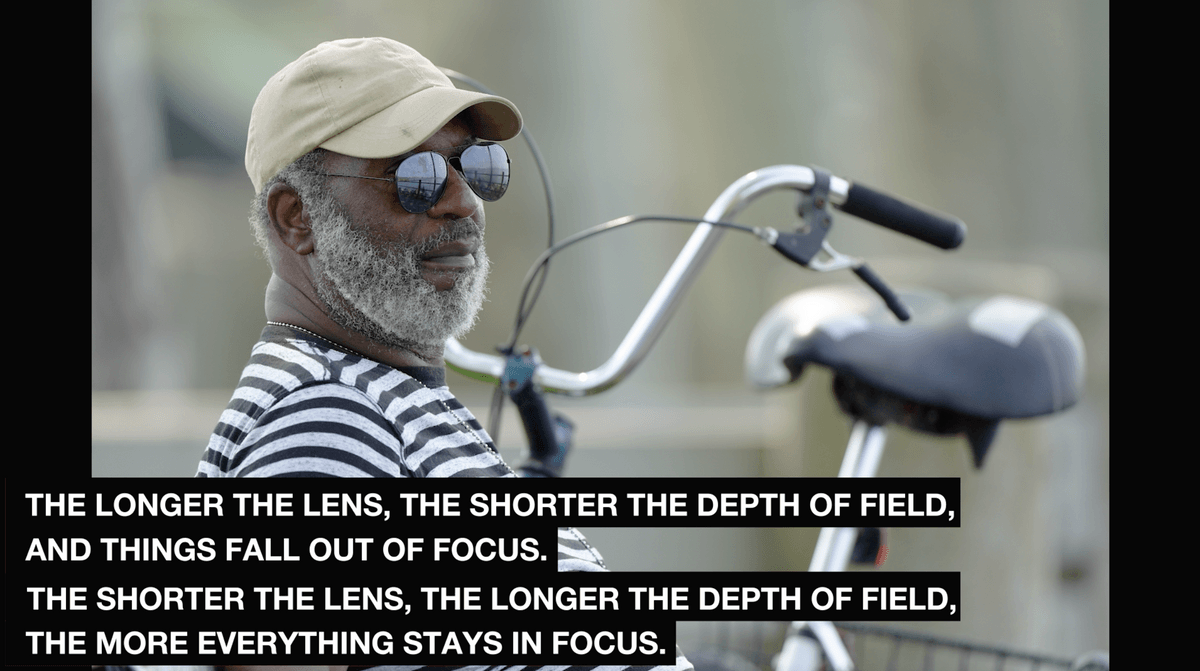
The third principle of depth of field is lens choice. A 45mm lens is going to give you more depth of field than a 90mm lens if you keep the person the same size in the frame. If I go to a 200mm lens and I keep the person the same size in the frame that 200mm lens is going to have far less depth of field than the 45mm lens did. So longer lenses and keeping the person the same size in the frame gives you less depth of field. That’s why everyone loves a 70-200mm lens because it makes everything fall so beautifully out of focus in the background. It falls out of focus because you get a shallow depth of field when you get up to the 200mm.
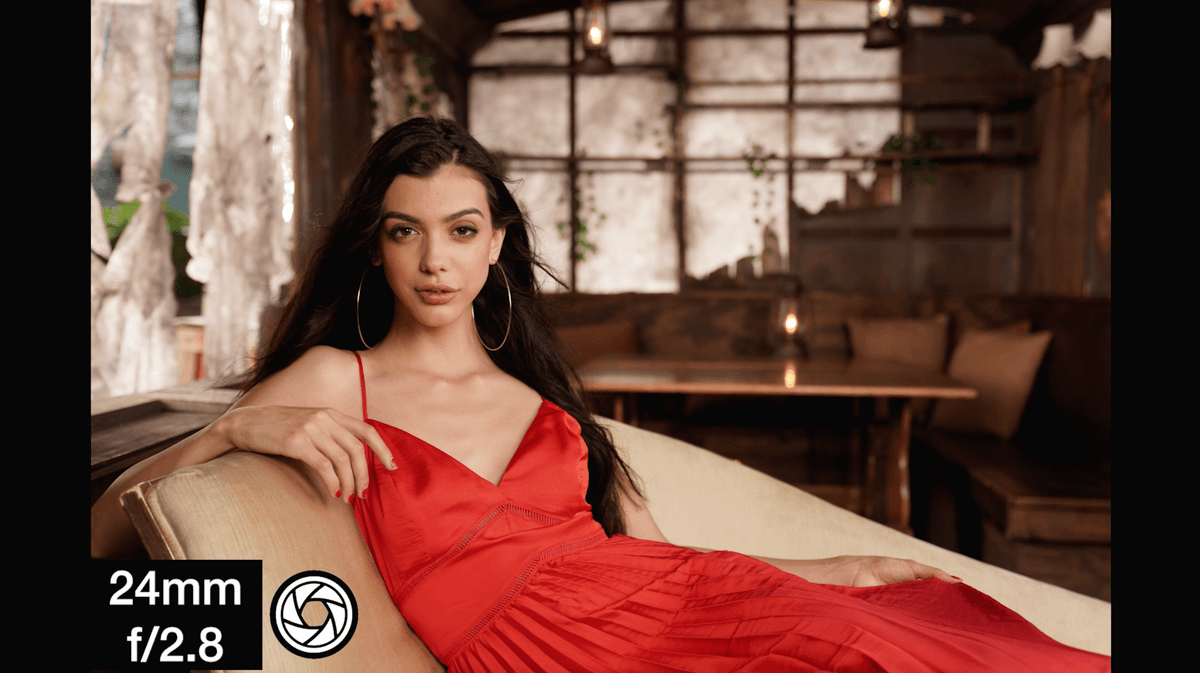
Let’s talk about application for aperture. When you have a shallow depth of field it is really a great look to be able to shoot portraits and individual shots of people. It isolates them from the background because the background falls out of focus. And it gives them a beautiful place to be. It is not so busy. So, it is a great application. But if I am shooting a family or a group, I will go to more like f/8 because I want more depth of field. It is hard to keep the small children in the foreground and the back row in focus at f/2.8. It’s not going to happen. On a really tight shot if you are taking a photo of someone it is beautiful on a full frame sensor to have a really shallow depth of field. But you just get an eye in focus at f/1.4. Whereas if you really want to get the eye and back into the face a little bit you are going to have to go with f/2.8 or maybe even f/4.
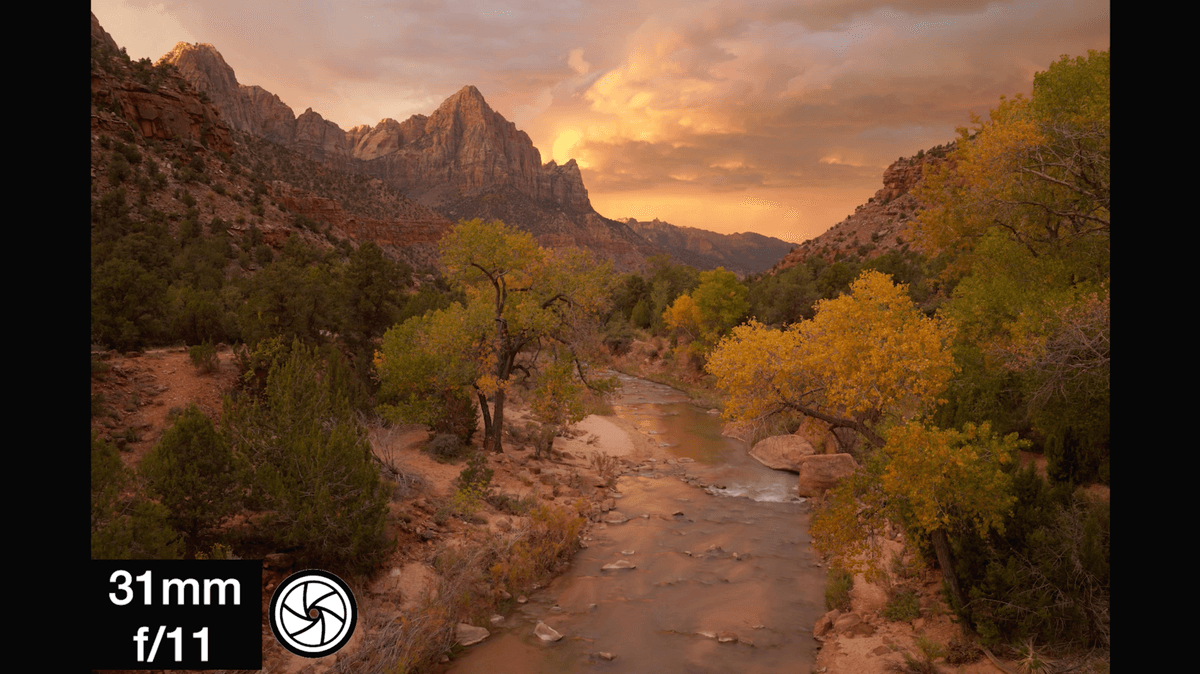
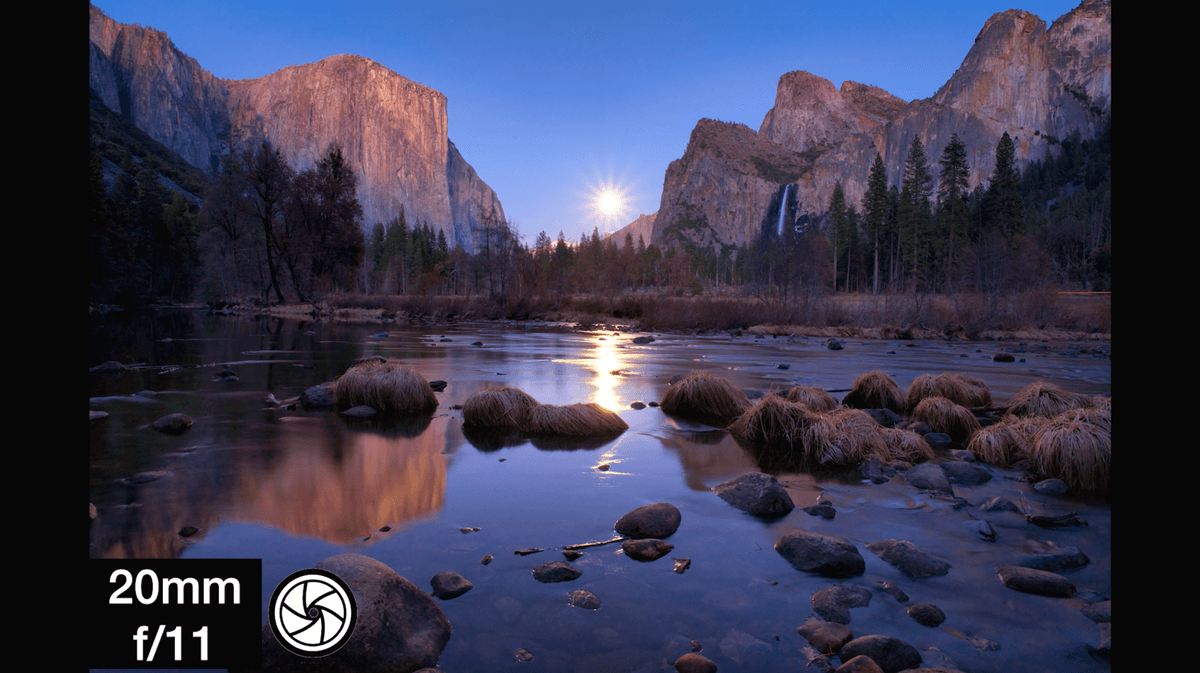
So, you have to think about the depth of field. How do you want to use it to be able to isolate your subject, to include your subject and sometimes to include a scenic? If I have rocks in the foreground very close to me and I have a deep, deep background, I am going to want a deeper depth of field. So am going to go to f/11 so I can keep the rocks in the foreground and all the way to the horizon line of the scene in focus.
So, you are using depth of field as a way to communicate what you want to communicate in your image. Don’t just grab an exposure. Make a calculated decision. The next topic in this process is equivalent exposure. How do you take these two things, shutter and aperture, mix them together and get what you want? Shallow depth of field with motion. Deep depth of field with motion. Shallow depth of field with frozen motion. Deep depth of field with frozen motion. In the next episode of this series we will take a look at equivalent exposure and how that relates to mixing these two together – shutter and aperture.
Keep those cameras rollin’ and keep on clickin’.
Don’t miss out on our SKB GIVEAWAY for May 2020. https://gleam.io/JwoJD/tsl-may-2020-giveaway-skb-cases
Take a look at our PATREON GROUP! https://www.patreon.com/theslantedlens
Check out our GEAR FOR SALE: https://theslantedlens.com/gear/