I have been so excited about this Hasselblad 907X camera! In this hands on review of the Hasselblad 907x and CFV II 50C we show you an image quality test, discuss the ergonomics and try it out on our Hasselblad 500cm and vintage lenses. See what we got!
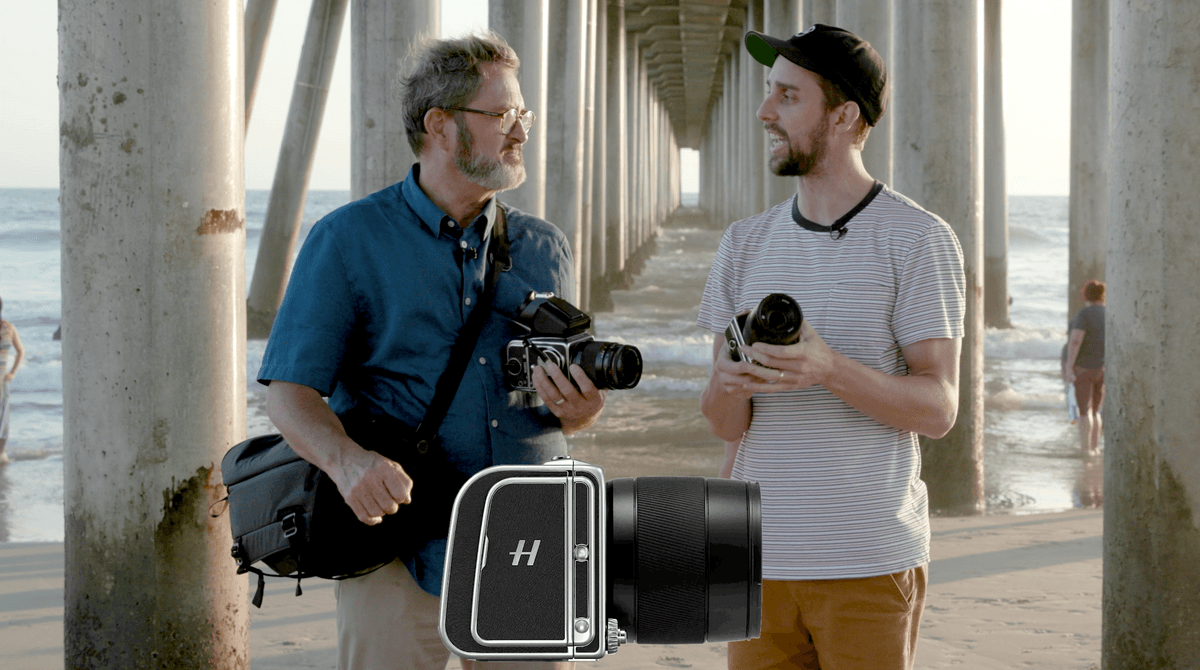
Today on The Slanted Lens, we take a look at a very exciting camera. Those of you who love Hasselblad as I do, I have the Hasselblad 500 cm and also an ELM. And I’ve been super excited about an affordable back you can put on this camera and turn it into a digital camera. So now what do we have?
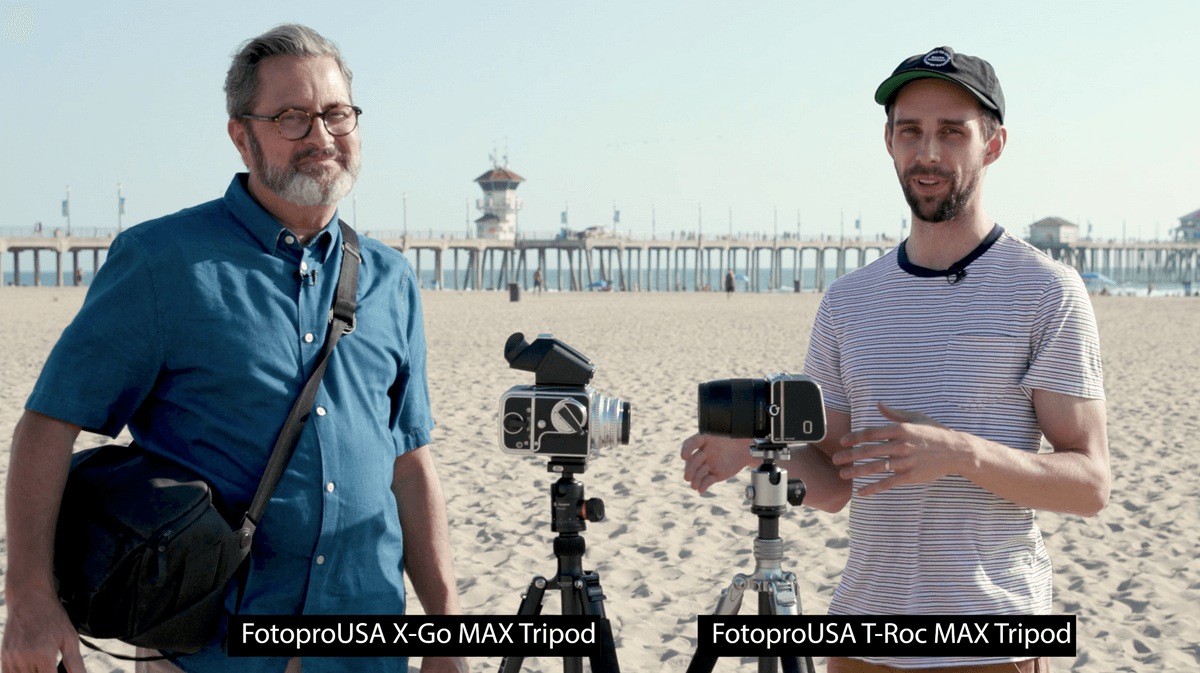
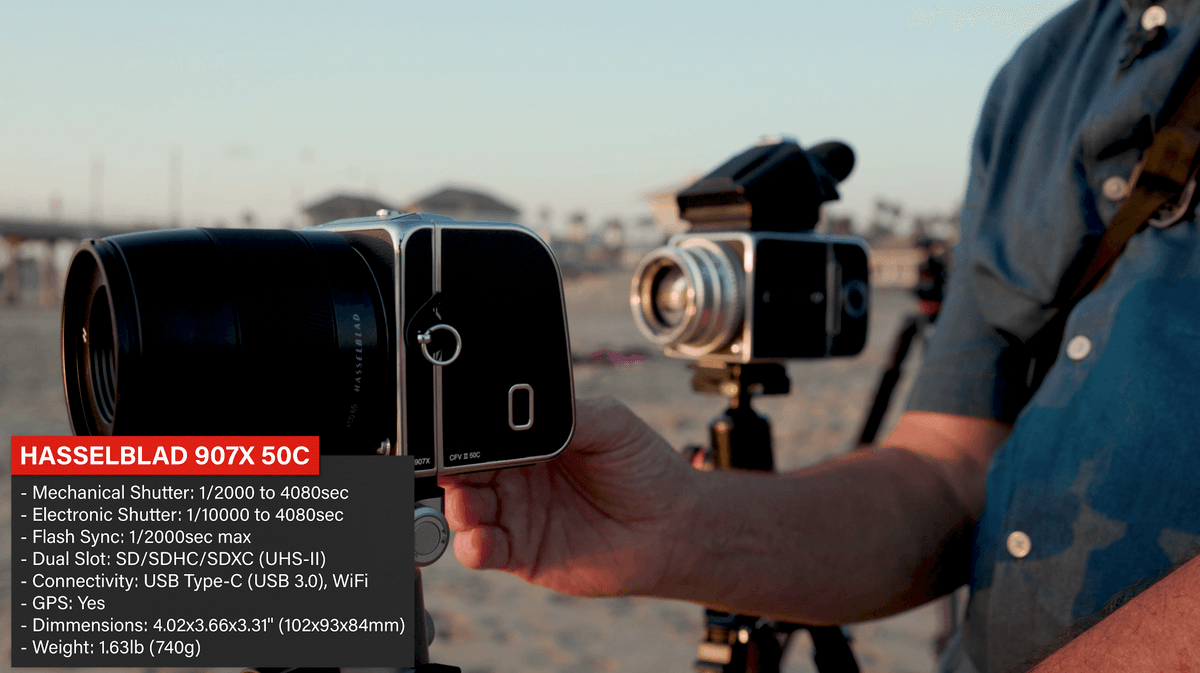
We have the 907X and the CFV II 50 C. This is Hasselblad’s new camera. It’s basically a lens mount that you can put the CFV back onto. But the cool thing is, you can take this back and replace the film back that’s on the old 500 series cameras. It’s awesome. Ever since this was announced one or two years ago, I have been dying to get my hands on it. Finally, it’s available. You can pick these things up for about $6400. So not cheap, affordable is a relative term here. I am really excited to try this out. I love the form factor. It’s going to be interesting. It’s much different than any other camera we’ve shot with and it’ll be fun to try this with the new XCD digital, brand new sharp lenses and to try it with the old vintage lenses.
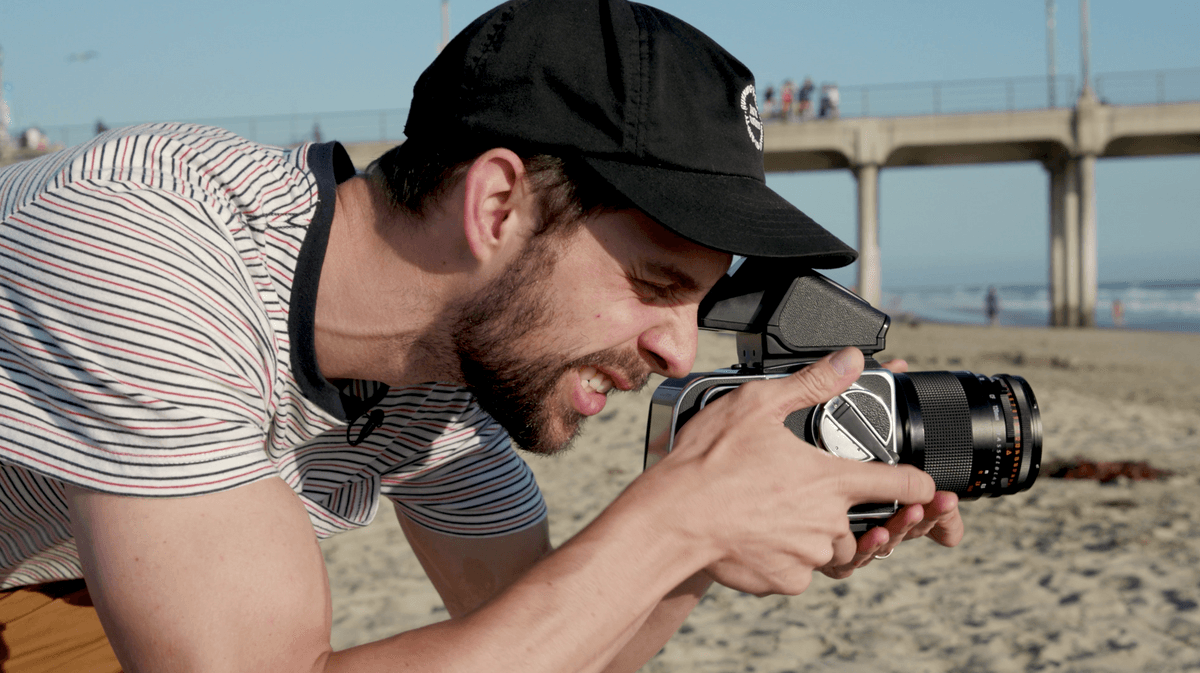
Let’s start taking some pictures. We’re going to shoot the pier here, and see exactly what we got.
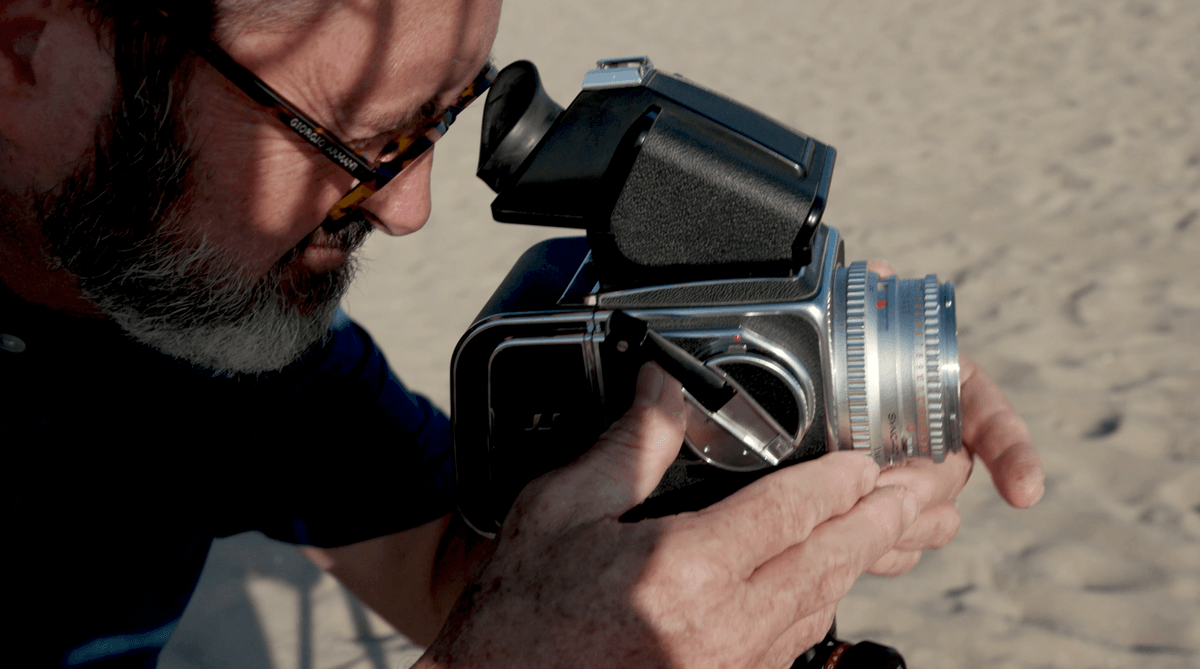
Let’s talk about ergonomics? This is a funny one, isn’t it? It’s like a little box. It is the most interesting camera I think I’ve ever used.
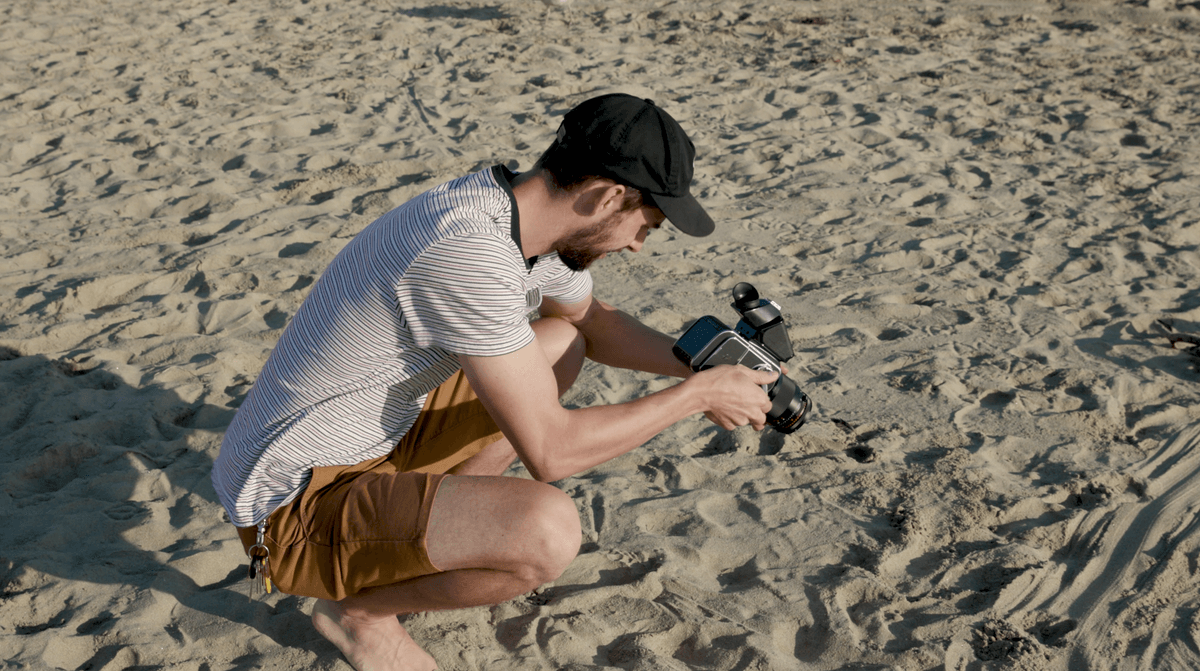
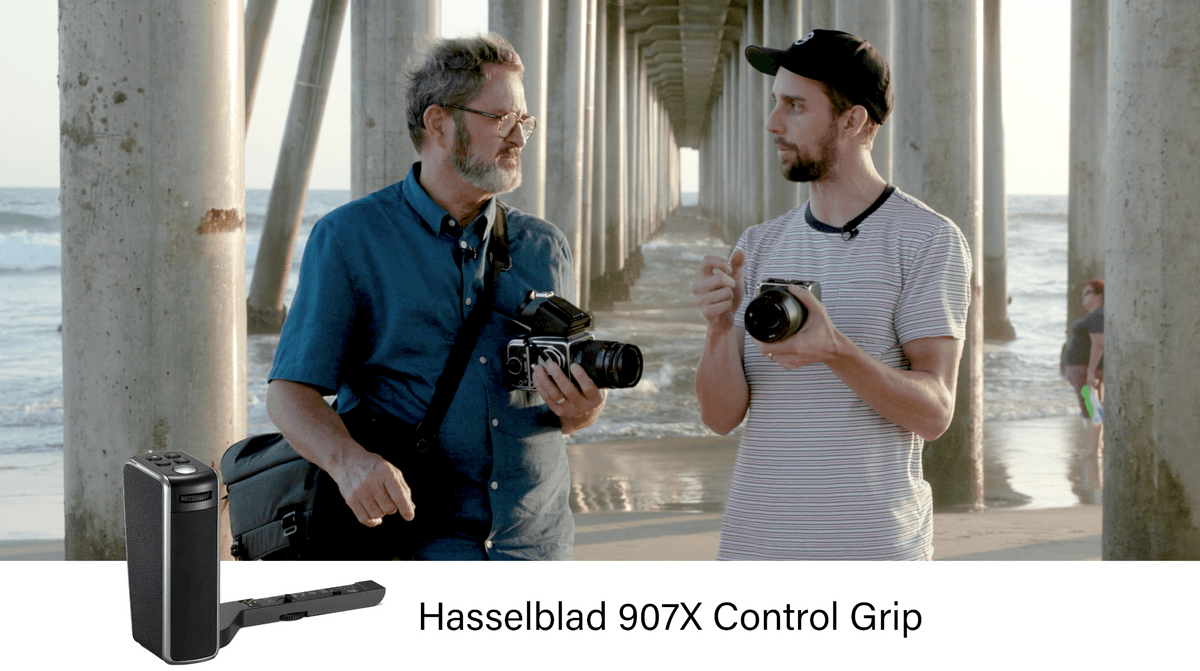
I actually really like it. It would be nice to have a handle on it. They have an extension, that grip that you can buy for like $700. I would probably get that if I owned this camera. But I don’t mind shooting this way. It’s kind of nice. It’s kind of discreet, which is what I like about it. You can just pop the screen out. I like the articulating screen. If it didn’t do that, this camera would just be worthless. But the articulating screen makes it so you can get down low and that is a perfect setup. I was worried about shooting on the beach in the bright sun. It is a tiny bit challenging, but not nearly as bad as some other cameras that you’ll shoot with. It’s pretty bright. It’s pretty clear. I kind of like this because you can just hold the camera like this, very discreet, and shoot like this. Like a twin reflex. It’s so small. I love that you have the shutter release. And you can change your aperture with only one dial on this camera. And that is a small little collar around the shutter release. And that changes your aperture. If you’re on shutter priority, it’ll change your shutter. It’s the only dial on the camera, which is pretty awesome.
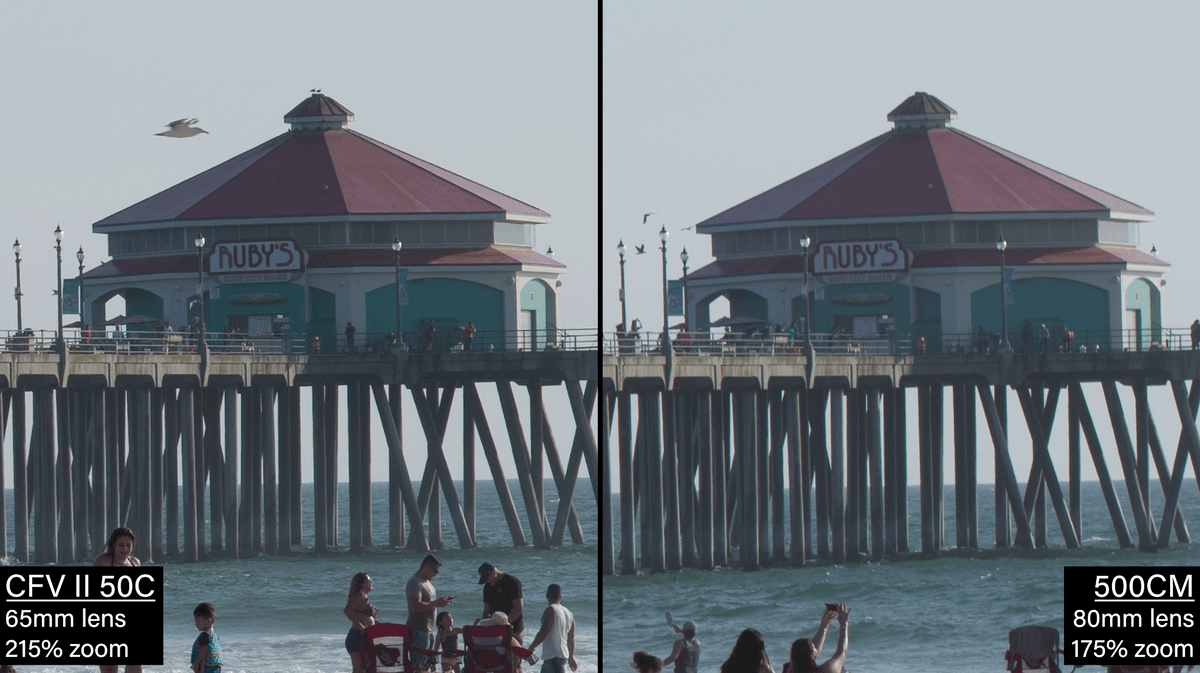
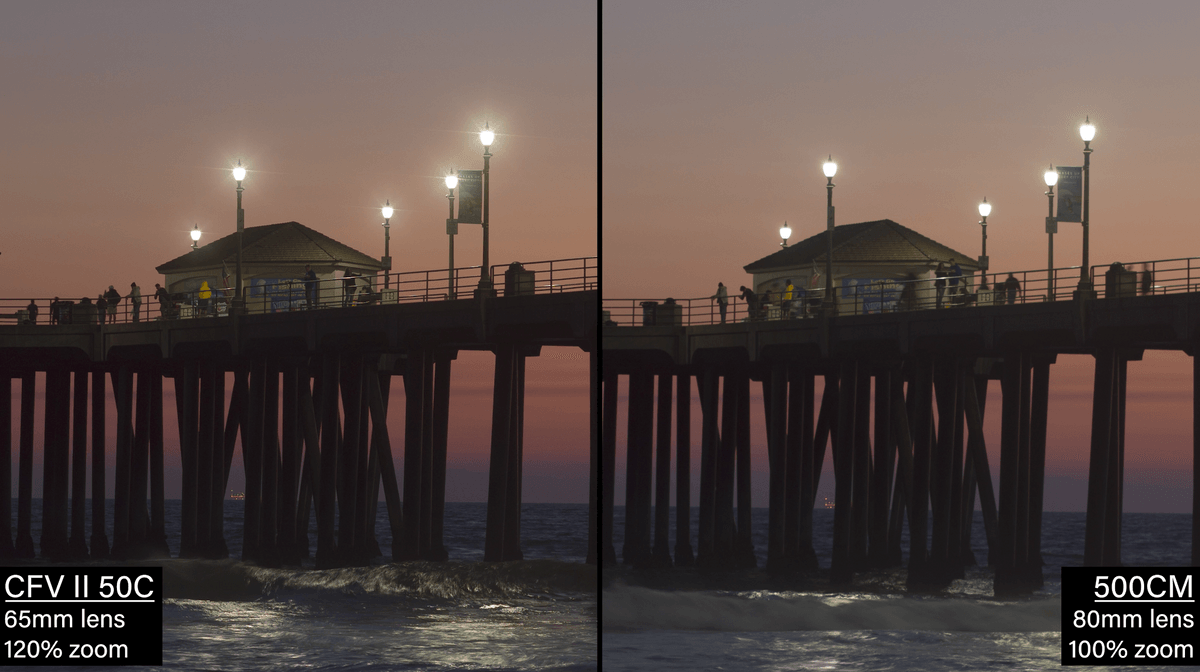
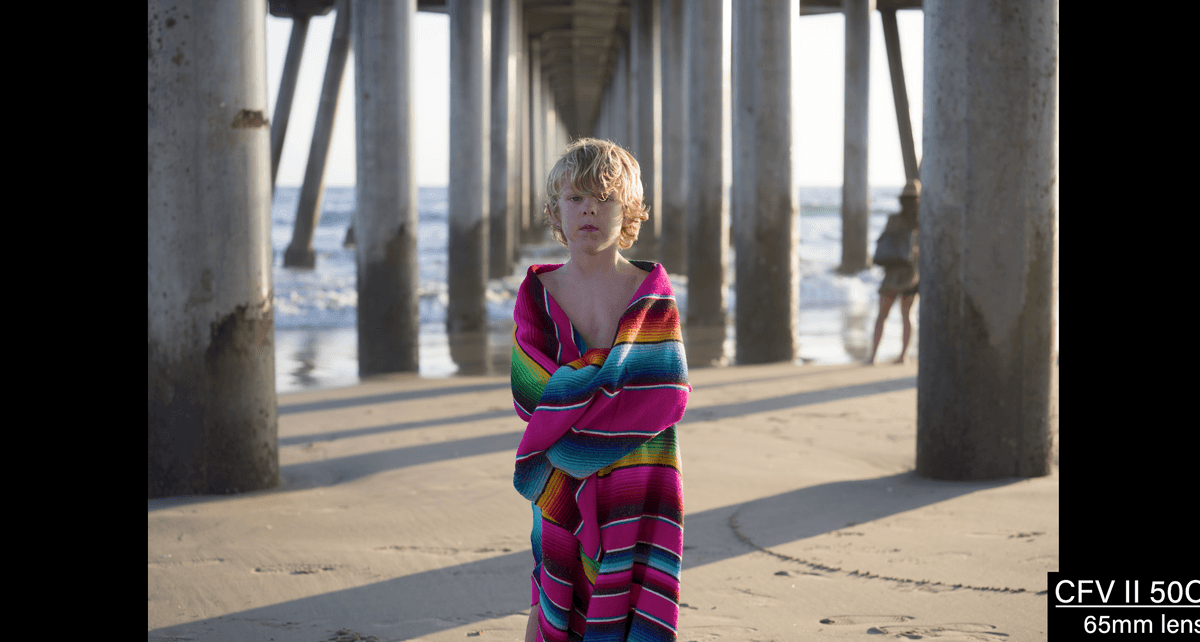
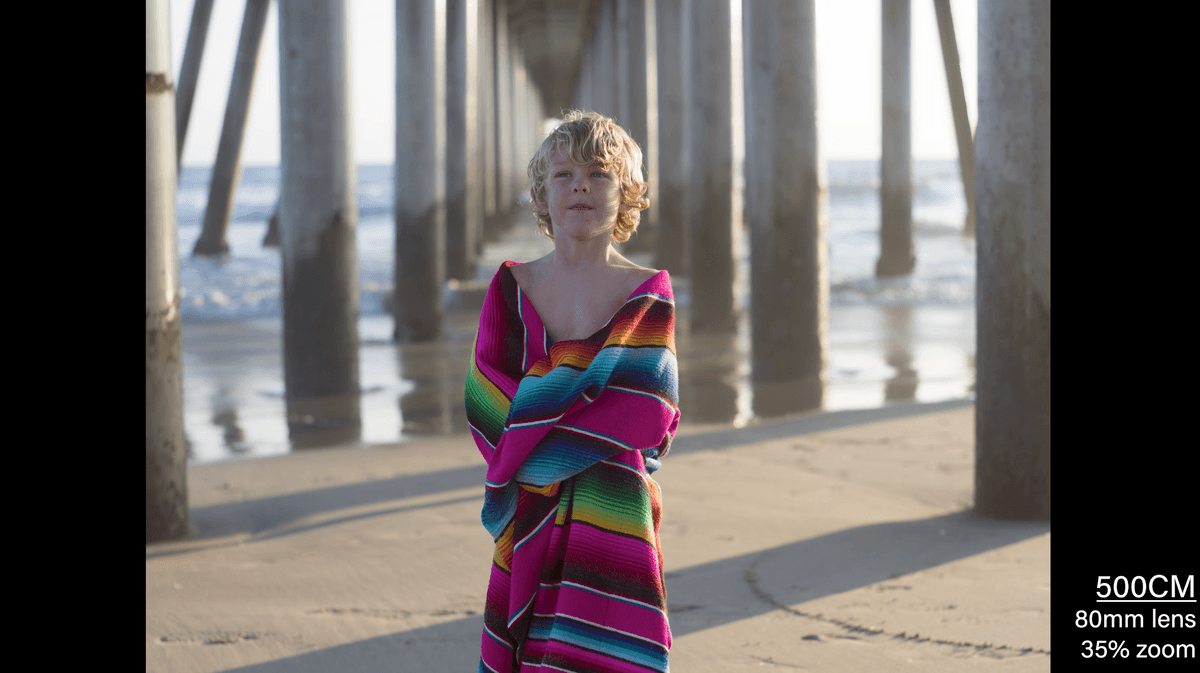
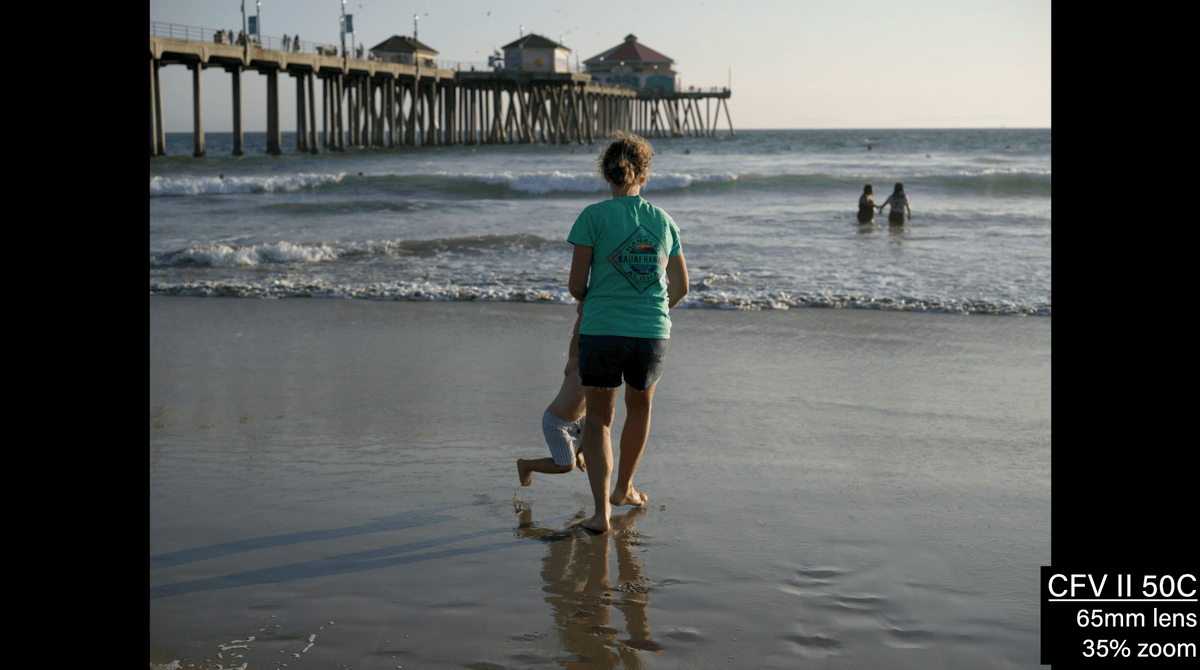
Alright, so let’s look at our picture quality. This first image is one of the first images we took at the beach. We had the camera set up and then we switched the back over back and forth between the CFV II 50C and the 500CM. The framing is a little different because the 80mm is tighter than the 65mm. When we zoom in here to Ruby’s café they are pretty close. It feels a little like there’s a little less contrast and sharpness in the 500CM but it’s pretty dang close. And you do have a little bit more chromatic aberration that you’d expect that from a 40 year old lens over a brand new one. One thing I love about this camera is the deep but subtle color tonality. It’s really subtle and beautiful. It renders the blues into the warmth so incredibly well. So smooth. And there’s no abruptness about it and it catches all the subtle different hues and the different luminance values. This is one of the things I like about the sensor and the way that Hasselblad is. If you look at the Ruby’s sign, this is just a really beautiful, deep red. It’s not blowing out and it’s not turning a really weird color. It’s just red, like it should be, like it is with your eyes.
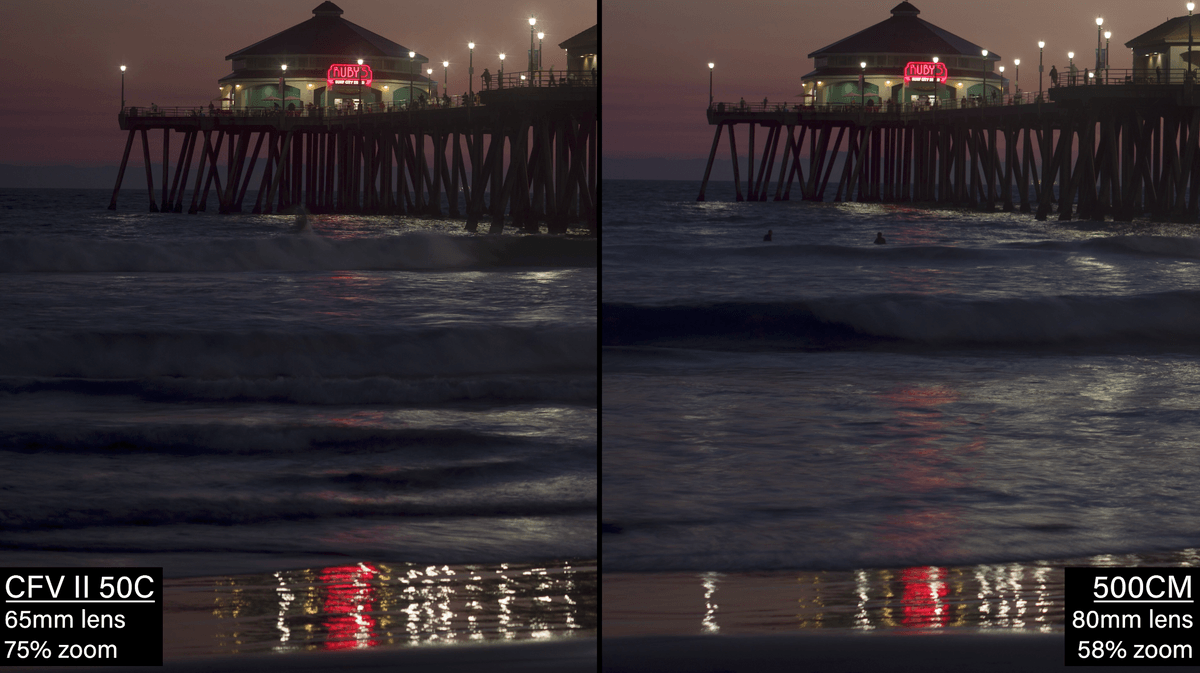
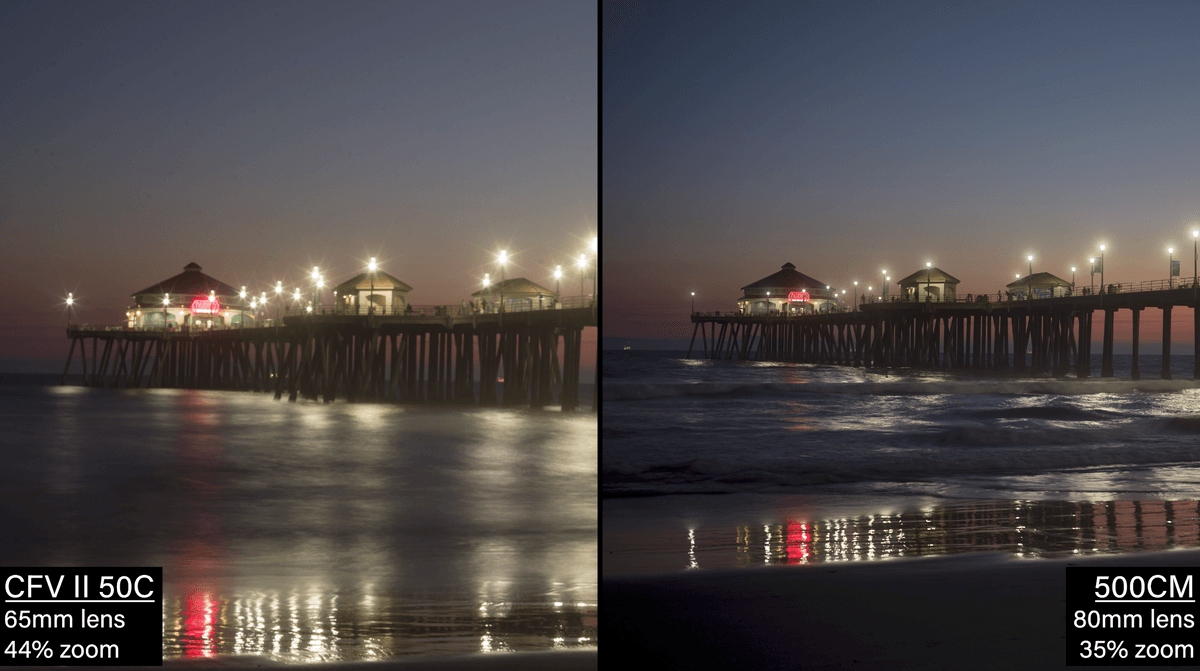
Look at the reflection down here. That is a really nice rendition. What’s interesting here is the star flare you get with the XCD lenses. It’s kind of fun, but you really don’t get any flare with the vintage lens which is surprising. Then I went to 16 second exposures.
There’s a general softness to them. That must have something to do with the vapor in the air.
It got really moist as the sun went down and the old Hasselblad just covered with water, the body and the lens. I had to clean the lens constantly and I didn’t have a cable release. That might have contributed to that as well. But that’s the hard part about the old Hasselblad, you have to go to bulb. So you hit it. You have to count it with a stopwatch. It’s older technology.
But from our past tests that we’ve done with the X-1D, we know that you can under expose this camera by two or three stops and bring those shadows up in post and it will be just fine. And that’s really the 14 stop dynamic range at play.
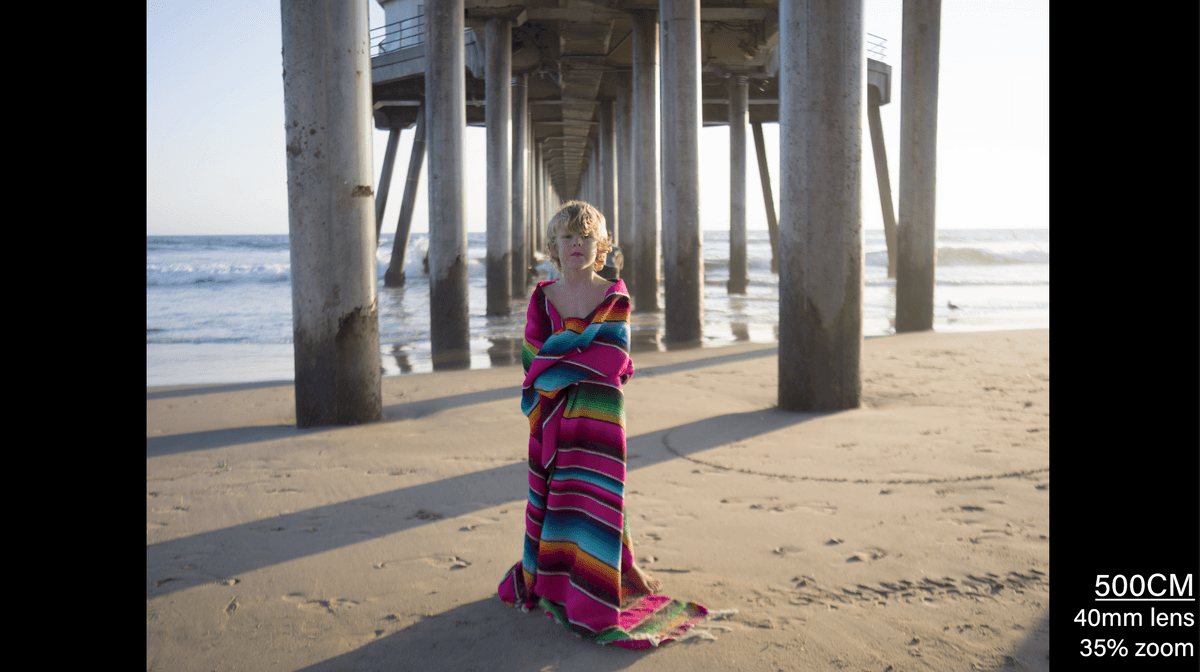
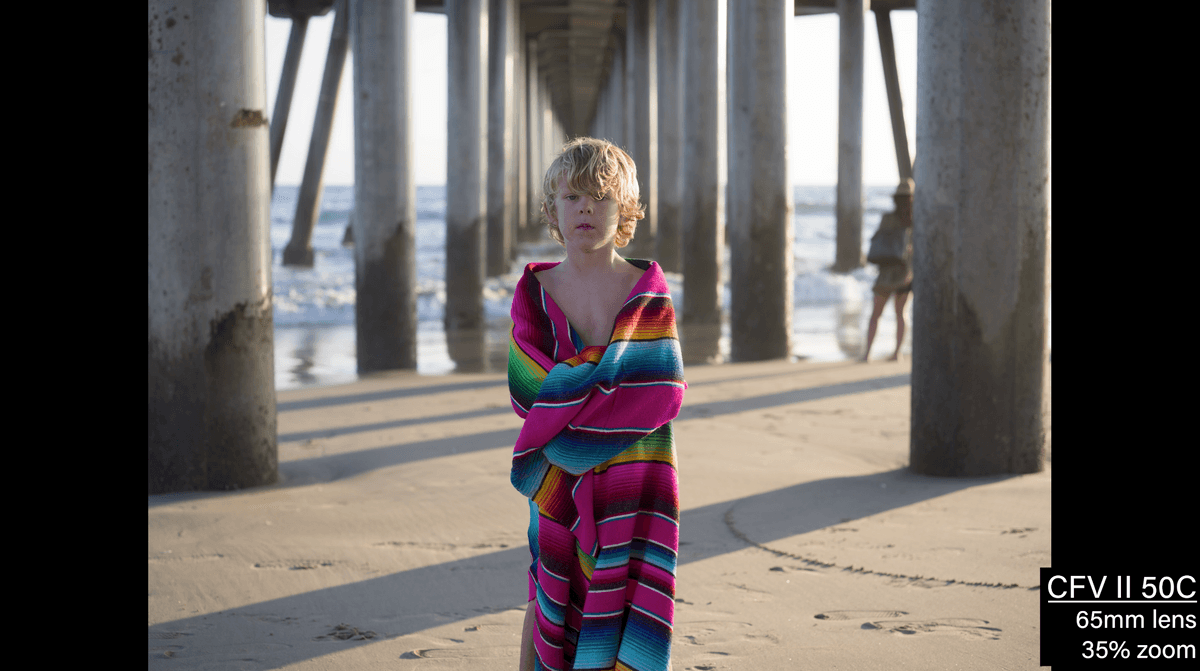
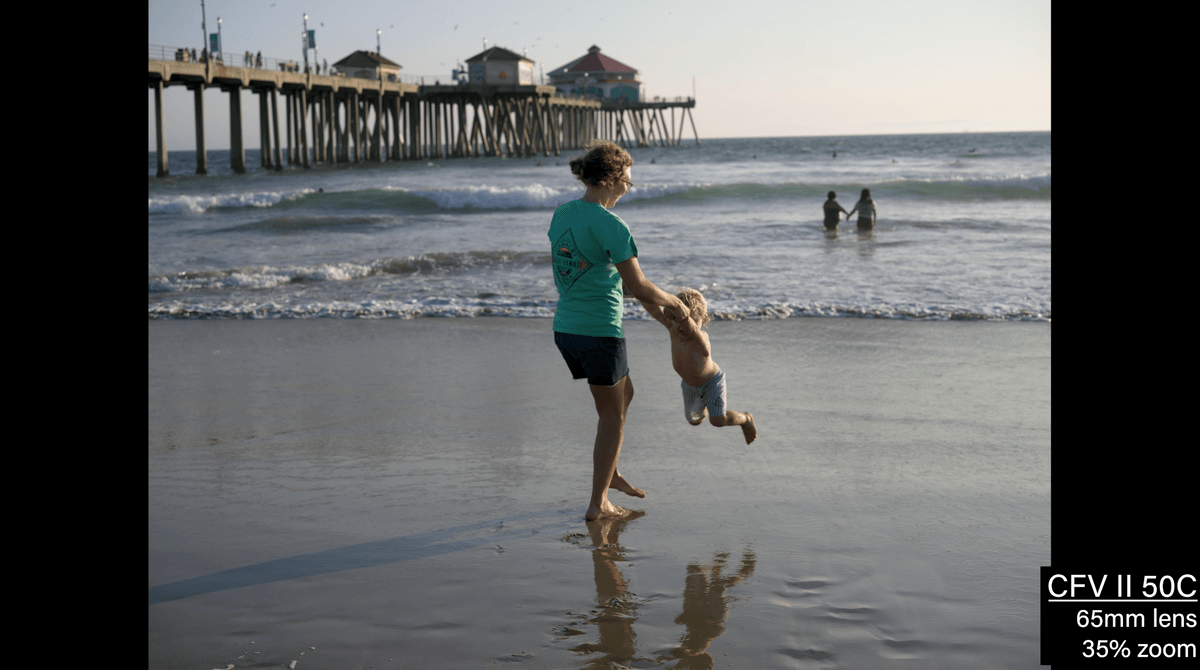
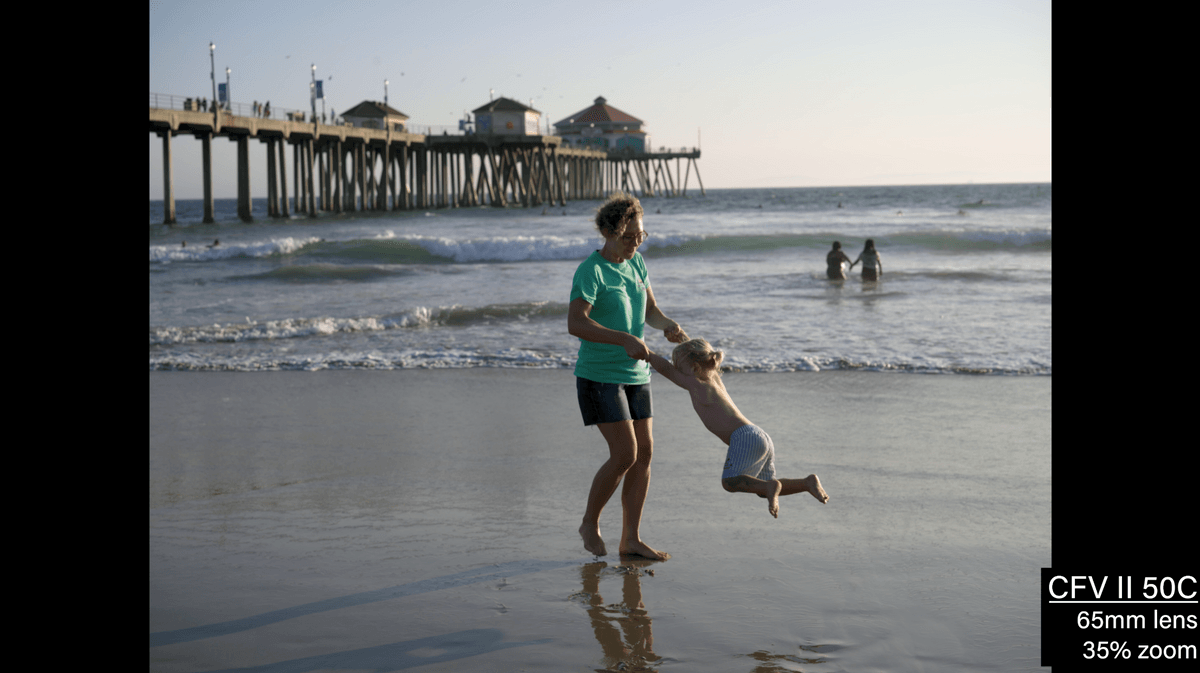
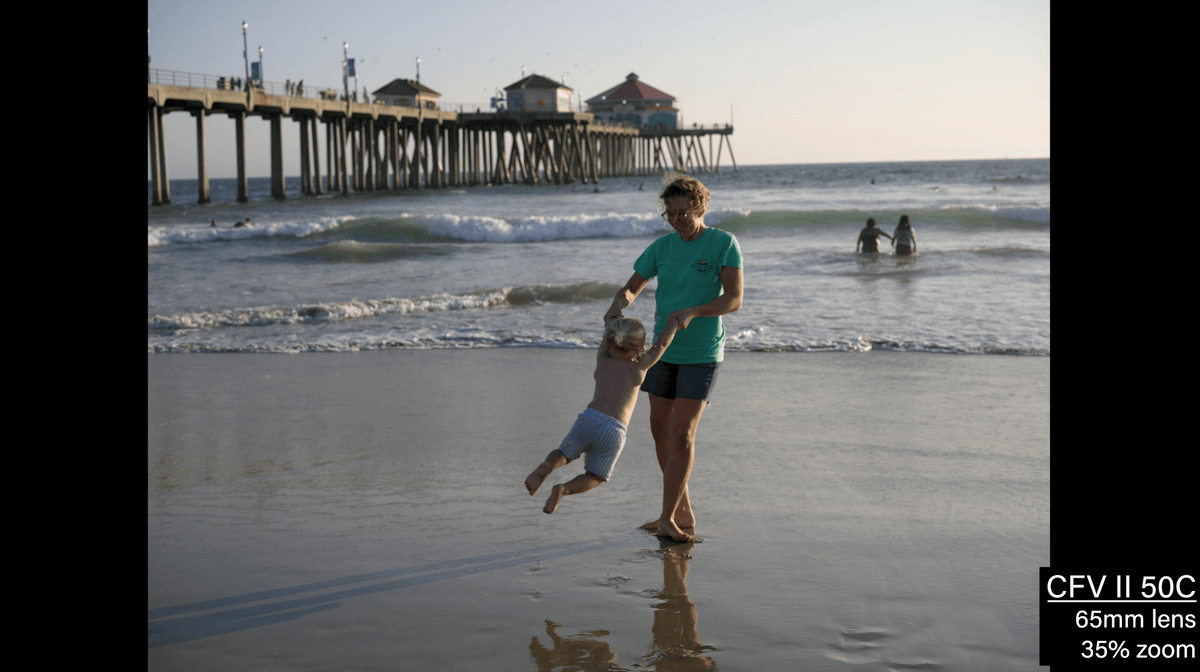
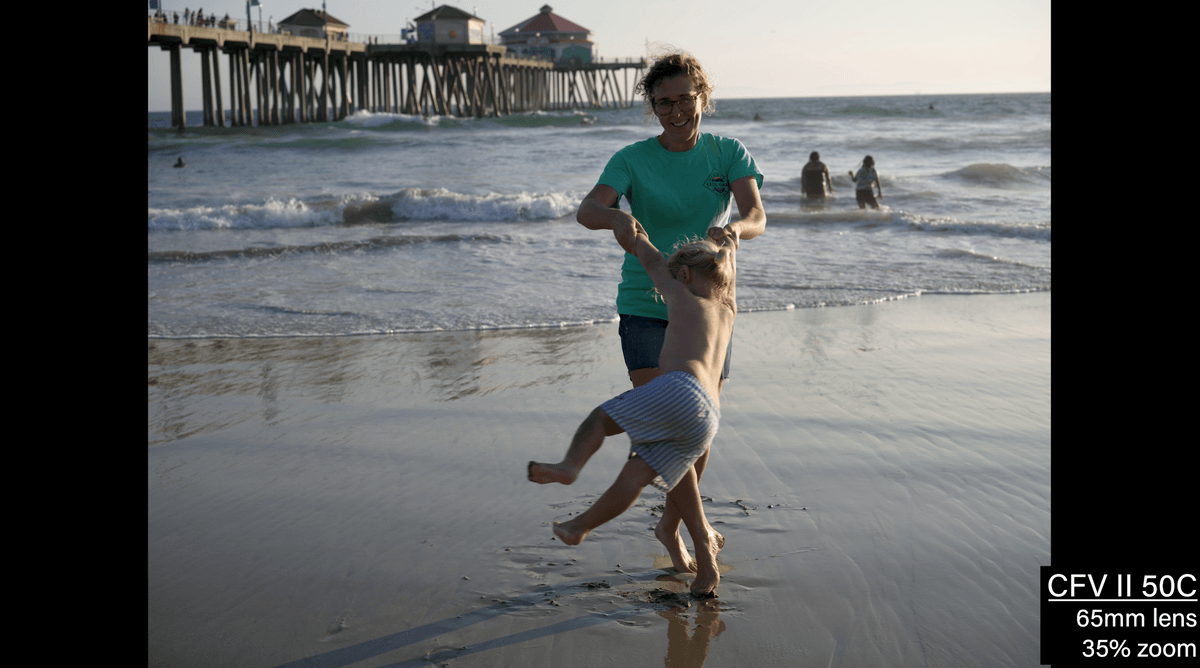
These next two show you the dynamic range of this camera. It’s got a nicely exposed highlight, but the shadows are getting pretty deep. But when you take it into Camera Raw and it was no problem to bring the shadows back up. It took 3 seconds. You could do a million things with this. And this could be even underexposed another stop and a half easily. When you were taking these images of Elliot and we have the bright sun, it was exposed a little hot. And I remember we looked at the back of the camera and I thought, oh, shoot, that’s too bad. That’s clipping. We’re not going to get that image back. When we brought it in to camera raw it came back just fine. It was no problem whatsoever. There was complete detail in that highlight.
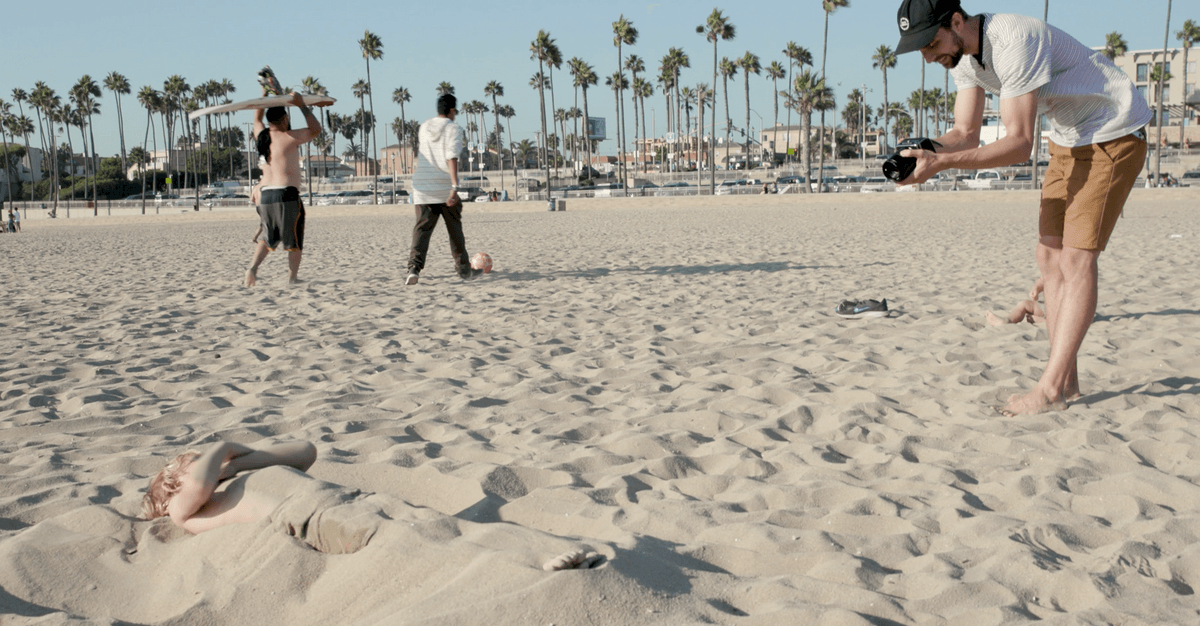
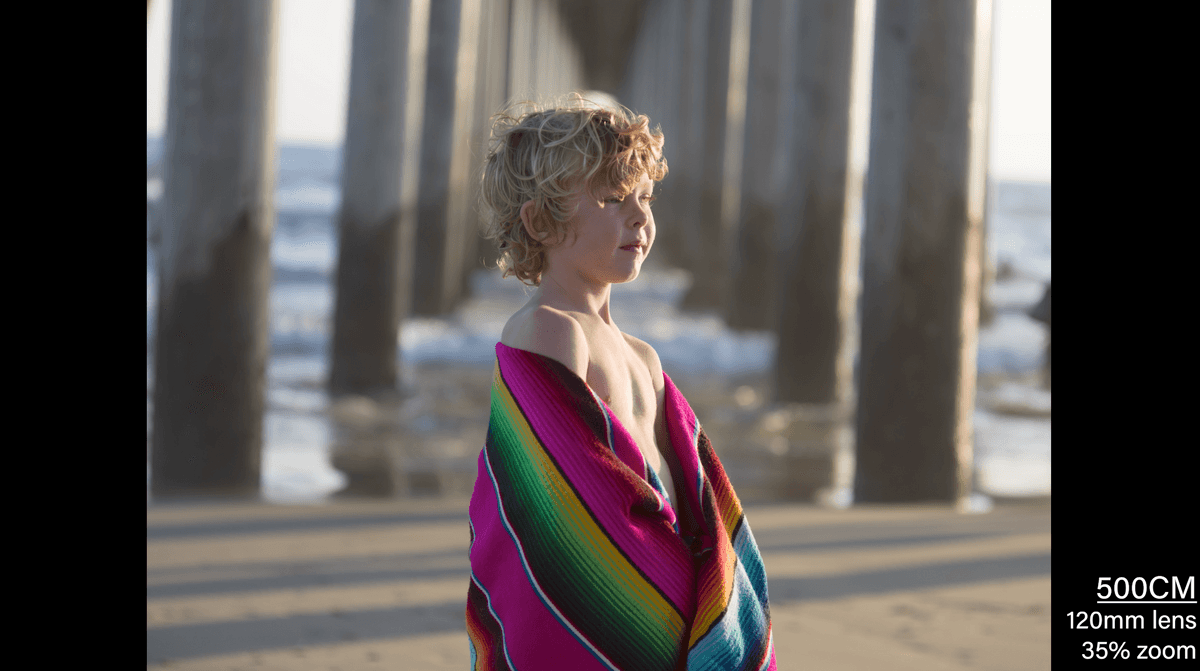
Look at the color rendition in that pink blanket and look at the subtle warmth in his face. It just feels like you’re getting a true color with this. A deep rendition of the color spectrum that’s actually there.
It is interesting shooting it with an old vintage camera. Here are some of the challenges. You certainly have to look through the eyepiece to frame the framing. It is difficult. I would have tape off my viewfinder so I know exactly what is live with the digital back on because it’s smaller. And so I’ll be in tight thinking I’ve got a great shot. And the reality is, it’s cropping a lot of it out. That’s a challenge. Also, as I’m looking through here, and shooting, it’s interesting to me because as I shoot, I want I look and I shoot and then I look. And that process is great. I keep thinking I want to see it in the electronic viewfinder, so I’m missing that. Why can’t I see it? Oh, that’s right.
But we’re going to look at some shots we did with all the different lenses. I have three lenses. There’s a 40mm, an 80mm and a 120mm.
And we used the 65mm that came with the 907X. So just look at the different styles and how those lenses resolve. Do they resolve as well as new style lenses? It’ll be interesting to see. I’m very curious.
These Hasselblad lenses are legendary, they’re beautiful, but they were designed for film and film is softer. Though, if you get into the medium format world there is a lot of resolution. So it’ll be interesting to look at that.
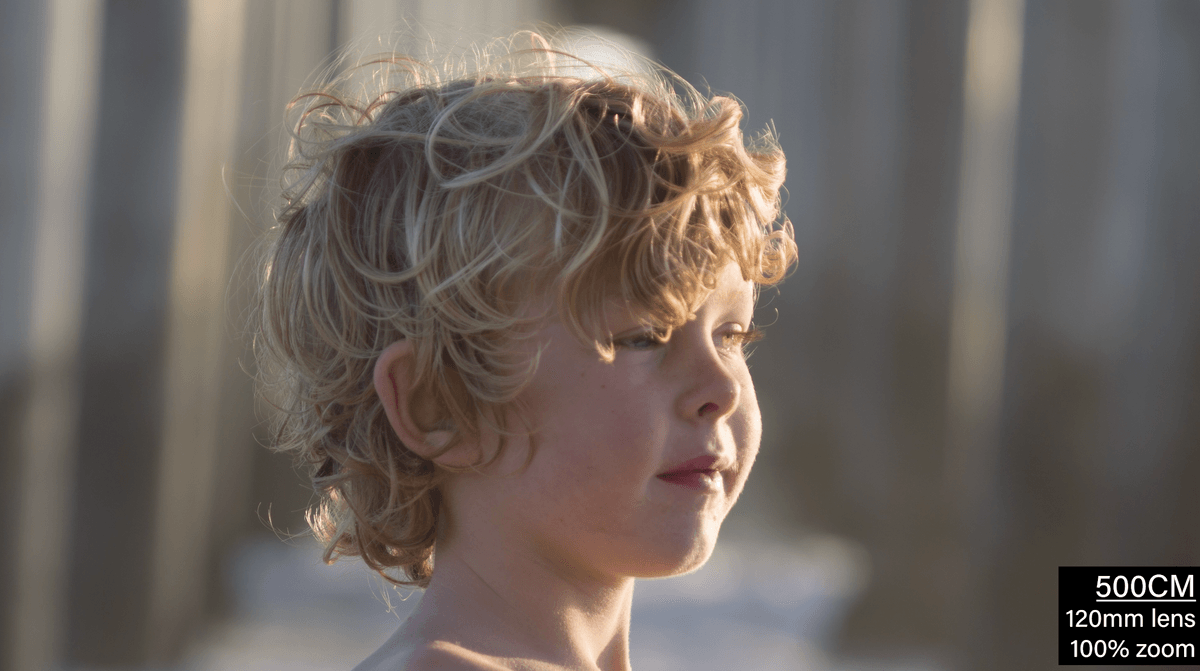
We did shoot a series of all the different lenses I have. I have an 40mm, an 80mm and a 120mm. I love the 120mm a lot. It gives you that out of focus background. It’s just a a beautiful lens. So here’s those images.
This is a 40mm. I dropped this lens and send it into Hasselblad for repairs. When I say I dropped it. It wasn’t like it dropped a couple feet. It dropped 20 feet out of a crow’s nest for shooting straight down onto the concrete floor. It was on the 500CM camera. So it messed up my camera a little bit, but Hasselblad fixed it. There are some weird things going on with the out of focus areas. It just feels really smudgy to me. But it’s kind of fun. It’s a nice lens. Not a lot of edge sharpness.
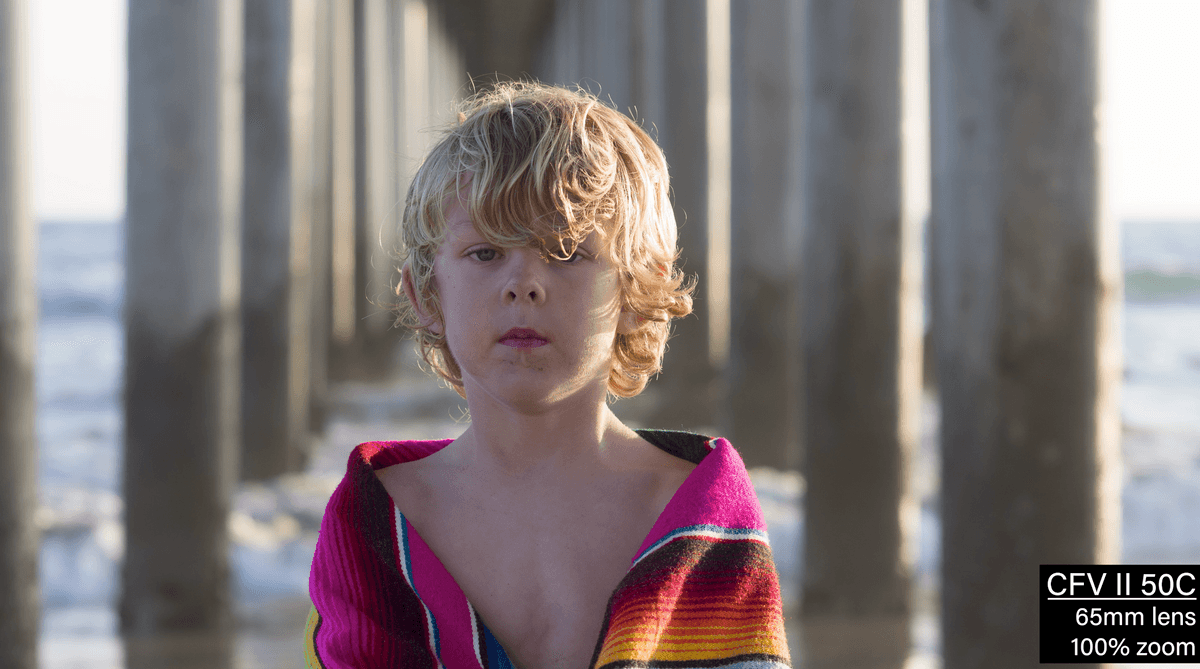
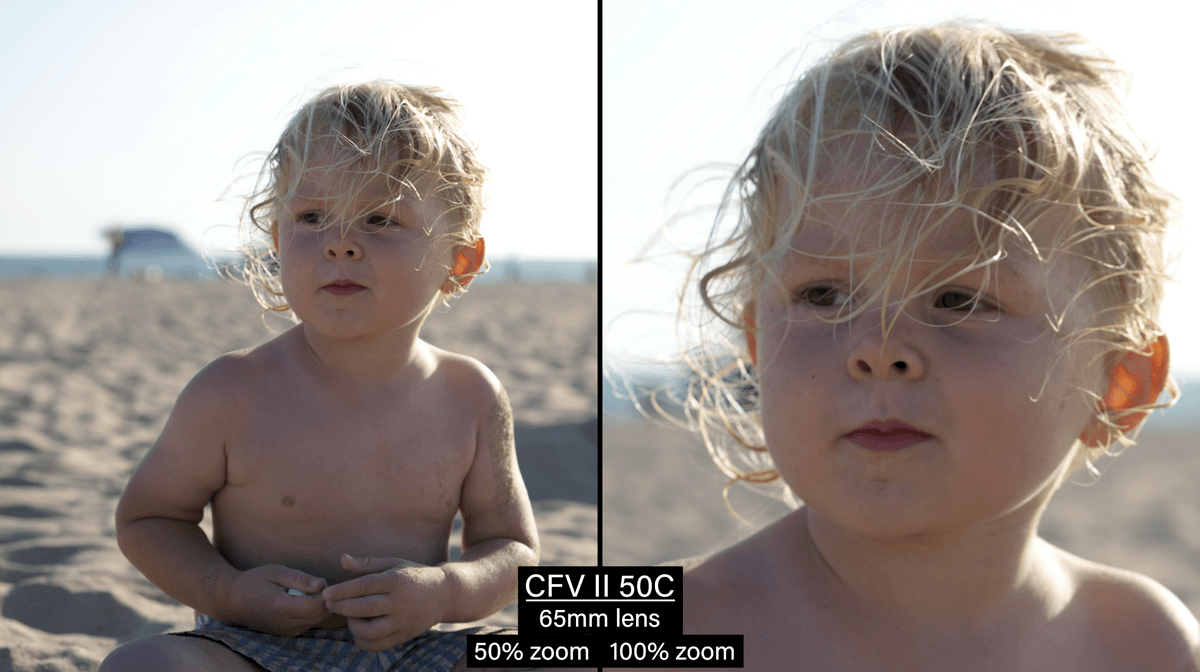
Here we have the 65mm. So this is the most modern lens. And you can tell immediately, even without zooming in or anything, the contrast is a little stronger, the edges are sharper. And then when you do zoom in, it’s just a very crisp lens. We don’t have the chromatic aberration on it. Look at those pillars back there with the bright lights on them.
If you look at the next one, you can see a difference in that that older lens. You see that halo along those highlight edges. And the contrast is a little lifted. What is kind of amazing just to go back and forth between these two though is the overall color is pretty much the same. That lens is doing its job, even though they are old lenses.
Here’s a quick look at the 120mm. I love this picture. And it is sharper. You can see it in the back there and then you can see in his far further.
That is the hard part about using that vintage glass. If you’re doing landscape where you’re doing something where you’re very deliberate and you’re focusing then I think you have the ability and the time to be able to make that happen. But if it’s quick, it was hard.
We’ve talked a lot about shooting these but I want to look at these comparisons between the new lens and the old. So here’s a bunch of images that we’re looking at from the new lens and some of these were auto focused, and some of them were manual focused.
The autofocus working out the sun worked pretty well. It’s working on contrast autofocus. This is the ideal situation for that.
If you’re shooting low light or something it might be a little harder to use autofocus. Although it focused fine on that pier at night. It worked absolutely fine and that was a much more low light situation.
But with some of these like this one of Teddy I manual focused using the peeking and this is where you’ll see the weakness of using peeking and that is there’s no real way to nail the eyes. Yeah, because the peeking is going to show you a halo around his head around his hair and the ears, but it’s not precise enough to just dial into the eyes.
I’m doing the continuous shooting that goes click, click, click, click, click and then it starts to really slow down after I shot a few. But it does shoot continuous and the peaking does help trying to focus and it really works pretty well.
So let’s take a look at some of those. It was really hard because the preview would come on and so now I’m lost. I don’t know where my subject matter went when the preview turned off. Then just a black box came up. So there was no preview in between. So you’re using a camera with no EVF. I had no way of knowing. I was kind of shooting blind when you enter that continuous shooting.
My sense about this is this is an incredible offering. And people who have been in photography for a long time are going to buy this. They’re going to be using it on their old systems that they are shooting film with already. Wedding photographers will start shooting on this just because it looks cool. People will think you’re always shooting film.
I think it’s a great offering, I think it’s the most affordable camera back we’ve ever had for medium format. And that I think it is an incredible step. I think with this and the X-1D as a natural light shooter, you cannot beat this because of the dynamic range. It gives you open shadows that you can work with and even holds the highlights. I just think it gives you a lot of options there. It is a little bit slow and a little bit more deliberate than using the camera where you’re looking for the viewfinder and you’re shooting away. So great offering from Hasselblad. I just am so excited that they’re coming out with great products and the market is responding to them. And it’s a great thing. I think it’s a very interesting and innovative idea. And I’m glad they did it. I would love to see other camera companies do interesting stuff like this.
Leave us a comment at YouTube.com/TheSlantedLens. Let us know what you think of our comparison and your thoughts about our vintage cameras and just how you would use this camera back or what you would choose. So make sure to leave those comments. Make sure you subscribe and don’t forget to ring the bell. I just met a subscriber the other week and he said, “I never get notifications”. I said, “Did you bring the bell?” If you ring that bell, you’ll hear every time we put something up. We put something up every Thursday at noon Pacific time. So keep those cameras rollin’ and keep on clickin’.
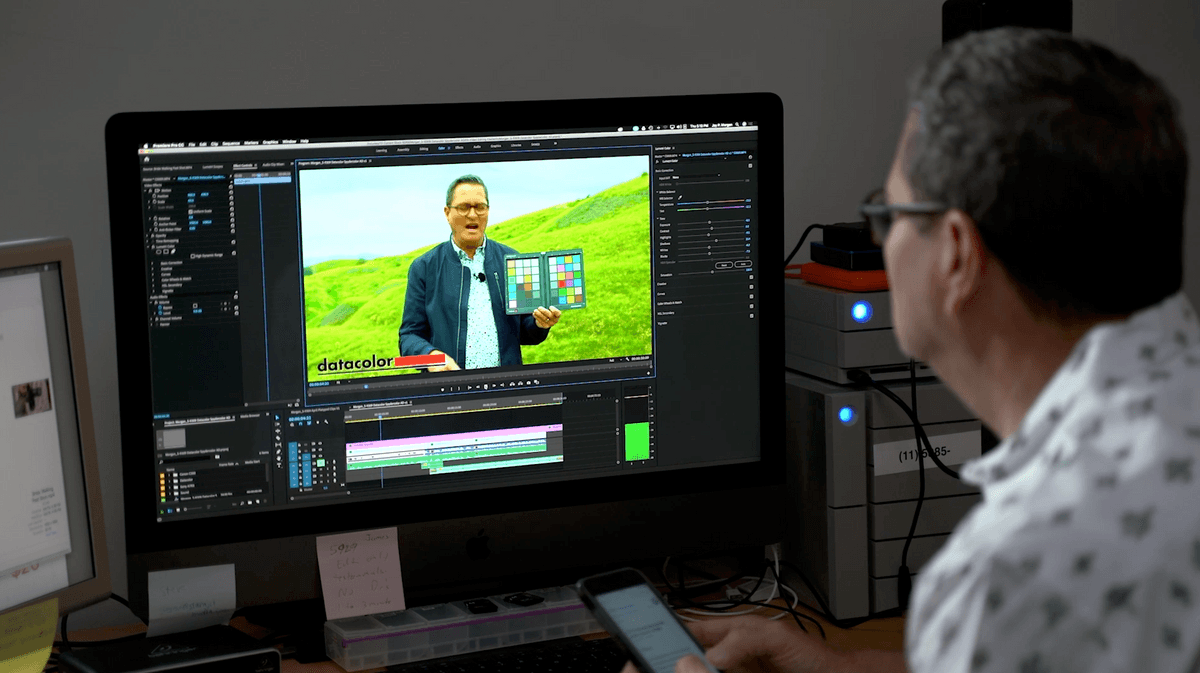
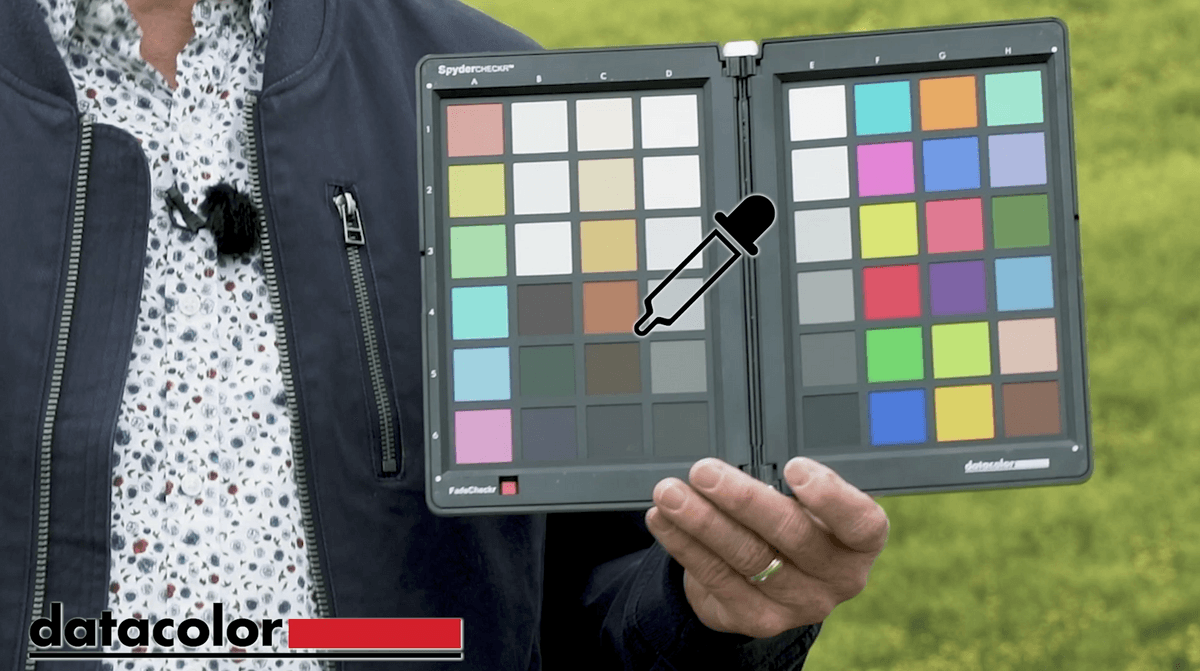
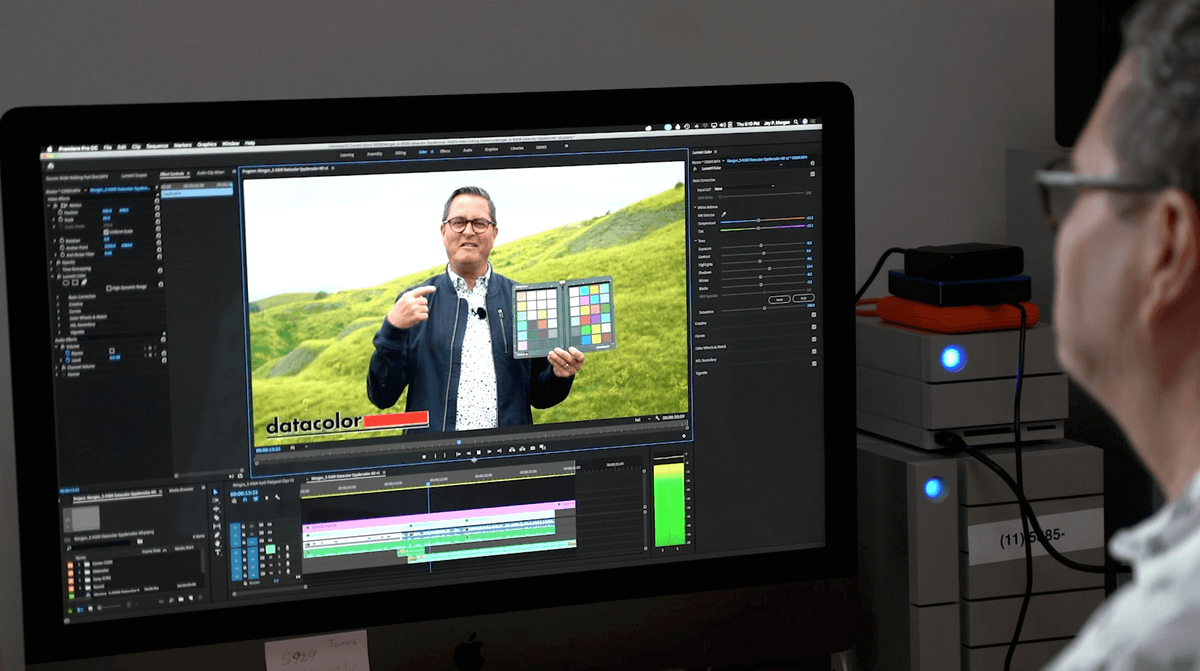
Check out Datacolor SypderCheckr for your color management in stills and video.