

<iframe width=”700″ height=”400″ src=”https://www.youtube.com/embed/UNrLpIVE2ow” frameborder=”0″ allow=”accelerometer; autoplay; encrypted-media; gyroscope; picture-in-picture” allowfullscreen></iframe>
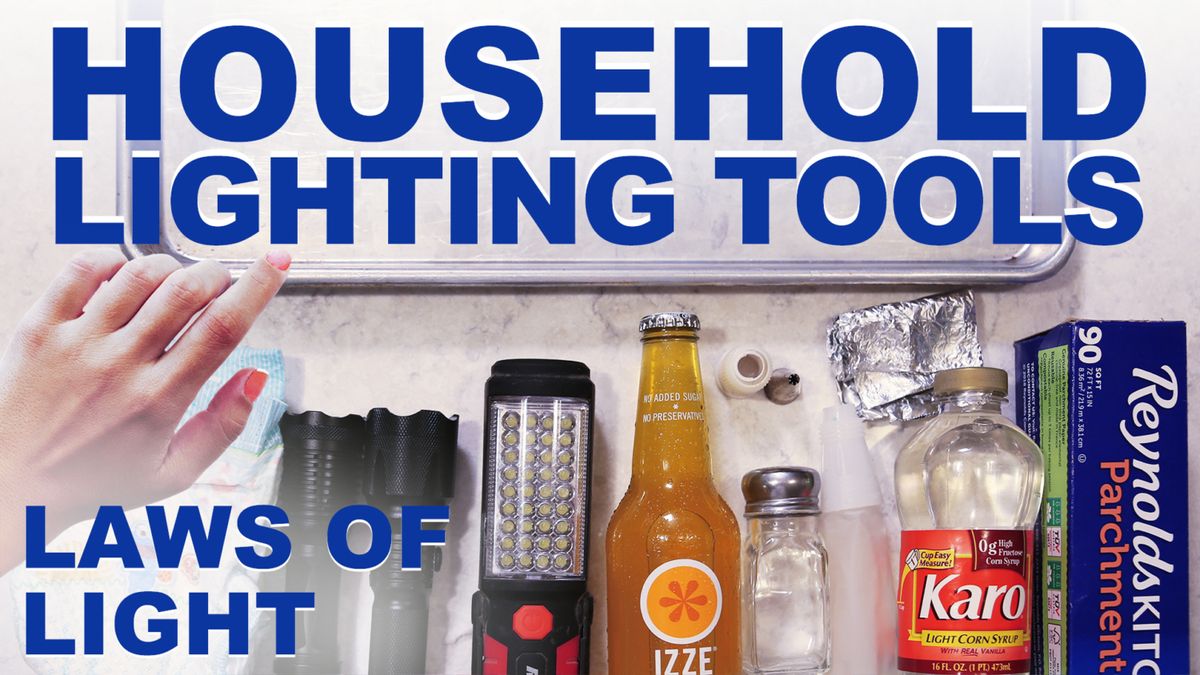
In this article we take a look at this DIY approach to lighting your photograph with things you find around the house. We take a look at how to light a bottle using things you find in the kitchen.
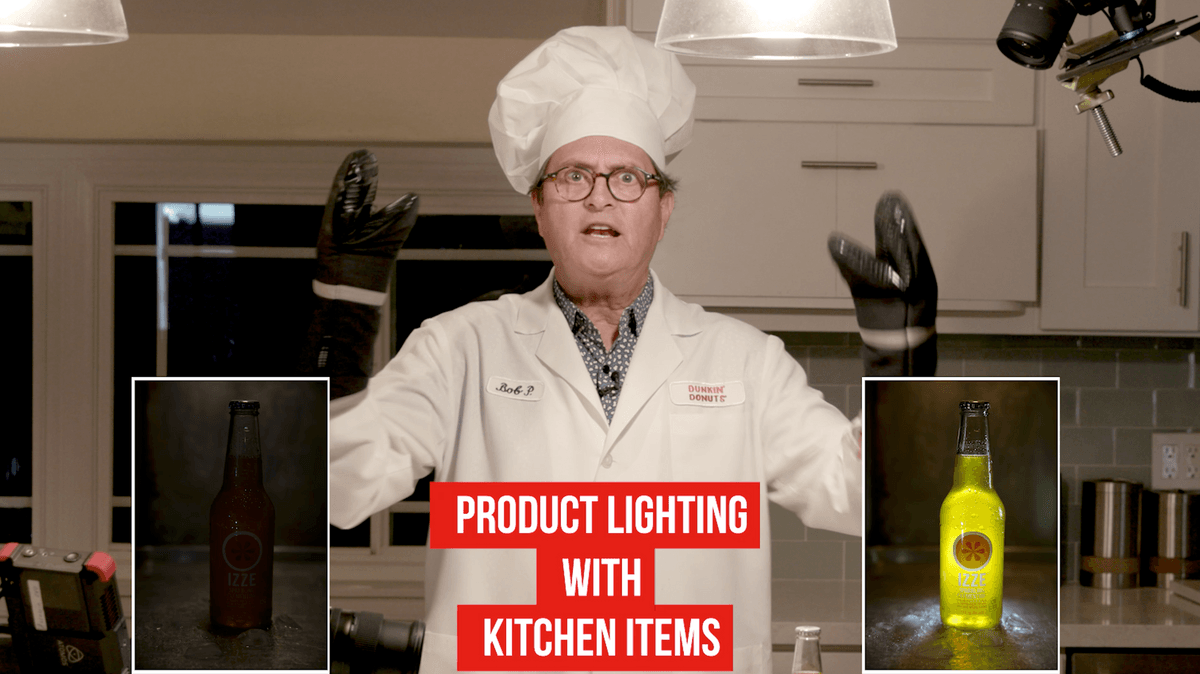

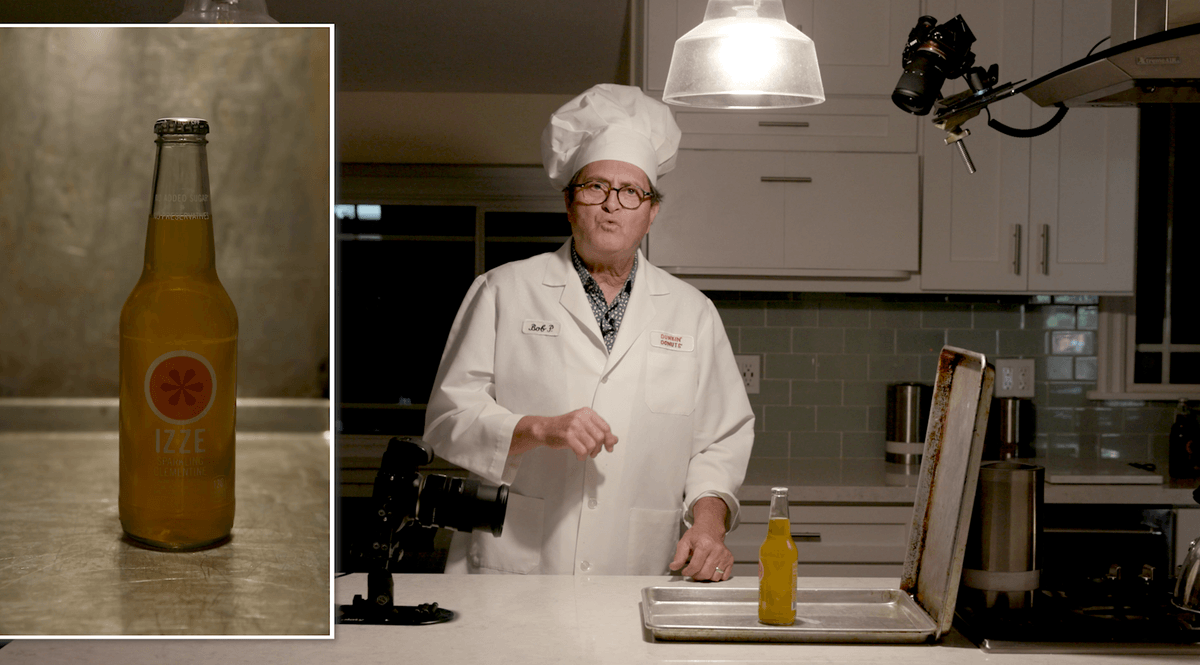
Today on The Slanted Lens we are going to take a look at how to light this bottle using things you find in the kitchen. Lighting tips too hot to handle.

I work with a lot of students who are trying to learn how to light. They all say “It’s been quarantine and we have nothing to light with.” I am going to show you how to light this bottle with things I can find in this kitchen.
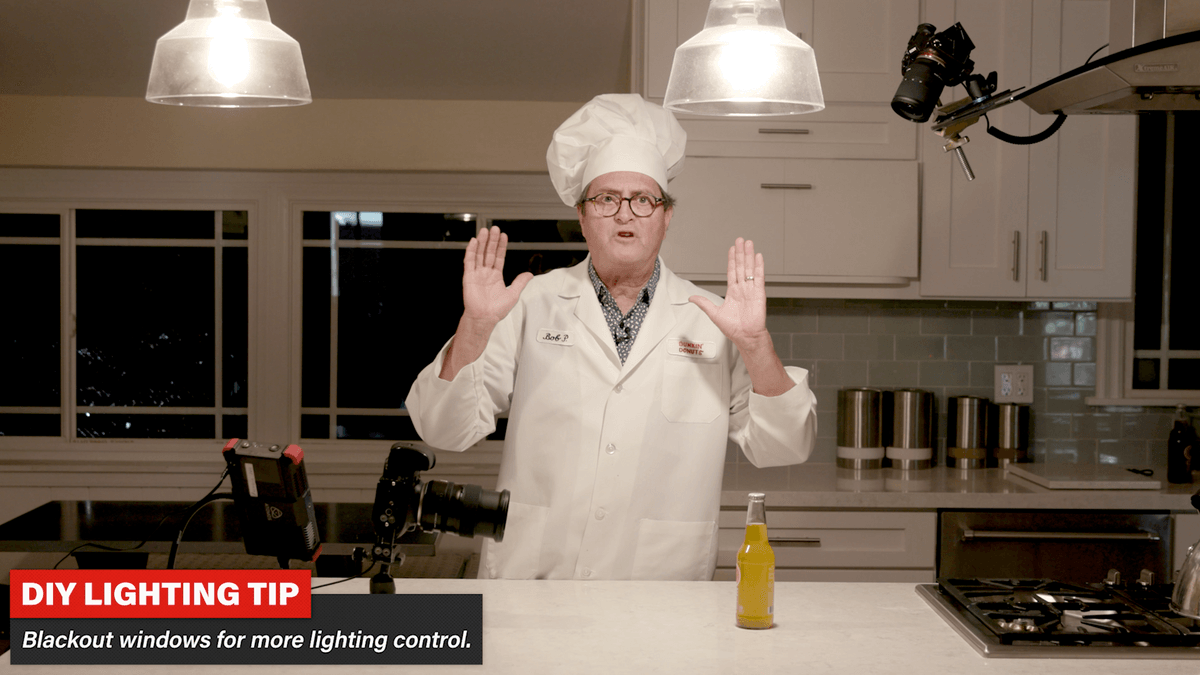
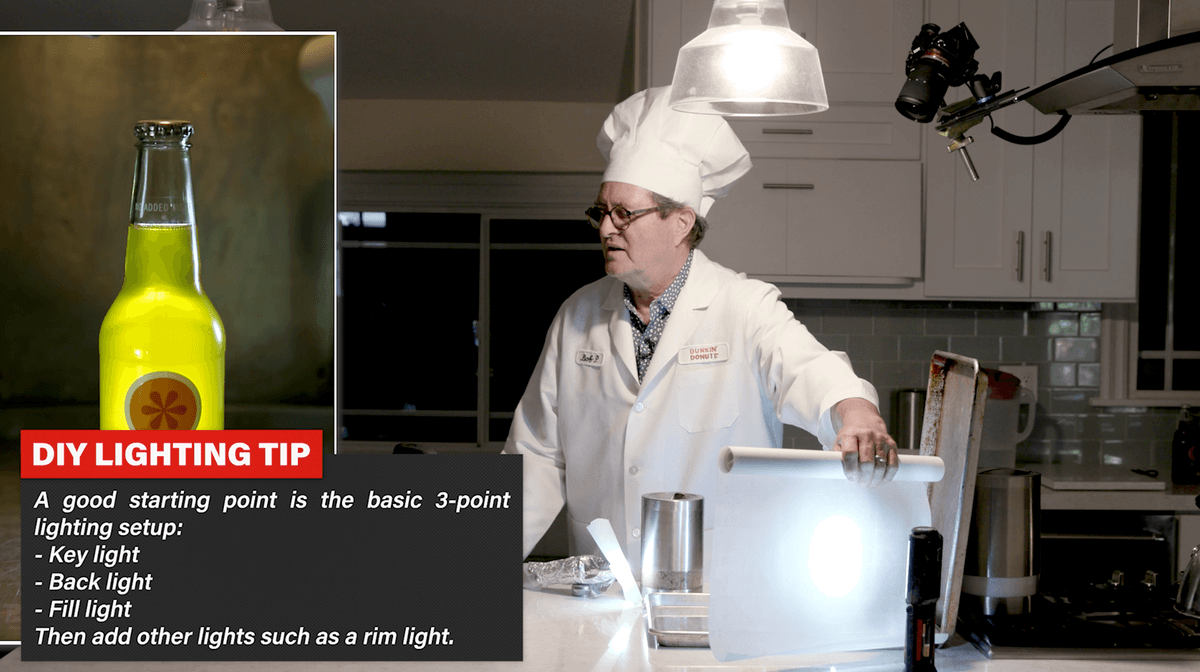
The very first thing I did was I hung blankets out the windows and removed all of the light coming into the room. So now I have complete control of the light in this room. I turned all of the lights off except for these two overhead lights. I am going to use them as my key lights. I am going to remove the bulb in this one off so now I have one single light.
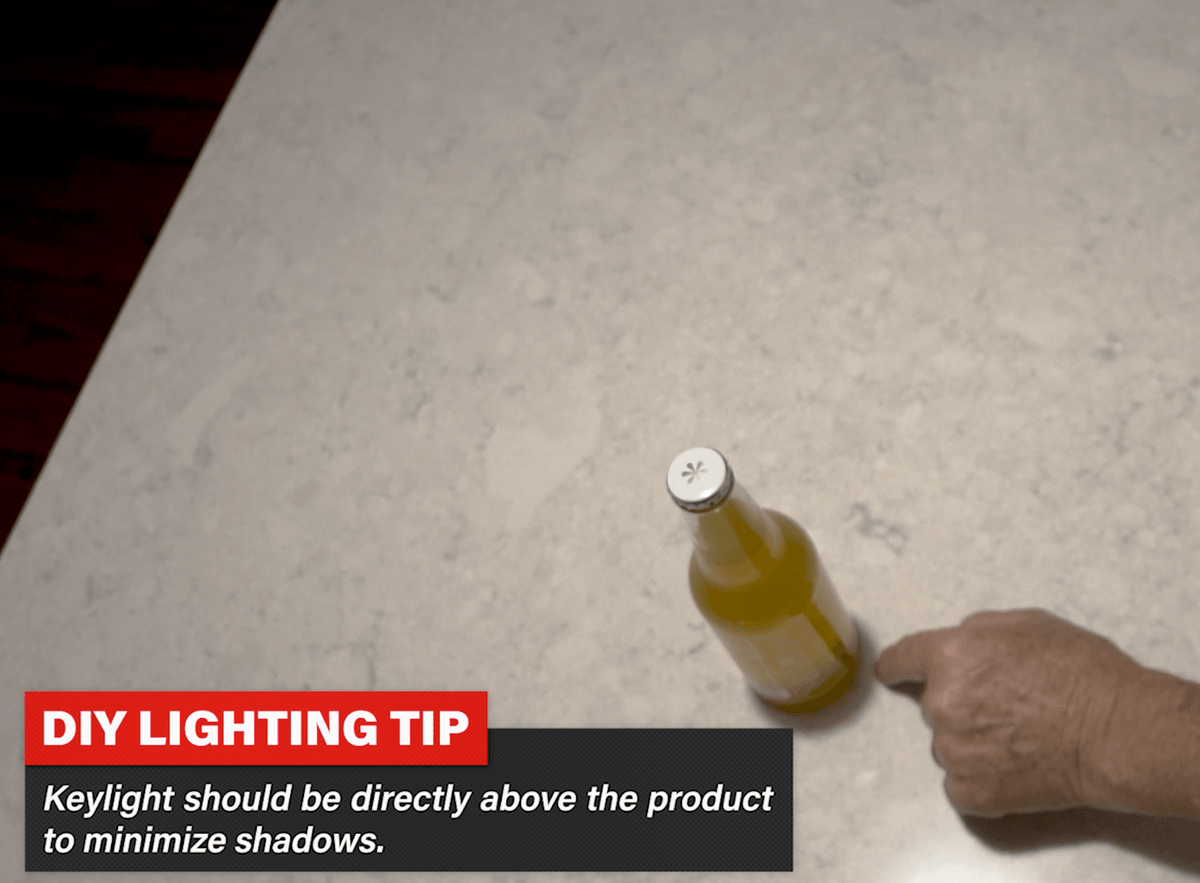

Now I can’t just throw this bottle on the table anywhere I want. I need to put this bottle in the right place to make this overhead light a good key light for the bottle. So I move it around until I find a nice place for it. I want it to light the cap from above and give me a little bit of fall off below and a little bit of shadow on the bottom of the bottle. So that is my key light.
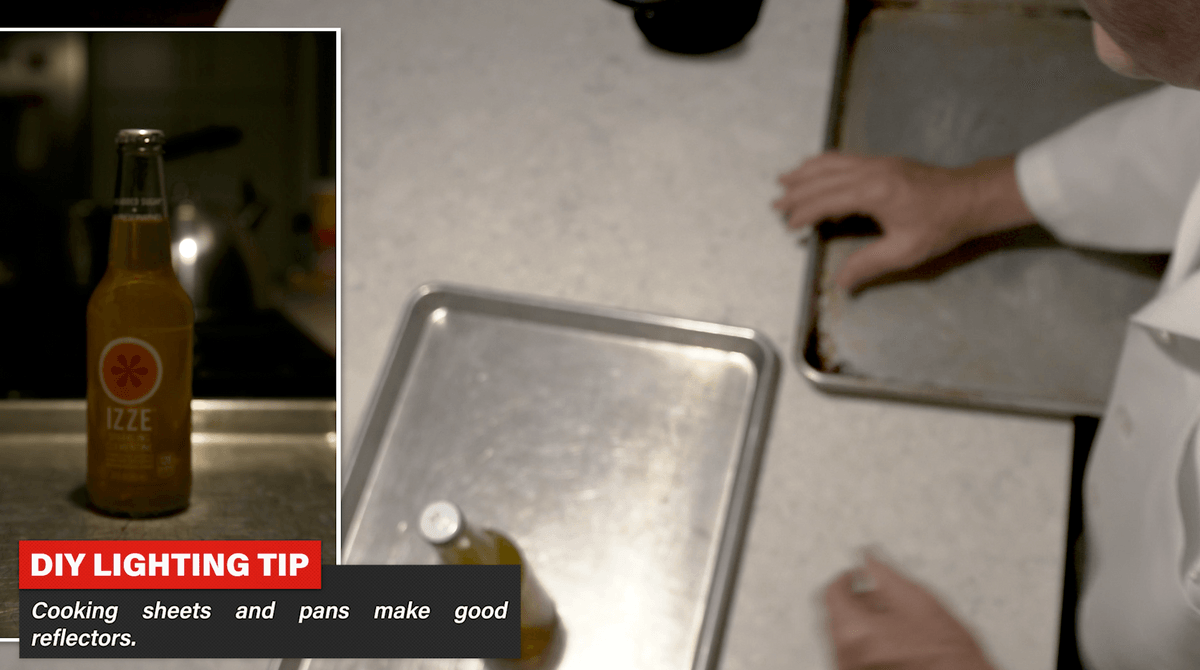

Now I want to create a reflection. The first thing that comes to mind is a cookie sheet. I am going to take my cookie sheet and set my bottle in the middle of the cookie sheet.

In the background I have the stove top and too much going on there. So I am going to get rid of that with another cookie sheet. This cookie sheet is textured and beat up and it makes a nice background. So I place it at the end of the other cookie sheet and it creates a nice background.

I will use this sugar canister to hold up the background. Now I can tilt the cookie sheet back and forth to get the look I want. That’s the first set-up.
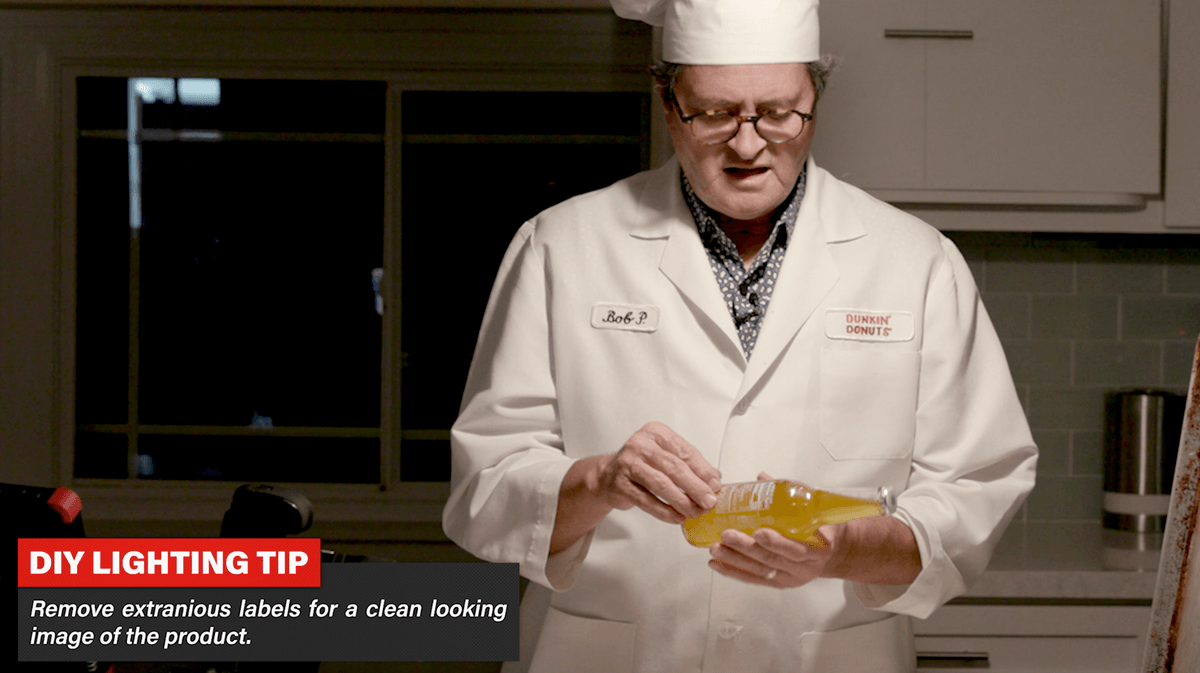

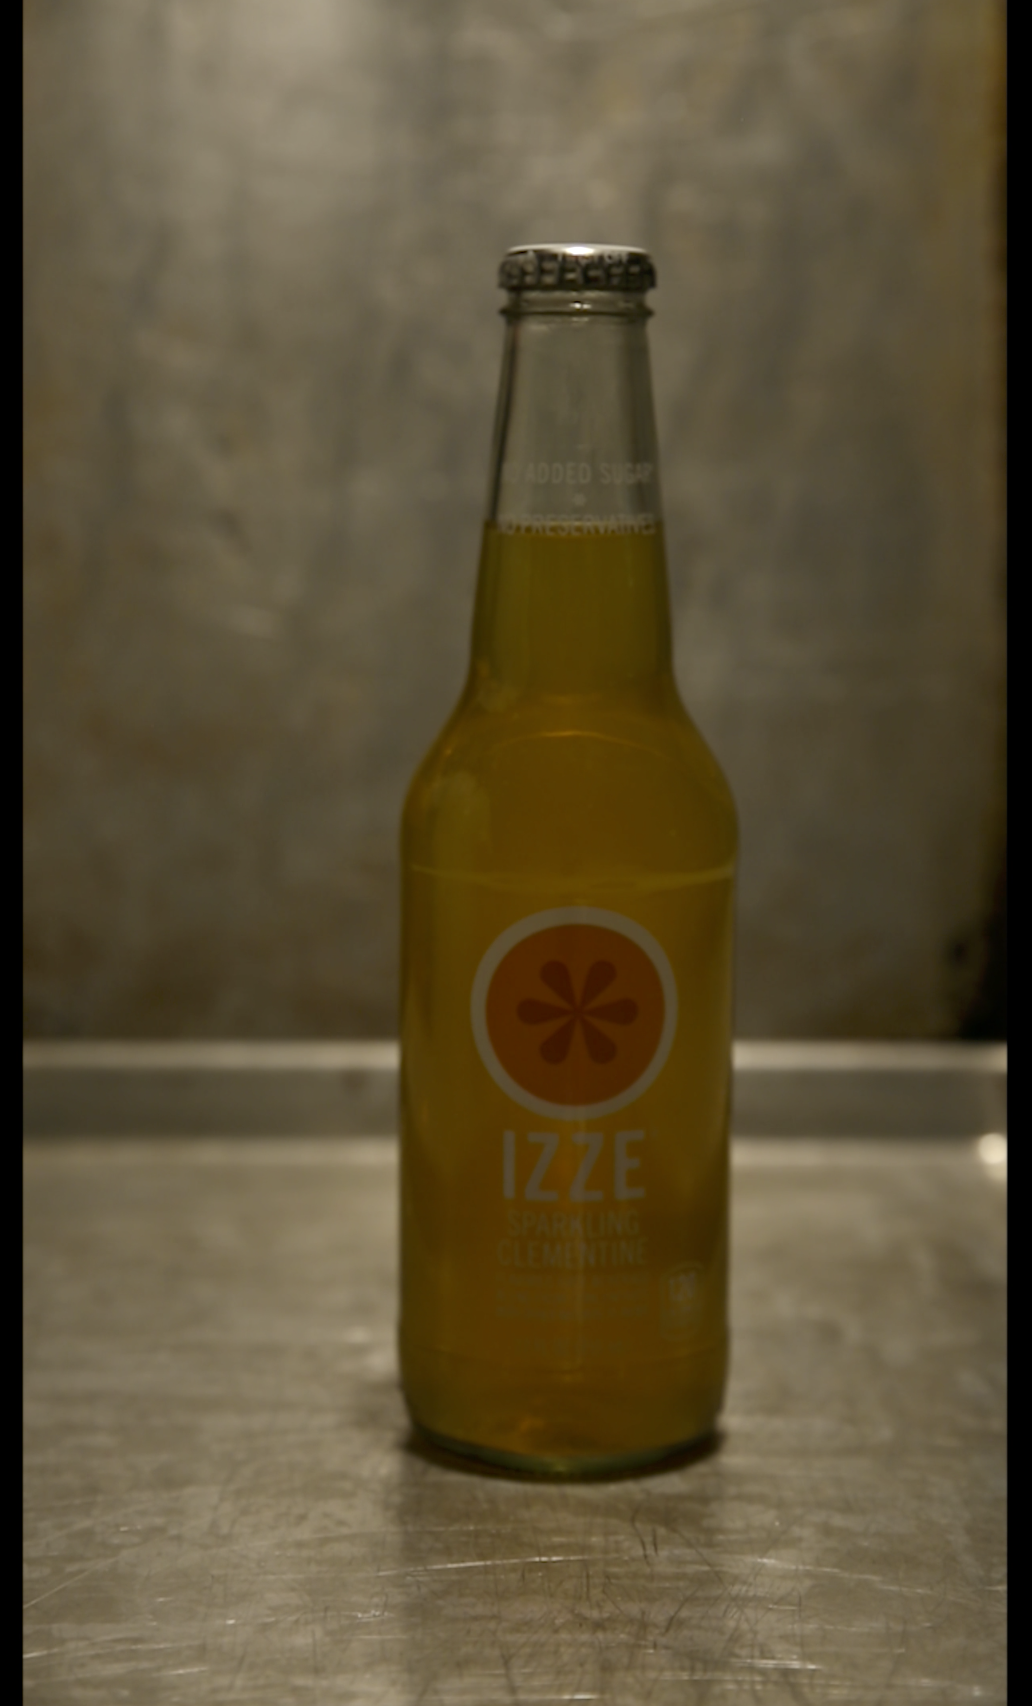
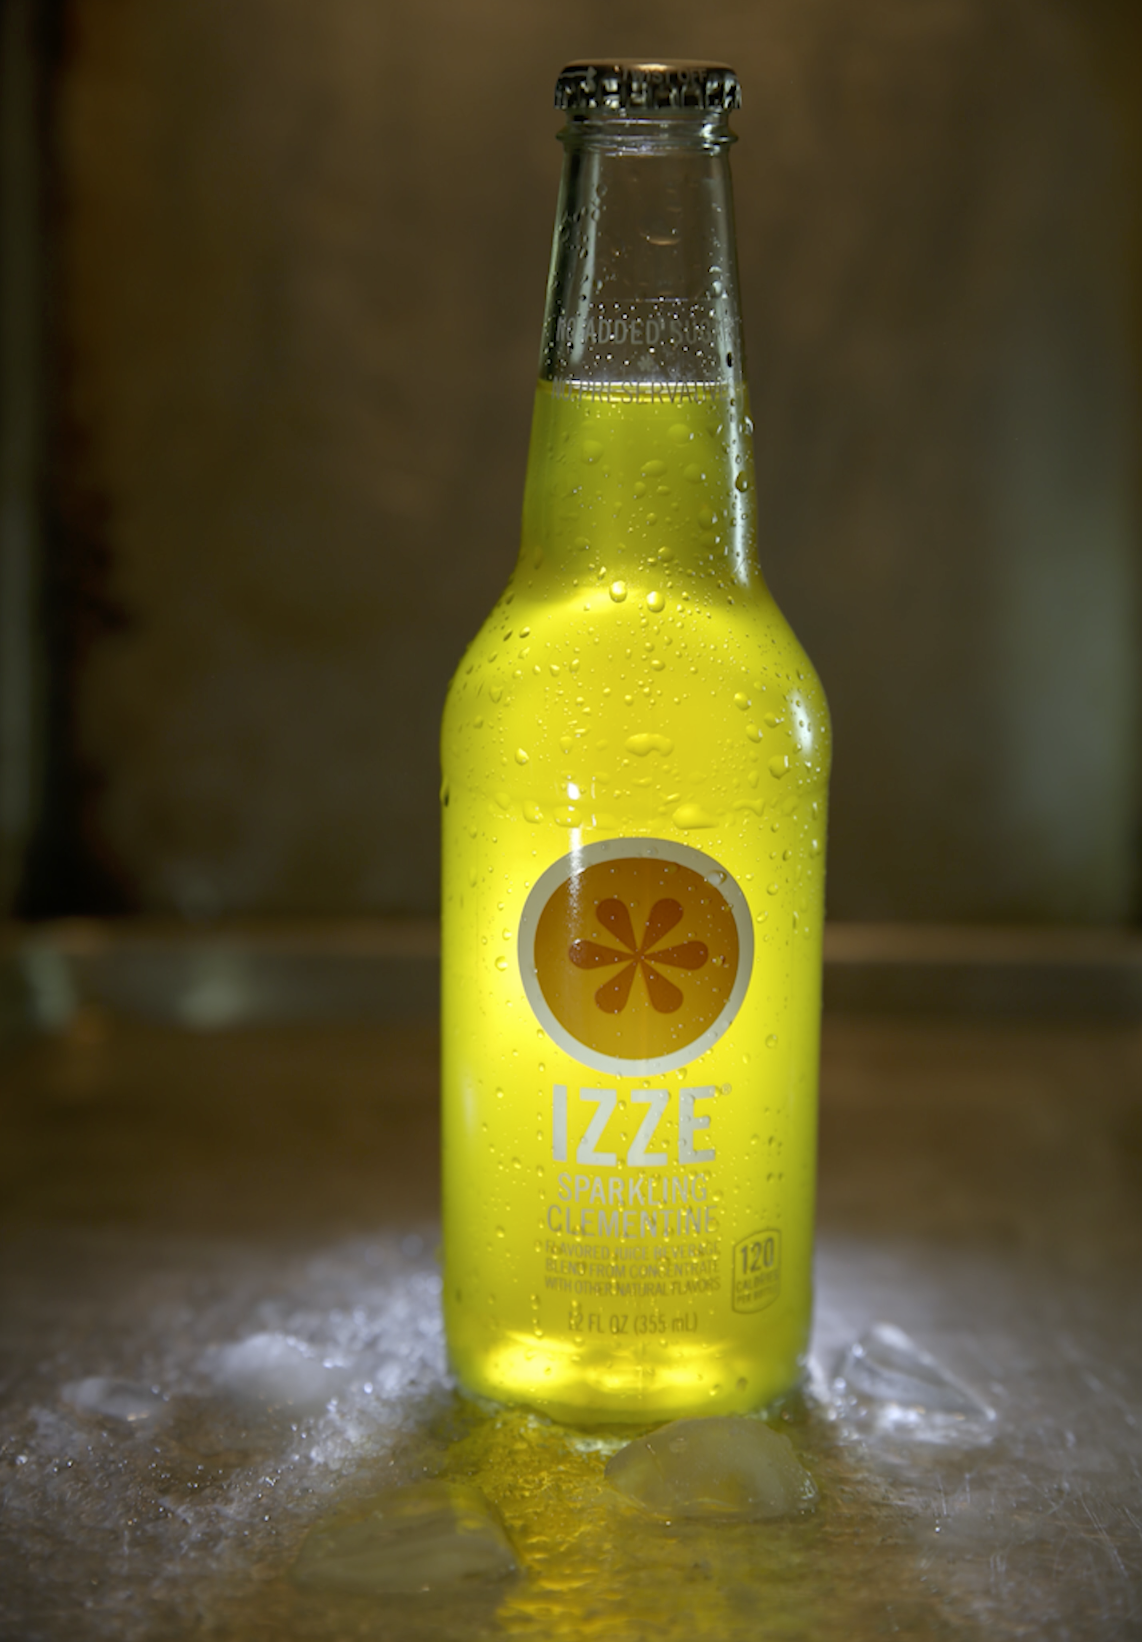
Before we go any further, we have a label on the back of this bottle. I don’t want the label to show through because I am going to shine a light through the bottle. So I am going to peel the label off. I just want a clean bottle. But when I remove the label I have glue on the bottle leaving a sticky residue. That will mess up the look of the bottle.
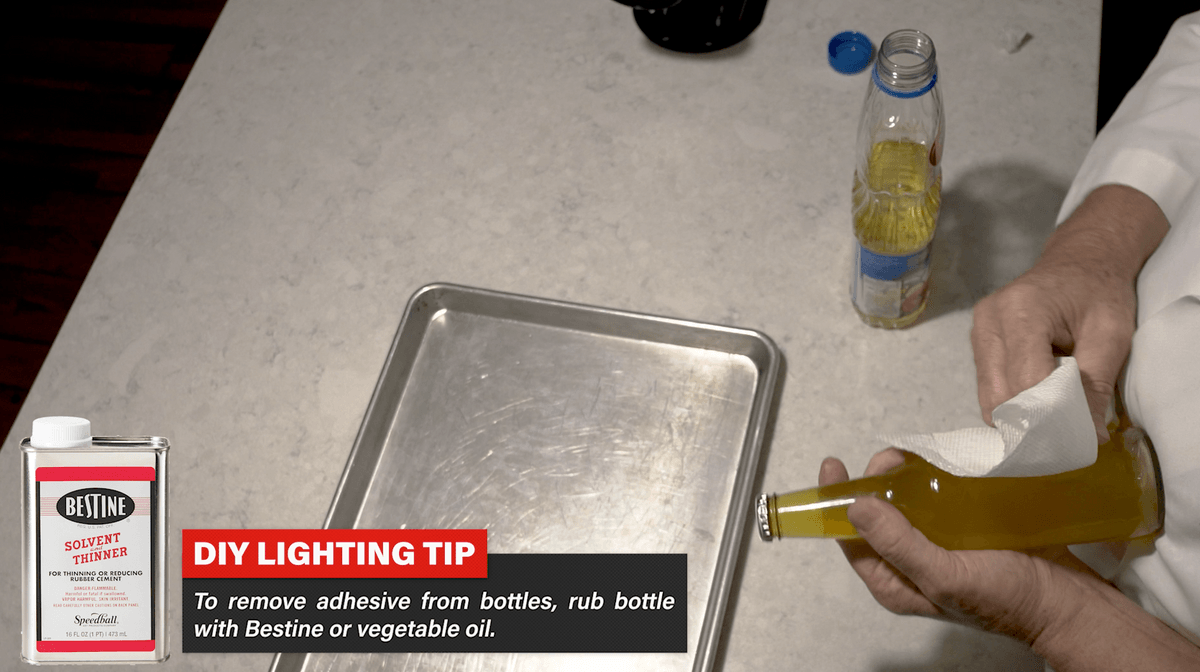

The best way to take glue off is Bestine. But I am in the kitchen, I don’t have any Bestine. The next best thing is vegetable oil. I am going to rub the bottle really well and the sticky glue residue on the back comes right off. Now I will have a beautiful glowing light from behind. That worked fabulously. All that sticky stuff is absolutely gone.
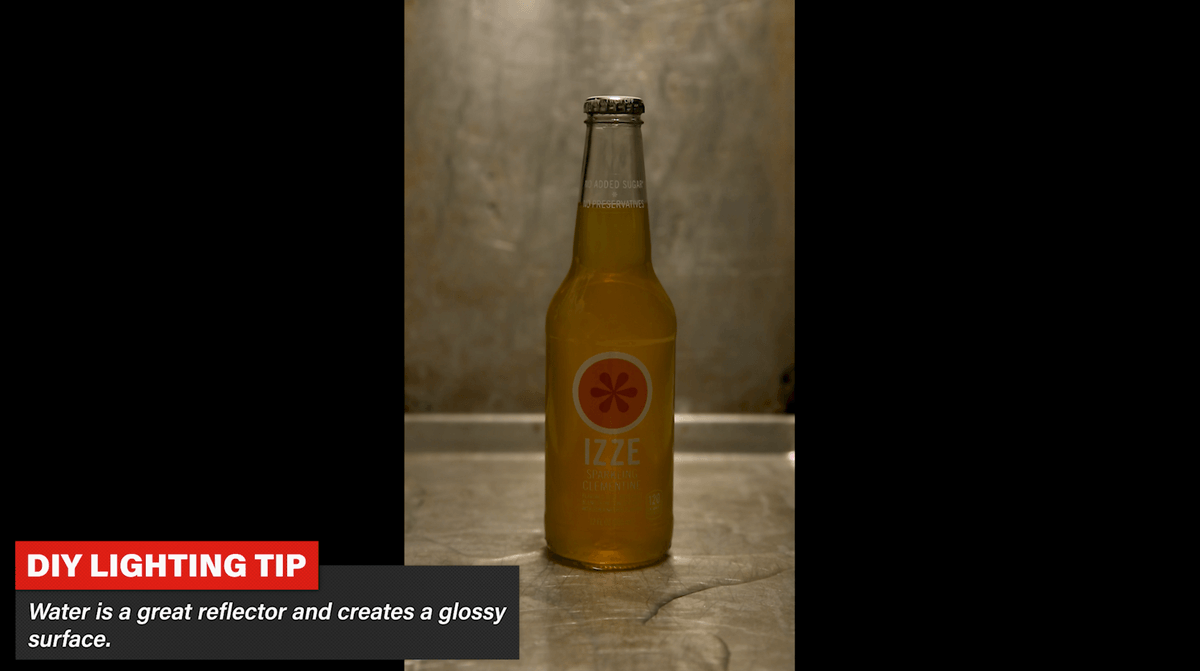

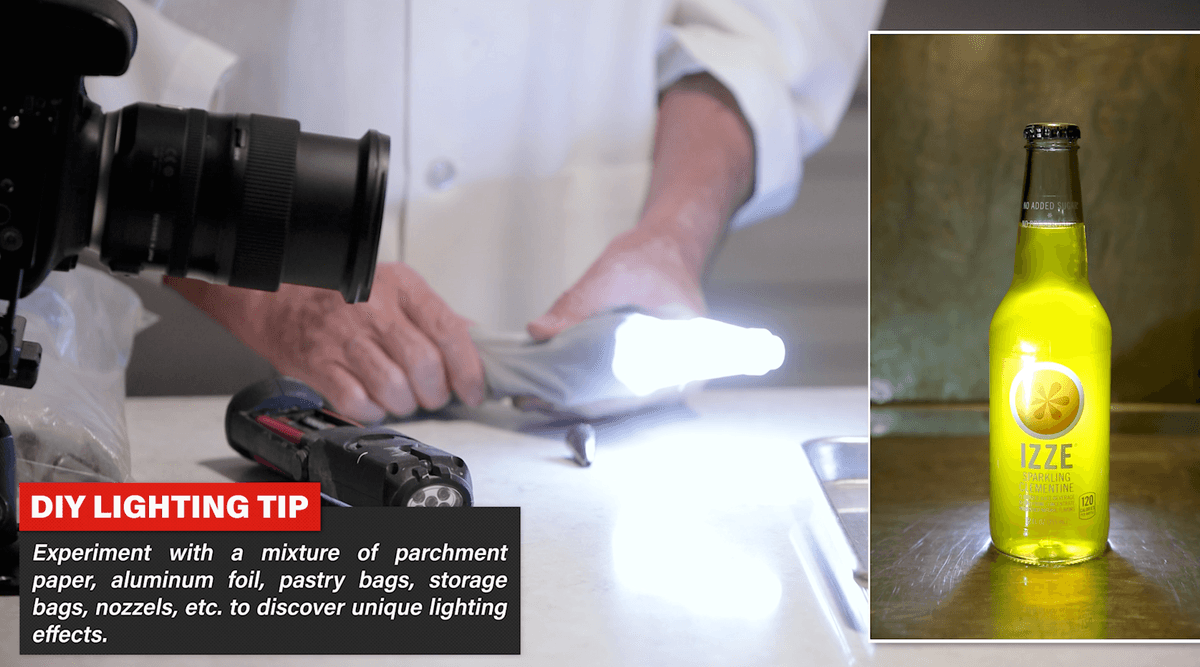
Now let’s start putting some light on this bottle. I am going to use a couple of flashlights. Before I add my flashlights let’s create a reflection with some water. This doesn’t have to be very much. I just want to have a little bit of reflection. So I am pouring enough to cover the whole surface of the tray.
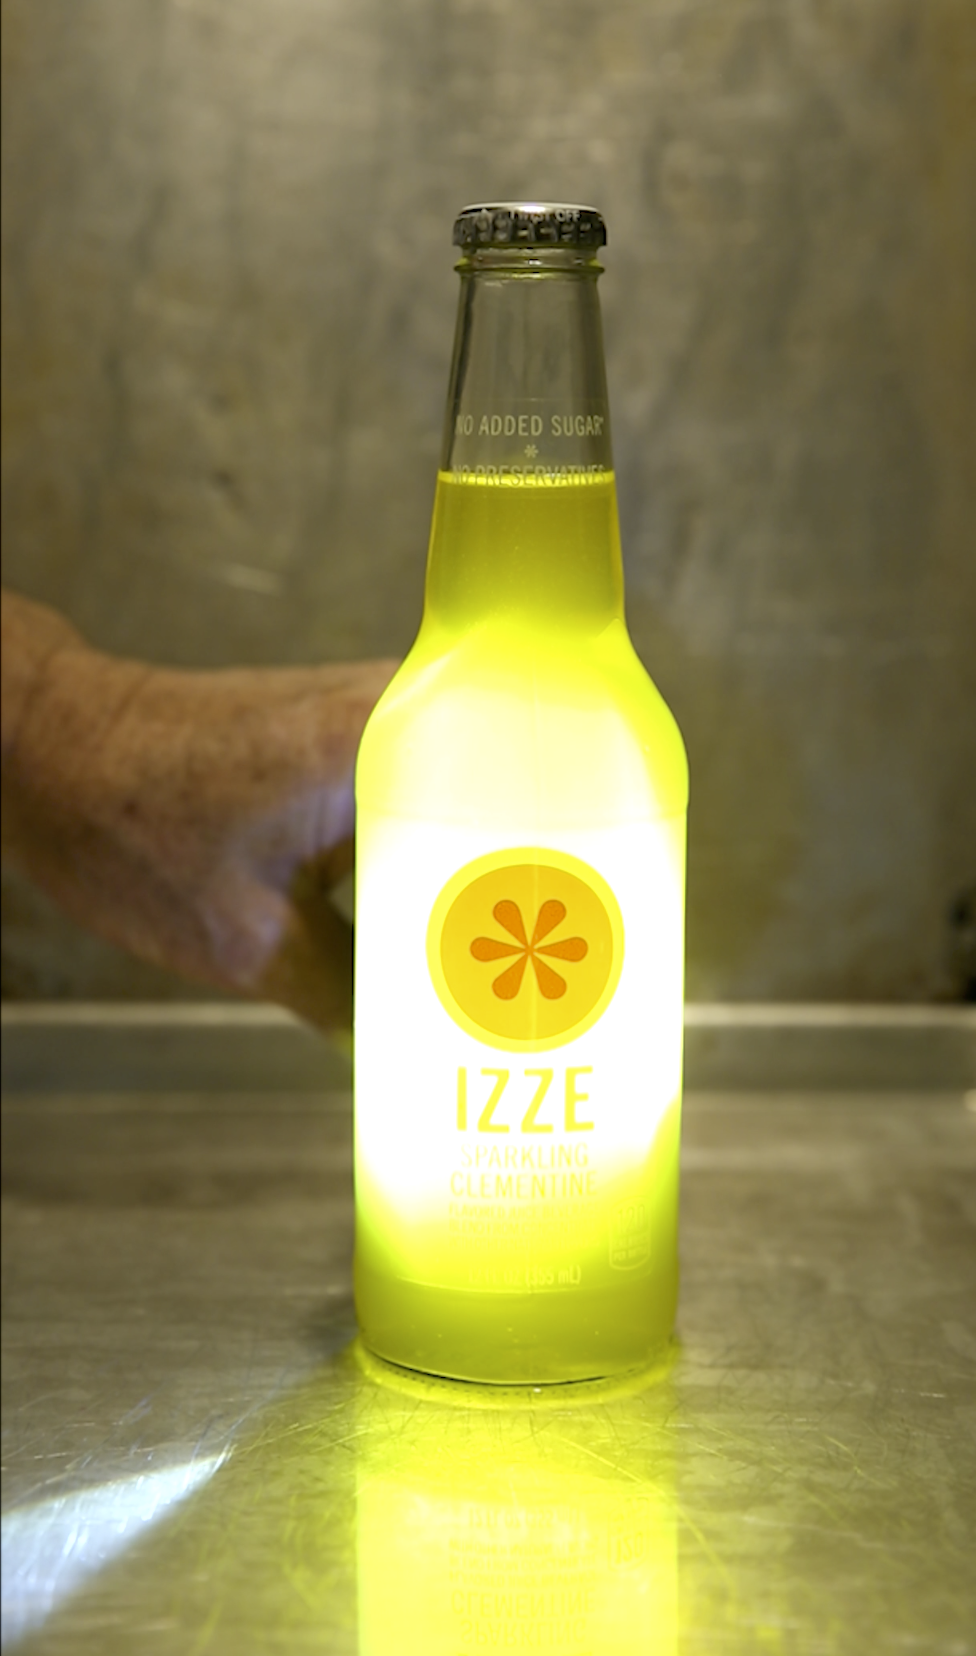

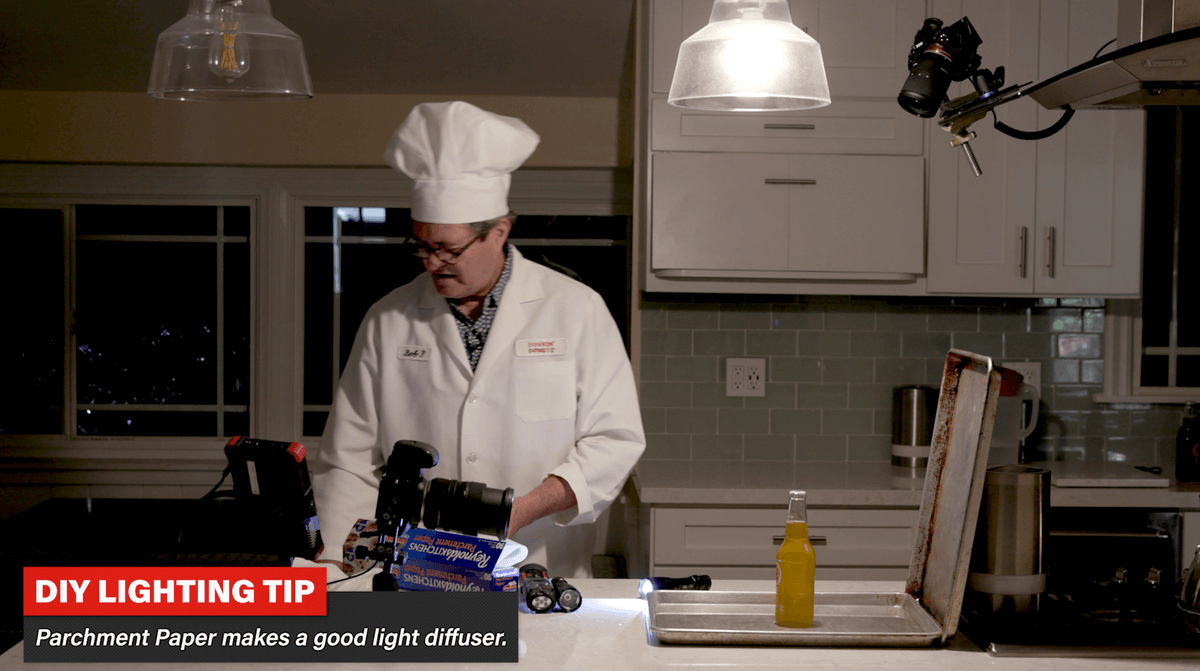
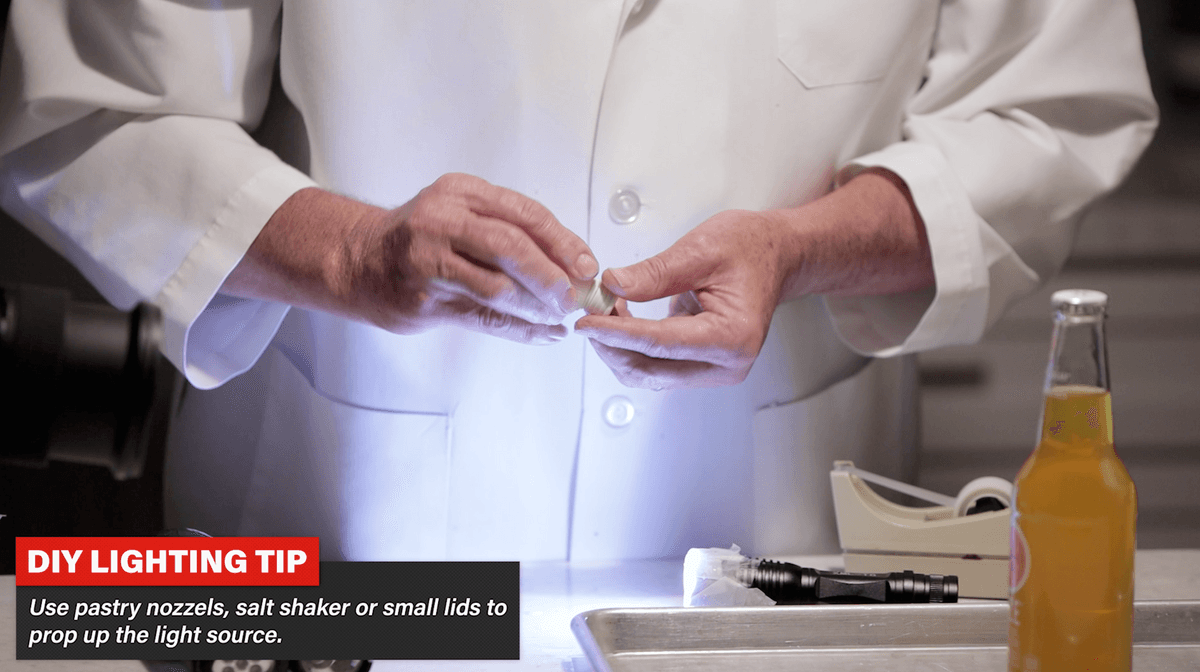
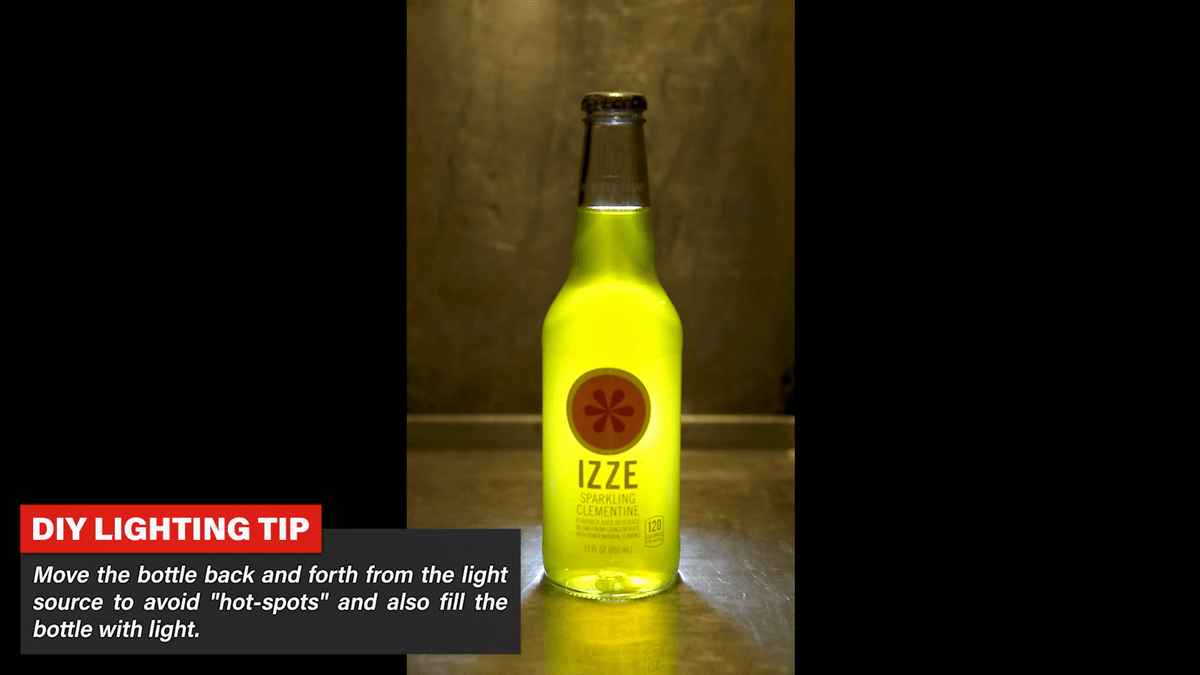
Now I am going to shine a flashlight from behind. Full strength the flashlight is way to bright. So I am going to take some parchment paper to diffuse the light. I am sure my wife will not mind if I use her cooking scissors to cut off a piece of parchment paper. This will knock the light down by at least a stop. I will tape it to the flashlight to hold it in place. If I put that right down it the water it creates a problem. So I am going to use a pastry nozzle to raise it up out of the water. That is much better raise up a bit so it shines through the middle of the bottle. It is still a little too bright so I can bring my exposure down. It’s looking pretty good but I am going to bring the bottle a little away from the light. That spreads the light out a little bit and it looks a little nicer.

I can do a couple of things now. I have a nice light on the background. I have a nice reflection in the water. Now I am going to add another light up front here. Right off this flashlight is way too bright. So again I am going to first add a pastry bag to direct and diffuse the light and then add parchment paper to the flashlight. I don’t love what this is doing to the background so I need to use a flag. This brown sugar canister will serve as my flag. I have a little bit of a highlight there that I don’t love. So once again I will use some parchment paper.

I have a tiny reflection here on the bottle that I don’t love. So I am going to put something small under the back of the bottle to tilt it forward to throw that reflection up into the curve of the bottle. I am sliding a knife underneath the back of the bottle to tilt it a little bit toward the camera until I push that reflection into the top of the bottle.


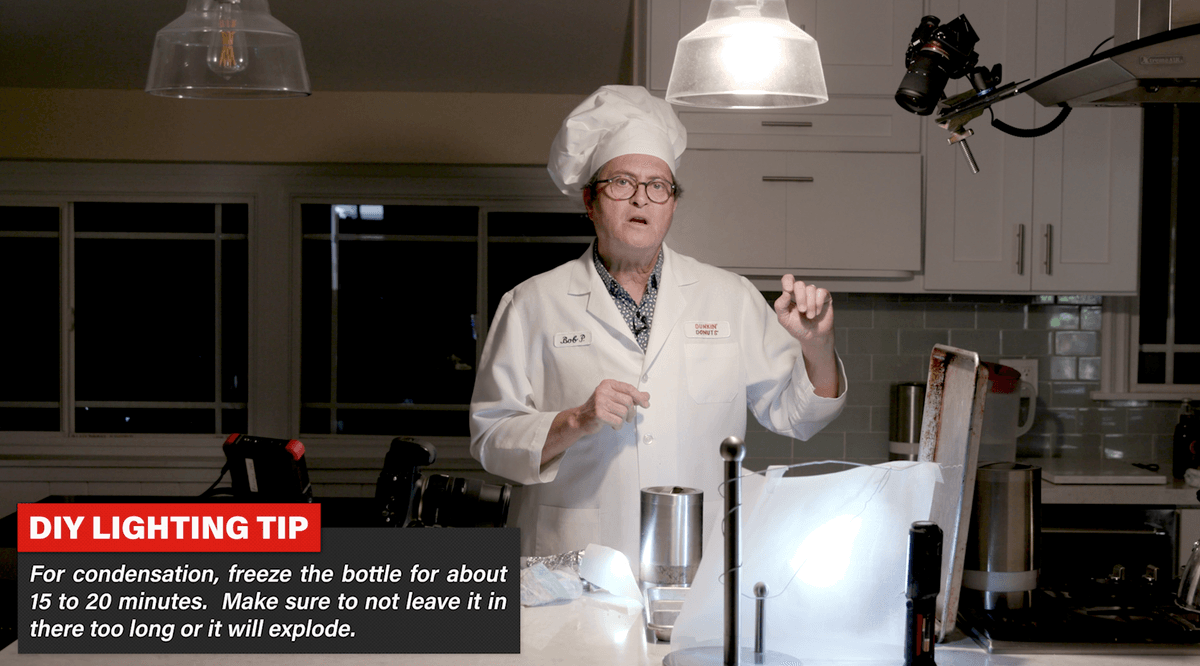


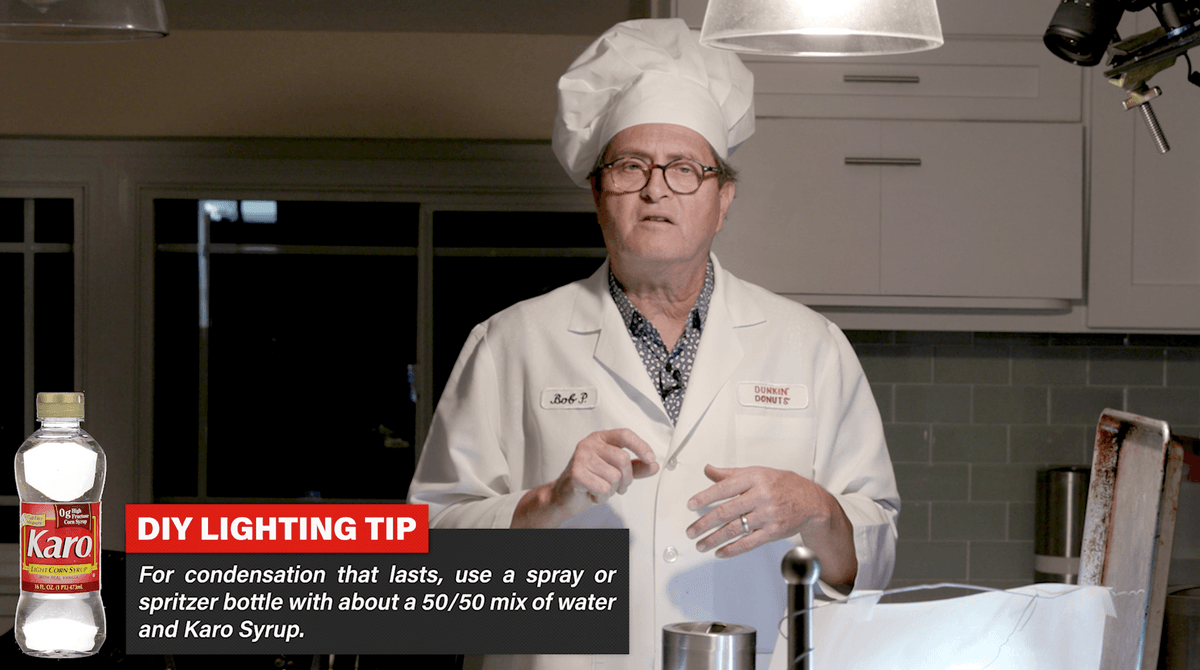

So now we want condensation on our bottle. The easiest thing is to put the bottle in the freezer for about 15-20 minutes and that will give a beautiful condensation when we bring it out into the room air. If you don’t have time for that, a very easy fast way is with stuff here in the kitchen. You can take a spritzer bottle full of 50% Karo syrup and 50% water. The Karo syrup will bead up and stick to the side of the bottle and will stay there forever until you clean it off. So I am going to spritz our bottle here.
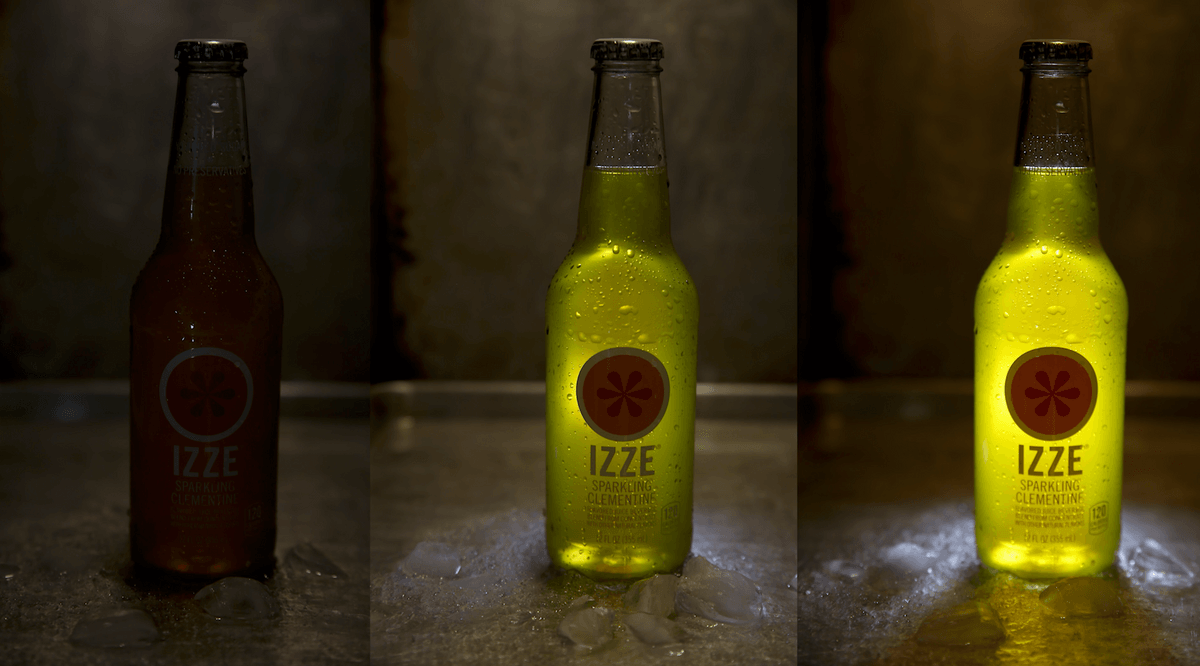

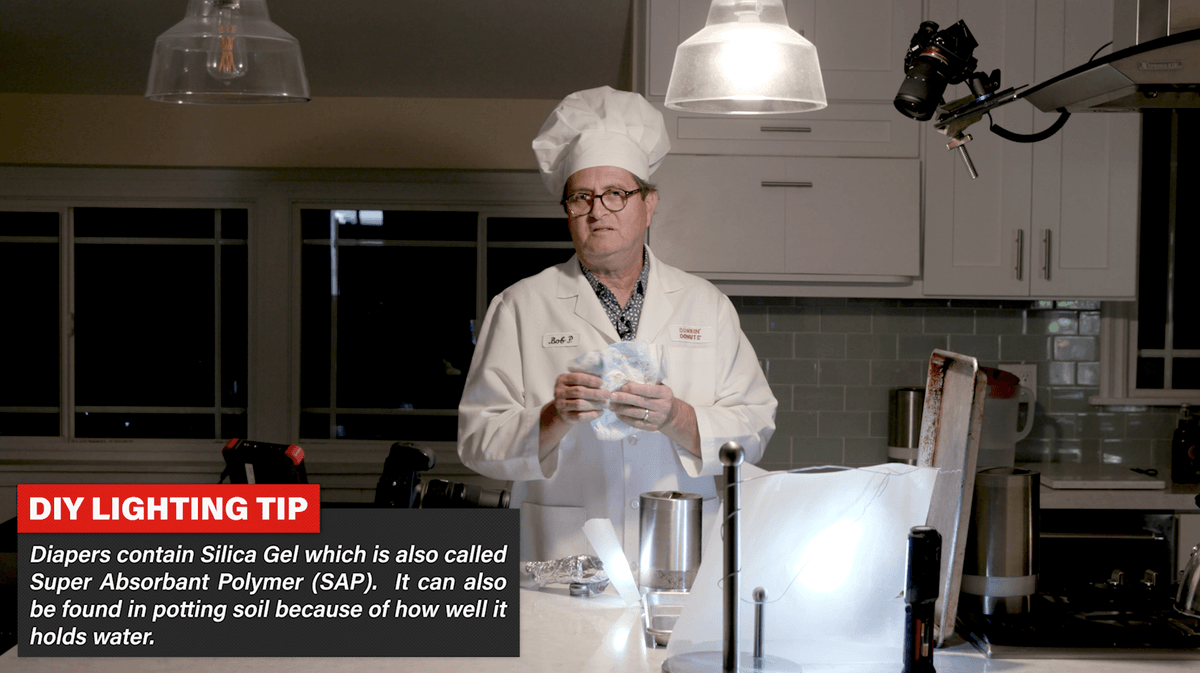
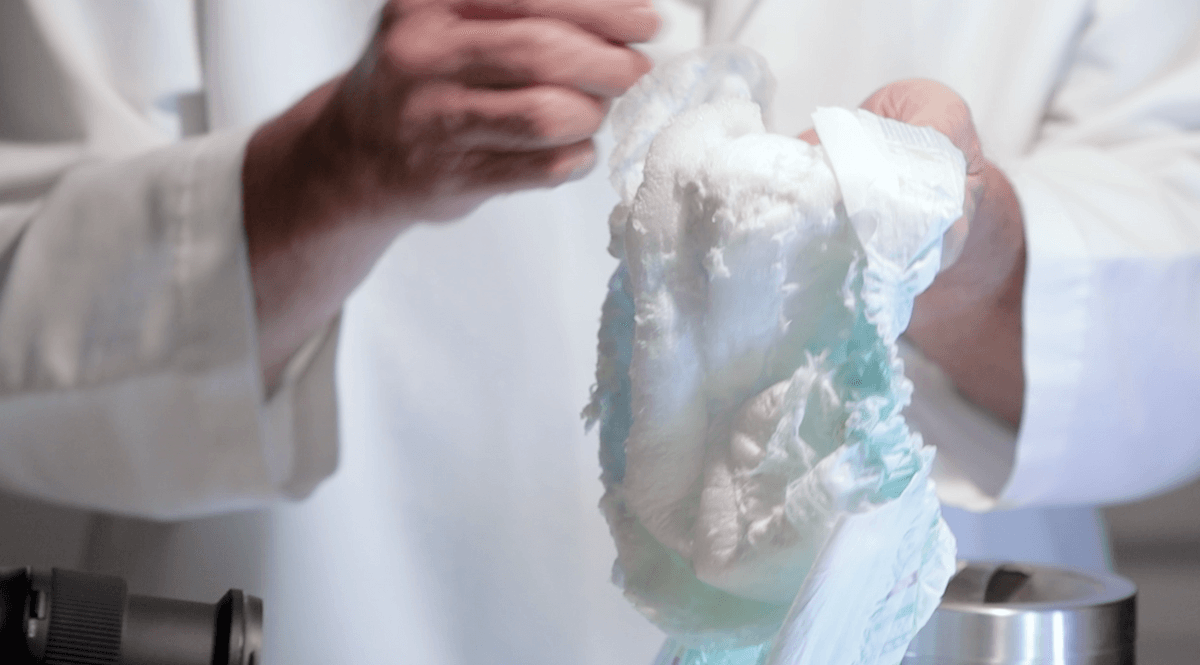
Now we need ice down next to the bottle. Putting chunks of the wet silicone from the diaper into the water in the tray makes it look like ice.

So there you have it. Lighting this bottle with things you find in your kitchen. Imagine what you could do if you could use things from your garage as well. It is all about putting the light where it need to be in order to light your subject matter. It’s not about how expensive your lights are. It’s about understanding where to put your lights. So check out our other Laws of Light video series. They will help you to understand where to put your lights in order to make a fabulous looking finished product shot, or a great looking portrait.
If you have any DIY lighting solutions you have come up with send us a BTS shot. We would love to see it. Make sure you tag @TheSlantedLens or #TheSlantedLens. We want to be able to connect with you.
Make sure you subscribe to our YouTube channel and leave us a comment there about something you have found that is interesting.
Keep those cameras rollin’ and keep in clickin’!

Check out the SKB iSeries 2217-10. This bad boy will carry all my Westcott FJ400 strobe lighting equipment.