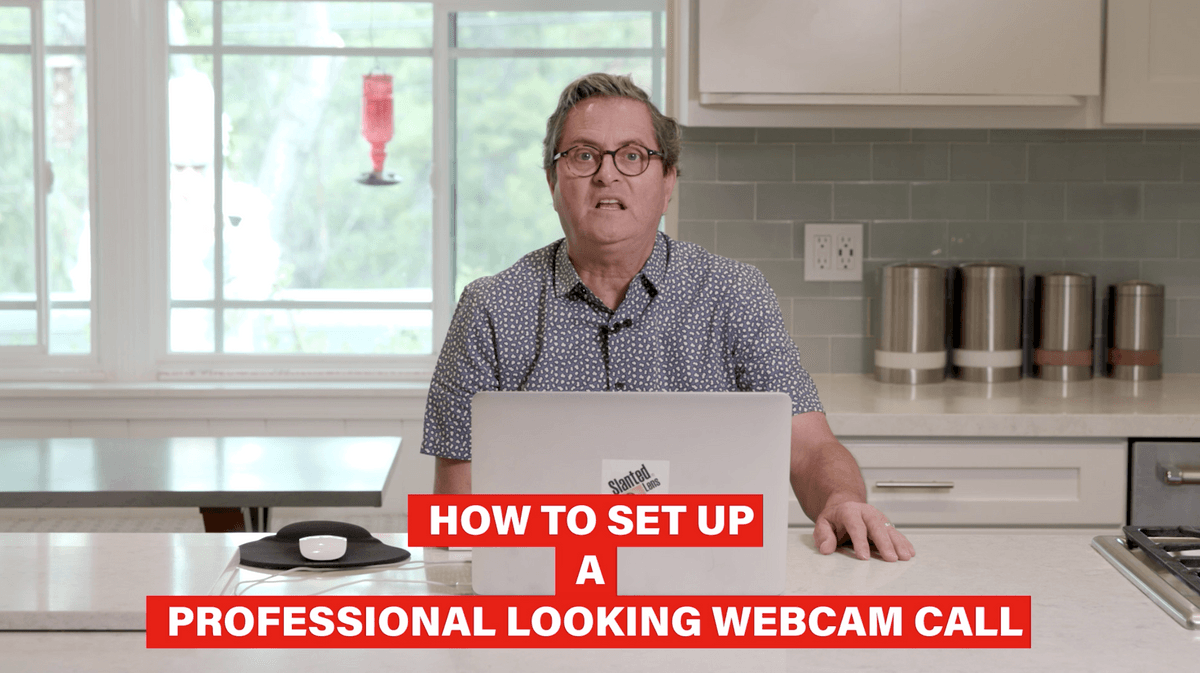
Learn the do’s and don’ts of how to light your video Zoom, FaceTime or Skype calls. Jay P demonstrates how to improve your lighting so you can look professional and make a better impression in your video conference calls.
Today I am going to talk about a Zoom, Skype or FaceTime call that will really make you look good. That is the important thing, that they can see you and that you look professional. You want to make sure you get that camera in the right place. Make sure you get a lighting situation that works for you and your face and the situation you are in. Whether it is in your house or your desk against the wall, there are so many different things to overcome.
I suggest the first thing in this process is to pick a place and create an environment where you go there to do your calls and not be roaming around the house all of the time. Pick a place, create a look and set all your lighting up there. Then you can go back to it every time. You don’t have to keep setting it up. Because if it is hard for you to set this up it is going to be difficult for you each time and you will stop doing it. You’ll think, “Oh I’ll just grab a shot over here in the corner.” So let’s get to that. Let’s take a look around and find our place.
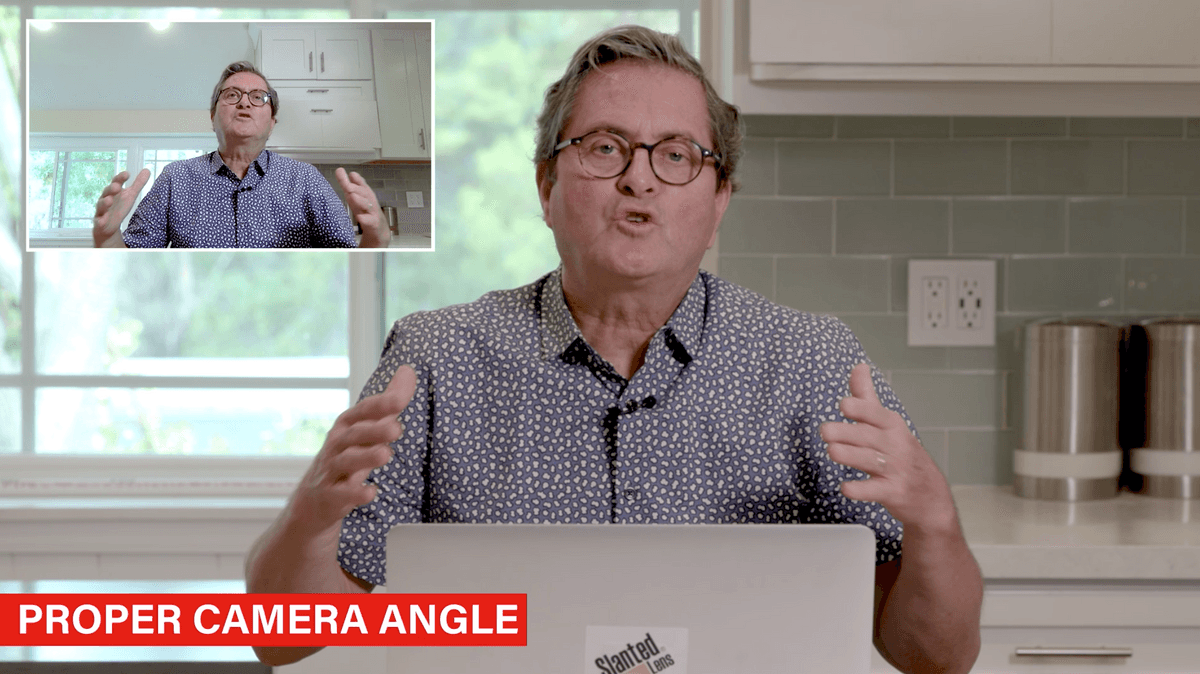
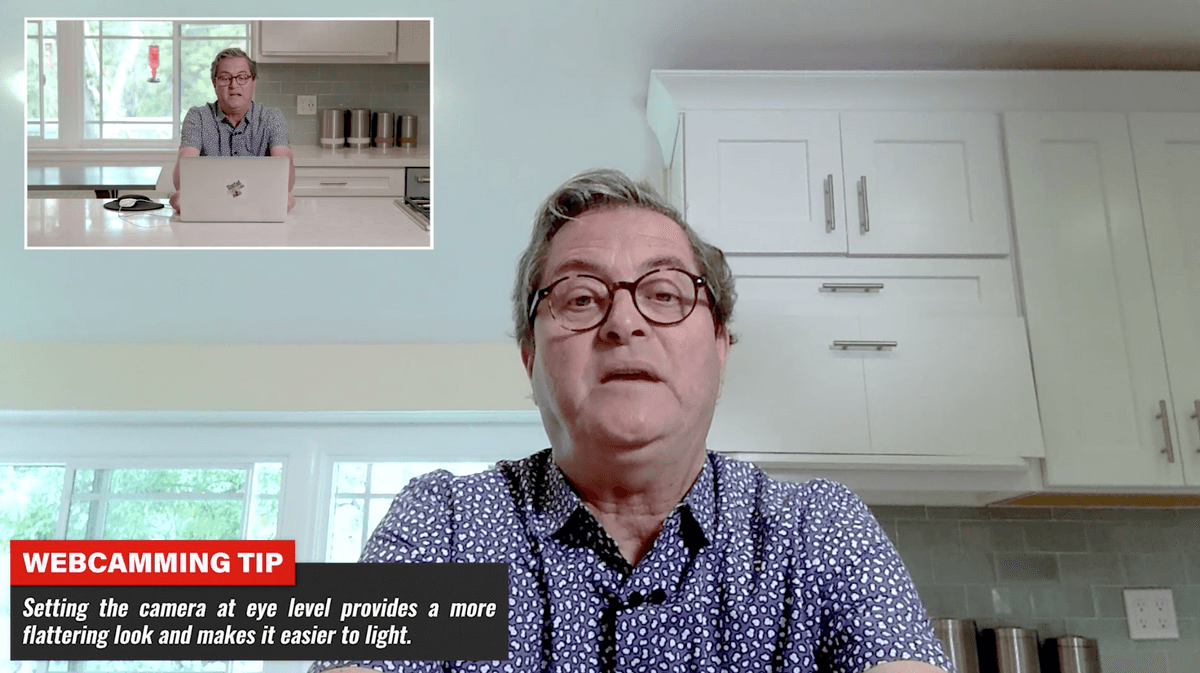
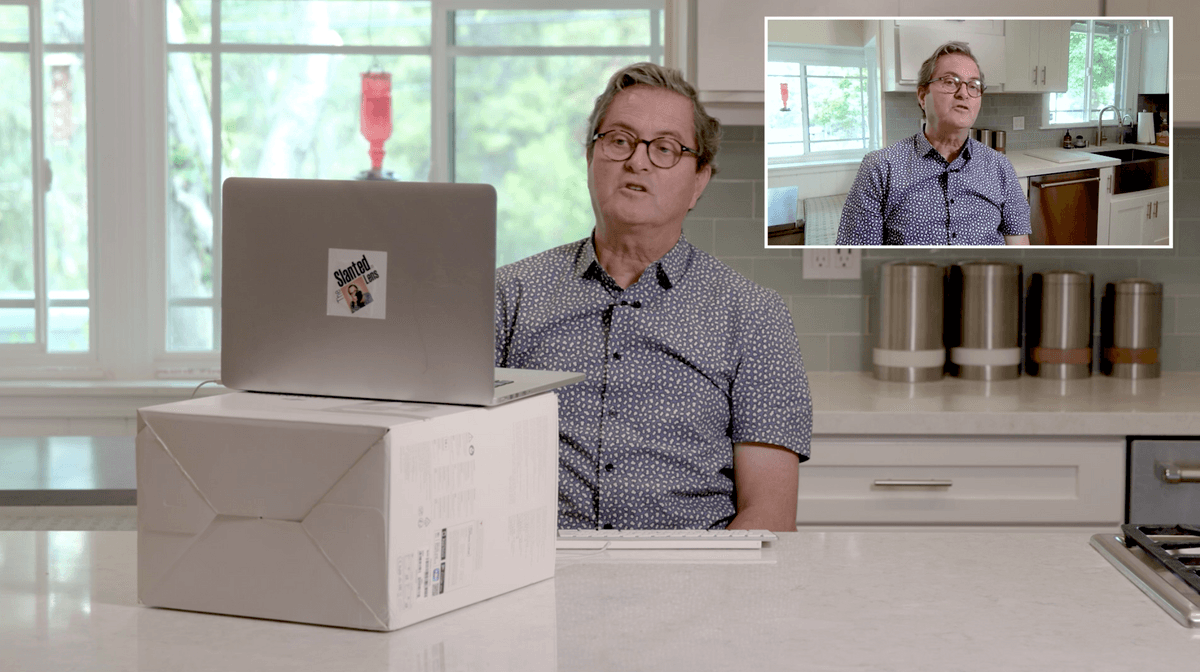
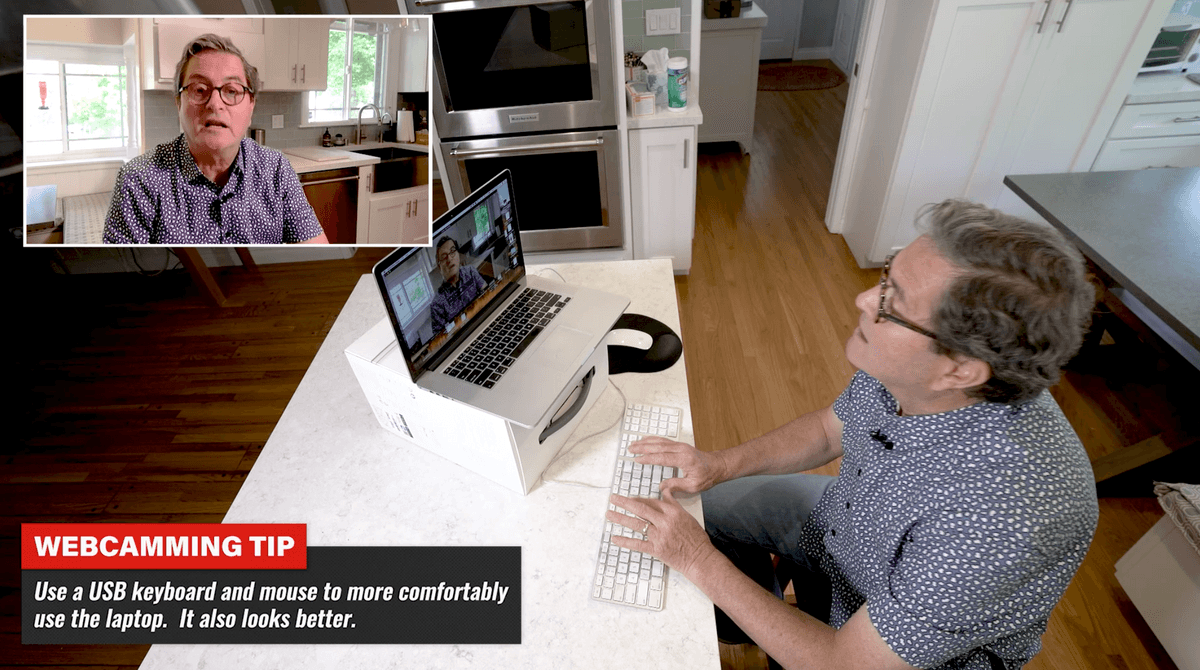
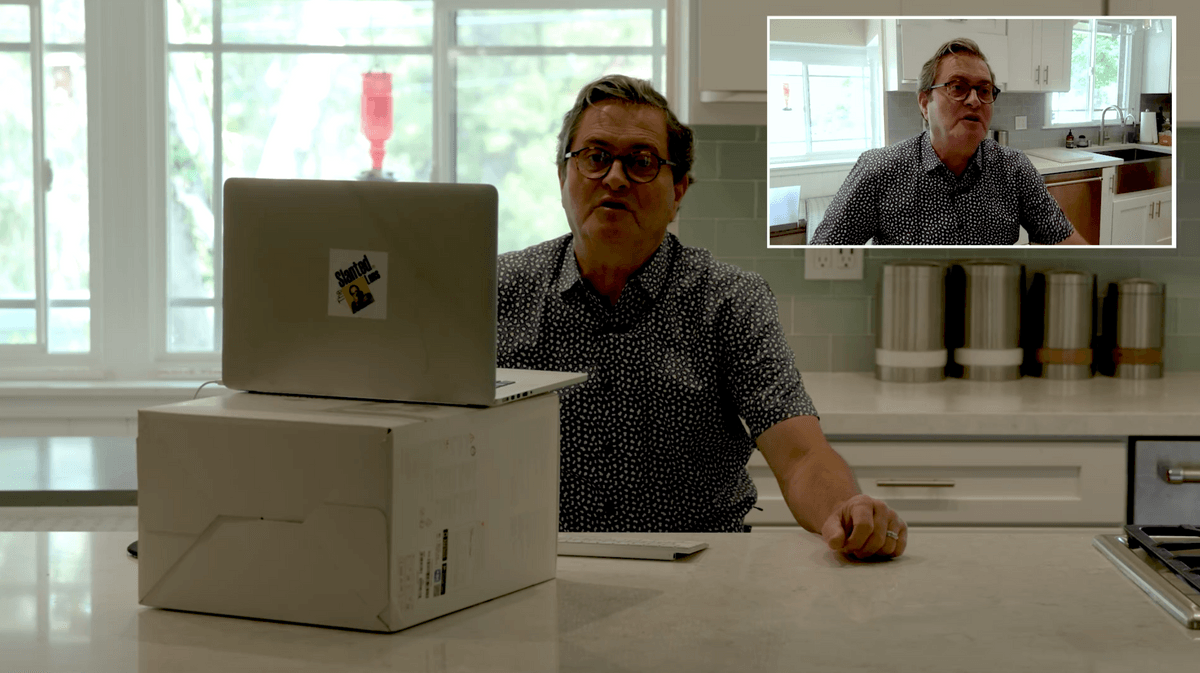
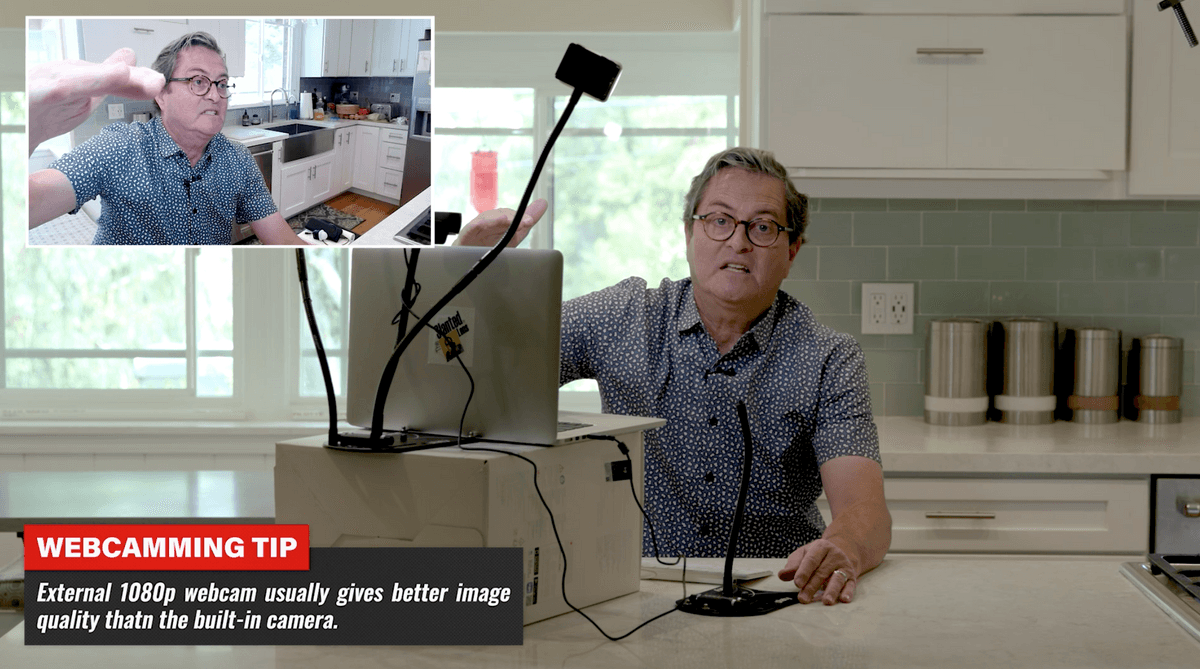
The first principle in setting up your station is going to be camera angle. We don’t want a low camera angle. Our camera is generally in our laptop and we have a tendency to put the camera on our lap or on the counter. This gives us a low camera angle, looking up underneath us. Which is a terrible place for that laptop to be. We want to get that laptop up. Up to our eye level at least so the camera is at our eye level or higher. When we do that it gives us a much better look at our face. It’s like 5 chins down low. Eye level is a great look at your face. In order to do that I am just going to use a box. Now with using a box the camera is in a much better place. It is above my eyes or at least at eye level. It gives a nice look at your face and at your surroundings. You are not looking at the ceiling. Don’t frame yourself so your face is way down at the bottom of the frame. Get yourself up in the frame. Tilt the laptop screen down so you see a better view of yourself.
Set it up so you have space where you can lean and you can write during the call. Centering yourself in the frame helps you to look very professional. If you lean back whatever is closest to the camera is going to look larger. As you lean in you see your face and not your abdomen and you look much nicer in the frame. So that is positioning the camera. It is really important to get that camera up and placed where you can lean in and be centered in the frame.
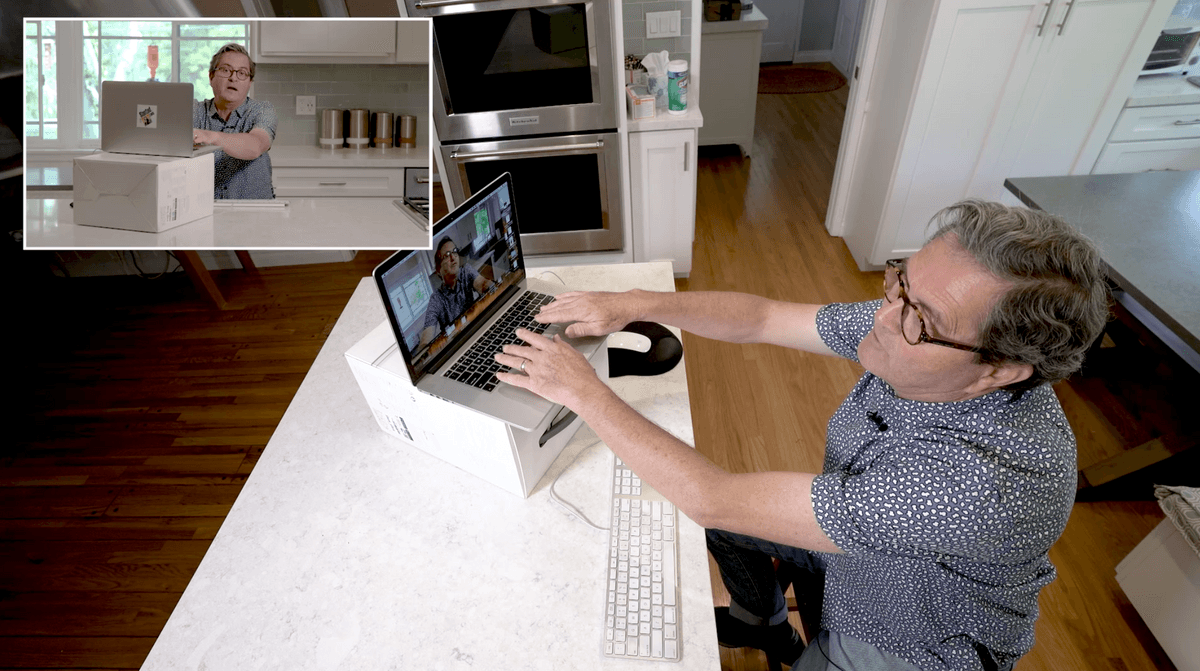
Once I have the camera in the right position it creates an issue for my keyboard and track pad. It is too high to be able to work comfortably. So I use a USB keyboard and a mouse. That allows me to do all of my work underneath here on my surface. I can lean in as I’m talking and be able to take notes if I need to. Using the USB keyboard and a mouse makes it much easier to be able to work during the call and still look professional. With the simple addition of a box in order to get the camera up high and a keyboard and a mouse we now have a much more professional set-up going.
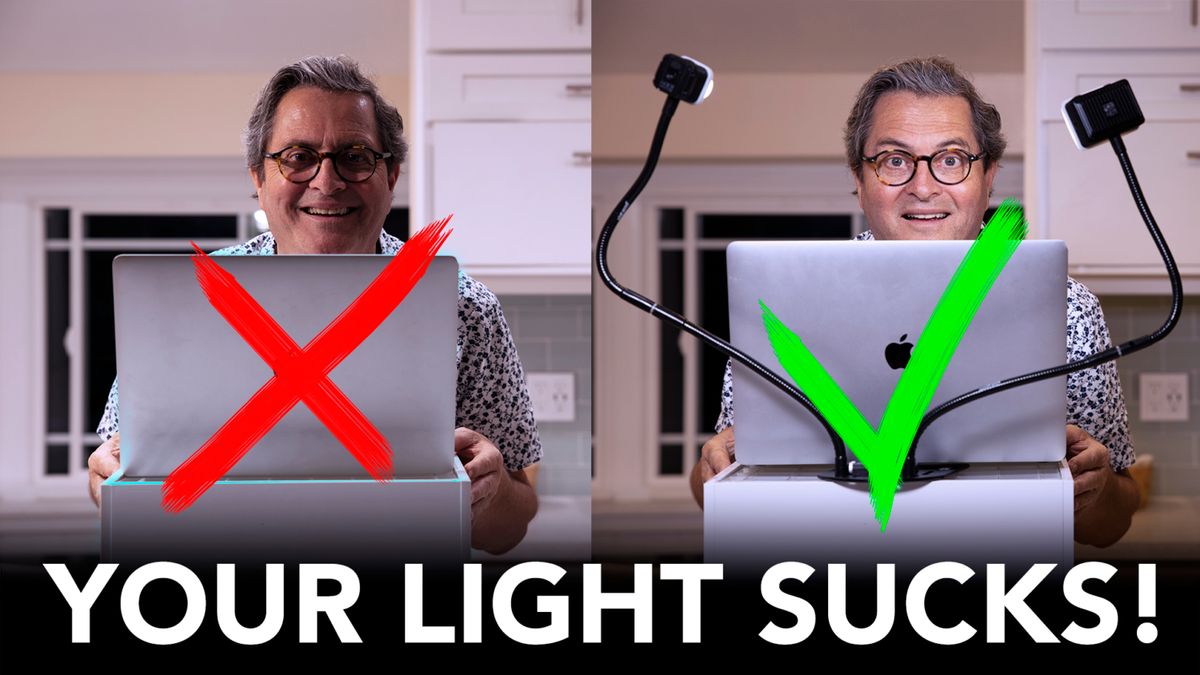
We haven’t conquered our light yet. We are using our video lights we are using to shoot this segment. So we’ll turn those off and let’s take a look at our lighting and what we need to do to fix that. Whoa, my face is dark and I am backlit. There are several things we can do to fix this lighting. Let’s take a look at each one of them. Lighting situations that will make your Zoom conference or Skype call so much better.
Here is the light on my face. It is a terrible situation for a couple of reasons. One is we have back light behind us. We have a window back there. Window light is a beautiful light. If I simply take my laptop and my box and I move over to the window I automatically have a beautiful light on my face. It is open and bright and very soft. It is just a great way to work. There are some drawbacks to working at a window. Sometimes the sun goes down. Sometimes we get direct sunlight through the window. Or you may not have a window. It gets dark at night time. If you have a conference call at night time you don’t have any light whatsoever. You are going to look terrible.
Another drawback about windows is every time you set up to the window you see the entire house behind you. I see Andy back there on the camera. That becomes a problem. So a lot of times when you are using window light your are showing your entire house. Maybe that will work or you or maybe it won’t. But a lot of the time it does not. You need to get yourself in a situation where you have complete control of the light. That way it won’t go away when it gets dark. And you can make it so you will always look good.
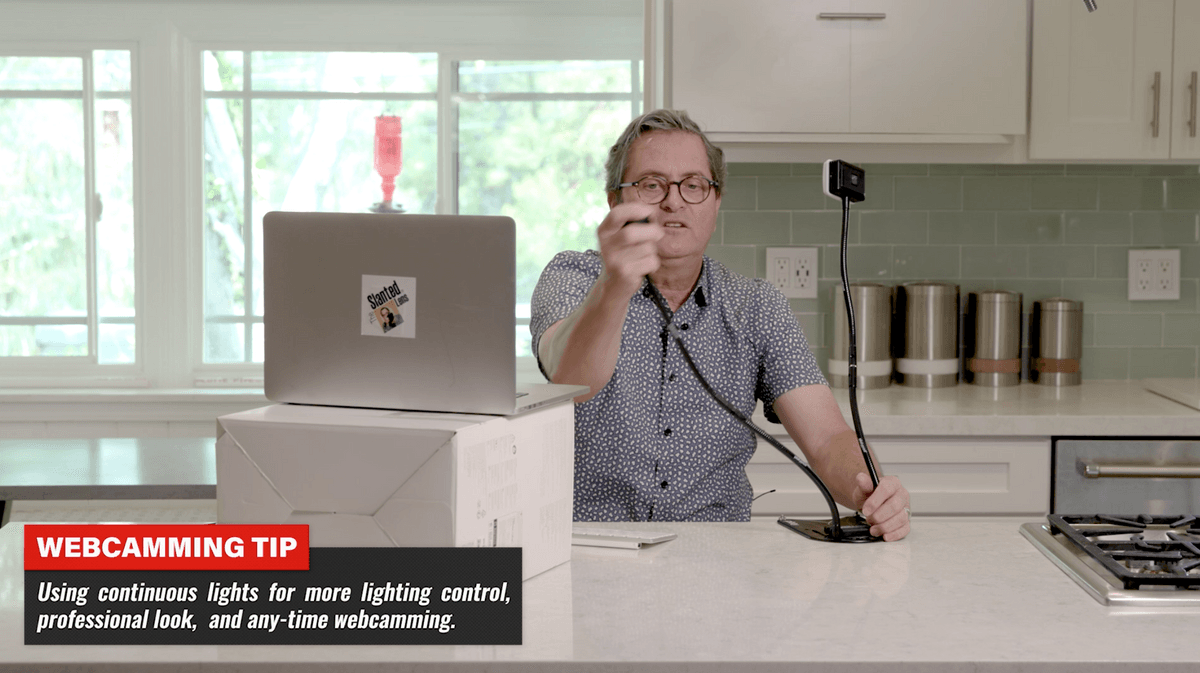
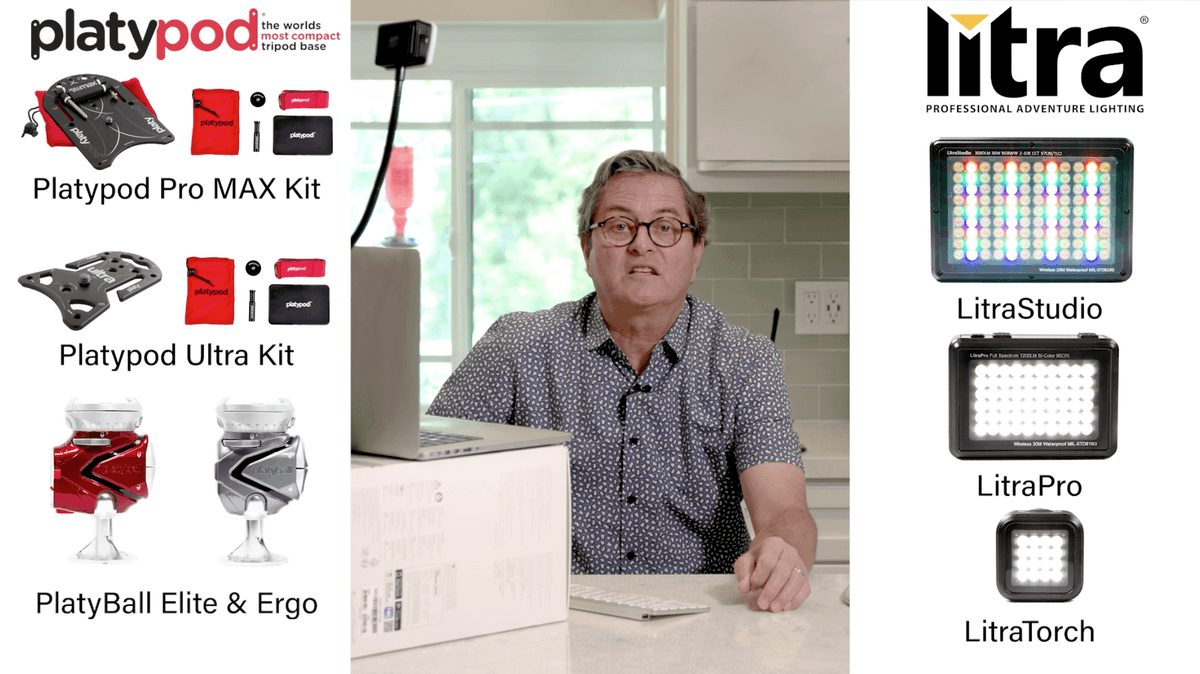
I have a set-up here that works great. Our sponsor today is Litra lights and Platypod. I am using those two together to give a lighting situation that you can control, get in the right position and high enough to look good on your face. This is also a portable system that you can move and go on location with. It is a very easy light to work with.
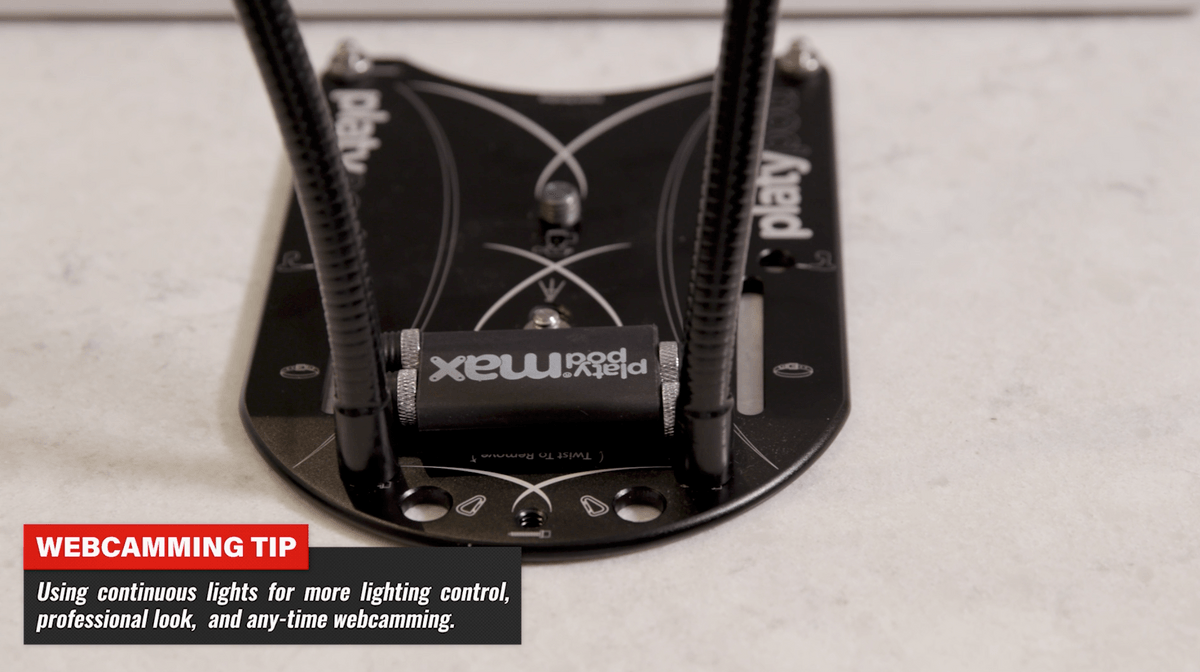
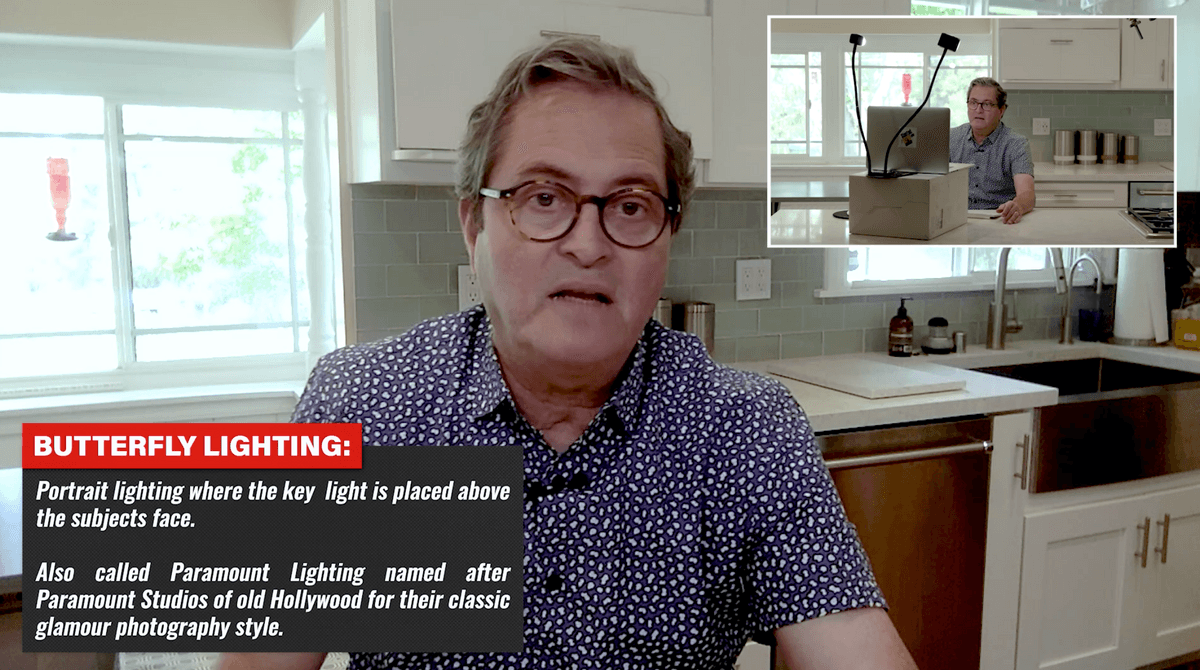
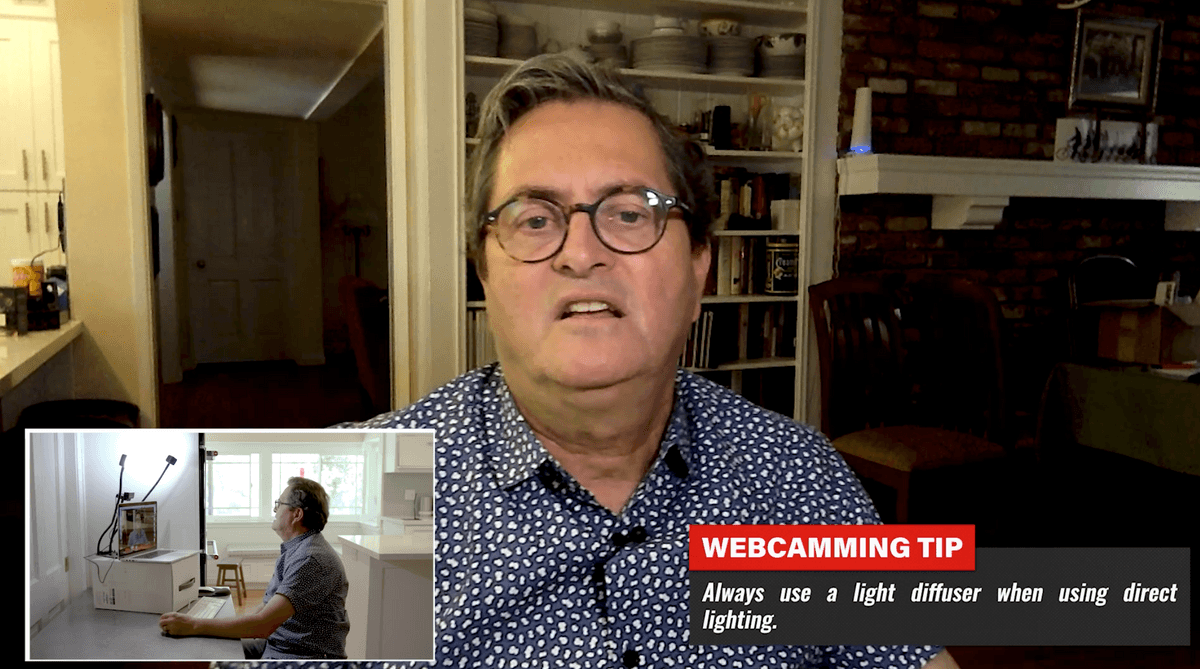
So right now we will turn off the video lights and go to this set-up. This is a LitraPro and a LitraTorch. You can easily do this with two LitraTorch lights. In fact you can get this kit that is put together for this. With this set-up they have the little diffuser on the front. This gives me the ability with the Platypod Goosenecks and Platypod Max to position my lights where I want them to be. I can set this right behind my computer. Because where do I want my light? I want the lights to create a butterfly with the light up and in front of me. I will not run these on full power. I will run them about half power. I space them up to the right and left and that gives me nice light on my face. If you have issues with seeing the light in your glasses simply push your glasses up a little bit in the back and that gets rid of the glare. Now I have a much nicer even light on my face. That butterfly position is flattering. It is the same lighting that is used in doing a portrait.
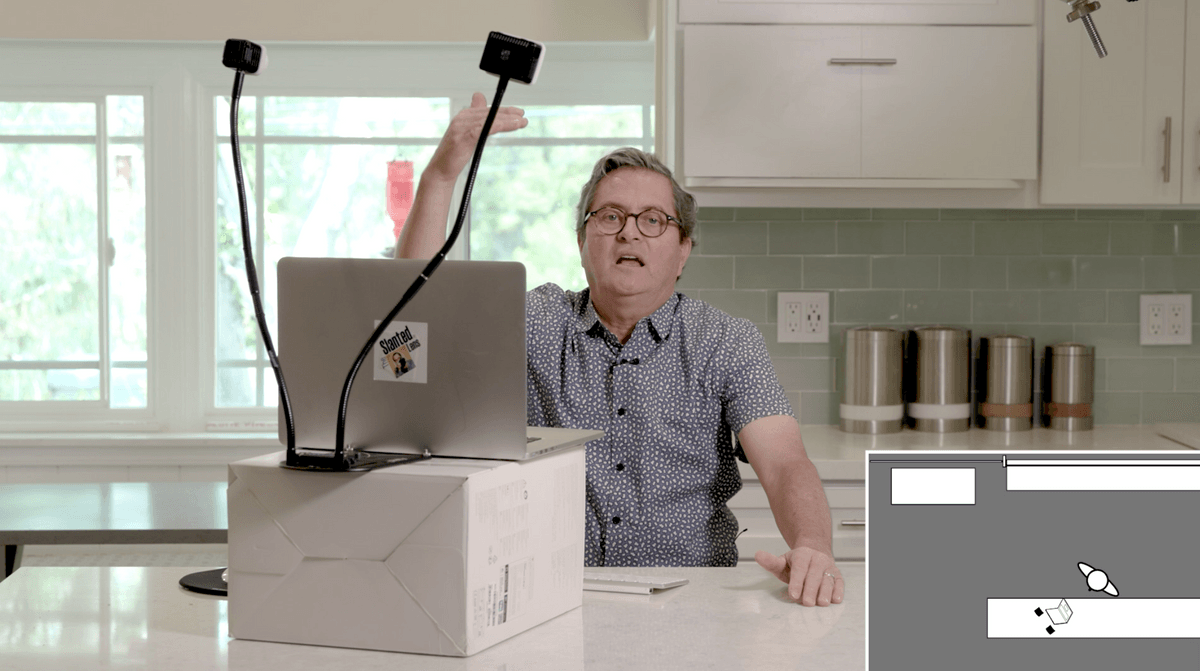
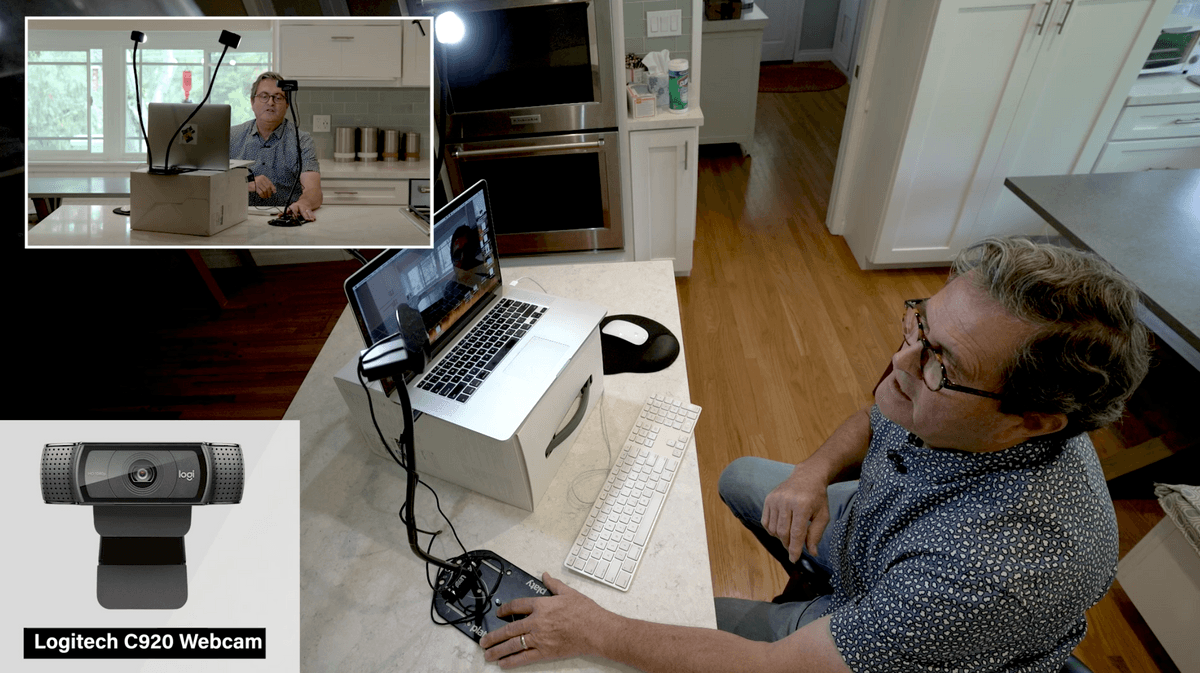
Now I am not loving the set-up here because of the background. The windows create issues. This will be better if I am set up against a wall. Before we move to that I want to show you one more tip that I love. This is a Logitech C920 1080p webcam. I have been using this for my classes that I teach. I just put this on the Platypod Max and use the Platypod Goosenecks to put the camera right in front of my computer screen. Now as I am looking I still have plenty of area to see the screen behind it, especially if I am on a larger monitor. It makes it look as if I am looking straight at the computer. You know how it looks like people are looking off and not looking at you at eye level. This helps me to look directly at the person I am talking with. If I don’t like that and I want to get it up a little higher, I can take this Platypod Gooseneck and attach it to the Platypod Max along with my lights. Now the camera is a little bit higher and looking over the top of my laptop. And then I have my 2 lights right and left. It gives me a nice look with a 1080p camera. This is just another option you can do.
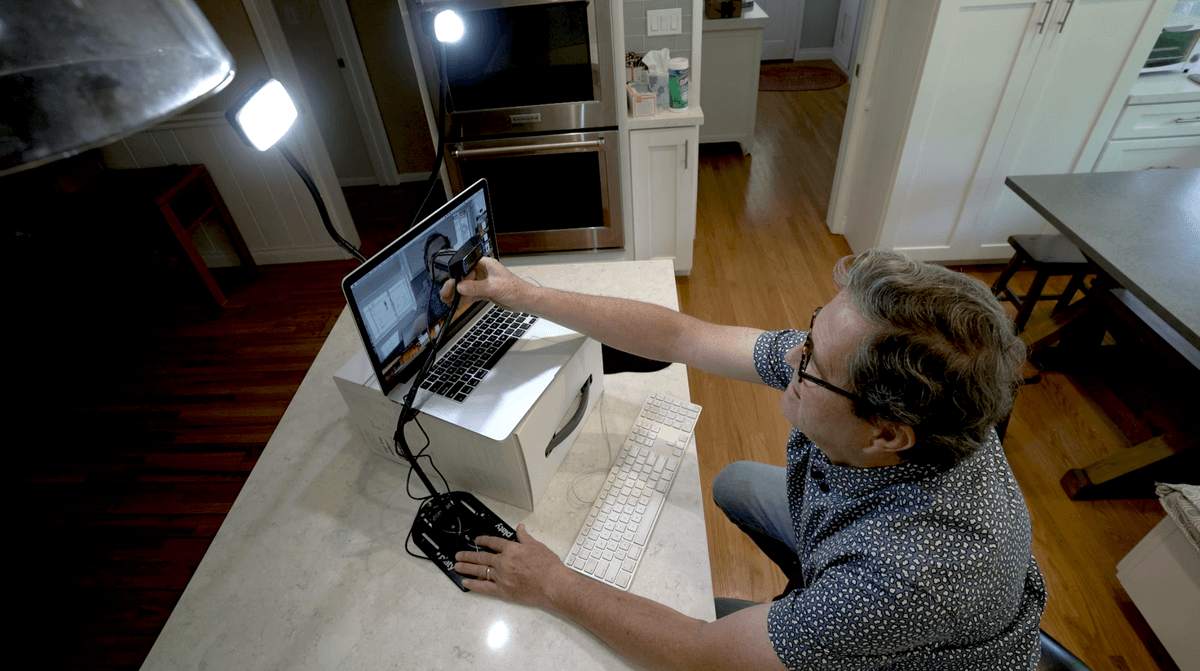
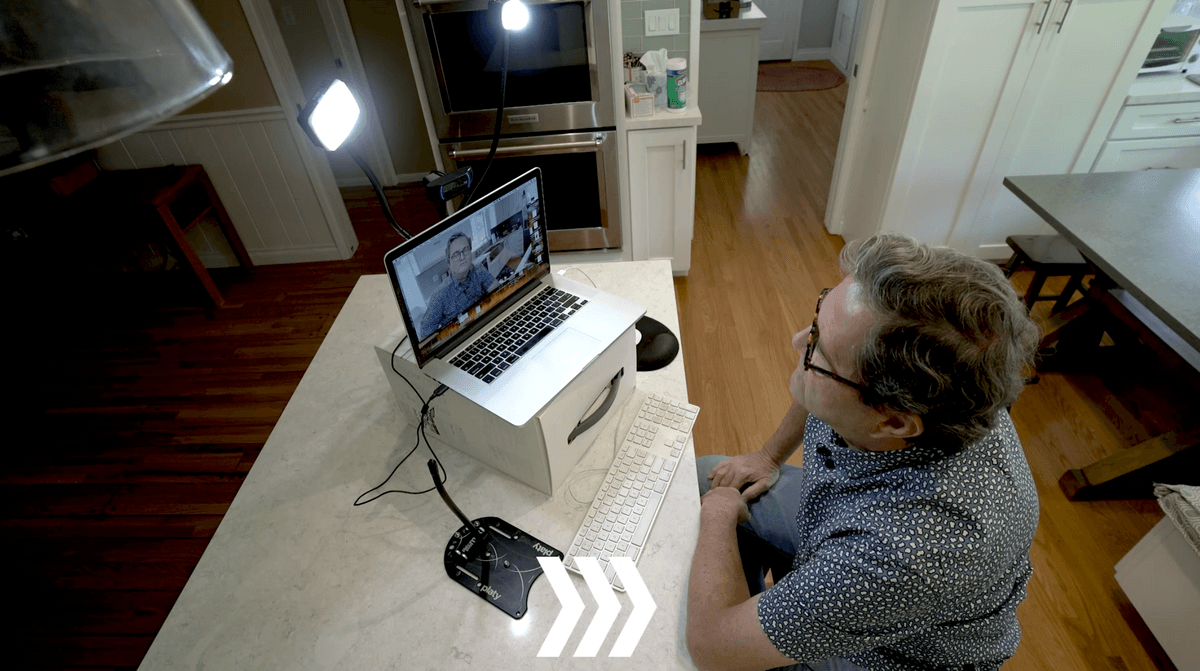
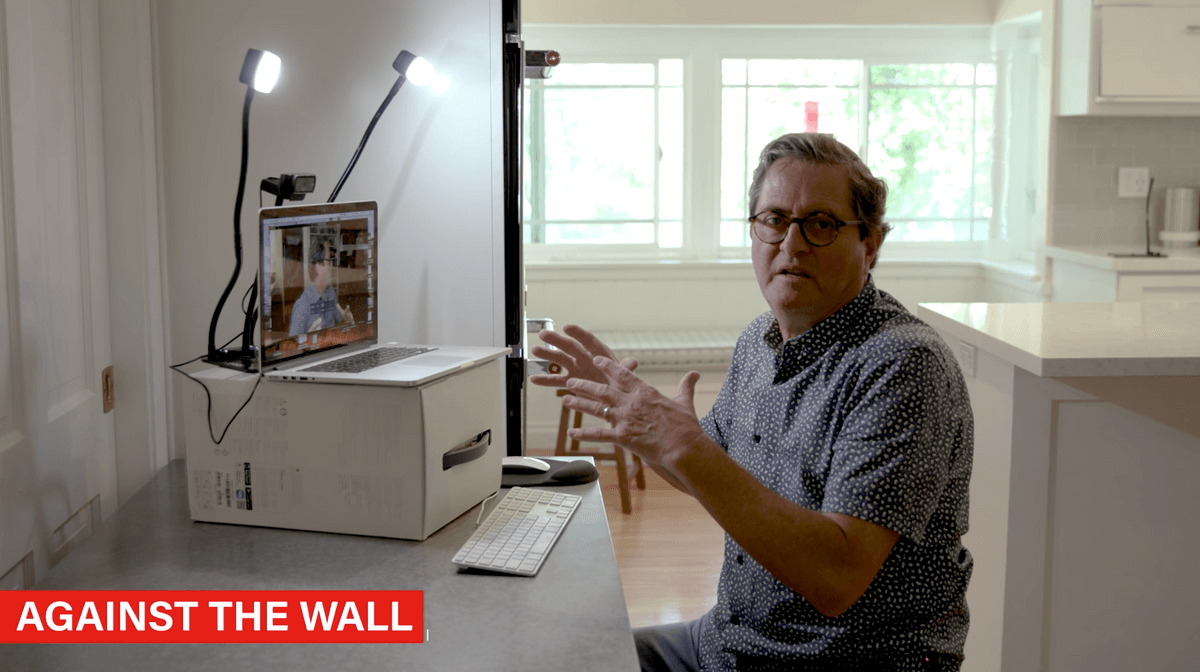
Let’s take a look at this up against a wall. I am against a wall here and very self-contained. The laptop is on the box. The lights are overhead and the camera is just above the laptop. Now we can just let the background be. This works if you have a computer set up against a wall. It’ll work if you want to move it to a different place in the house if it is too noisy where you are. Any box will work for this set-up. Take your box and tape your Platypod onto it so you can move it around if you need to.
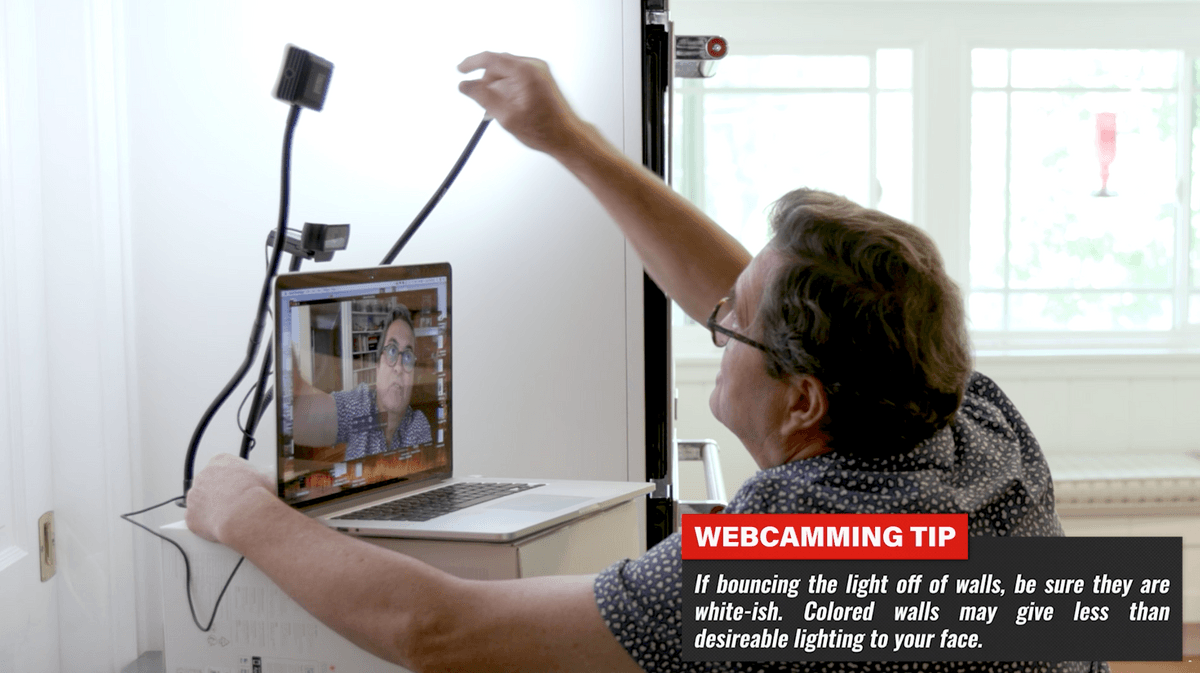
You can also take these lights and turn them so they bounce light off of the wall and back at you. It lowers the output of the lights because you are bouncing the light. So I am going to take off the covers. This gives you a much softer light. It is a very pretty light. I like this light. If you are older this is a great way to light to soften your features. Turning the lights toward you is a little more directional. You can do a combination where one light is bounced and the other is turned toward you.
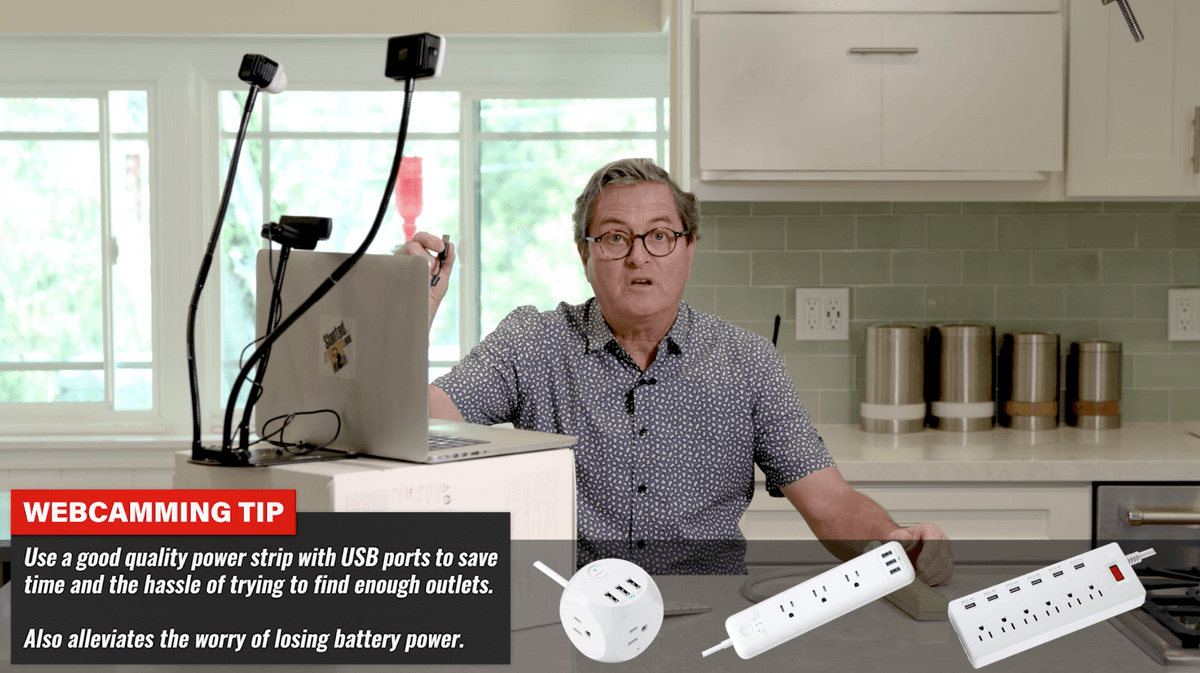
Lighting is very important. Take some time to make sure it works. This set-up with the LitraPro and LitraTorch or two LitraTorch lights and the Platypod Max and Goosenecks gives you the ability to place your lights where you need them. That is what is really important, to get them in the right position, up above your camera. If you want to be able to make the set up more permanent or if you want to be able to move it around as a package get a power strip of some sort with USB ports. Then you can take the cables off of your Litra lights and plug them into the USB ports. You can also plug in your computer and camera so you have power all day long. I am in Zoom calls sometimes that are three hours long. Using the power strip with the USB ports allows me to keep going and not run out of battery.
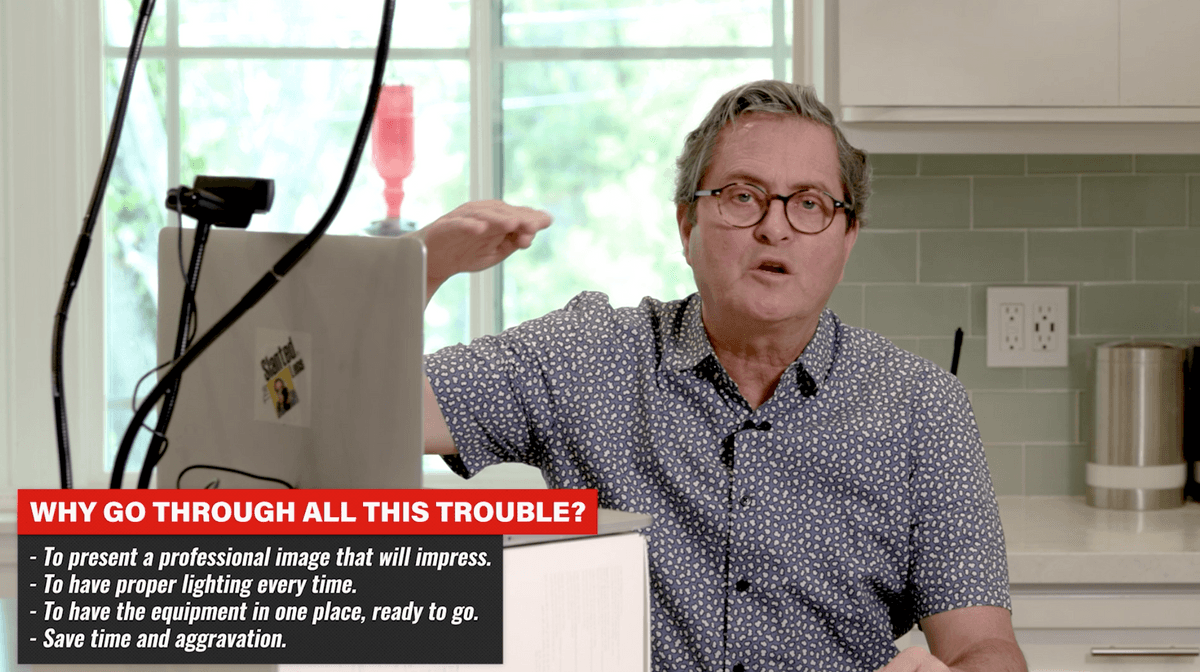
So why go to this much trouble to set this up? Because you want to look professional. You want to get your camera in the right place so you look your best. And the lights in the right place so you look your best. Then you have a very professional presentation for your Skype, Zoom or conference calls of any sort. Then you will look your best.
We would like to thank Platypod for sponsoring this segment of The Slanted Lens and Litra for providing the lights. So if you want to pick some of this up to recreate it to get your own Skype, Conference or Zoom station check out the links in this write-up. It also helps if you get them through our affiliate program.
Also, head over to our YouTube channel and subscribe. Our statistics show that only one in seventy eight people who watch our videos subscribe. So help us out by subscribing to our channel. We need your support. We want you to be a part of The Slanted Lens. Join our group and keep those cameras rollin’ and keep on clickin’!