
Soft box Comparison:
<iframe width=”700″ height=”400″ src=”https://www.youtube.com/embed/2DXF1kHVUKg” frameborder=”0″ allow=”accelerometer; autoplay; encrypted-media; gyroscope; picture-in-picture” allowfullscreen></iframe>
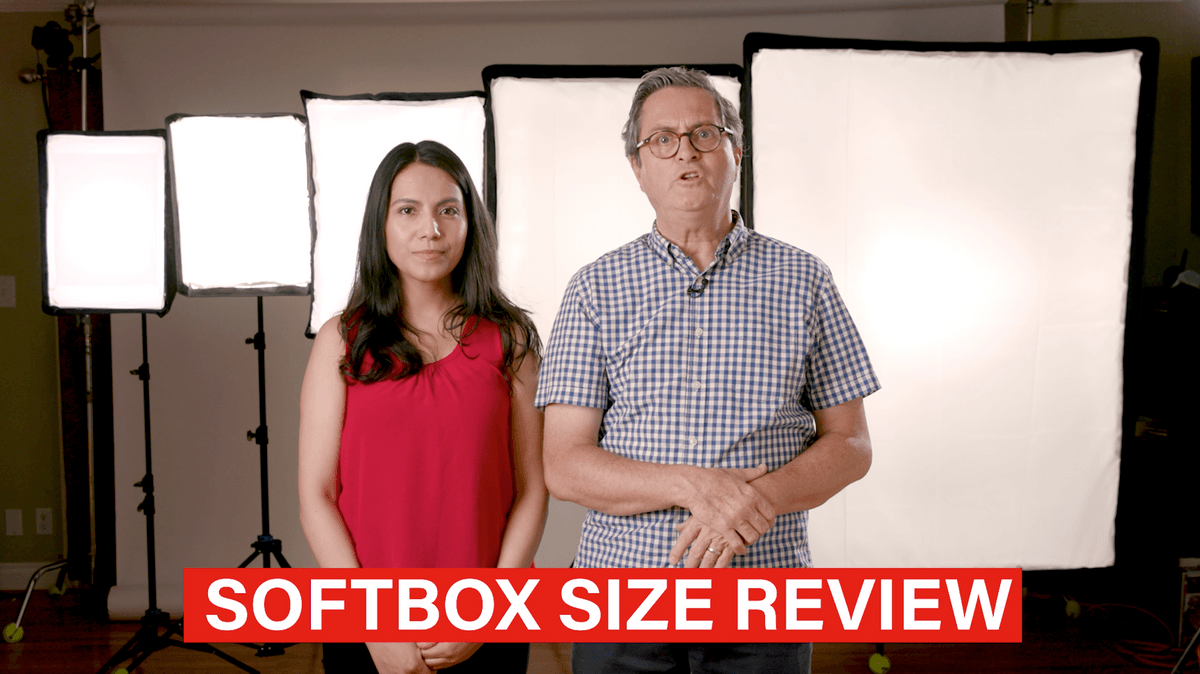
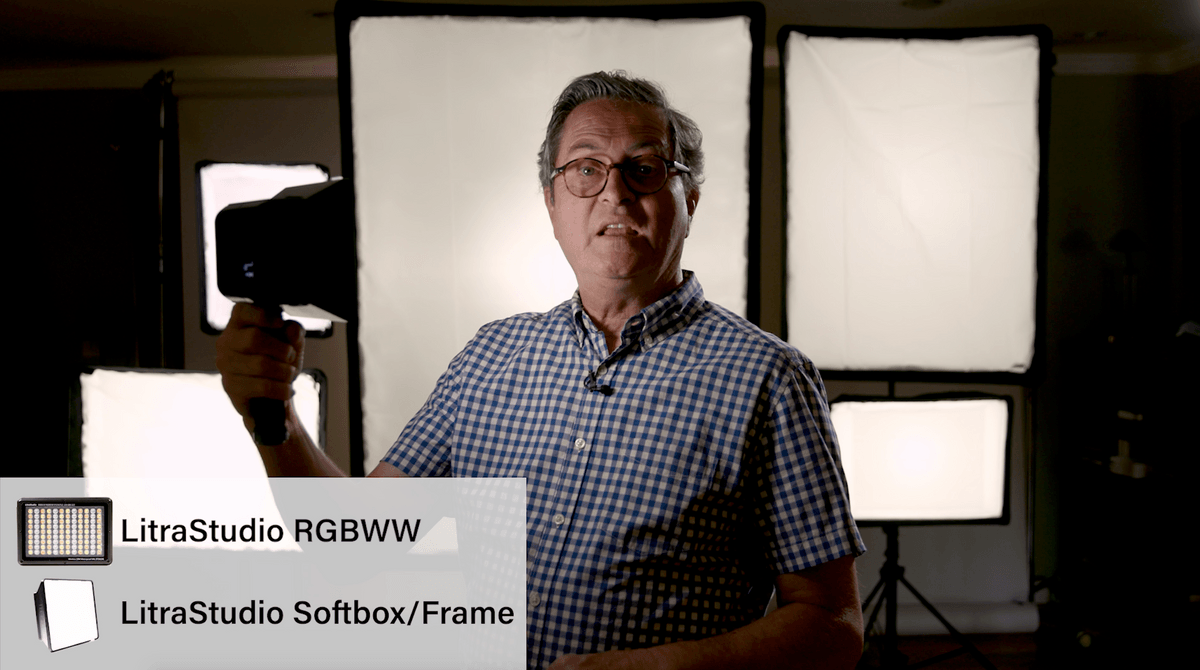
Thinking about buying a soft box? Let’s take a look at all of the different sizes and interior colors and see which one is best for you.

We want to thank Westcott for providing all of our soft boxes that we are going to look at today. The different sizes and interiors. So thank you Westcott. And let’s just take a look at the different soft boxes.

Today I have with me Marlene Marquez @MarleneMRQZ and she is going to help us take a look at lighting and soft boxes. Let’s take a look at lighting with soft boxes. 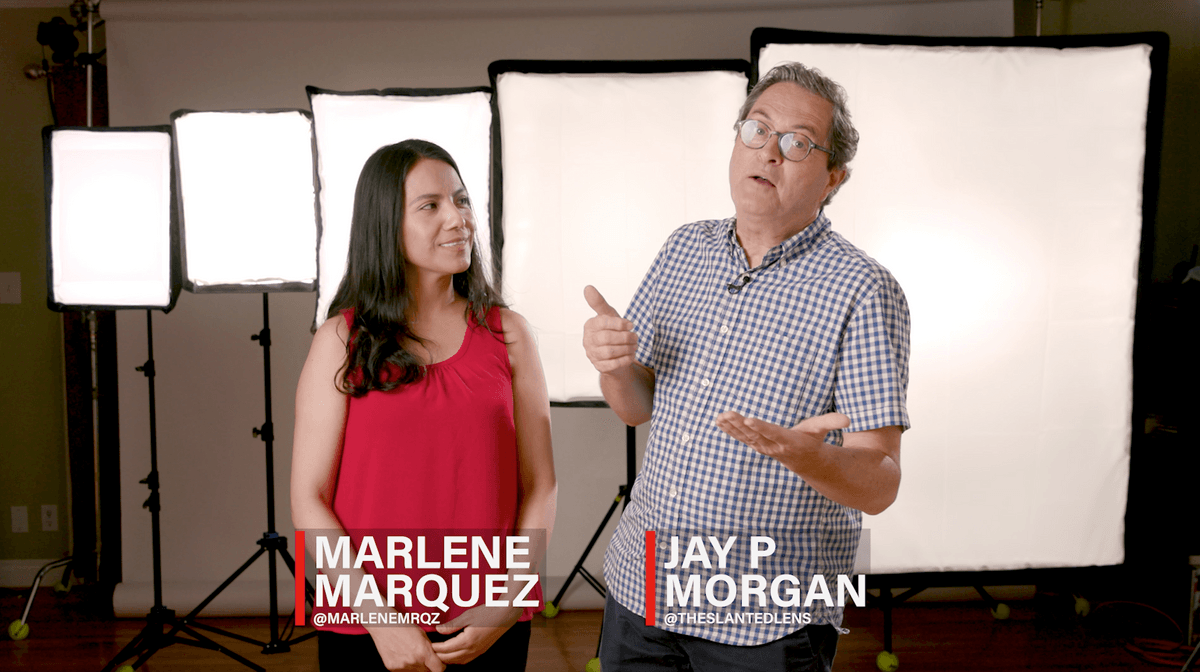


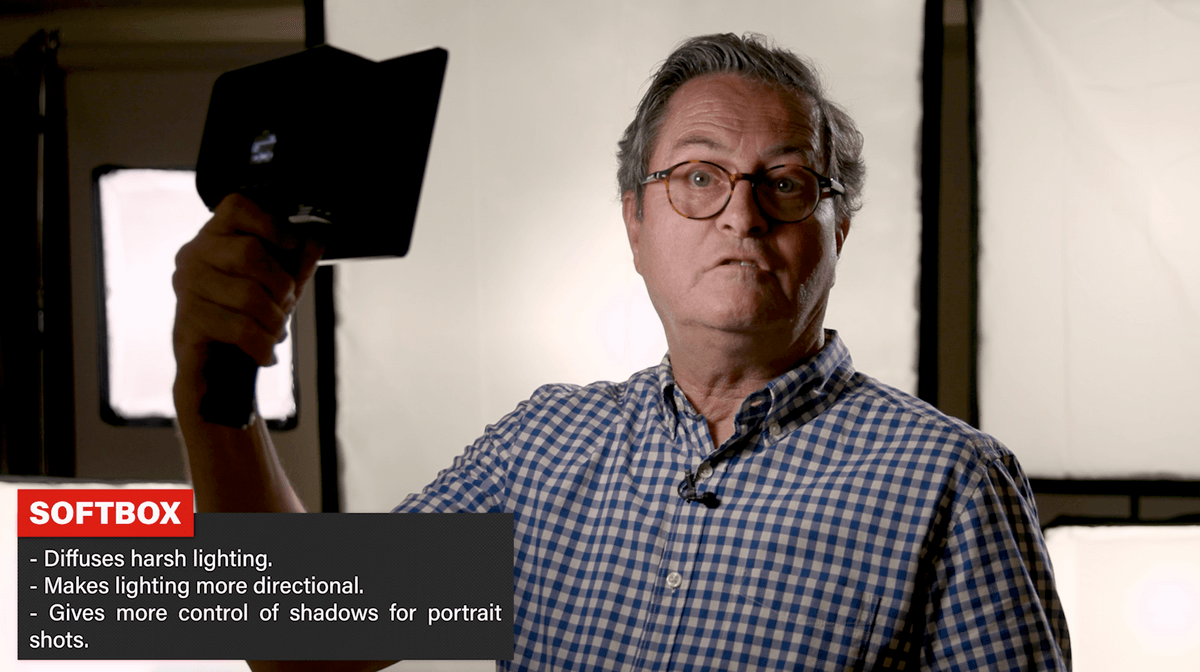
Let’s talk about soft boxes and why they are so popular and so incredibly efficient. First off, if I turn a light on my face the light is everywhere. It bounces off the ceiling. It bounces around the room. 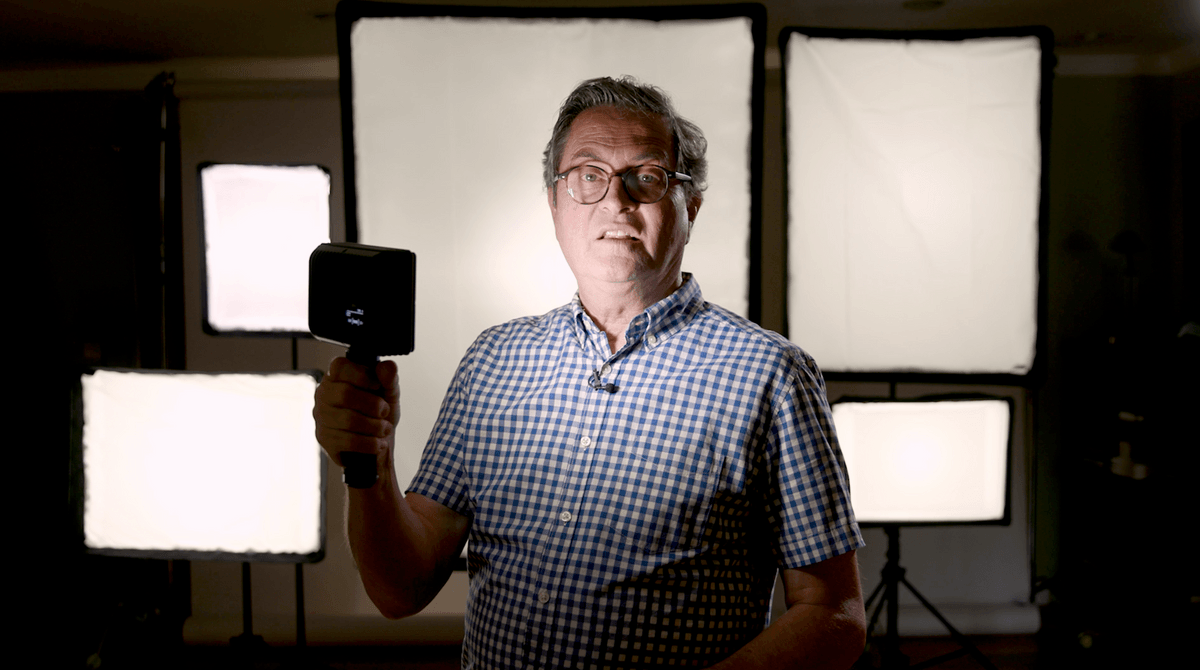


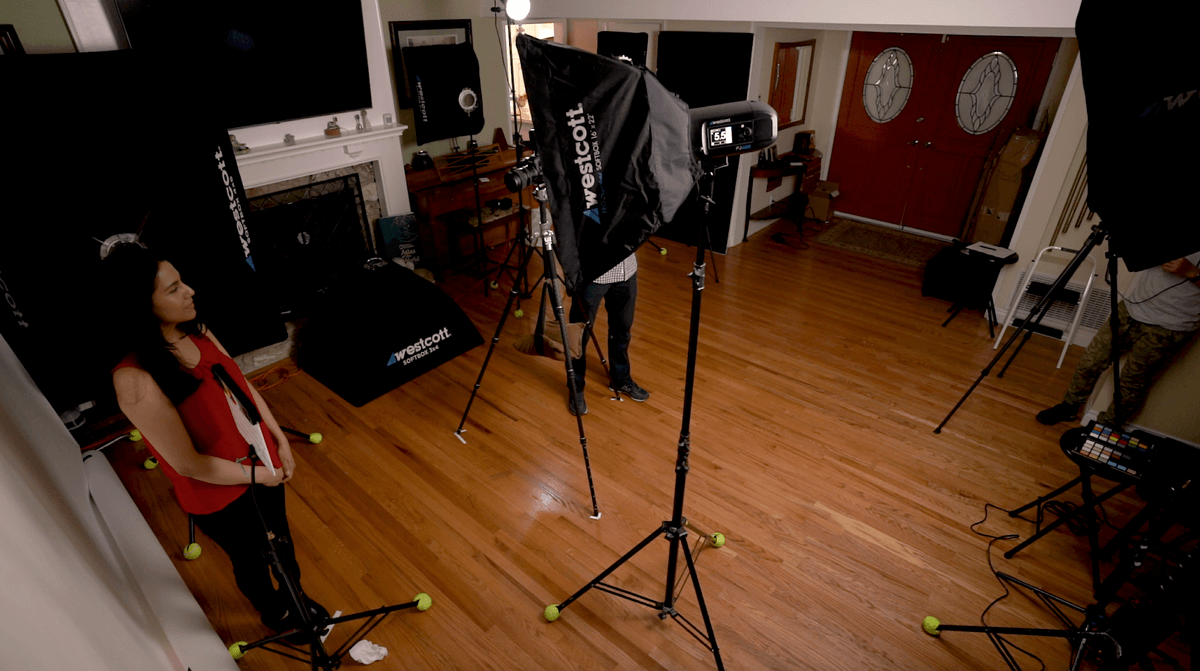

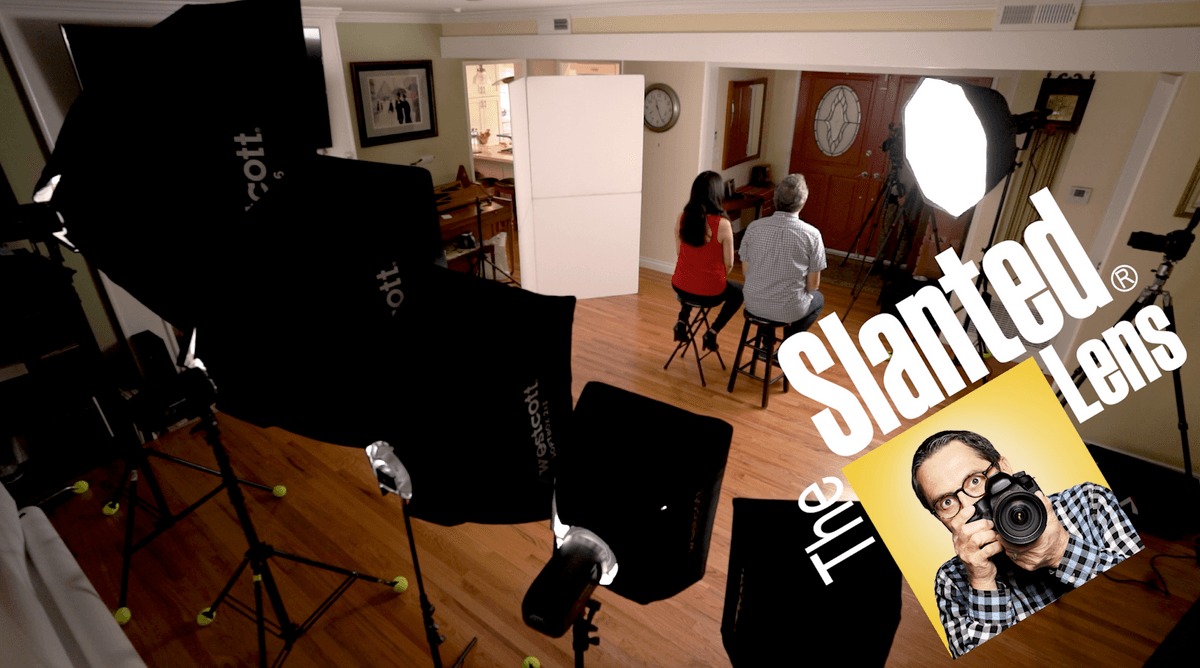
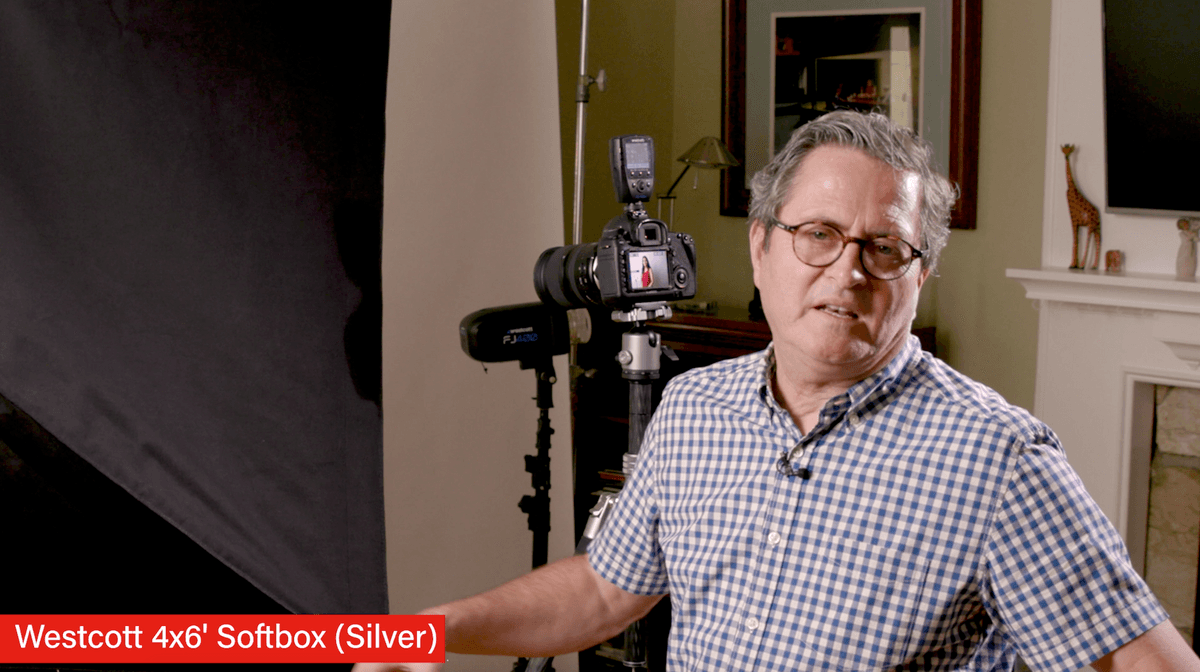
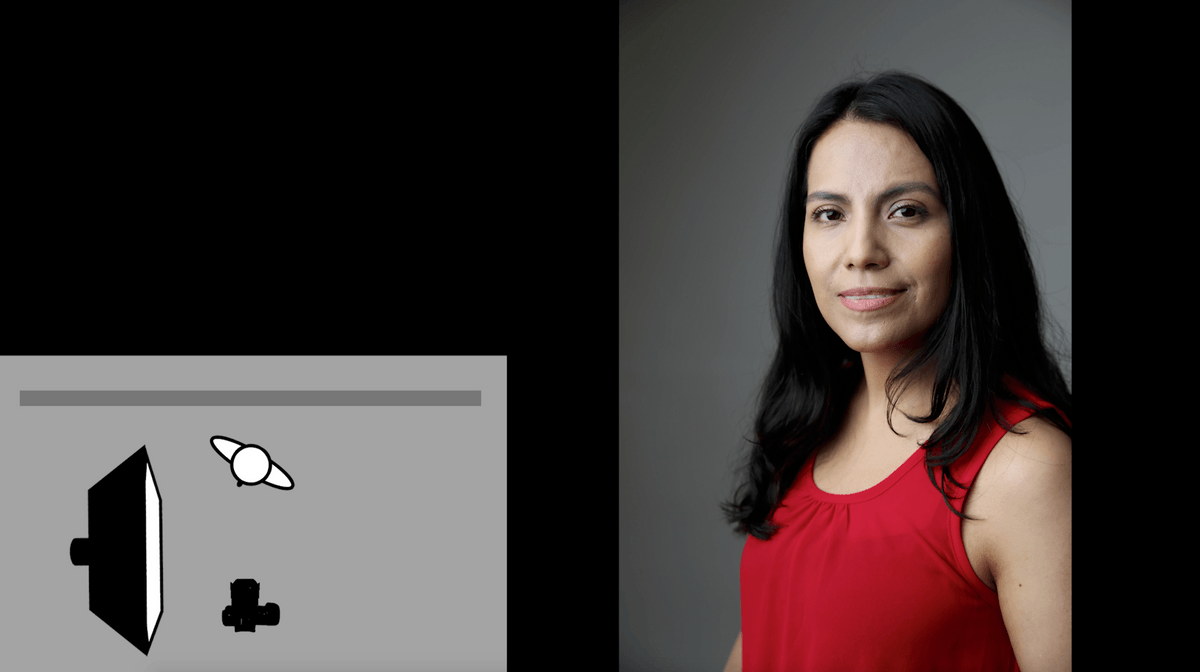
So we have our test set up here. We have Marlene very close to the seamless. I want to see the shadow that the soft box throws onto the seamless. I want to be able to see how it wraps for that close to the seamless and give us a really good information about how that box is reacting to the background as well as the face. We will shoot everything in vertical and horizontal to be able to see how that affects the shadow on the background. We will also see how it affects her face and see how soft or open it becomes as we use the larger or smaller soft boxes.


This is the first soft box. This is a 16×22” very small soft box. We will shoot that in the vertical mode. So there is the vertical mode. This is a very directional light. It gives us a strong shadow on the background. It is a very hard light on her face. Now we will turn it horizontal. 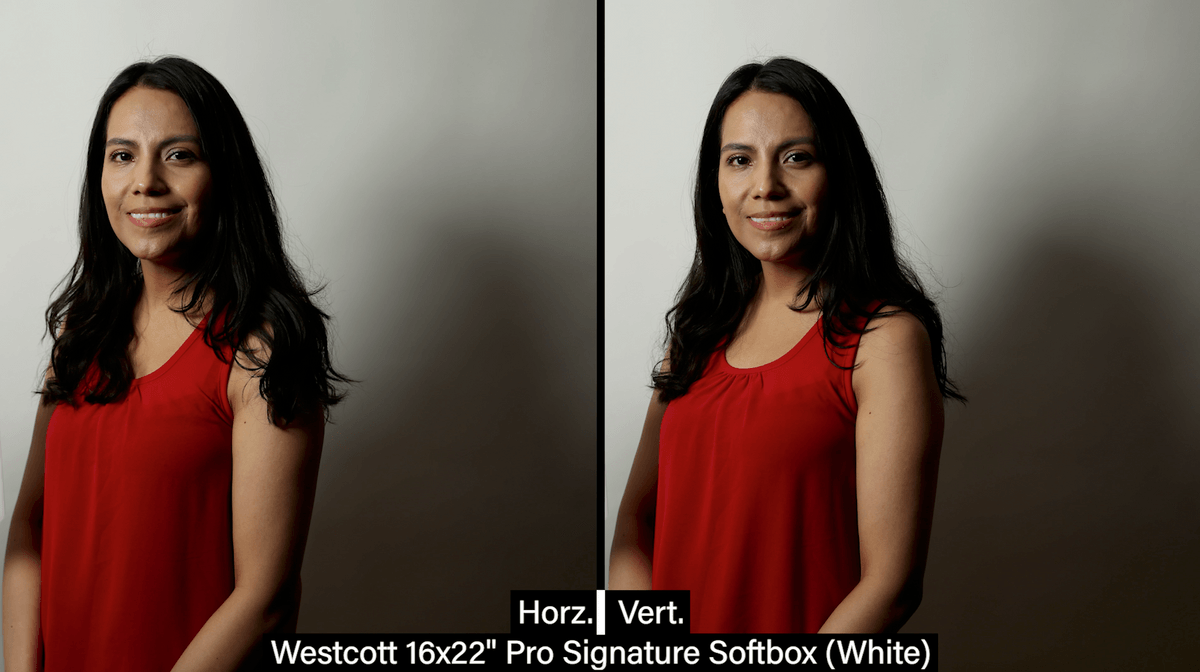

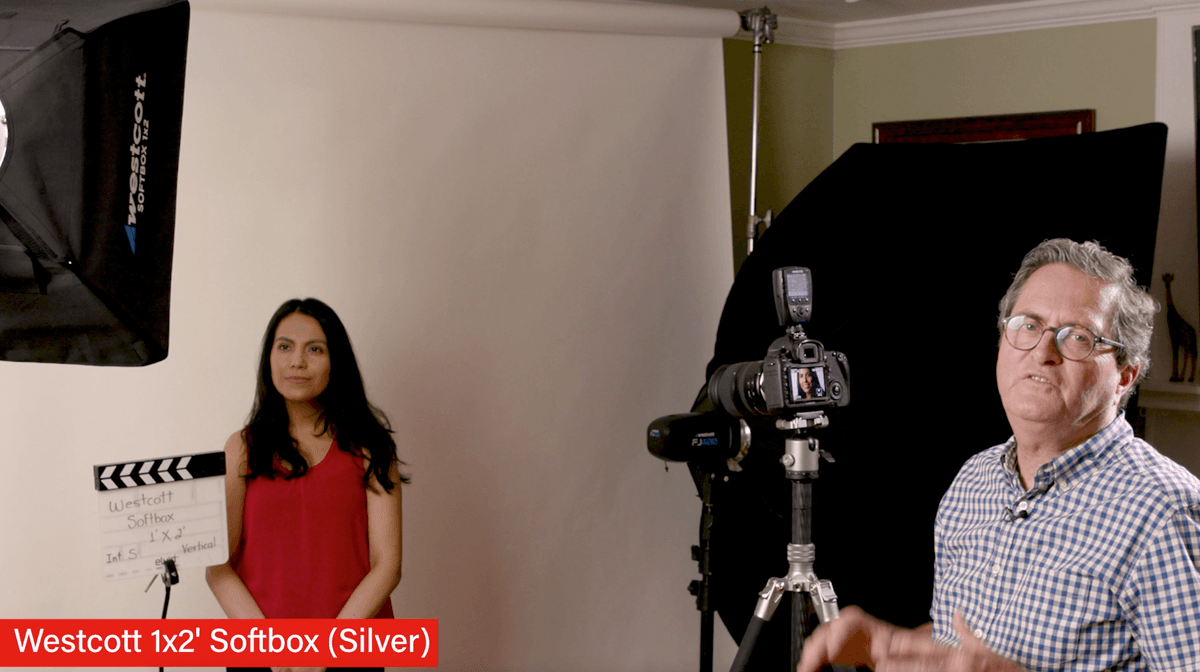

Here we shot the 1×2’ with the silver interior. So this is very similar in size to the 16×22” soft box. It is a little bit larger but not a lot. But that silver interior, the first thing it does is to pick up about a half of a stop. So on my settings I can go to one third, but it really should be a half of a stop. 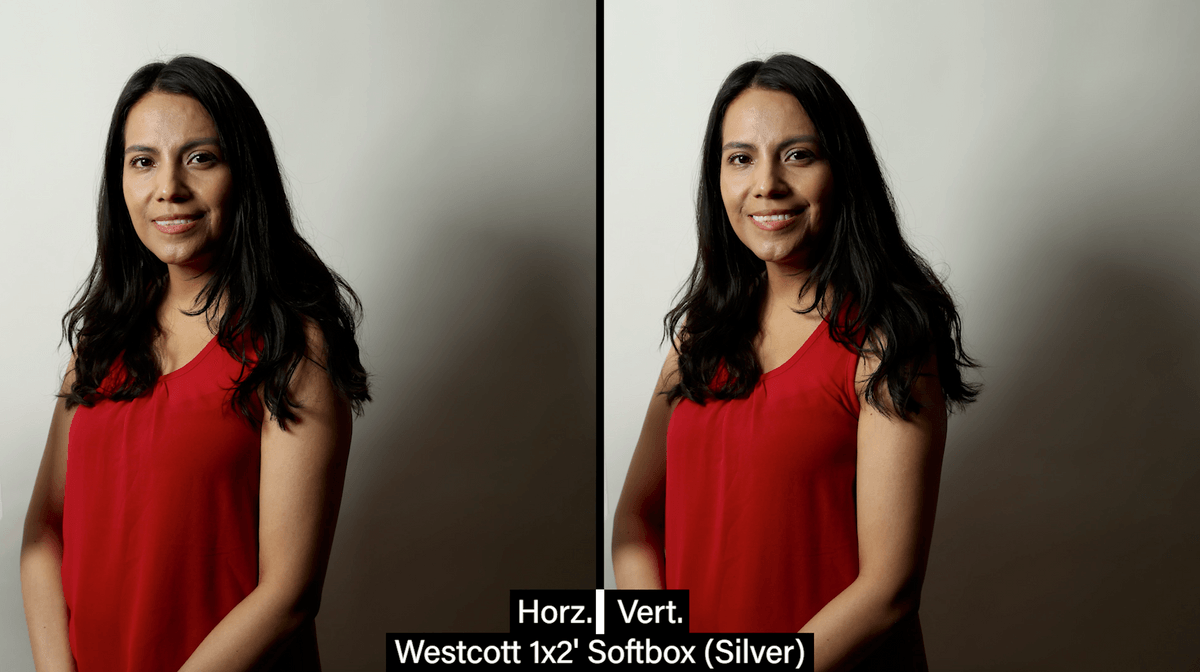

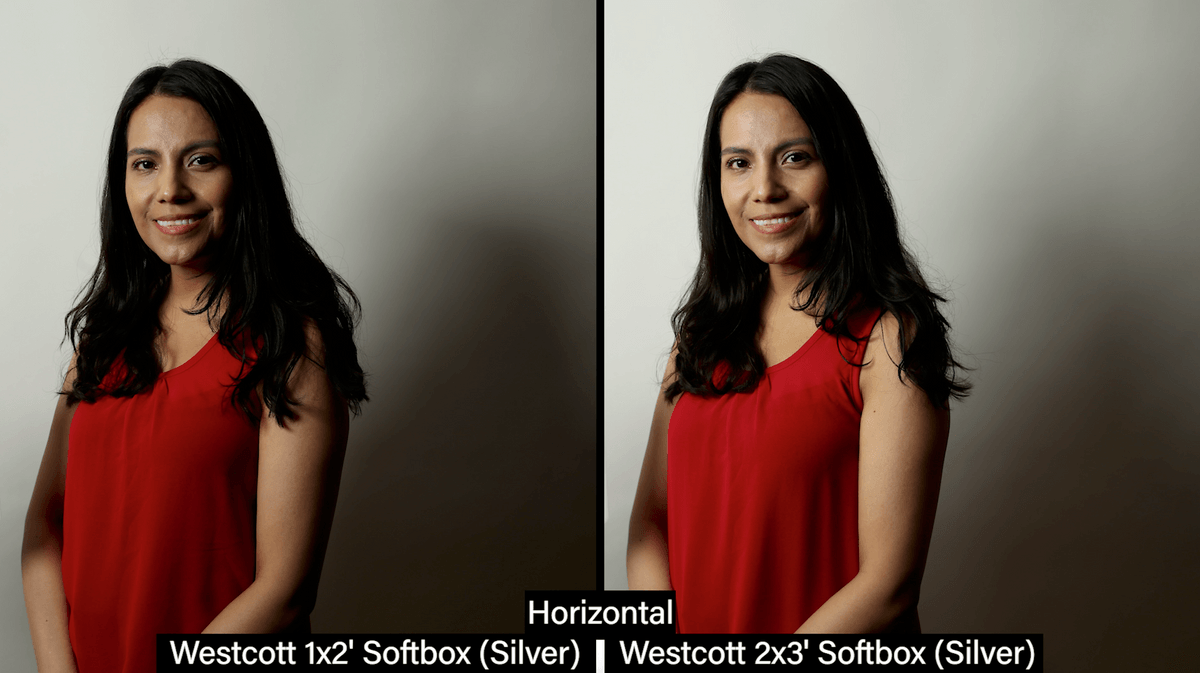

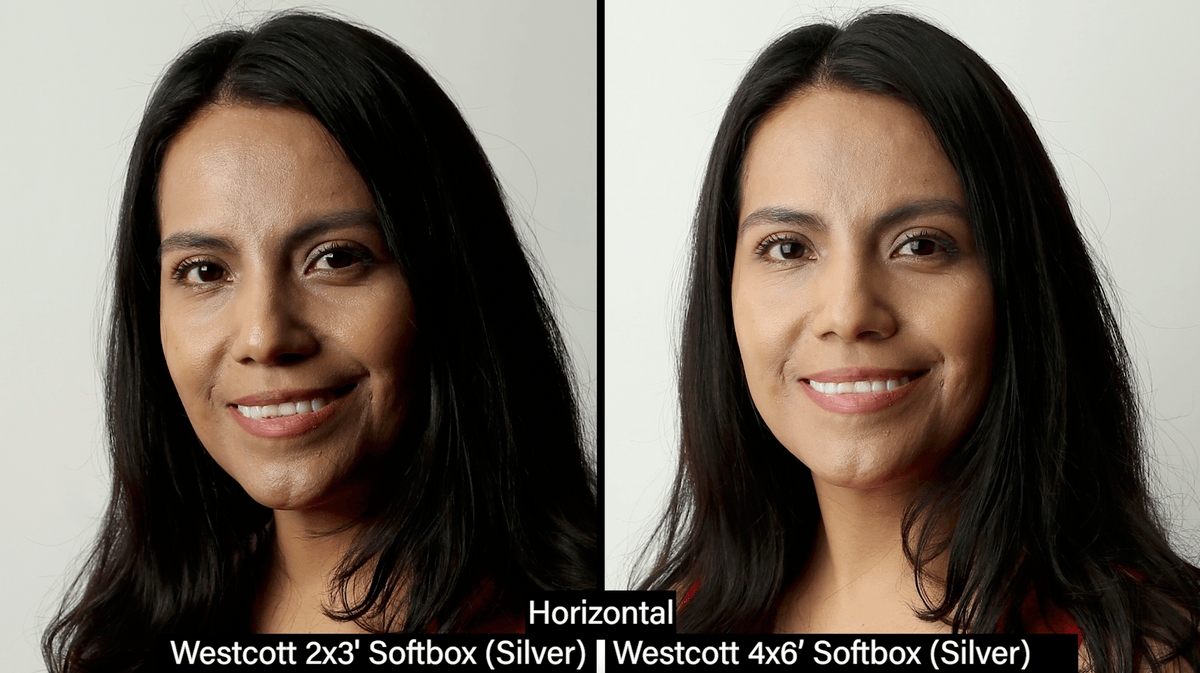
The light is going to soften and wrap a little bit more the next size up, 2×3’. So let’s compare that to the 1×2’. You see how the shadows are starting to open up a little bit as we go into the horizontal with the 2×3’ box. And it certainly gives us a much softer look than we are seeing with the 1×2’ box. The 1×2’ box is very directional. The 2×3’ box is a lot softer. This is the silver.
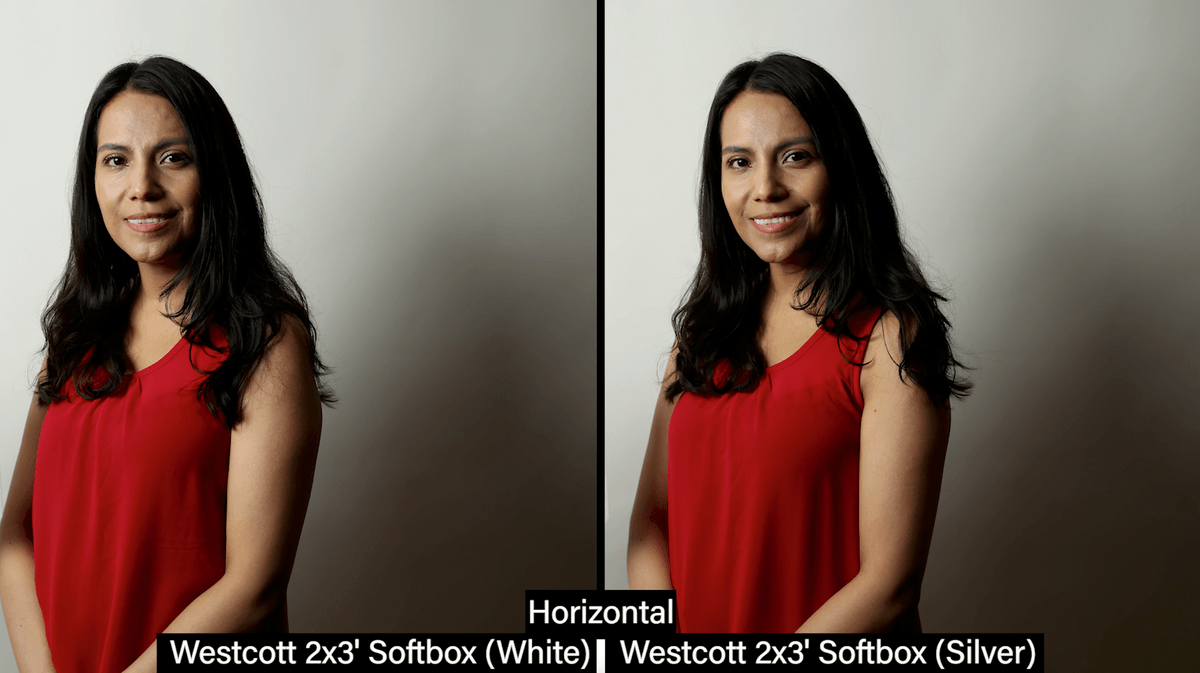

Let’s go ahead and take a look at the white interior. When I look at the difference between the silver and the white here in this horizontal mode you see it in the shadow back there. The shadows opened up quite a bit more with the white. The white is wrapping more. The white is softer. The silver is a little more directional. So it wraps the shadow a little nicer and gives a little nicer look on the background.
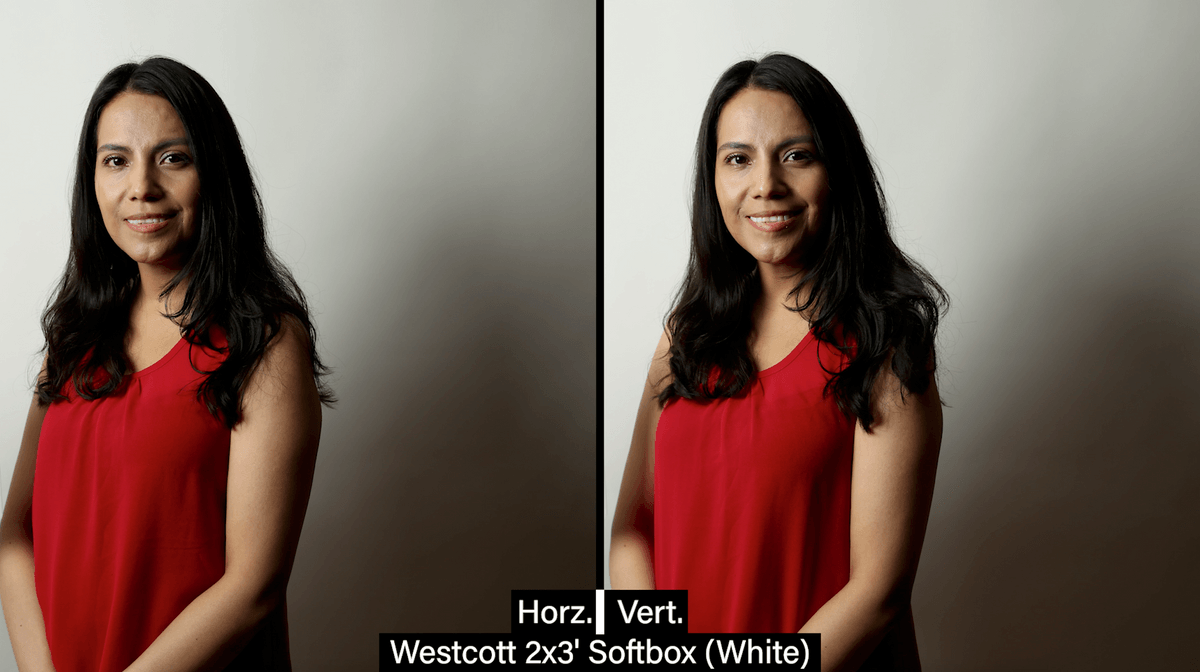

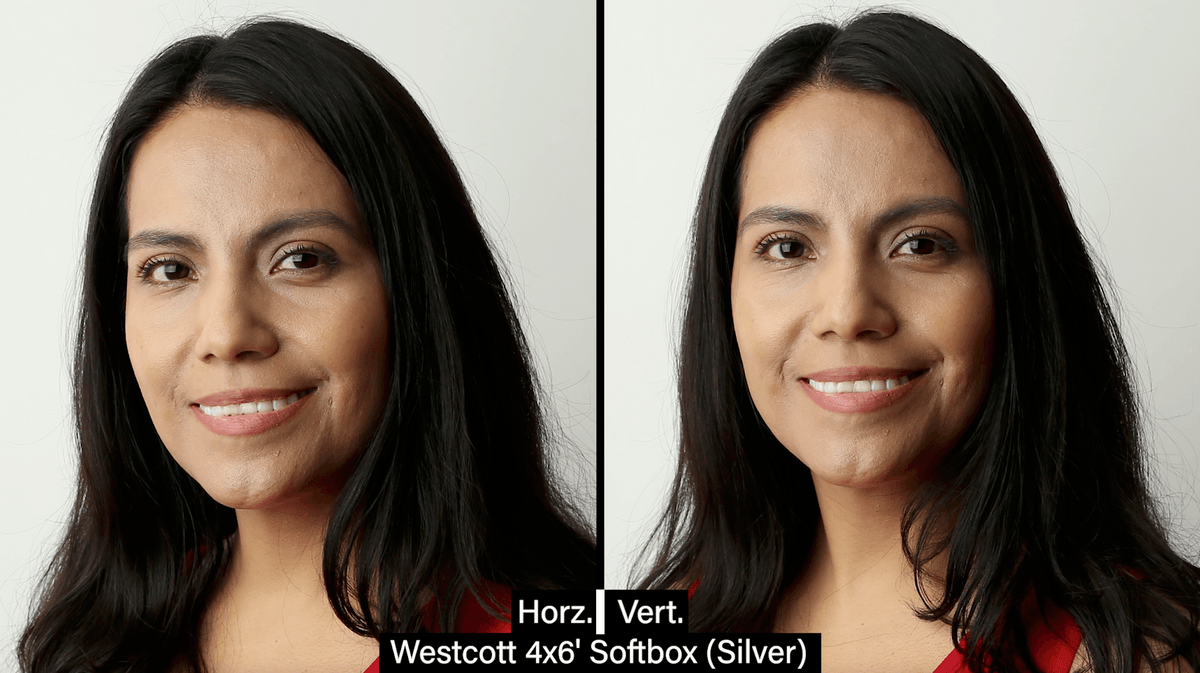
There is a really big difference between horizontal and vertical on each of these. That horizontal wraps around her body and gives you a much softer shadow in the back. That horizontal versus vertical makes a big difference.
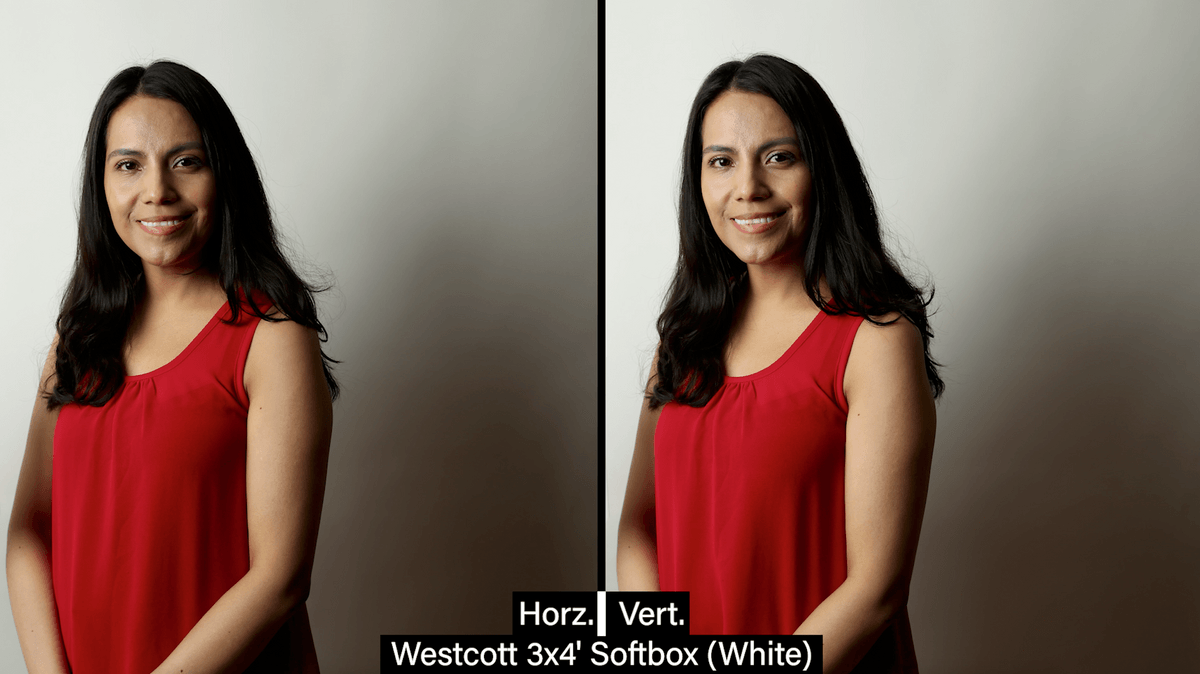

Let’s go onto a 3×4’ box now. This is the 3×4’ box with the white interior. With this larger box I am picking up a half of a stop. That smaller box was about a half of a stop darker than what I am seeing with this 3×4’ box. It seems that it is a little bit brighter to me. As the box gets larger that shadow on the background gets smaller. The shadow on the side of her nose gets softer. The light is wrapping around a little bit and giving a more open look to her face. The reality is that larger soft boxes give you softer light because you can see around the face more. It wraps more. A small source just looks at one place. That is why the sun is like a small source to us. Even though it is huge, it is so far away it is just a small point. It can’t see around a face when it is coming in from the side.
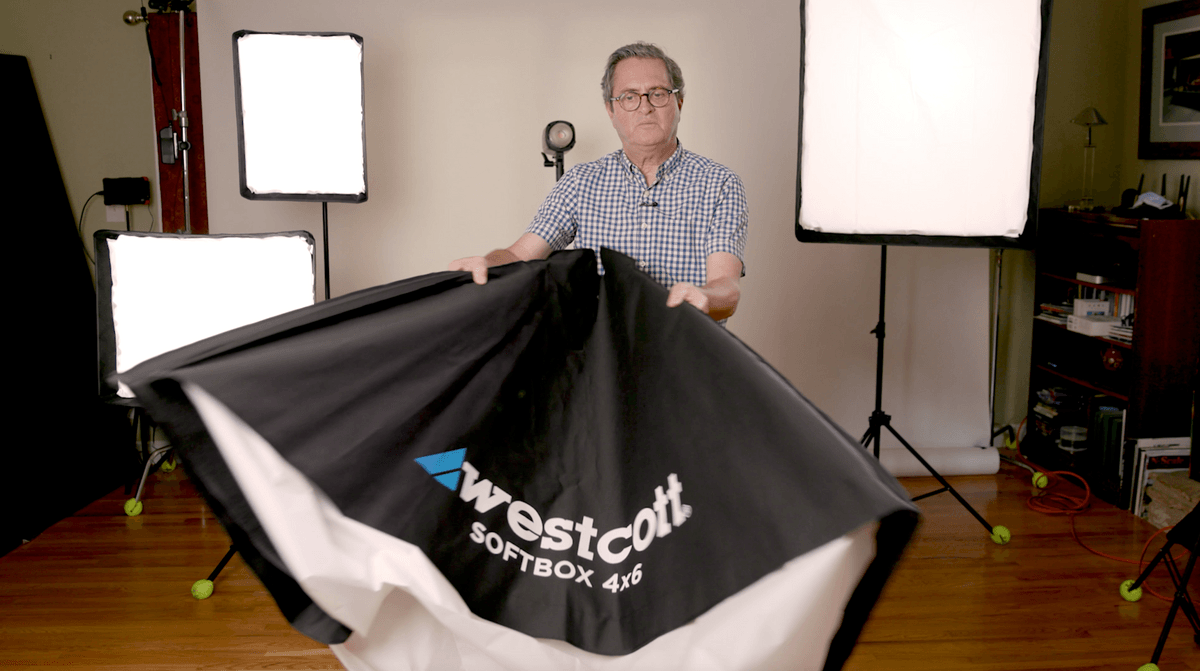
This 4×6’ box is wrapping completely around her. That shadow falls off and is almost gone. You can see a little bit of shadow, not that much. Because the box is so large it is coming right over next to the lens and wrapping around her face. We see a much more open shadow on the side of her face on the side of her nose.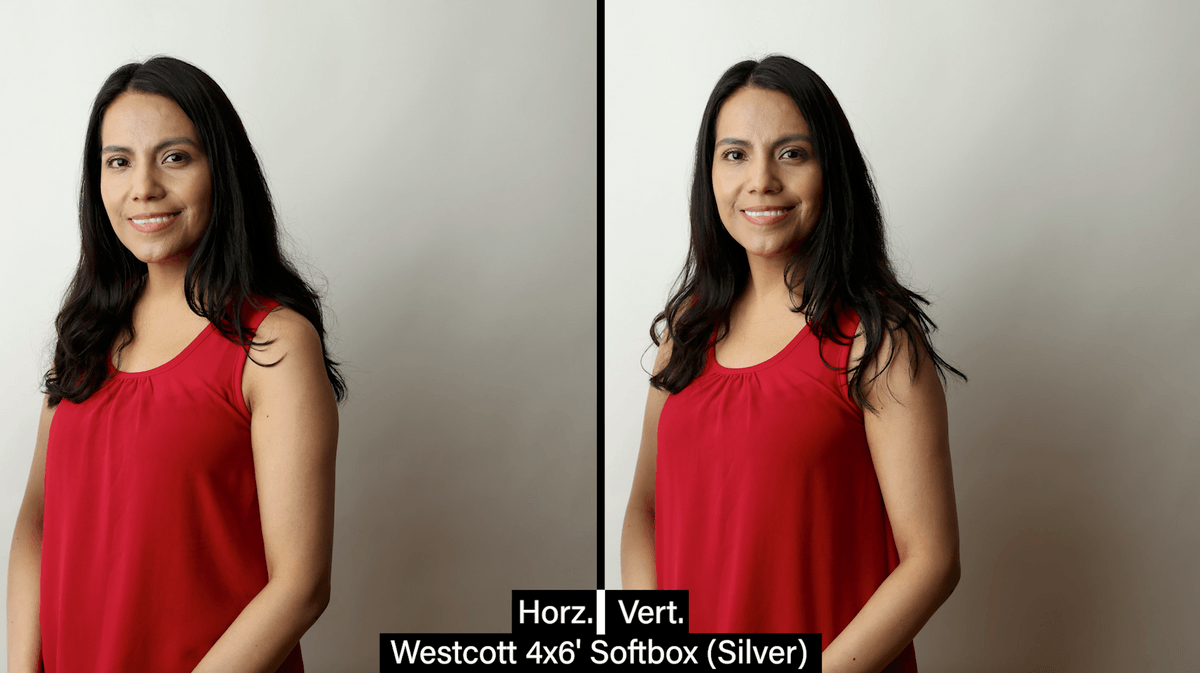

So with this great big soft box I can make it look very moody. Here is a shot that is very moody. 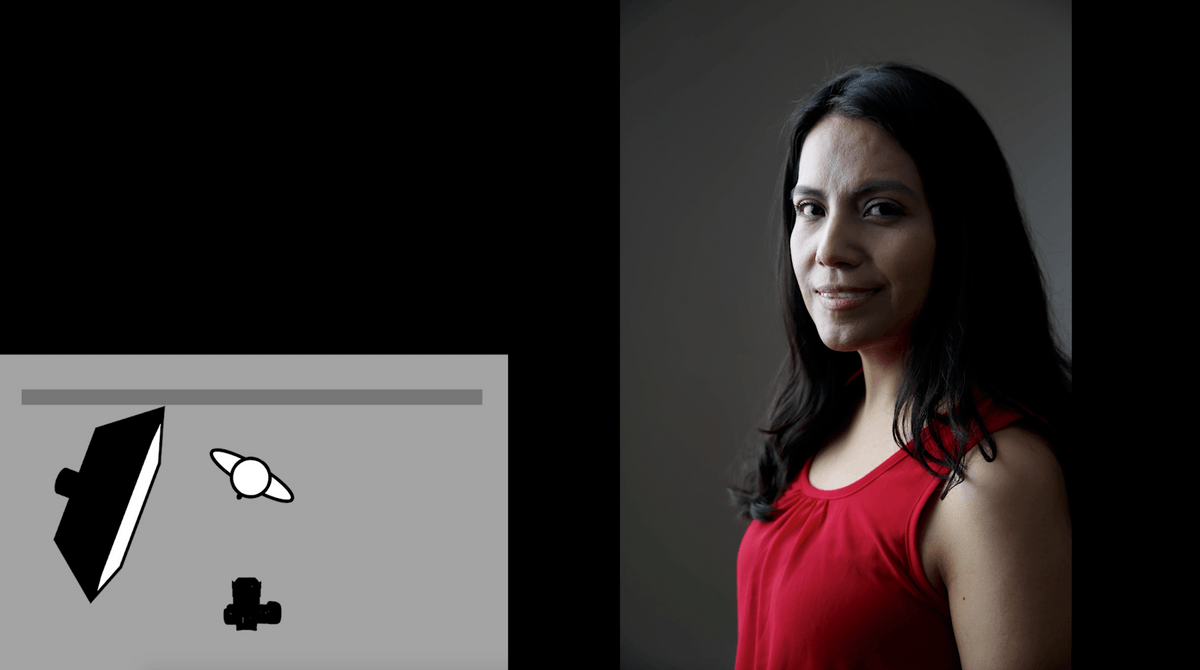


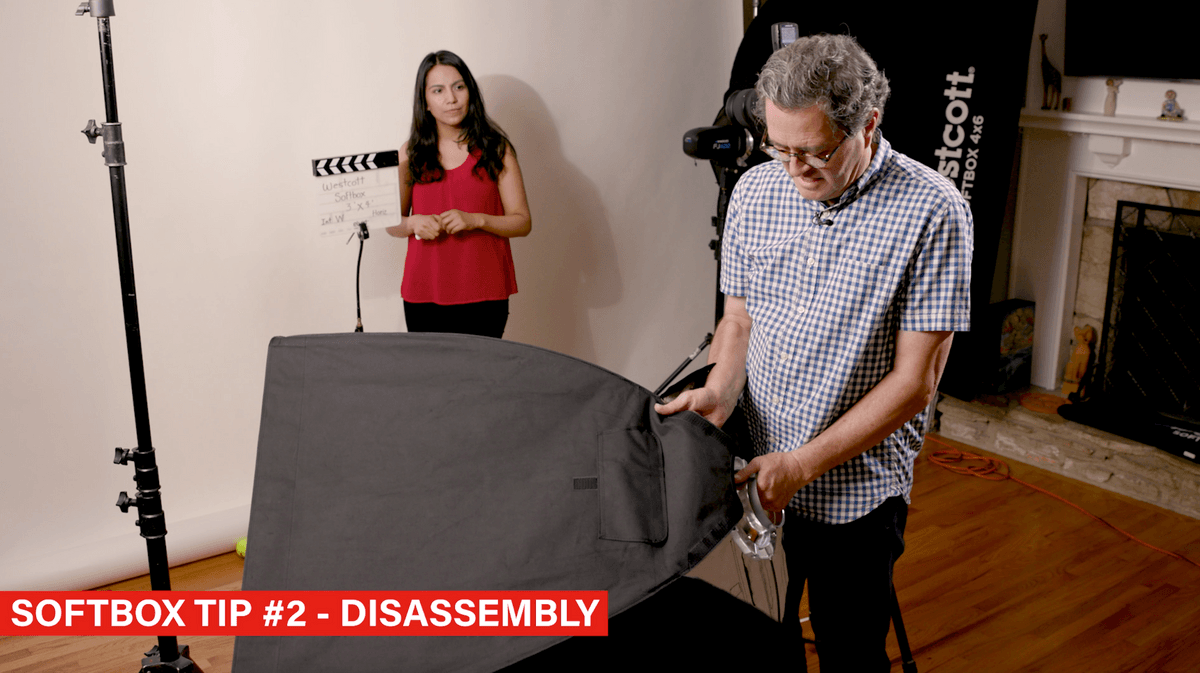
Just a quick tip on how to take these things apart. If you just try to pull the soft box out of the speed ring it is just too hard. You are fighting physics here. 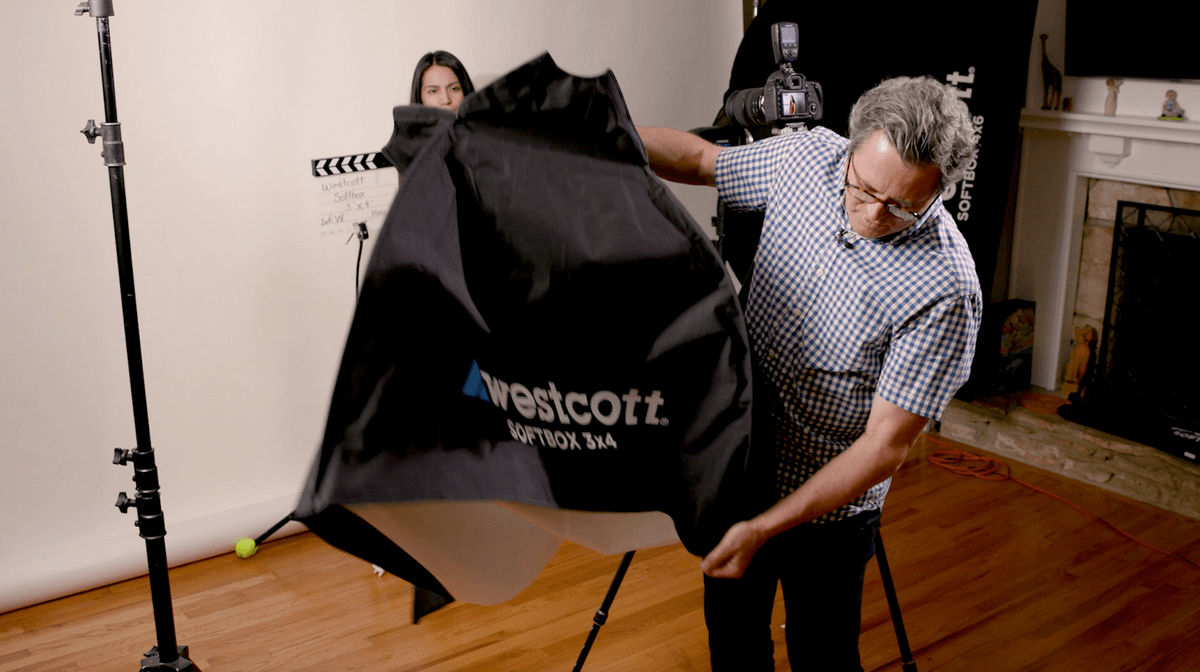


Here is the proper and easy way to fold a soft box. I see people trying to do a million things. This is very simple. Take two rods and put them together. Then pull up the next rod and put them together.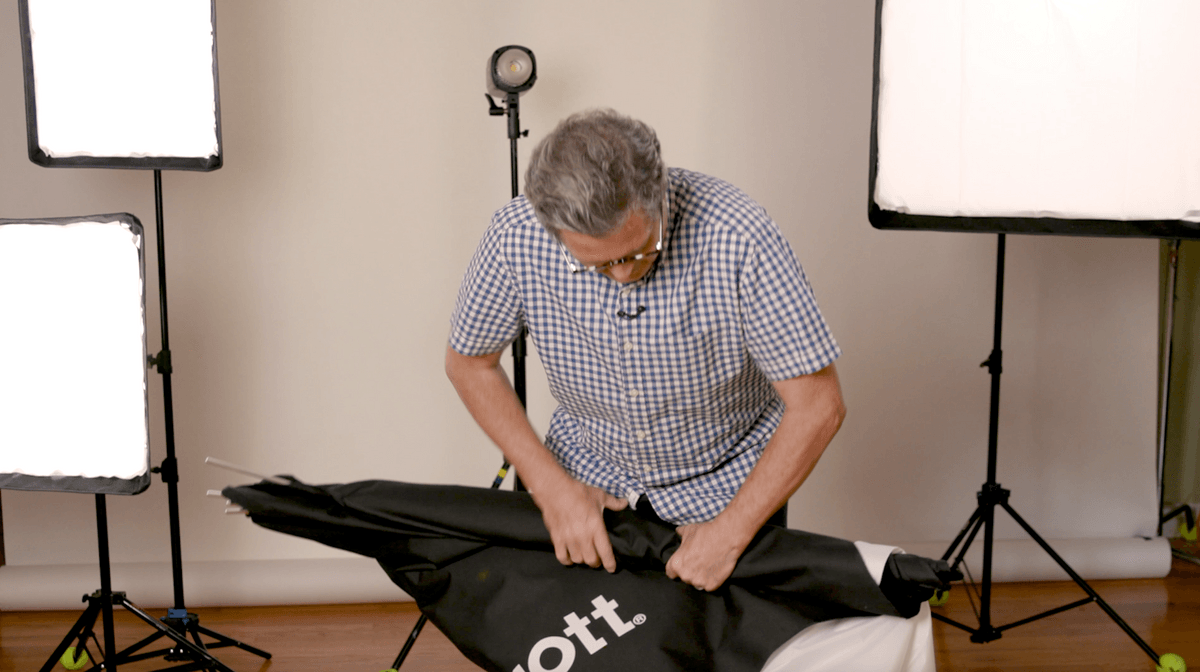

There is a look at soft boxes. I hope you have enough information so you can make a decision the next time you go to purchase a soft box. Or, now you know how to use the soft boxes that you already own.


A special shout out to Westcott for providing all of our soft boxes here today. Links are below if you want to find any of these soft boxes. Get them through our affiliate program. We appreciate that support.


We would also love it if you subscribe to our YouTube channel at The Slanted Lens. Help us out by subscribing. Leave a comment. Share with us things that you have learned so our community can grow together. So keep those cameras rollin’ and keep on clickin’!

Datacolor and their monitor calibration products have been part of our workflow here at The Slanted Lens for years. I am excited about the fact that they recently released a new product called the SpyderX Elite. SpyderX Elite does several things that are very helpful. 1. It calibrates very quickly. 2. It also is very simple to use. The software walks you through the process. 3. It prompts you when it is time to do it again. I have always thought is doesn’t make any sense to go out and take a great image and get your color and exposure great and then take it back and put in on your computer that is not calibrated. How can you do your correction and editing correctly? Calibrate your monitor. Make sure it is correct. Especially with your SpyderX Elite the highlight and the shadow details are where you can see them in order to adjust them to exactly where they need to be. Check it out at our affiliate program at B&H or Amazon. That’s the Datacolor SpyderX Elite!