When you are juggling Aperture, Shutter and ISO it’s called equivalent exposure. Understand it so you can keep those three balls in the air and get the exposure and creative outcome you want.


Let’s talk about the balancing act called equivalent exposure. Every scene has a certain amount of light in it. 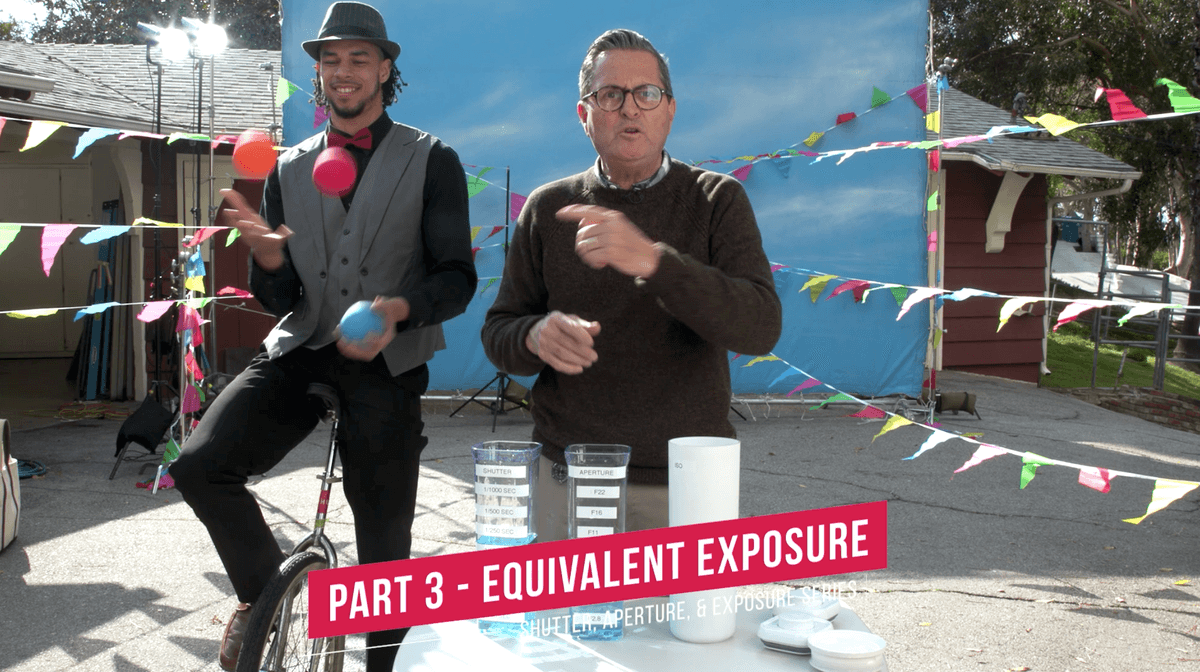

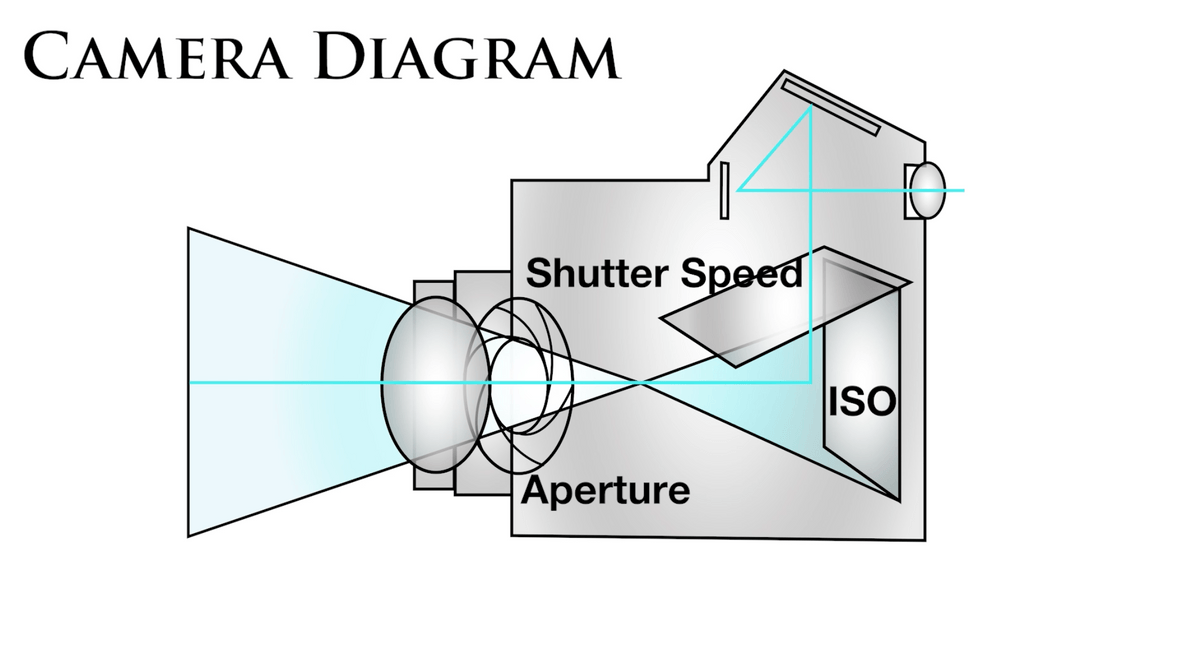

In the exposure triangle we have 3 things we are working with.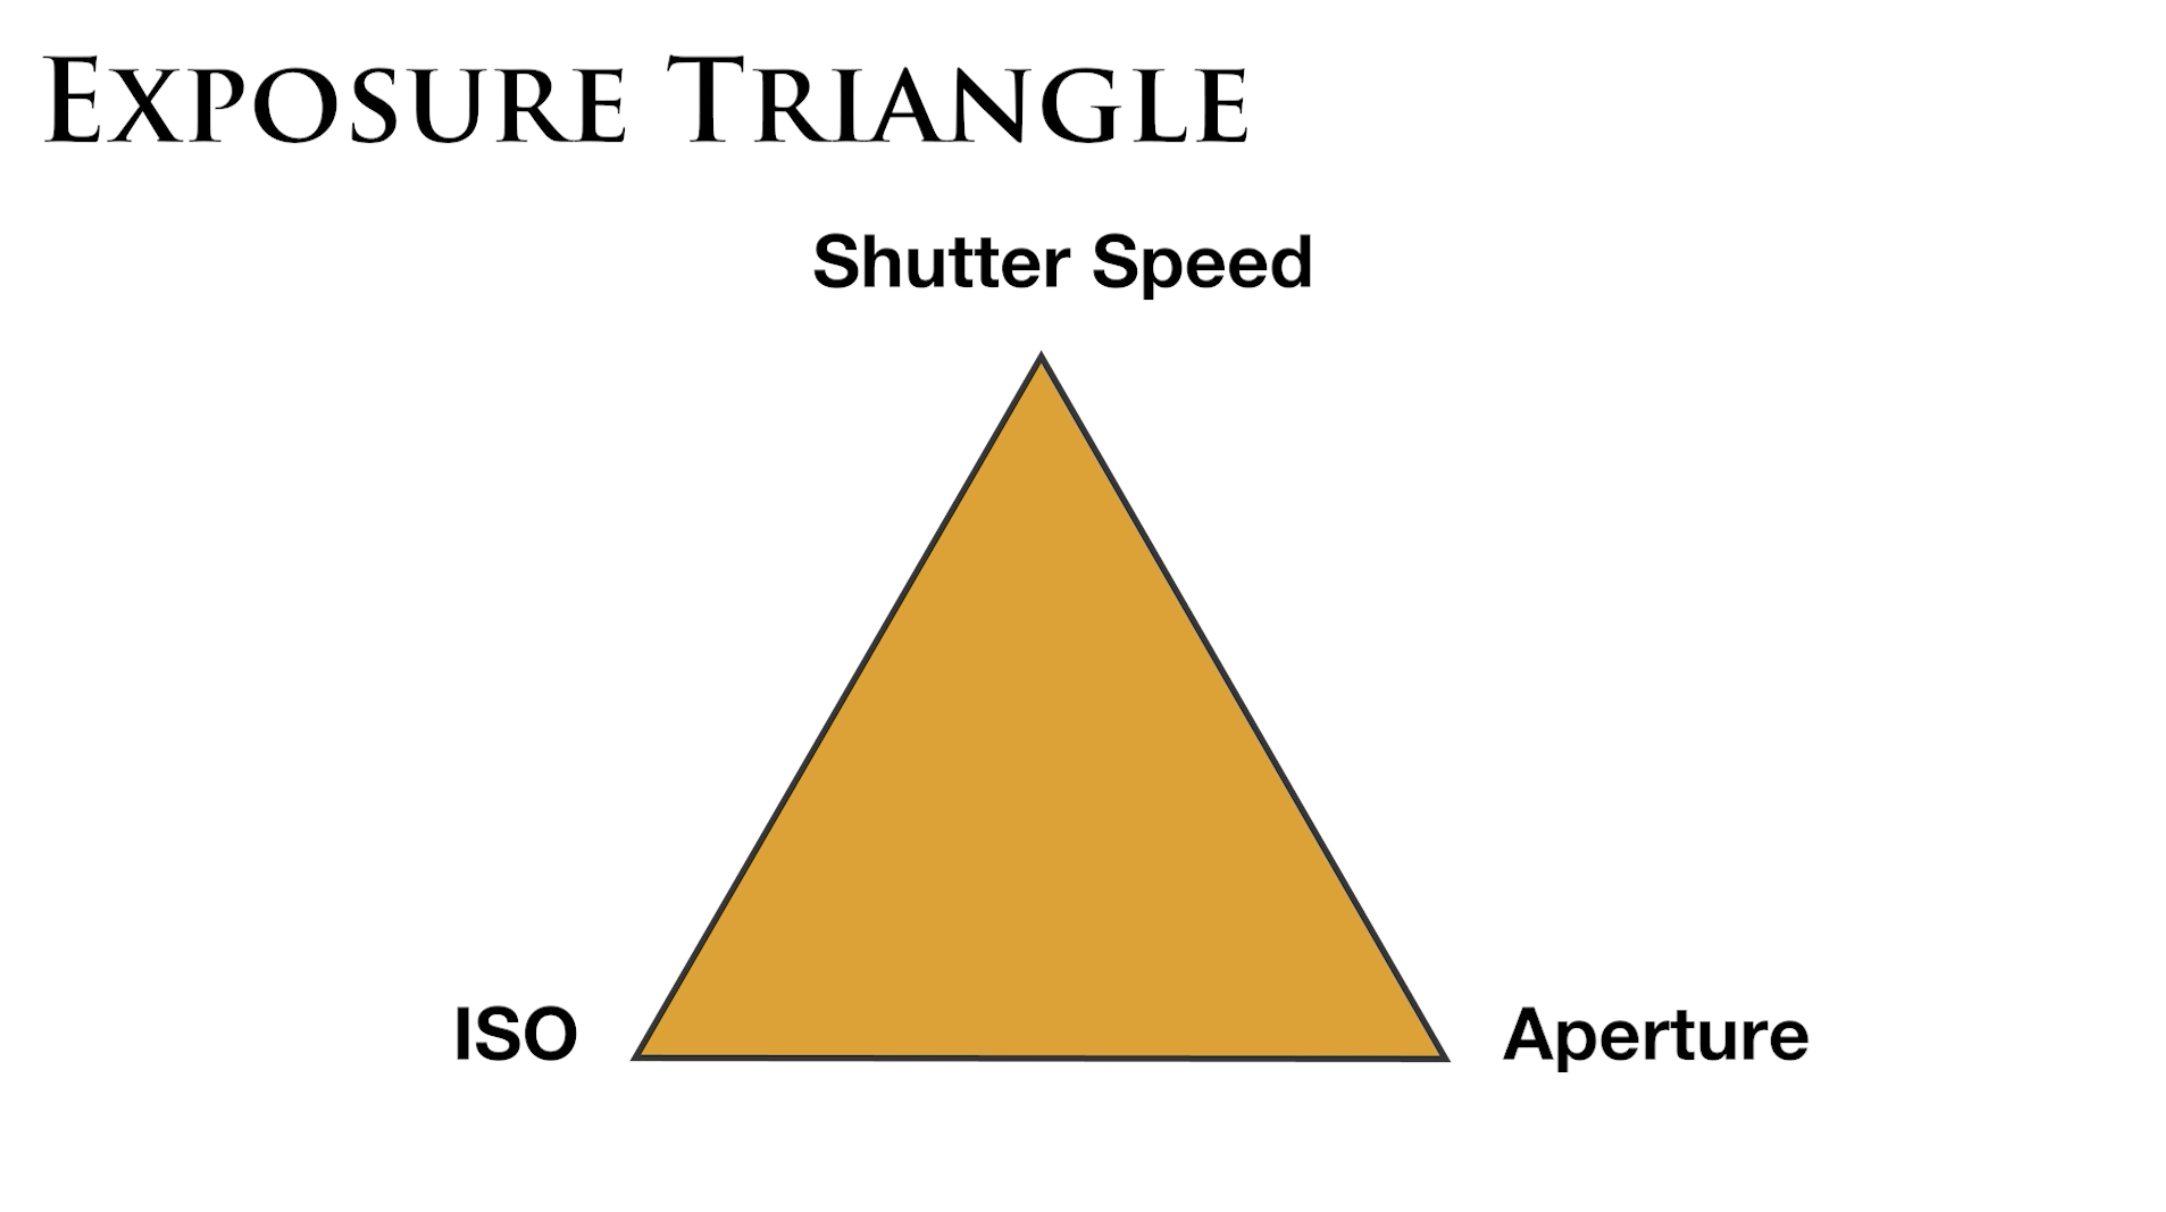


1. APERTURE
The aperture controls what is in focus, how much depth of field there is. Look at a picture of this cactus. 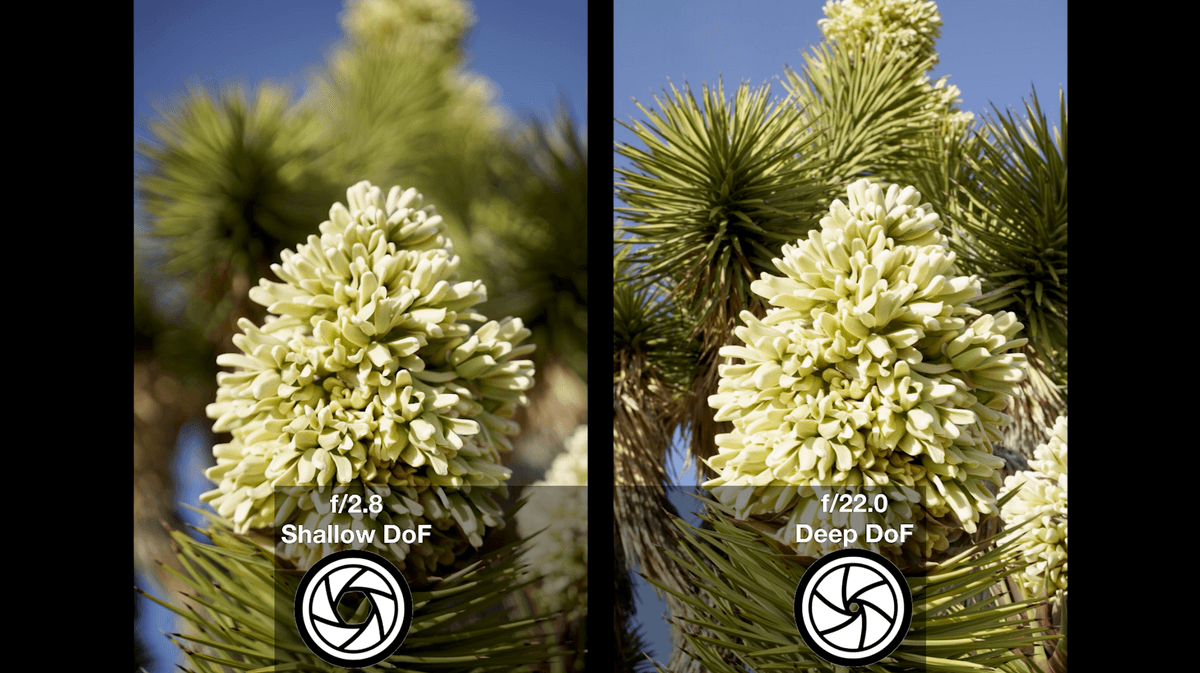

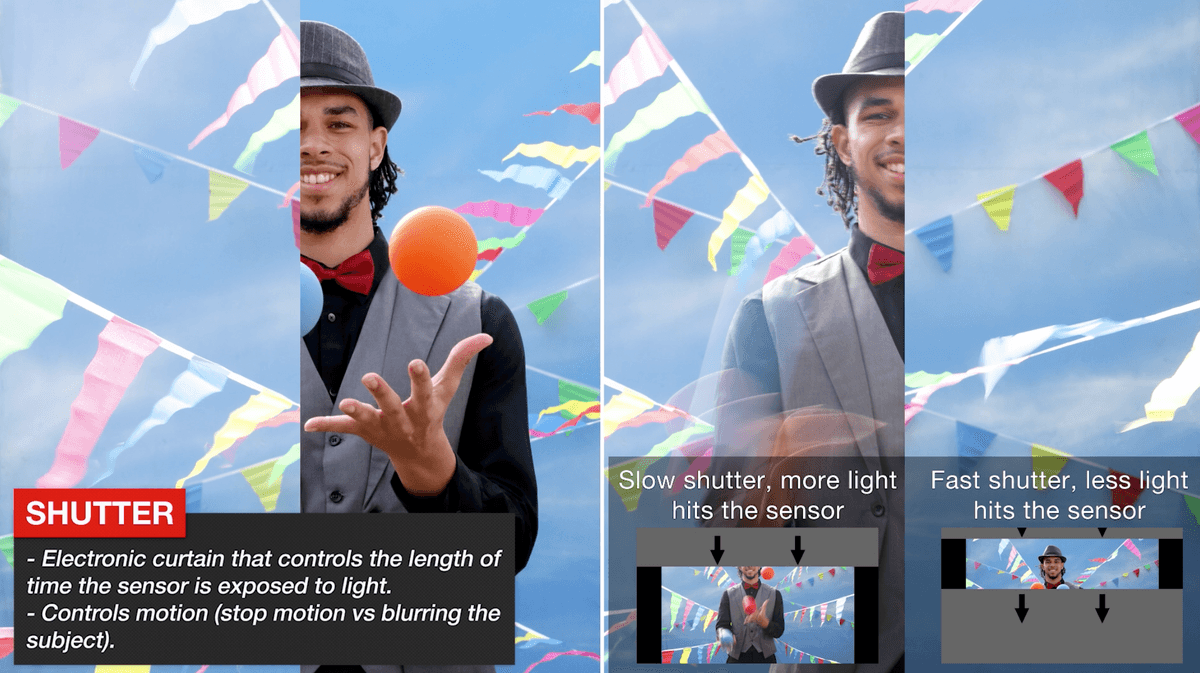
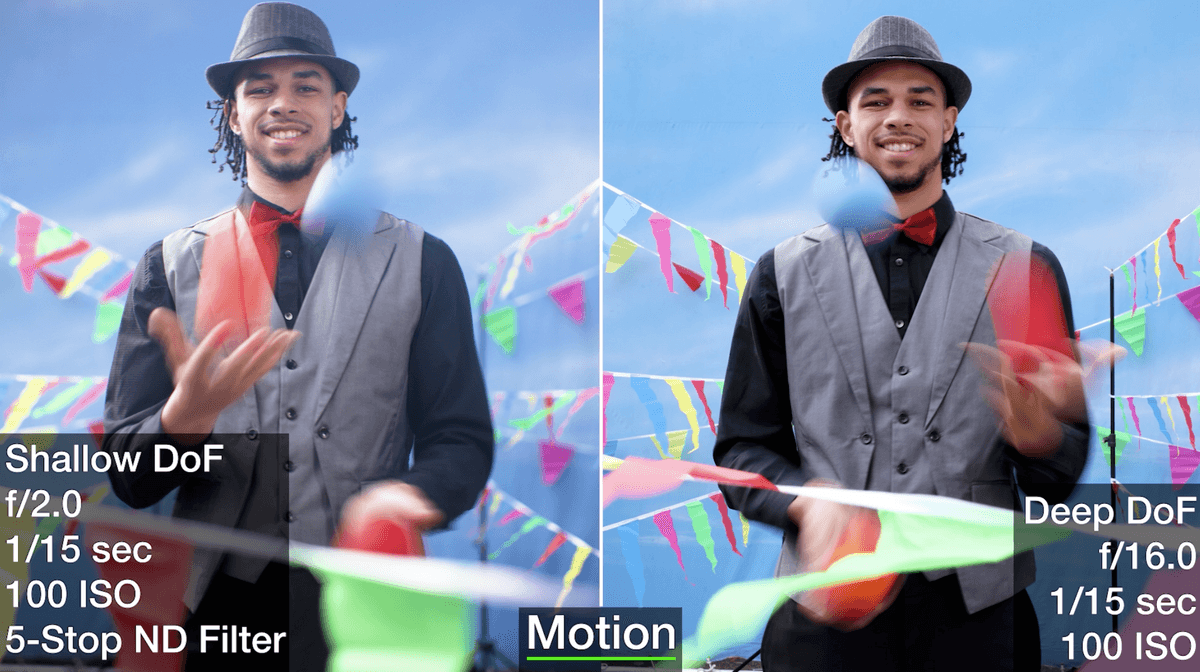
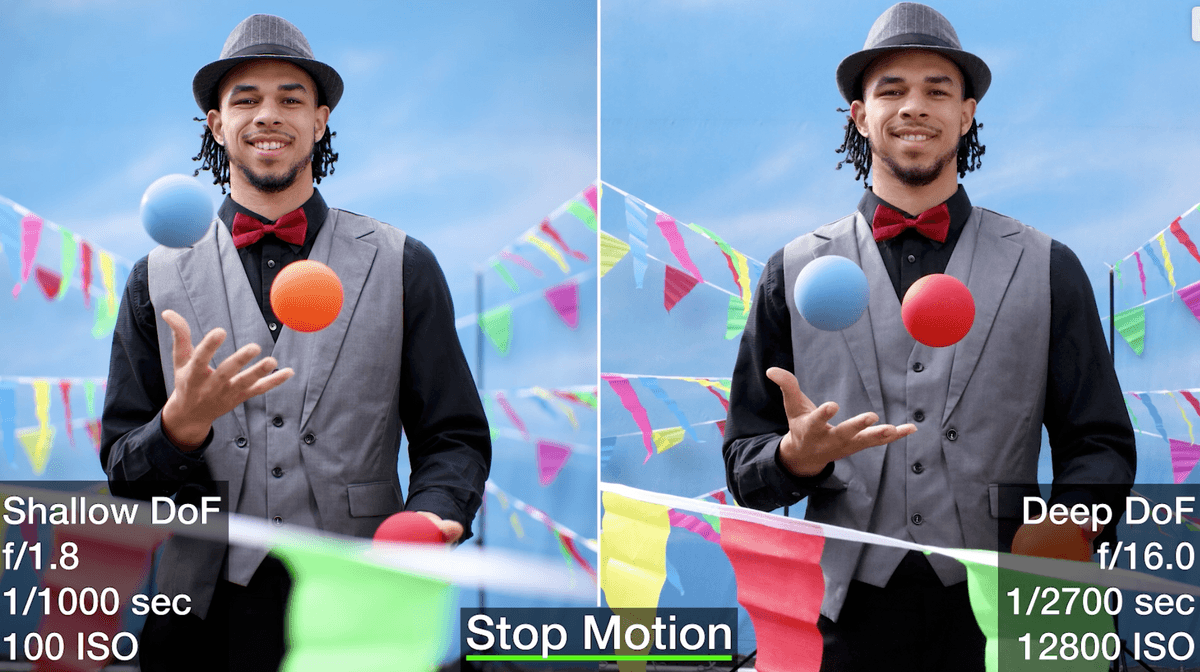
2. SHUTTER
What does the shutter do? The shutter captures motion or stops motion. 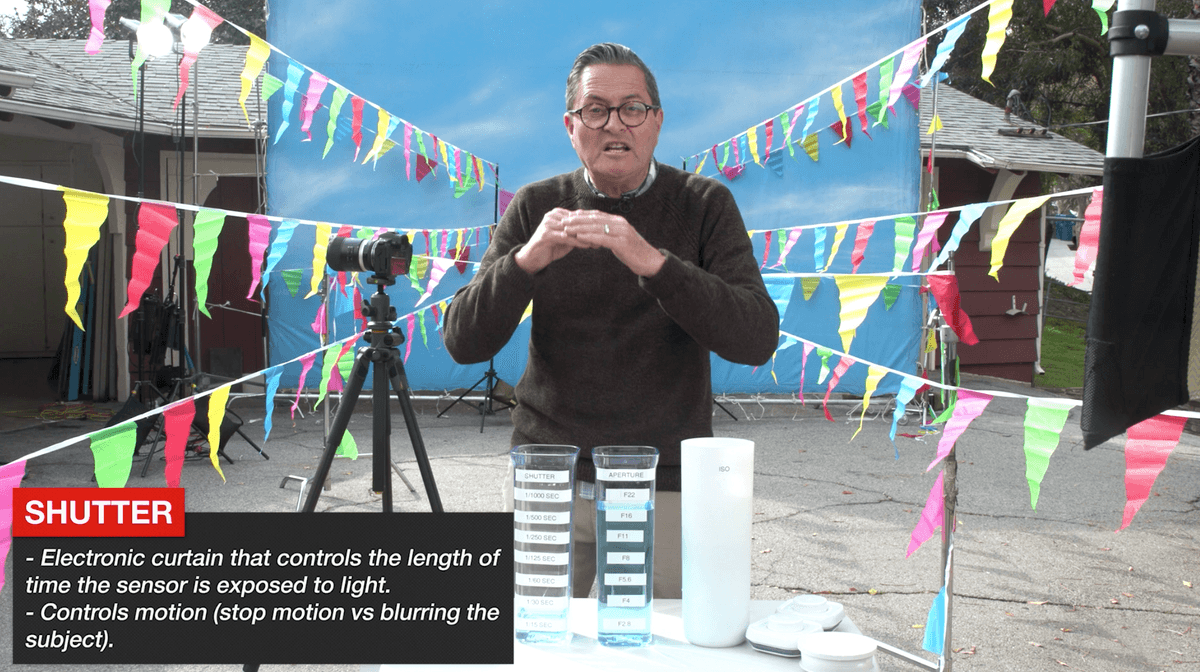


3. ISO
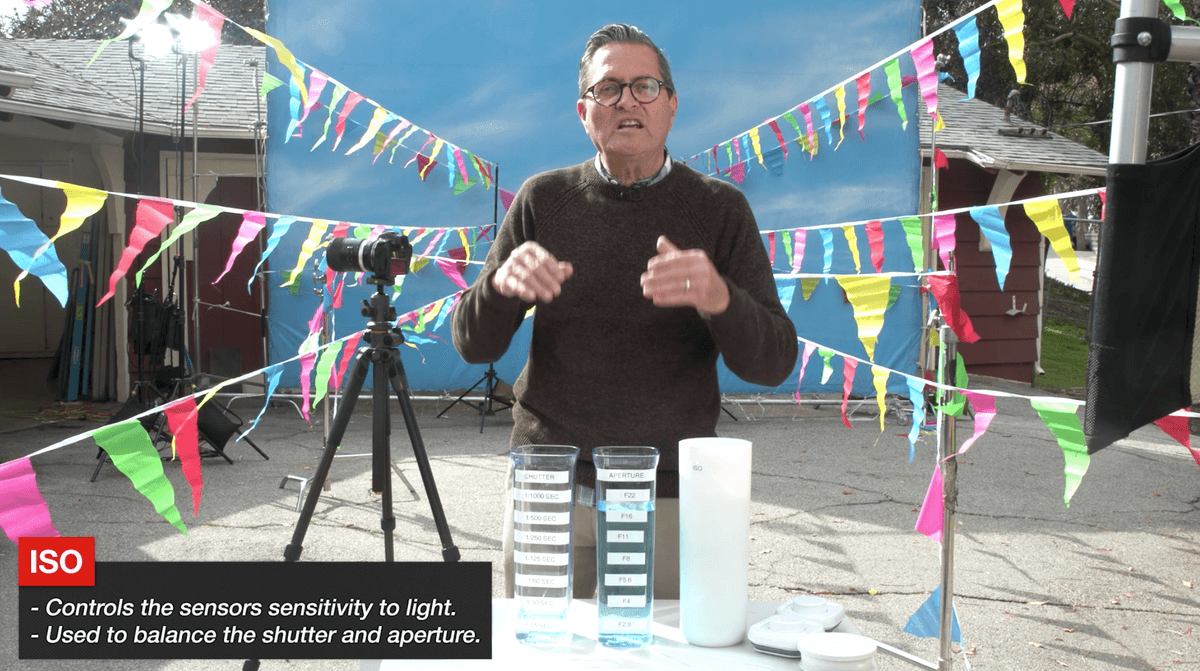
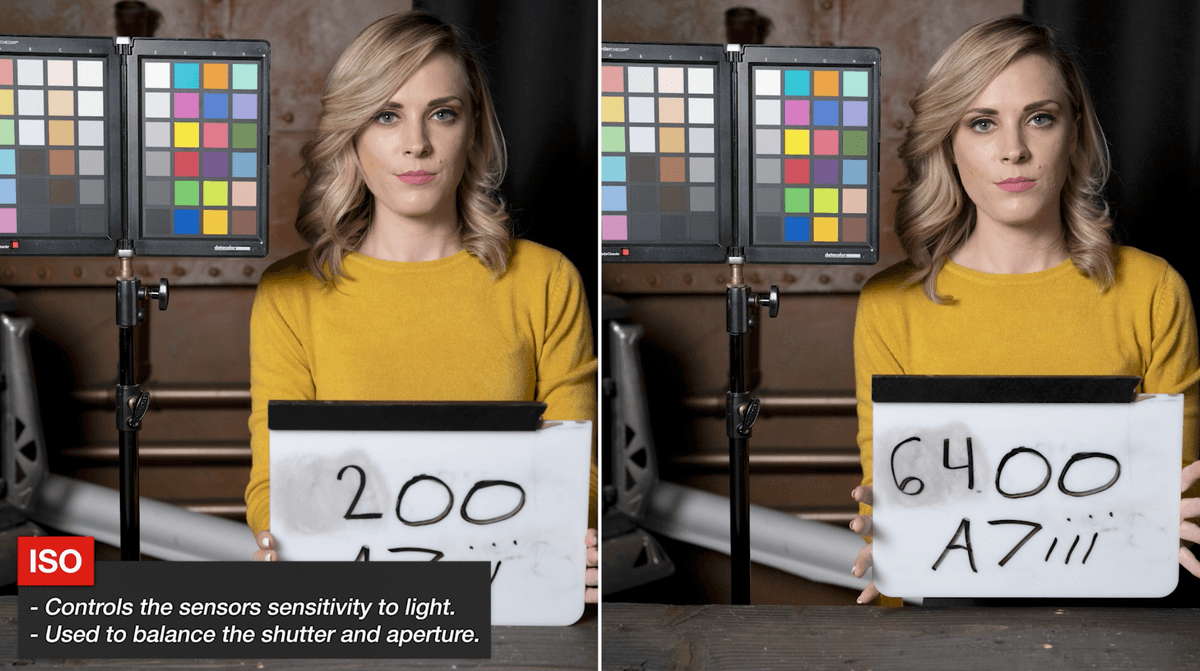


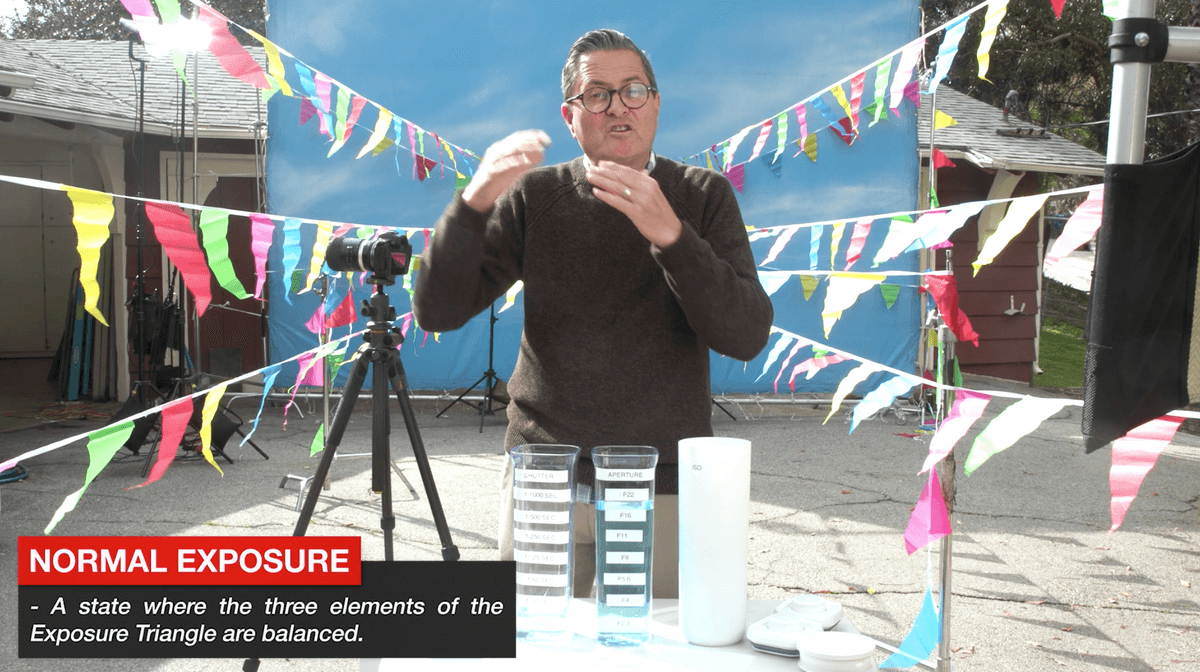

So there is the aperture, the shutter and ISO. That is our exposure triangle. So now, what is a normal exposure? A normal exposure is when the image has correct highlight and correct shadows. The highlights aren’t too bright. The shadows aren’t too dark.
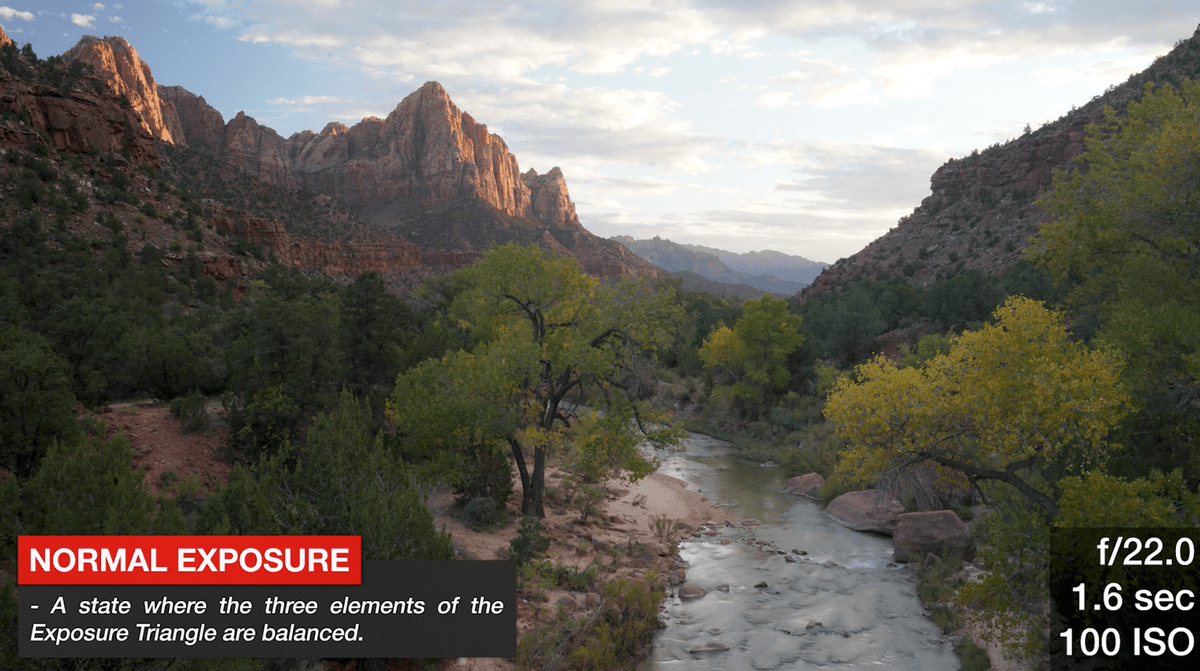

Look at this example of what a normal exposure is. (f/22, 1.6 sec, 100 ISO) Normal exposure is what we are going for. To find a normal exposure, here we have it at 1/15 sec and f/16. That is a normal exposure.

Equivalent Exposure
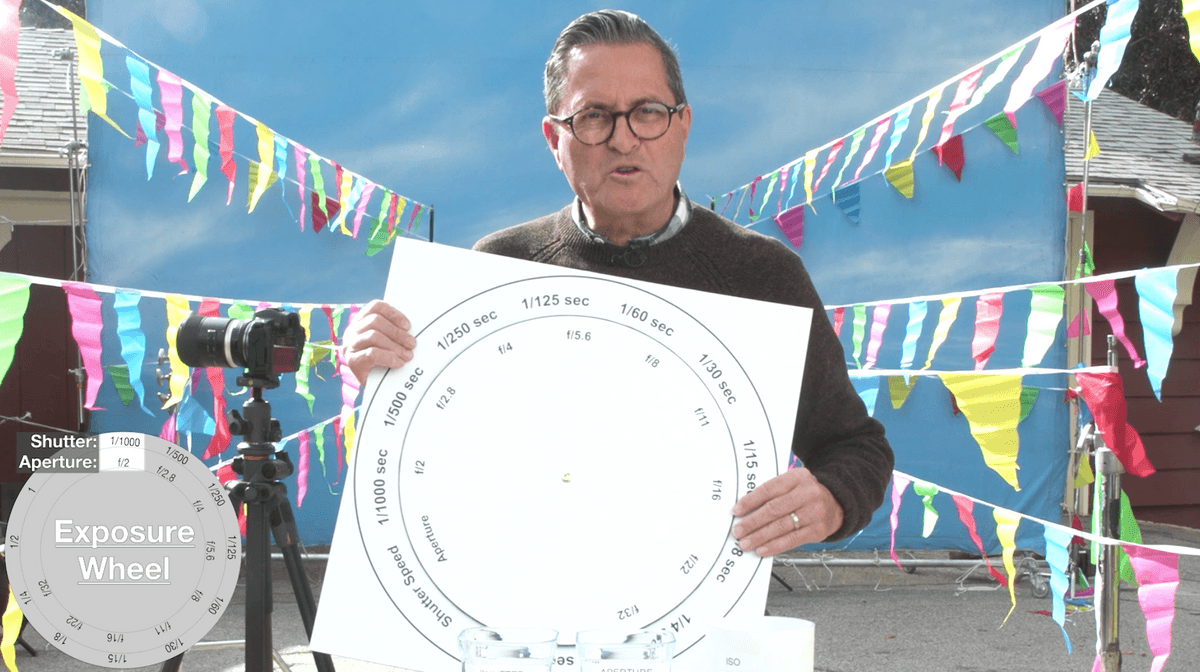
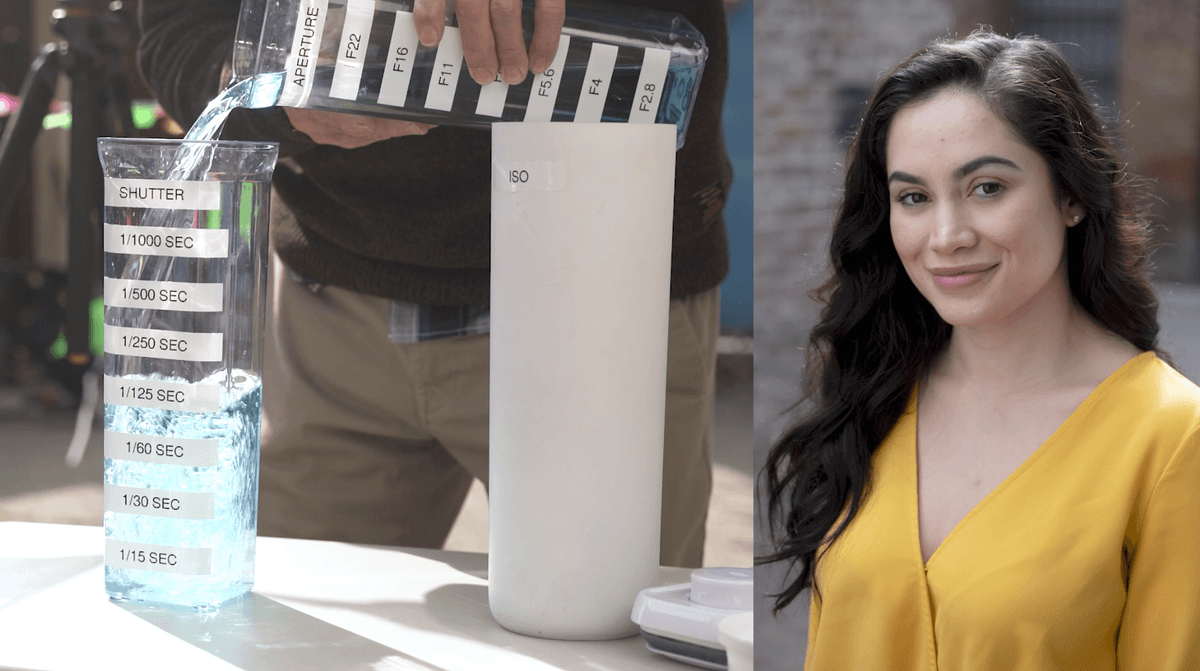
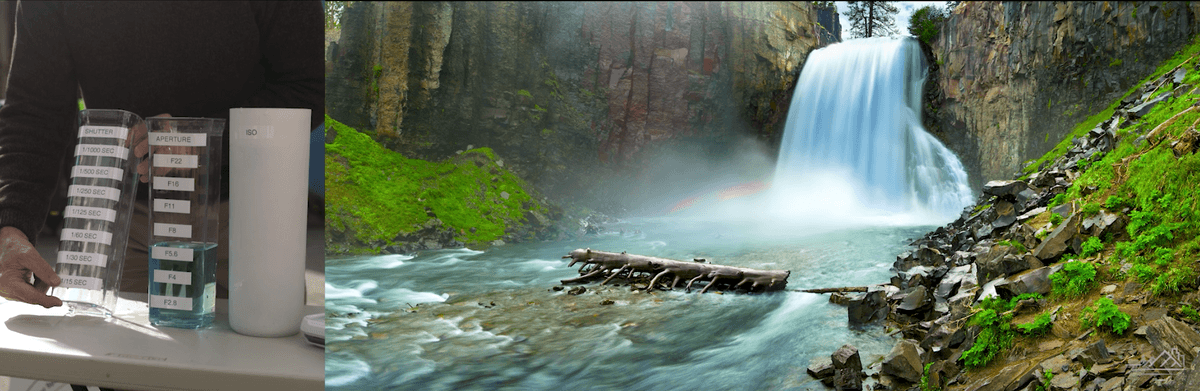
Now let’s talk about equivalent exposure. I am going to use my exposure wheel. On the outside ring I have my shutter speeds and on the inside ring I have my apertures. So the first one I have a shutter speed of 1/15th of a second and I have f/16. What this does is every other set on the exposure wheel are correct exposures. 1/30th with f/11, 1/60th at f/8, 1/125th at f/5.6, etc. So how I have my camera set up at f/16 I have deep depth of field and 1/15th of a second. The shutter is dragging. 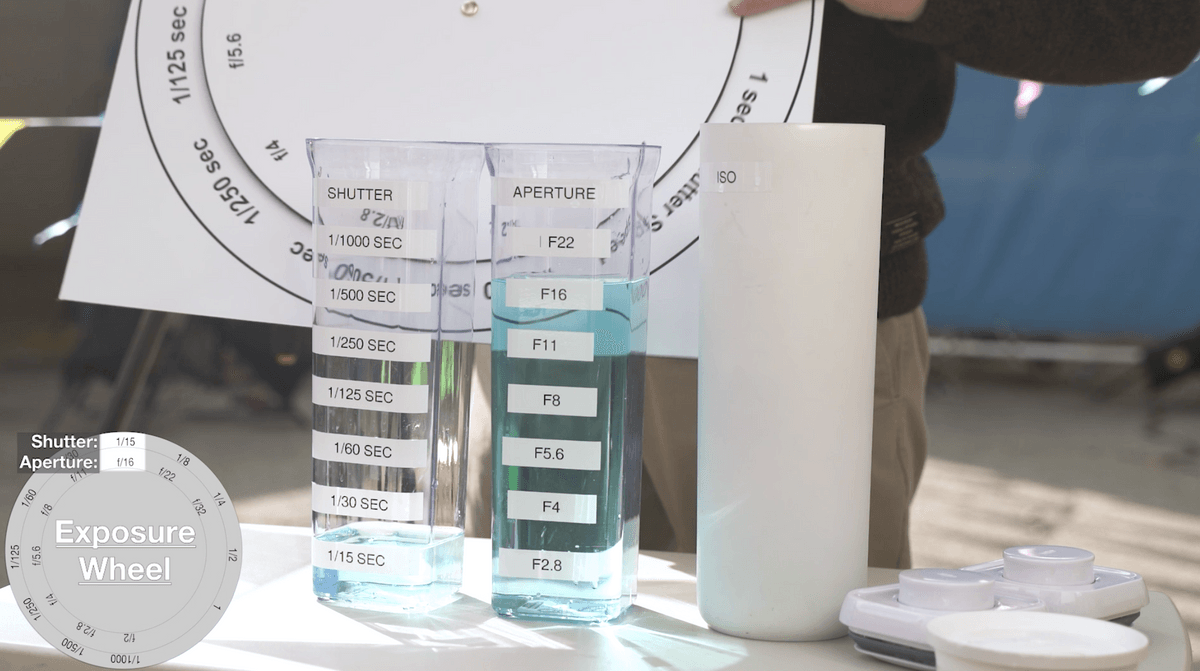


We have a copy of this in our member area you can download. Check it out. It is a great thing to have in your bag to carry with you.

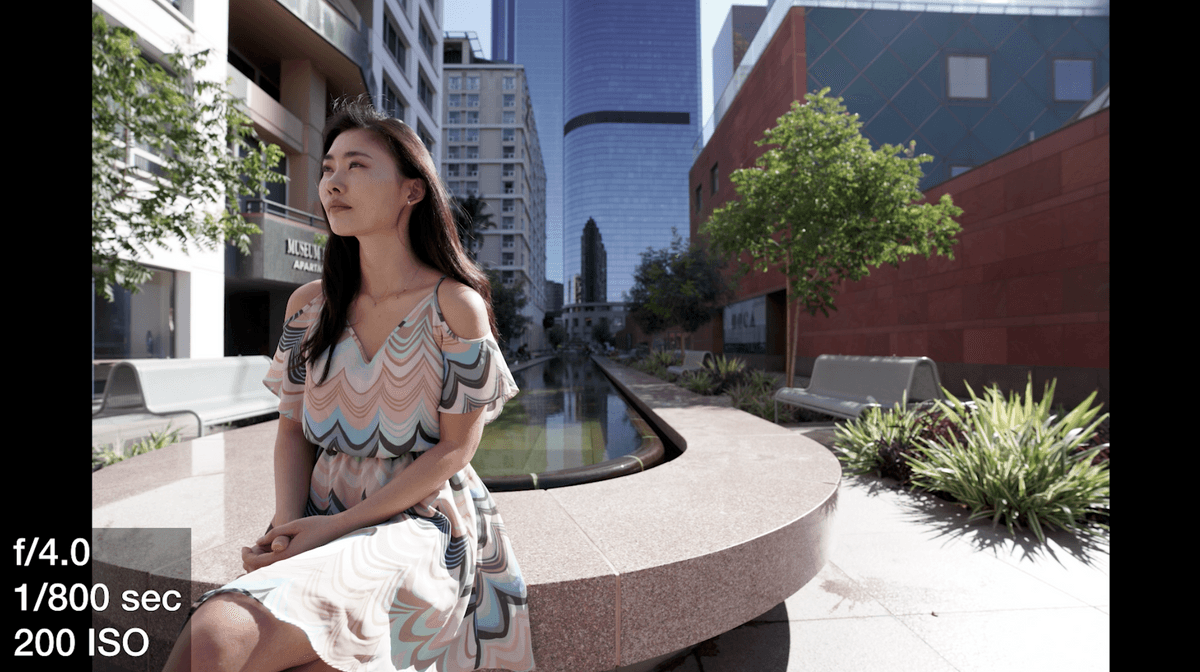
Now let’s go back to some examples using our demonstration right here. My first image is a portrait of a woman. In this portrait I want a shallow depth of field. My concern is not about stopping motion because she is not moving. 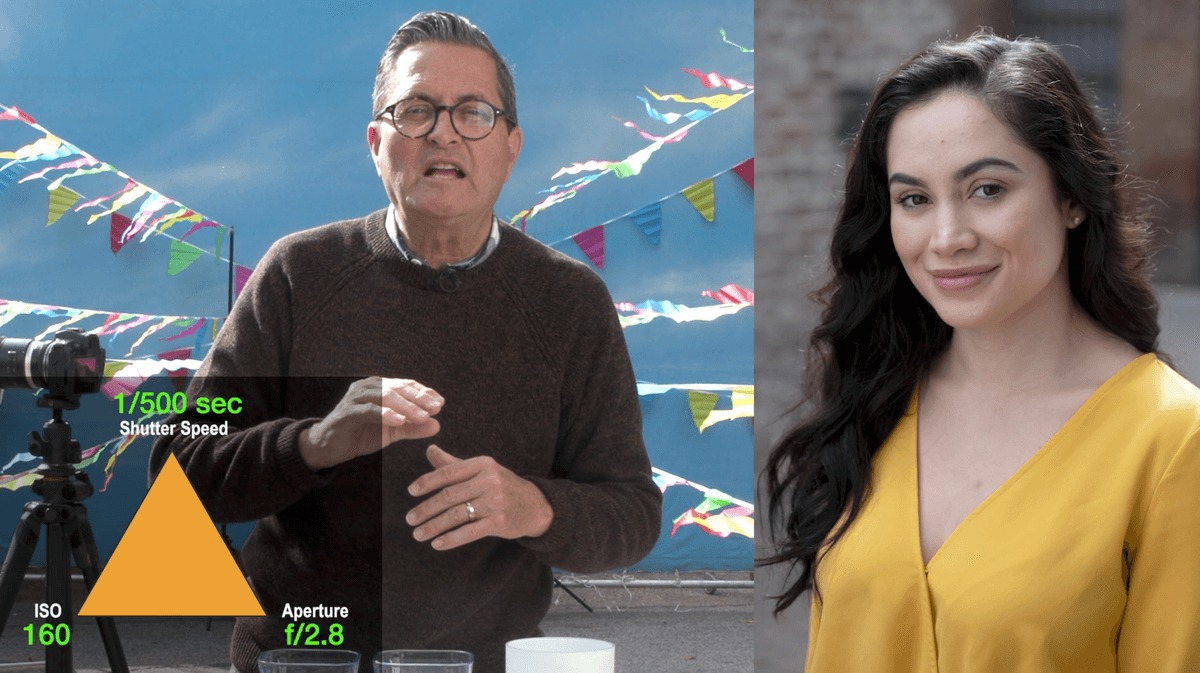
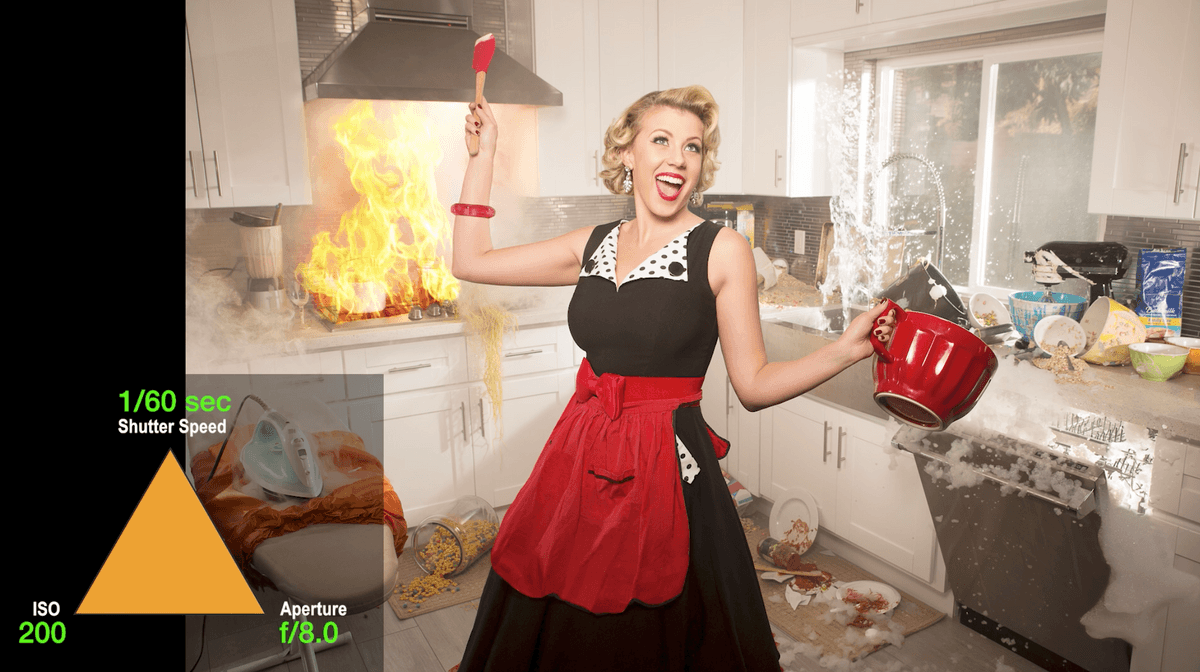
The next is a shot I did of Jodie Sweetin of Fuller House. In this scene we have a kitchen out of control with crazy things happening in the background. I want a deep depth of field so we can see what is going on back there. We want to see the sink and the fire and everything. I don’t want a shallow depth of field. I need more depth of field. So I am going to change the aperture to f/8. That will give me a nice look at the background and yet not give me too much depth of field but enough to be able to see what is going on in the background to give me a nice image. Now my shutter goes to 1/60th of a second. Which is absolutely fine because there is not a lot of motion there. There is a little motion out of the water in the sink. But not so much to create a huge issue and that 1/60th of a second will let that blur a little bit.
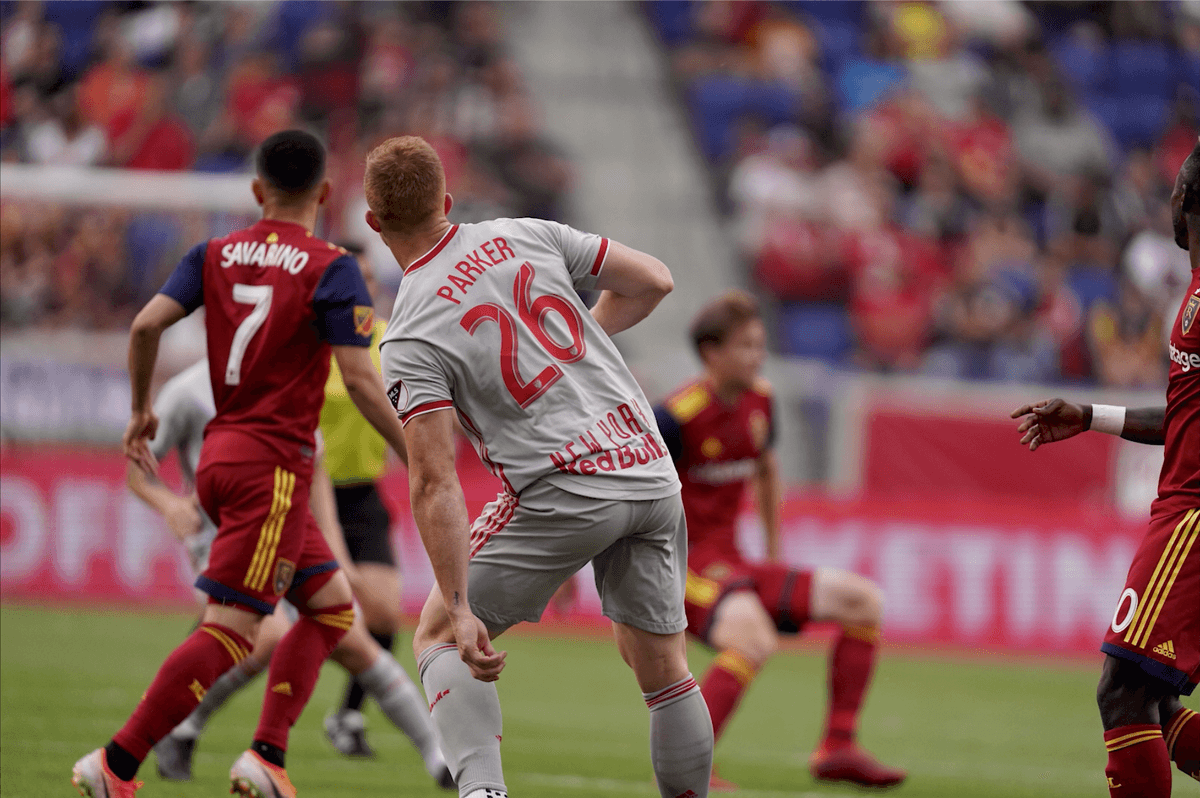

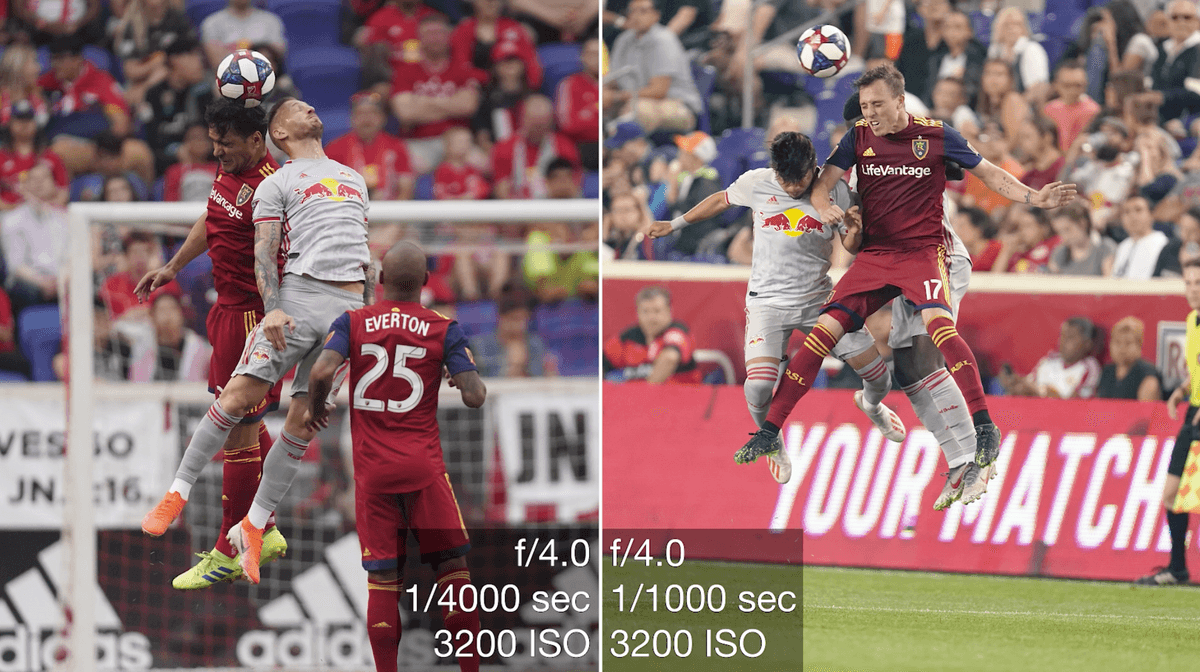
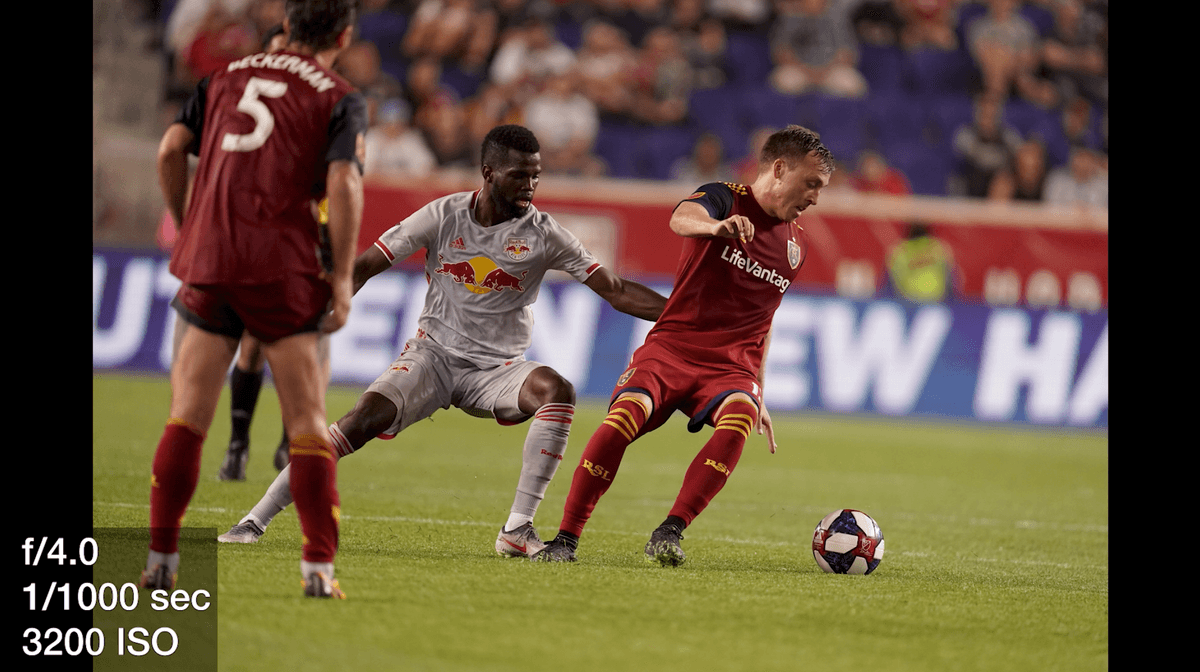
The next shot we have here is a sports shot. I need to have a fast, fast shutter. I don’t have enough exposure here. I need to change the ISO. Changing my ISO allows me to go up 1/4000th of a second. And I have to add at least one stop to get f/2.8. So I am going to push my ISO up to 3200 in order to make those settings work. To be able to give myself a fast shutter to freeze the action and f/2.8 to give me a shallow depth of field. I want the people behind the soccer players to go out of focus. Those are the setting I need to I had to go to the ISO bucket to be able to make that happen.
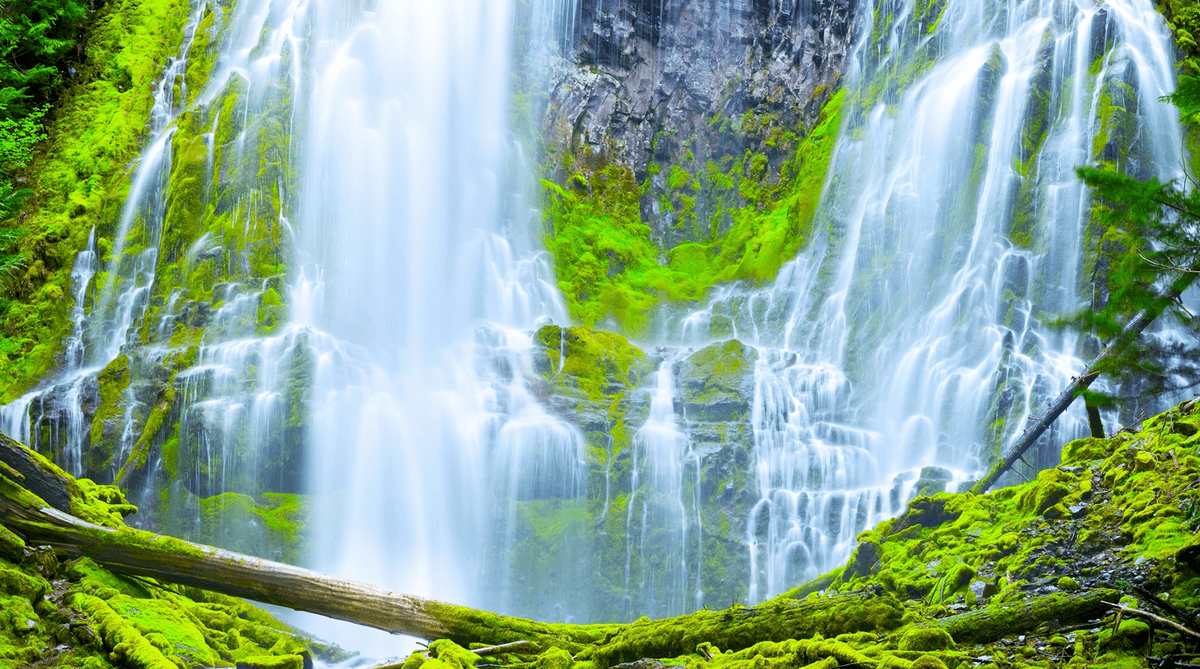

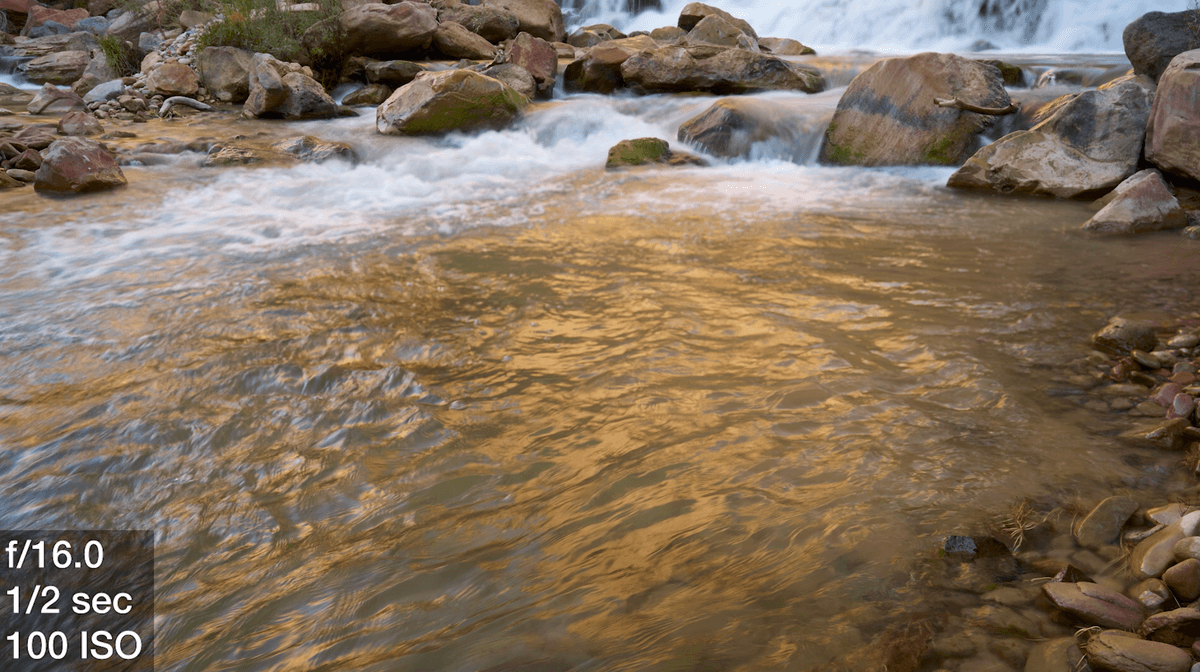
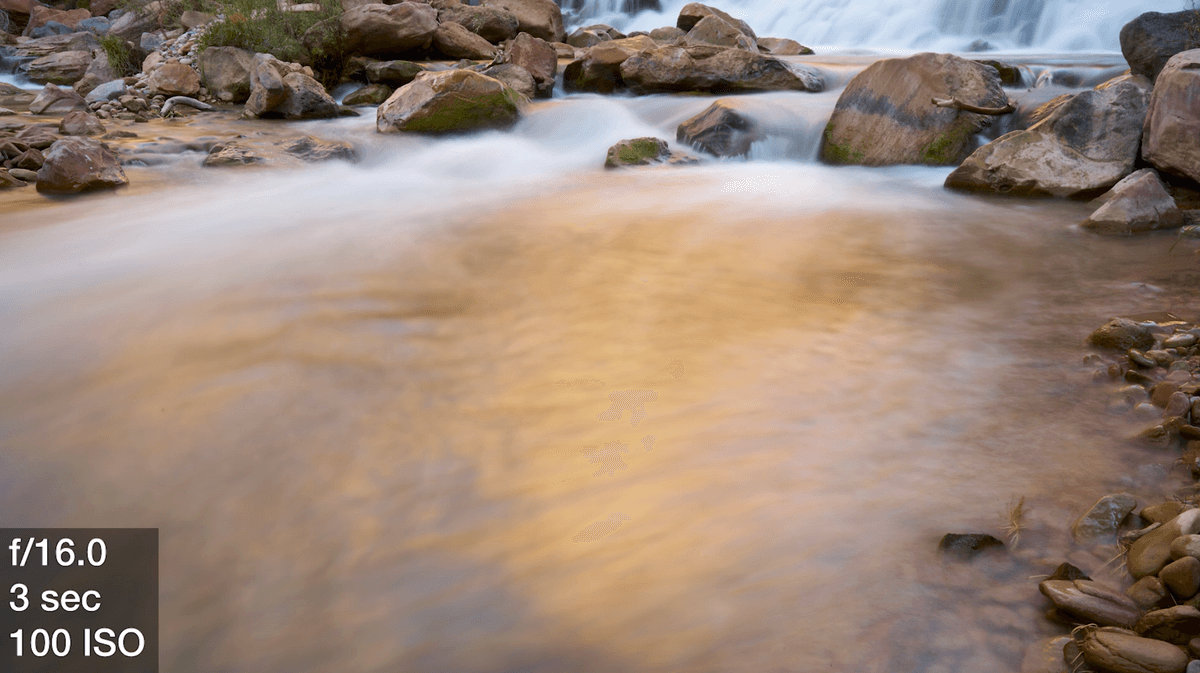
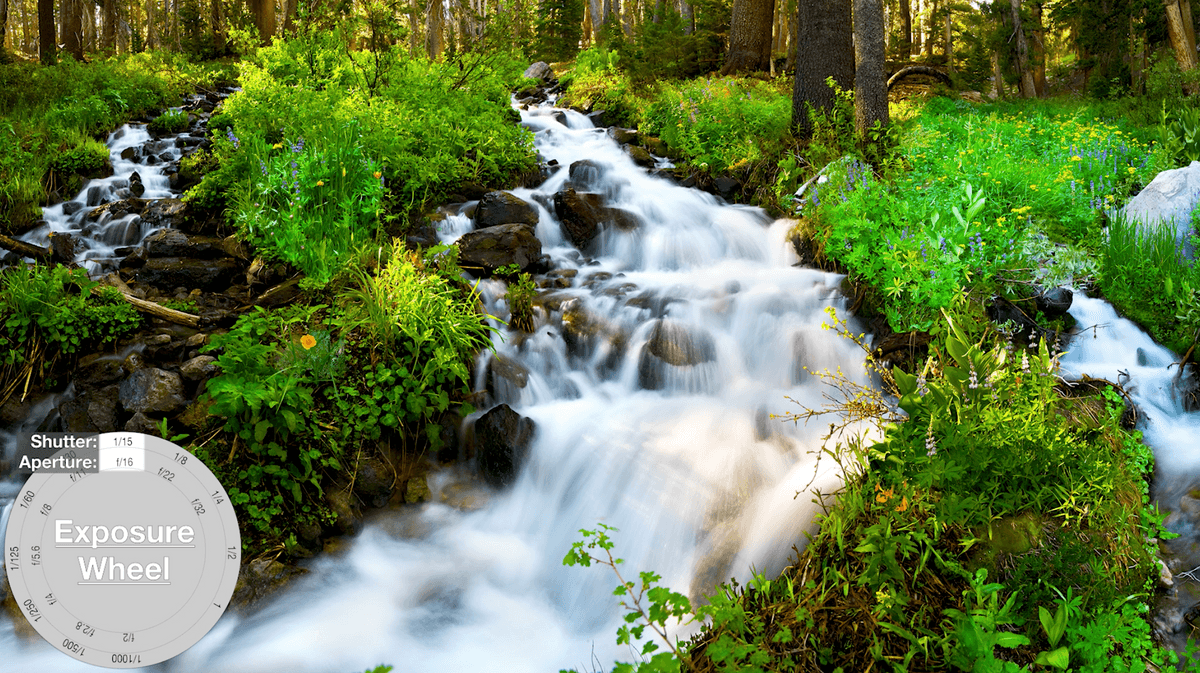
Now as we move from that sports shot to where we want a fast shutter and shallow depth of field, we go to a nice water fall shot by Cheyne Walls. 


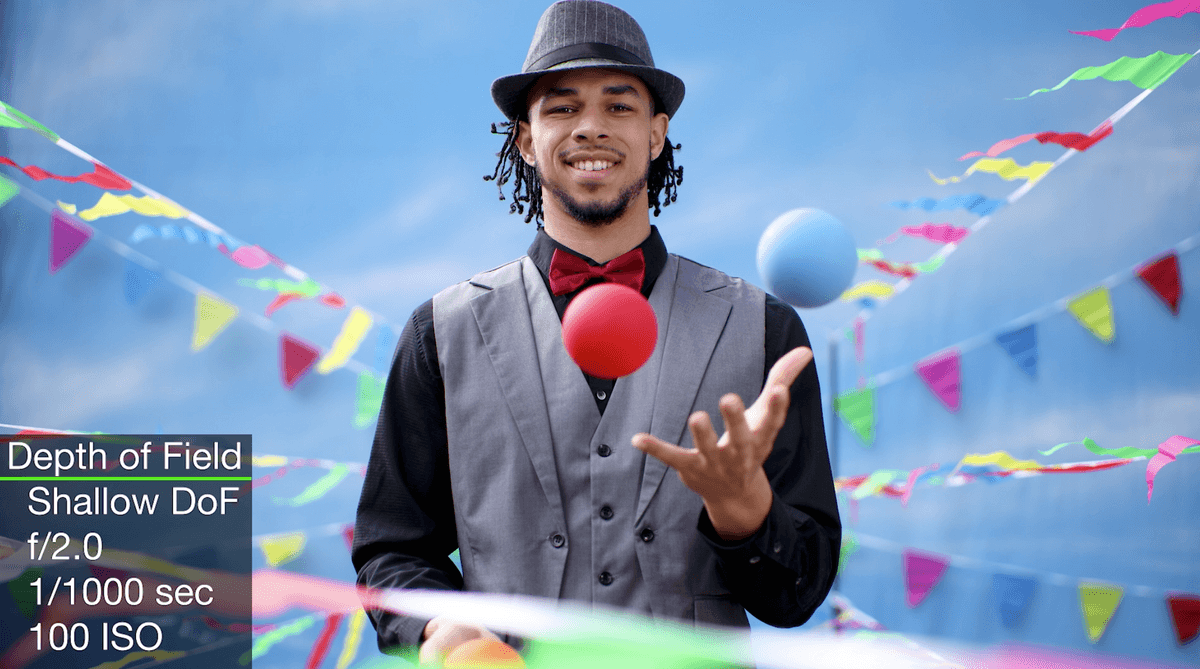

Now it is time to apply this information that we have learned to this image we have here in the background with Jerimiyah. 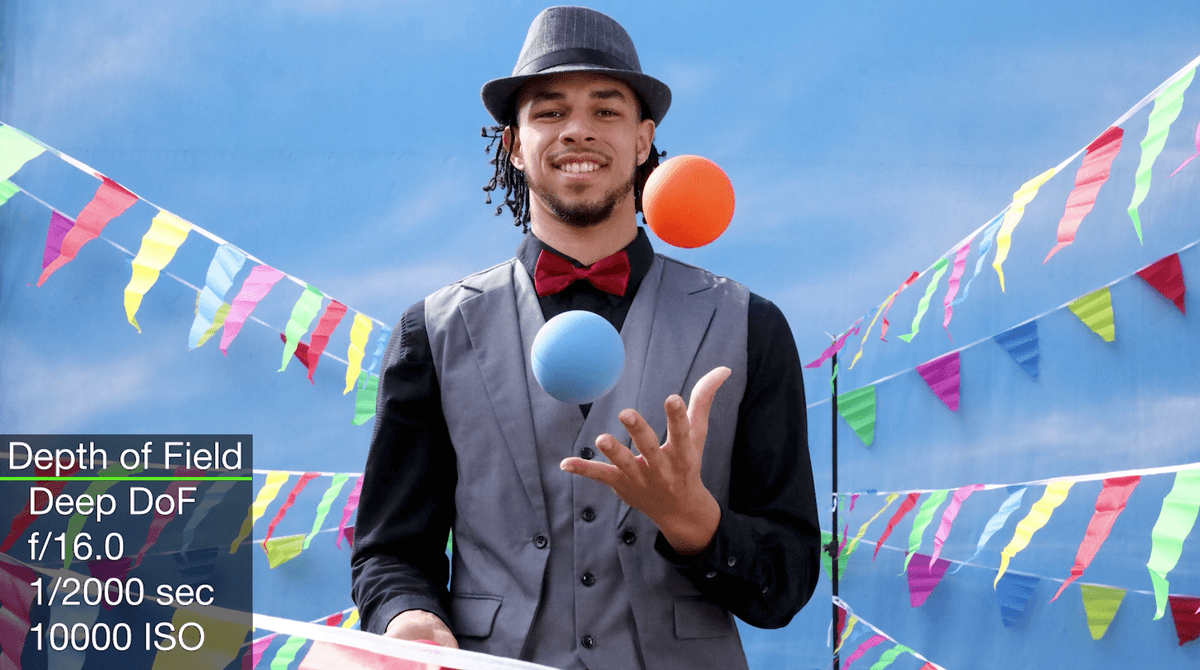


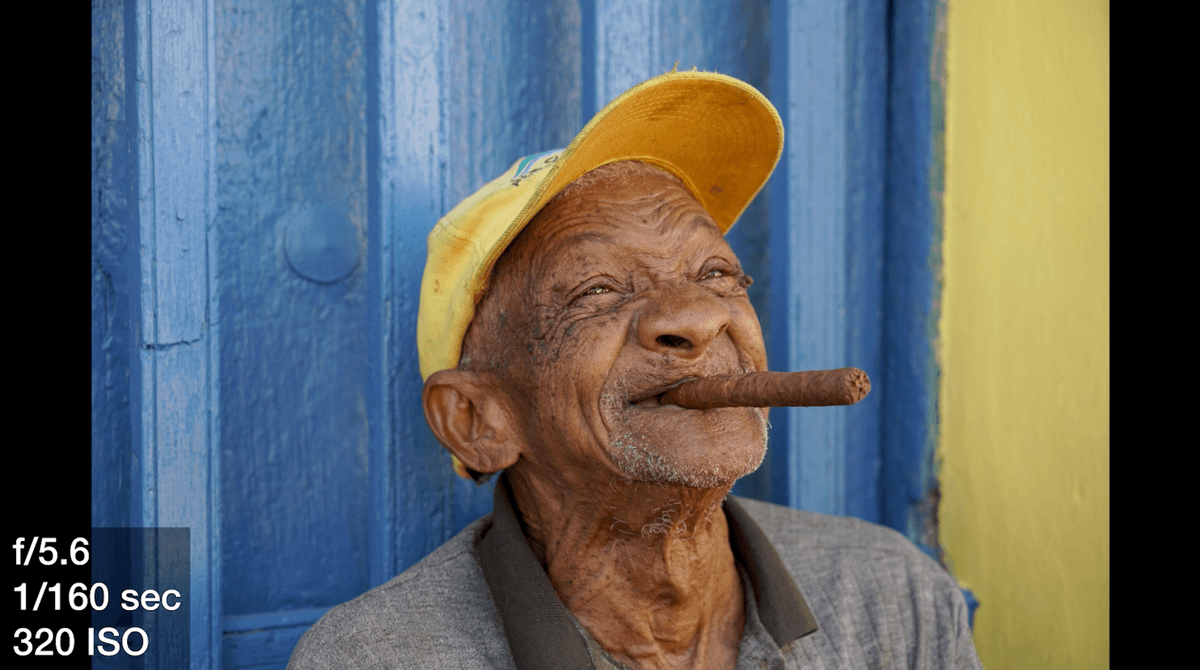
Let’s take a look at some other examples of images that were shot and see what the camera settings were.


That concludes our 3 part series on Shutter, Aperture and Equivalent Exposure. I hope you have gained a deeper understanding of the exposure triangle. Now when you get asked questions about what camera setting to use you can think about what you want to accomplish and that will help you decide what your camera settings need to be. 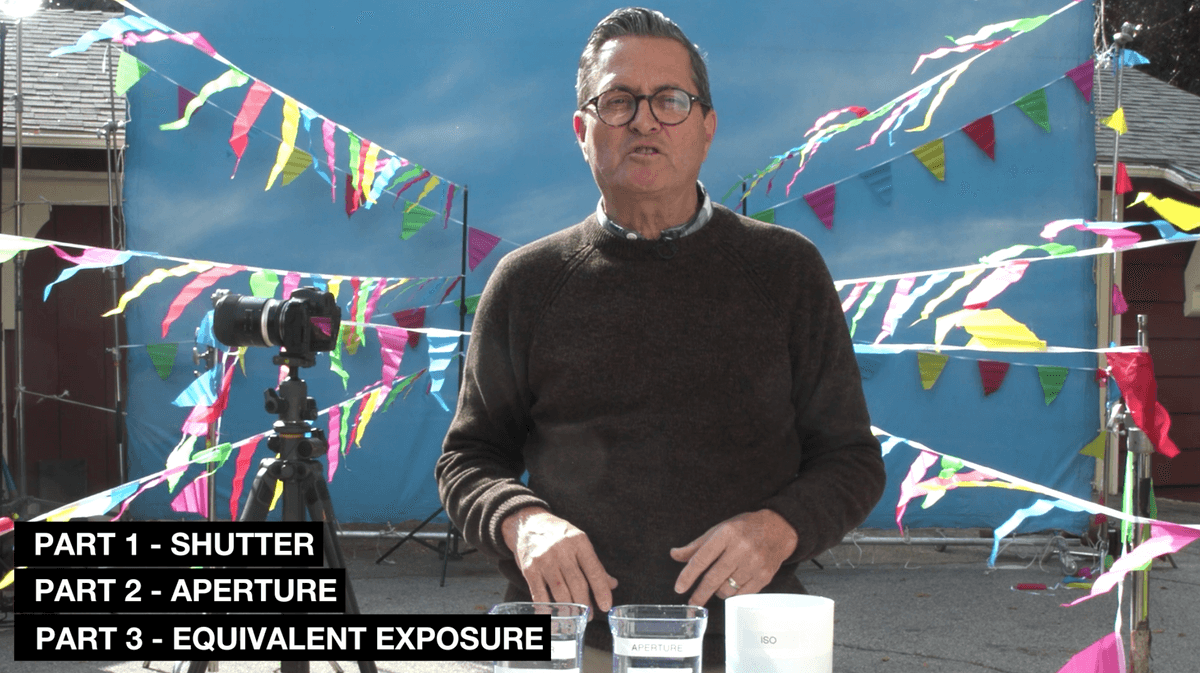

Make sure you subscribe to YouTube.com/TheSlanteLens
Ring that bell if you want to hear about other information just like this.
Make sure you leave a comment on our YouTube channel because we want to hear what you think of the things that we talked about. And…Keep those cameras rollin’ and keep on clickin’!
Check out Litra Lights. Great for on the go lighting and even underwater lighting!