


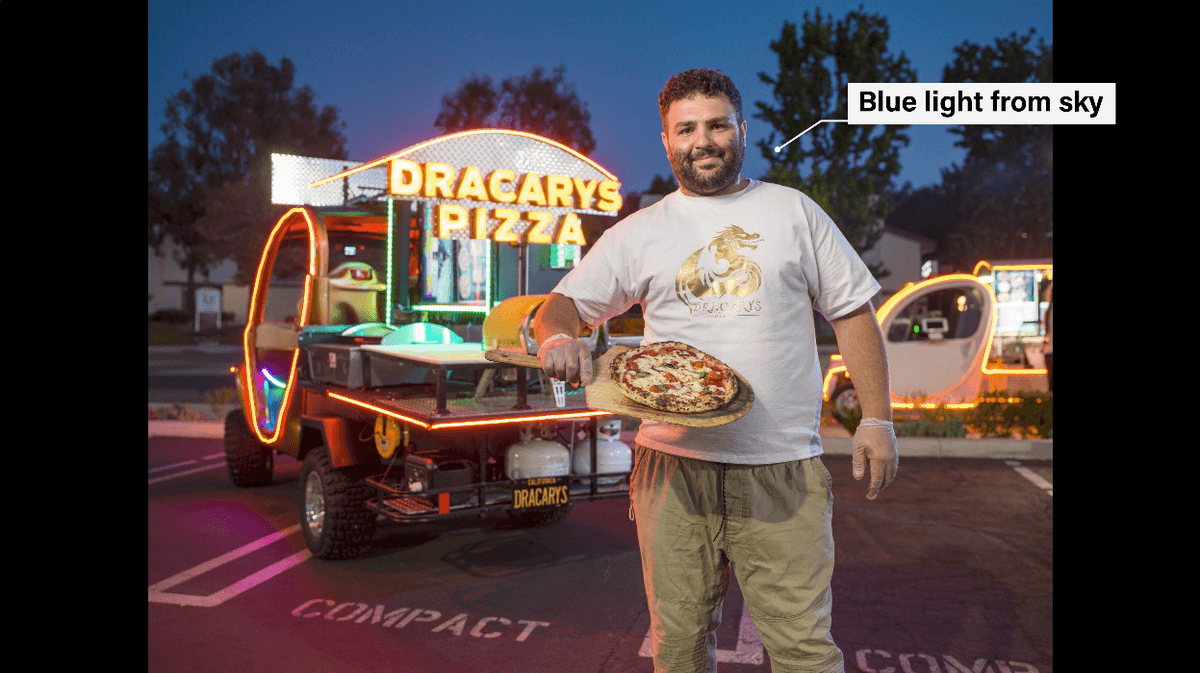
Hi, this is Jay P. Morgan. Today on The Slanted Lens I’m back out here where we photographed last week. We photographed this little pizza cart called Dracari’s Pizza. It’s a great little cart with neon lights on it. I’ve been shooting food trucks the last little while and have really enjoyed it. I still have the Hasselblad X1D. So I was not happy with the image I got here last week, it looks strobe lit. 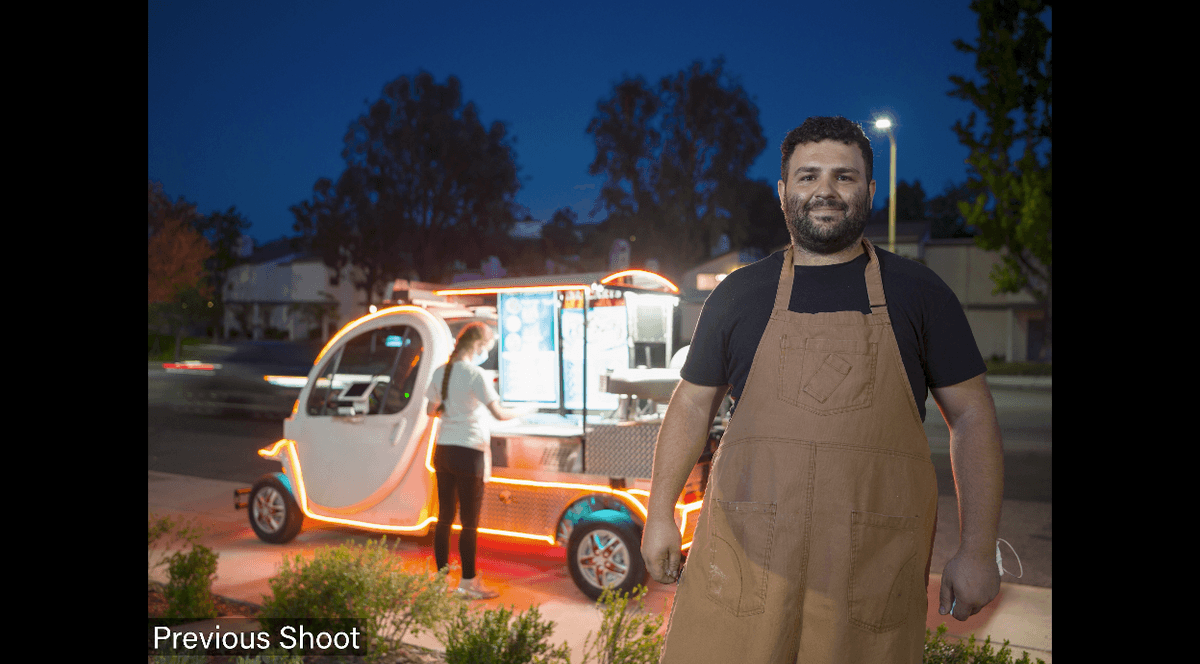


Here’s the image I shot the first time. I’m going to go through four or five points on how I can integrate the light better and make the image not look strobe lit and make it look much better. 


Lighting outside with strobes is a balancing act. We have several things going on. Let’s say from zero to ten with intensity, ten is the sun and zero is complete dark. Well, there’s two constants in this equation, and one that is not constant. The one constant is the cart in the background. He turns all those neons on and that’s like a three on the scale. So it’s going to flatline at three. It’s going to always be three. 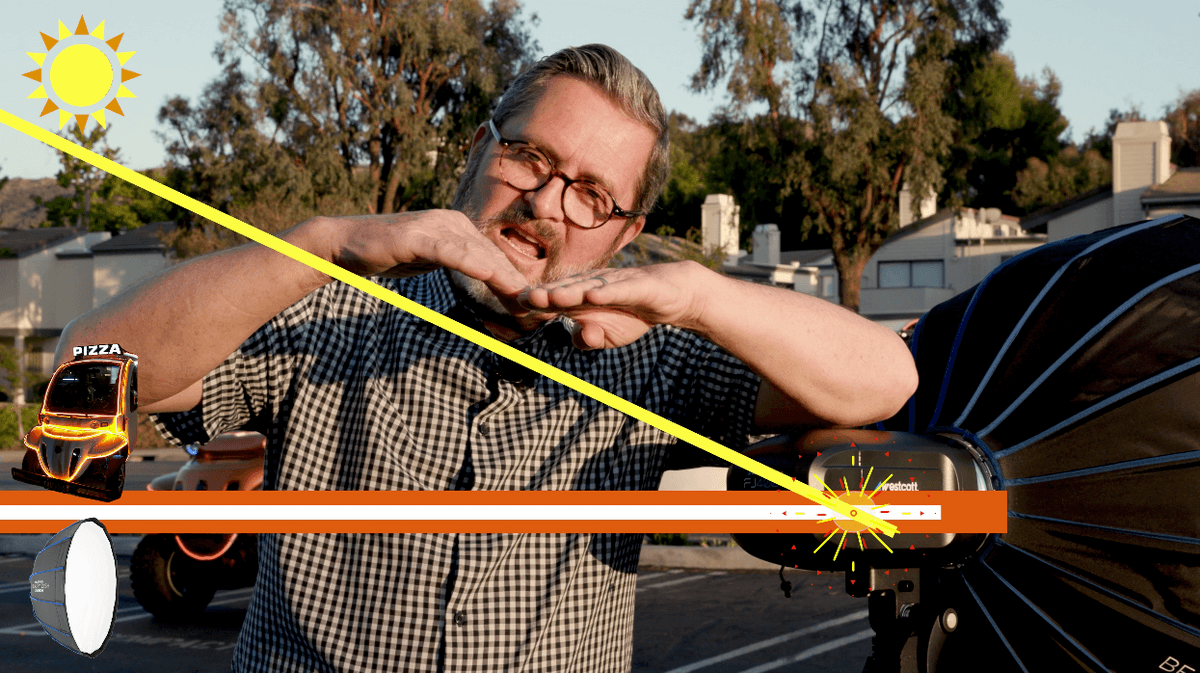

(I’m using the FJWestcott FJ400, FJ200 and Beauty Dish Switch.)
But now the part of the equation here that is going to change constantly is the sun. So the strobes and cart balance off at a three and the sun is up here at a 10. And then the sun slowly drops. Well, when the sun crosses the line at three, I’ve got about 5,10, and maybe 15 minutes where I have a stop to play with. And where I can get the cart correctly exposed and my strobes are correctly exposed on his face. And the sun is bright enough in the background that I can see some blue in that sky and it just looks really interesting. So that’s the balancing act. So we’re going to balance the strobes to the cart. Now we’re going to watch that sun go down. When it hits the right point, we’re going to shoot like crazy.
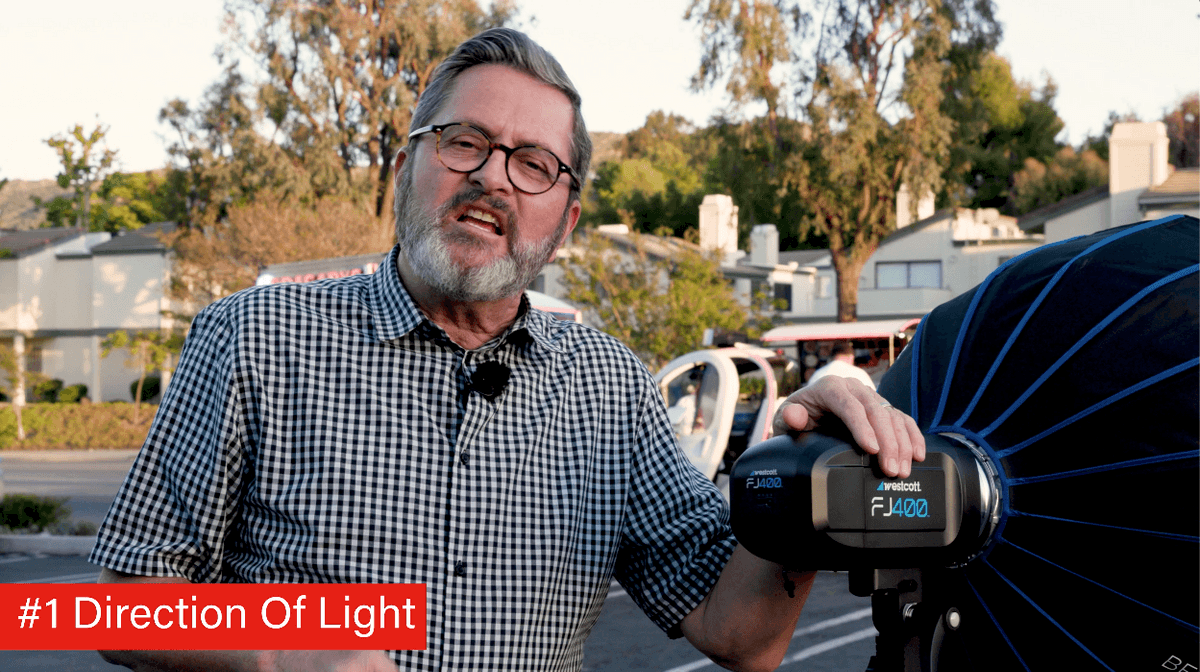

Okay, so number one is where you place your light. If the light is on the right of your person in the background, then put your key on the right of the person. It doesn’t matter if the light from the background couldn’t possibly be lighting his face. 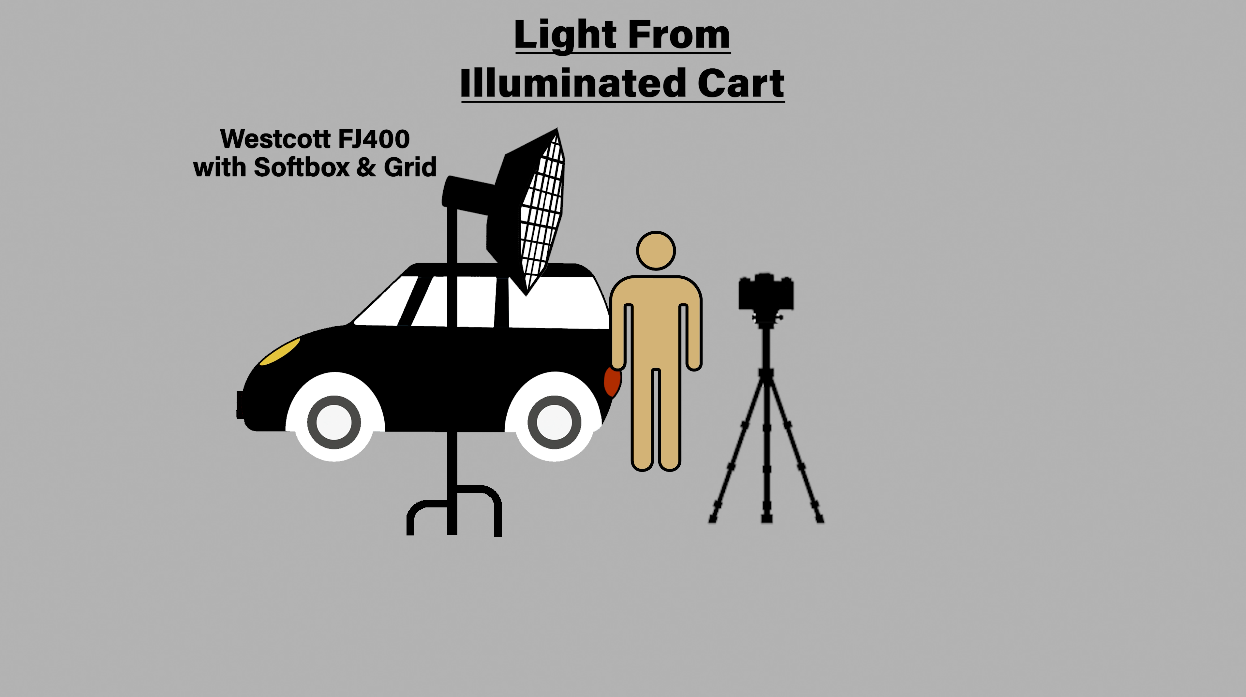


Now number two is the color of your light. If the background is kind of a warmish color, don’t leave your strobe at 5600 degrees. Warm it just a little bit. I’m talking about a quarter sun or a half a sun. It doesn’t have to be huge like all the way to 3200 degrees, but just warm a little bit. It will feel more comfortable with the scene in the background. It’s going to feel more seamless. 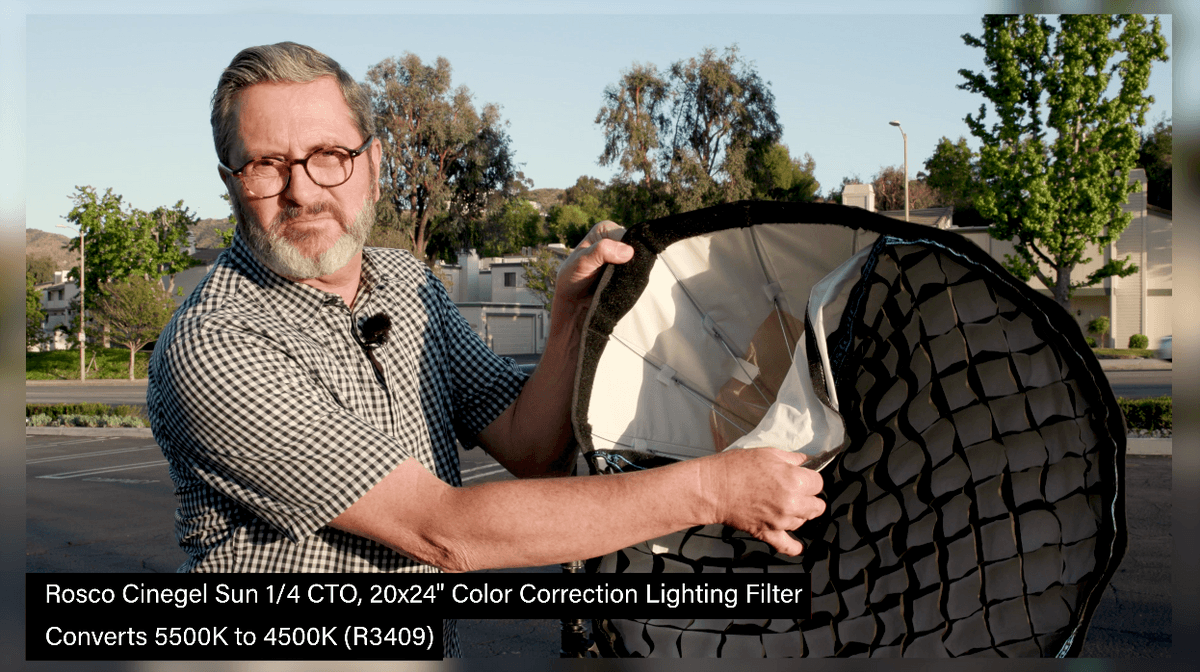


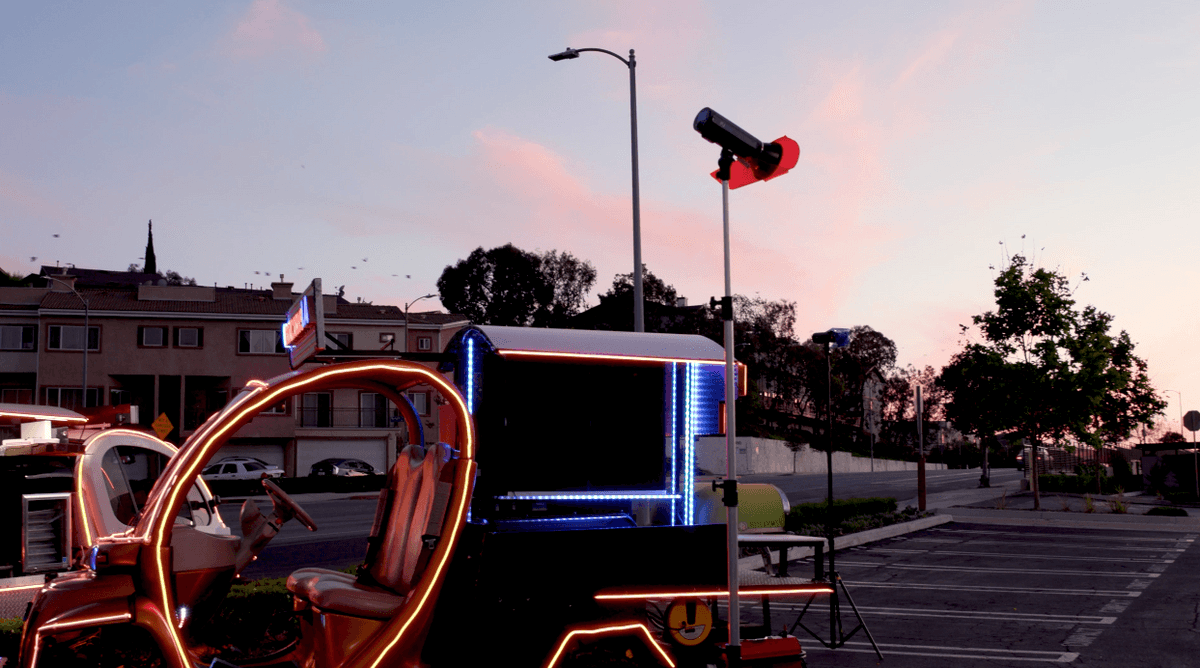
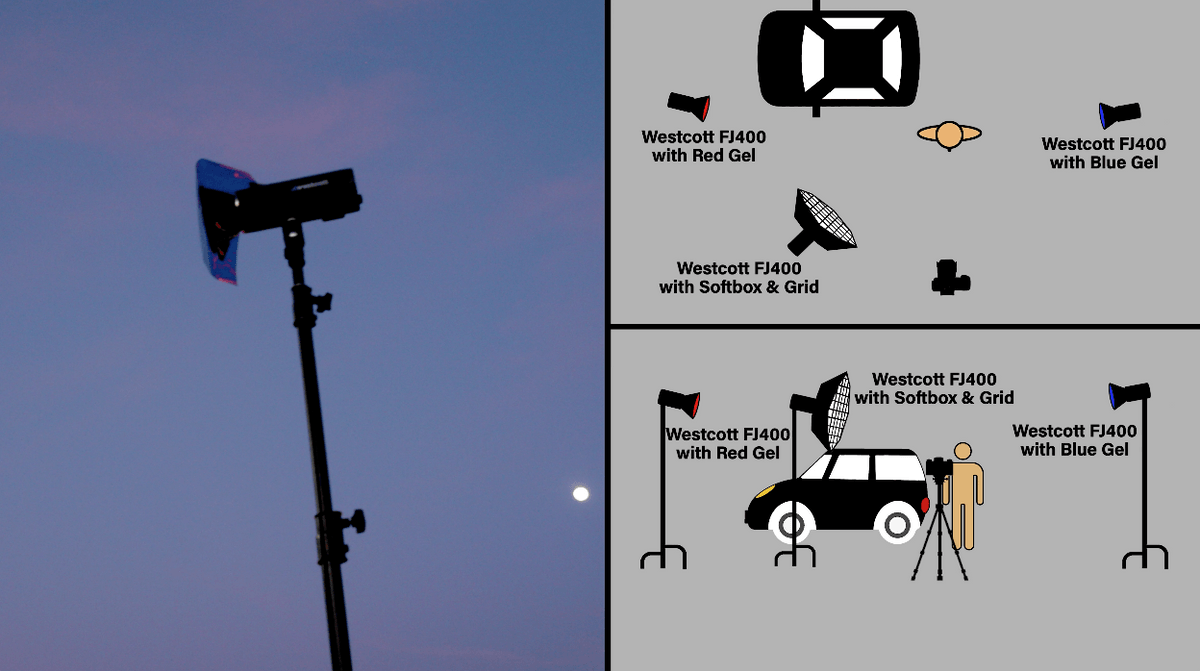
Number three, your rim lights are really important. They’re key to integrating your person into the background. If I’m looking at my image, and I’ve got a red light on the right side of my person, then I’m going to put a red rim on that same side. 


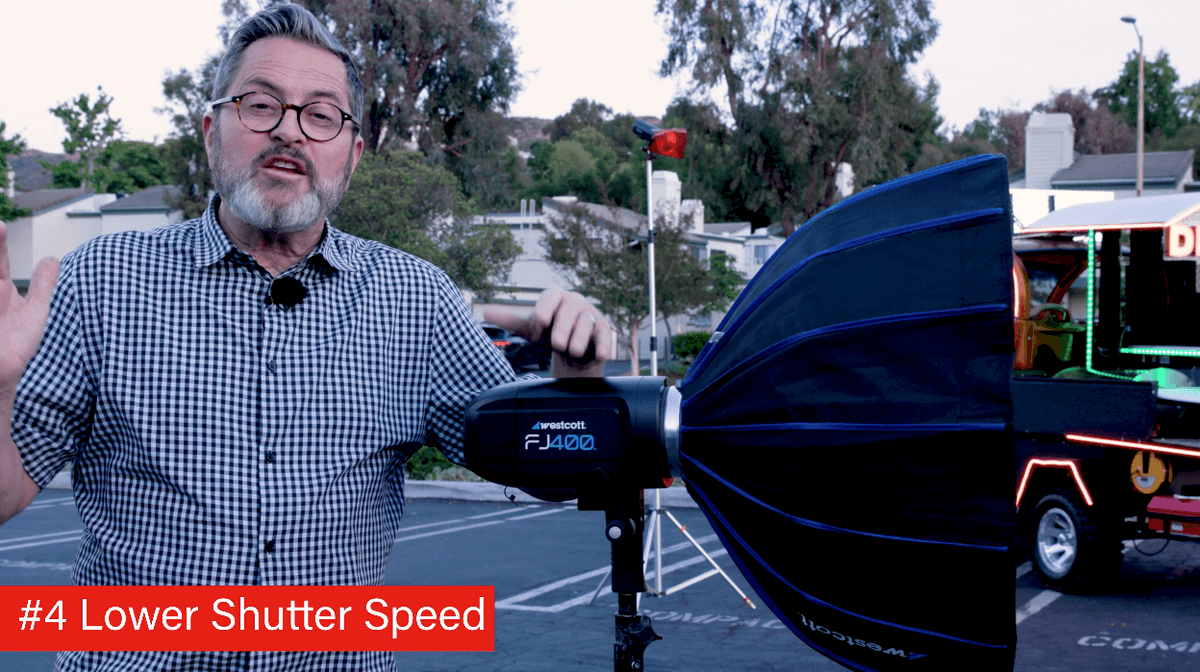

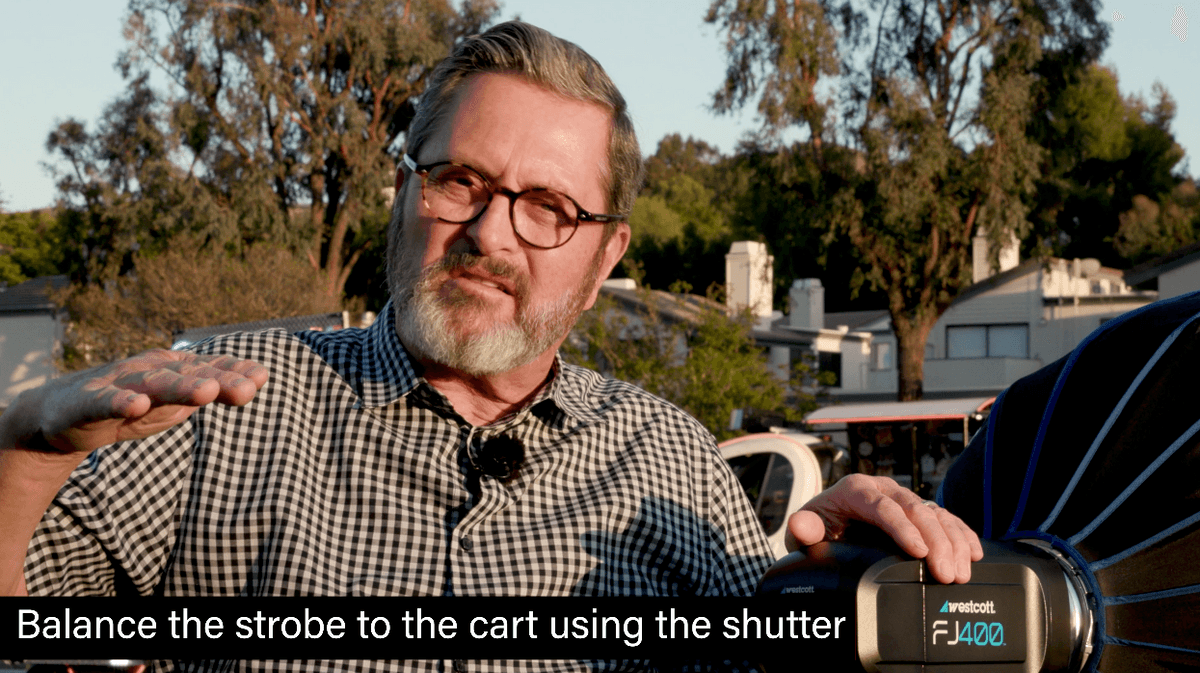
Number four is drag your shutter and open up the shadows in the background. Now your shutter is going to affect the lights that are on the cart, the practicals as well as the background light. So you want to make sure you don’t make your cart too bright. There’s that moment where the sun’s going down and it crosses the line of the intensity of the lights on your cart. 
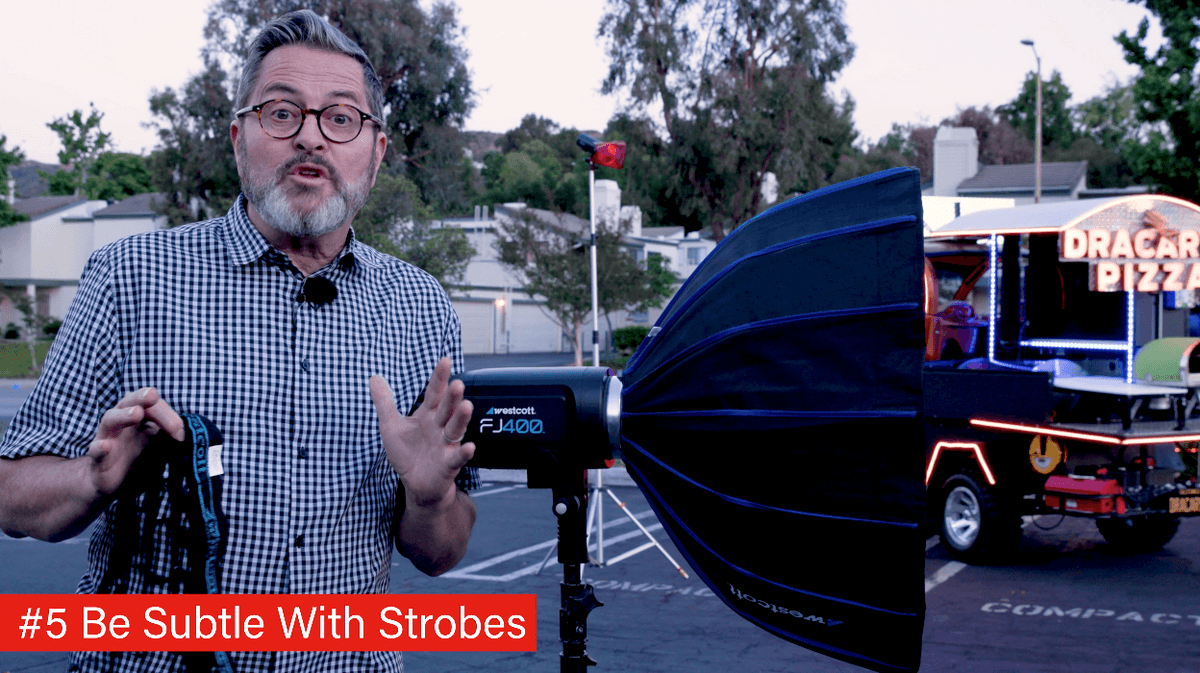

Number five, be subtle with your strobe. Either use a grid, which I love because it narrows the area of coverage. And now you can just light the person’s face and upper body and the light starts to fall off. Anytime light gradates It feels more comfortable like it’s natural lighting that we see every day. If you don’t have a grid, then just feather the soft box. 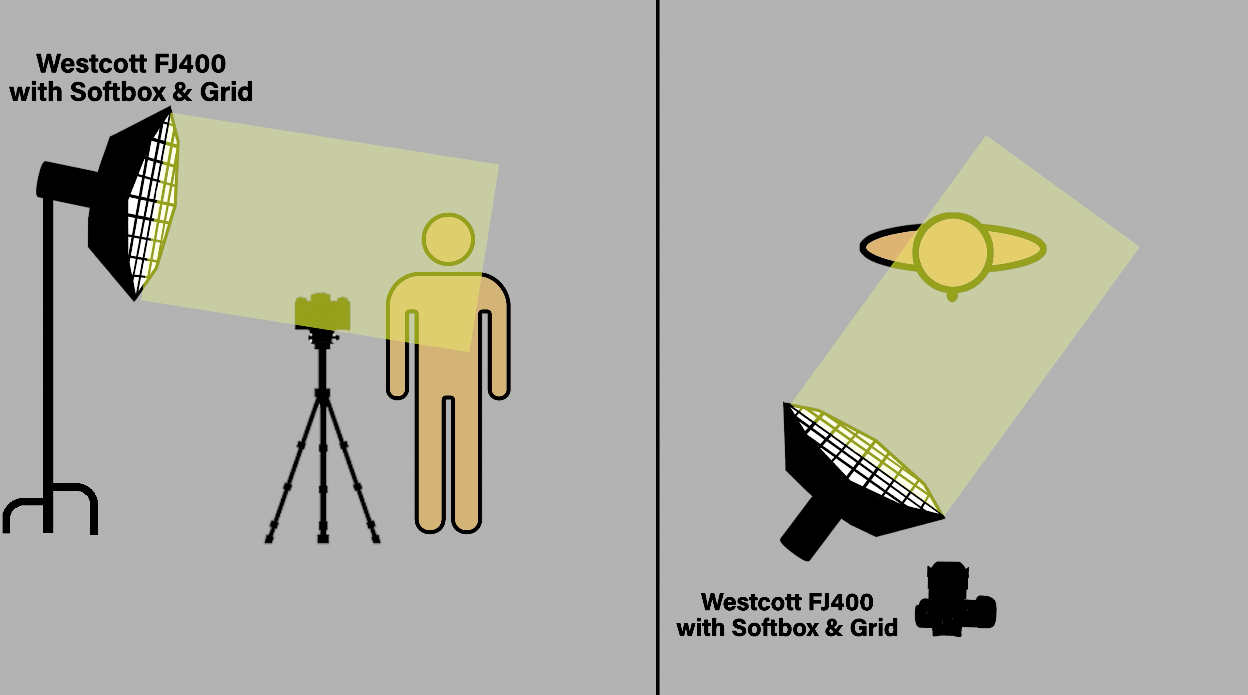

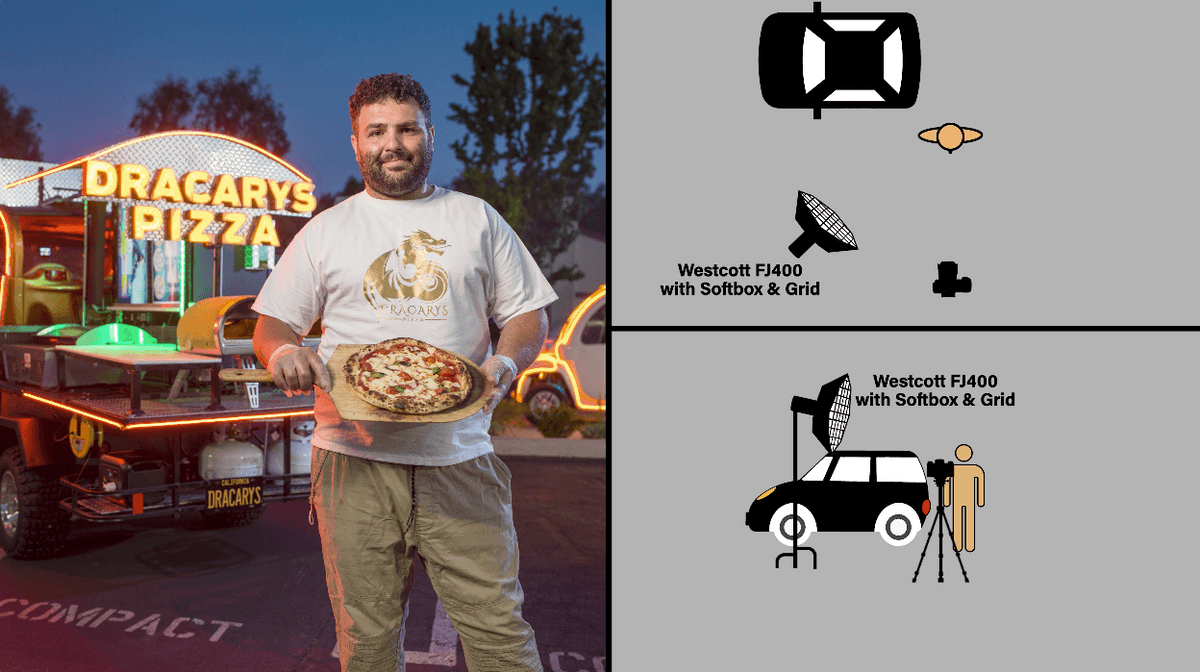
Let’s take a look at this lighting breakdown. There’s my key light with that beauty dish up front feathered up and it has a grid on it. There’s the rim light from behind on the camera left side with a red gel on it. 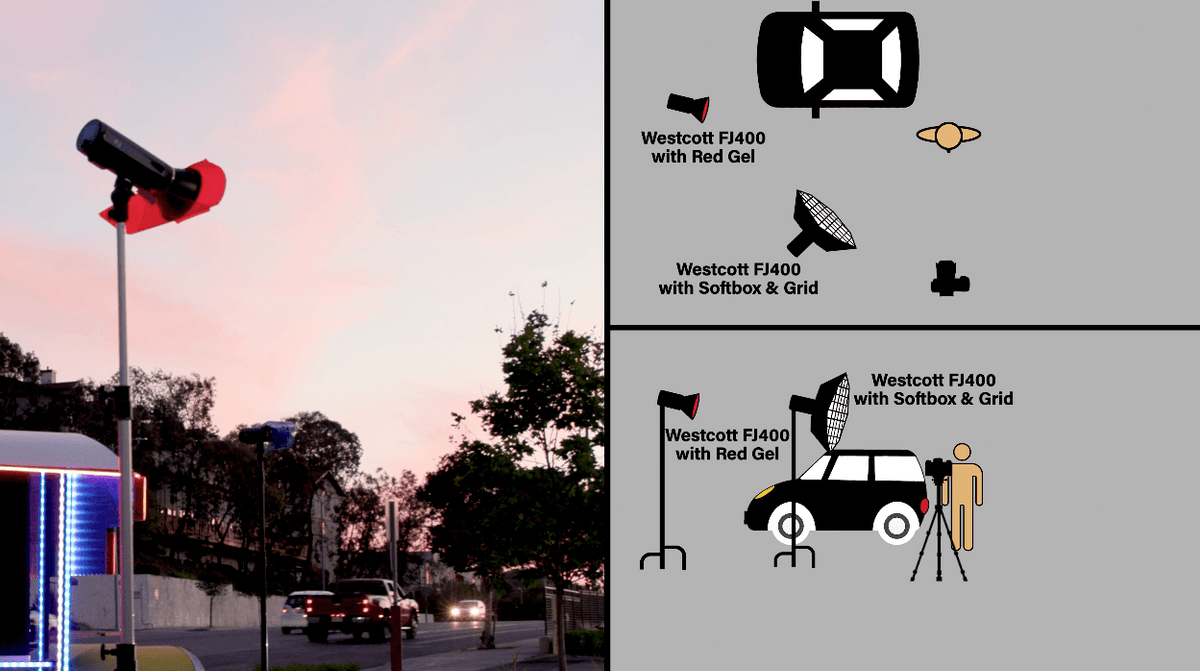


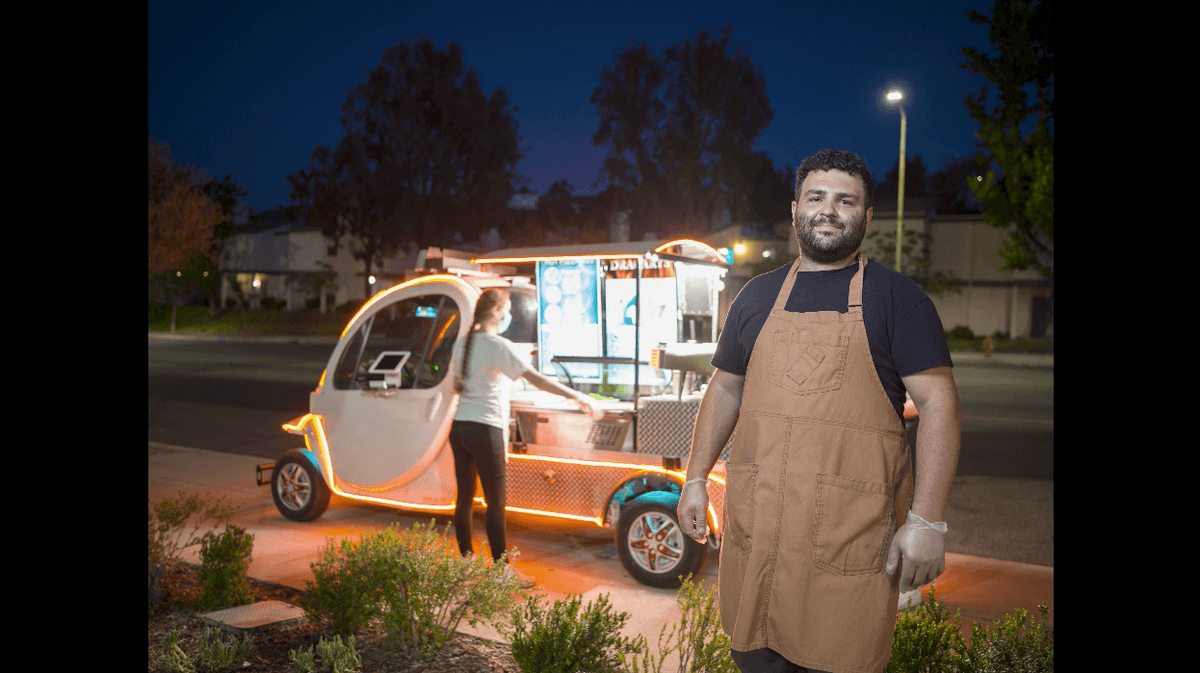
So here’s a portrait I did the other night. It was nice enough, but it needed something. Here’s that same portrait, using those five principles. It makes a huge difference.
So there you have it, five tips on how to use your strobes to integrate your person with the background and feel like they’re not strobe lit. I love lighting with strobes and if they’re done correctly, it looks fabulous.


So make sure you subscribe to us here at The Slanted Lens. Leave us a comment on our YouTube channel. We’d love to hear from you. Post some of your images over on our Facebook Community Group. Go over and check out our downloads at TheSlantedLens.com and keep those cameras rollin’ and keep on clickin’.
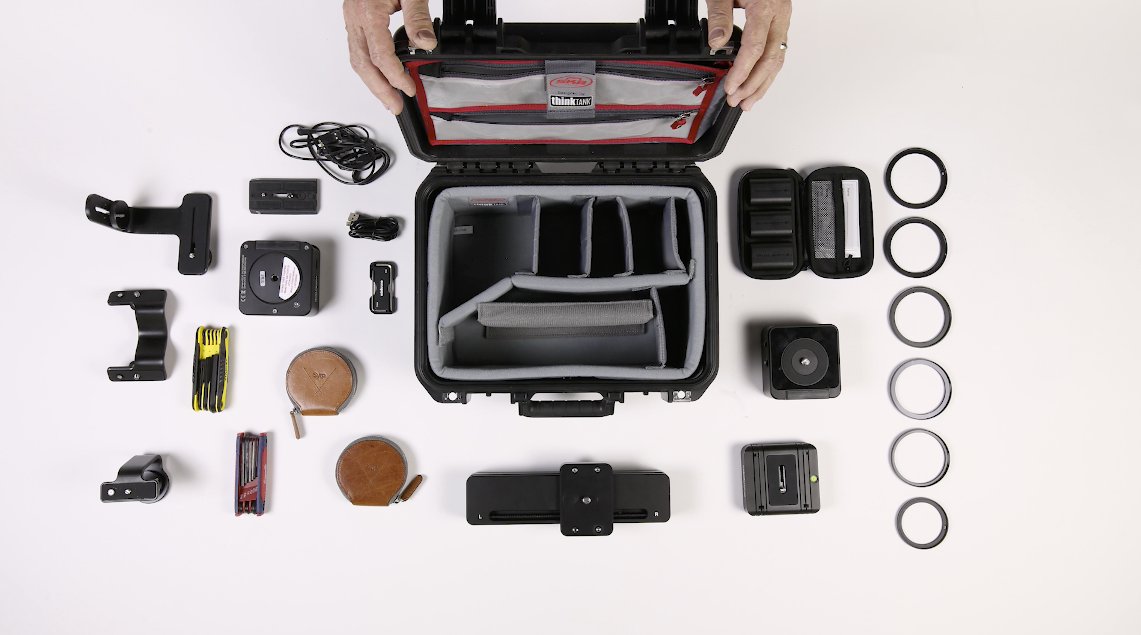

Let’s take a look at my edelkrone kit in my SKB 1309 case. Nothing travels like an edelkrone slider in a 1309 SKB case!