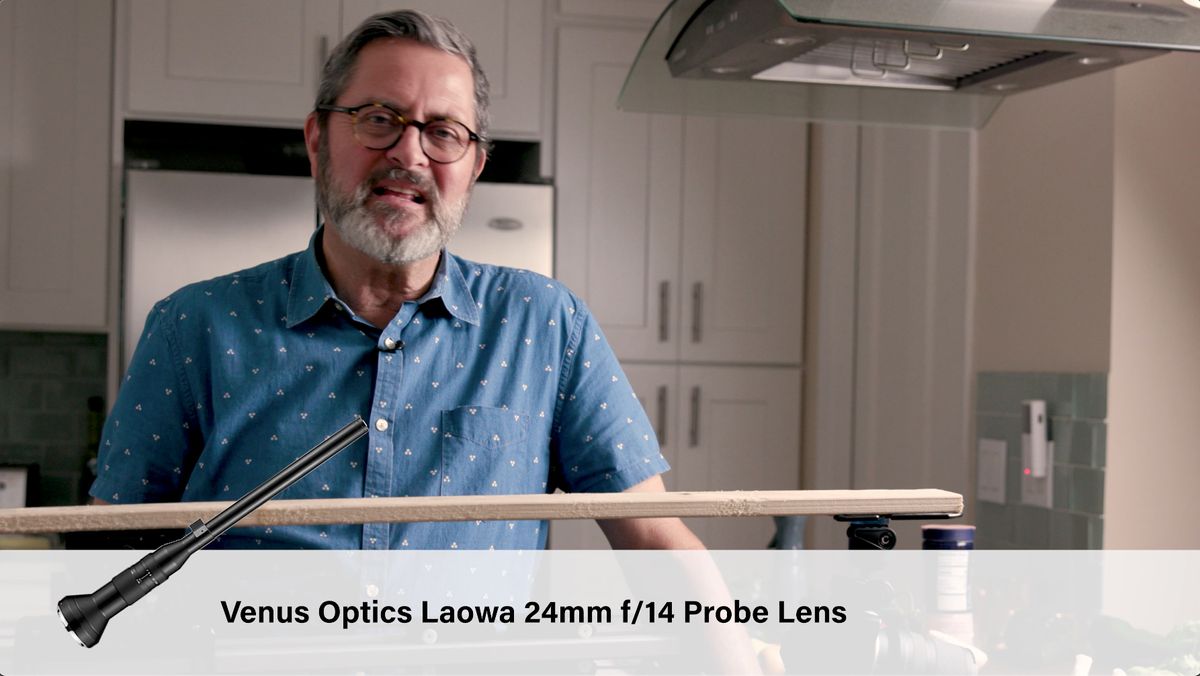
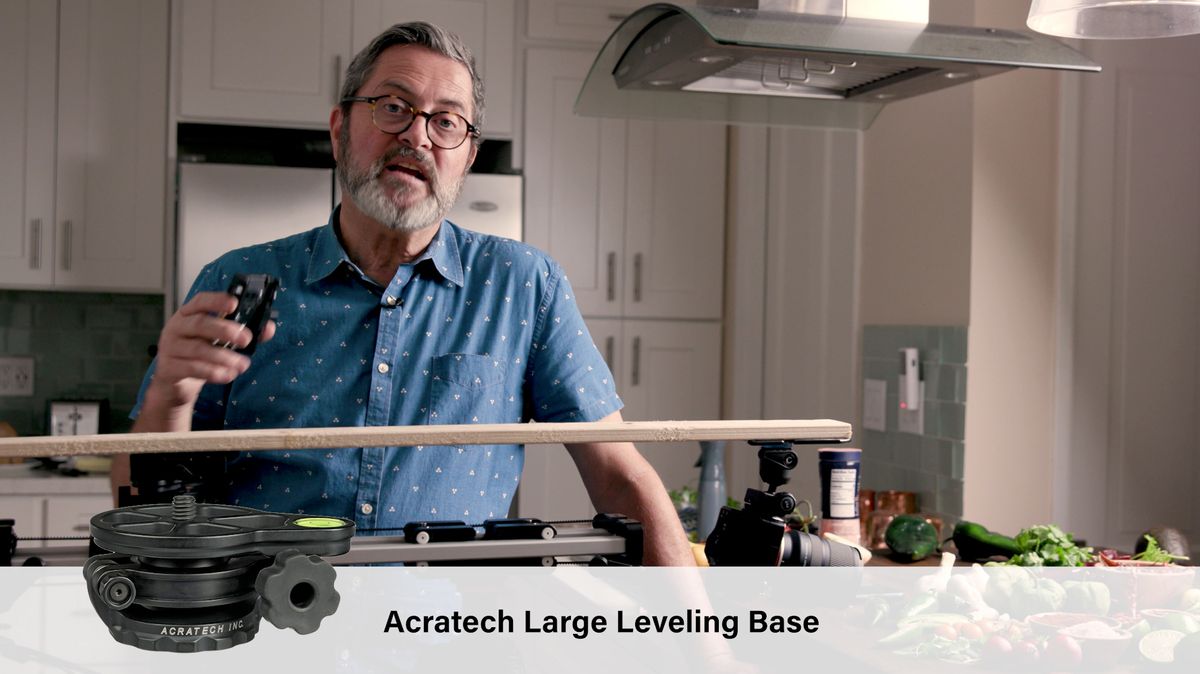
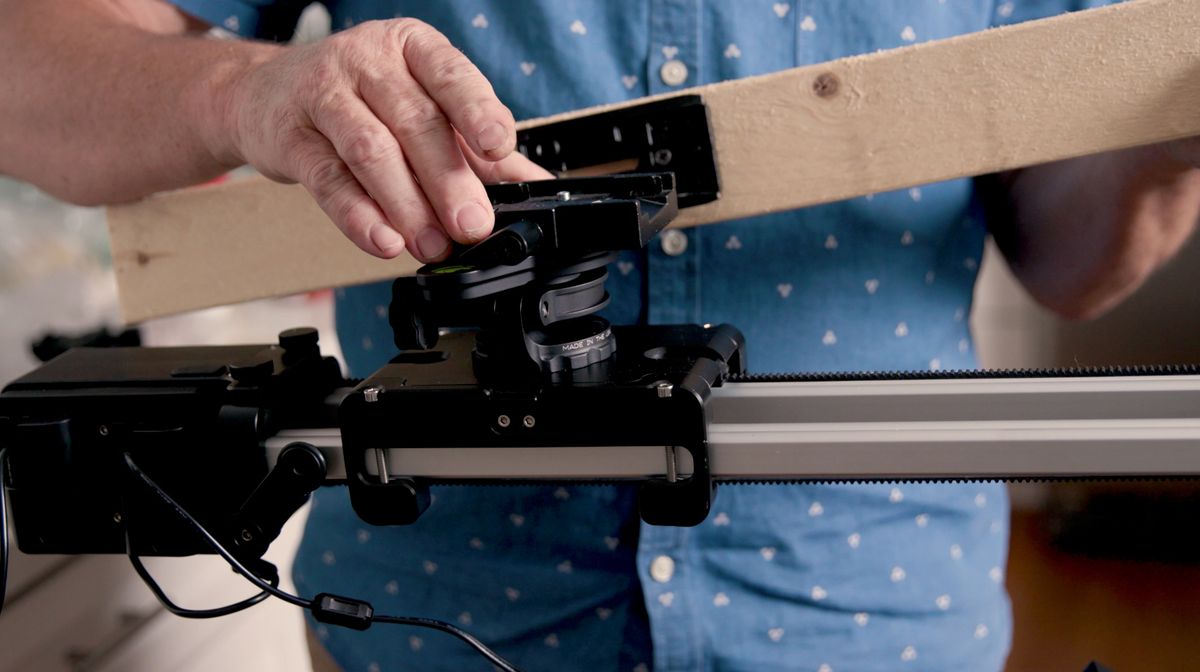
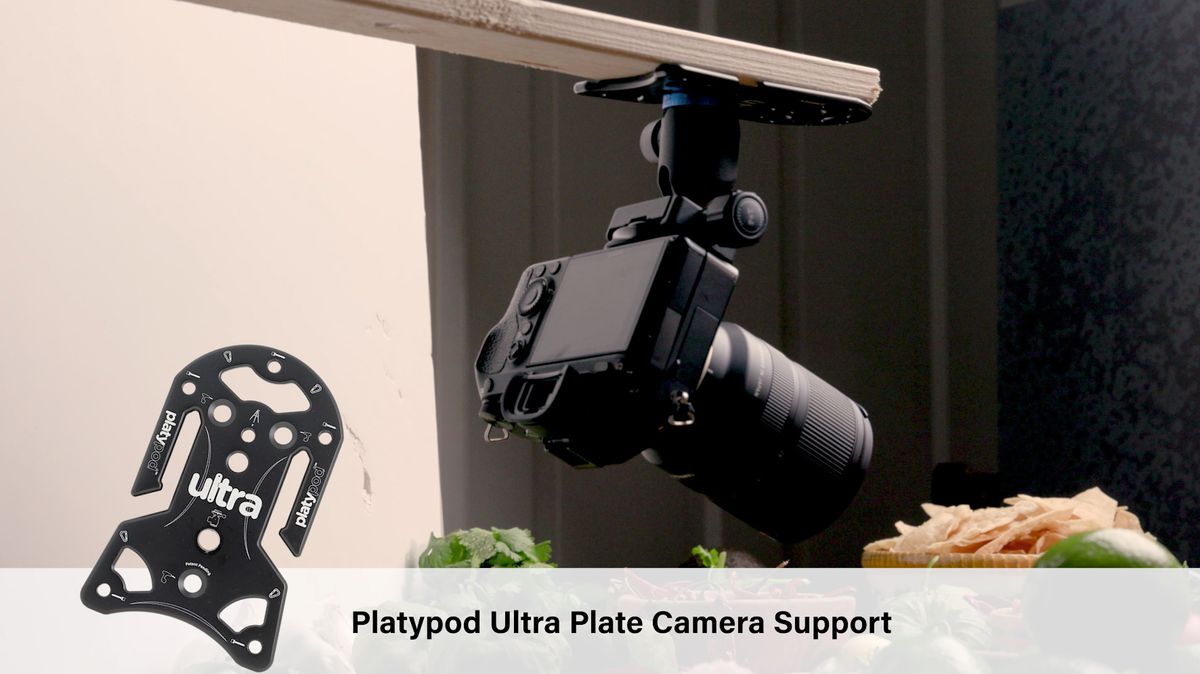
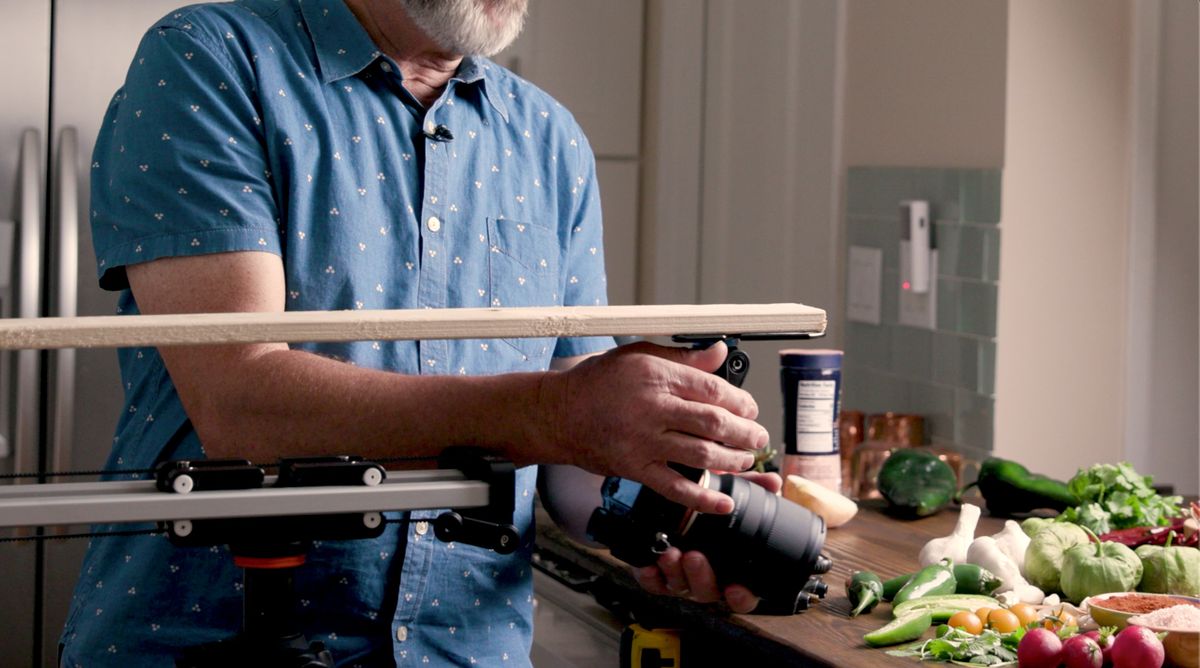
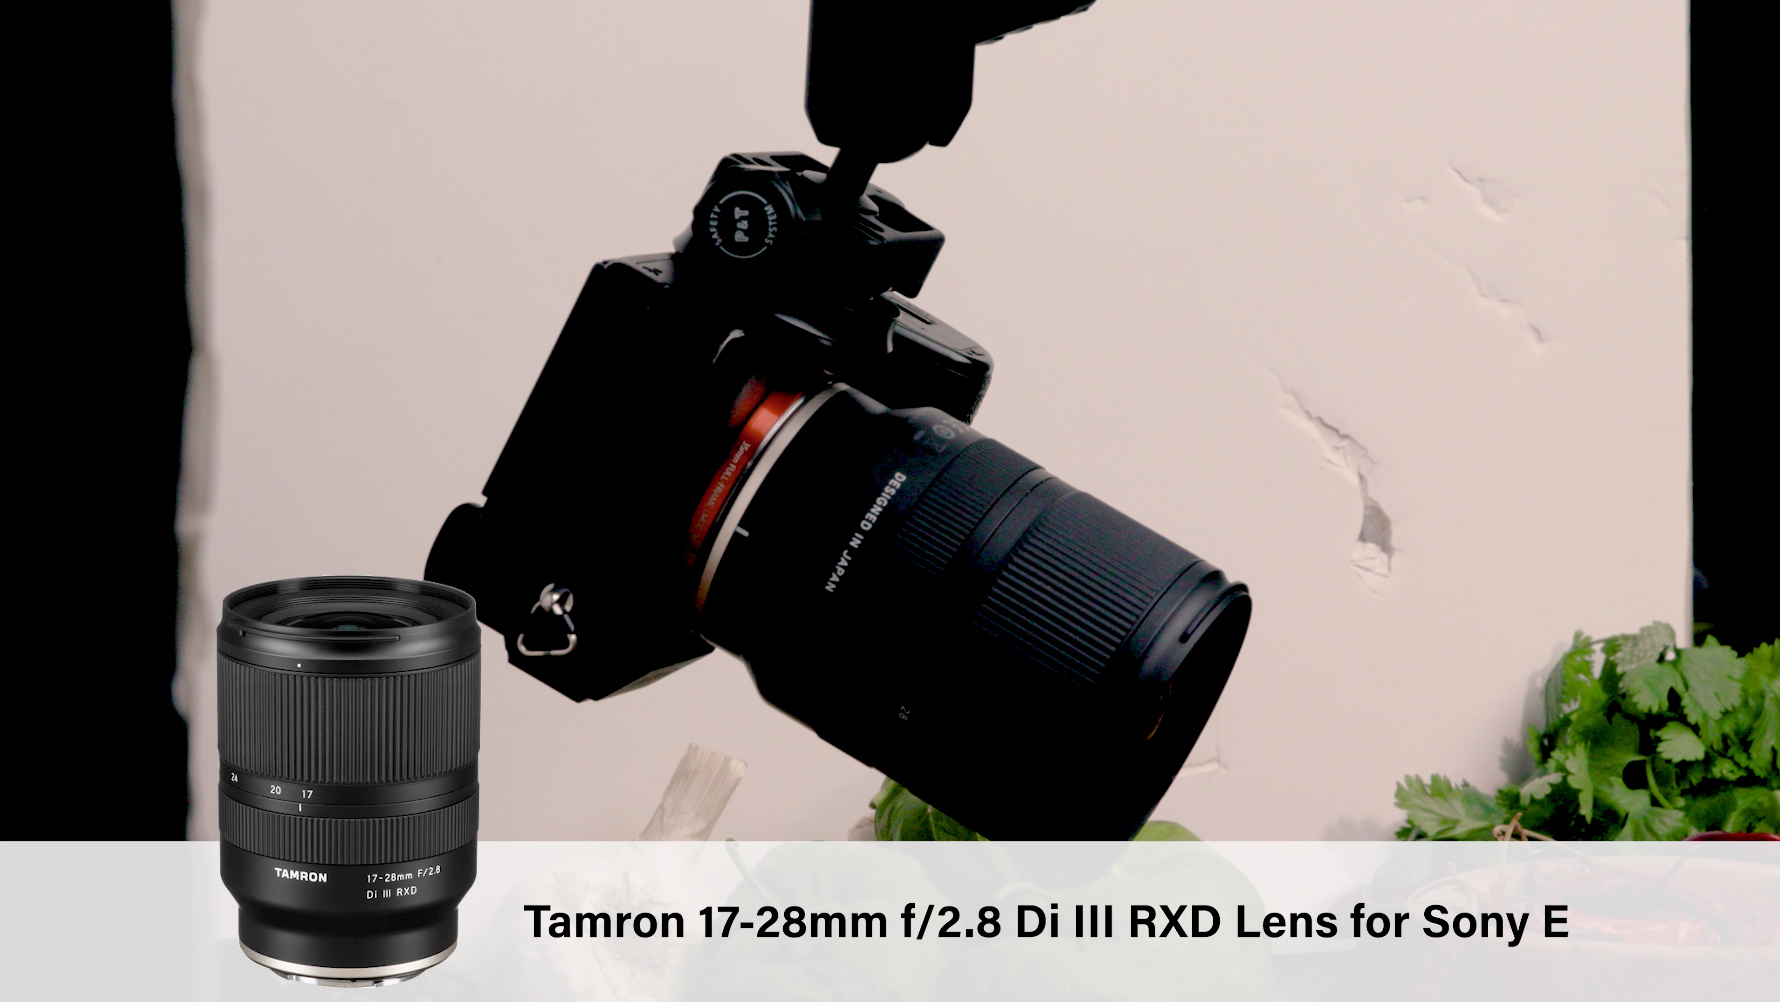
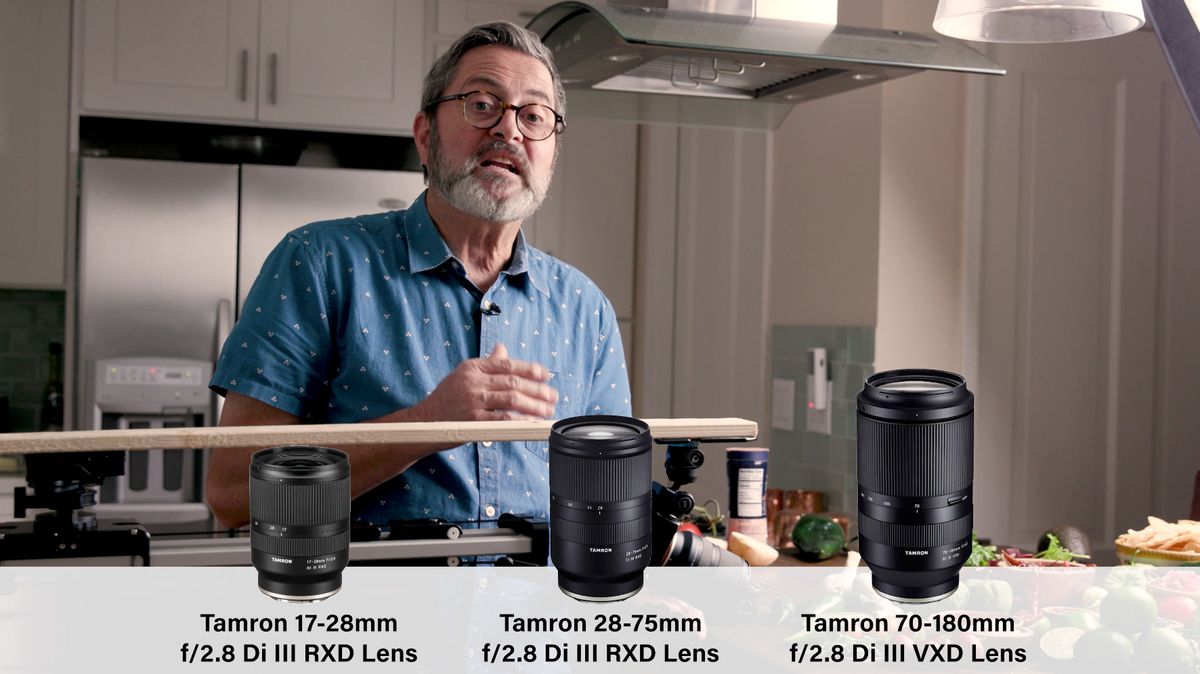
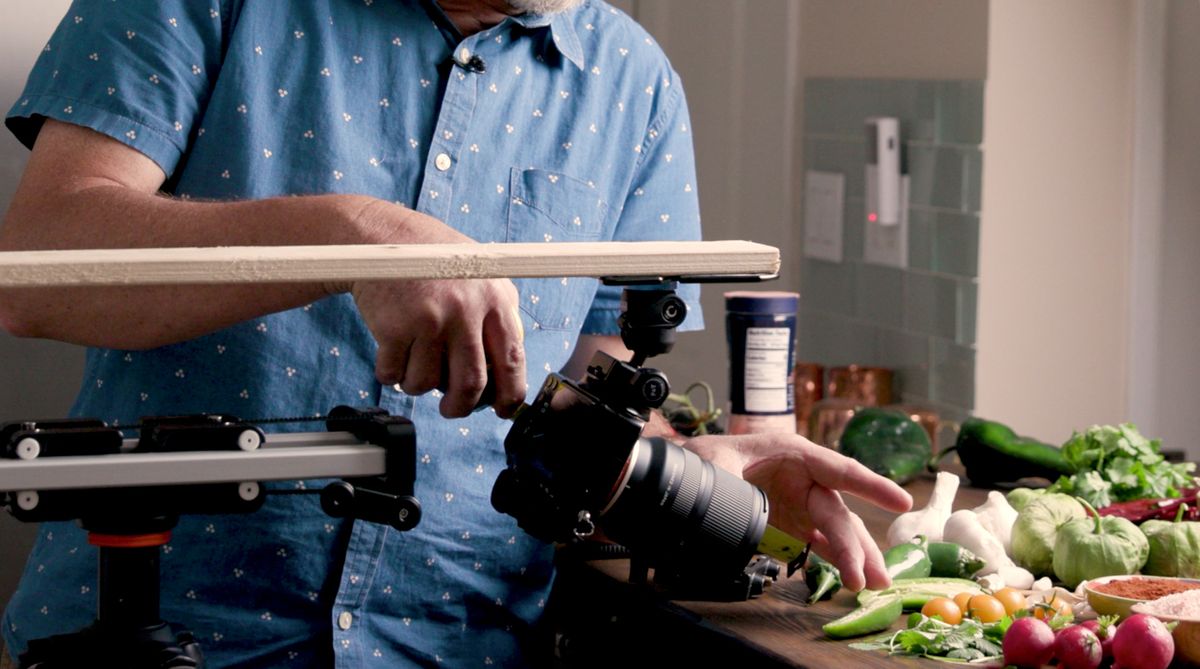
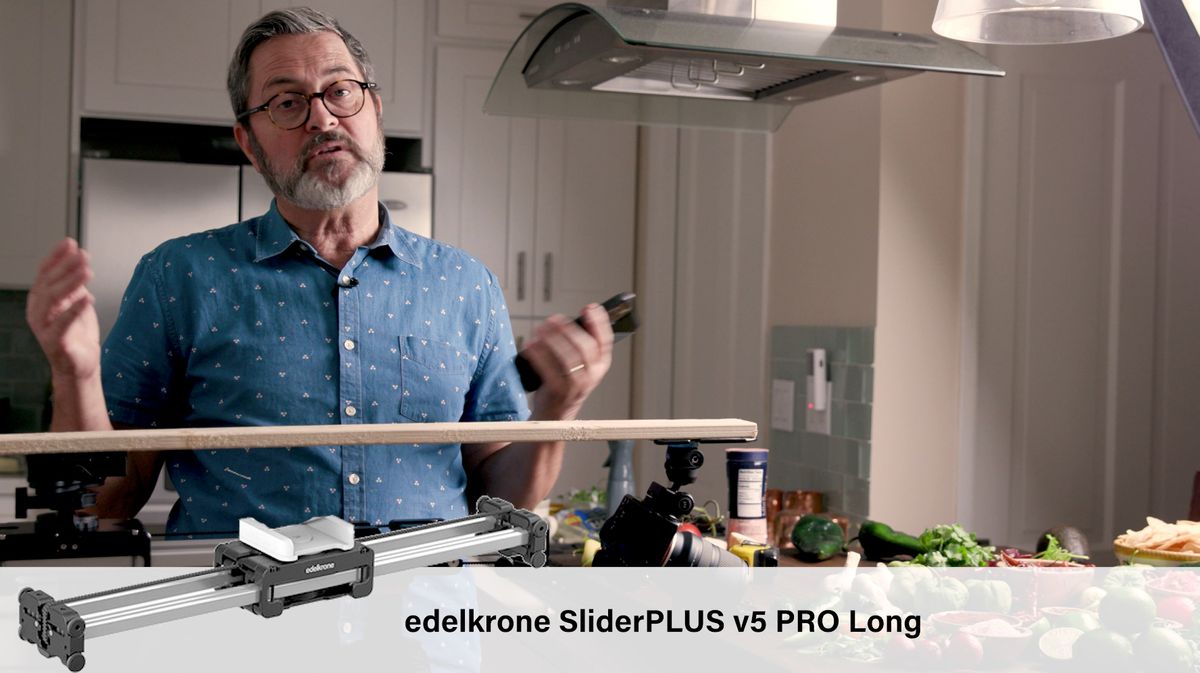
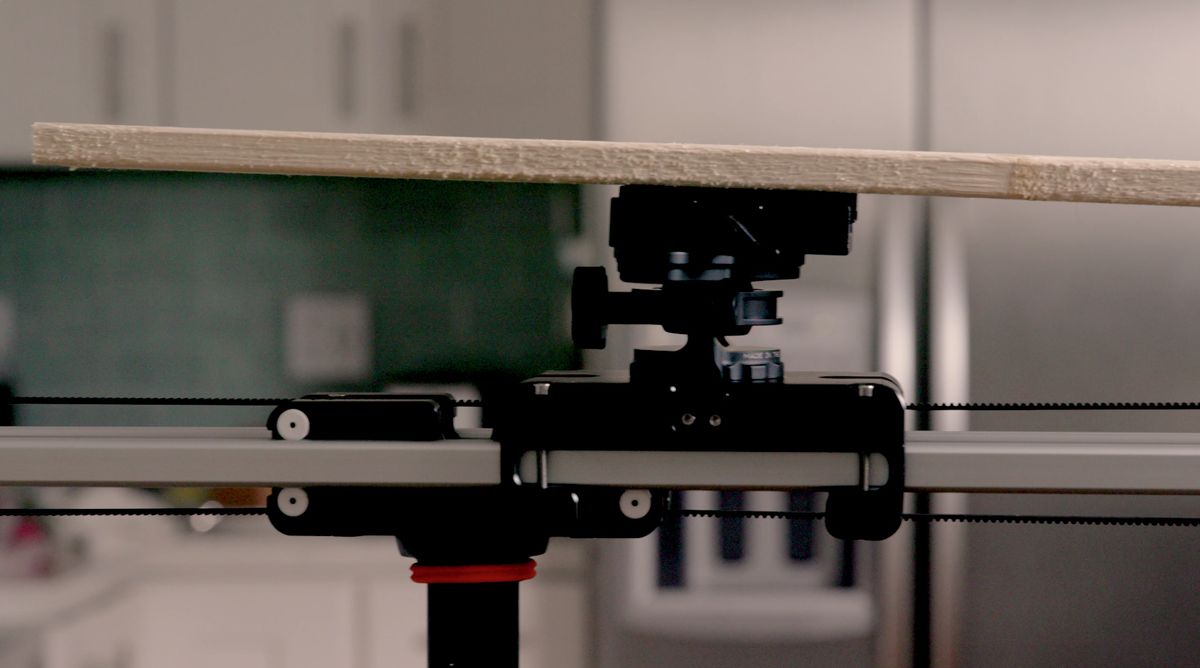
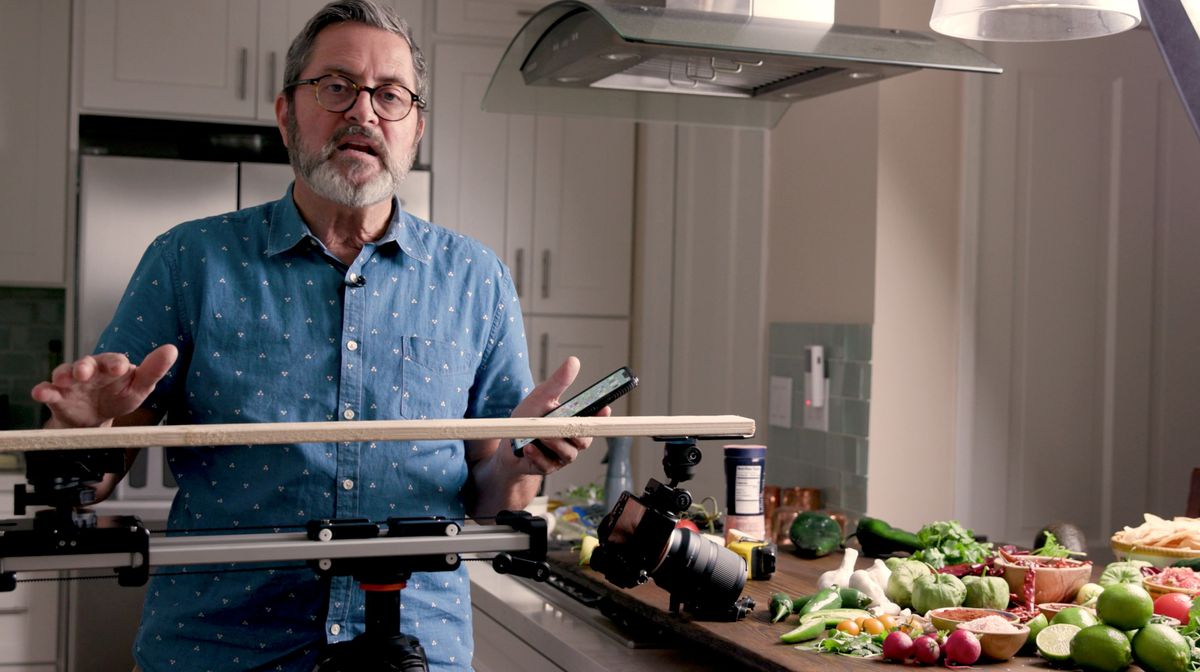
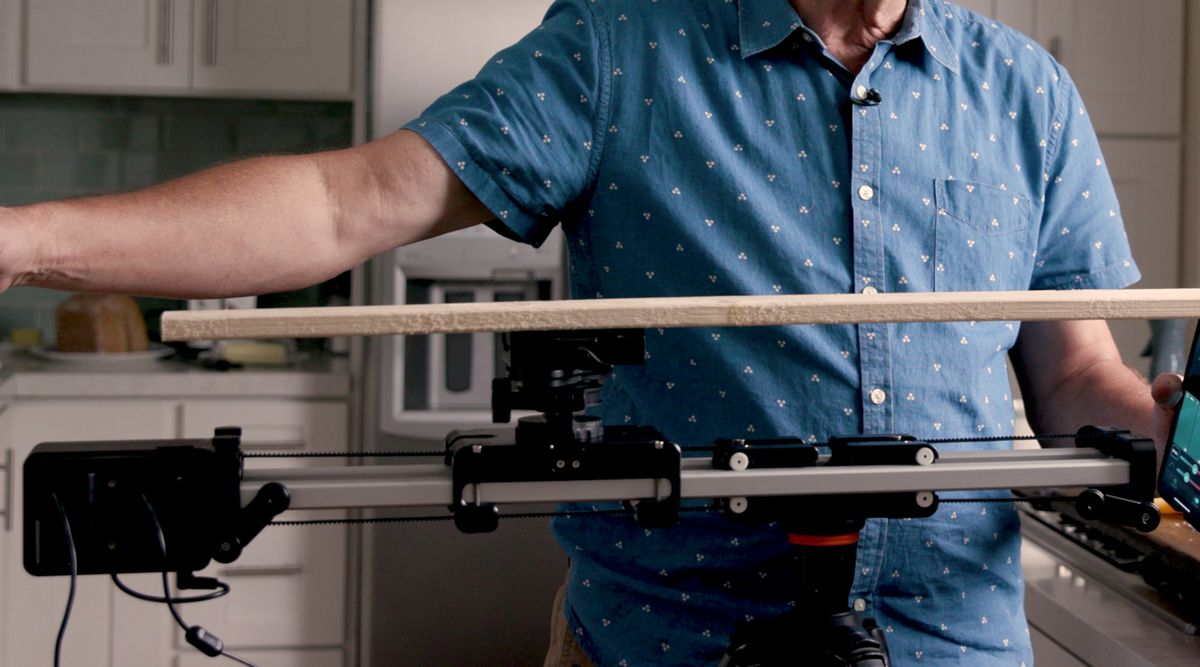
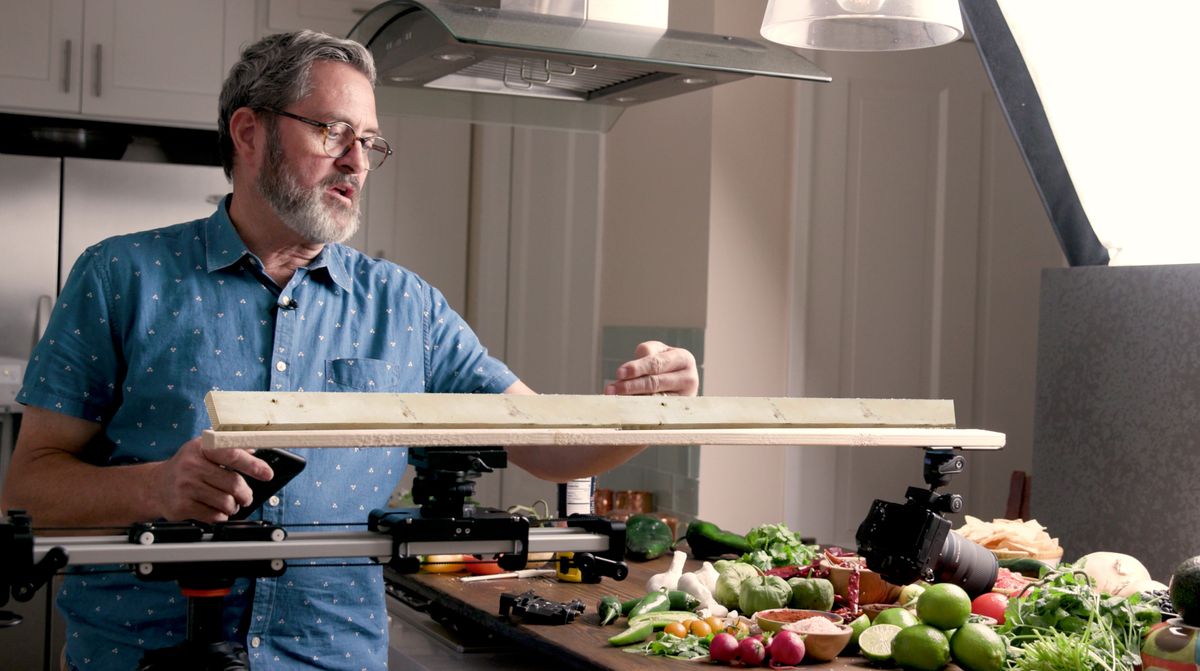
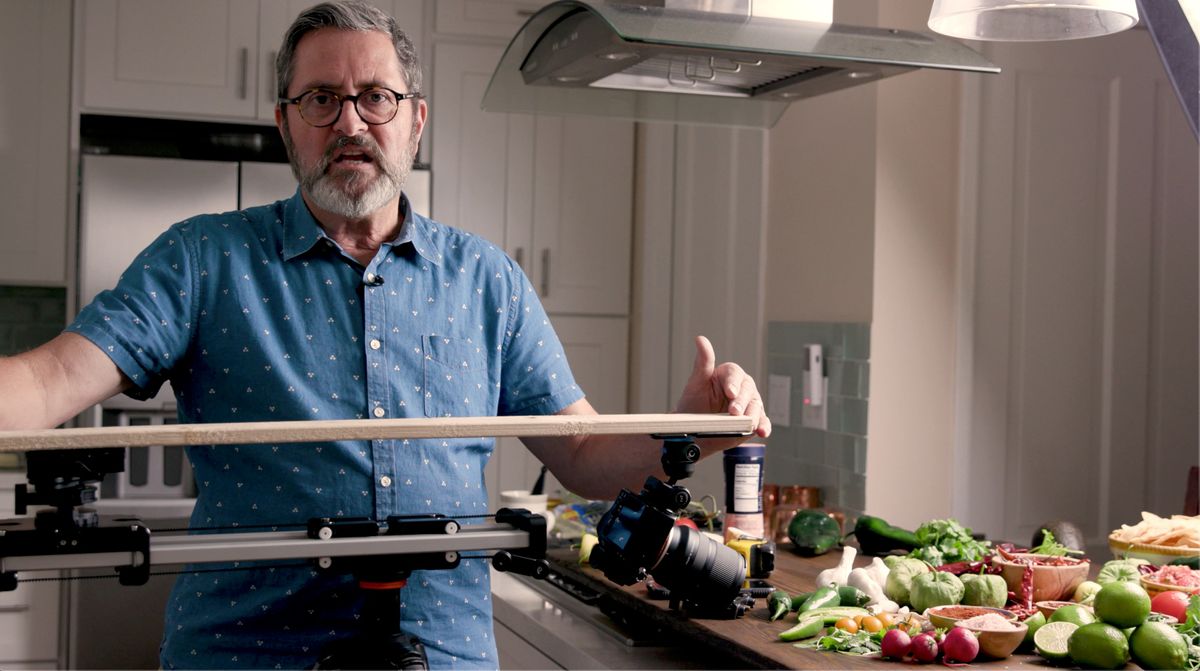
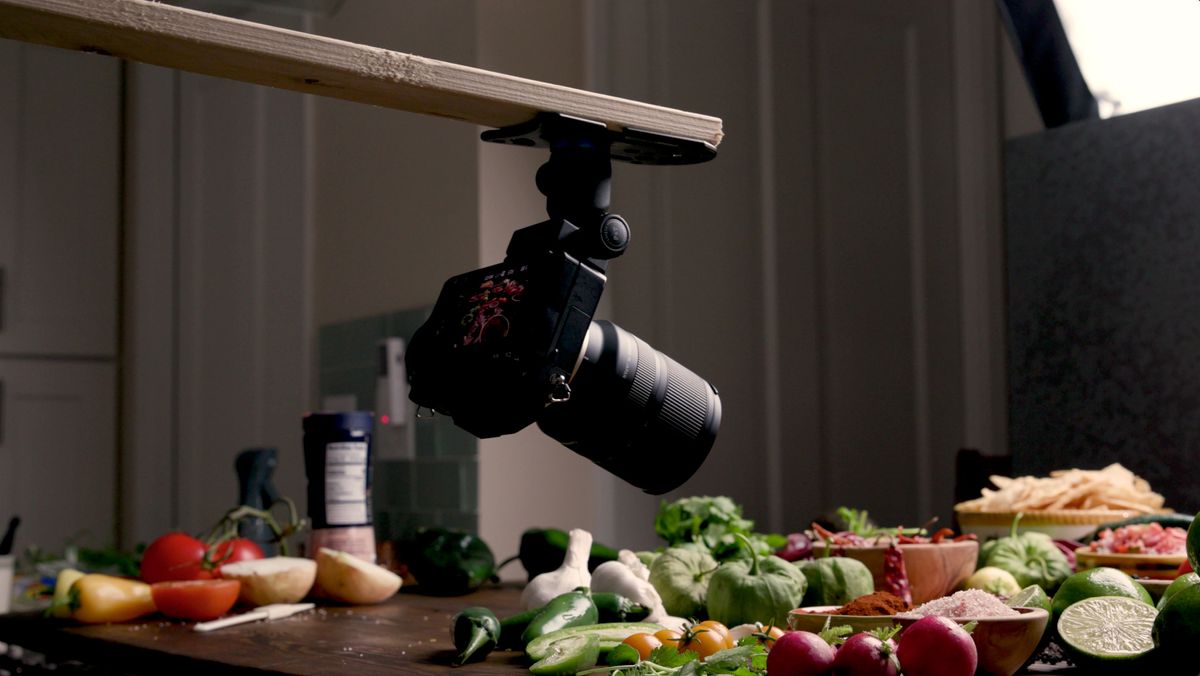
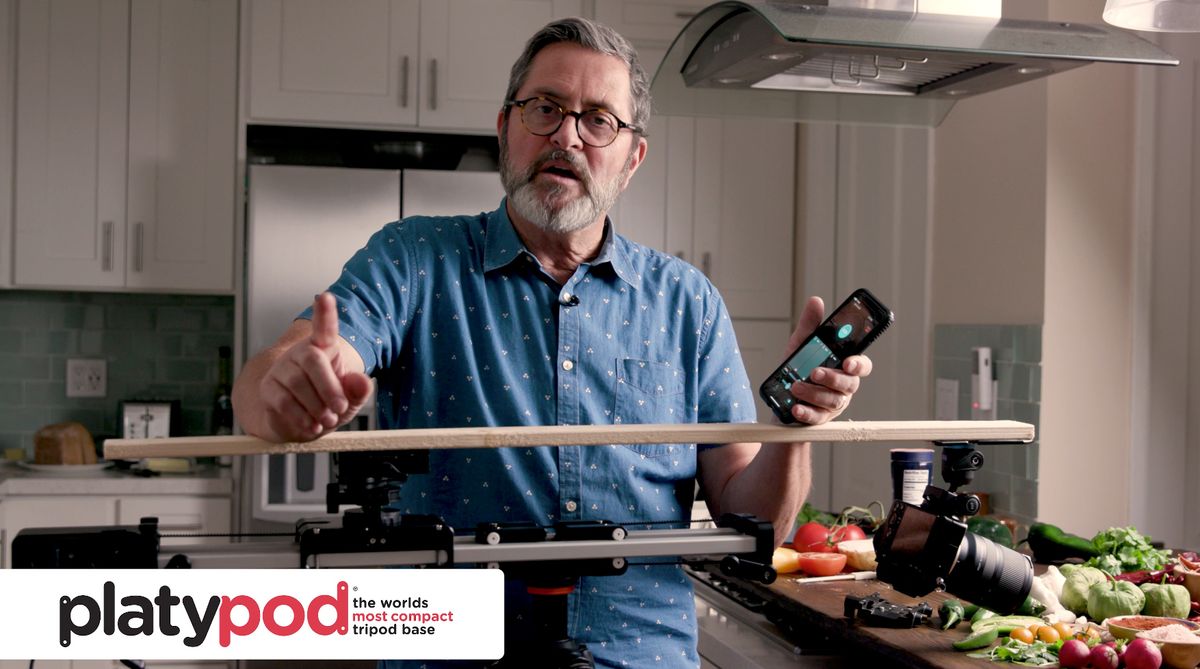
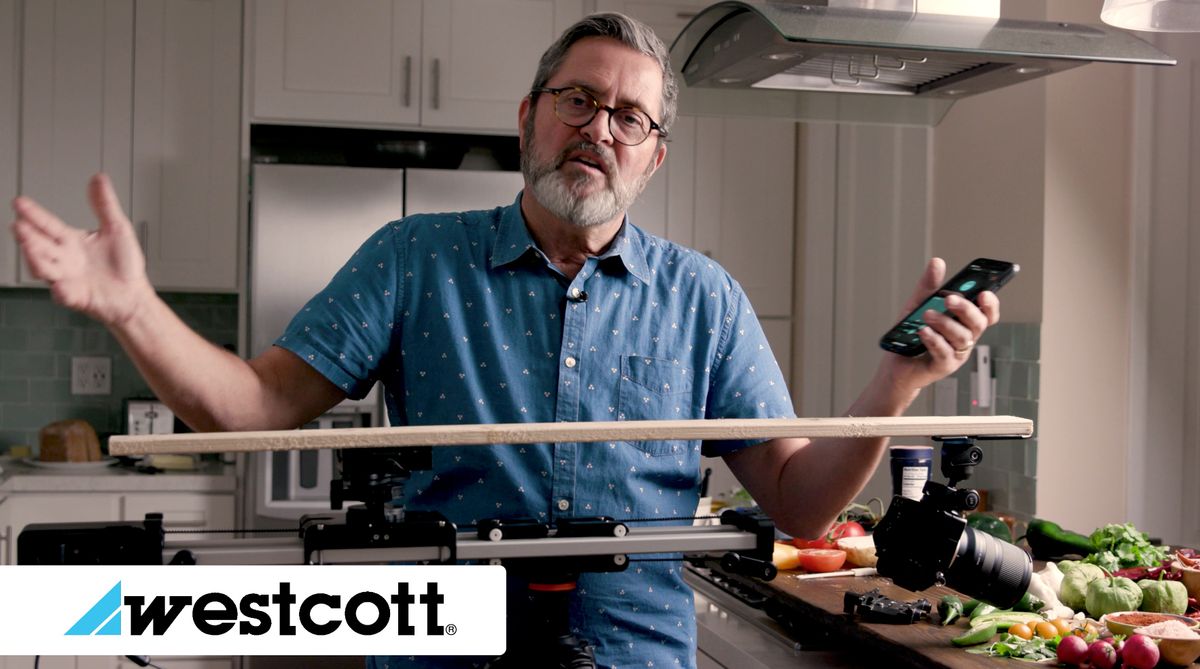
Hi, this is Jay P. Morgan. Today on The Slanted Lens I’m going to show you how I made a rig that gives you a very similar look to a probe lens. There’s several things I like about this and I think are very successful. It certainly has some limitations. But let’s take a look at exactly how we built this. Let’s take a look at exactly what it does and how it works. And you can decide for yourself if it’s worth 49 cents. You know the Laowa lens, I probably never say that right, but they’re like between $1300 and $1800 or $1900 depending on which one you buy. And they give you a great look. I love it, the way they pull out of things. It just is fabulous. But it’s $1800. How often would I use it? Is it really worth that to me? I felt like for what I was doing here it really wasn’t. So I put together this little setup, very simple. I always have a couple of these, always I have three or four of them in my bag because it’s basically a receiver for a Manfrotto video plate. But I can attach this to anything. I can screw it into this board. I can put it into just anywhere that I want to use a plate. Then on the bottom I took an Acratech, it’s a leveling head, 74 millimeter leveling head. I put that directly onto my slider so you have your Acratech leveling head right on the slider. You’ve got a plate adapter, so I connect that to my Acratech and then on top I’ve got the Manfrotto plate that hooks onto this on this end. I’ve got a Platypod Ultra. It’s a very small plate that Platypod makes. It was very easy for me to attach this to the wood. Two screws and now those two screws with this inexpensive ball head give me the ability to move this around. And I can either get a really steep angle and get a little more of a grazing angle. Really, part of the what makes this work and the advantage of this is that I’ve got a 17-28mm 2.8 Sony lens here from Tamron. And this is, if you have the trinity, this is the wide of that trinity. So I’ve got a 17mm lens that focuses at about seven and a half inches. Remember seven and a half inches is seven and a half inches from the sensor. So it’s right here. I’m focusing off about four inches from the end of the lens. And so it makes it really easy for me to have that focus just kind of creeping just in front of the lens. And it looks really cool. So the lens and also the advantage of that lens is you don’t have chromatic aberration with that lens. It’s not like one of the probe lenses. A lot of those probe lenses have really terrible chromatic aberration. Now I set this on my slider. This is my edelkrone slider, which I absolutely love. I mean I just can’t say I don’t because I do. I love it. It has so many options. But it’s all motorized. You don’t have to put this on a motorized slider. You can do this very easily on any slider. You can just hand roll this and roll it back without any problem. But the motorized slider just makes it very smooth. A regular slider would give you a carriage area right here. You would just make your board the same length as the distance from your carriage to where you want to start your lens, just off the edge of your slider. And then maybe make it a foot longer on the back to give you some place to put a counterweight if you need to. Now as I go across I’ve got the length of this board to get out over top of my stuff. And it just allows me to go way out there. I can get right to the top of that because it’s on the edelkrone slider. That’s really cheating because this gives me past the edge of the table because this is cantilevering out over top of the table. So without an edelkrone slider I would maybe make this board slightly longer, maybe six inches to a foot. And then I would probably do something that I didn’t have to do with this one. I would take a one by and turn it on its edge and I would shoot it across the top of here and make a spine on the back of this board and that gives you rigidity so this won’t bounce very much. And it’ll make it so that it can be a foot or more longer and it’s going to be very strong. And it’s not going to wiggle very much on the end. So what are the disadvantages here. Well there’s a lot. It doesn’t go straight in and the lens gets in the way of things. As you go through it’s going to bump into things. And sometimes you’ll just have to wait till you get things just past the lens, that four inches, and then just pull them to the side. Let this kind of glide through and that gives you the ability to get things closer and get that canyon effect a little closer to it. But just slide them away as it goes by. Then you can put them back in as it comes back the other way. It’s really not that difficult to do. Another downside of this is you can get a little shake up front here. And that was a little bit of a problem. But you know what, if you’ve got a very light weight, like a two pound weight or something, on the back it does help to stabilize that. I do love the fact that this really can be used to do a flyover straight down right across the top. Which is a great look. Or up a little higher. We did one where we went straight across everything straight down. We did a shot here, we went up just a little higher where we romanced it. It’s called romancing where you’re just going across all the ingredients. Then we kind of slid in to the salsa. Here’s one we shot at 120 frames a second. We can ramp that and stop and then that looks very cool as well.
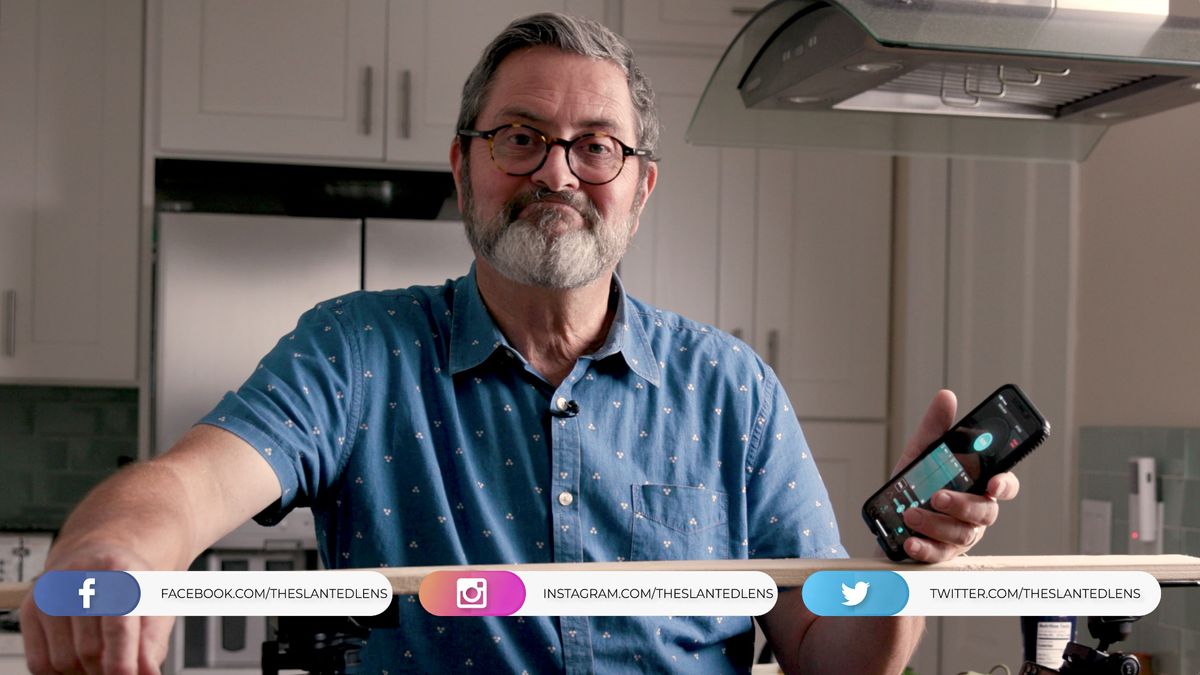
All right so there you have it. A look at how to make a little DIY probe lens. I hope you found this interesting. I love doing this kind of stuff. I’ll try to do more of these in the future so we have a little more of a DIY approach to a lot of different solutions for getting interesting different shots. So if you have your DIY solution or something you’d like to see leave it in the comments below. We’d love to hear from you. Make sure you subscribe. If you’re looking for any equipment we have all of our affiliate programs. We have a great program with Westcott. I love the FJ400s and all of their equipment. So check that out. It’s a great place to be able to pick up your equipment through our affiliate programs and support us here at The Slanted Lens. So you keep those cameras rollin’ and keep on clickin’.