


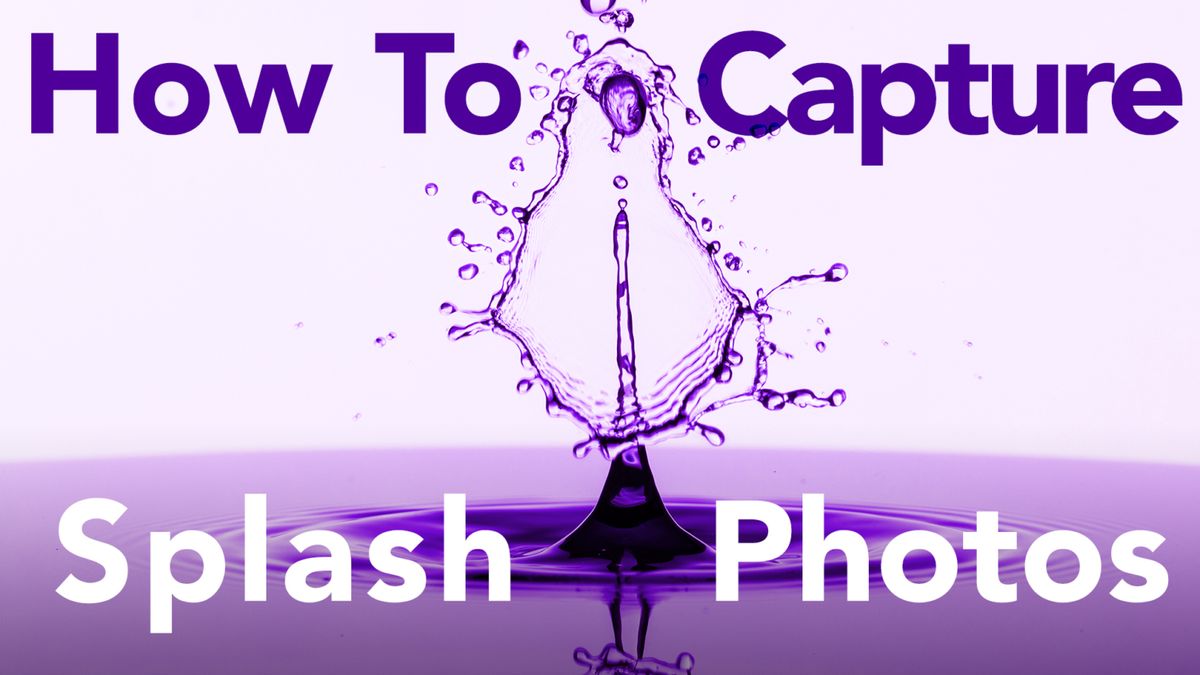
The New Miops Water Drop Kit will help you create and capture stunning Splash Photos. In this video Jay P demonstrates step by step how to use the Miops Splash Kit to create stunning splash images from water drops.


Hi, this is Jay P. Morgan. Today on The Slanted Lens we’re going to do a little macro photography. We’re going to take pictures of splashes. This is such a fun thing to do if you’re a photo nerd and you want to do something that’s just fun to do when it’s a rainy day or it’s winter time, or just because you want to lock yourself away and shoot away.


This new Miops Splash is a much different device than the first one that they released. It has a much more modern look, it has a machined aluminum nozzle, which is the most important thing here, because it gives you a much sharper drop. And it gives you much more control and has made it more predictable. The aluminum nozzle has made it so I can get the drops exactly where I want them. So it works much better.


There’s some other things about this Miops Splash that are fantastic. One is it’s got USB power. It used to be that you had to take it apart to get to the battery. Now that USB power runs continuously. So you don’t have to worry about it powering down or losing power.


The app is fabulous. It allows you to add your drops and to give delays and to be able to play with the settings. It’s a very easy app to use. And it’s an updated app as well.


The unit is much more modern looking. It has a nice new design. You can twist out this piece on the side where you can take the nozzle off and clean it. It’s easy to change the color of the water. Everything just makes it easy to leave this in your setup.


You’ve got a quarter twenty on the bottom of the Miops Splash so the magic arm can attach to the quarter twenty. So the Miops Splash comes with a either a hot shoe or cold shoe kind of adapter. I have it attached to the quarter twenty on the end of this Savage c-stand. 

And you could also put a plate on this and attach it to an ARCA Swiss plate. You could put this onto a tripod, if you want to suspend it off the tripod. I just like to use a c-stand because it gets out over the table where we’re working. It makes it a lot easier for us to work with.


So we’re rolling some Duvetyne out, which is just black material that really sucks up the light. We’re putting that underneath our clear bowl. And that’s just to make sure we don’t get any reflections off of anything from this room into the bowl so it’s clean white.

We’re putting a white background up behind us so that we have the ability to change the color on that background. We can put a gel on the light and make it whatever color we want. So that just gives us a lot of different options, kind of a clean canvas here. We can work with dark underneath the bowl and white in the background.


Let’s talk about how we’re going to light our liquid here. I’m going to light this just like you would a beverage in a glass. I’m not going to aim my light at the liquid in this first setup. I’m going to aim my light at the white card behind the liquid. I don’t need a very large white card because it’s a very small macro shot. There’s black all around this setup because of the dark room. The light is only hitting this white card to give me a great exposure.


So the dark room gives me definition to the right and left side of that liquid. So as that splash goes up, I’ve got a nice white from behind that is going to open up that flash and make it look bright. But then if I needed to, I could put a black card on each side to give me a black definition line. 

I used two of the Westcott FJ400 strobes. I dial them all the way down to 2.5 on T mode, because I want them to give me a fast flash duration to freeze the liquid. And that’s going to help to stop everything and to really freeze the liquid in place. You might think that’s not a big deal, but it is. One of the biggest problems with doing something like this that it blurs when it’s splashing. It’s going very quick. And so on a regular strobe if you just aim that at the splash or aim at this card, there’s a long flash burn and it’s going to make that liquid blur.


Focus was kind of a problem with this little setup. And so what we did is we put two Platypod Ultras, one on each side with a gooseneck. 

I placed an a clamp on it that will hold a ruler in place. And so when I turn on my camera, I can focus right on that ruler. The way I know that’s in the right place is when I hit the app, and it shoots for me, the drop has been cut in half by that ruler. So now I know what’s going to be in focus.


I’ve got my Canon EOS R here. I’m using a 90 millimeter lens. It’s the Tamron 90mm macro lens which allows me to get in tight so I can focus close.

Then from the camera, I’m running a cable up to the Miops Splash. And then I’m running a cable from the Miops Splash to my strobes. I’m setting my camera on bulb or B. Now in the app, I’m putting this on flash sync. I’m not going to try to freeze a splash with my shutter. I’m going to freeze the splash with the freeze mode of the Westcott FJ400 Strobes. 

The strobes have a T mode that will shorten the flash duration and freeze the water when it splashes. But I have to be in a dark room because even though my exposure is only going to be about a second in that bulb mode, it’s long enough that it will pick up any light that’s in the room.


So the app is pretty seamless. It just searches for devices and looks to see what Miops device you have available. It found the Miops Splash. I’ve got it plugged in and turned on. Once I hit the little corner here, the app brings me right to my setup. 

I can click on this for my first drop size. I click on that and I can put in 50 for the size of the drop and then hit done. When I hit the red corner it takes me back and it’s now set to 50 for the drip size. If I hit lower here, there’s my second drop. I have the drop size, and I have the delay. So when I hit the delay right here, I can now change this delay timeline. I put in 45 for the delay and then hit the right corner.


Now I can click on my second drop and add the drop size. I can see the delay, I’m going to do 45. That’s all set. Now I can come down here to flash. And before the flash goes off, how long does it delay? Do I want like either flash or a trigger with the camera, or I can trigger it with the flash. I have set it to trigger with the flash in that bulb mode on the camera.

So I’m going to hit the delay here and I have it set at 200. Now if I go back here and say I only want to do a single splash you can change the setting. Or you can keep adding drops all day long. If you want add a third drop or more you can keep adding drops, as many as you want.

Another great tip is to write down all your settings and the frame numbers. Because when you get something that’s working, you’re going to go want to go back to that. We’d go along here and start changing things and then realize this is not working as well as what we had before. Let’s go back to the last time we liked an image. We go back to that and start from there to adjust again. So keep good notes. Taking notes will make this a lot faster for you.


Another thing that really affects how the water drops interact with each other is the ripples from the last water drop. So if I create a drop, I’ve got all these ripples going in and out right now. And there’s movement in the water, when I started waiting a little longer for the water to calm, I was getting a more consistent result. So that’s pretty important. Don’t shoot too fast, be patient.


These are looking really cool. But then we put some food coloring in the water. I think that looked fabulous. Because of the white from behind, it kind of gives you that white surface of the water. But then this red is kind of erupting out of the water and it looks very cool. So let’s take a look at some of those images.
So let’s wrap this up. This new Miops Splash is such an improvement over the first version. You’ve got the aluminum nozzle, which gives you a great sharp drop. The app is easy to work with. You’ve got continuous power with that USB power supply.It just makes it so that you can use this continuously. And it works really well.

I did find that I felt like I was getting a more predictable outcome when the water was lower down below the straw. That last little bit there it seemed to be one after another was really hitting exactly where I wanted it to. That was just my experience. I don’t know if that’s just a fluke or what, but that was certainly my experience.


So I had a great time doing this. This is fun to do. And it’s an interesting thing to be able to set up and to learn the principles of macro photography and depth of field and getting in close to coordinate the splashes. It’s an interesting, fun kind of thing to do. So if you’re a photo nerd, you’re going to want to check one of these things out. So leave us a comment on our YouTube channel. And make sure you subscribe to us at YouTube.com/TheSlantedLens and keep those cameras rollin’ and keep on splashin’!