
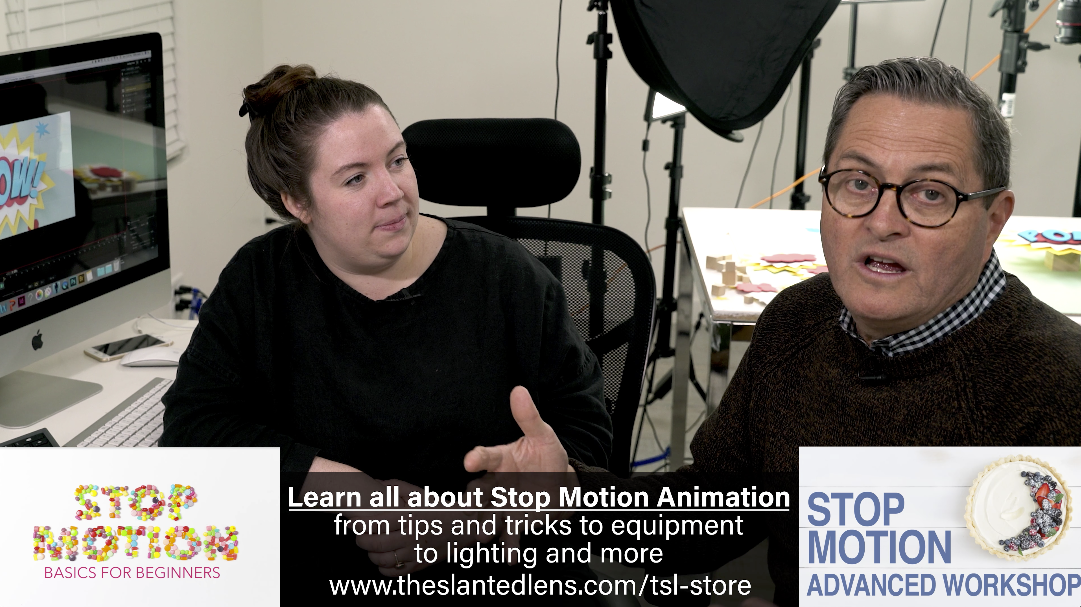
In this Stop Motion Tutorial Trisha and Jay P show how to use Replacement Animation to create an action packed animation for your videos. Using paper objects they show you the step by step process to create stop motion photography animation that can be used in social media, commercials and films.

Let’s talk about replacement animation, why it is so important and what it is.

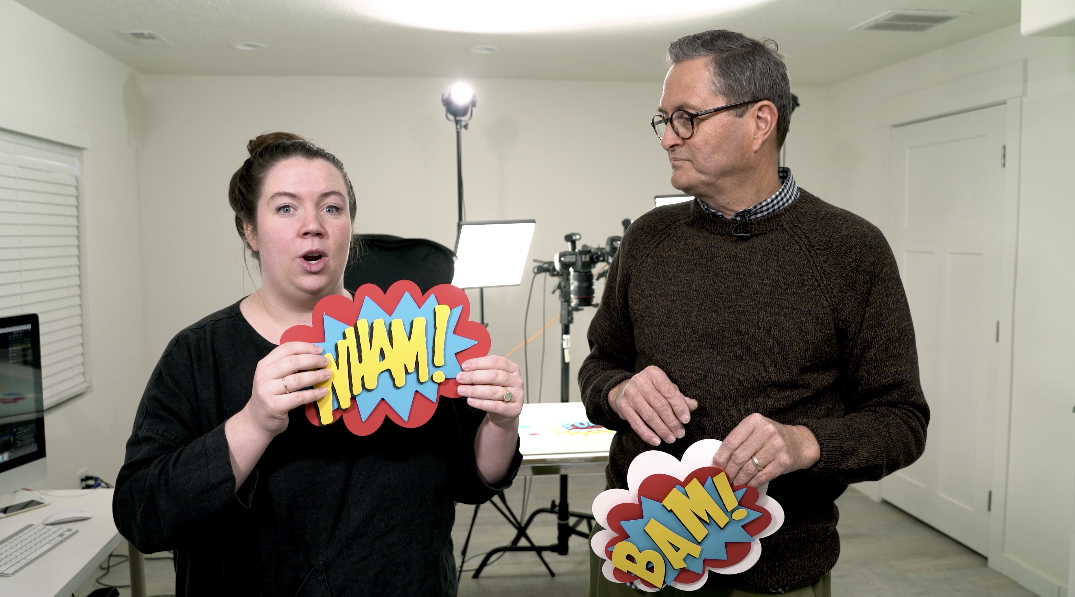
A lot of times in animation, what you’re really doing is just moving an object, taking a picture, moving the object again and taking a picture. But sometimes you want to add a little bit more umph to your video, like “BAM” and “WHAM”. What you can do is, instead of moving the same object, actually create a duplicate object that’s a little bit different. 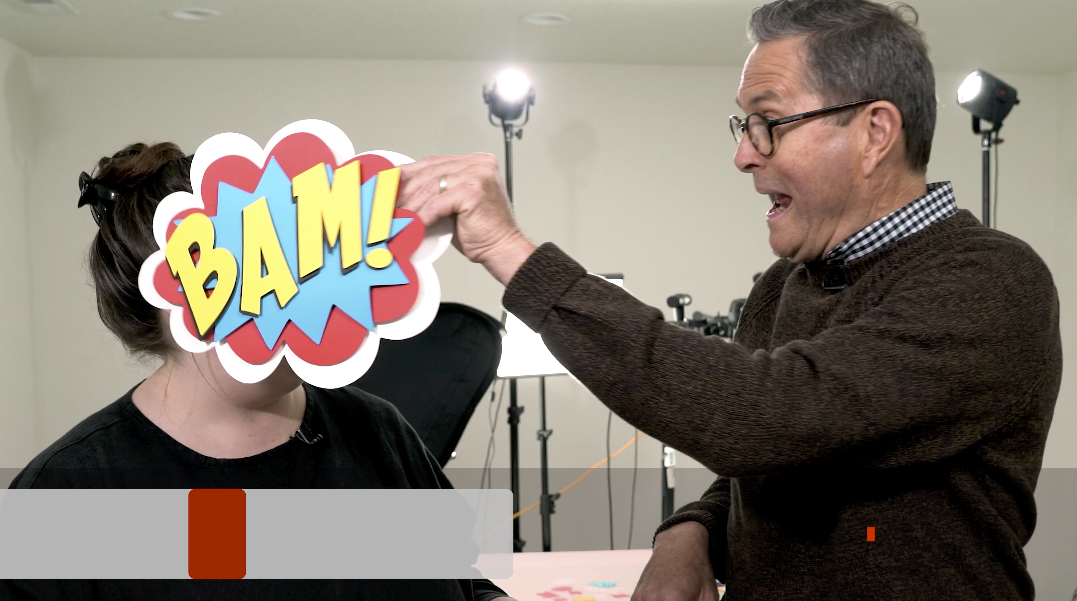


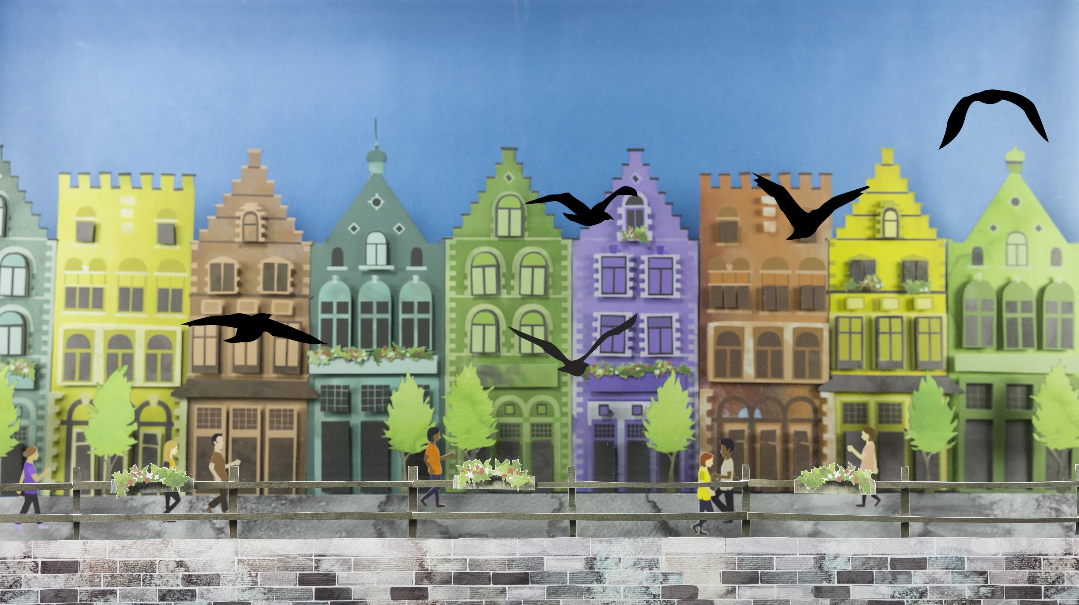
I’ve used this in many scenarios. I created a short film a long time ago. And in one of the scenes, there’s this girl, and she flies through this tree, and these birds fly out. 


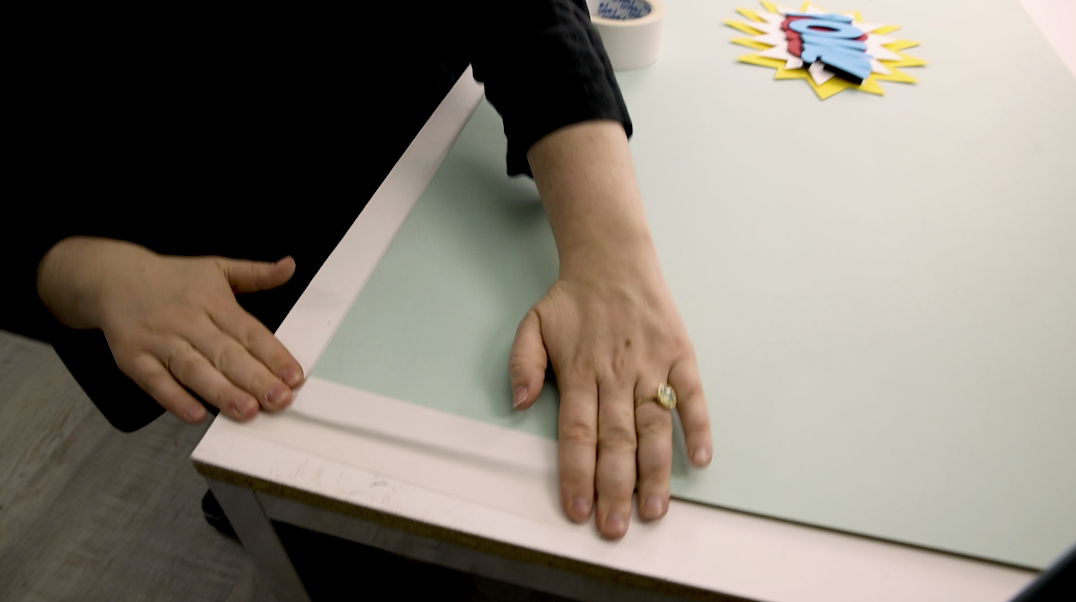
Every time I am getting ready to do an animation and I have my background down, before I take any pictures, I really want to solidify that surface. So I will tape down the corners of everything, every time I use a background.
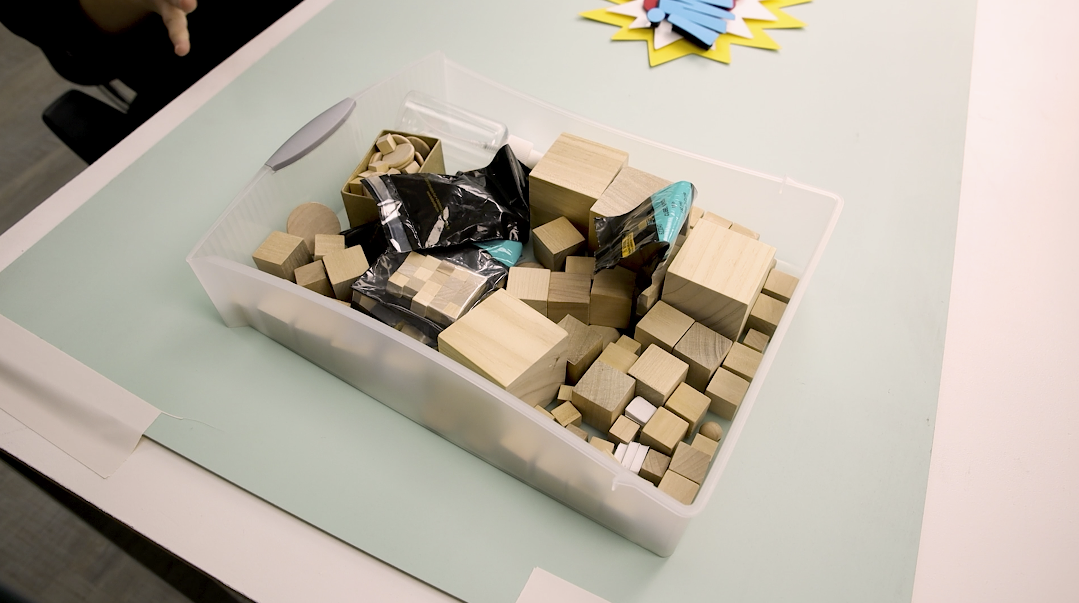
I use these wood blocks to give depth to my scenes. I think it really helps with shadow and it gives an extra layer of dimension. So we’re going to put that “POW” on the woodblock. And that is going to be our end piece. It’s going to go “POW”.

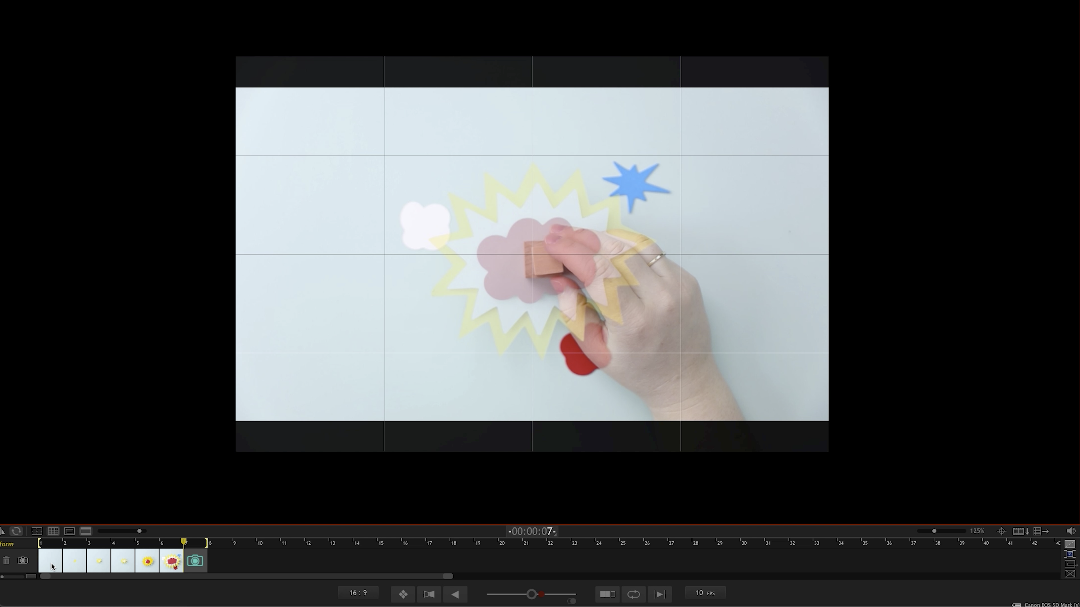
We’re going to start by actually focusing on the end “POW”. And then when we shoot the video, we’re going to start with these smaller pieces lower to the ground and they’re going to grow up on these blocks as we get larger. 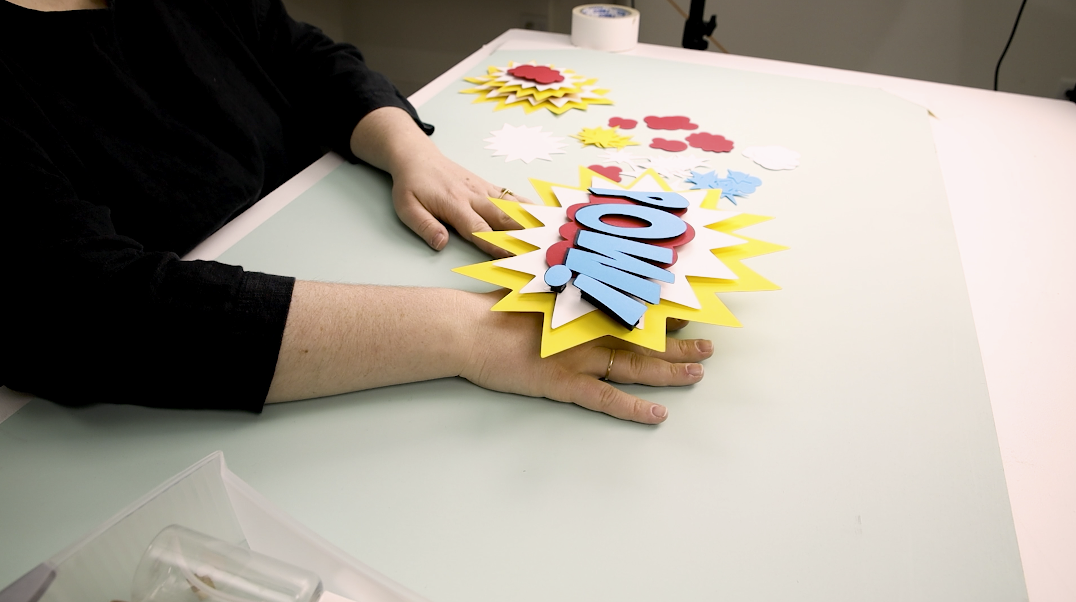


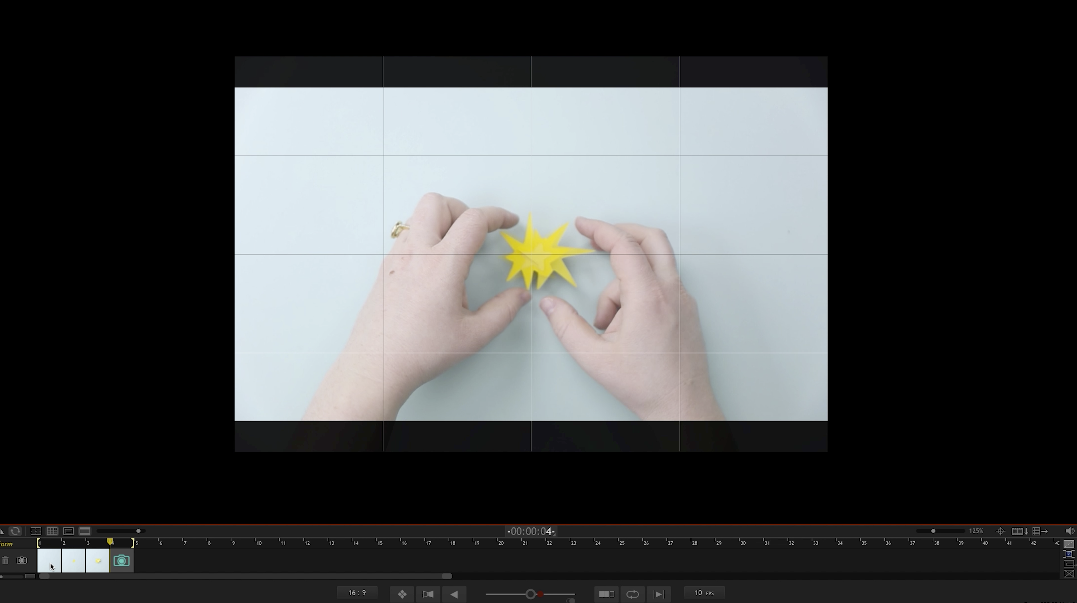
And then we want that star to grow in size. So we’re going to add a larger yellow star. We’re going to put a little lift underneath it, and then add our little yellow star. And then we’re going to put a little white star above it. 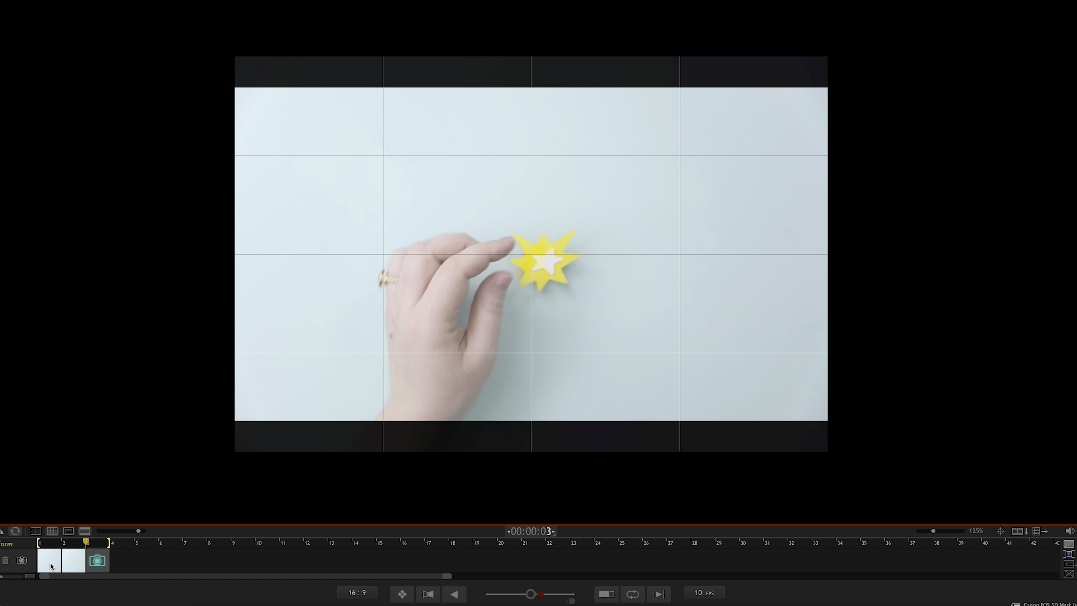


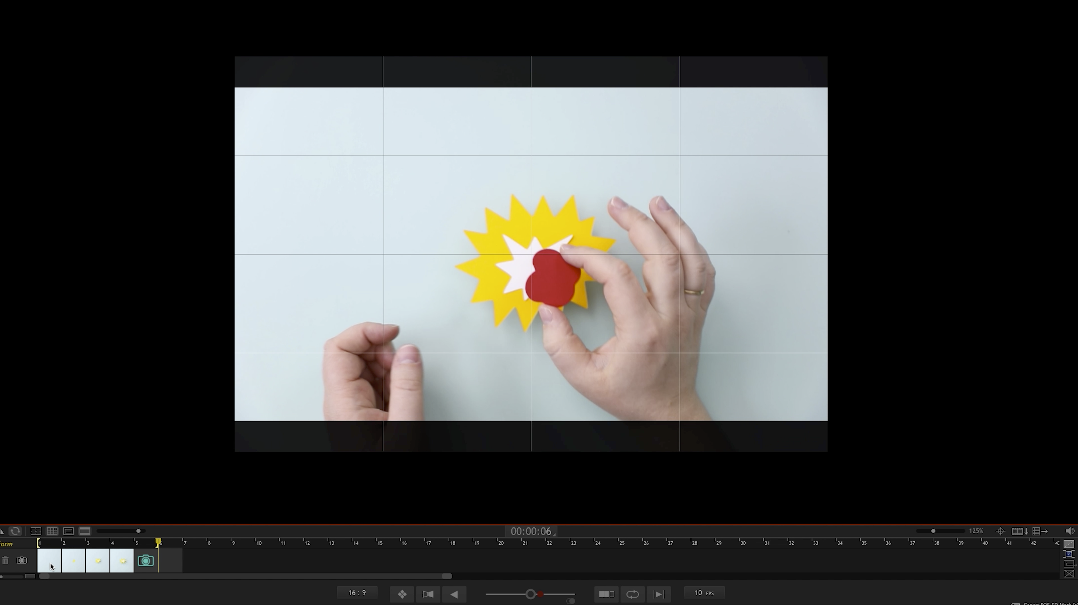

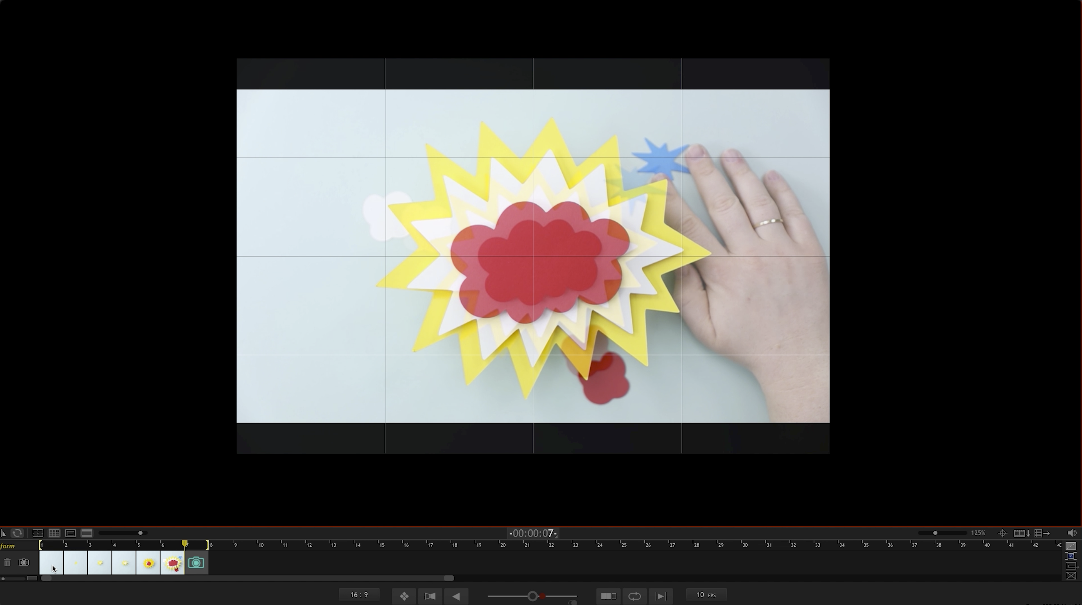
Now we’re going to take these pieces totally off and we’re going to add this assembled piece in. But now we want to add in our explosion pieces. We don’t just want this to just grow, but we also want it to be explosive coming out on the sides. So we’re going to add in a little blue star. I like the white puffy clouds. 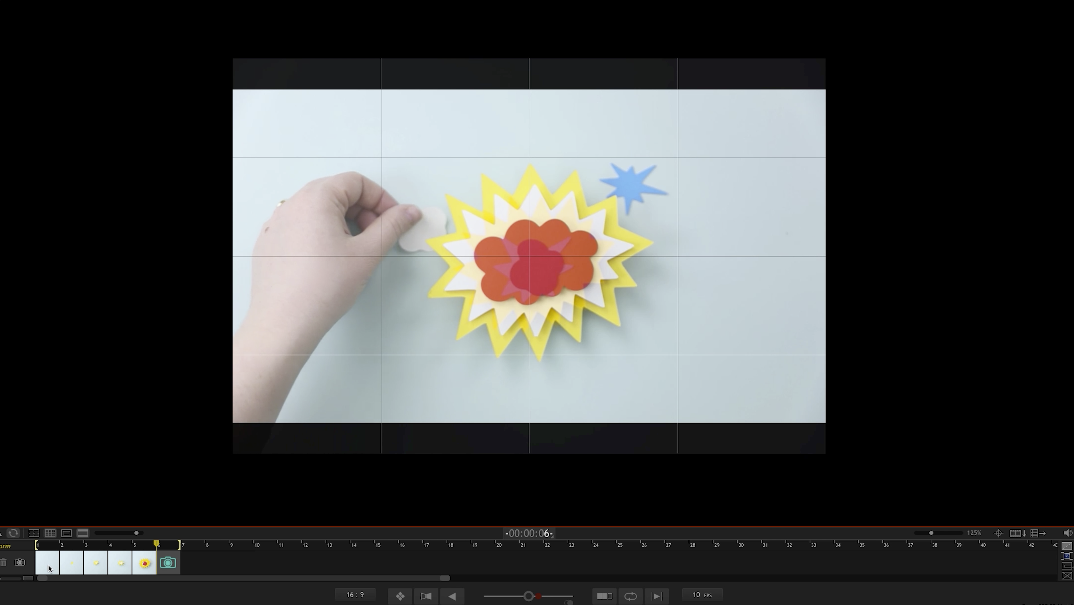


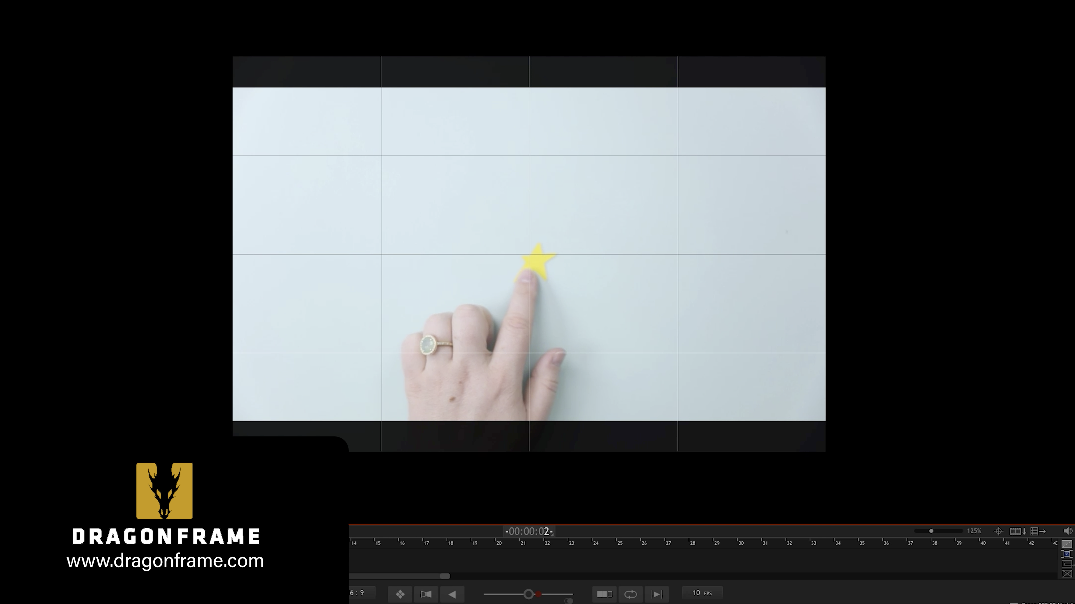
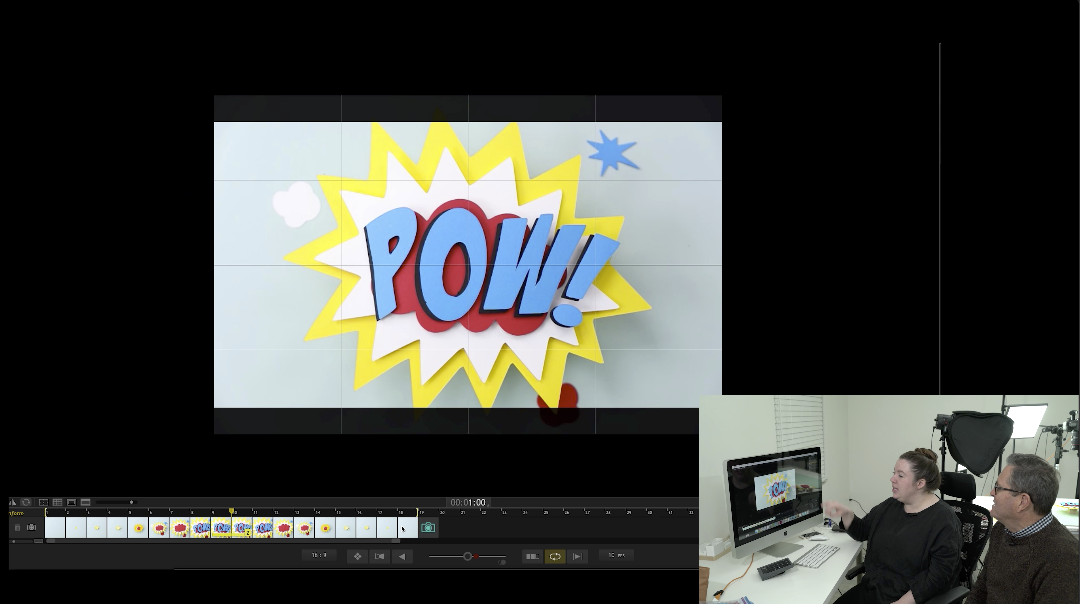
So we just took all of our frames for our animation. They’re here in our timeline. And now we’re just going to watch the 10 frames for one second. It looks awesome. So it grows and just hits you.
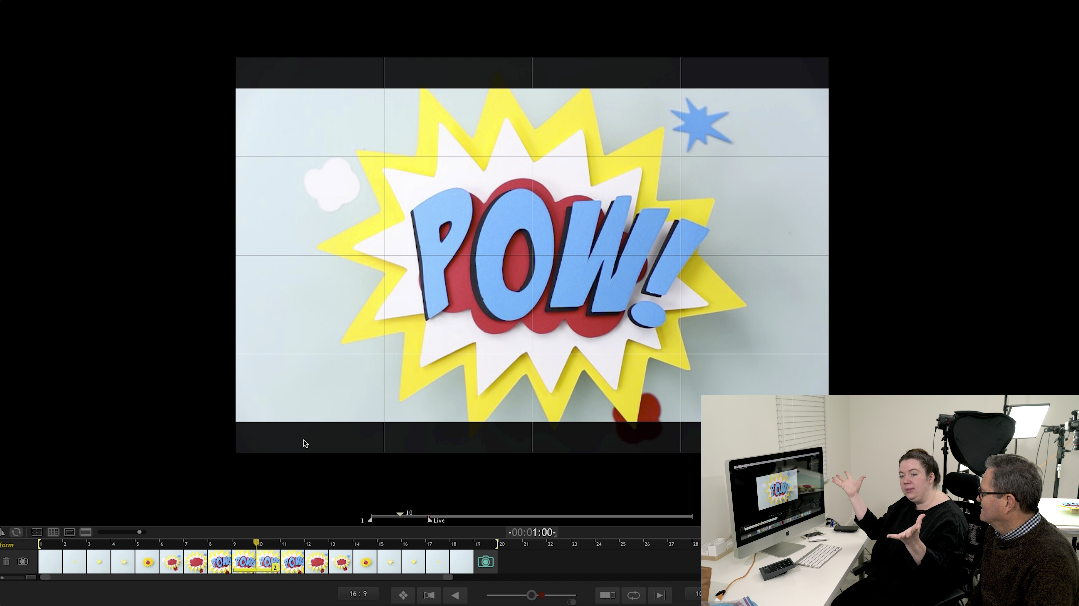

So now what we’re going to do is we’re actually going to copy those frames, and then we’re going to paste reverse. And now we have the whole thing laid out so that it grows and then it diminishes. What we could do is we could actually film it going back down. But it’s really easy to just copy, paste, and then we have an extra second of animation that we just kind of cheated for. So here we go.

You can make a gif that you can keep on your social media or put on an Instagram story or something really fun. So it’s a really short really fun thing. But a great exercise for someone learning to really start to understand the basics of replacement animation. Replacement animation does just what it says, you replace the objects that you are animating.

There are so many applications there. I mean, you always think about a little toy car driving by or you’re animating objects of some sort. But the idea that you can create motion that expands by making something larger or smaller is a really fascinating principle. Paper is easy. But you could do this thing with other objects like a small toy car becoming a larger toy car. It’d be fun kind of thing. So replacement animation is really a more advanced technique.

If you want to learn about these kinds of principles, and much, much more, if you go to TheSlantedLens.com Tricia has a great download there. It’s an online course about Stop Motion. Go to our website and click on online courses to get that stop motion download. It’ll teach you everything about basic stop motion into really advanced techniques and a lot of stuff like this and things on there, you really need to know. There’s a lot of information packed in from years of trial and error and I made it easy for you. I just gave you the information.

So there you have it. Go over to TheSlantedLens.com and click on online courses.
So keep those cameras rollin’ and keep on clickin’!
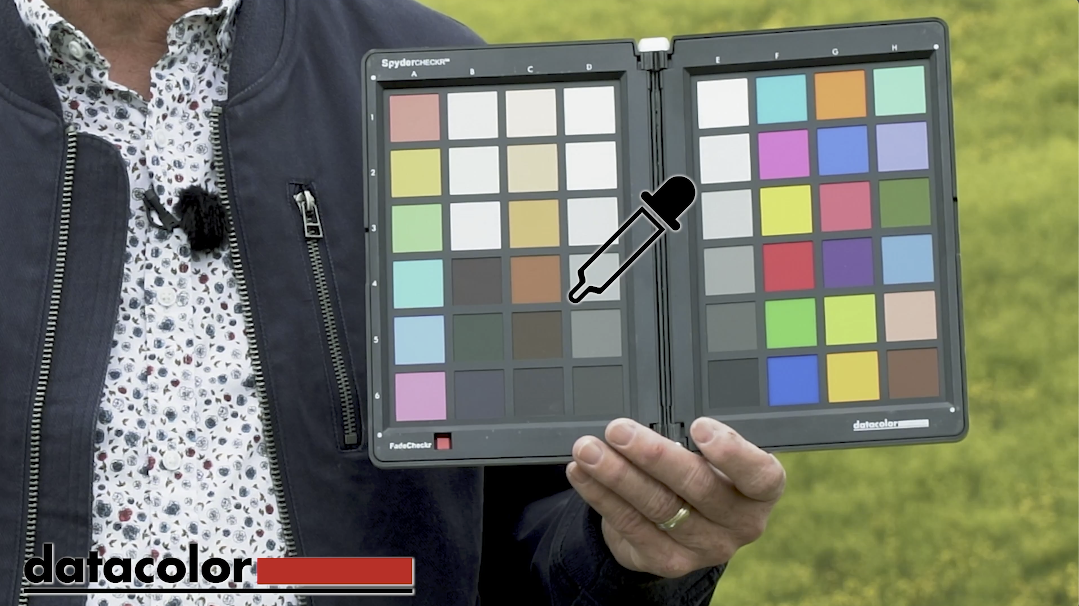
Check out Datacolor’s SpyderCheckr for easy color management of your images. It’s just that easy.