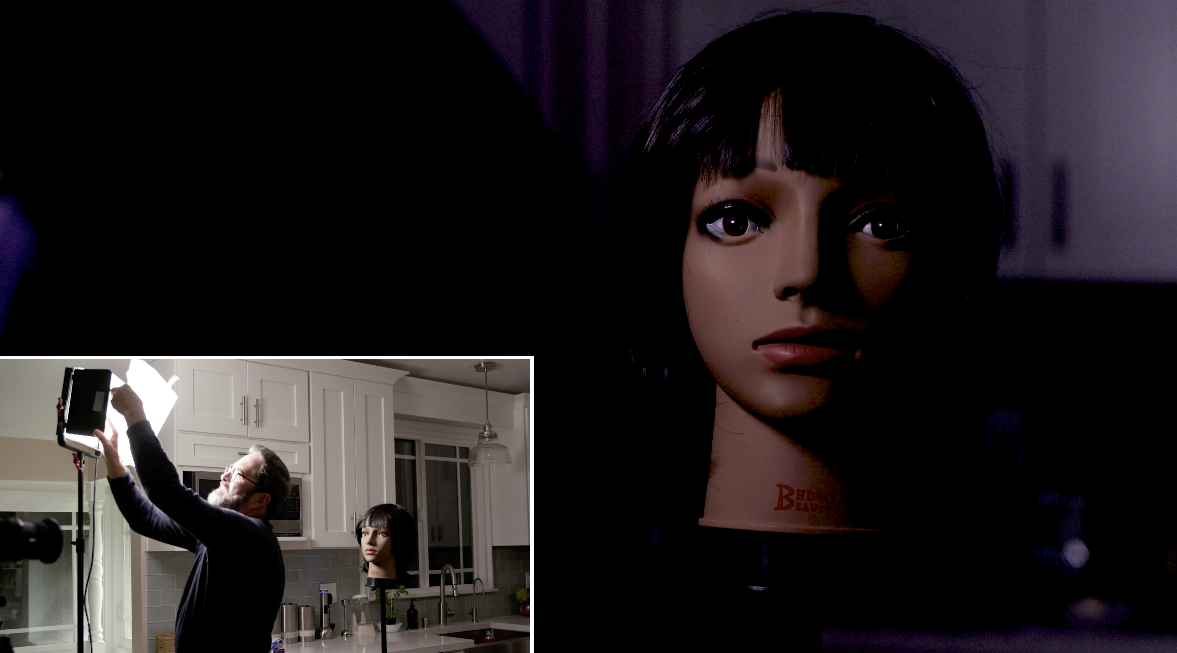
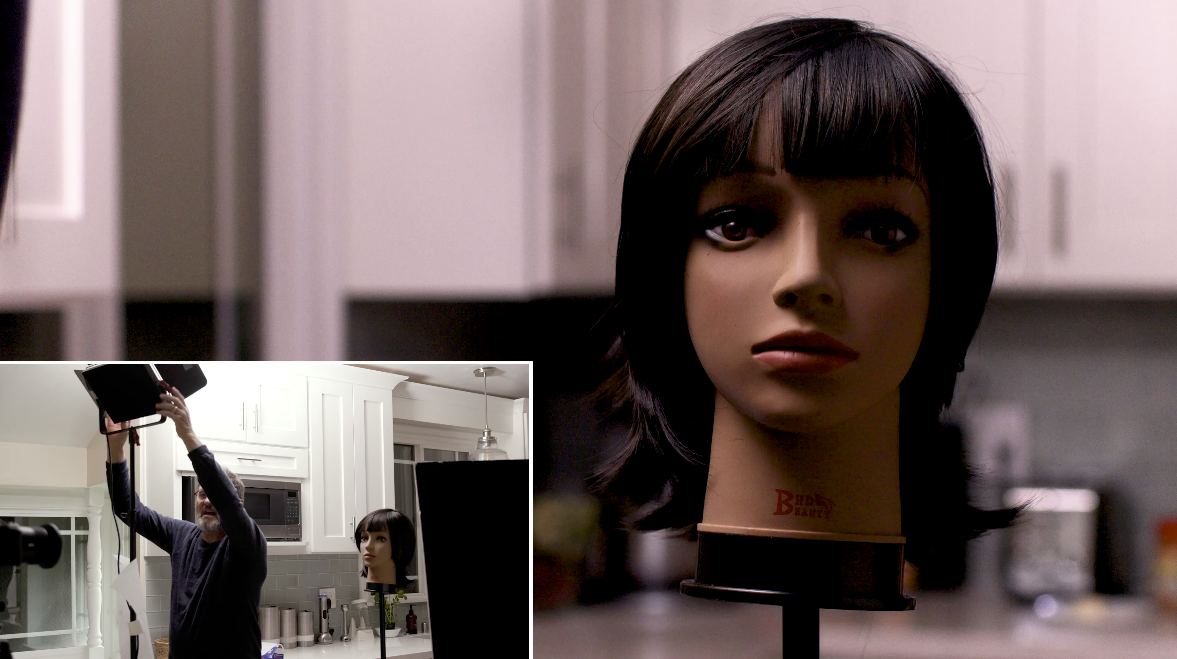
You can take one of the most boring lights in the world and make it look pretty interesting. These flat panel LEDs can be very difficult to modify, and most people use them incorrectly. They just throw them up and aim them directly at your talent. When you do that, you get very, very sharp directional light and they look terrible. It’s really not a good way to use these at all. There are multiple different LEDs in there, and they create a lot of specular highlights on your talent. So your need to modify this light. You’ve got to soften it somehow.
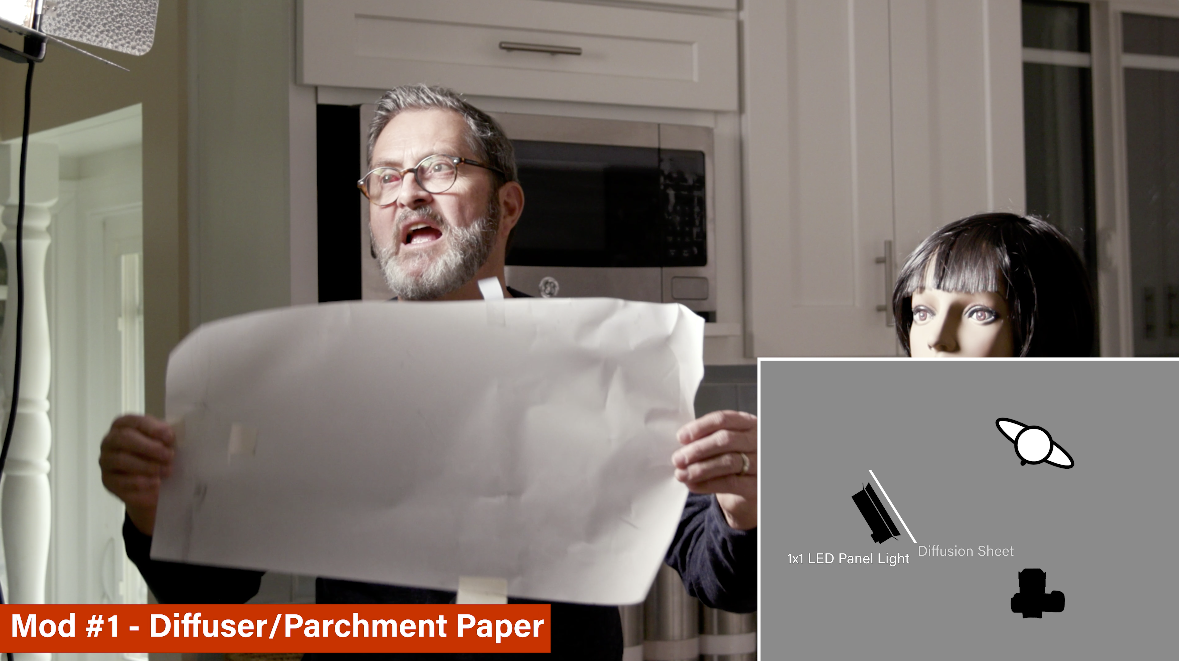
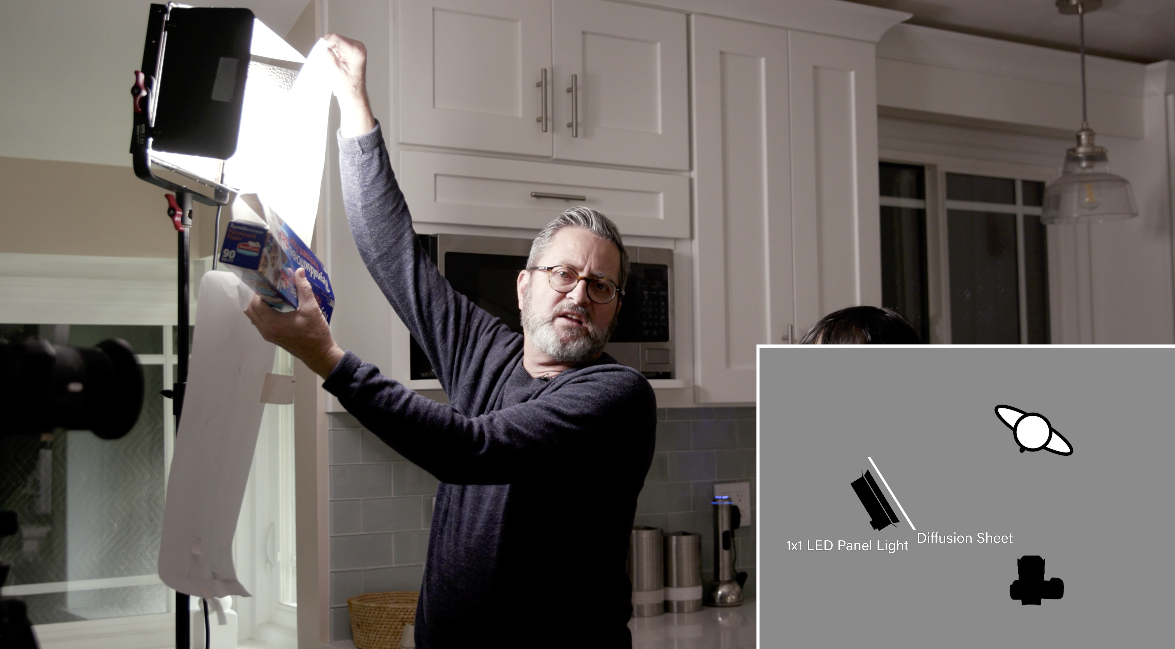
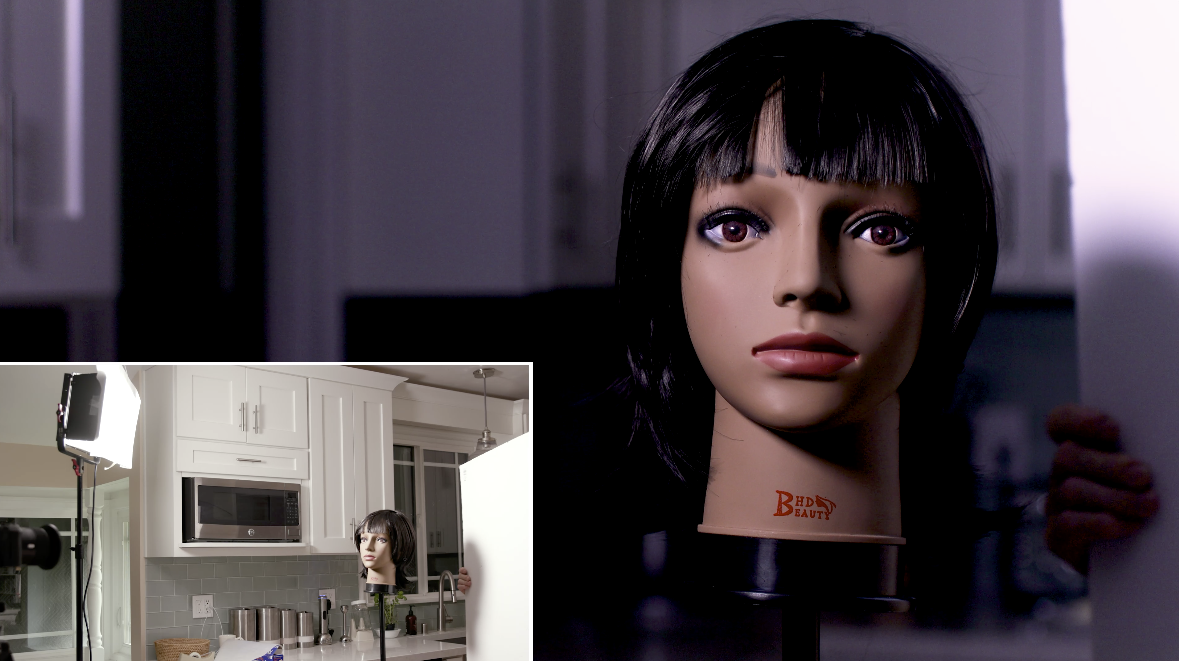
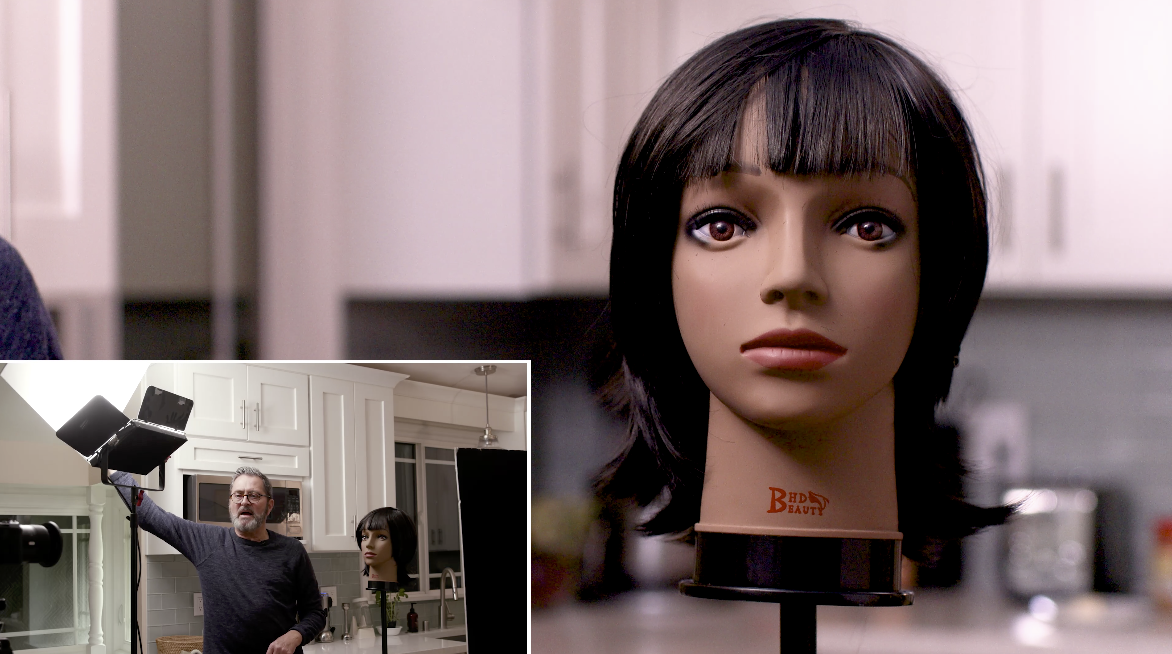
The easiest way to soften it is you just take a piece of diffusion paper, and you tape it on the barn doors on the front of the light. Now you can use parchment paper. Parchment paper is going to soften it and give you a beautiful glow. It’s almost as good or better than a piece of diffusion material you get from Rosco. But here’s the piece of diffusion I’ve used on this light for forever. I just tape this on the edge of the barn doors. And I let this bubble out as far as I can get it. Now I just push my barn doors out. And I stretch this, because that makes a softer source. A larger source makes a softer source.
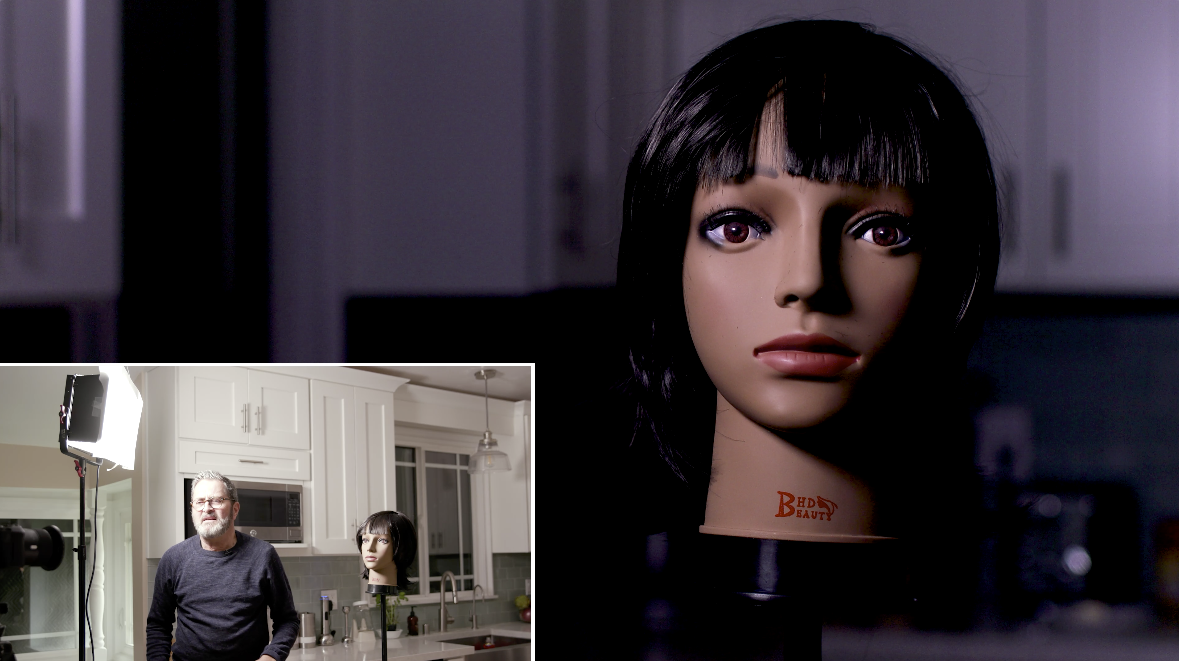
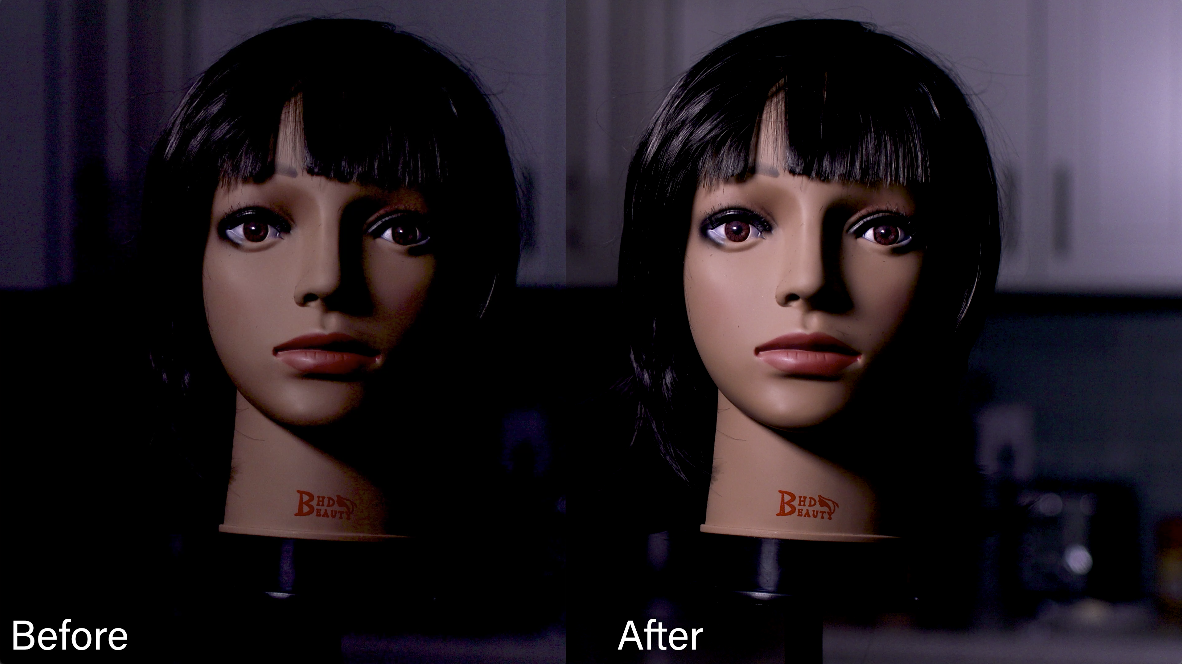
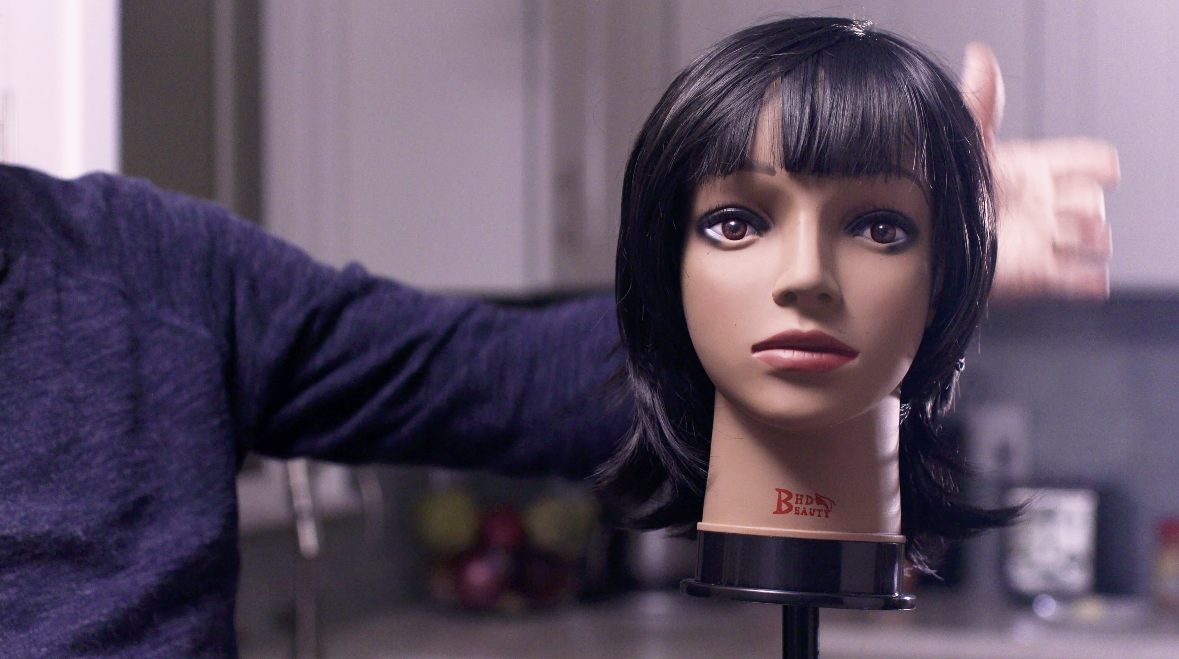
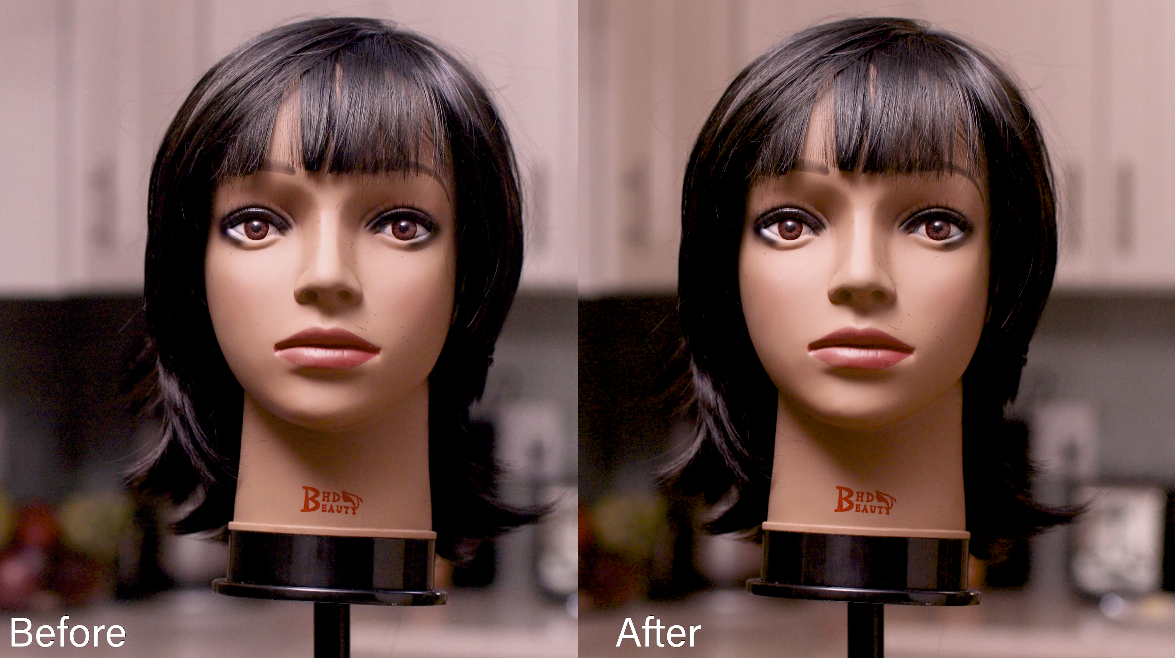
I always set my led at about 50% when I set it up if there’s no diffusion on it. I know I’m going to put diffusion on and I’m going to lose a stop. I add more stops until I get a nice light back on her face. And there’s a great light on her face. That looks fabulous. So there’s the first step, that’s a great way to use these LEDs by just putting a piece of diffusion or a piece of parchment paper on the face of it and it just is a much softer light. I can now put a fill card in here. I can quickly throw a light up on the side of her face. And I can open up the side of her face. Essentially, if you look at that, if I put this towards the front, it’s going to open up more of the front of her face. If I bring it more to the back, it’s going to give a rim light on the side of her hair.
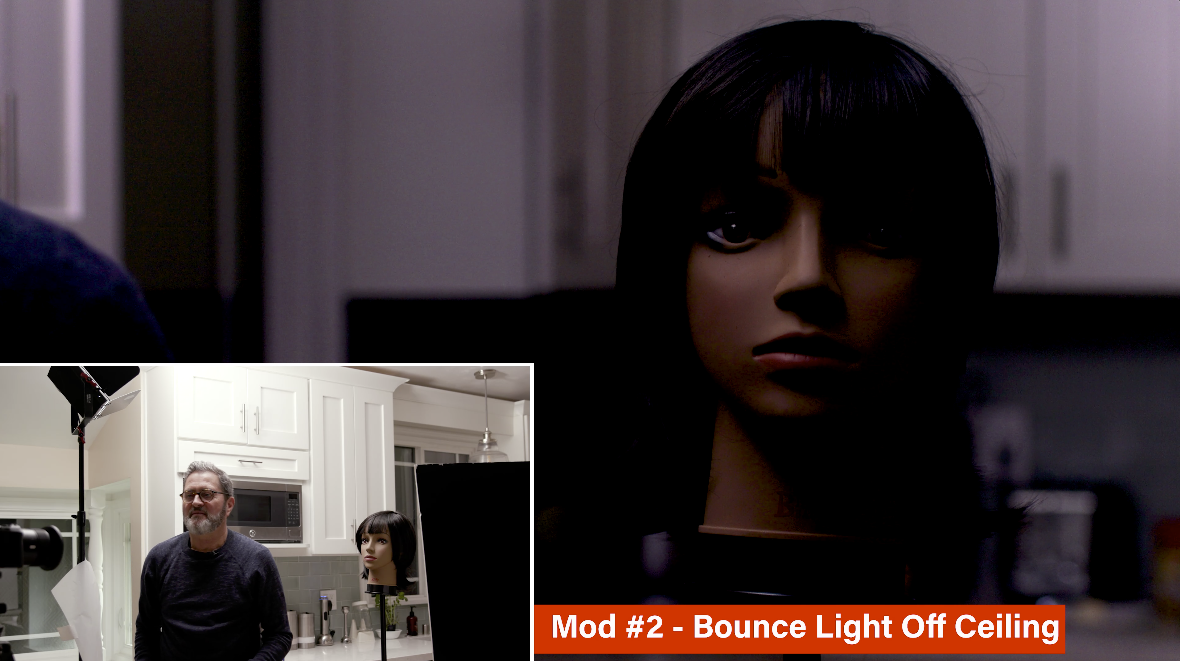
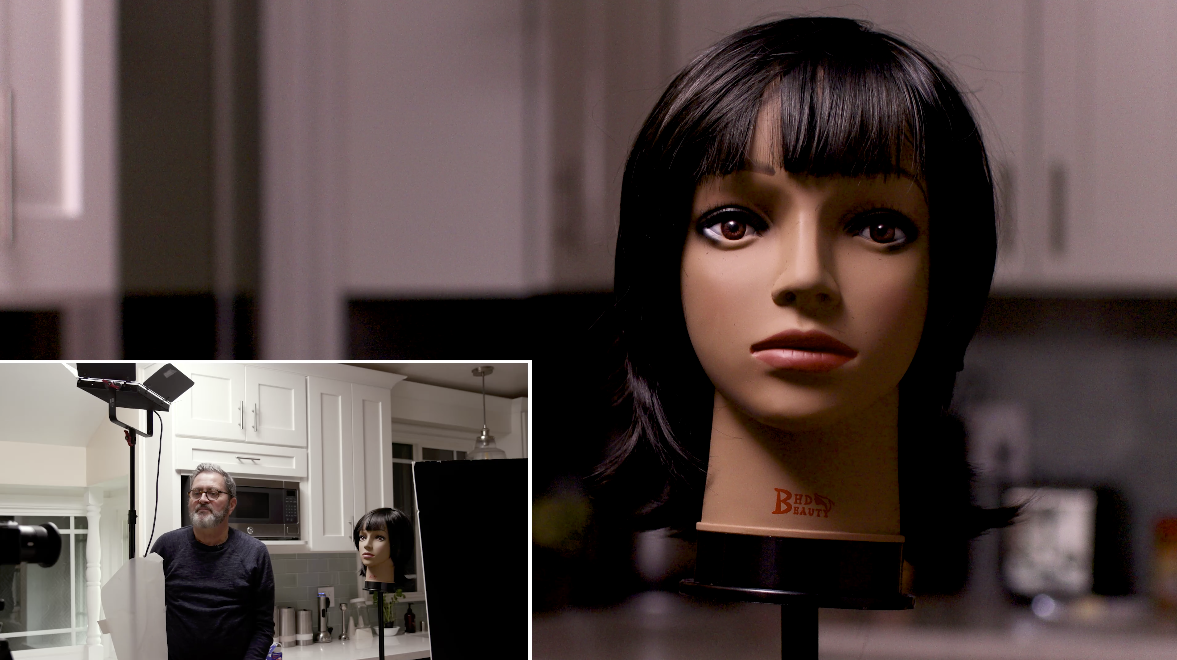
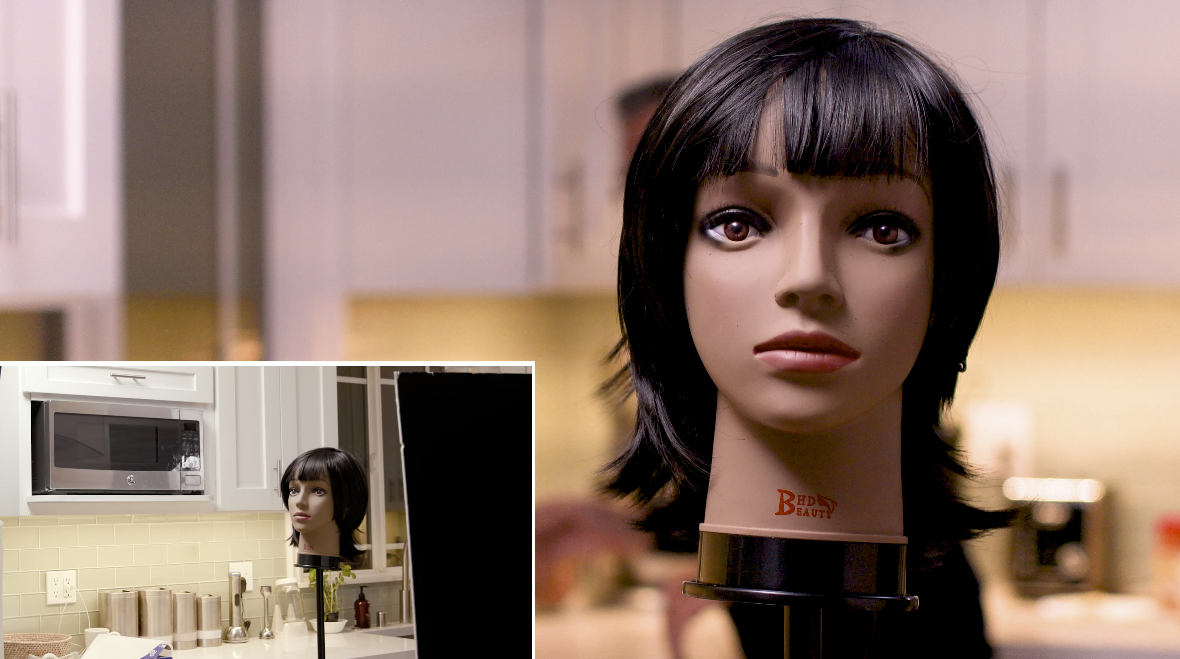
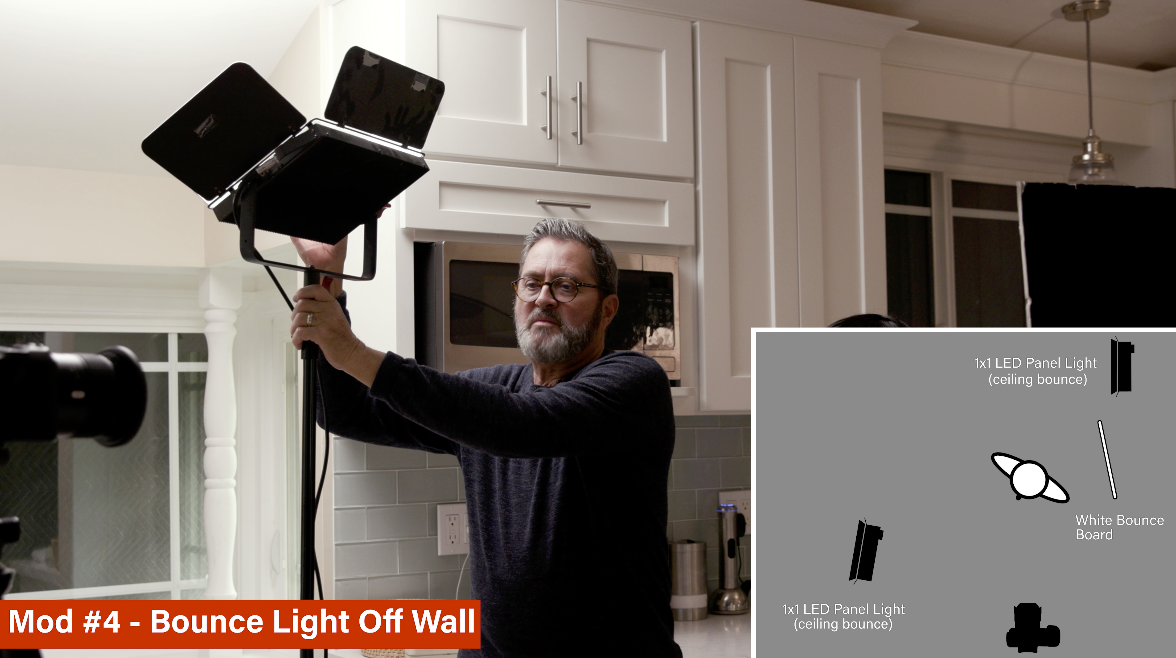
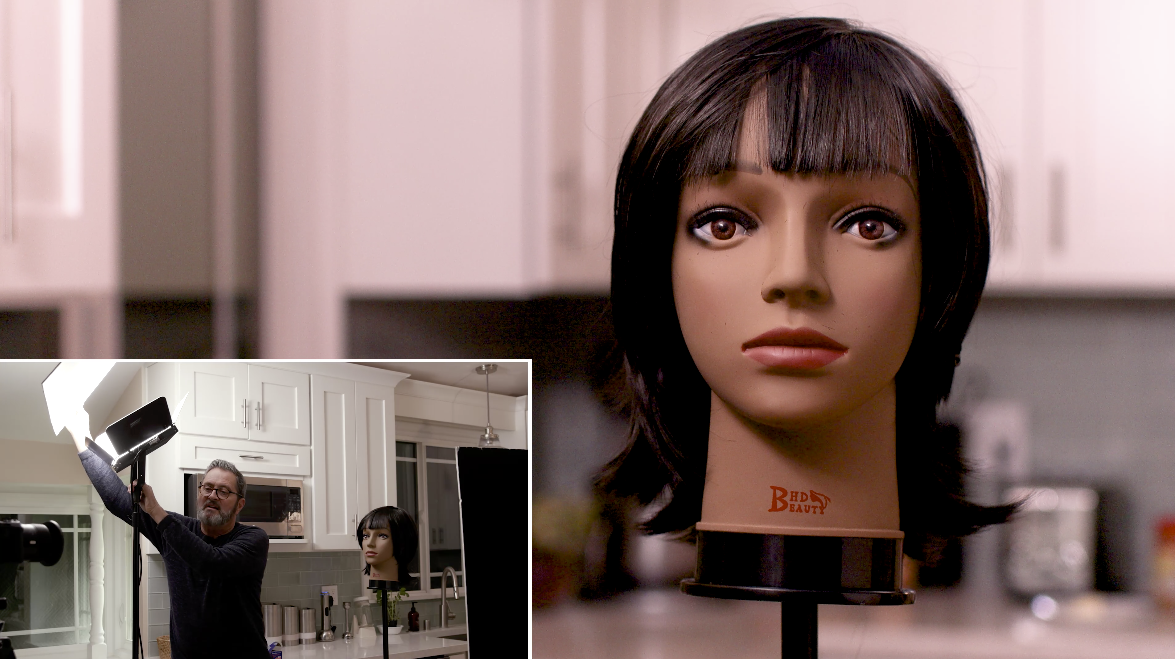
Now another way to use these which is really common, I do this a lot, is I leave the light on full power. I then open the barn doors all the way up. And then I aim the light into the ceiling. But now it’s very, very inefficient. I’ve lost a ton of exposure here. So I’m going to have to open my camera up a stop in order to get the light to where it shows on her face. This is very much a more cinematic look. It’s bounced off of the ceiling. We’re used to seeing light come from the ceiling. I can play around with where I aim the light. If I aim it more towards the front it becomes almost like a butterfly light. It’s giving this nice light on the front of her face. If I come over here and aim the light into the cabinet or wall I now get more of a sidelight on her face. And I’m also lighting the entire background with this light, which I don’t want. I want to keep this light up front, into the ceiling and on her face. If I take this fill card from the side and I bring it in really close, I can open her face right up and it just looks beautiful. That is a very pretty light. And it’s just by bouncing that off of the ceiling that makes that work.
Now I’m going to add a second LED light in the background. And I’m going to bounce that into the ceiling. So that’s going to open up my background a little bit. And that’s going to separate her a bit. And it’s going to give us just a little bit of openness to our entire scene. I can turn this straight at her if I want. And I close my barn doors to let that background be darker. Now I’m getting a nice rim on the side of her head, which gives me some separation because it’s separating her hair from the background. But that’s directional. That’s the one time I will use these LED flat panels directionally is if I’m using it as a rim light. It is very directional. And that gives you that kind of separation. It’s more of a hard light. But I like it a lot more just aiming into the ceiling above my talent. It gives you a nice kind of glow on the side of their face. I see a little bit of the light on my background. It’s feeling really nice right there.
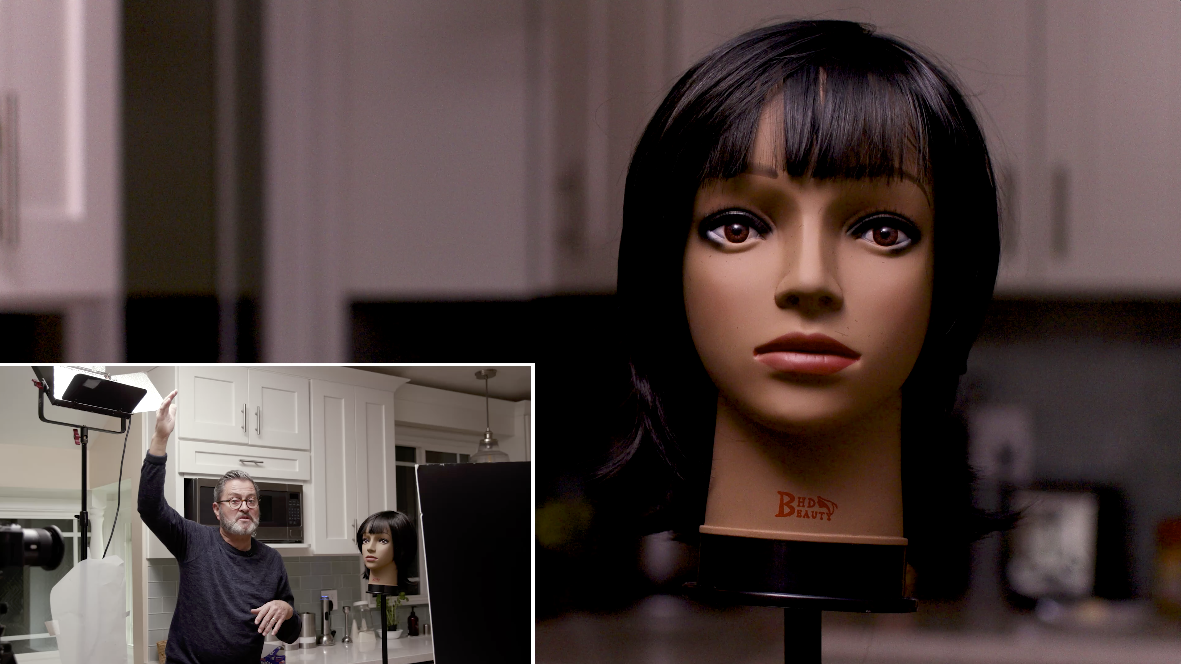
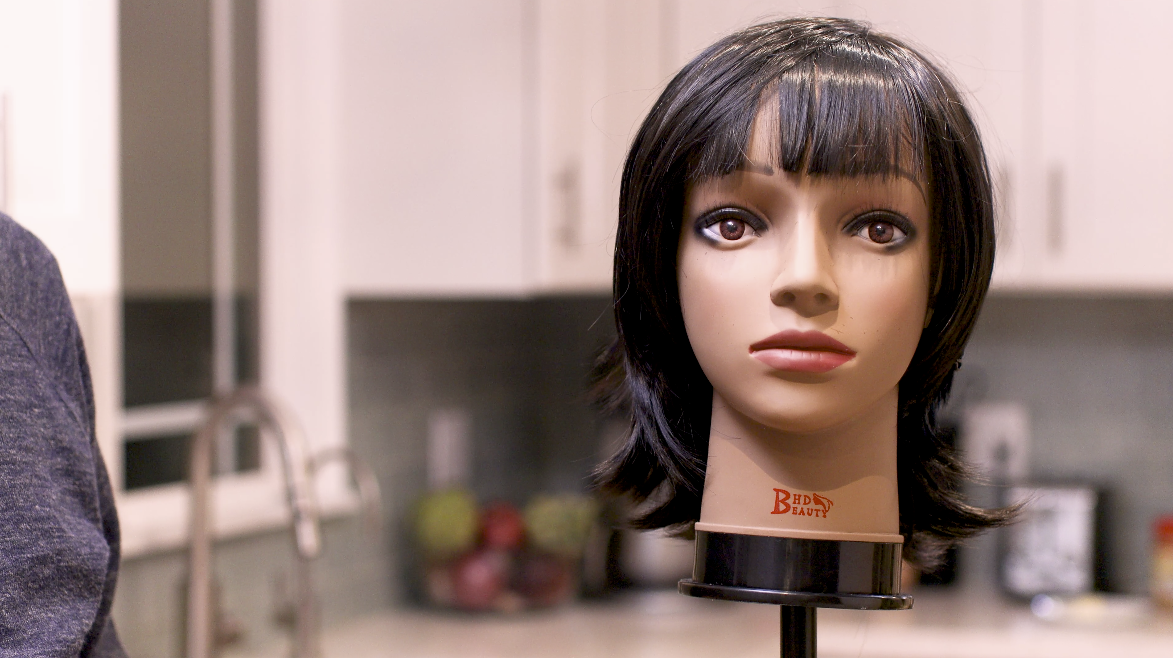
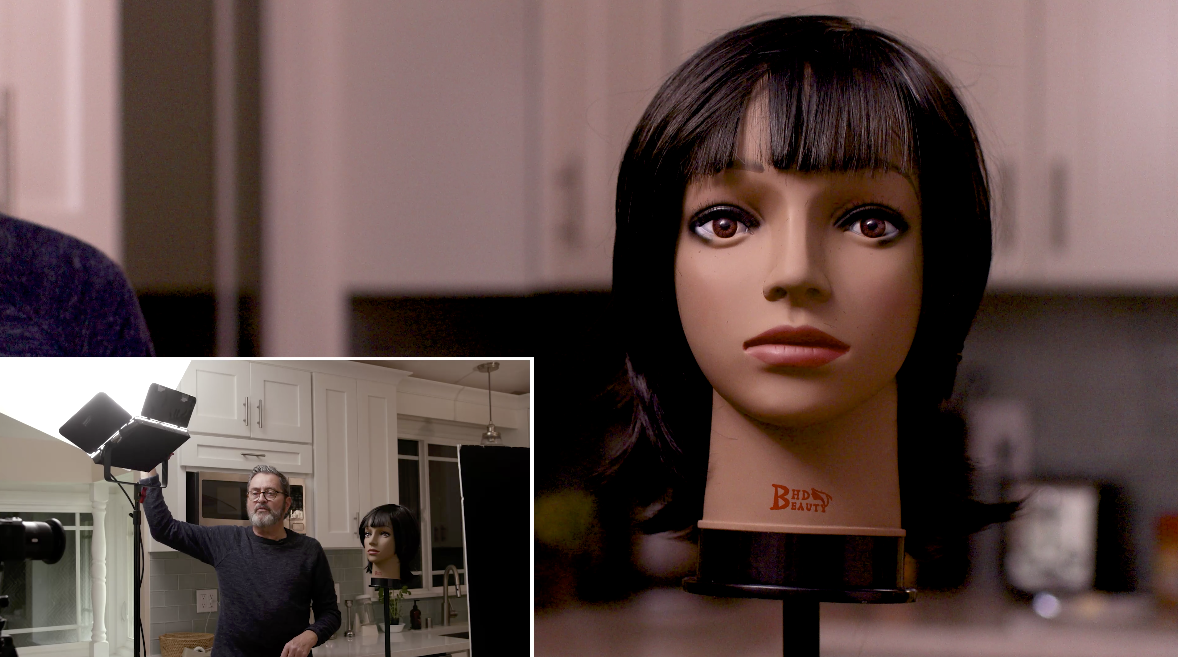
So the next thing I would do with this is to add some color depth. I want to see some depth in the background. So I can turn on the practical lights in the room. I’ve got a couple options. I have this under the counter light that gives me depth to the background. It’s pretty bright and not my favorite. It’s a little harsh. It’s just too much greenish light. Or I’ve have a tungsten light over the sink. That’s a little nicer. She’s kind of neutral color wise, the background is a little dark. I would probably want to up the exposure in the foreground and let that background go a little darker behind her. Let’s turn that light off for a second. I’m keeping my color balance on all of these at 5600 degrees. I might try to shift my color balance now. So once I turn the lights on overhead here, it brightens the entire room up. I still have a nice light on her face, but the entire room feels lit. And that’s a very successful look.
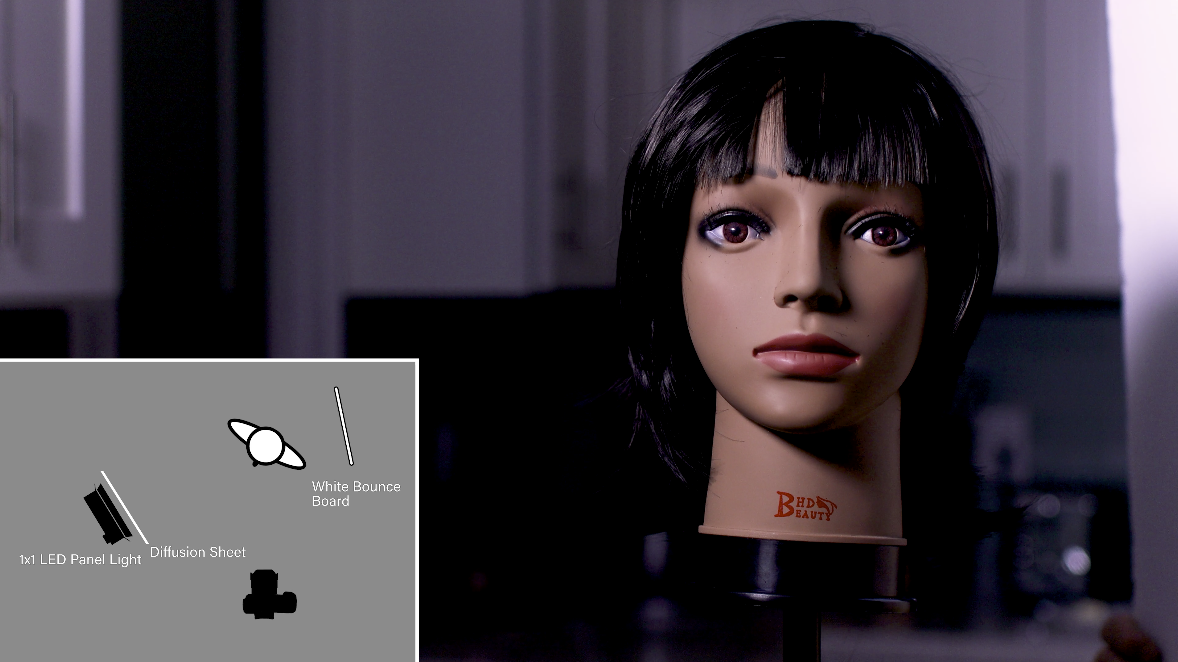
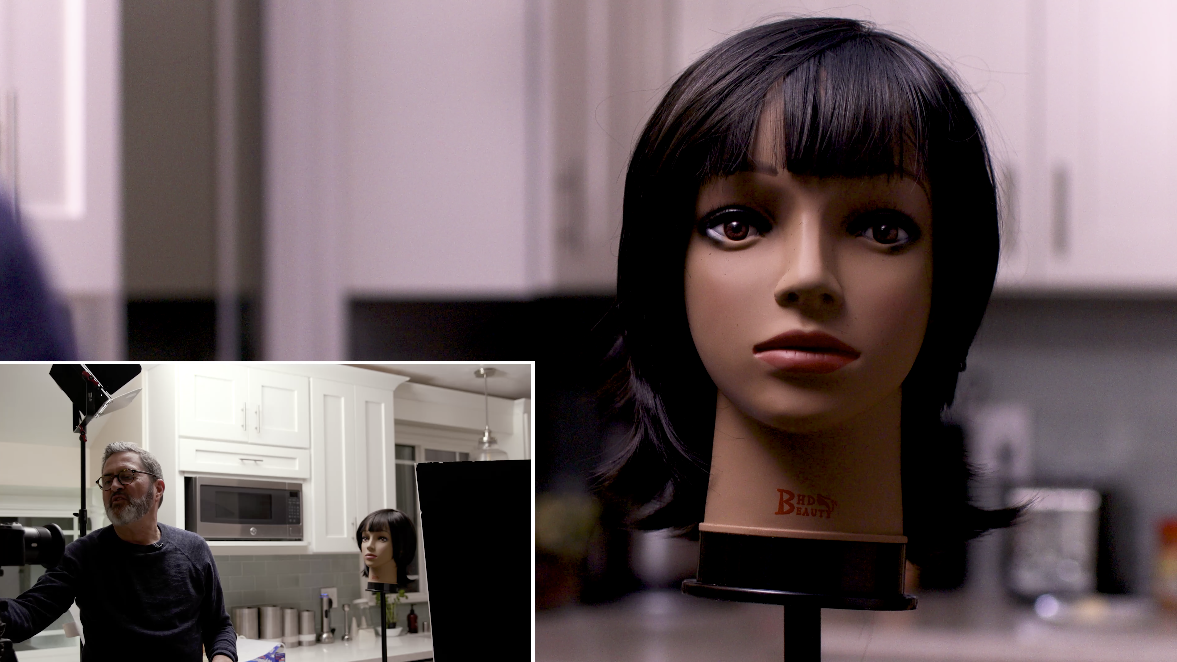
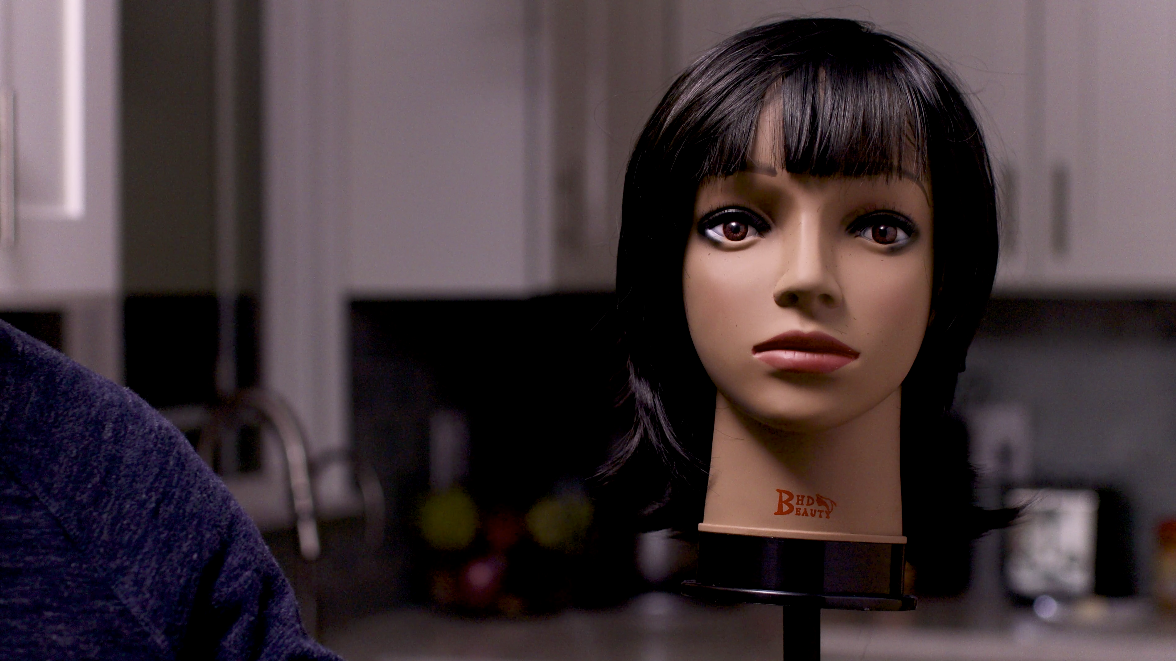
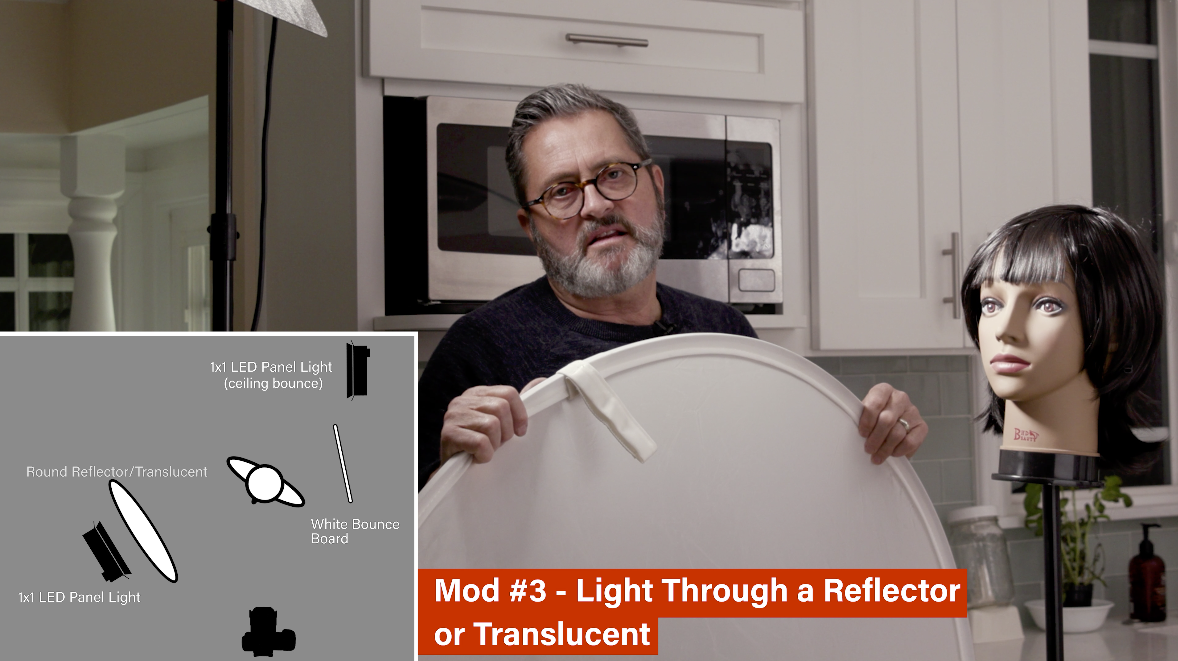
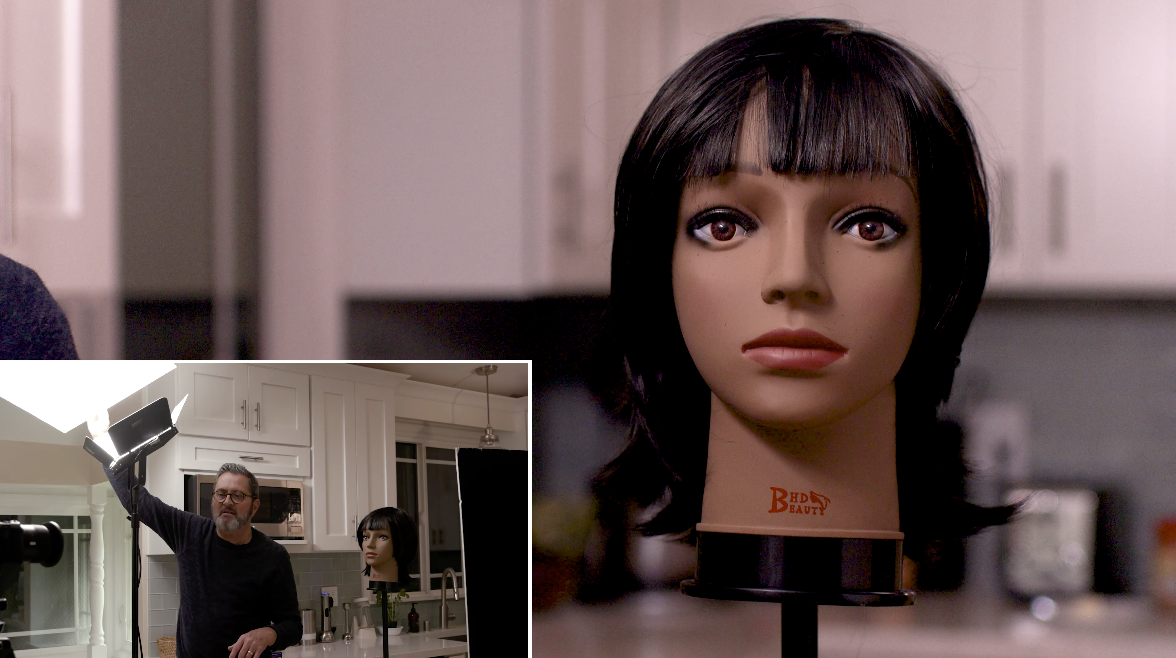
But I am going to turn off the overhead lights and go back to where I was. I’m going to leave that backlight on. And I’m going to now go back to a third way to augment the LED light. I’m going to aim the light directly at her face. So there’s that directional light again. I use translucent reflectors a lot in this case, because I can make it a very large source. With the reflector I can put it right in front of the light, and bring it around so that directional light goes from being really harsh on her face to a much softer look. I can place the reflector as close to my lens as possible, which means it’s going to soften the shadows and it’s going to be a much prettier light on her face.I’ll usually hang this on a stand and put it in front of my LED light. And now I’ve got a beautiful soft source that’s going to wrap around the face and light the side of her face. Then I bring that fill card in closer to her and it just opens up the shadows on her face and looks really nice.
I love to create color depth anytime I’m setting up a figure. And so what I have right now is 5600 degrees clean light up front. I’m going to take my background light, and I’m going to move that to 3200 degrees. So if you have a bi-color light, you can just change that to 3200. And it’s going to give you a warm light from behind. Or in my case I’m going to put a full CTO on the light. So I get that kind of warmth in the background. It gives me color depth and it makes it more interesting. So that now makes the background just a little bit warm and gives us depth back there.
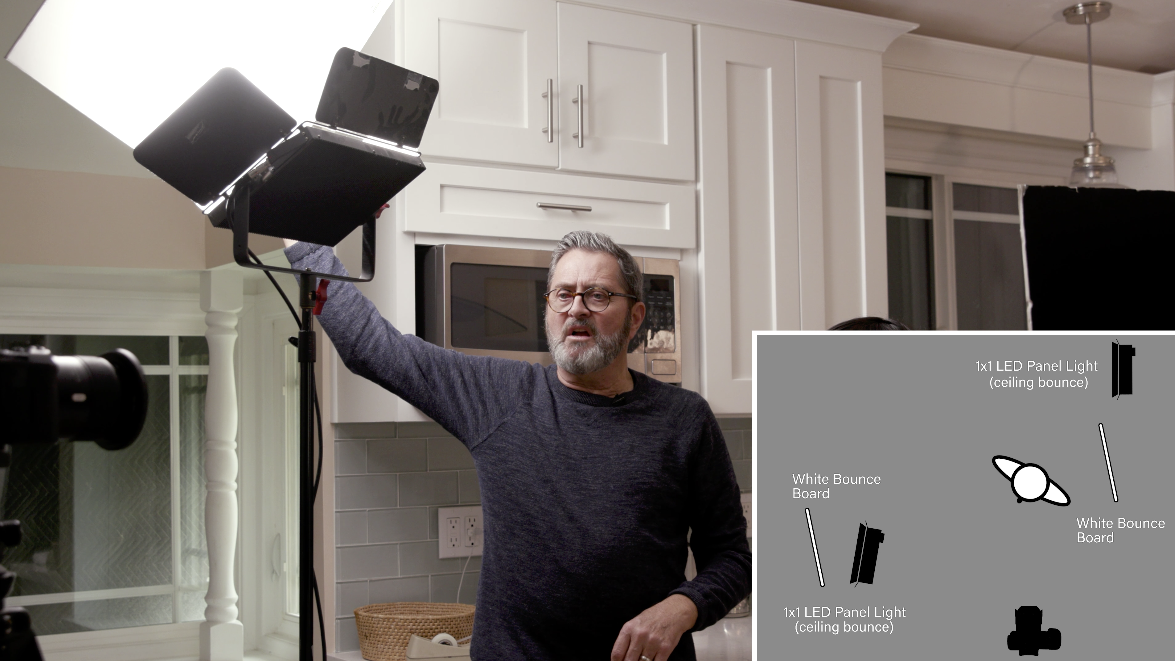
Alright, so let’s talk about one more thing. Another way to modify this light is to bounce the light off a wall. Just flip this light around. And you can bounce it off that wall. I’m starting to get some light bouncing off the ceiling as well. I’m getting a nice split light. But then I just take a piece of foam core and put it next to the light to bounce light back into the scene. And now I’ve got a lot of light happening from this foam core. Look at her face. Look at how I move the foam core. I can move the foam core to the front and the background goes dark. If I move the foam core a little more towards the background, then the background goes bright. So I can control how I set this foam core. How close I set this foam core is really important, the more I turn this foam core more towards the front and bounce it from the front of the camera it gives me a different light on the person’s face. If I tilt this down towards the floor, then the light goes off from the cabinets in the background and I get a nice light on her face. But the background is fairly dark. If I tilt the foam core up towards the background, the background starts becoming a little brighter.
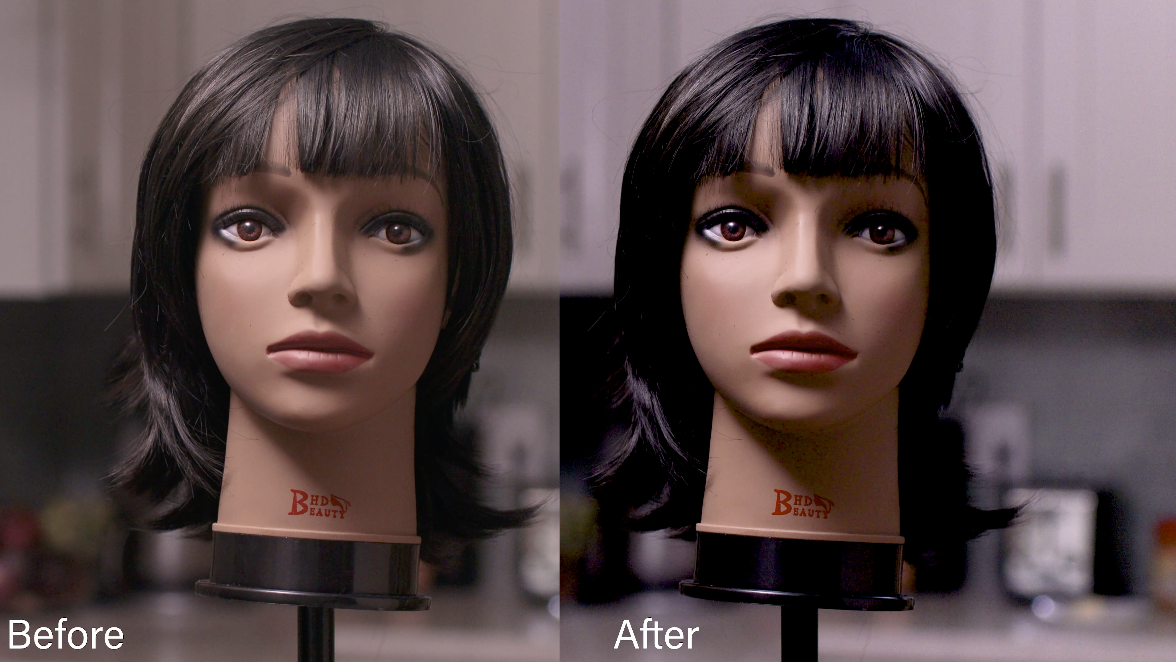
So there you go. There’s several different ways to modify one of these flat panel LED lights. 1. Directional with diffusion. 2. Through a reflector. 3. Bouncing off a foam core. 4.Bouncing off the ceiling. Anytime I’m on set and need a light up really quickly in the background. I always bounce the light off of the ceiling. That’s where I start and it makes the light a lot less directional and gives you a nicer light.
Now you can go on and do 100 different things with that background light raking across the cabinets, or bouncing the light forward or bouncing the light backwards. There’s so many different things you can do. But this gives you a good idea of how to modify these. Do not set these up and aim them straight at your subject matter. It’s just a terrible looking light and you can do so much better than that. So get out there and practice these. Make sure you’re modifying the light every time you put one up. Modifying the light means you’re doing something that changes the quality of the light to make it brighter, darker, wider or softer. Just something to create a much nicer light. Look and experiment and play a little bit with it and you’ll get great light.
So there’s a look at one of the most boring lights to work with yet you can make it pretty interesting. So keep those cameras rollin’ and keep on clickin’.