
If you don’t control the background, you’re not controlling your image. In this video Jay P shares 7 different ways to control your background and give you better images. These are simple techniques to master to improve your photography.
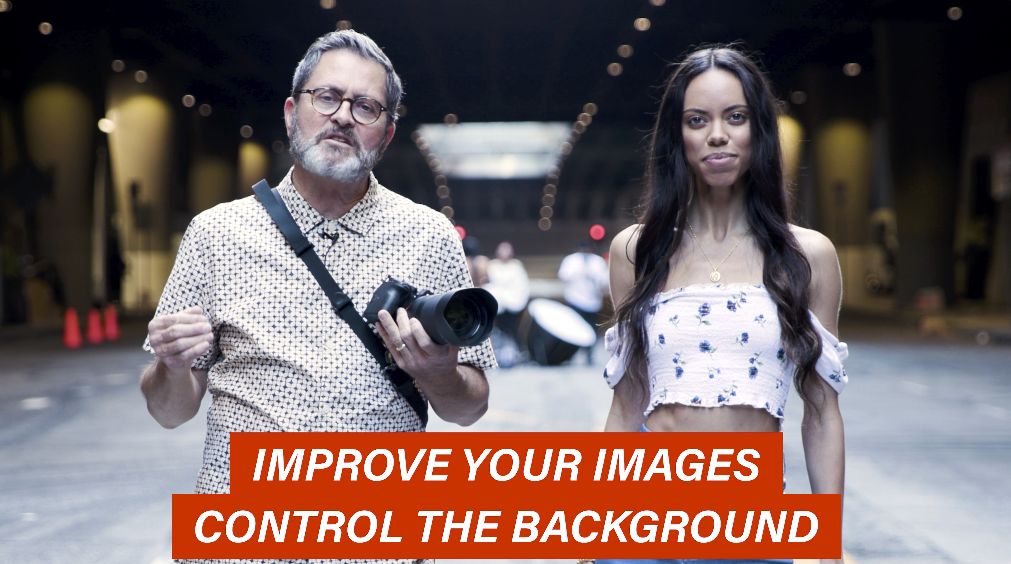
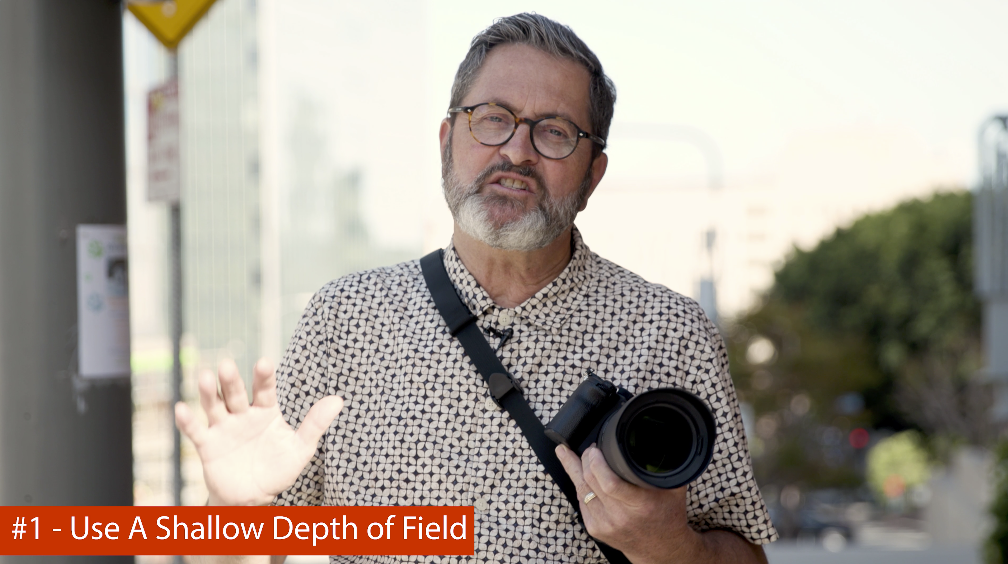
Hi, this is Jay P Morgan. Today on The Slanted Lens, we’re down here in Los Angeles. I have Jenny Crespo with me and we’re going to take a look at backgrounds. I’ve wanted to do this lesson for a long time. 


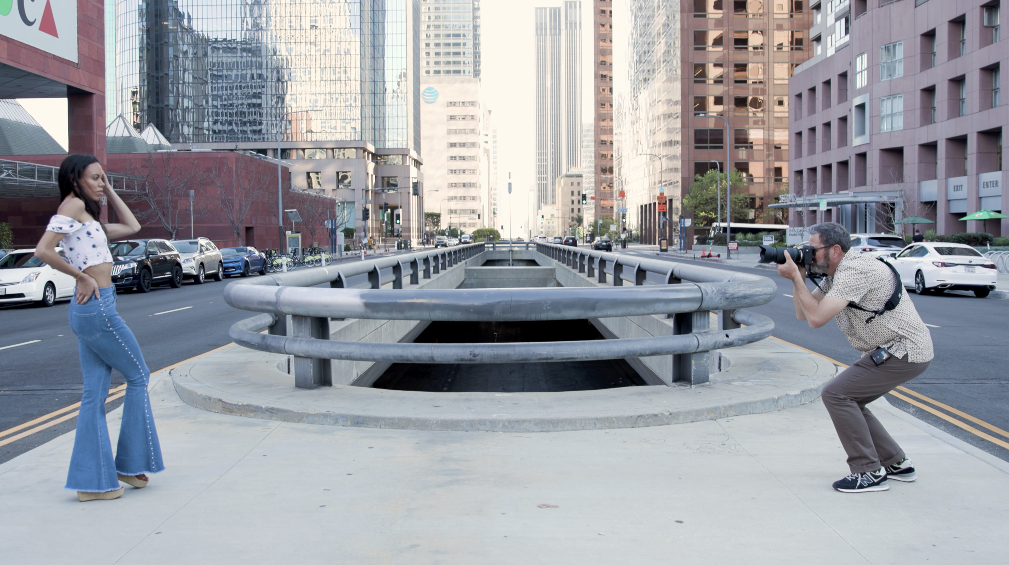
I’m going to use a 70 to 180 millimeter lens. This is a Tamron 70-180mm on a Sony A1. This is where it starts for me. I have so much more control of my background when I’m using that 70-180mm because it allows things to fall out of focus. 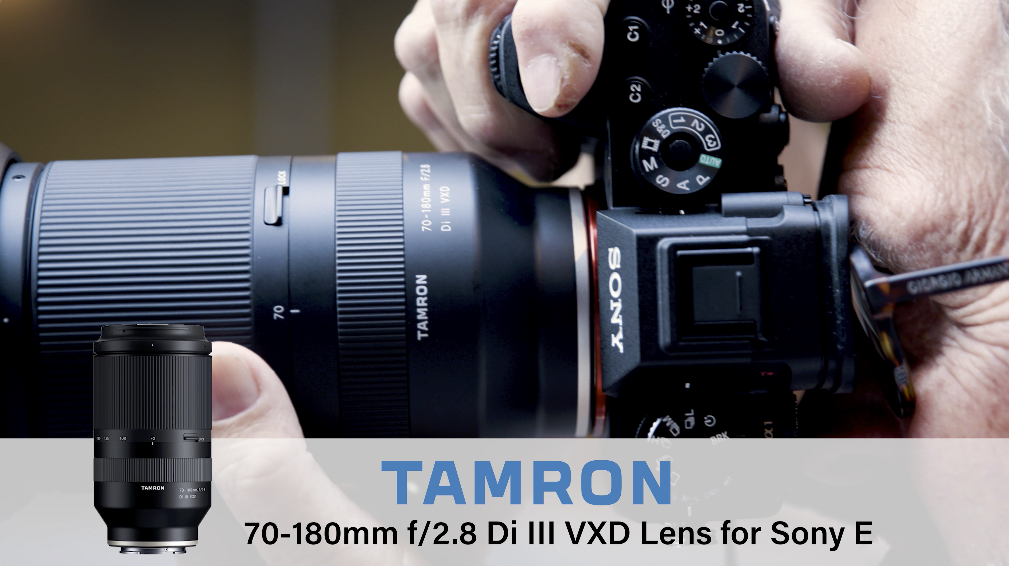

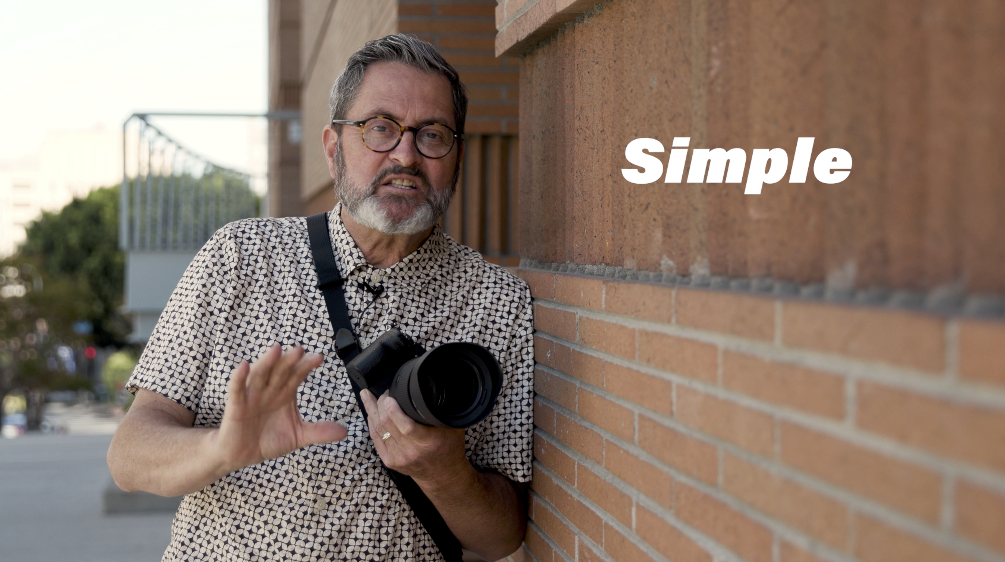

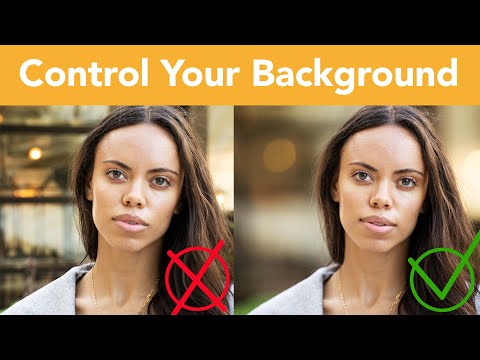
So what do we mean by simplify the background? Very clearly, I want the background to be simple. It should not compete with my subject matter. It’s going to give me a beautiful canvas that makes my subject matter the focal point of my image. 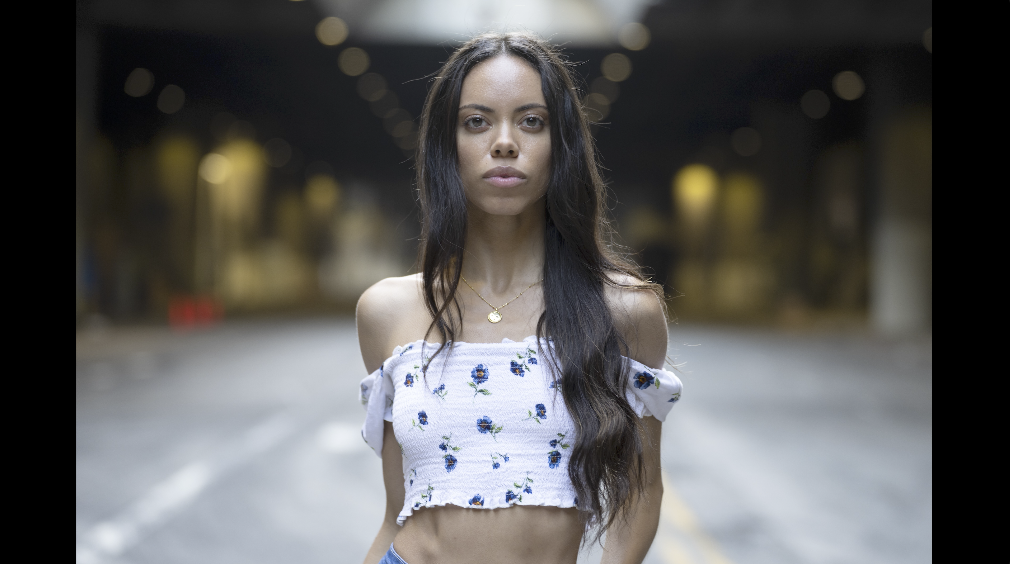


- Shallow Depth Of Field
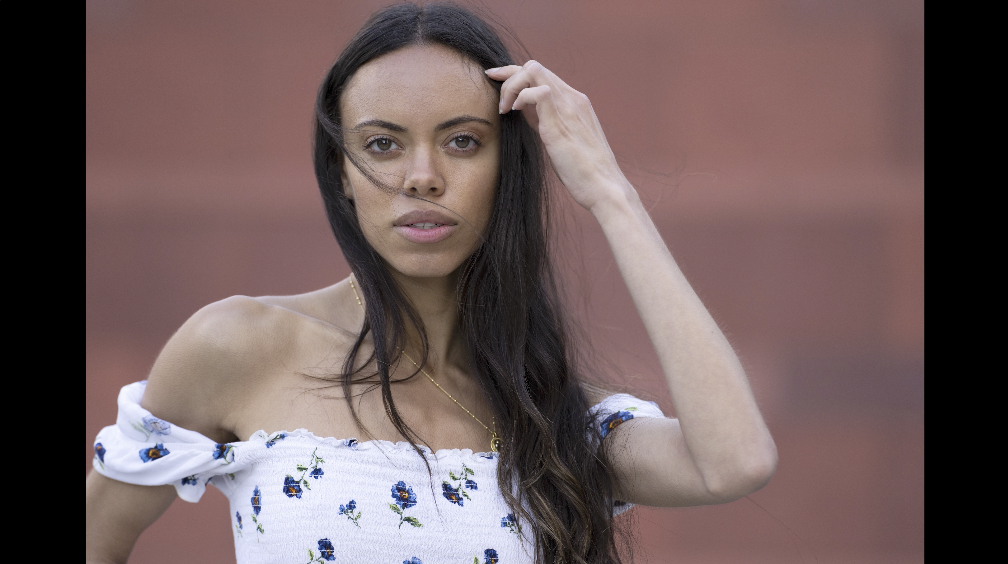
One of my go to ways to get a simple background is just simply by focus. A long lens with a shallow depth of field gives you a beautiful bokeh out of focus canvas behind your subject matter and it just looks really wonderful. A lot of people shoot at f/16 and the situation in the background is busy. 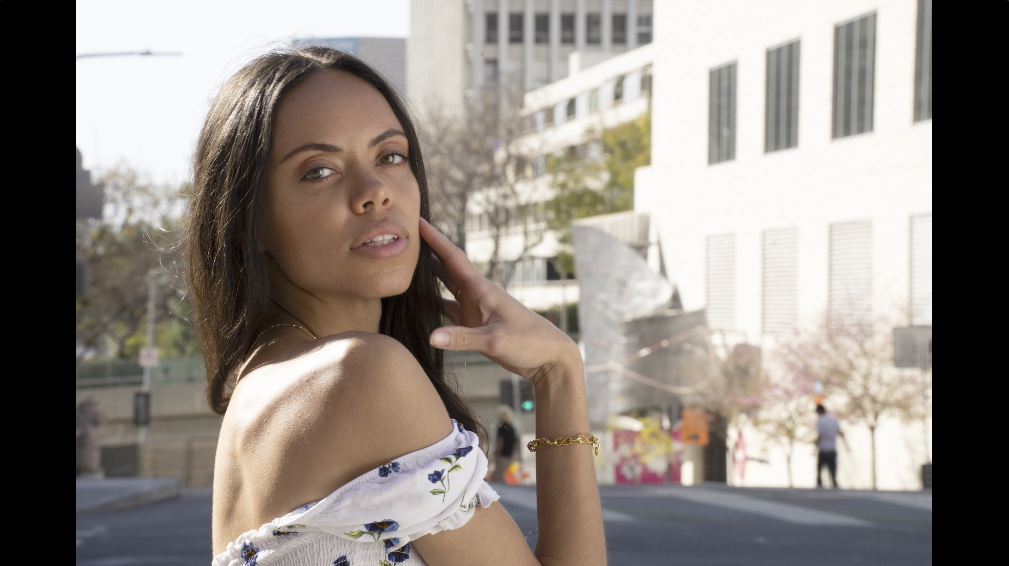
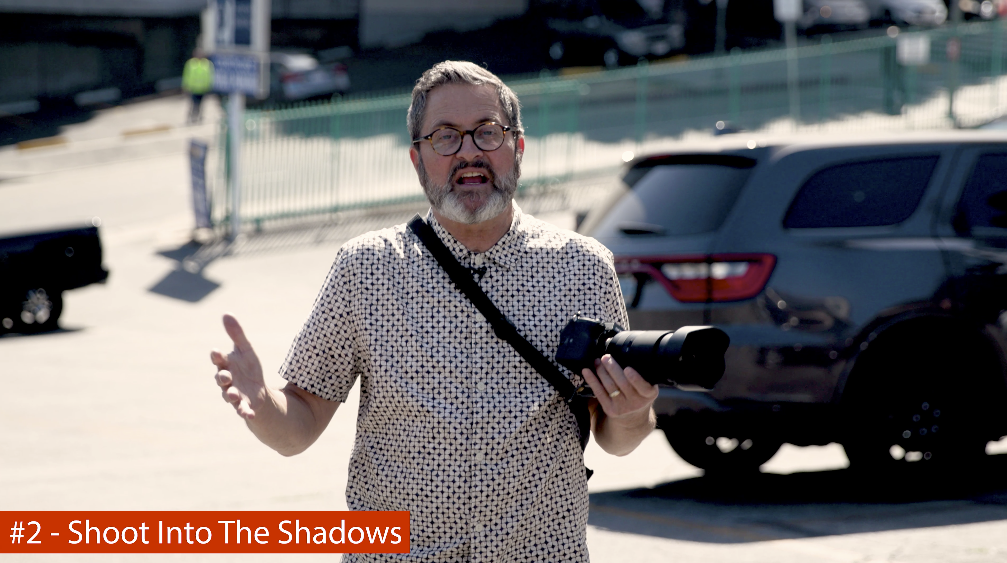

- Shoot Into The Shadows
If I’m outside shooting in the sun, I do not want to look into the sunlit side of the buildings and the trees. Right now I’m looking back at the sunlit side. Even though I put a translucent on her face, if I take a couple of shots here, the background is so busy. All I have to do is swing around her 180 degrees, all the way around. 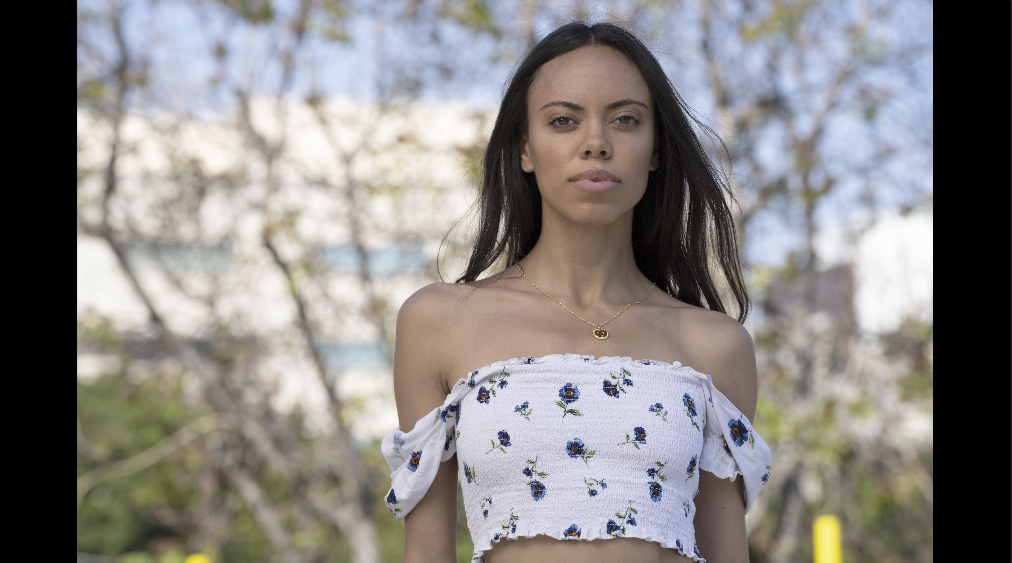


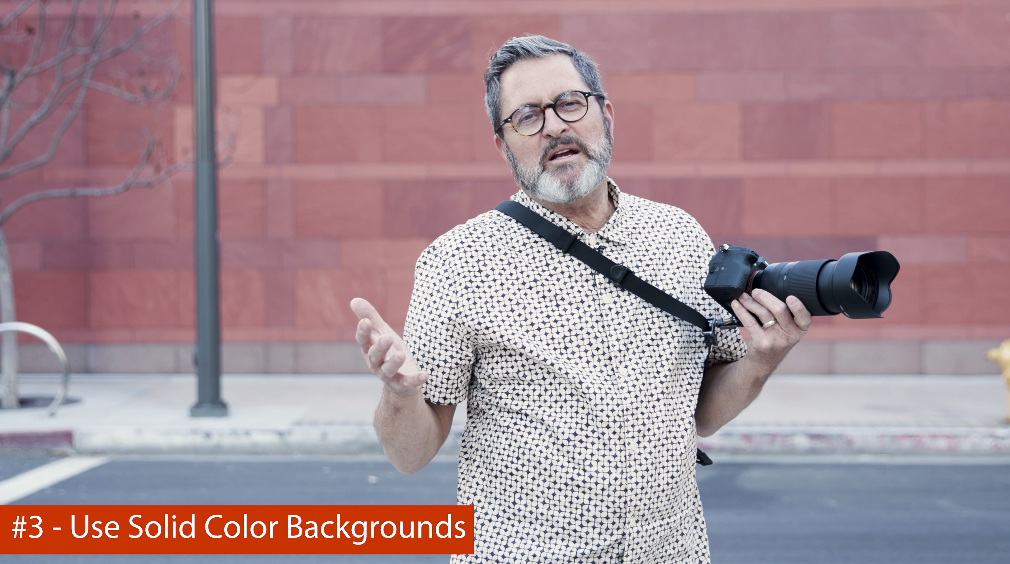
- Use Solid Color Backgrounds
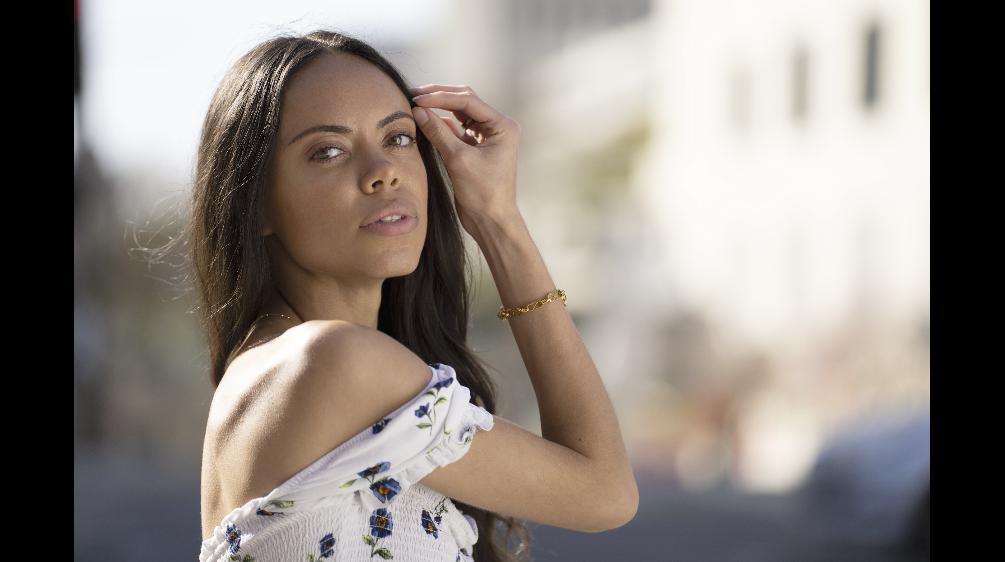
A lot of times it’s just a matter of being aware of your surroundings. I can photograph her against this tree, which is just so busy. But look for simple, solid colored backgrounds. 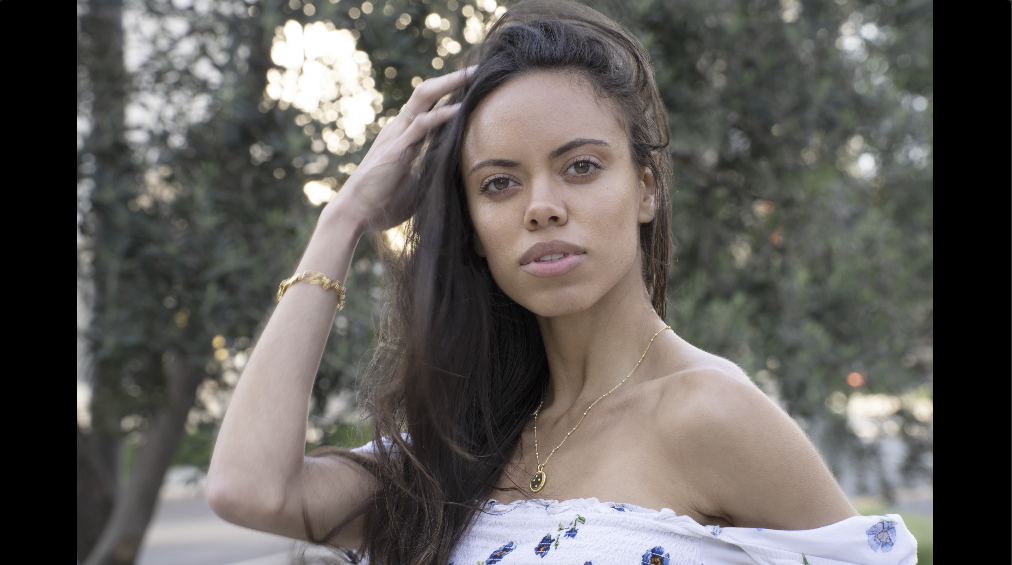

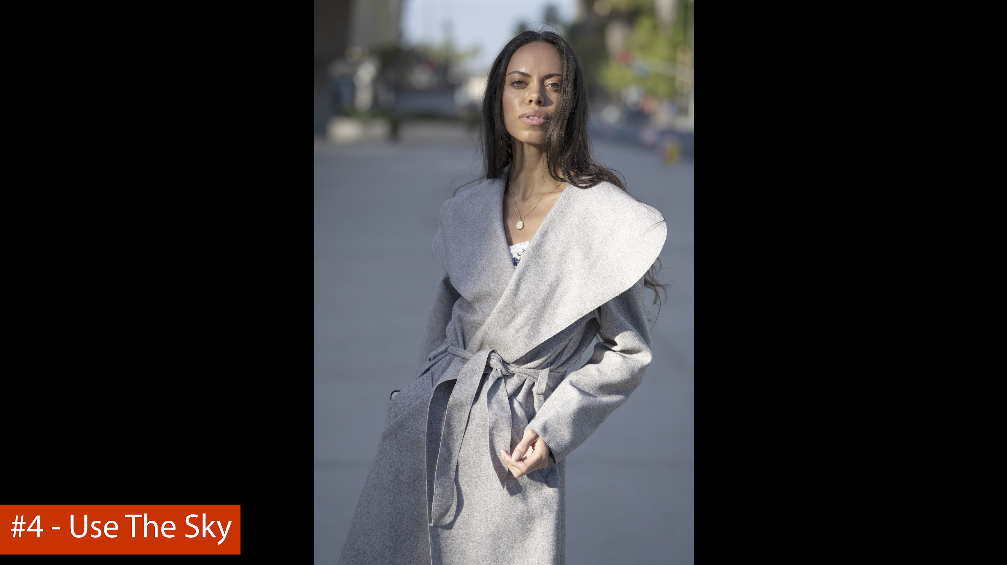

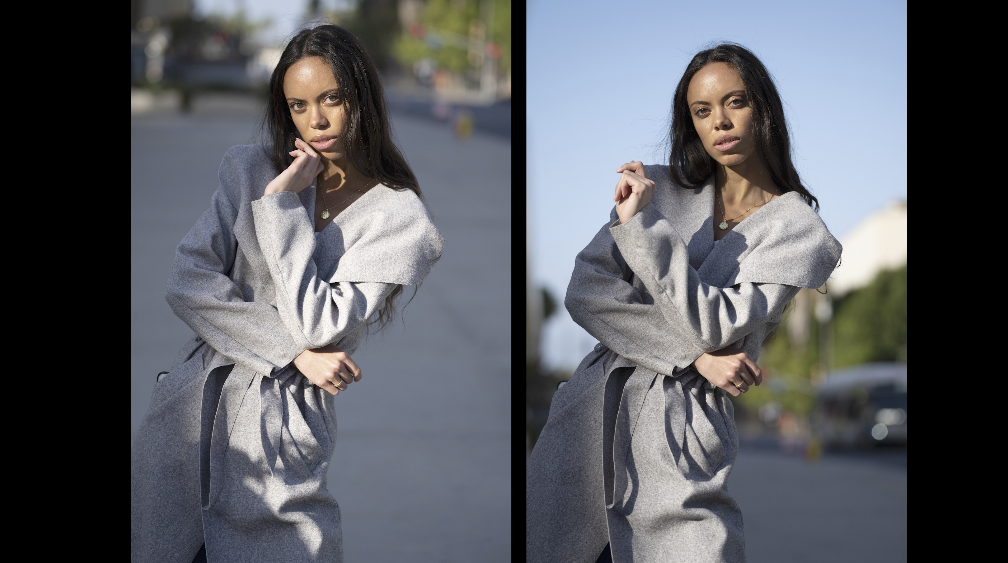
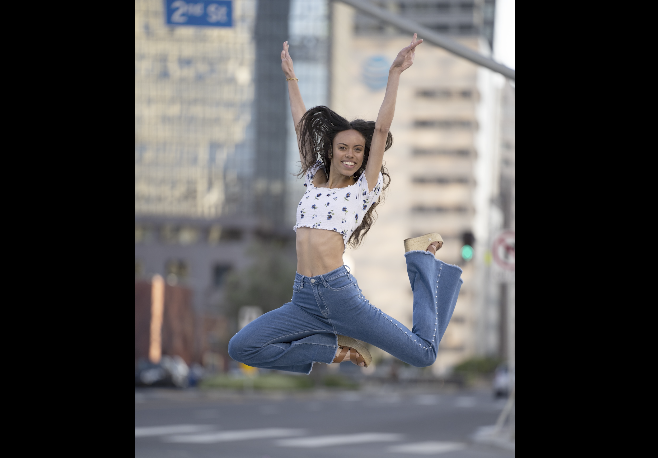
- Use The Sky
If you want to simplify your background are you shooting at eye level? I’m looking at her and I’m seeing the street and the trees and everything is just so busy back there. But there’s tons of blue sky above her. 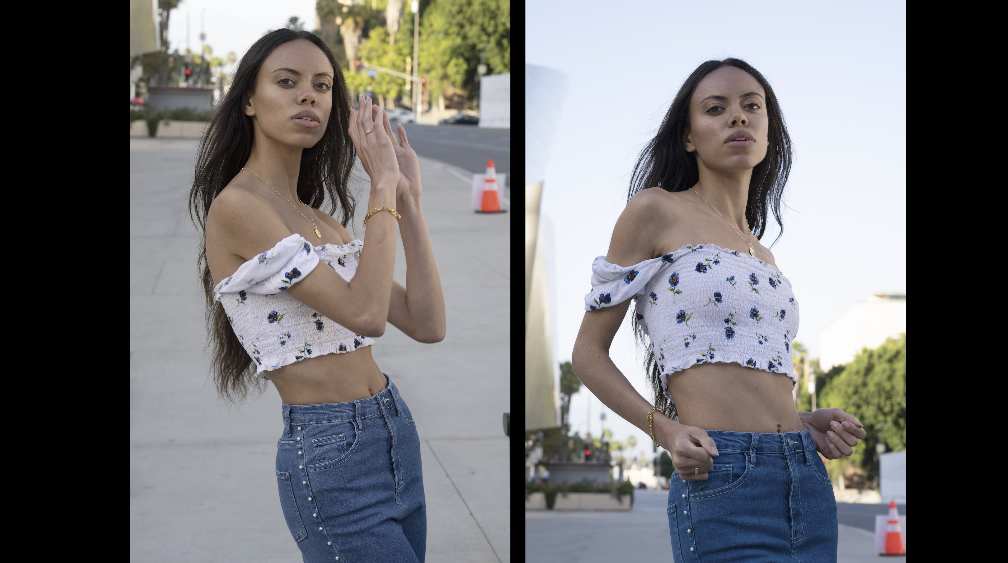

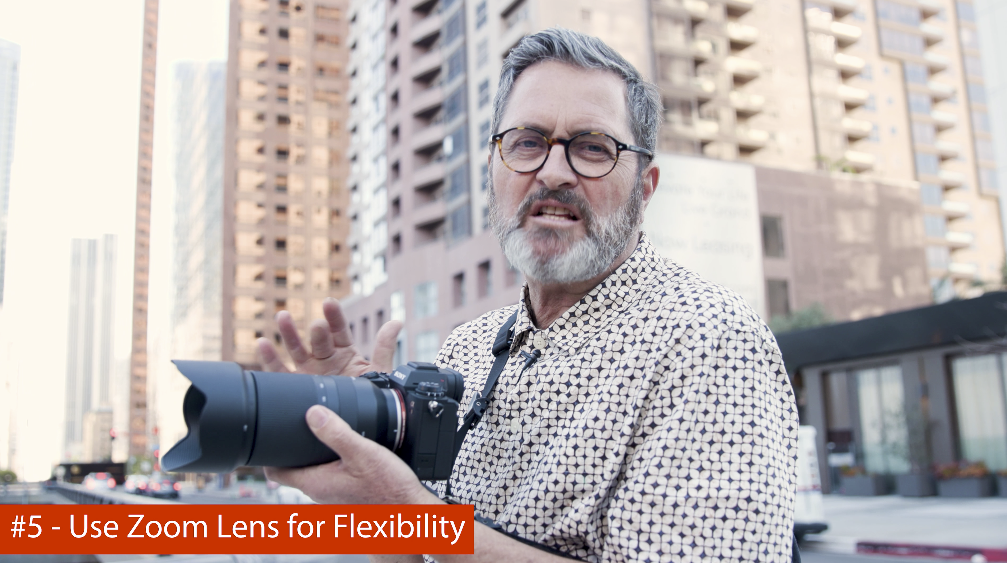

- Use Zoom Lens For Flexibility
So the Tamron 70-180mm is light enough that I can handhold this thing and shoot on that longer lens without any problem, especially with the stabilization in the Sony A1. It’s just an easy platform to work with. It’s lightweight, and I can handhold it.


- Use Leading Lines
So in this situation the background is very busy. So rather than trying to get rid of my background, I’m going to use that background as a leading line. Right now I’m looking into just that wall. 


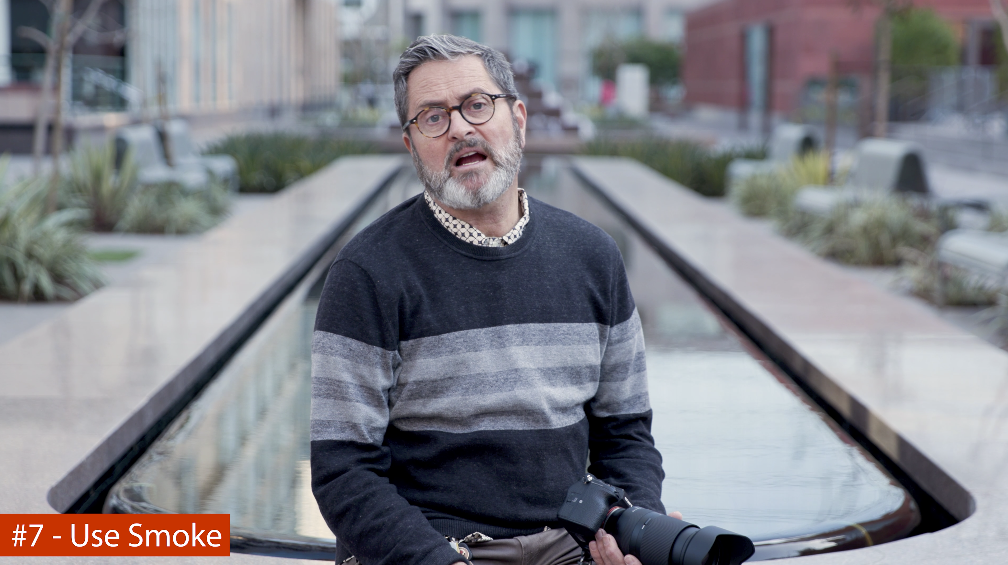

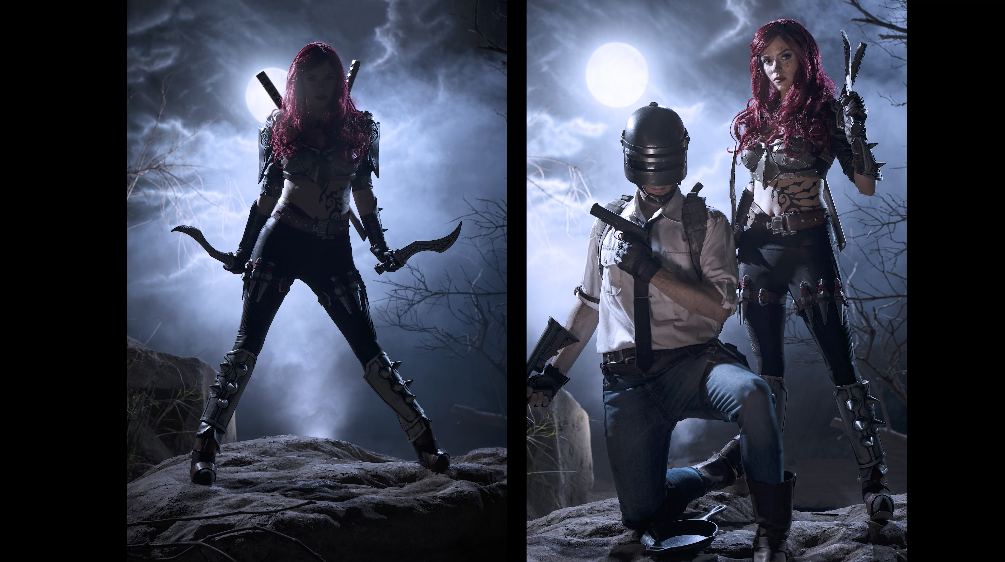
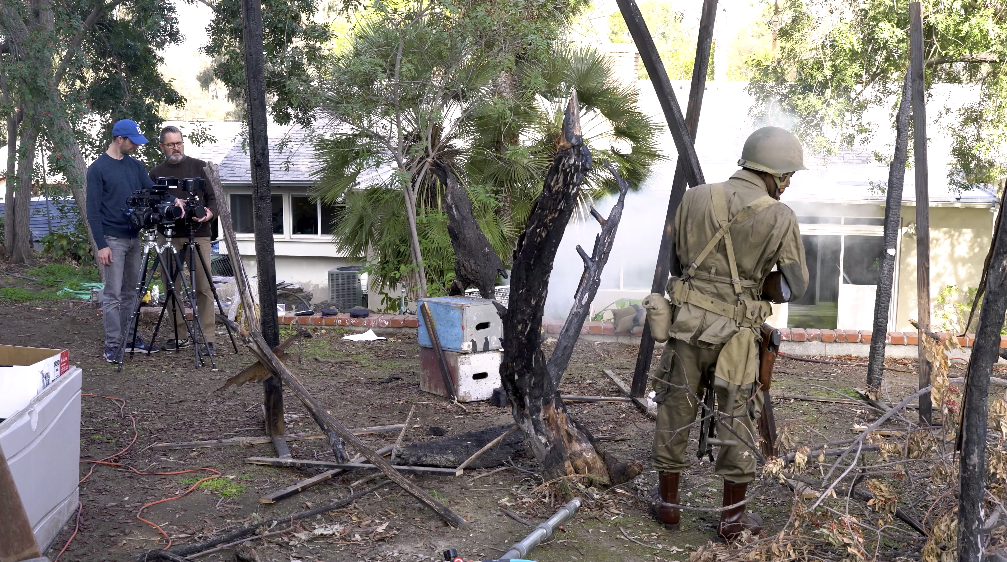
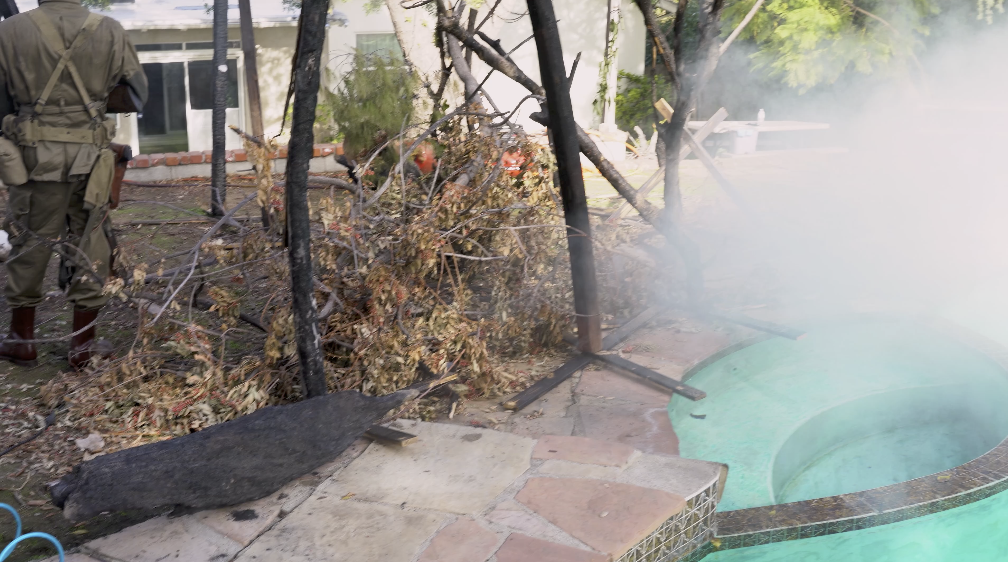
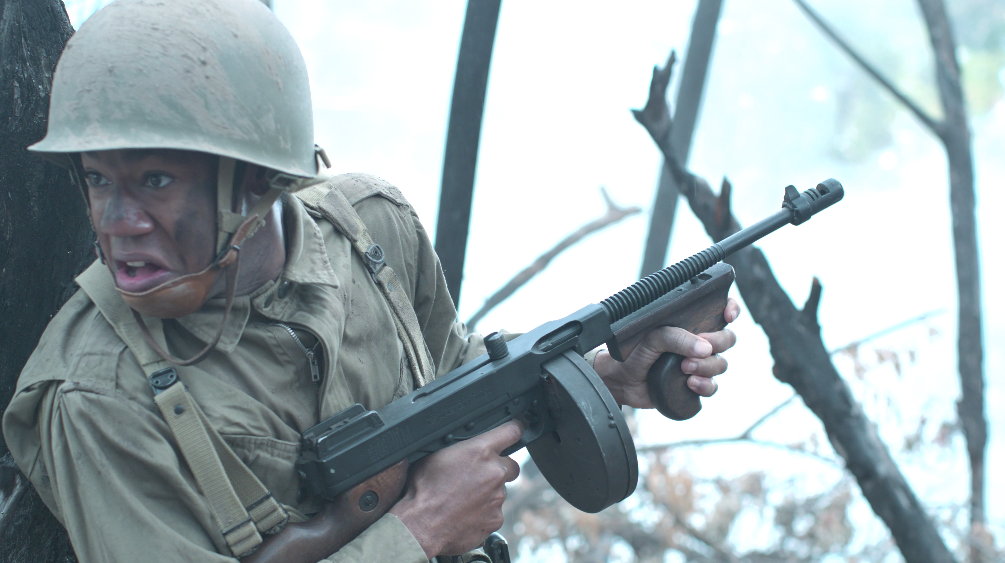
- Use Smoke
I often use smoke to simplify the background. If I’m shooting a fantasy portrait or something, I have complete control my setup. I’ll put a wall of smoke back there when I’m shooting outside because it just simplifies that background. 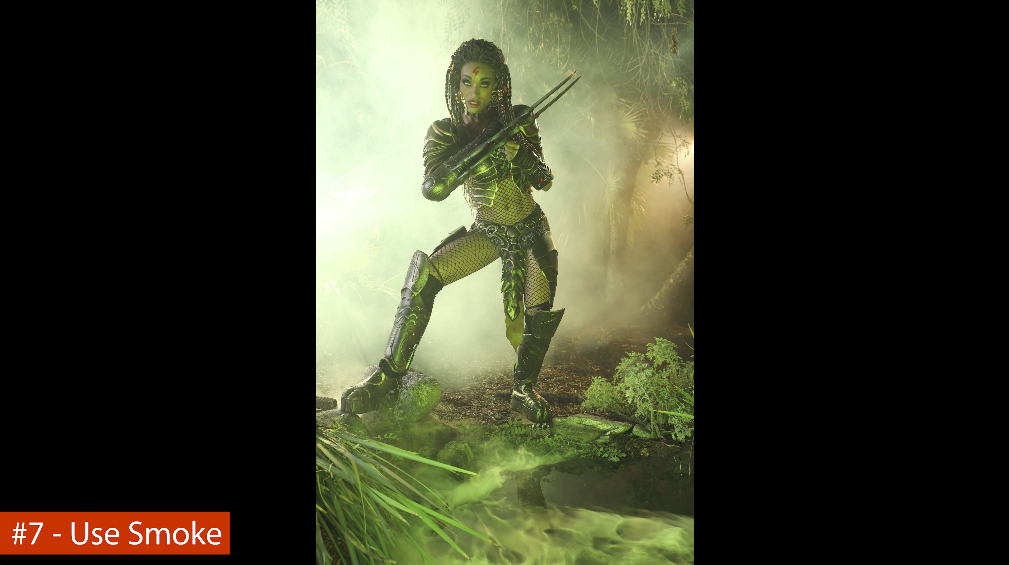


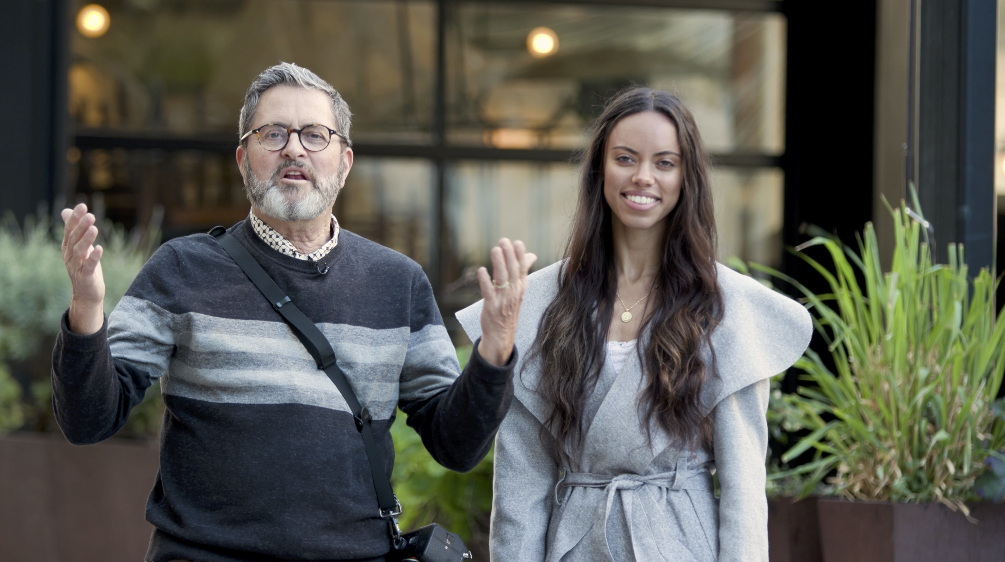
I want to thank Jenly for helping us to illustrate these principles today.

I really feel strongly about the things we talked about in this lesson today. If you pay attention to your background, try to simplify that background using one of the ways we talked about here today your images are going to become much stronger. 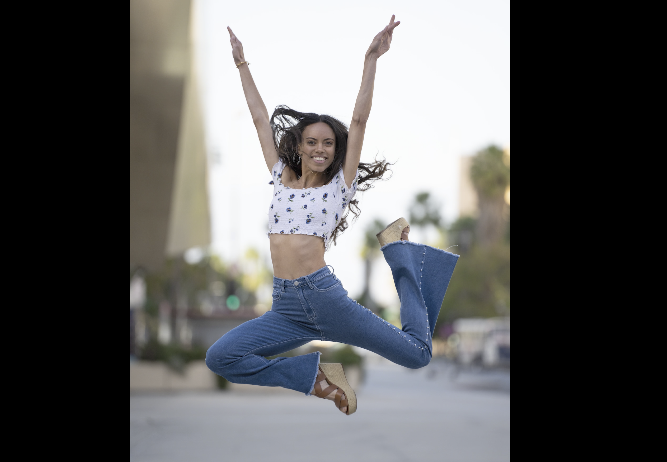

Your composition will become stronger. Your image is going to be much more powerful. So try these out, practice them, see if you can apply them to your own work. So special thanks to Tamron who sponsored this lesson. I loved using that 70-180mm lens.


Keep those cameras rollin’ and keep on clickin’.