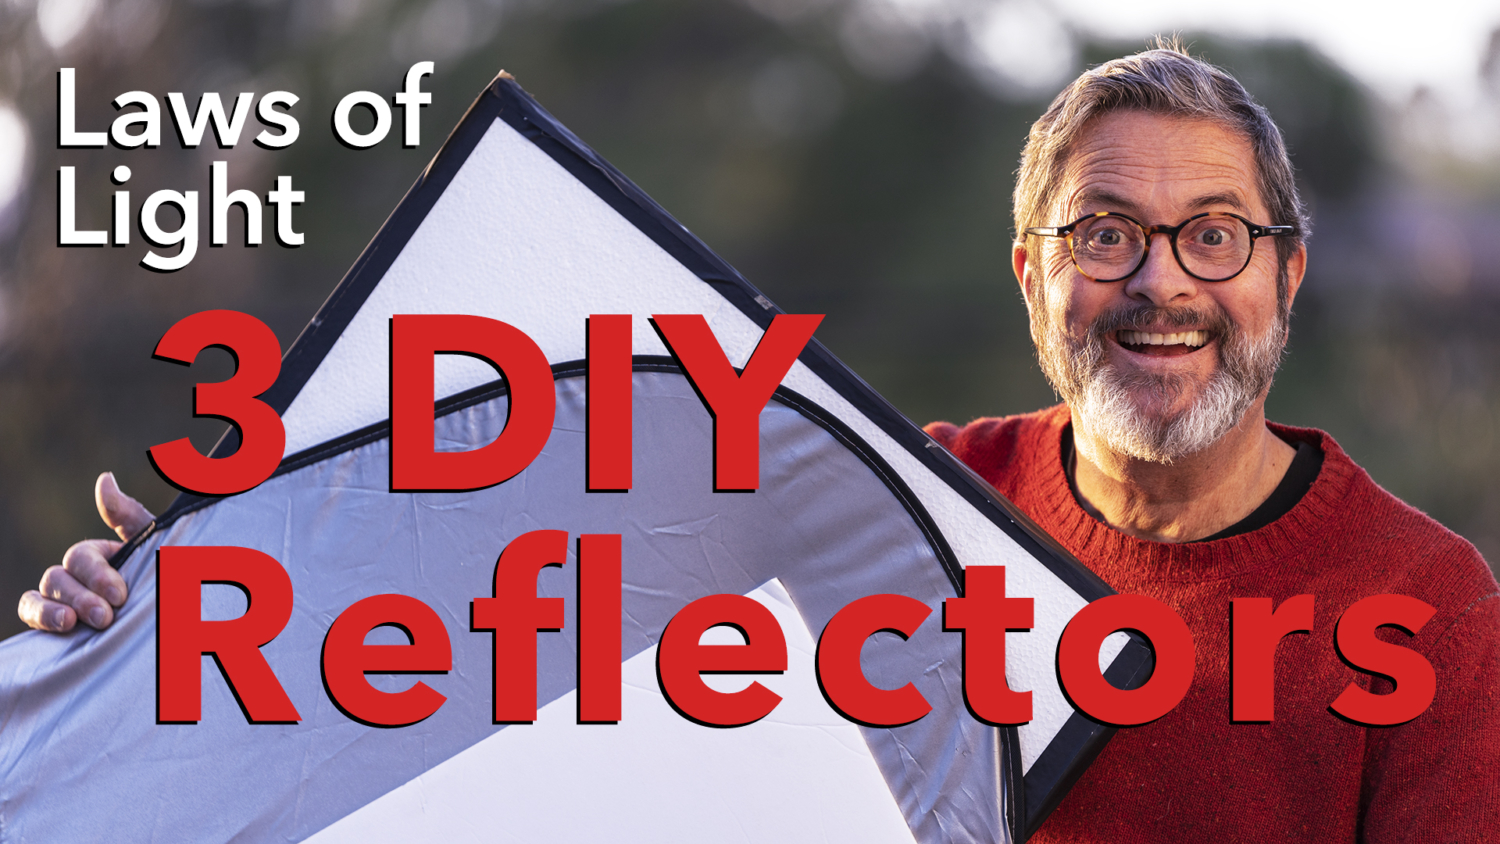
3 DIY Reflectors, Easy & Inexpensive Solutions & How To Use Them
Morgan
Hi, this is Jay P Morgan. Today on The Slanted Lens I’m going to show you my three favorite DIY solutions for reflectors. Then how to use them and the quality of light that they give.
Number one from the Dollar Store, $1.35. $1.65 here in California. The Dollar Store here is $1.65 now. But a dollar piece of foam board. These are fabulous because you can do whatever you want with them. You can put them on a stand. You can cut holes in them. You can tear them in half it you want to. You can do whatever you want with these things. You can say, “look it’s an under light”. You can go like this, look at it, look through it. Look from the side and go from the side, you reflect from the side. You can do whatever you want with these things because they’re a dollar. That’s my number one favorite DIY solution for a reflector. But you know what I do with them. I take two of them and I tape them together just like this. Now I’ve got a long reflector. A reflector that’ll sit on the counter. Or a short reflector when I’m outside reflecting a lot of people’s faces. So there’s my first one. Number one, a piece of foam board from the Dollar Store.
First off, how do you use a reflector outside? Most people go like this. They’ll get in here and they’ll go, oh hey, hold this down here, because it’s just easier. Arms are just really simple to throw that in on her face there. It’s the wrong place. It’s a light that’s coming underneath. It’s lighting her under her chin. We want to get this light up where a light would be. So I’m going to get it up high and I’m going to first put in that inexpensive Dollar Store foam board. It’s a hard surface. It gives a great bounce back on her face. You see that split light on her face. It’s lighting one side. It’s a little bit warmish. It just gives us a beautiful light on her face. It’s very efficient. If I drop this thing and open it up it’ll start to open up all of her body and much lower on her dress. So that’s a simple card you buy for a buck fifty and it gives you a great fill light. So get it up where you want it to be. Get it up high and that way you have a beautiful light up high. You can even take this card, if I put it on here I can work it from overhead. And I can give myself a light on her face, a paramount light. You know, bouncing the light back in. You can use this fill card exactly the way you do any kind of a soft box. Use it as a key light in the different five portrait lighting positions.
Number two, a pop-up reflector that goes into your window of your car. You get these at most automotive stores. This one is silver and on the back side is black. I had a white one coming, white/black, but it didn’t arrive in time. But these become just a really simple solution. Use that same A-clamp. Put it on a stand.Bounce a little white light in there or a little bit of negative fill. These are a great solution and this one was $7.50 from the automotive store. So number two, a pop-up window shade.
So our second solution is the window shade and this even has a silvery side on it. I wish it was all white. You can find them that are all white, black on one side and white on the other. But this will give us a nice bounce on her face. Whoa, flying away, sorry. This is not as efficient as the foam core because it’s a very soft material. It doesn’t have a hard surface. So it’s going to bounce the light back, but not as efficiently. And it’s also a little bit gray. So it’s just not as efficient of a reflector. I wish we had it in a white. It would be more efficient. But that’s an inexpensive pop-up for like eight bucks.
Number three is my favorite. I’ve used this type of reflector on set as a director and as a DP/director. It’s always been a go-to beautiful soft light. Bouncing light out of this reflector and using this reflector to come in to be able to open up the shadows on a face. It’s a beautiful reflector and it’s just simply this, it’s is an insulation. So this is a one inch by four foot by eight foot piece of Styrofoam insulation that they use in walls, ceilings, all over in houses. It’s just a great way to make a reflector. A four by eight sheet like this by one inch is going to cost you about thirteen dollars.
Okay, the first thing I’m going to do is I’m going to cut this thing in half right along that line. Not with my left hand very easily. Okay so there’s my first piece. It’s a four foot by four foot reflector. I’ve got silver on one side. If I want to get a little silver bounce on my face, whoa, look at that. Or it has a beautiful bead foam on this side. Nope, there’s a bunch of stuff on this thing. So just simply peel this off. It’s a beautiful reflective surface because it’s beveled with each one of these little pieces of Styrofoam. And so it balances the light in a very soft way. Now this is too much Styrofoam. It’s going to flake off and cause problems. It’s going to get all over you like it did me. So I always take a piece of tape and with that piece of tape I’m going to seal up the edges. So there’s my DIY reflector, four foot by four foot. That’s kind of big.
All right, so now let’s go to the large reflector. Large reflectors are like large soft boxes. They give you a lot of wrap. I don’t want to put this whole reflector like this. If I put it like this all my efficiency is behind her. But as I bring it forward towards the camera all that efficiency starts to move forward. And I start to open up the shadow side of her face. I’ve got a nice highlight side. I’ve got a nice open shadow side. And look at the transition of the shadow on her nose. It’s a soft beautiful transition. It is not hard at all. It’s because I’ve got this whole reflector up front here and it’s bouncing light back into the side of her face. I can’t get it over here because I’m in the camera. But if I get it just out of the camera here, all this efficiency on this corner is bouncing into the shadow side of her face and opening up her entire face. It looks absolutely beautiful. If I bring this up like this, just above the camera, I can find a spot there to get a nice butterfly on her face from overhead. And you know there’s always somebody to hold this thing. There’s a friend, there’s a mother, a bride’s groom, there’s always somebody to hold the reflector.
So I’ve got this four foot by four foot piece left. I like these but I feel like they’re a little small. So rather than 20 inches I’m going to go probably to a 24 inch. And on my Styrofoam it’s going to be right here at 24 inches. Then I’m going to go to 36”. So 36” is going to be about right here for me. Now you could, if you wanted to, you could make this whole thing your next size. I mean, you could make it a two foot by four foot. I just think it’s super long and not really necessary and harder to move around. I think a 24” by 36” is a really nice size. That’s a nice size reflector. And with the rigidity of this material that’s just easy to look at that reflector in the camera. In the camera on my face that is a beautiful reflector. It’s a nice size to carry out with you. You can make this larger if you want it to be 36” by 36”. If you wanted to make it 36” by 20” you have a big piece here, a four foot by four foot piece. So you can make this any size you want. But I feel like this is pretty efficient. If I put it horizontal it will wrap pretty nicely outside because the size of the reflector relates to the quality of light. The same as the size of soft box. A small reflector is going to give you a harder bounce, a harder fill. A larger reflector is going to give you a softer fell. It’s going to wrap around the person’s face. It’s going to fill in the shadow side a little better. So in some ways that’s why I love these great big four foot by four foot. Because I can take this and I can put it in front of a person. I can bounce my light into it and it just gives me a beautiful wrap around their face. It gives you a beautiful quality of light.
So we’ve looked at using fill cards as key lights. But now let’s use fill cards as fill cards. Fill cards are about changing the ratio of the face, the shadow side. It’s opening up the shadow side. It’s creating a different ratio when we go right in here close. It’s a really open one to one ratio. As I move back a one to two, one two three, out into basically a one to four. That changes the ratio. It’s really about how much fill light you put in on the cheek. That’s what most people use fill cards for on set. But the way you set it, it’s really important to understand that there are a lot of different ways to set it. This is a pretty hard card. So I can put it more towards the back and it gives us more rim on her face.I can put it more towards the front to open up her face. I can put it like this on the axis of the camera and start to open up the front. It’s really about filling the shadows. That’s what a fill card does on set.
So now let’s go to the pop-up. This pop-up, because it’s kind of silverish, it gives us a little bounce on her hair. It opens up her face. I mean, it’s a nice light, a nice transition. It would actually work absolutely fine, but not my favorite. All right, why is it not my favorite? Because it’s just so wiggly and wobbly. And I wish that one side was white. If it was it’d be a lot more efficient.
But here’s the one that I really like. I like this kind of efficient soft light on her hair, on the side of her face. Get into a one to one out to one to four. Change it from more of a rim light from behind into more of a fill light from the front. Go horizontal with it stay on the camera axis as it opens up the side of her face. I mean, this is great. If we’re using the silver it’s going to be way too much in here. Anytime you use a silver like this it can be whoa, way too much. But you can, if you’re in a situation where you want it to be pretty efficient, you can put it back here you make a nice rim light on her hair. There it is, get a nice rim light. So the silver can come in really handy. You can cut two or three of these out of that piece of 4’x8’ you have left. But now the big daddy, this is going to be, it’s just going to really open up the side of her face. And especially the closer I get it to the camera it’s just going to flatten everything out. But it gives you a beautiful soft light. The more I come from behind it’ll give us a nice soft light. It’s going to open up her hair the more I come up on top. It’s going to give us more of a light on top of her hair. It’s going to move around.So these fill cards, a lot of people just throw it on a stand and shove it in there like this and think it’s done. But there are so many things you can do with this. How you place it, the way you move it around your subject matter, the way you move it towards the camera, it just changes the way it opens up the shadows completely. It gives you a much different look. So placing this fill card is super important. Now if I go to the silver side on this it’s probably way too much for anything because it’sjust too small space in here. And it’s just going to be so bright on her face. That’s not terrible. But the bead side is really what I like to use. This is hard because it’s just big for a space like this and that’s why this 24” by 36” is just a lot easier to work with. Because you can get it in close. And it allows you to work in that space.
So there you have it, there’s my three DIY solutions for fill cards. They’re not a compromise in any way. These are beautiful light, that small piece of foam core you get from a Dollar Store. That bead foam you get from a hardware store. They’re both beautiful lights. The pop-up reflector, if you get one that’s white and black on the other side, gives you a great bounce light on a person’s face.
Remember, where you place that fill card, it can be a key light and can be one of the five portrait lighting positions. Or as a fill card you can move it in the front to fill the face or more sideways to open up the face or more to the back to open up the hair for more of a rim light. A silver card in the back to give yourself a hair light. They really become an efficient way to work with a person on set. And create the look, really, of a two or three light setup if you use a couple of fill cards in the background, silver or just a regular white up front.
All right, so there you go. Make some fill cards. Take some images. Let’s see some great images with the right amount of fill for your creative vision. So keep those cameras rollin’ and keep on clickin’.
When we actually got into Villa Gladys, this tiny little village of about, I don’t know, 25 people, where we had the motorized canoes come in. It was the first time they’d ever seen westerners. Everything was crazy. We had all our gear and we have to load it into these three canoes. We load all these cases in and we load our personal bags and me and the guys, you know, we’ve traveled a lot.
Like, we’re used to this, but we all just had our backpacking packs, you know, with our tents and our hammocks and our sleeping bags, and so on. We start heading in upriver and for a day and a half straight it just downpours. I mean, just downpours. And there is not a single dry article of clothing. Not a single dry pair of shoes, nothing.
But every single piece of equipment in the cases, as we’re literally pouring water out of the canoes, like draining the canoes. The whole time equipment stayed perfect, dry, and safe. Cameras didn’t go down, nothing. So if it wasn’t for the SKB Cases there’s absolutely no way we would have been able to make that show by the time we got into the Amazon.