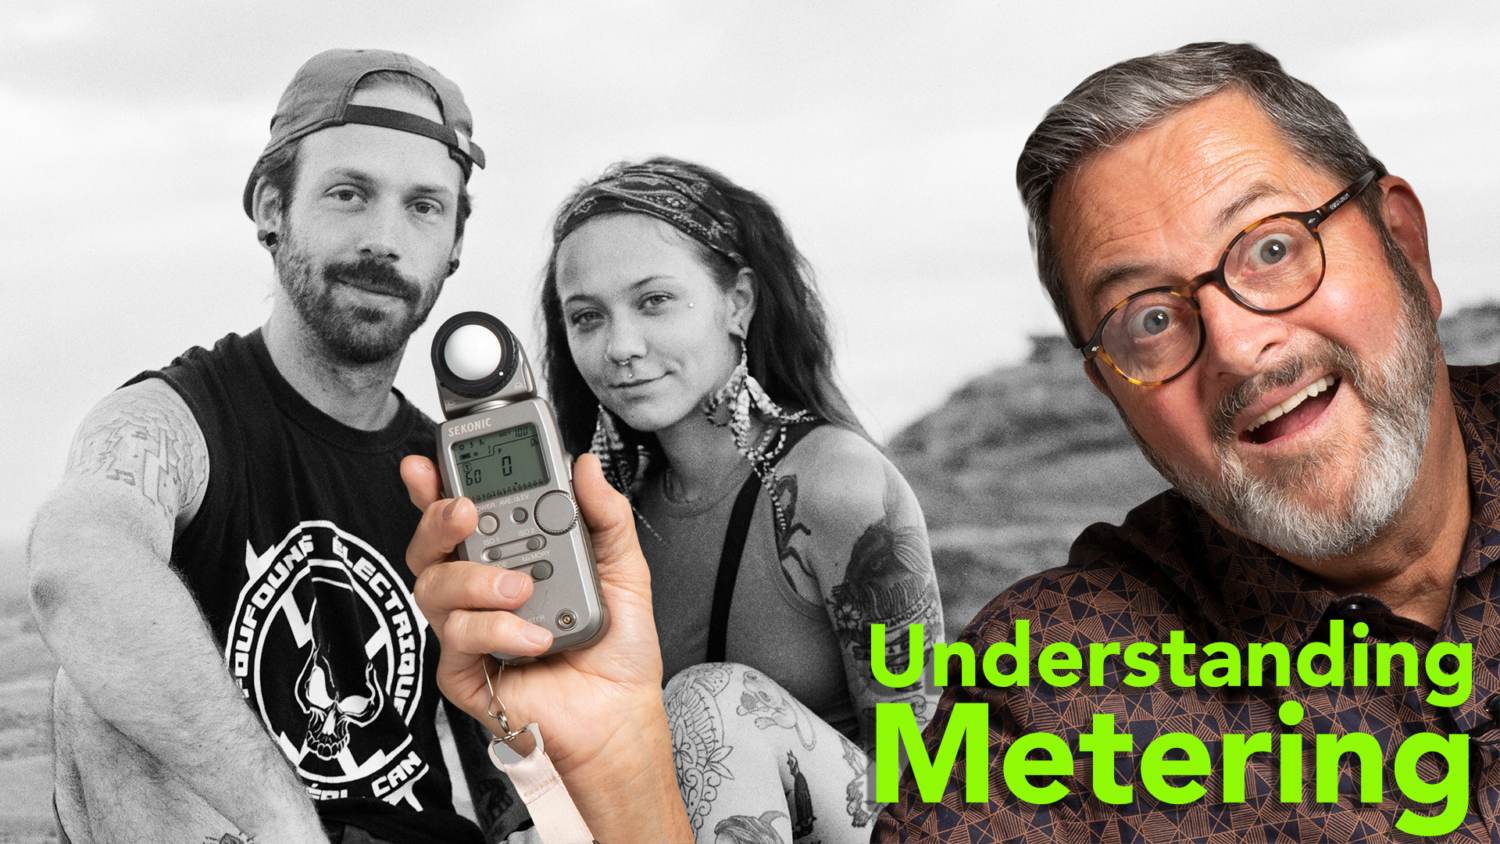
Hi, this is Jay P. Morgan. Today on The Slanted Lens I’m going to take a look at images I’ve shot and show you how I found the right light and how I metered correctly to give myself a great negative. A black and white negative that is going to give me a great scan so I can work with it on my computer.
So first off, the very first thing I do is I normally shoot 400 Tri-X. If you watched our last lesson we were in, you know I shoot 400. I push it to 800. So in my camera setting I’m going to put my ISO at 800. But, I’m going to process it at plus two stops. So I’m basically pushing it two stops to 1600. But I’m exposing for 800. So that’s the very first place to start in this process of how to meter and how to find the right light. And that is, why do I shoot it at 800 and I push it two stops. Rather than 1600 and push it two stops?
So let’s take this bridge for an example. If I am shooting my film at 1600 rather than 800, I’m going to get a meter reading that’s going to give me a really bright light outside and a pretty dark shadow on the back side of this bridge. Because that’s exactly what’s there. But what I’m doing is I’m trying to make my negative denser and give myself more light in the shadows.
This is what I get when I process this image. I get a pretty decent highlight and a pretty decent opened up shadow. But I don’t have the dynamic range I’d like to have. Now when I shoot this at 800, I’m giving it one more stop. See how bright this is outside and how open the shadows are. Now when I take it in, the scan into, (and I use the Camera Raw filter) when I take that scan in I’ve got a great range here. I mean look at the difference. I’ve got a beautiful range. It opens up the shadows. I still have shadows. I’ve got a beautiful highlight here on the side that just gives me the bricks and it’s just really nice. The highlights are not blowing out. I just get a beautiful full range image because I’m giving more light to the shadow side. I’m trying to condense the dynamic range here because I can bring that light back if I have a dense negative. I can bring that back. But I can’t bring light back in the shadow areas. If there’s nothing there, there’s just nothing there. And I’ll show you a situation where, that’s what I wanted to do. Have nothing there. And that can be an advantage in and of itself. All right, so there’s why I shoot at 800 and I push it to 1600 or push it two stops. So it’s just giving me a very dense negative that’s going to give me a lot of detail in the shadows and it’s going to hold the highlights. So there’s how I’m going to expose to give myself a good dense negative.
But now, a successful black and white image is built on how you choose the light you’re going to photograph in. Every light situation is not going to be a great image. There’s no doubt about that. But if you understand what does make great images you are more likely to get better images. And the number of images that are successful is going to go way up.
So let me show you an example here. This was morning time at Horseshoe Bend. The light is coming up on our camera left side in the back a little bit. So it’s coming across this little Horseshoe Bend. It’s not directional yet. It is nondirectional at this point. It is just coming up on the horizon. There’s no directional light in this whatsoever. But like a large soft box, the light is up in the clouds on the camera left side. And we’re getting beautiful shadows. Look at the shadows in the crevice of these rocks here. We’re starting to just see great detail in this rock formation because the light is raking it from the camera left side, from the side. So we get a great image.
This was the evening when we shot at the very same place the light is going down in front of us. There is no cross light on this. When I say cross light, I am not talking about direct light. I’m talking about, just the luminosity in the clouds creates enough of a shadow to give depth to the image. And then that black and white film, because you’re pushing it two stops builds that contrast and makes a beautiful image. So this is not a beautiful image. This is a much better image. It’s a much stronger black and white because you get that kind of detail from the cross light.
Using that principle of how to light and meter, here’s a situation. We stopped to get gas. I’m looking at this little gas station. I thought, “Oh, I’d love to do a little panoramic shot of this.” So I walked in and I metered underneath these lights right here. I got a meter reading there. So I had a very long exposure on this camera. A little panoramic camera. Going to go across that at like I think a fourth of a second. But I know that I just metered for this light. It is only going to give me what this light is hitting. There’s nothing in the sky. There’s no light out here from the other street lights. It’s just going to give me that. But that becomes a way to isolate your subject matter. Look at how beautiful that is. We get that kind of shape. We see the cars there. It’s just a beautiful image in this dark space. So that’s one you can compose and make images that just isolate by light, only that area. But know that when you’re shooting this kind of film it’s going to go very black.
The only way to avoid that is if you choose to put something in the sky. And that’s just a bit of light. The sun has already gone down here. I’m looking back at the gas station sign. This is just 180 from where I just shot the last image. I’m now looking out into the sky and there’s just a little bit of light left in there. So when I make my exposure, exposing correctly for the sign, I walk up and take a meter reading. I’m going to expose for the sign. Now all this back here comes in and gives me just a little bit of relief to open that image up and to create some interest. So it’s not just on black. Because this would be nothing on black. It would just be one little pillar. Whereas this I thought was very interesting on black. The long shape fills up the entire frame.
If you wait too late and shoot past blue light, if you get past blue light and the sun is completely gone, it’s completely dark outside. Then you will only ever get this. That’s the most you can do in those situations. And most buildings don’t look very good in that situation. You’re better to shoot during that transitional time when there’s a little bit of soft light.
This is my favorite situation to shoot in and that is cross light. I’ve got light coming from the left. It’s giving myself highlights and dimension in all the rock back here. It’s okay if some of this falls into shadow in the foreground. I’m just getting great dimension, even in clouds. Clouds also have dimension by the way. They’re lit, the light here is hitting the side and it’s creating dimension in these clouds. We see darker, we see lighter. I’m going to meter this just simply. I’m going to aim this straight at myself. I’m going to let the light hit it from the side because I’ve got a lot of dark and light. I’m going to use that dark and light. And when I meter I’m not going to aim this at the light source. It’s going to underexpose it. I’m not going to aim it away from it. It’s going to overexpose it. I’m going to aim it straight at me with the ball out. And that’s going to give me a beautiful light in this situation.
So this is a situation where I do not have cross light I’m looking straight at this mountain and the Sun is slightly over my, basically right behind me. Again I’m metering straight in front of me. The lights hitting the ball. I’m getting a correct exposure. But the image is not very interesting. It’s just not at all interesting. It’s very flat. And I don’t have any kind of dimension. This cross light situation where the light is coming from the side is a much more beautiful image. It gives you dimension, rocks, it’s like ball, cube and cylinder. It’s a round thing. A rock is a round thing. It needs light to come high and go into shadow to give us dimension and to show things. These were not very tall. They’re about this tall. But the light was low and to the left and so you start to see shadow. And it’s that cross light that gives you a beautiful image. Cross light across these little ridges here in these rocks and that’s what gives you a beautiful image. It’s that cross light all the way through here. Cross light breaking through.
This is a situation where I’m shooting my family and I’m going, “You know what, I really want a silhouette.” So if I take a meter reading right here it’s mostly in the shadow and it’s going to give me exposure. It’s going to try to open these shadows up when I meter right in front of me. I can turn this away and I can meter away from me. And it’s going to be as if I’m looking straight at the light out there. And that’s going to give me a strong silhouette. So if I meter away from me it’s going to give me a much stronger silhouette. Now I’ll do that, I’ll meter away from me. And I’ll look at that. Then I’ll meter towards me. I’m going, “If that’s like six or eight stops I’ll probably go in between those two.” Because I know that I can always let this, I can in a scan, I can push those blacks down and make that silhouette. Silhouettes are a little tricky. I’m going to basically meter away and towards me and then I’m going to average those two. And that gives me a pretty good negative that’ll produce a great looking silhouette.
This is my favorite way to shoot. This is a couple. We’re at Horseshoe Bend and the light is coming up so that those clouds, or the sky (sometimes there’s no clouds at all) is becoming a large soft box. So I just take them, I move them around to where I get beautiful light on the side of their face because I’ve turned them into one of the five lighting portrait positions. I’ve turned them slightly so that that light coming from the side is going to give us dimension. We see dimension on the legs. We see, even though it’s not a lot, it’s very subtle, it’s very soft. But it just gives me an open negative that allows me to give some beautiful blacks and some nice highlights and some great light on their face. Just beautiful light on their faces. It’s not direct light. I don’t want to be in direct light. It’s not going to be helpful to me here. If I’m in direct light I’m going to handle this very differently.
If I go to direct light I do this. I turn the person towards the direct light and I allow that light to hit them camera right. That is a Rembrandt hitting her in one of the five lighting portrait positions. But it’s getting a little lower in the sky. So it’s not direct overhead. It’s a little lower in the skies. The sun’s going down here at the beach. So it gives us a little softer light, even though it is still directional. How will I meter this? If I meter it straight towards me, I’m going to get a mix of the highlight and the shadows and it’s going to give me a correct exposure.
This is very open. The light is up high and off to my right. It’s coming straight down on him. And so it just becomes a matter of exposing right towards me. It’s not straight towards him. It’s slightly up and it gives me a soft light on his face.
Back to the beach. There we go. Same thing, little Gabriel here. We got the light over the camera right side. It’s coming in on his face. And I’m metering and I think I missed the metering on this a little bit. I think I was taking the meter reading too much off of the sun. It didn’t give me enough detail in the shadows. You see how the Shadows kind of just disappear around him down here on the side of his face. So I should have been metering more towards myself. I think I missed that one just a little bit.
I metered this better. So look at the difference there. You see the side of his, the highlight of his face, the side of his face. If you look here, you see the highlight. You have a nice highlight on the face and you see a nice shadow. I’m probably, I’m sure I’m metering right here. Just allowing myself to let the ball fall into a major shadow there to give myself a good idea of what the exposure is going to be averaging both the highlight and the shadow.
This is backlight situations. And backlight situations with film are very difficult because you really are, you have a very high dynamic range. Especially when you have clouds. Because you’ve got backlit clouds. They’re very white. You’ve got a really dark building here. And I’m going to expose. I’m going to let this fall almost entirely in the shade. And I’m going to expose almost completely for the shade. Which means these highlights in the background are going to become very dense on the negative. But I can bring that back in as long as I’ve got some detail in that building.
This was hard to meter because I’m down underneath this road and up on top is daylight. So I just use the Sunny 16 Rule. I know that I’m at 800. So I’m going to say 1/500th of a second at F 16. That’s the Sunny 16 Rule. I know that for 800 I go to the closest shutter I can get to my ISO and that’s 1/500th of a second at F16 in daytime. And that’s going to give me a correct exposure. And that’s where I set it. And then you just, you know if you feel really concerned you bracket. You shoot two or three frames. I didn’t, I just shot this one frame.
Sometimes I find it really easy, if you’re in direct sun, to get in the backlight as much as possible and expose for the backlight. Because if I’m in this and it’s really backlit, same with the bridge we did in the beginning, I take a meter reading in this dark area. Now that’s going to just give me enough detail in here. And I’m shooting in this backlight. It’s going to look better than if I’ve got harsh crossed sun. So if I’m in harsh light I try to get into the back side of things. Shoot into the shadows of things. And that’s going to give me a better looking image than just out in the open direct sun.
This is more directional sun, but the subject matter lends itself better. It is in cross light which makes it easy to meter. Cross light meter allows yourself to have shadow and highlight. But now your background, because it is black and white, a lot of times depending on how you’re looking, is going to go very dark. If you put a polarizer on this that background will go absolutely black.
So if you haven’t figured it out, most of the time I’m metering straight in front of myself. But I’m trying to get my person into a situation where it’s going to be nice light in the face. This little guy here, Porter, it’s got the light on the side of his face and it falls into the shadow. That’s a much nicer shot than if he’s, if I’m trying to look at him with direct sunlight on his face and he’s trying to squint through it. This at least gets him turned into the light. It looks interesting on his face. I see backlight on some of the Rocks here. And it makes a much more interesting image.
So it’s as much about knowing how to meter as it is knowing how to find the light that’s going to give yourself the best image. So look for the light. Put your people in the right light so you get the best image. Look for the right time of day. Shoot in that later day but with some glow. You don’t want it to be totally flat. You want some glow and that glow is going to give you beautiful images. Nighttime images, you can use the sky to open things up so you can have some lights on the buildings and things. But you need that sky to separate all the darkness and give you something back there. Or you isolate things into just really dark. This is my image. I’m going to let it live in a sea of just complete darkness. And that can be interesting as well.
All right, so there’s a look at some of the ways to find light and to meter for light that is going to give you a really beautiful black and white image. Here’s a few more of those images and then, keep those cameras rollin’ keep on clickin’.