Number One Tip For Filming or Photographing People Outside In Direct Sun
Morgan
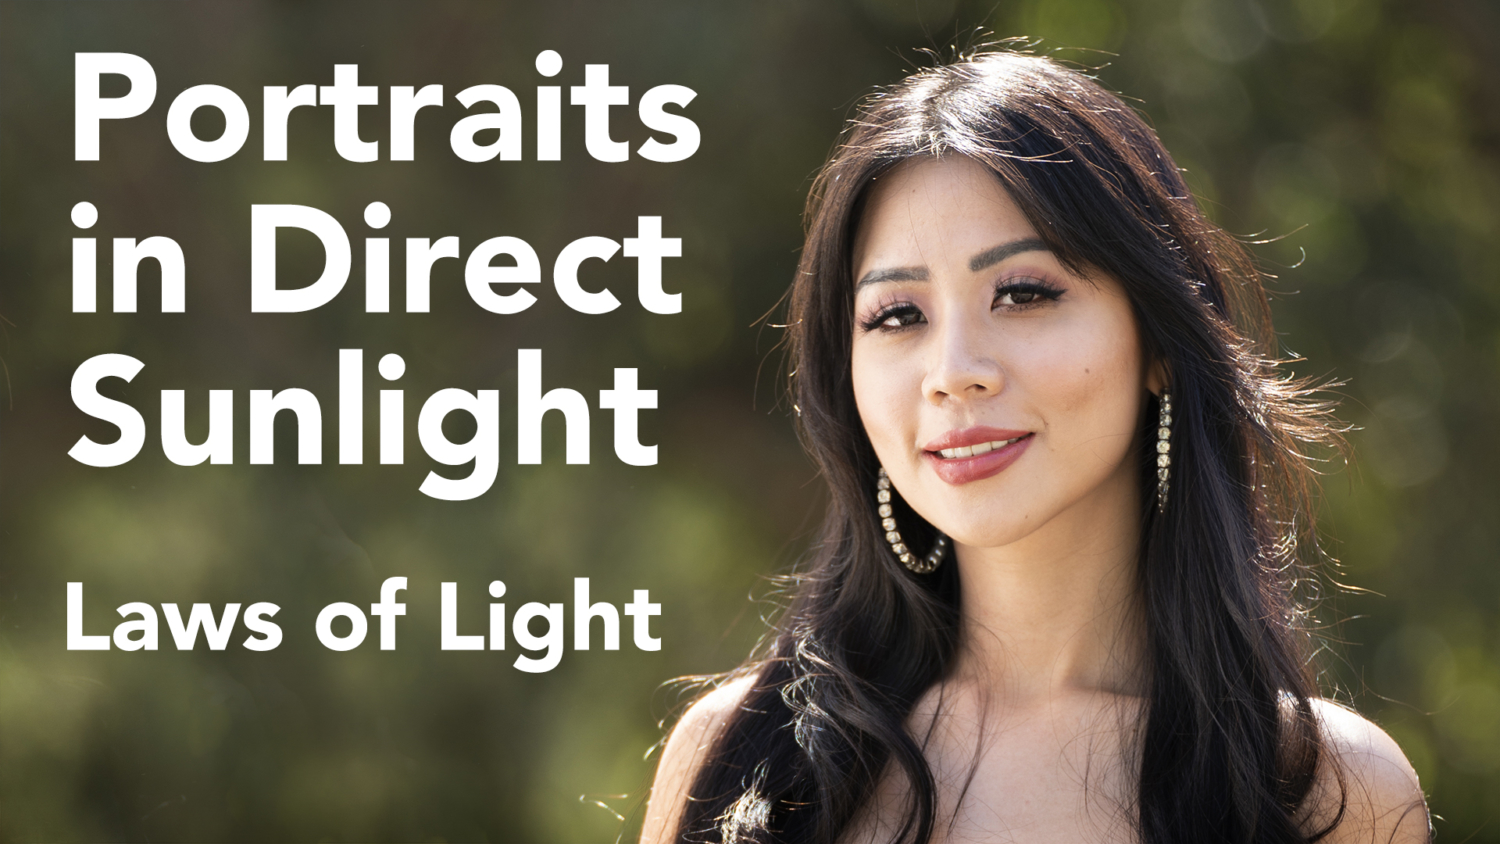
Hi, This is Jay P. Morgan. Today on The Slanted Lens, in the Laws of Light, we’re going to take a look at my number one tip for shooting outside. It works every single time. It gives you great images. Here’s what I’m going to do. I’m going to put her back towards the sun. That sun is up high. And I’m not going to move her forward until I find the shadow transition edge. You see her shadow on the ground down there. I see that there’s shadow on her shoulders in that. But I see that her head is up into the sun. That’s the perfect place because now I’m looking back into the shadows behind her. But she’s got a nice rim light of sun on her hair. It just looks beautiful. I’m going to set my camera on aperture priority. I’m going to set my aperture at f/2.8. Because I want as shallow depth field as possible. I’ve got here the 70-180mm, the Tamron lens that goes on the Sony. And I’m now going to, at that f/2.8 and 100 ISO, I’m going to let the shutter do what the shutter wants to do. I’m going to expose for her side here. I’m going to expose for the light on her face. I can bring that reflector in if I want to open it up. Or I don’t have to. I can do those two different things with this. But because I’m looking so far back there and the sun is behind her, I get a little bit of light into the trees back there. It’s not all dark. I get some life back there which makes great images. So let me shoot a few here.
So now my number one tip, number one tip of all time, okay, not my number one tip but my second tip is this. It’s is a collapsible stool that I got, I think from Home Depot or for sure a hardware store. But it just gets me up just enough. I can see a little higher. And I can look into her and it just looks great. It gets me above her nose, which is where I want to be.
Look right here for a couple. That’s awesome. Full body here.
So there she is on that shadow transition edge. She’s right up to me. Now it will require that I’m going to have to have her keep walking forward slightly as the sun changes. And that’s okay. I’m just going to keep following her. It may be that I want to use that reflector. It depends on the light that’s out here. But there’s so much light bouncing around out here, I don’t need that reflector. But if I did, I’d bring her forward a little bit and I’d turn that reflector towards her. Now just bounce a little bit of that light back that’s coming over the top of her shoulders and bounce into it. I like this area because I’m on the shadow transition edge, which means I don’t have a lot of light on her body. It’s not a harsh sunlight. It’s a little softer because I’m kind of in that shadow transition in there. Which makes it a little bit softer. That’s the secret getting her into that soft shadow transition between the sun and the shadow. It gives you a beautiful place to shoot. There you have it. My number one tip for shooting outside. Find the shadow transition edge, shoot on aperture priority, open that aperture wide open to f/2.8. Then let the background fall out of focus and look for little patches of light back there. Move around to find a patch of light to get behind her. So it just looks really interesting. And that looks fabulous. If you get behind something like a building then it’s just dead back there. But if you get some trees or something back there, it looks really nice. Sometimes I go with a building because that’s just what I have. But anytime I have some kind of life back there, a little bit of sun and a little bit of light, that looks fabulous.
I hope you enjoyed this number one tip for shooting outside. Don’t dismiss this. This is probably one of the most important tips you’ll ever receive. Because I see people all the time, I see student work, I see other photographers and their stuff looks terrible outside. If they would just do one simple thing. Turn the back to the sun, get the person to the shadow transition edge and shoot away with a shallow depth of field. You’ll have a beautiful image every single time. So I hope you enjoyed this. And keep those cameras rollin’ and keep on clickin’. And don’t forget your little stool so you get up a little higher.
Introducing the new Platypod Extreme. It’s a redesigned version giving you a lighter, more versatile tool. The Platypod Extreme is perfect for getting your camera in those really tight hard to reach spaces. And it’s lighter too. The Platypod Extreme can be strapped or screwed into many different places, giving you very unique camera angles and allow you to hold that camera in obscure and hard to reach places. It also has cut outs you can slip it on the belt or slip it off. Makes it easy to attach. These great new hinged spikes make it so you can put them forward or backwards, anywhere you need them to give you a stable shot on really uneven terrain. And also it gives you that really super low angle. Pretty awesome. The largest cut out of the top of the plate makes it easy to carry with you and the Extreme has multiple places to attach your carabiner so you can carry it with you anywhere you go by attaching it to your bag or backpack. So go to Platypod dot com to purchase your Platypod Extreme!