(If you want to watch the video go to The Slanted Lens on YouTube!)
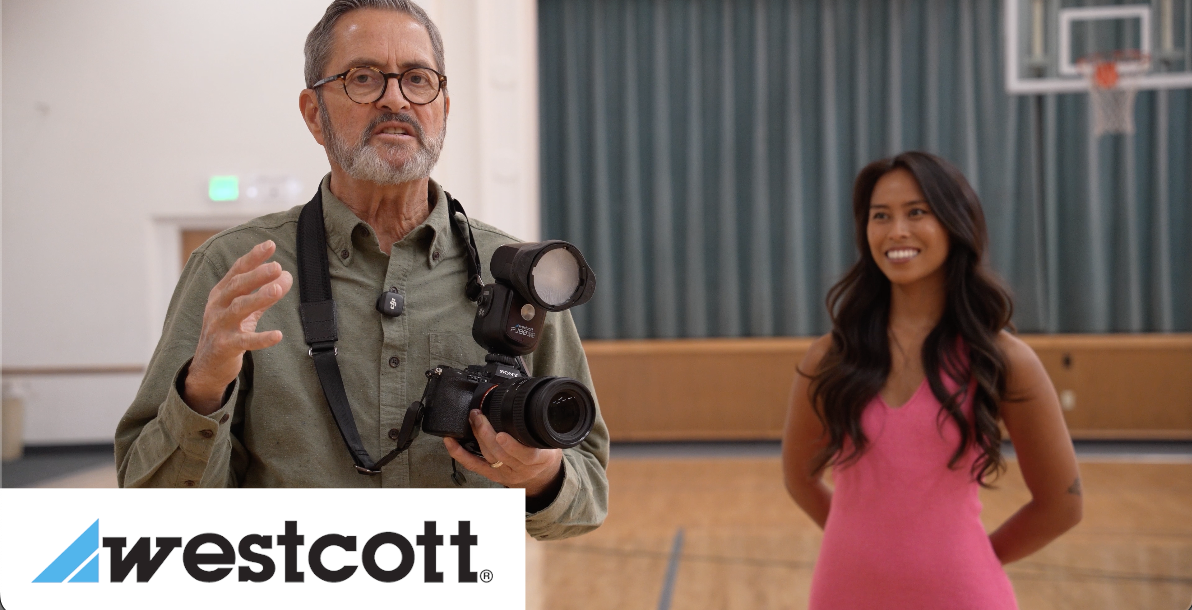
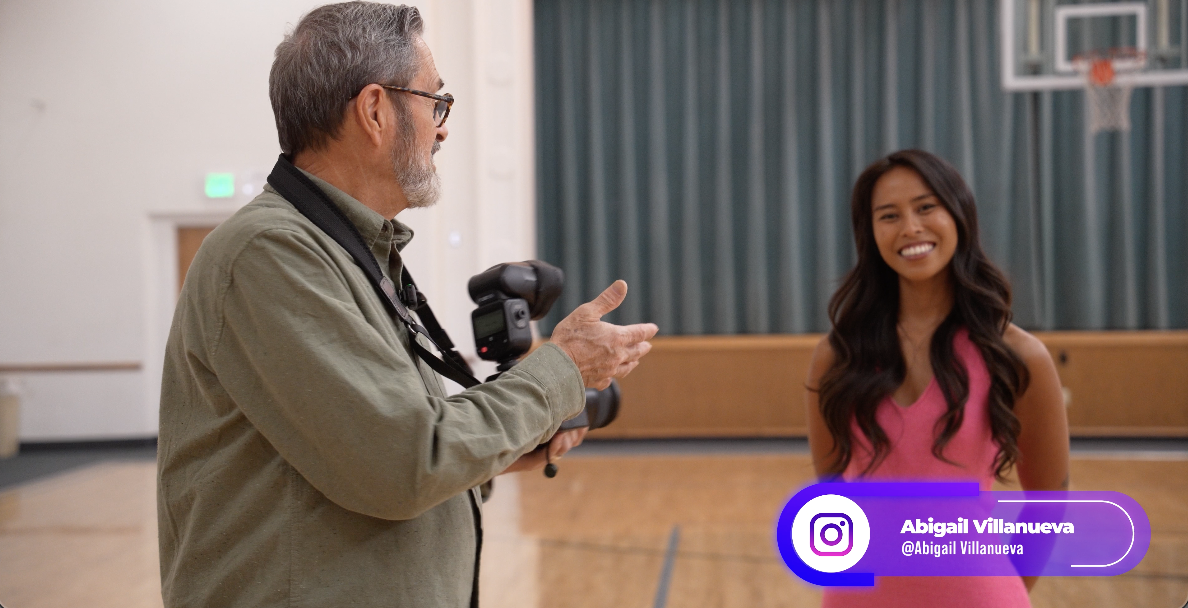
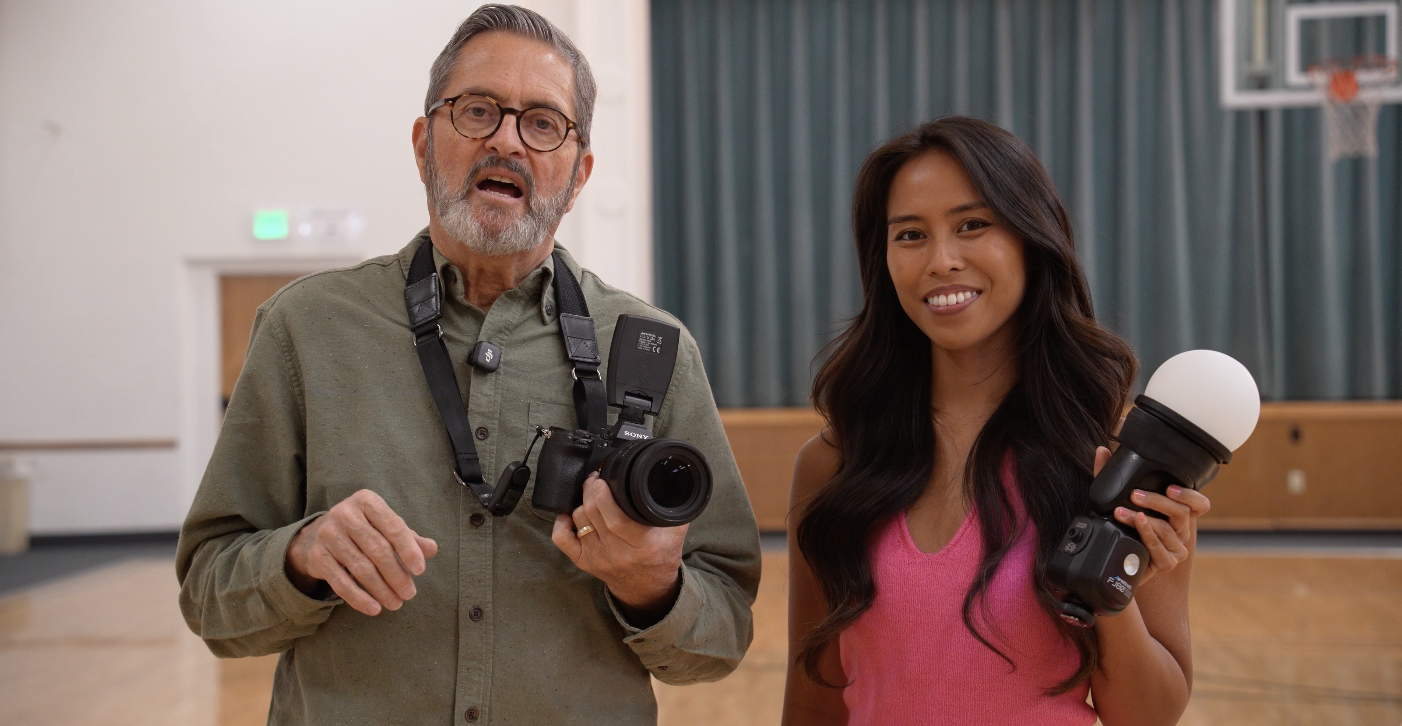
Hi, this is Jay P Morgan and today on The Slanted Lens we’re going to take a look at four ways to modify your speed light so you get beautiful images and my favorite, my fifth way to shoot event photography. Don’t miss out on that one. So, let’s get started and see what we can do.
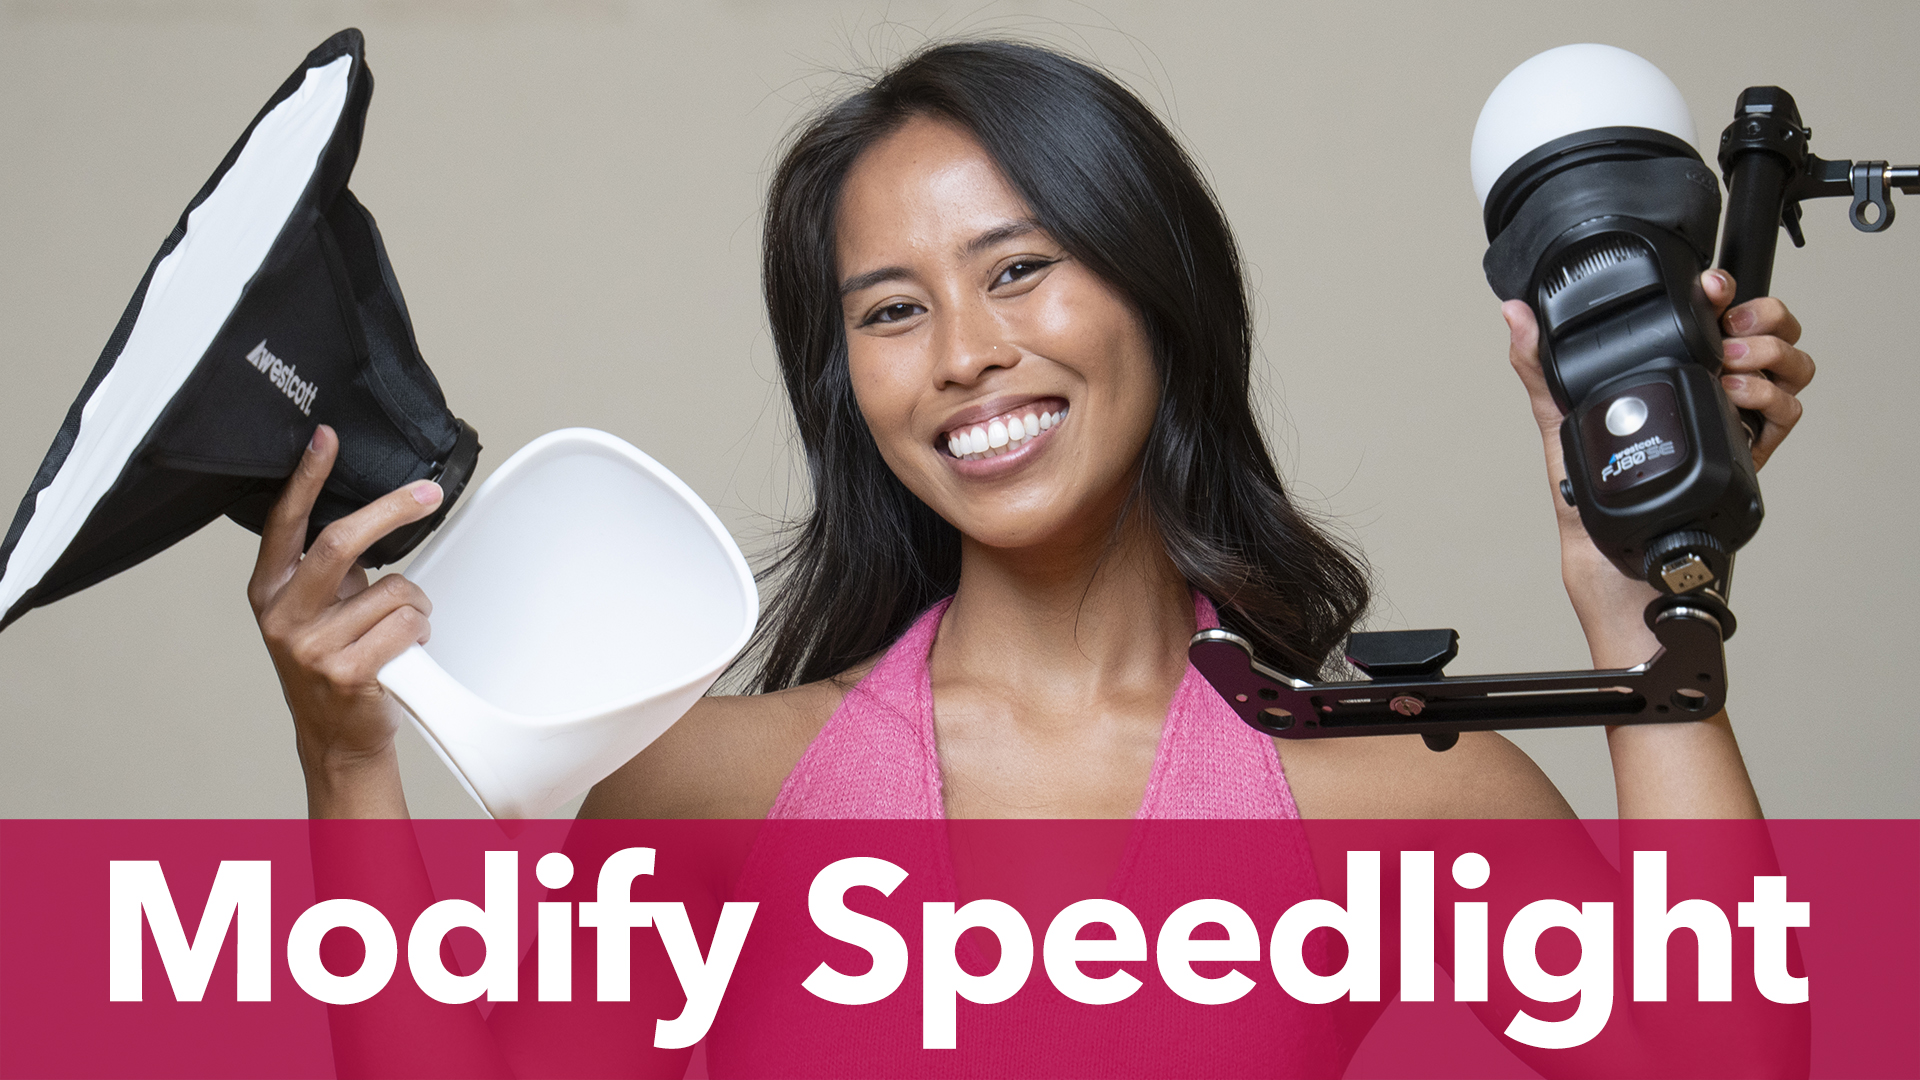
So, one of the first strobes that just about every photographer gets or purchases in the beginning is a speed light. And the reason being is because it attaches to your camera. It works on TTL mode, which is through the lens metering. 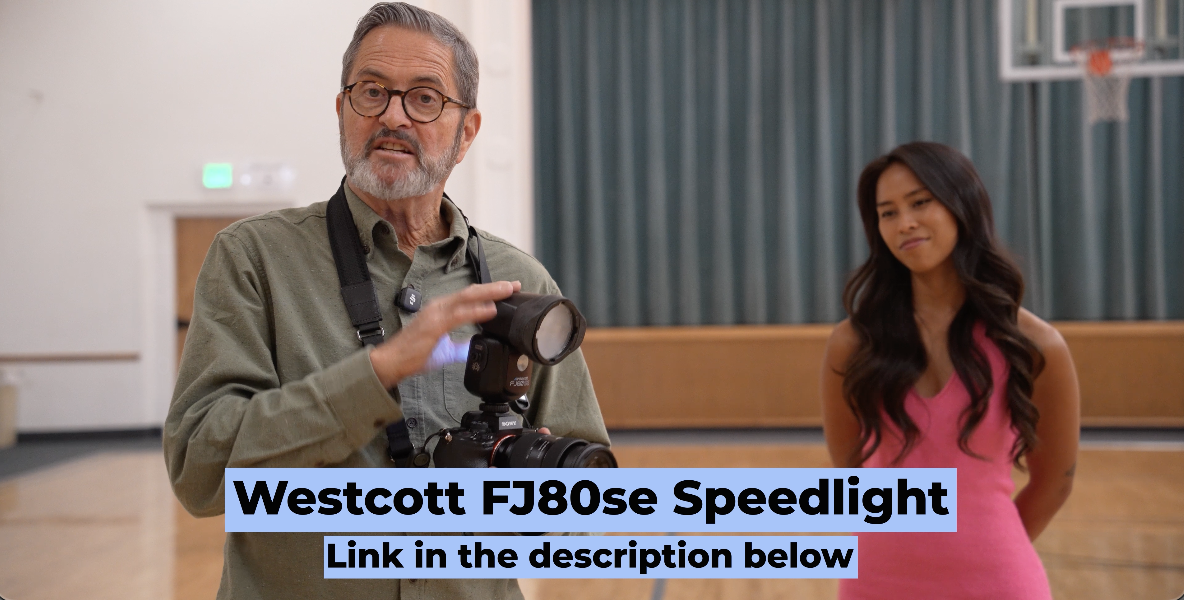
It just is an easy way to work and to learn how to do flash photography. So, but when you get that light, most people use it directional in the beginning. It’s just a flash directly at the subject matter. That’s an interesting look. It’s a gritty look. It’s an interesting kind of graffiti type look. And it really comes and goes as far as being in style and out of style all the time. But when you move into doing any kind of work where you’re going to shoot weddings, you’re going to shoot portraits, you’ve got to soften this light. 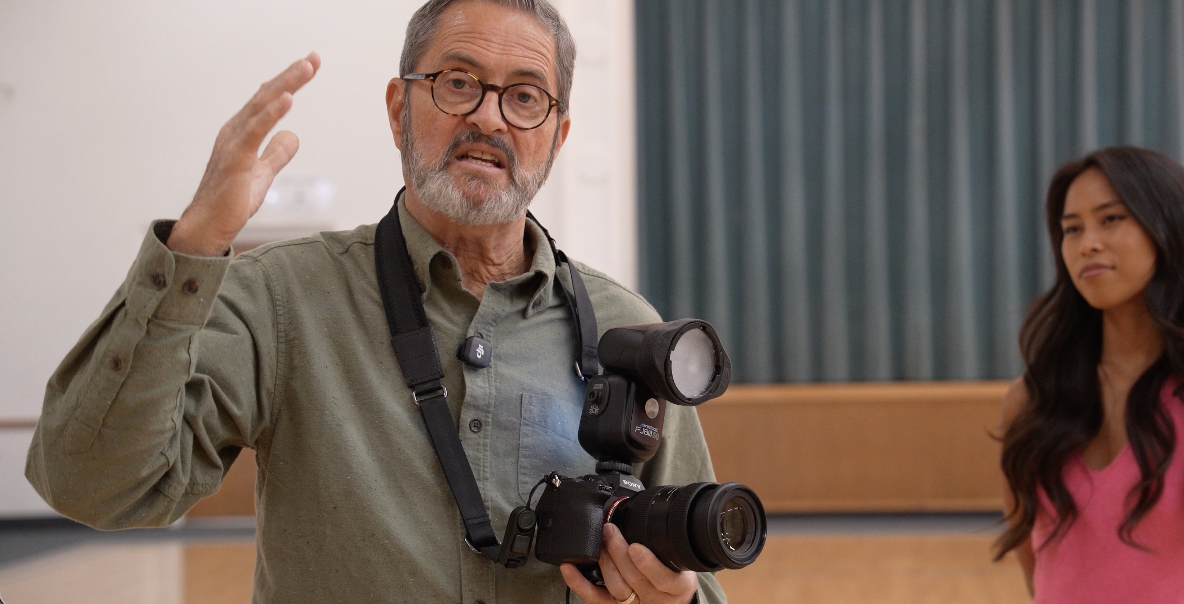 It’s just too directional. It’s too hard. And your images are not going to look very good. So, you need a softer light. You’re going to be in rooms, and that’s what we’re in right now, that have large, tall ceilings. Walls are far away. So, you cannot rely on bouncing the light off the ceiling, bouncing the light off the wall. You have to have a way to modify the speed light that is with you, that is on the speed light. So, we’re going to look at those options, options that are on the speed light that soften the light and give you a pretty light.
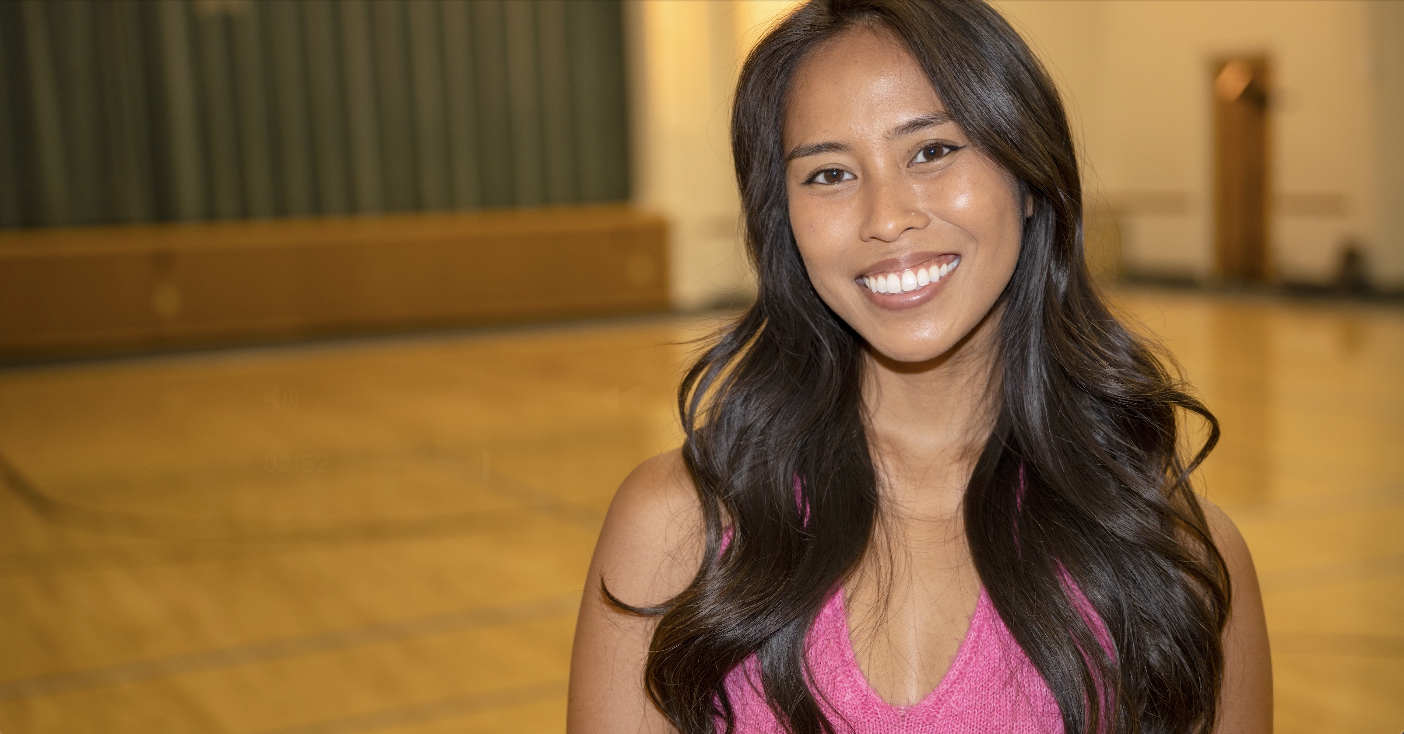
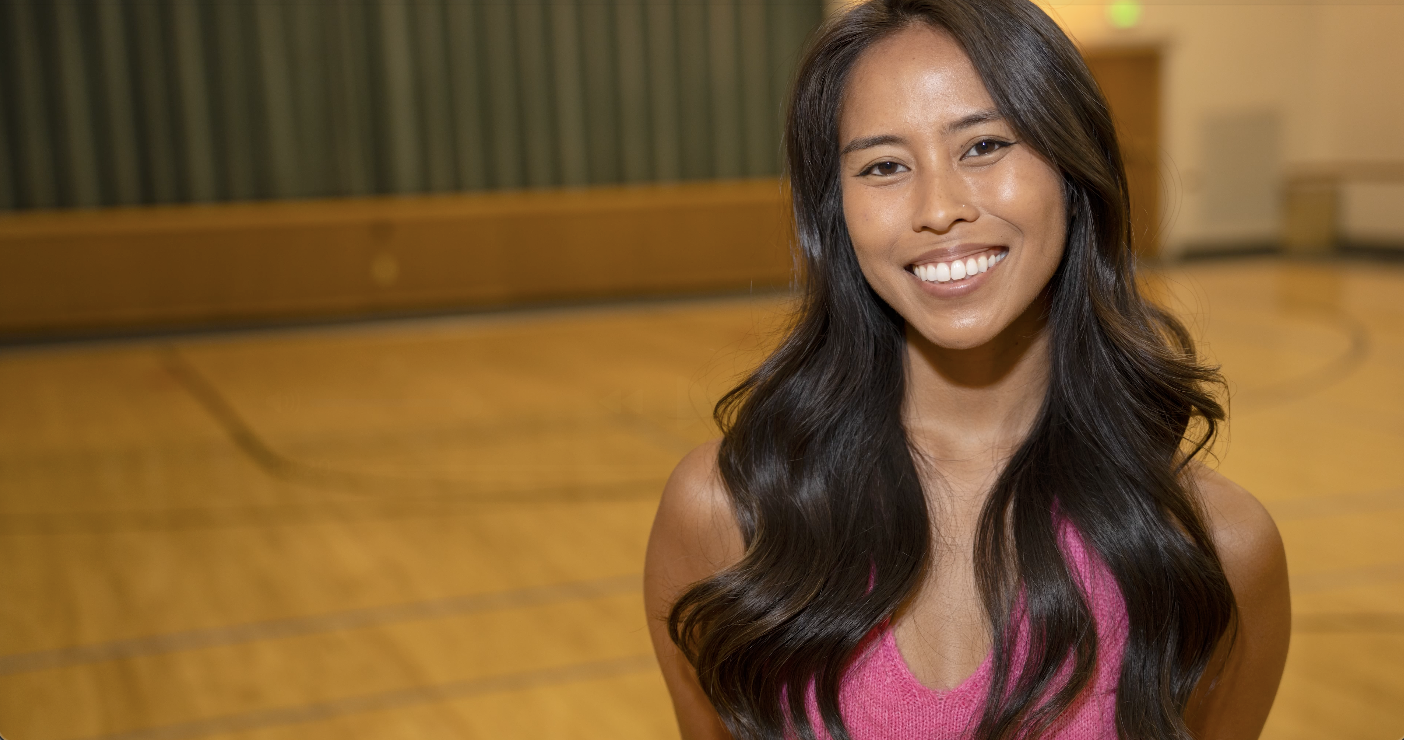
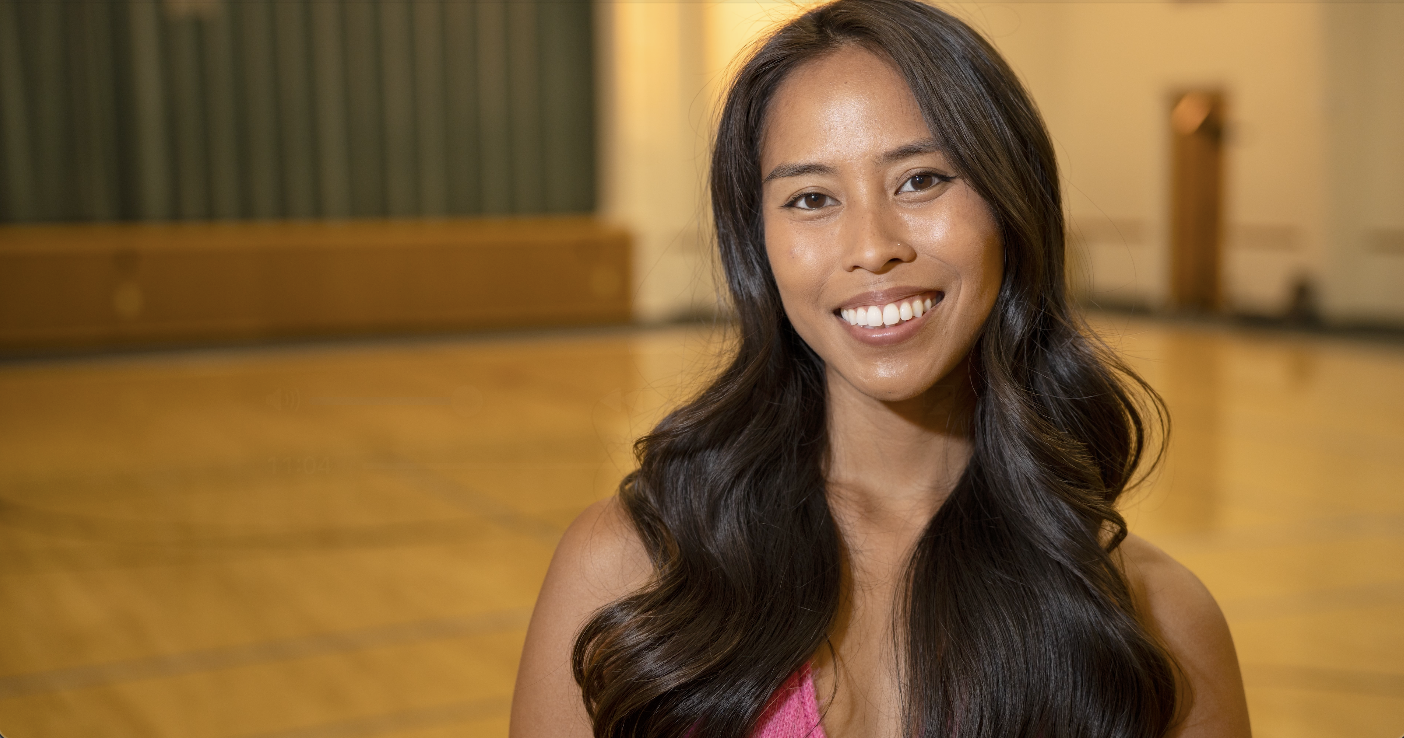
So, I’ve got Abigail here with me today. She’s going to help us look at different options you put on the speed light that are going to soften it. Let’s compare it and see which one you like best for what you’re doing. So, as we go into this though, one foundational principle we have to understand, and if you don’t understand how to shoot TTL, which is what we’re going to be doing on all these, you’ve got to go over to our lesson on TTL and really get a foundational understanding on how to shoot TTL.
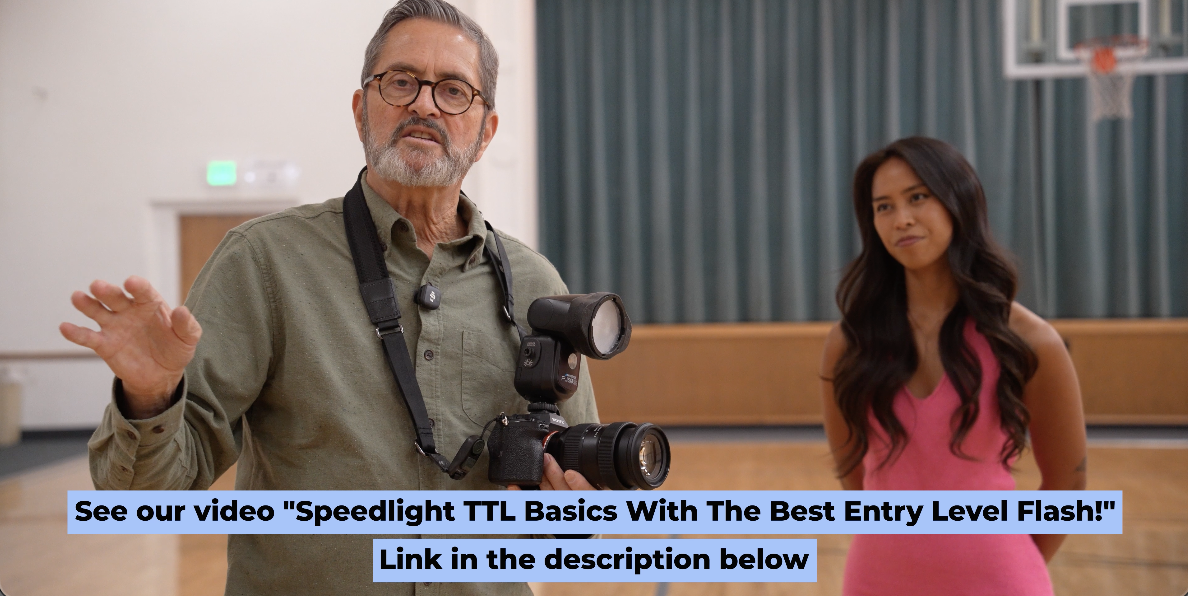
(Speedlight TTL Basics With The Best Entry Level Flash!)
But quickly, here’s the way we’re setting this up. I’m shooting on manual 1/60th of a second at f/2.8. 1/60th of a second at f/2.8 gives me enough room, ambient light that I see the room. Now Abigail is going to be completely dark in that room. Not going to be much light on her at all. 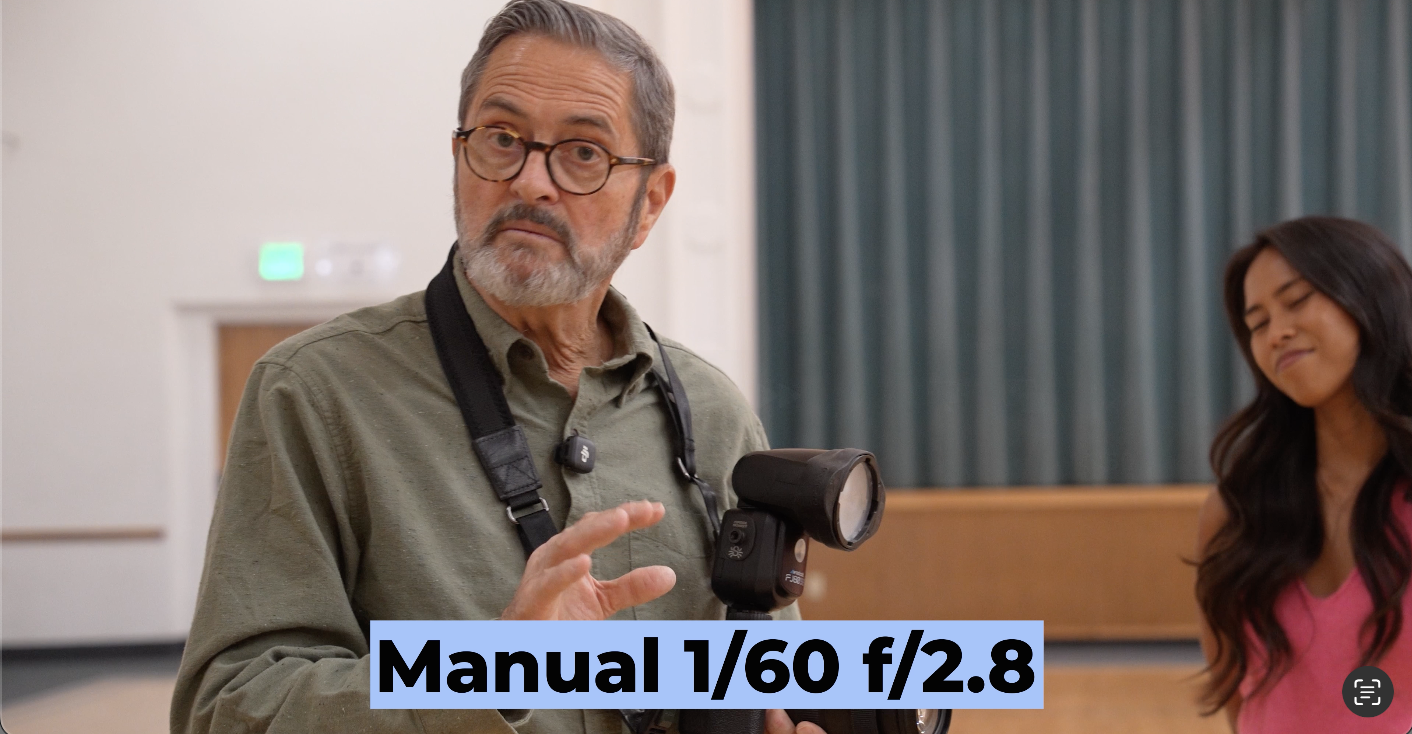 So now I add my flash on TTL and it’s going to give me just the right amount of light to light her face as it bounces that light back to the camera and the camera says, “Yes, there’s a perfect exposure.” If you don’t lay down that room exposure, she’s just going to be a lit figure on a dark background, which we want context. We want to see the room. We want to see her in that room, and then we want to soften the light that we put on her face.
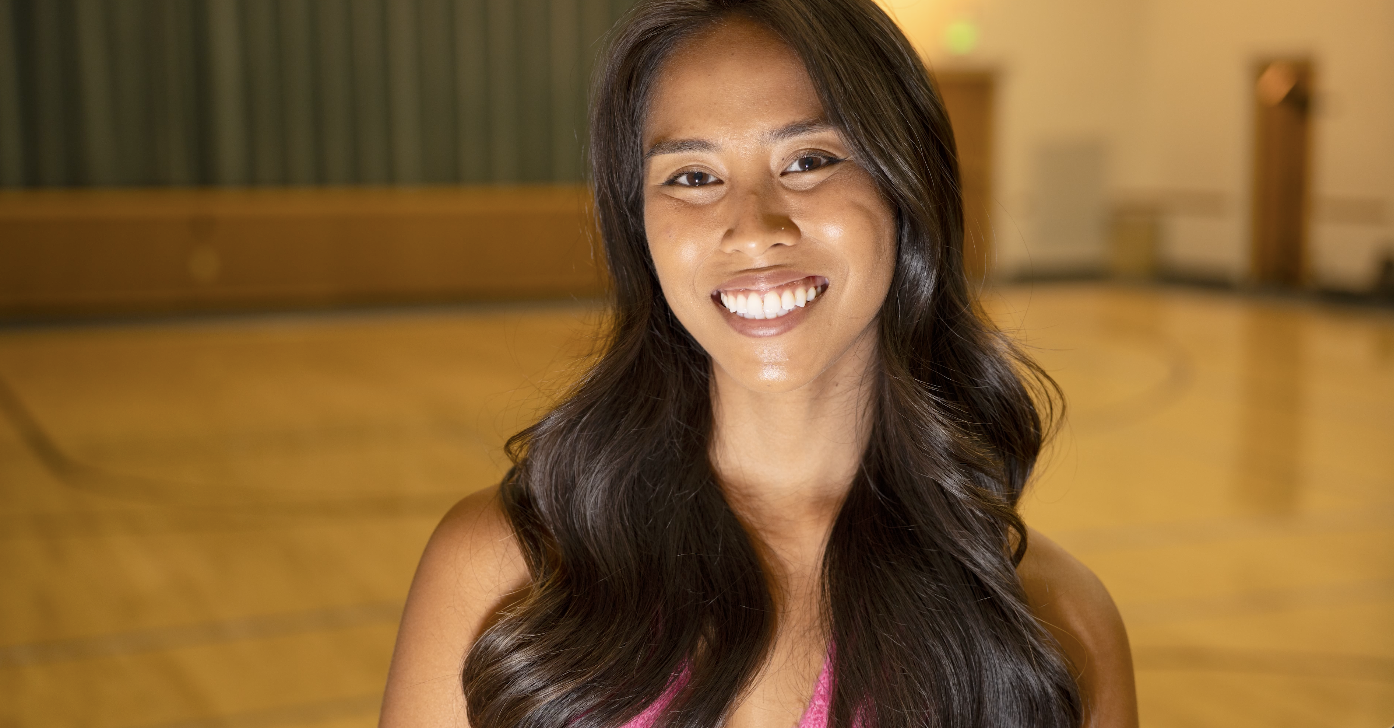
 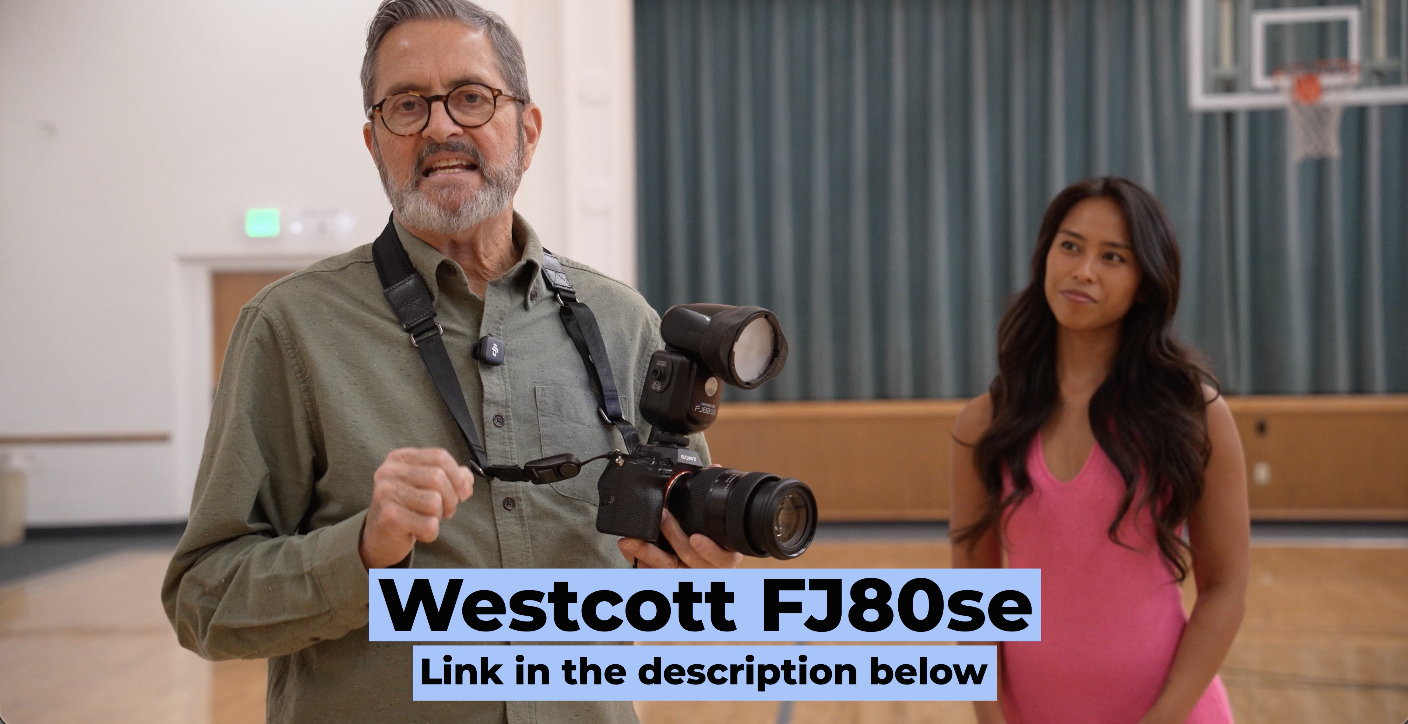 So, I’m using the Westcott FJ80-SE as our strobe light today. And I’m going to start off here by just shooting some direct flash shots here of Abigail. So, let’s get a couple of those shots so we can use that as a baseline to see what these modifiers look like. (So, looking right here for me, Abigail.)
All right. So, that’s just a really direct flash look. We’ve got enough kind of ambience in the room. We see into the room. Looks really nice. But that’s a very direct flash at her face. You can see that just in the highlight on her cheeks. You see it in the way the shadow drops below her chin. It’s a very direct flash. So, let’s move on to our next modifier. 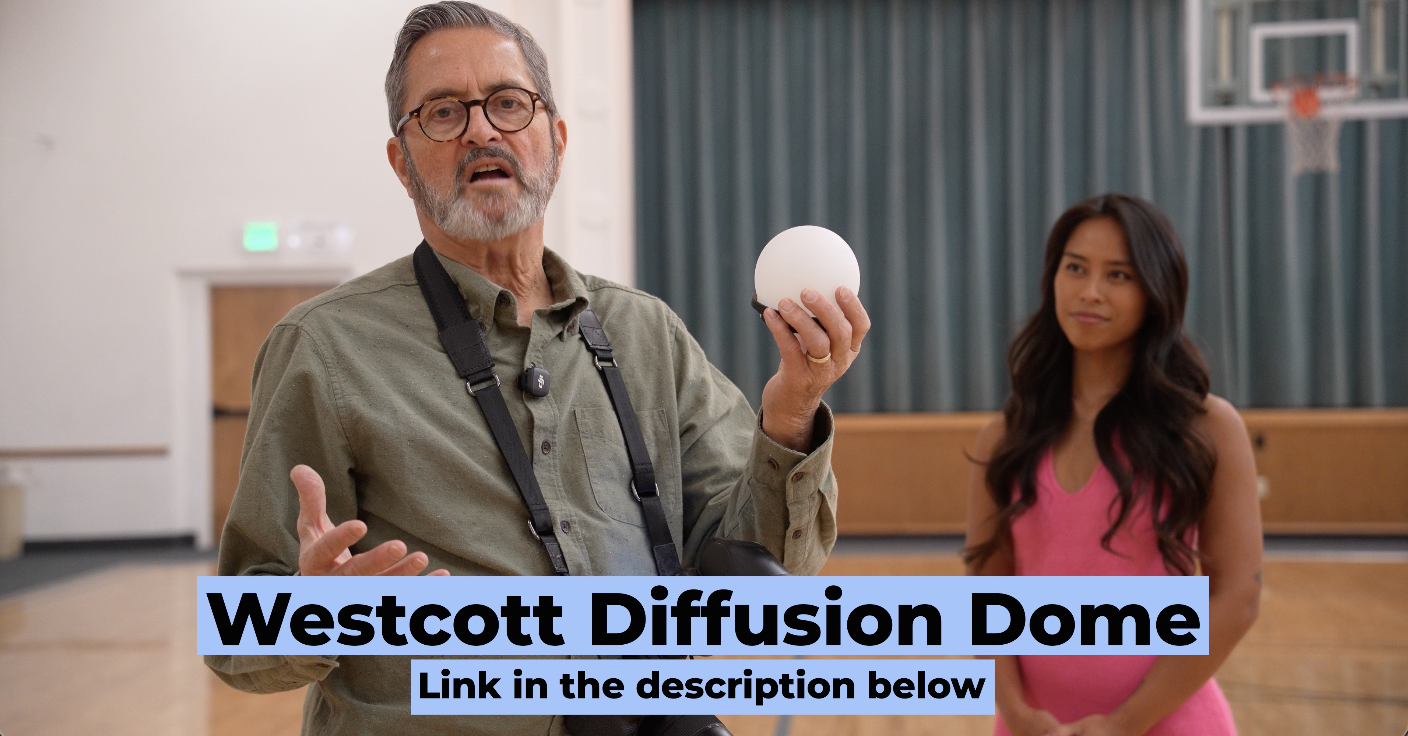 So, the first modifier we’re going to use is called a Diffusion Dome from Westcott. Very simple, very small, very compact. It comes very close to the flash head. It has a Bowen’s mount so you can just put it right directly onto the flash or the Bowen’s mount or it does have a magnet ring you can use on the flash. I’ve got a MagMod on here and the two magnets don’t like each other very much. So, we’re just going to put this on using the Bowen’s mount and that becomes just a very soft diffused dome. And we’re going to shoot right straight at Abigail’s face.
 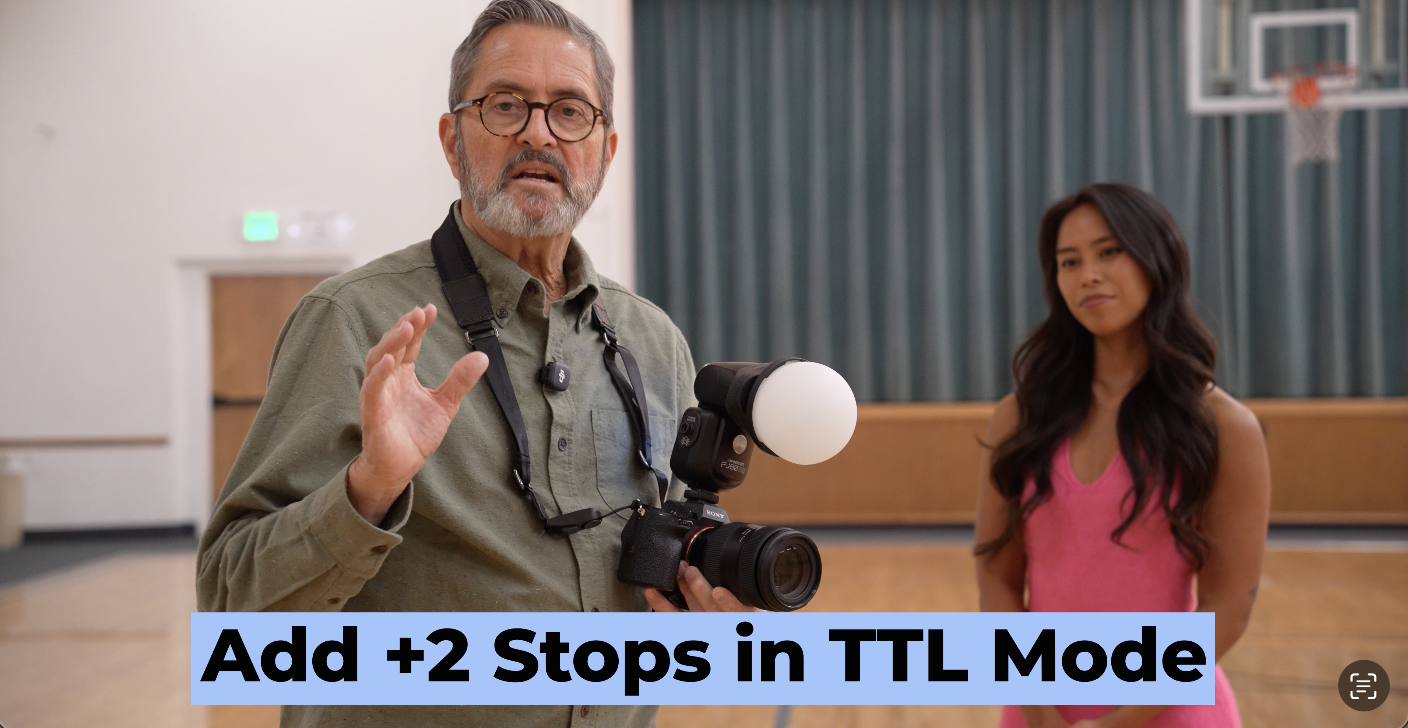 I’m going to bring, I’m going to come up. I know I’m going to lose at least a stop and a half, maybe two stops. I’m going to in TTL mode, I’m going to give myself plus two stops to get this to work right. So, let’s take a look here and see what we got.
So, that’s a really, it softens the light on her face. You can see that on her cheeks in the highlights, not quite so bright. But it’s still pretty directional. And I lost two stops. I had to go up two stops on the TTL. But I’m going to take this light and I’m going to put it up. 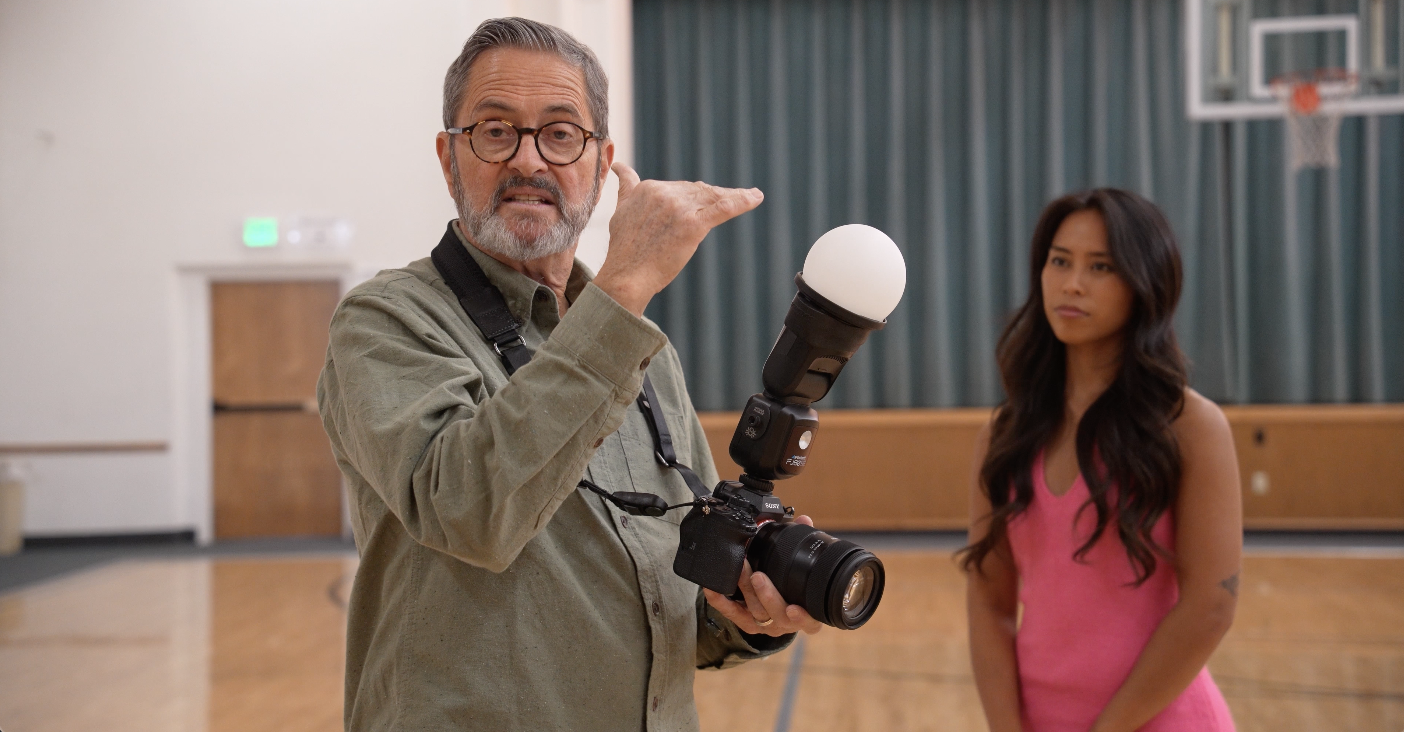 And I think this is going to be a little prettier. It’s going to get it up higher above the lens. And it’s going to give me just a little softer light. Let’s see what that light looks underneath her chin. What that shadow looks like under her chin. So, let’s take a couple more shots right there.
So, the shadow does get larger under the chin, a little lower, but it’s just much softer on her face. It’s much prettier. I think the Diffusion Dome when you point it up just gives you a beautiful soft light. I think it’s a great way to use this as a modifier.  The nice thing about this is that it is very small and so you don’t have a large thing here that you’re dealing with. It’s small and compact.
 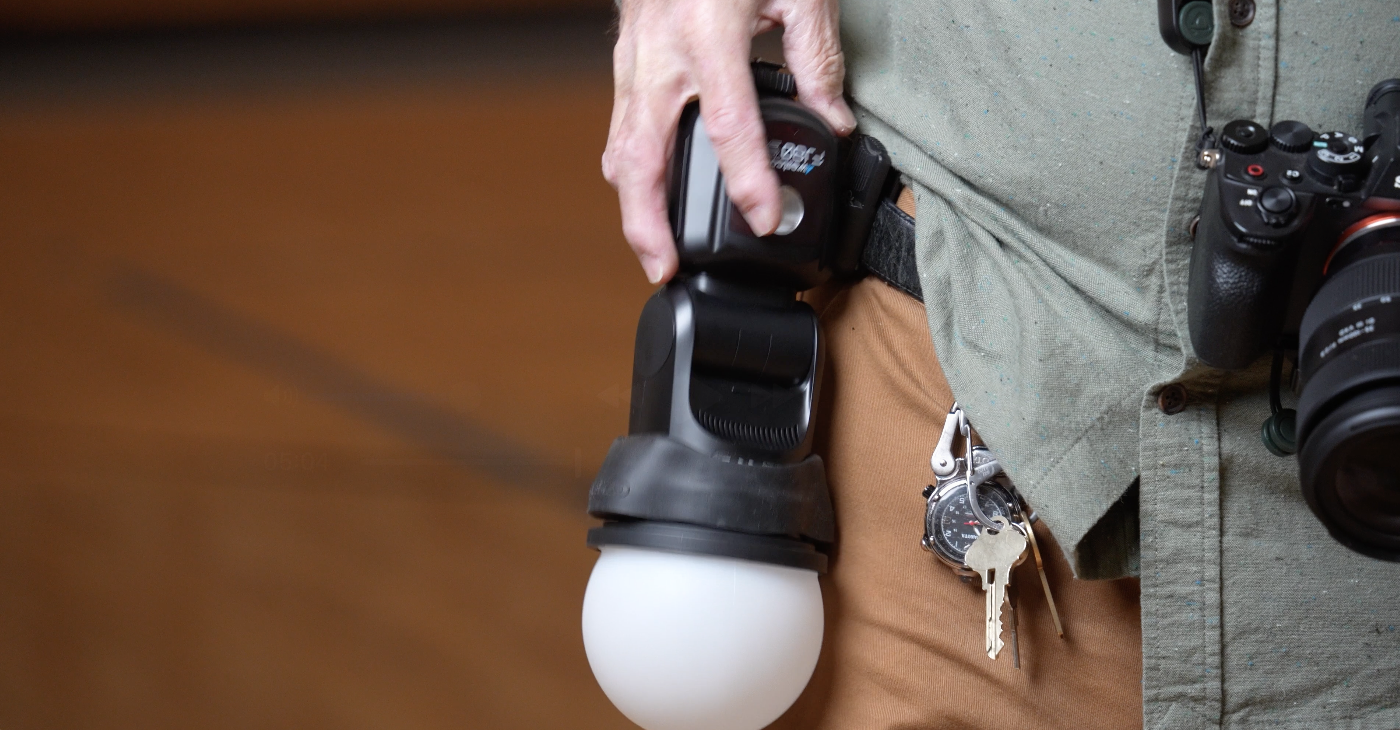 If you’re going to take your speed light off from the camera, this is an easy modifier to use because it’s small, sits on your hip, it’s very easy to use. So, I think the speed diffusion dome from Westcott is pretty simple and very pretty light.
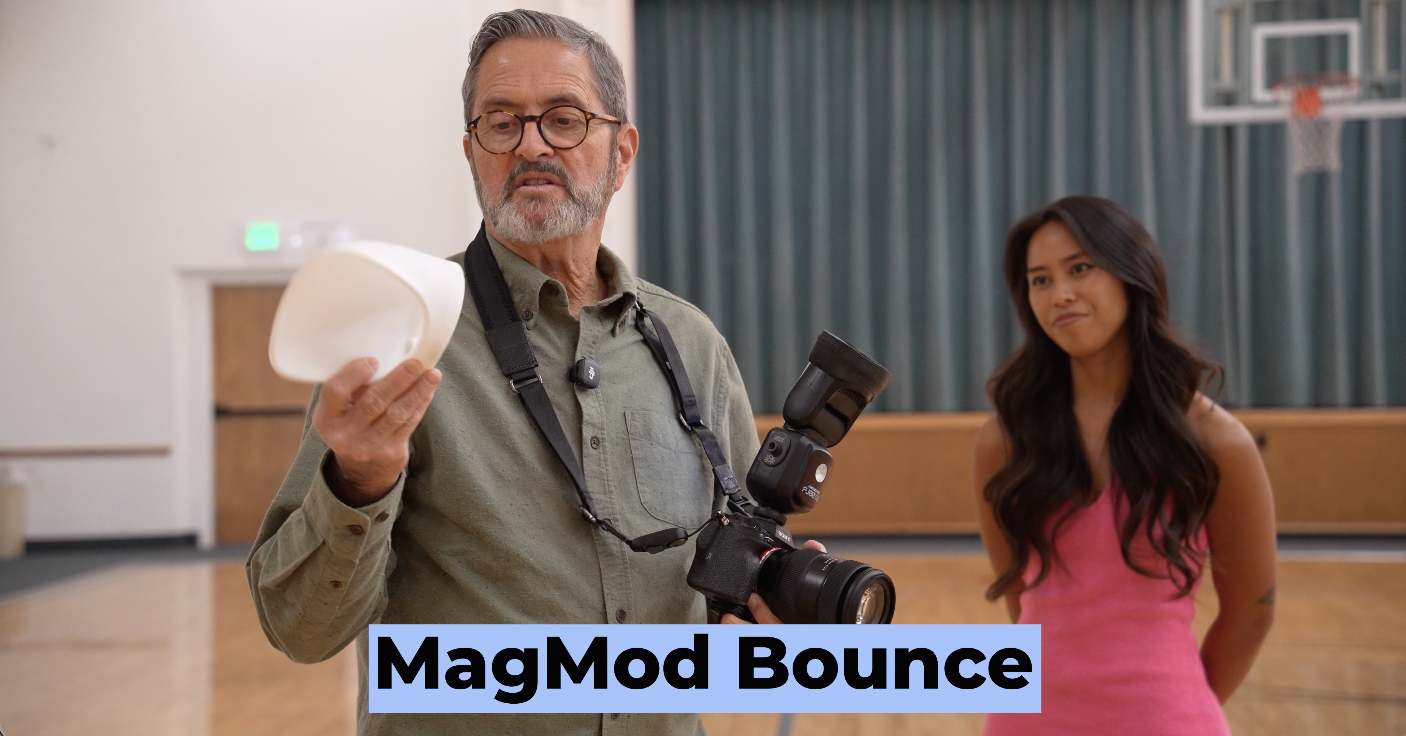
The next modifier we’re going to use is a MagMod Bounce. Now, this is set up with a neoprene ring that you put on your flash and it has a magnet in it. So, this will just pop right on the magnet. So, that makes this very easy to come off and on. So, it’s easy to take this.  It’s neoprene. This is really soft neoprene. You can put this in your pocket. That’s going to keep its shape and it just snaps right back on. So, this is really easy to use.
 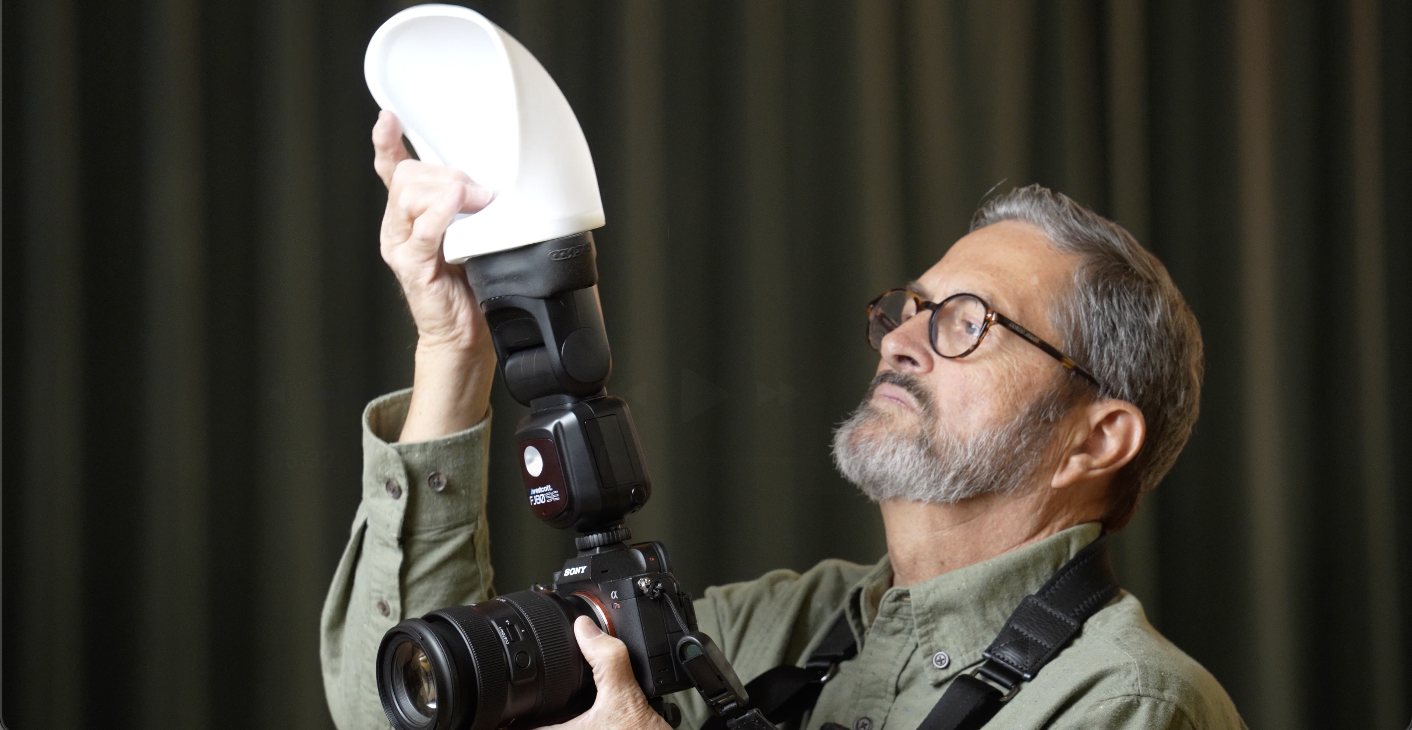 It’s built around the principle that it’s going to bounce up into this and then bounce onto our subject. So, let’s take a couple of shots with that MagMod diffuser and see what it looks like.
 So, that MagMod, it’s a soft light. It really is pretty. It looks very similar to the diffusion dome to me. It’s really hard to see the difference in those, especially the diffusion dome when we point it straight up. But it is interesting. I’m going to do something to it that I think is going to help it a little bit.
 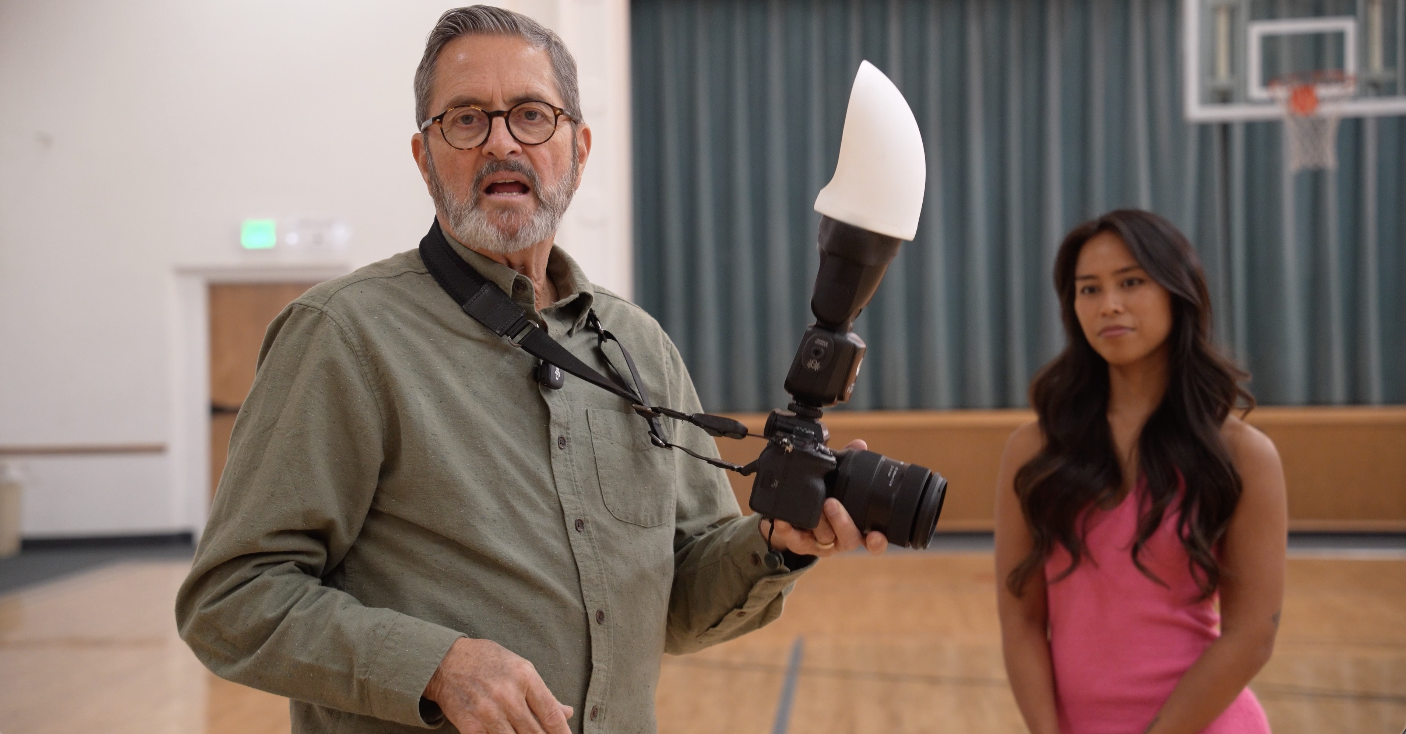 I’m going to turn it around and I’m going to let it bounce through the back of this. I don’t think this is the way they’re meant to be used, but I think this is going to give us a softer light through the front of this. It’s not going to be as directional and it’s going to soften it up a little bit. So, I’m going to do a couple more shots here with that turned around backwards. There we go.
Obviously, the first thing it did was the exposure came down just a little bit, but the light’s just a little softer on the face, I think. So it’s an interesting look. They’re very similar. You take a look at those two next to each other and see which one you like.
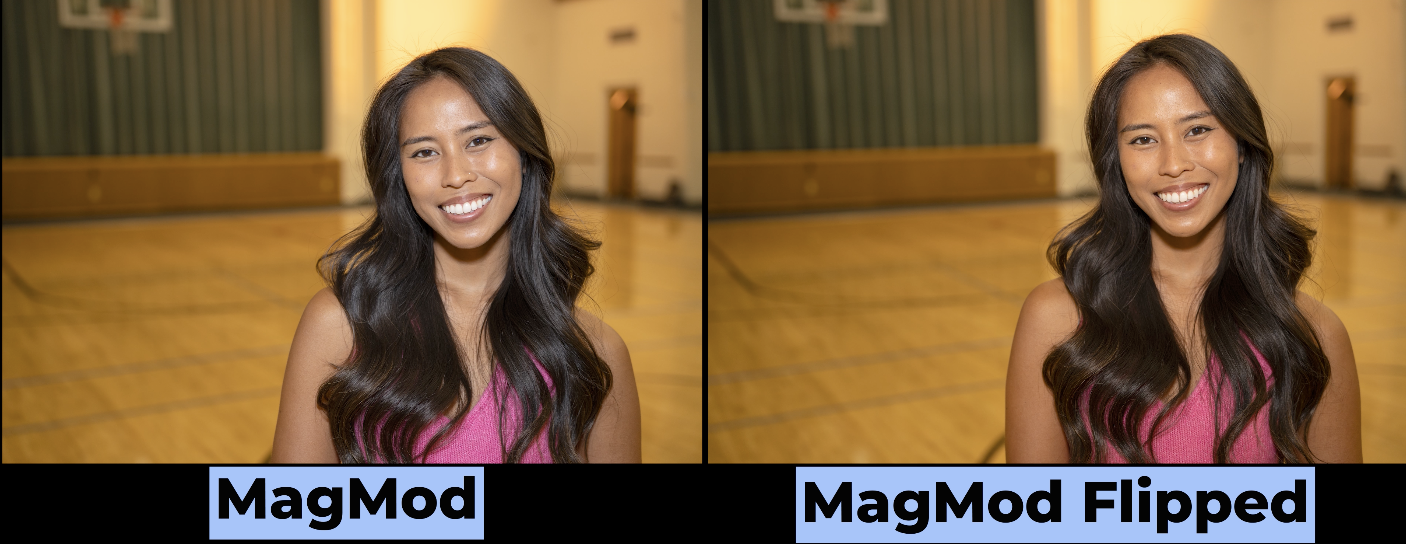
So, here’s a Diffusion Dome when I aim this strobe straight up compared to that MagMod diffuser when I turn it around backwards and when I shoot straight through it. Which one of those do you like?

So, there’s a look at the MagMod diffuser.
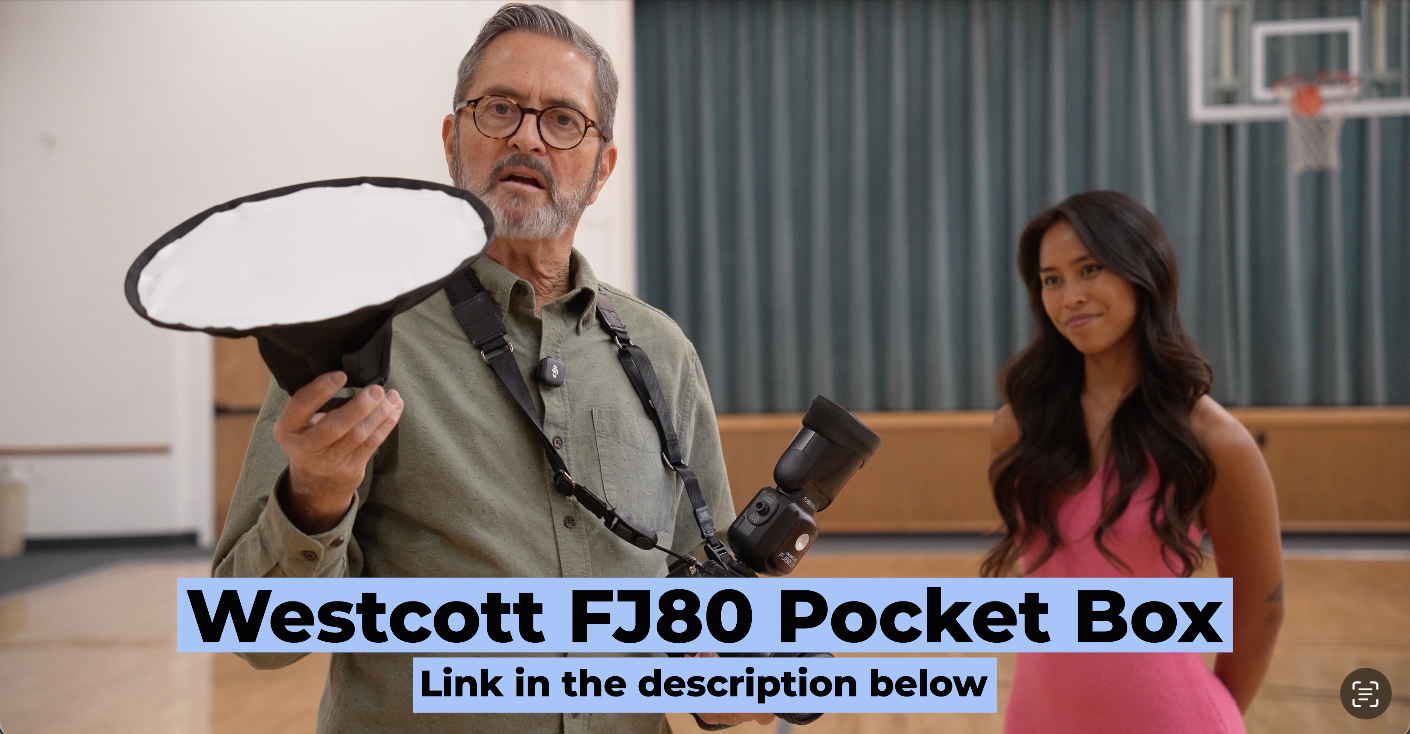
Our next modifier is an FJ80 Pocket Box from Westcott. It’s a small little circular box. It’s got a Bowen’s mount, so it’s going to go straight onto our Bowen’s mount ring there. 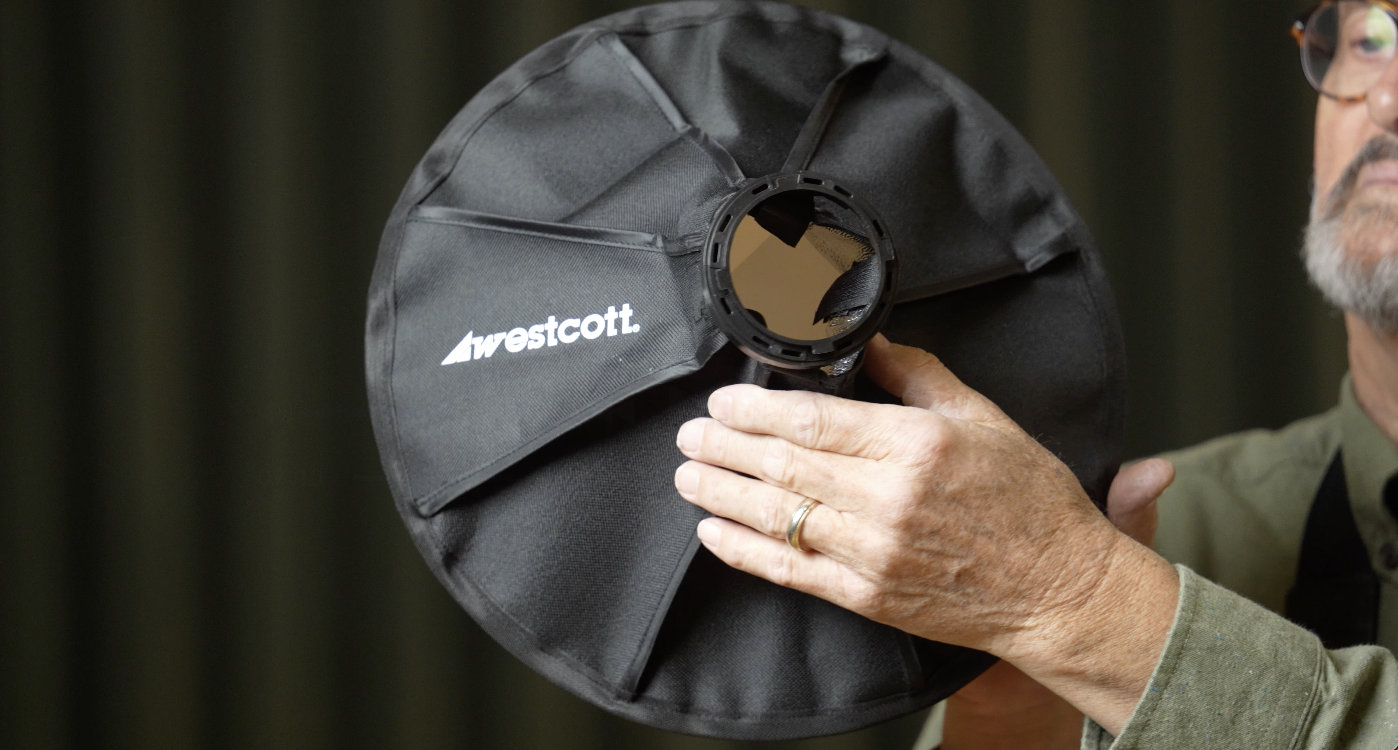 We’re not going to shoot this straight up. We’re going to tilt this down so it looks right at Abigail here. So, this is going to be more like a beauty light, like a beauty dish.
 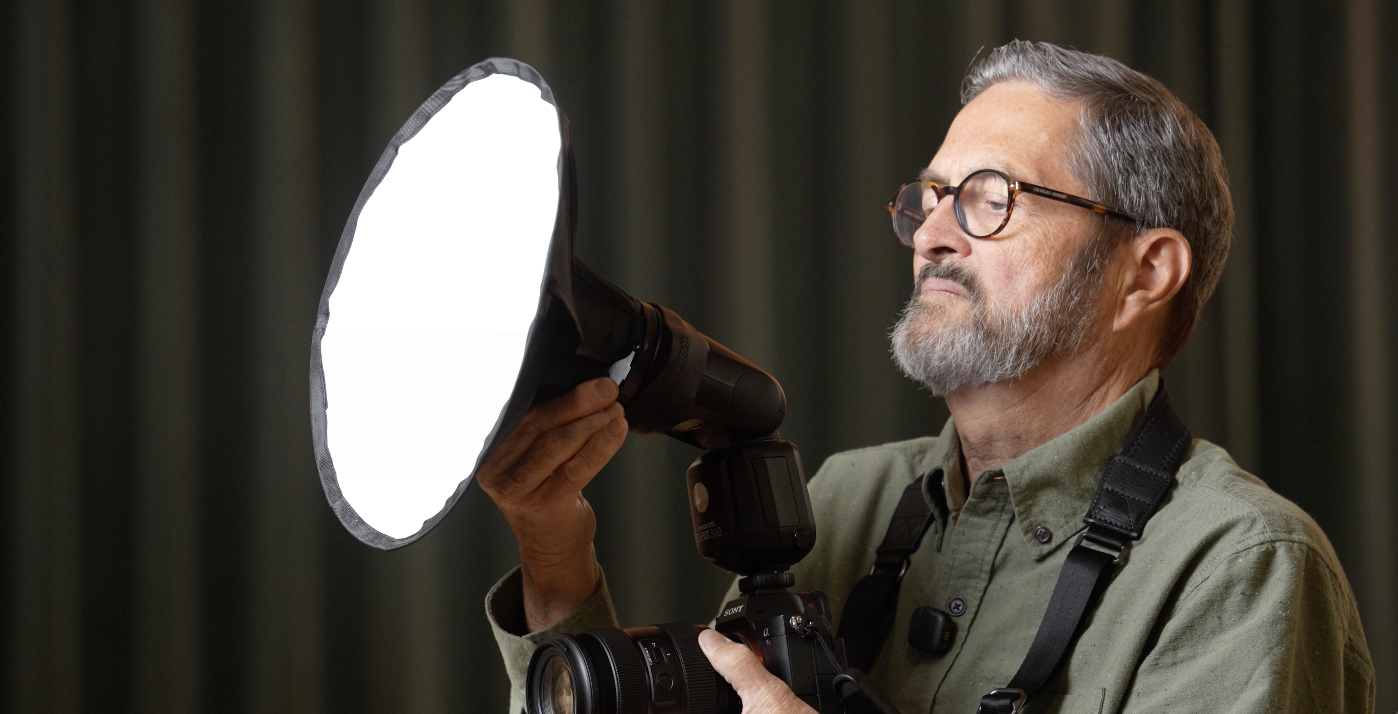 It’s going to be a little rounder source, but it’s going to be straight at her face with just that soft box in front of it. So, let’s take a look at a couple of those.
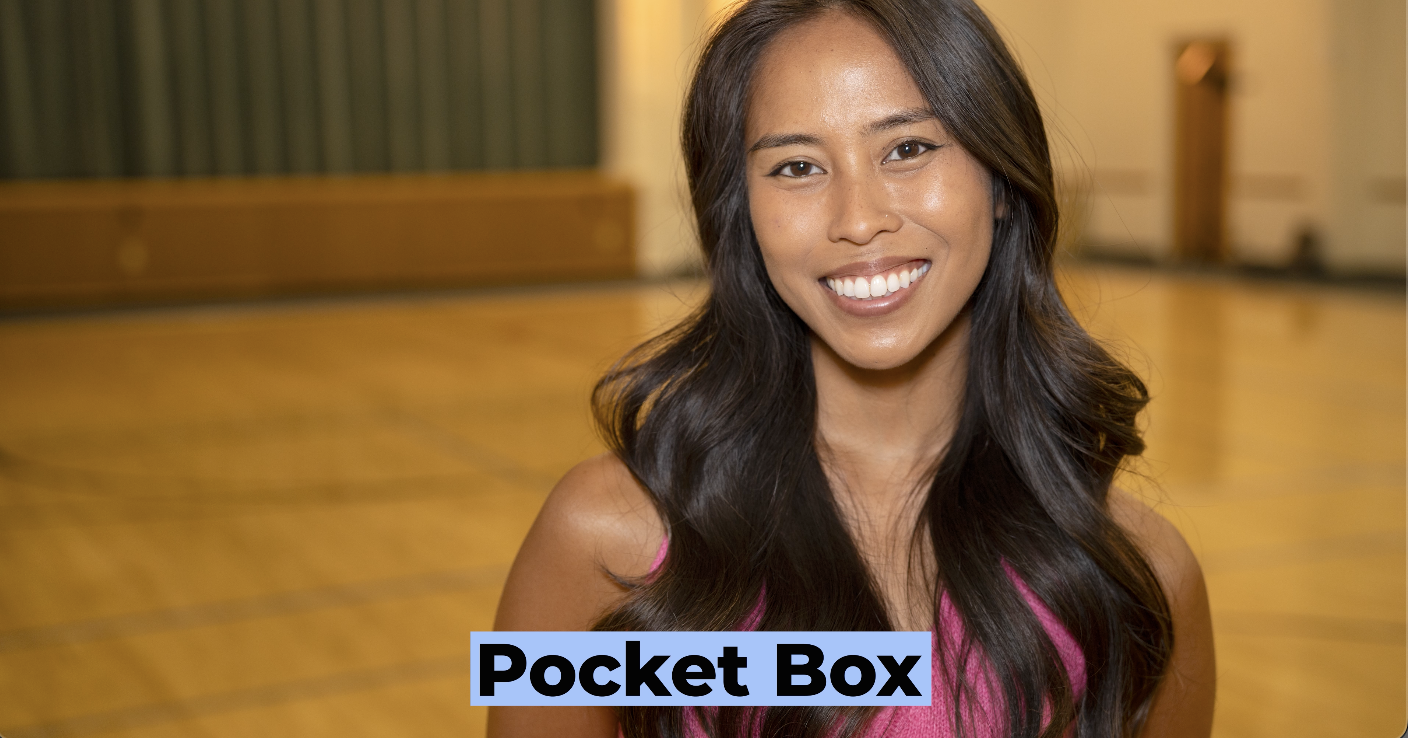
So, there’s the Pocket Box direct on her face. It’s a very soft, very beautiful light. But, let’s take a look at that compared to the MagMod. 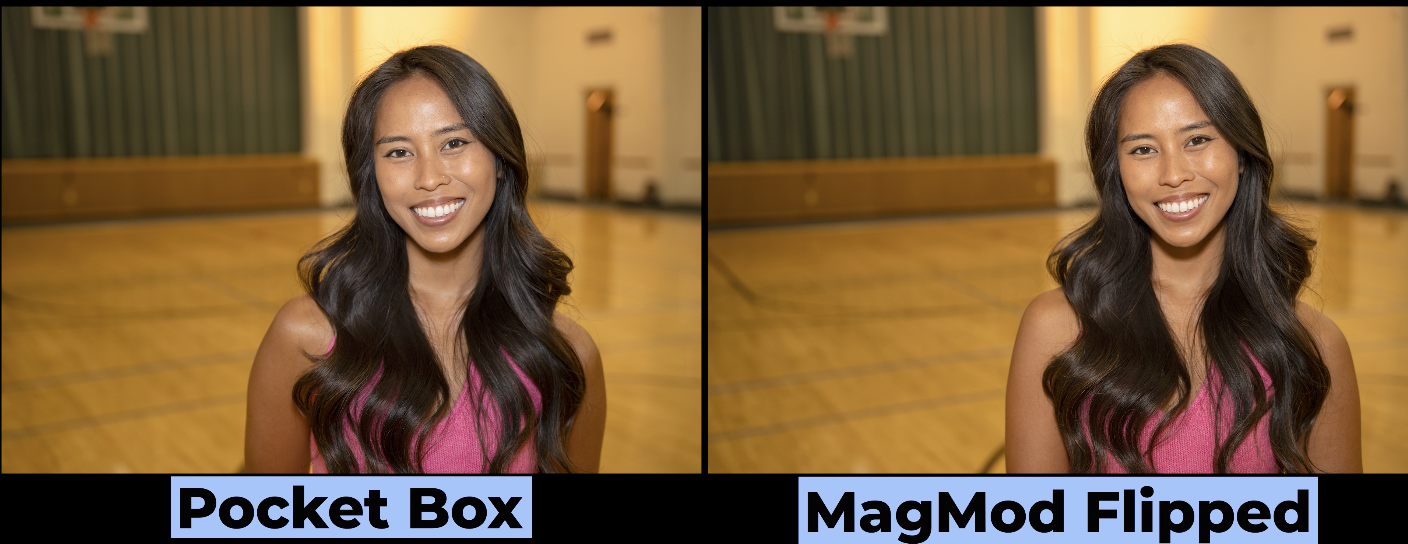 Let’s put those side by side and see which one we like. Now, let’s add in the dome, the diffusion dome. Look at those three side by side.
 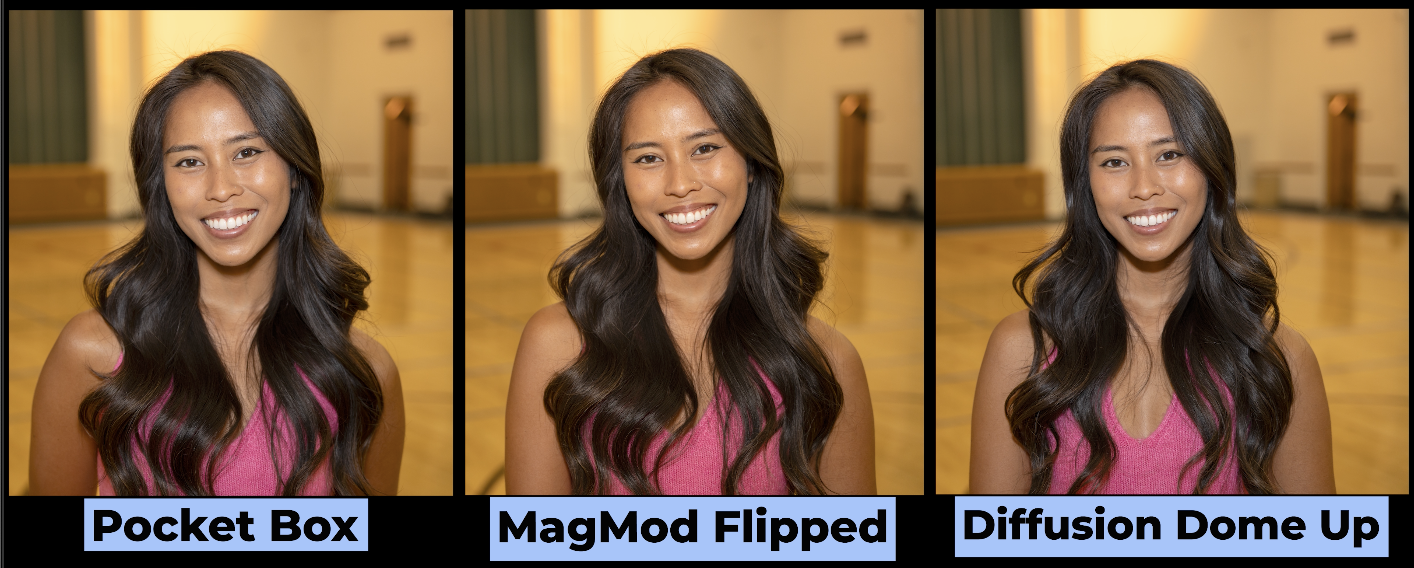 Which one of those do you like? This becomes a matter now also of not just which one do you like, but which one’s going to work into your workflow the best. Which is going to be the easiest for you to carry, to put on, to use. And that becomes a part of the decision you’re going to make.
 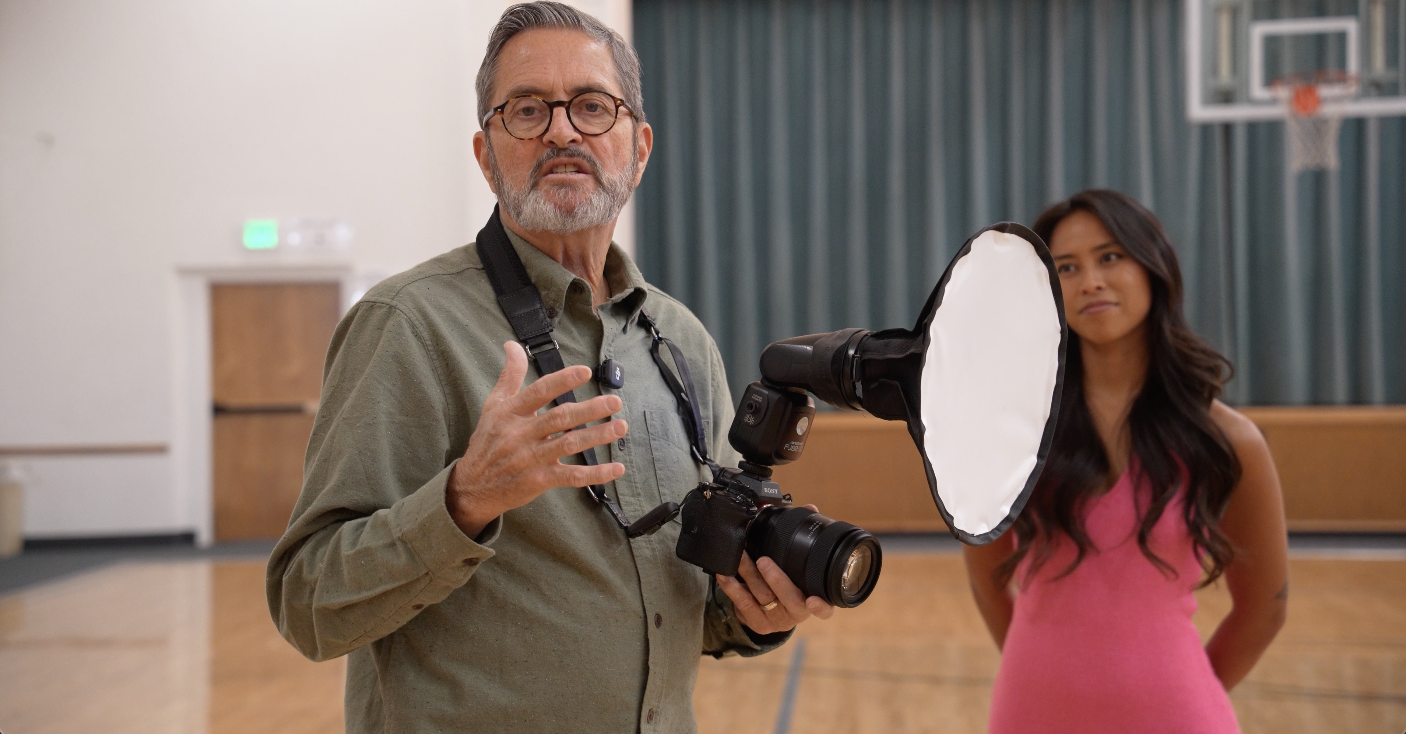 Sometimes you make some slight kind of compromises because you want it to be quick and easy and have it be just a more seamless part of your workflow. So, this is a larger modifier, which means it is not going to be as easy and as quick as those other two, but just a beautiful light.
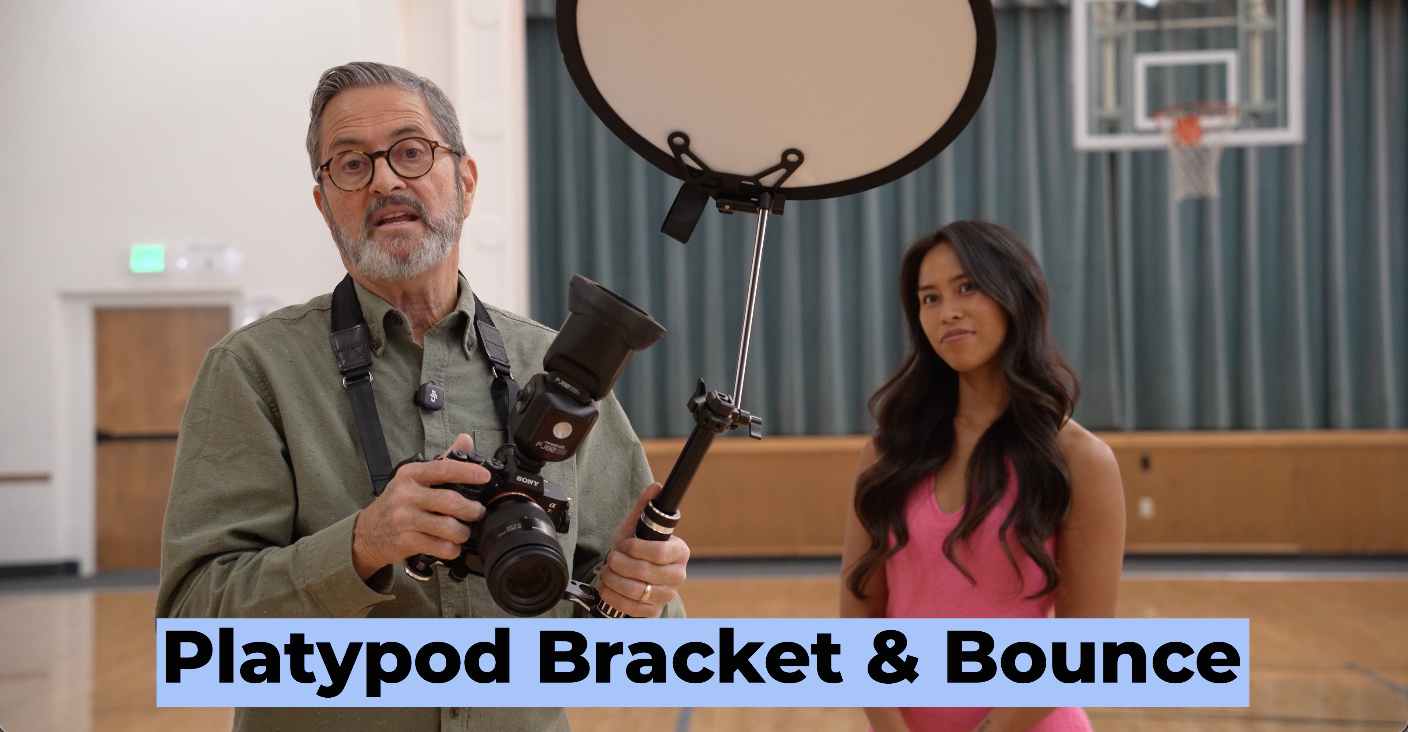
So, our next modifier is actually a Kickstarter that’s out right now from Platypod. It’s called the Platypod Bracket and Bounce. This is built on the principle that you can put anything you want here. This is a small little reflector. You can put a piece of foam core, cut a piece of hard form foam core on there, and now this becomes a bounce. When you’re in the middle of a room like this where you just don’t have walls or anything, this just gives you a bigger surface to bounce this off from. So, let’s take a look at this as we shoot here, Abigail. All right. Looking right here, Abigail on the right. There we go. Yep.
I mean, that’s a really pretty light. You’re getting a bounce out of a bigger surface. It’s wrapping a little more. It wraps underneath the chin a little bit. So, that chin shadow under the chin is not as heavy. I mean, it’s just a very pretty light. You could do a lot of different things with this.  This bracket’s made so you could turn this around and you could shoot through it if you had a translucent. You could push this bracket around front and shoot straight through it. You can do a lot of different things because this bracket is really made so that you can position this anywhere that you want to. And you can use it however you would like to, to be able to bounce your light.
  So, it really is made to set up for whatever you’re doing. Even though it’s a very pretty light, the disadvantage is just the size. It’s a little larger.
 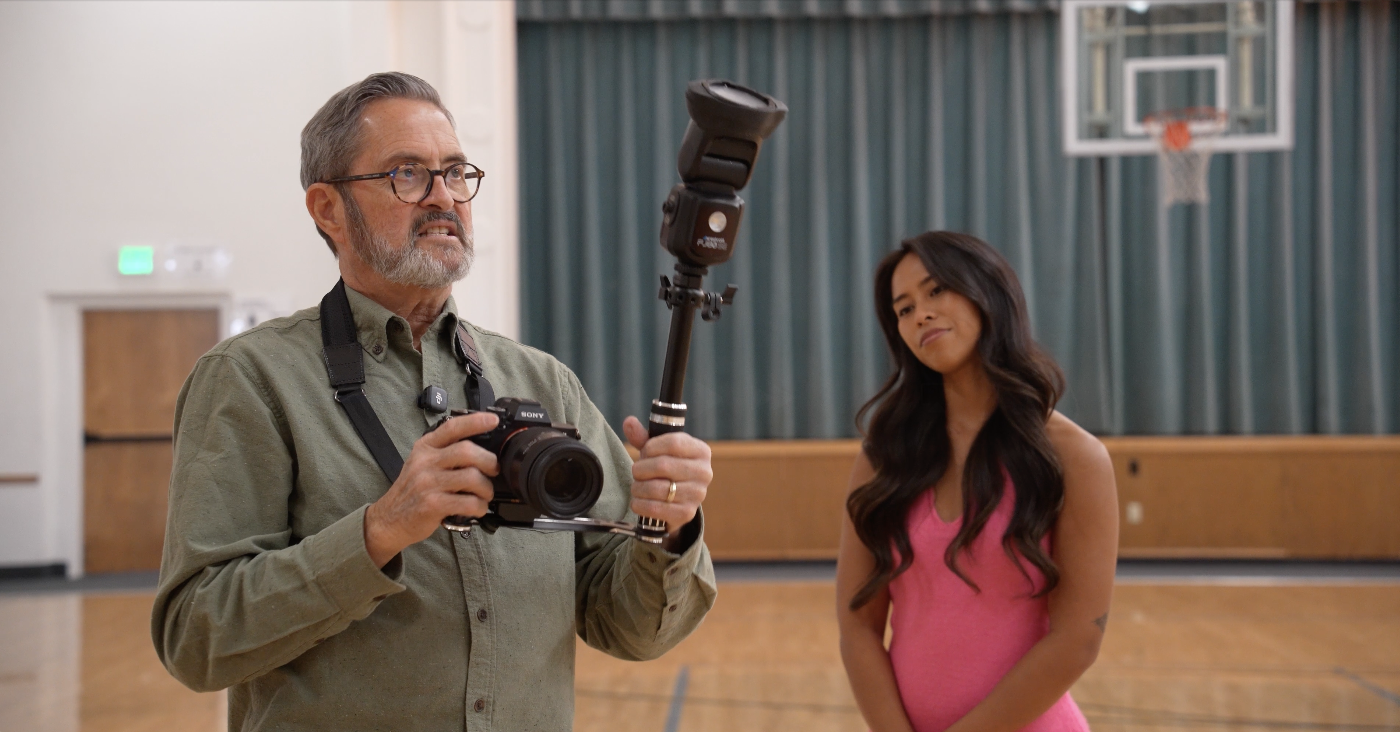 But one thing I do love about this bracket is that if I take this off, I can now take my strobe. I put a little on the top of this. I put a quick release from Kondor. And I can now get this up off and to the side.
 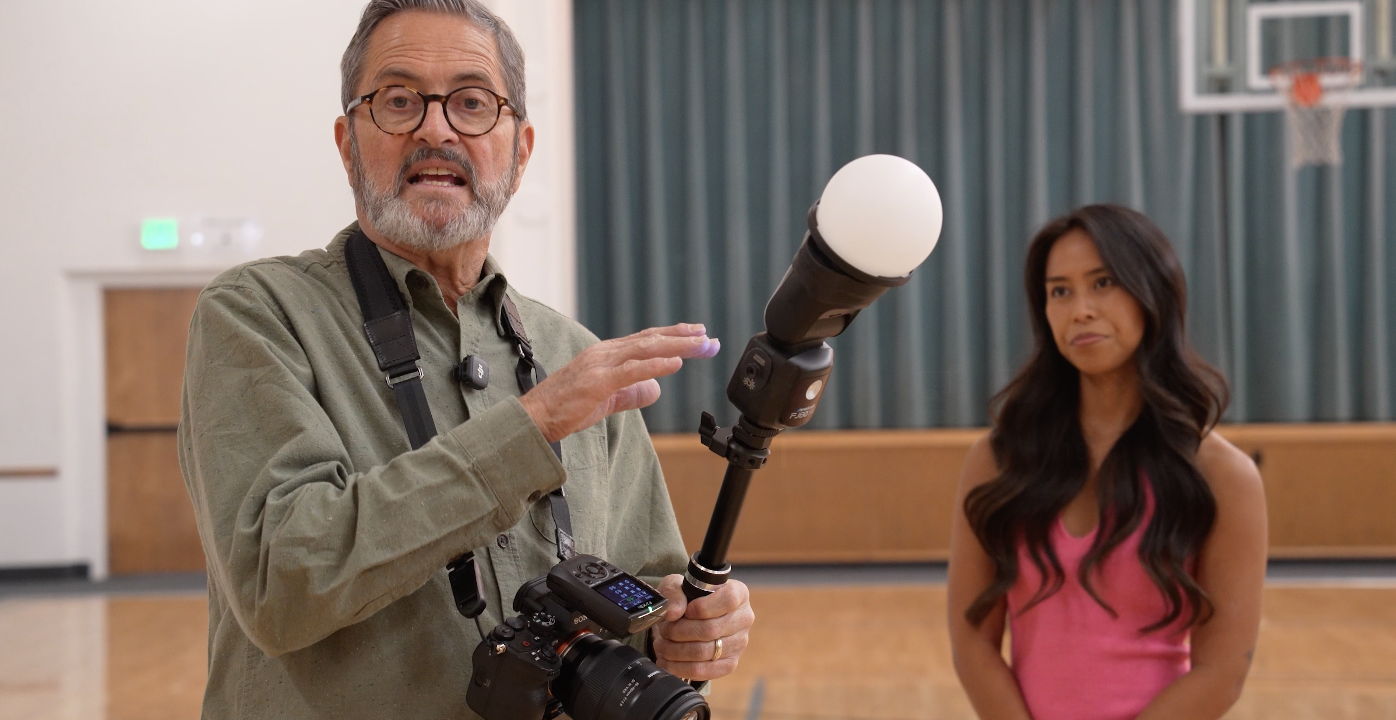 So, I put the FJ80-SE into client mode, which allows me to get it off from the hot shoe.
 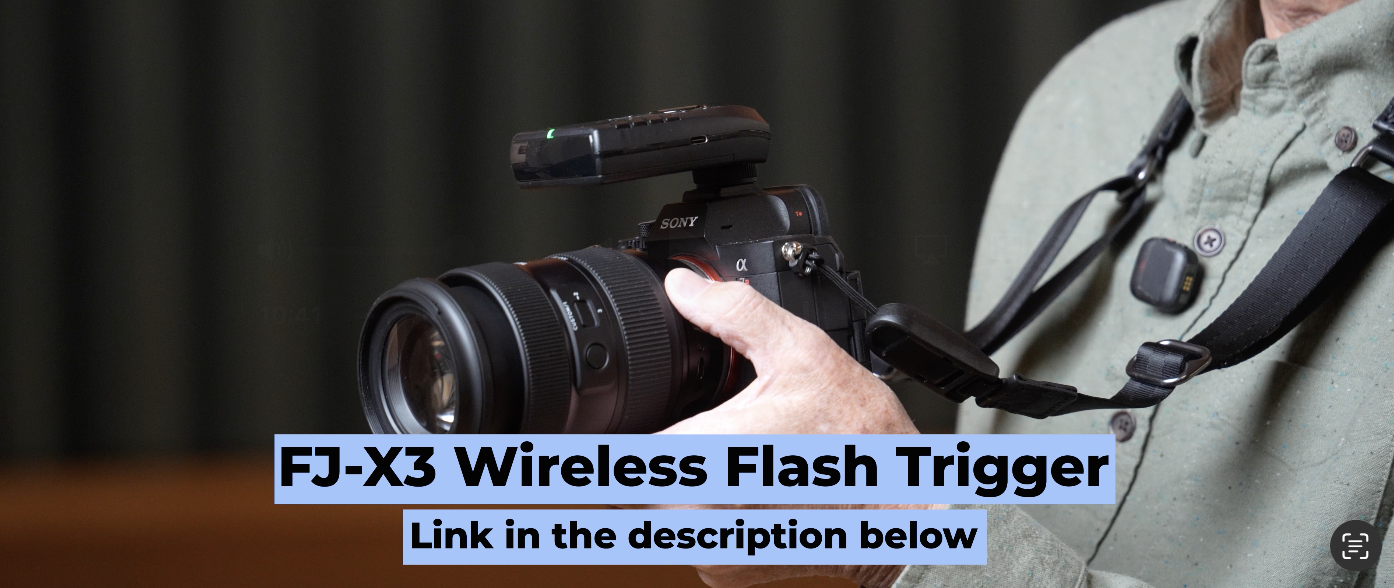 I can now use a trigger when I get it up high like this, off to the side. I take an image. Let’s take a couple of those.
It gets it up higher and it starts to get it into a really pretty paramount or a butterfly light. We see that little shadow under the nose. The cheeks start to come in. It’s just a really pretty position to get that light up and away from the camera just a little bit. So, this comes to event photography or even wedding photography. 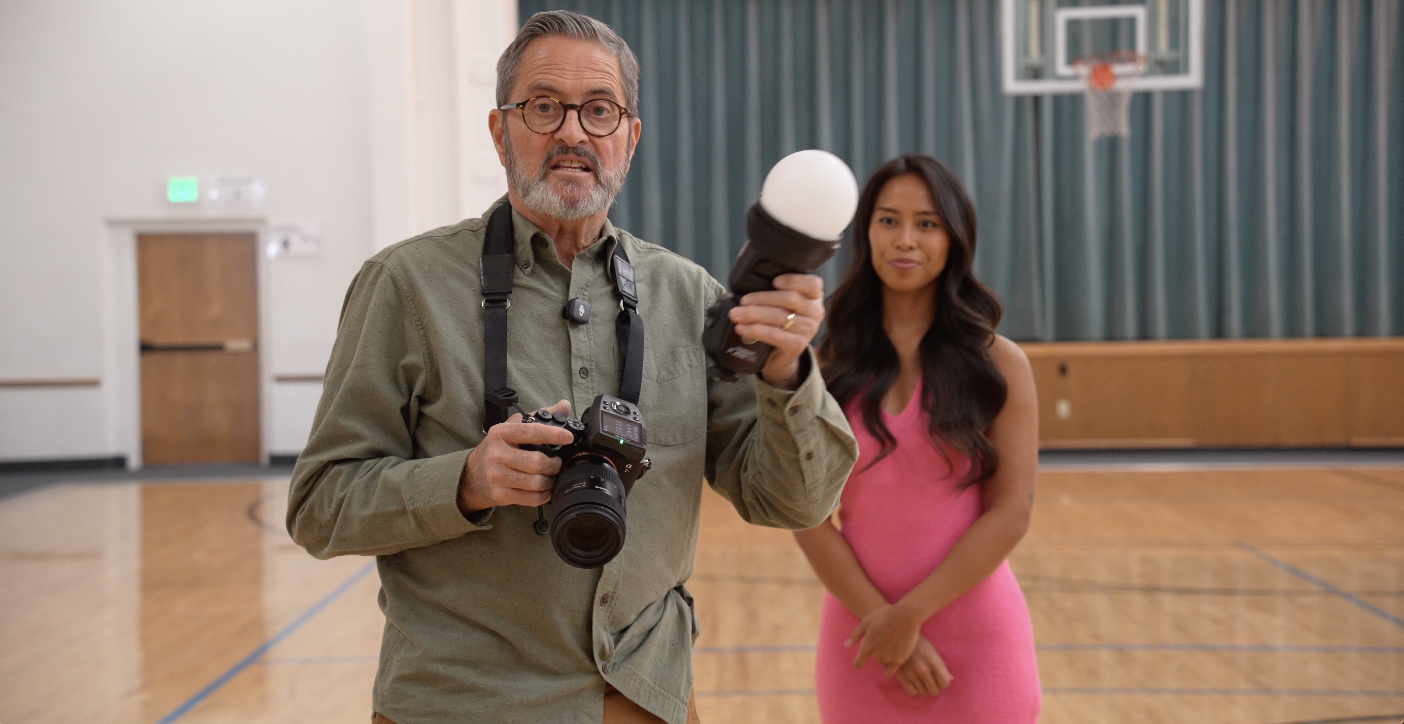 I love this setup. I’ve got a trigger on the camera. I’ve got the strobe in client mode. This now, I can take this FJ80-SE and I can put it anywhere. I want it in my hand. I can just shoot quickly.
  I can go straight from over the camera. There we go. I can come to the side and give myself a little side shadow. I can put this anywhere I want.
But what’s the disadvantage of this? Well, I’ve got this thing in my hand. And what do I do with it? I’ve either got to carry a bag to put it in. Then I got to dig it out of the bag. 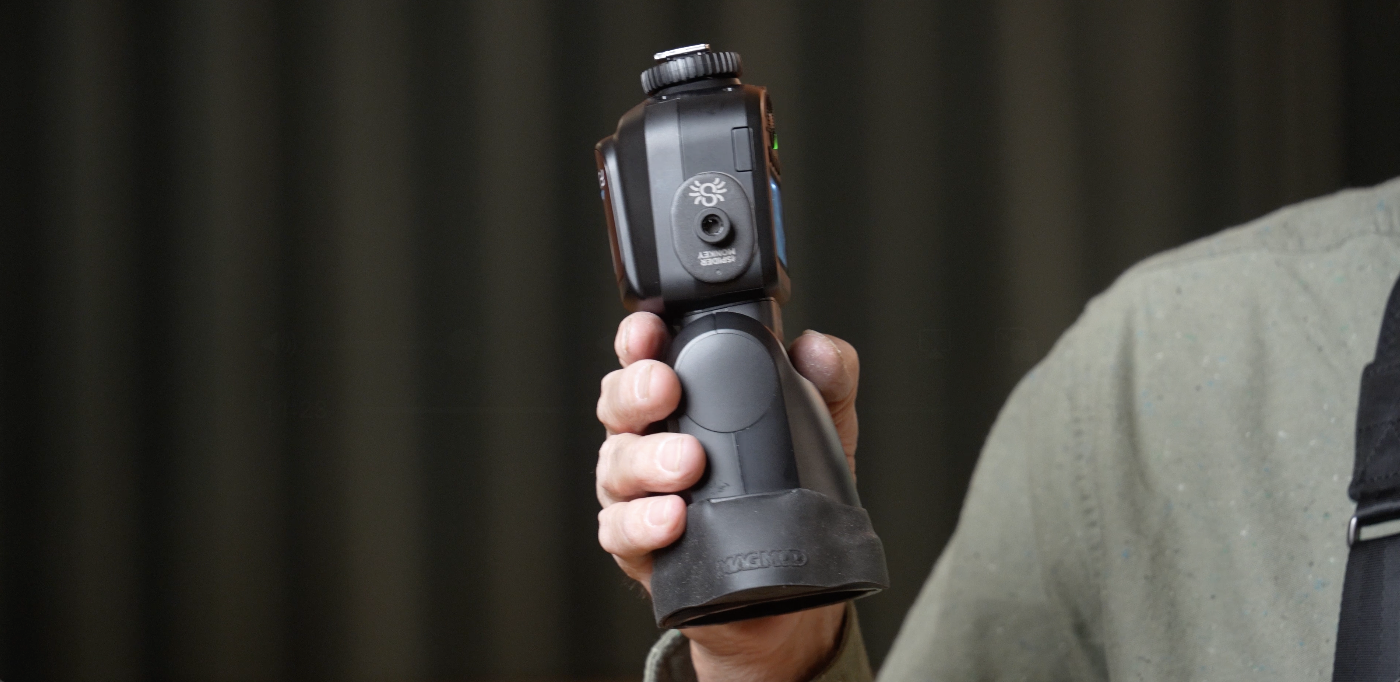 I’m using a Spider Holster. It’s a little Spider Monkey Clip. This Spider Monkey Clip just goes on to my belt and clips into place.
 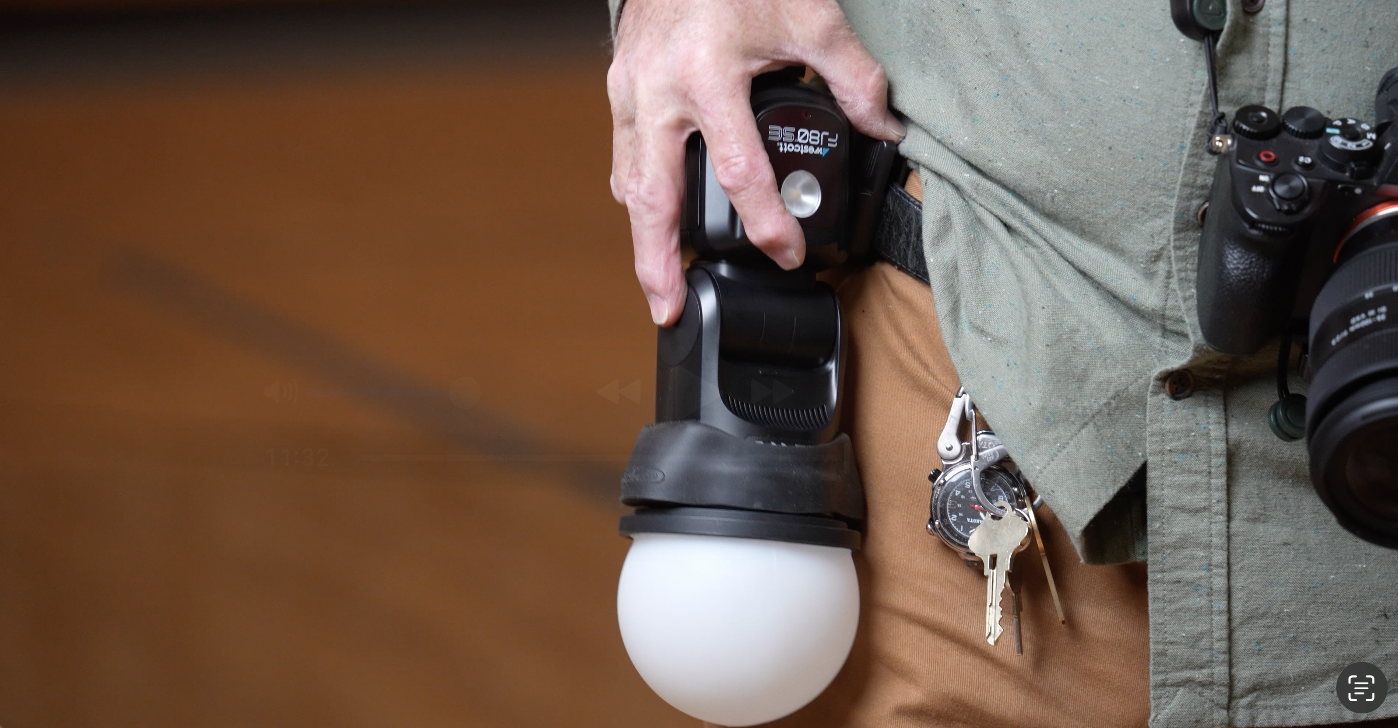 And now I have access to it. I just grab it like this.
 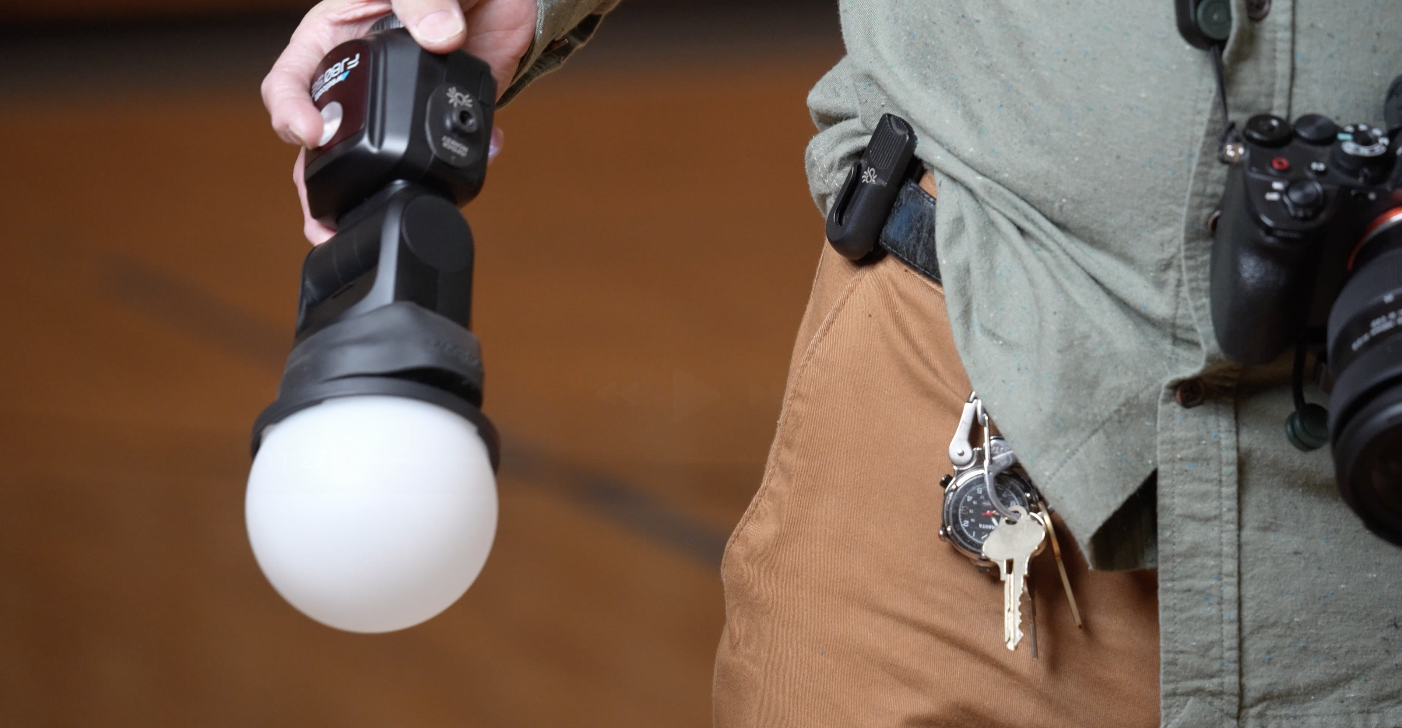 I push the release on the top and I can pull this out and I can shoot, shoot, shoot. And I just take it back in here and I drop it right back into that clip.
 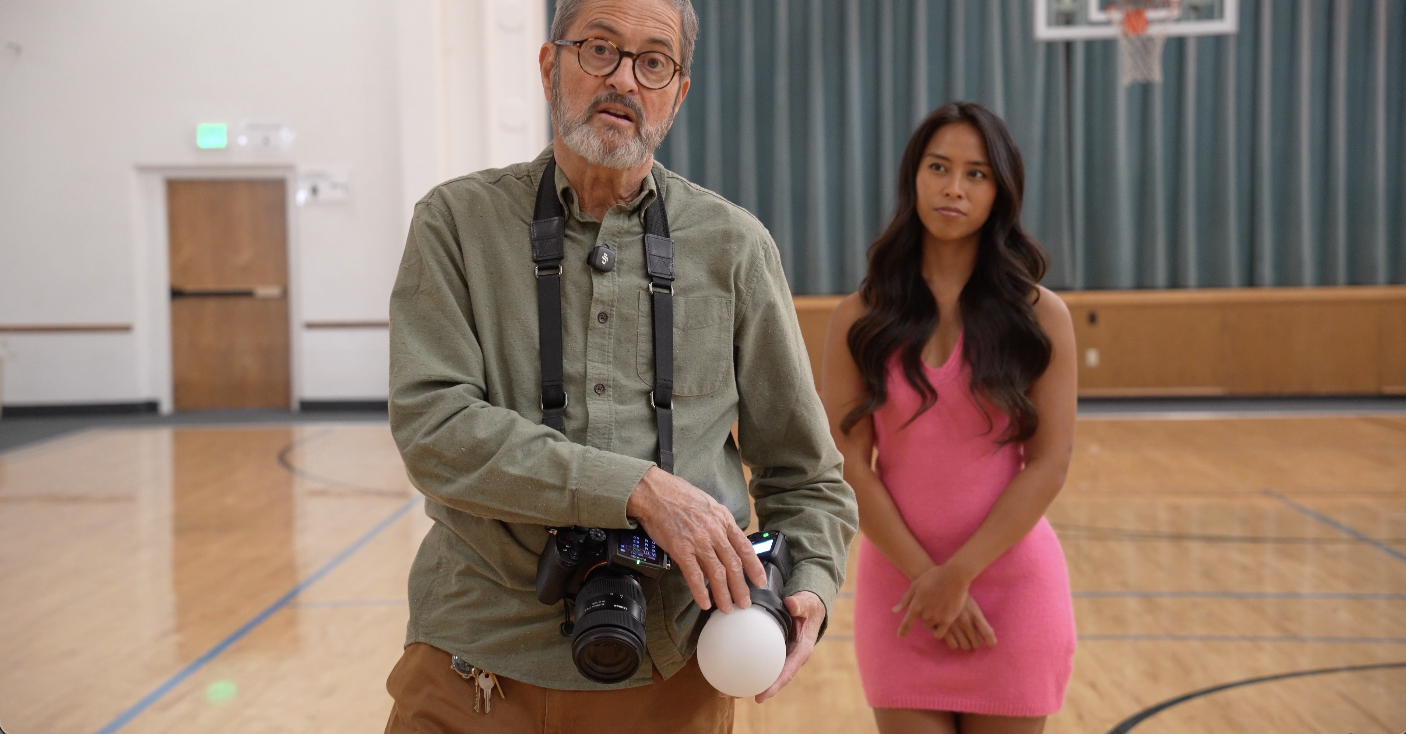 It’s an easy way to get this out of the way. It works best with these kind of smaller modifiers. So you can either use the one from MagMod or use this Diffusion Dome. Those are the two that work the best. Doing this doesn’t really work. Obviously, the bracket doesn’t work for this and the small softbox doesn’t work for this because it’s just too big on your hip. But this is a great way to work because it just gives you so much control. And when you get in close to wall, you can still bounce it off the wall. You can double bounce it and it just gives you a beautiful light. So, here we go. It’s a little under light. It’s a horror light. Scary. Yes, it is a horror light. But it just makes it so much easier to use.
But you have to have some kind of device that allows it to clip it or you have to have a bag you carry it in. I’ve tried using the bag. I don’t like the bag because it’s on my shoulder. I put it in, I’ve got to dig it out. This is just a lot easier because it’s right there. I hear it click, so I know it’s in, can’t come out. And then when I’m ready to pull it out, I release it, take it out, and I’ve got it right in my hand. And it doesn’t matter, you know, where I put it. I can now set it where I need to. 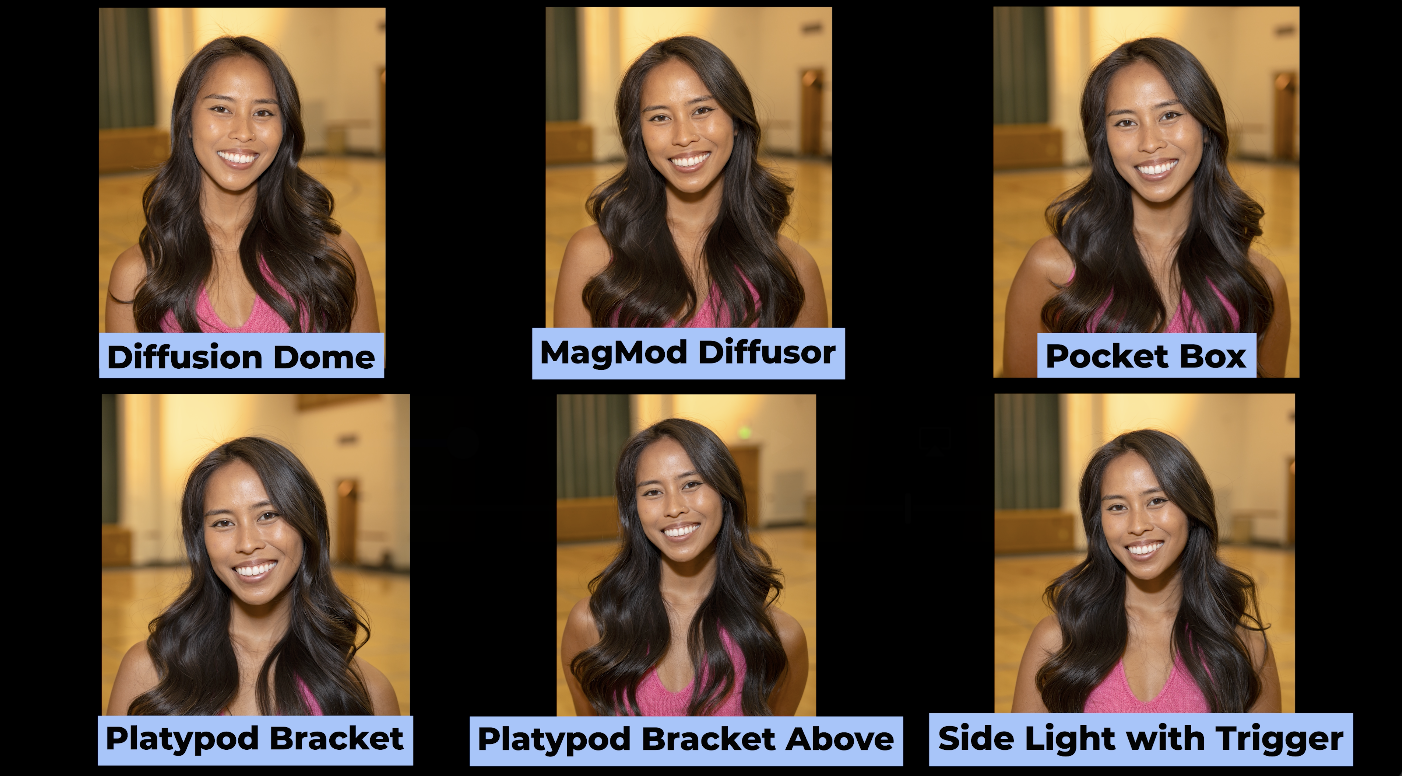 Let’s look at these right from the beginning. There’s the Diffusion Dome. There’s the MagMod diffuser. There’s a small soft box from Westcott. There’s that bracket. There’s the bracket above in that butterfly light. And then last of all, we’ve got the side light when you take it off and use the trigger. So, just the nice thing about working with this is it just gives me the ability to put this light into a place. It’ll make her face look wonderful. If I go to a longer lens like an 85mm, I mean pretty tight.
 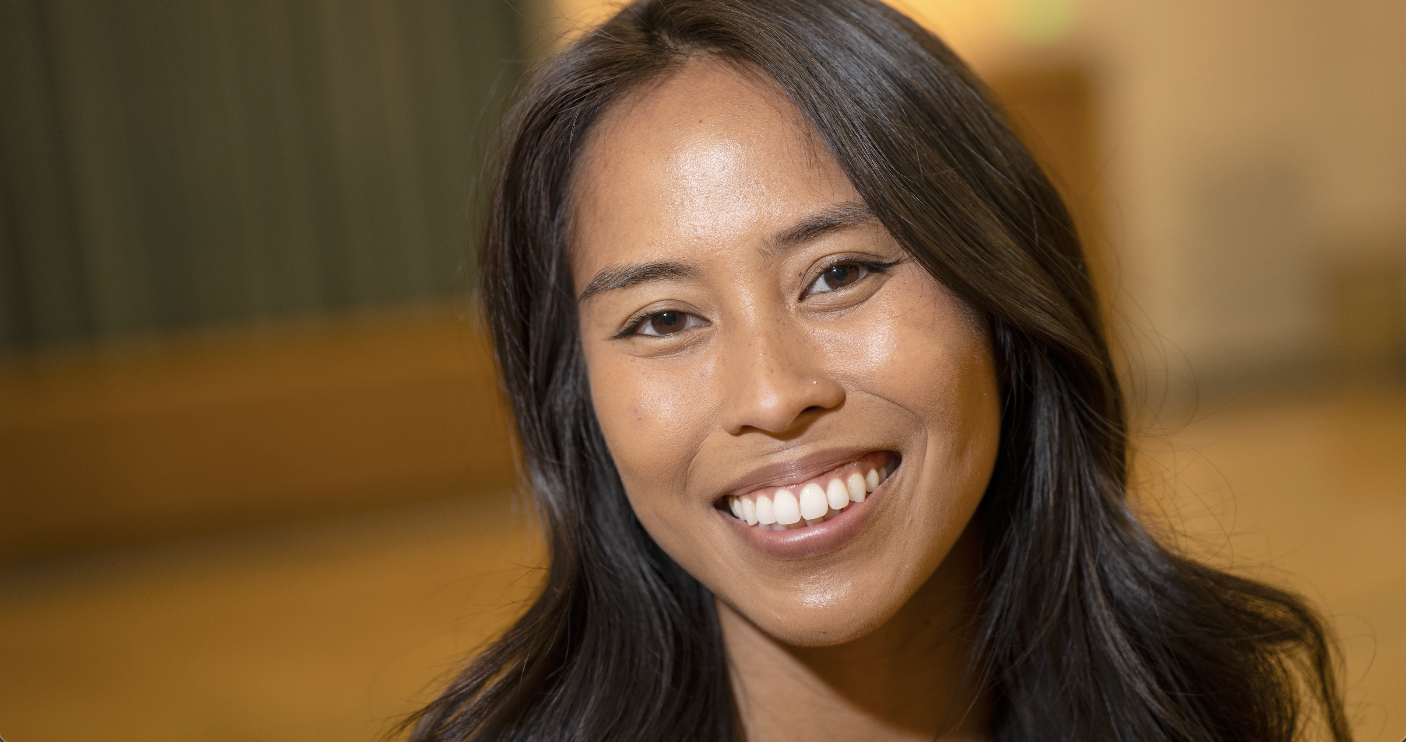 I can get this up to the side. Looks really pretty on her face. It just, it’s a great look. It really is. So, this just gives me infinite kinds of control, but you have to have that clip or a way to store this so that it isn’t going to be able to get out of the way when you’re shooting.
So, let’s wrap this up. The reality for me is if you’re going to do event kinds of photography, if you want your light to look nice, you’ve got to modify this speed light. You can’t stick with that on camera flash forever. It’s a look that is just too distinct and too narrow. You want to be able to soften your light so you get a really pretty light. I love the Diffusion Dome. I love the MagMod. I think those are beautiful. I love that big spread light that you get with the Platypod Bracket and Handle that just gives me a bigger pretty light or a place to put my strobe if I don’t use the bounce card. I mean, that’s gorgeous as well. The smaller softbox I like. It’s okay, but it’s just a little big for most of the event kinds of things I’d be doing, whether it’s weddings or portraits or what have you. It’s just a little big and a little more cumbersome. And so, I really would lean towards either the diffusion dome or the MagMod. I used to use a thing called the Kobra. I loved that modifier, but it went out of business. So, I guess no one else loved it like I did, I guess. But it was a gorgeous modifier. But anyway, this is just a way to modify your light and to make it easy for you to work.

I love this method where you get the strobe off from the camera and have a place to put it on your belt. That becomes the method I think that is the most useful. So, I was shooting out at the beach not too long ago and I had an FJ80 on my camera and then I had that in that whole setup. The strobe and the camera went onto a belt around my waist. Well, I caught the strobe on a pole as I went by and it just ripped the strobe right off from the camera. It’s just too big and too cumbersome together like that. Whereas I can put the camera on one side of a belt device and I can put the FJ80 on the other side and now I can use my camera or I can add my FJ80 and I can use it in any kind of combination that I want. So I just think it works better that way. A lot of event photographers use this. I think a lot of wedding photographers getting that strobe off from the camera sometimes can slow things down a little bit, but it is also a beautiful light and it’s worth looking at. So, all right, there’s a look at some four different ways to modify your light and a fifth way, which is how to use it for event photography. So, there you have it. Keep those cameras rollin’ and keep on clickin’!