(If you want to watch the review go to The Slanted Lens on YouTube!)
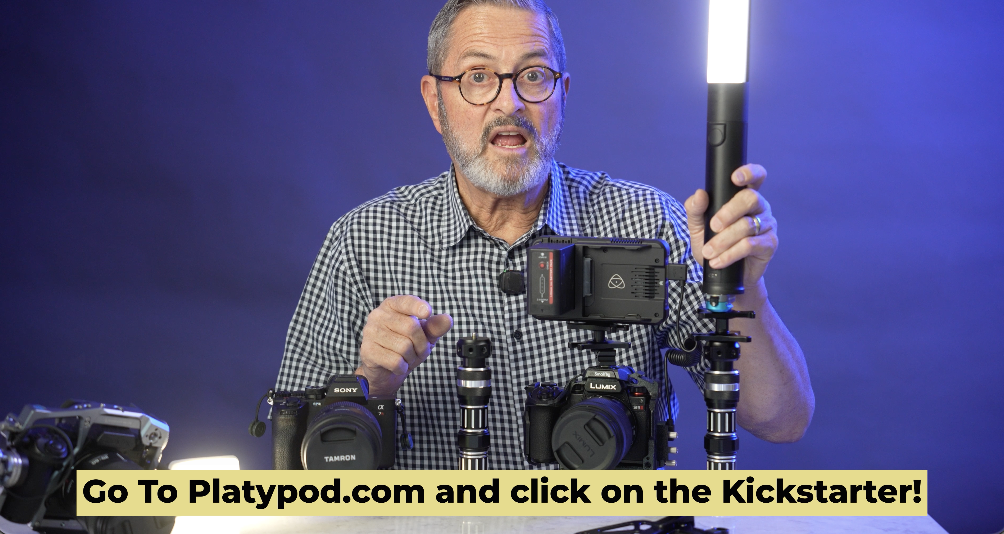
Hey, it’s Jay P here. I’ve got a new bracket from Platypod. It’s called the Platypod Bracket. It’s a bracket that allows you to put a continuous light, LED light or a strobe if you’re doing stills, but for video, it allows you to put a continuous light on your camera so you have it exactly where you need it, when you need it, when you’re shooting run and gun videos.
So, why would you want a light on your camera when you’re doing any kind of filming, any kind of video work? There’s several reasons. 
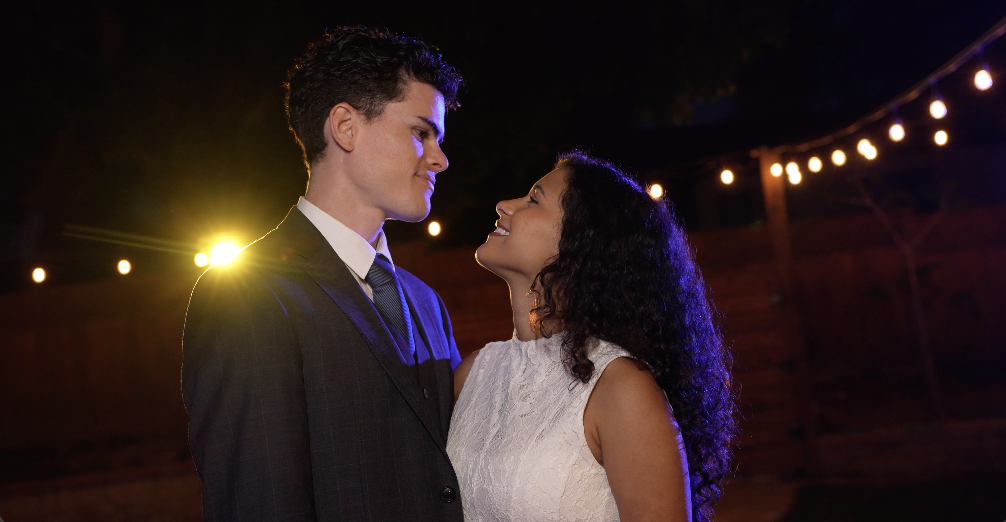
One, if you’re doing run and gun wedding kinds of work, you need a light. You need a light to be able to open up the shadows when people are going in and out of the harsh light. 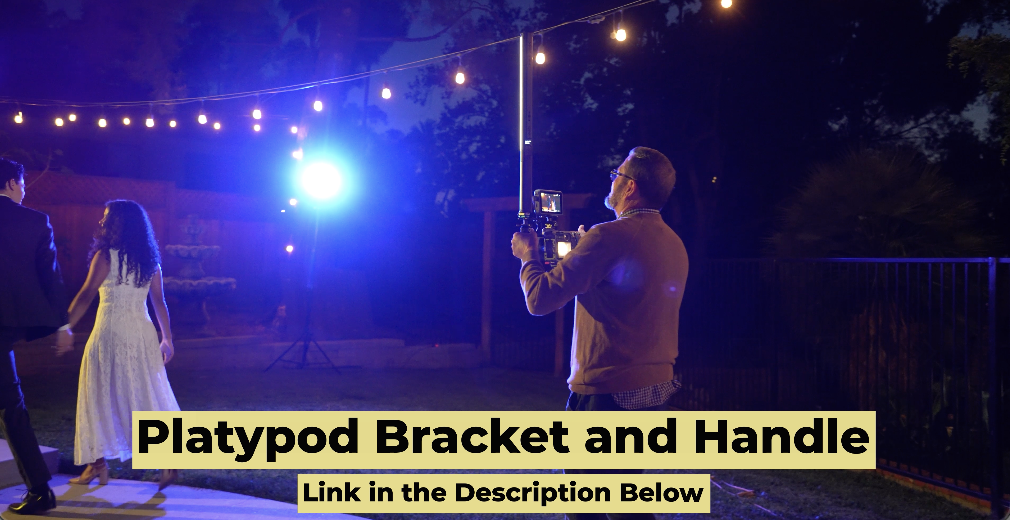
You need something to just give a little spark on the faces, a little light in the eye. It just gives a beautiful light on the face. 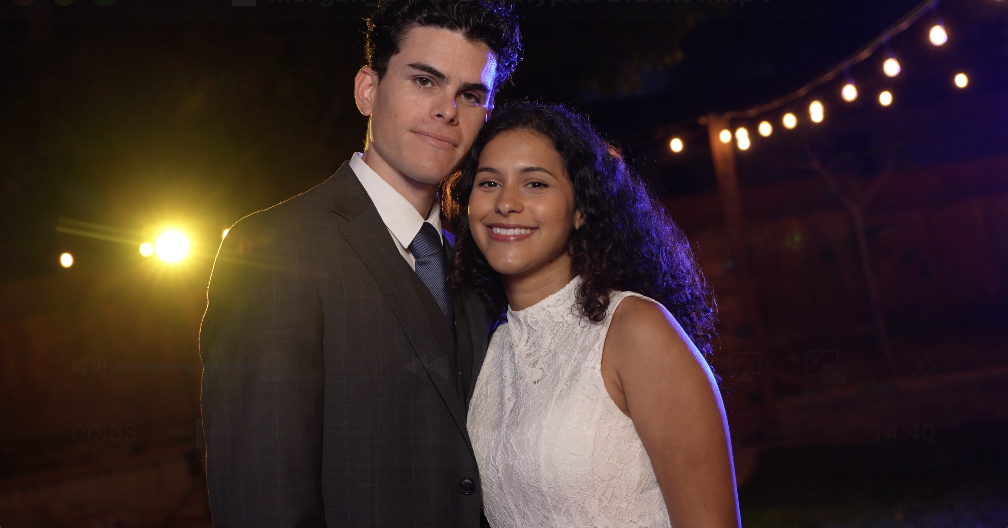
And you’re going to need a light. I don’t want to carry this in my pocket. I don’t want to put it in a bag. It’s too hard to get in and out. I certainly don’t want to carry it all day like this, which I’ve seen people do that before. I need a light that I could put on a rig that’s going to allow me to get access to it right here.
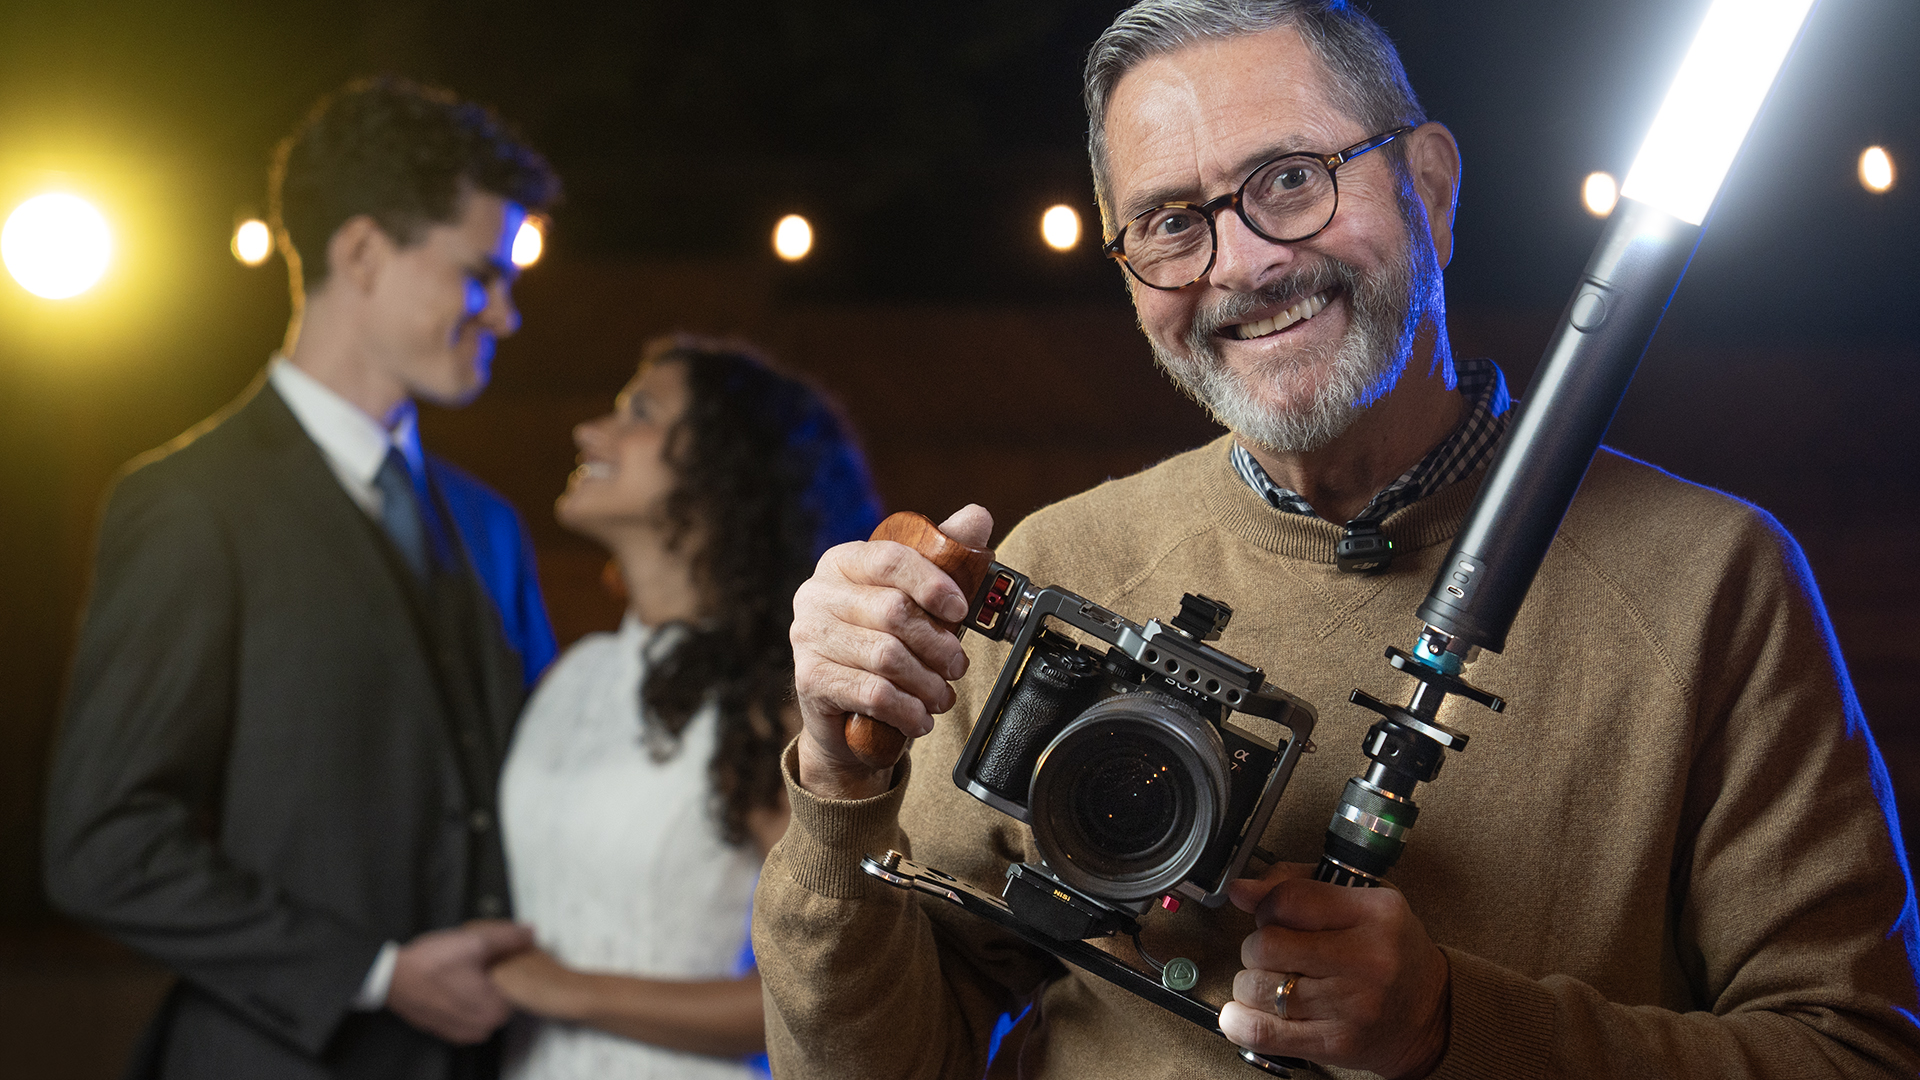
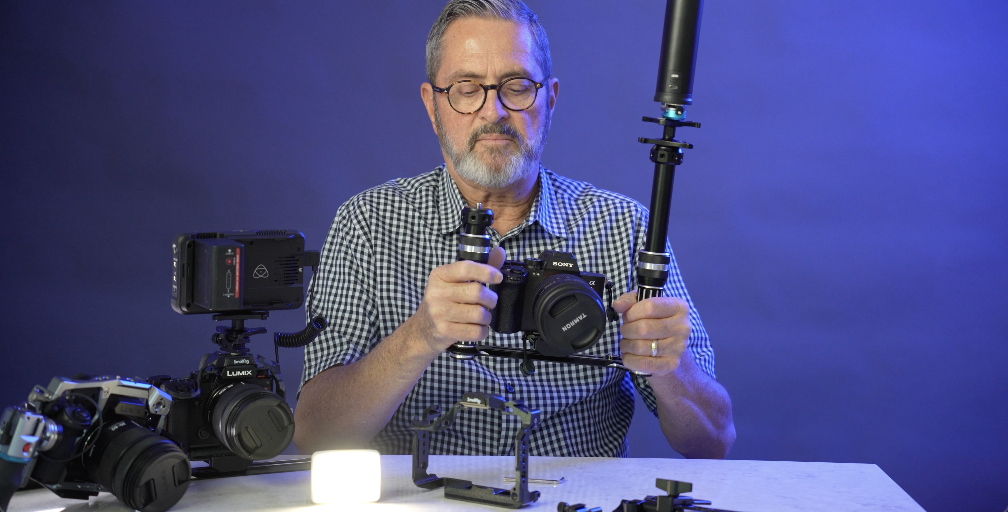
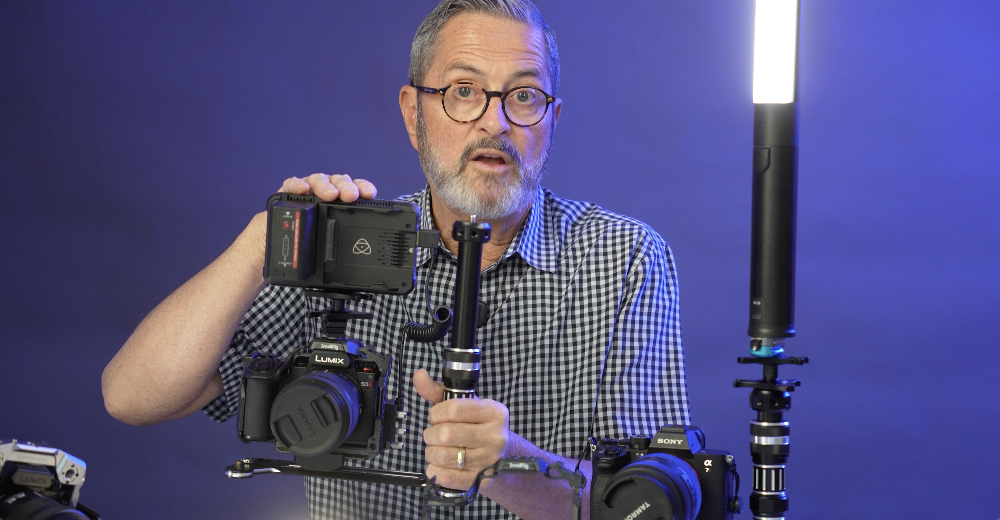
So this is what the bracket does from Platypod. It’s giving us a handle. That handle gives us a place to put this. This is the Ice Light 3. 
It’s the RGB light from Westcott. And it gives us a place for this to live. It’s right at the camera. It’s up a little bit and to the side, so it’s not dead above the lens, which gives us a little nicer drawing on the person’s face. And it’s a great place to work with. I also have a little bracket on it here. 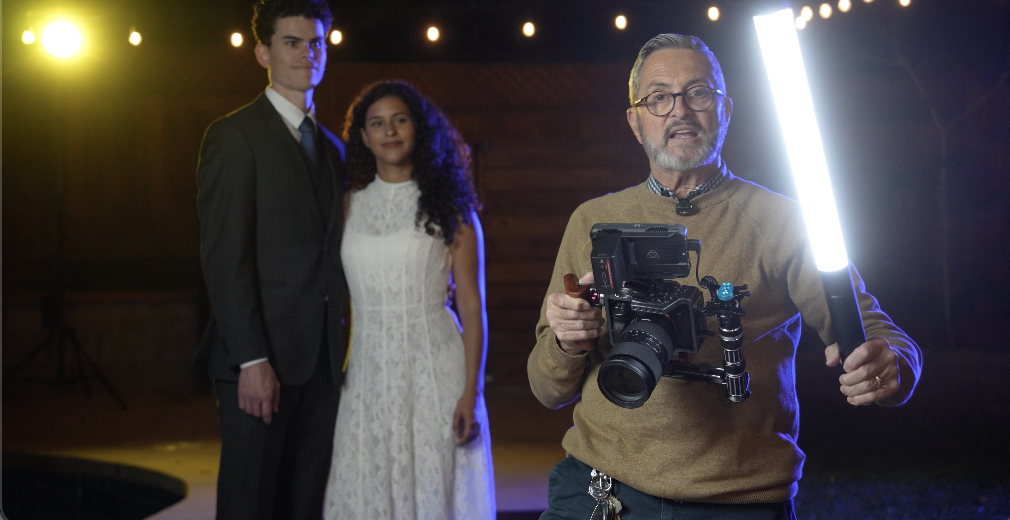
I can release it with my hand, and I can, if I need to, I can pull this out. I can put it over to the side. I can do anything I want with it. And that just makes it so that I can wherever I want. If I want to look like this or like this, I can put it wherever I’d like. 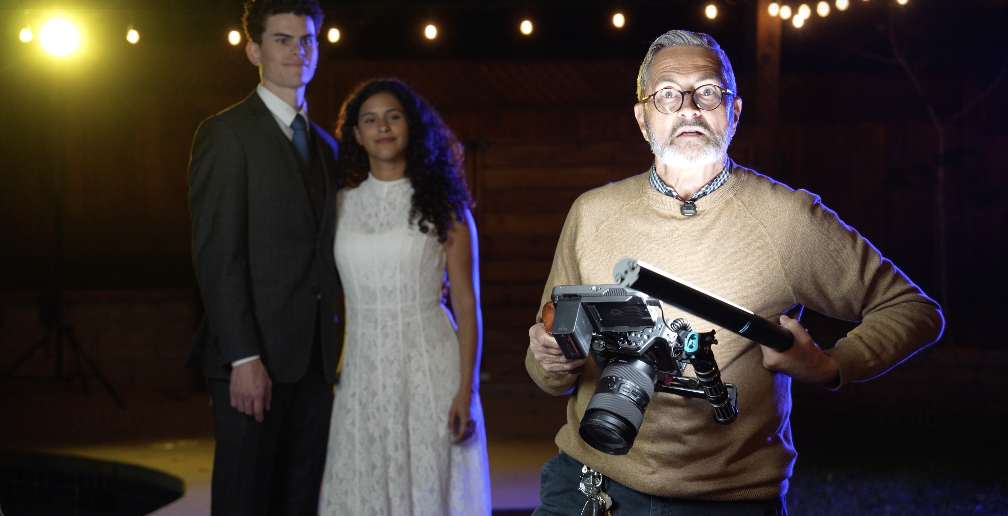
So, that’s a little small rig makes that little bracket there. No, actually that’s from Kondor. Kondor, they make great products. So, that little light that little quick release from Kondor. So, that’s for any type of wedding work you do.
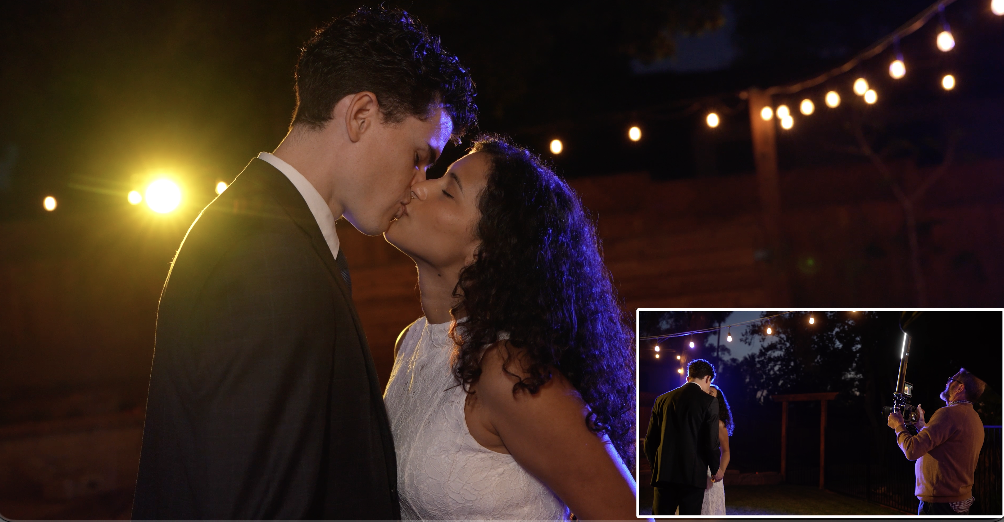
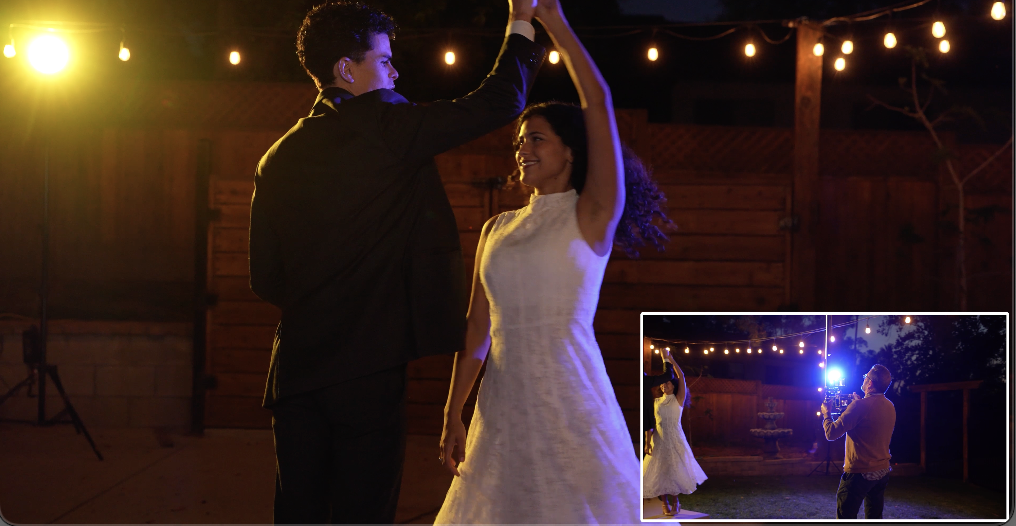
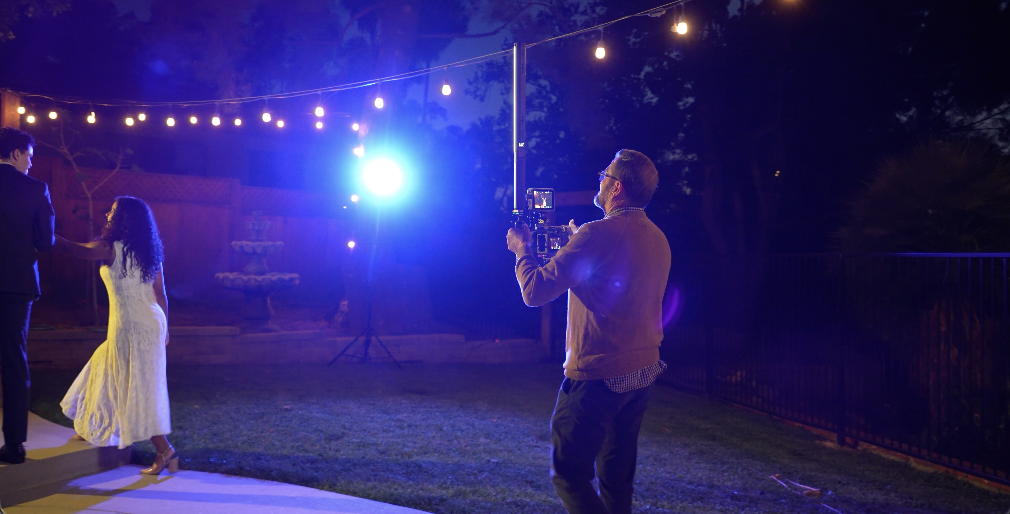
But narrative work as well. You’ll be following someone down an alley and you just need a little bit of light on the face. I’ve seen so many times or been on set so many times where someone’s walking with a light behind the person, behind the camera just trying to stay with the camera as the camera moves. So, as a camera moves, the light needs to move with the camera a lot of times in narrative work. And so, this gives a place for that light to live. It’s going to move with the person or the people and it’s going to just open up the shadows a little bit. You don’t want it to overpower the scene. You just want it to give a tiny bit of light so the shadows are a little more open. It feels a little cleaner, a little nicer. 
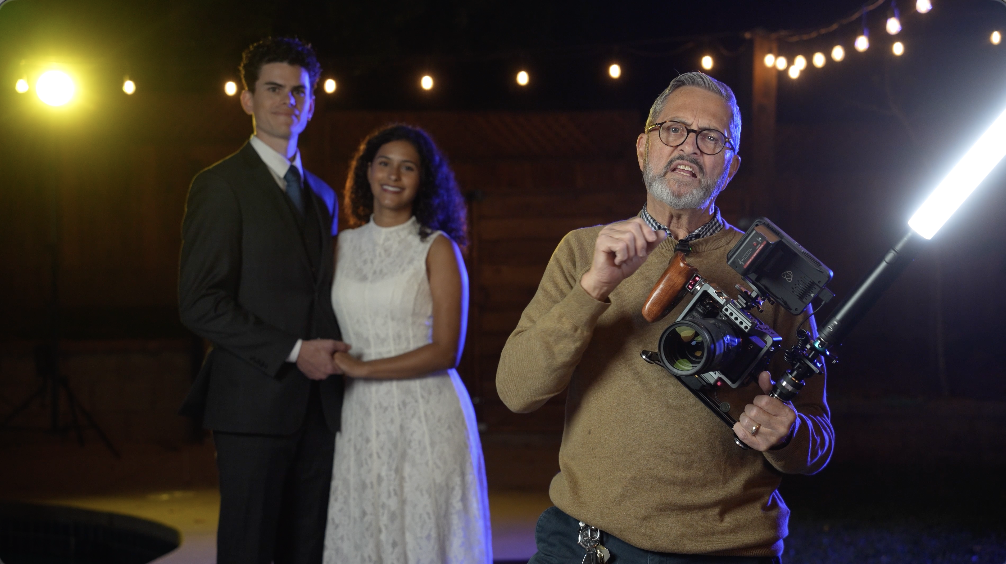
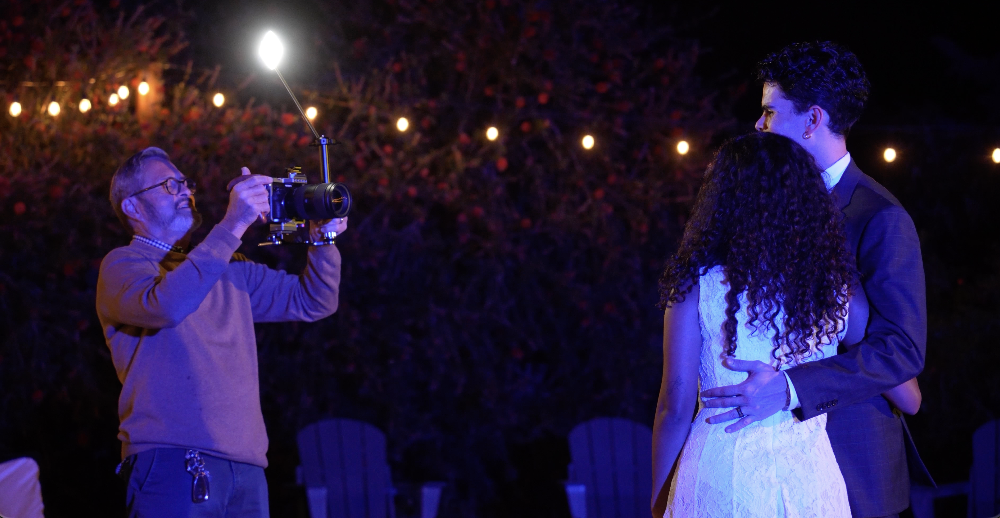
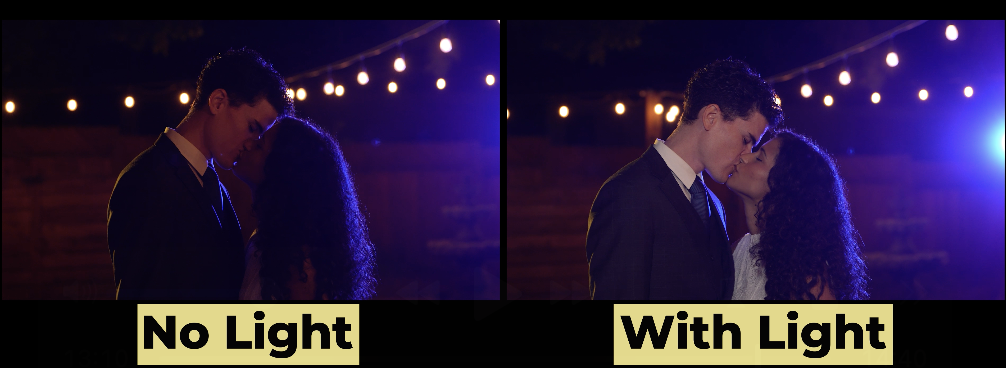
So, I’ve got Michael and Barbie here with me tonight. We’re going to do some shots with the light, without the light, slow motion, regular 24 frames. And we’re just going to see how that light helps elevate and make things look so much more exquisite with that little Ice Light 3 on the Platypod Bracket over to the side. So, before we get filming, we’re going to cut to several different ways to rig this light using the Platypod Bracket.
Having shot a lot of run and gun video and even narrative type video, I know that you need to have a light a lot of times at the camera. Where do you put it? How do you store it? How do you make it so you can go through an entire wedding day doing video and not be exhausted? So, we’re going to show you how the Platypod Bracket solves those problems. Where to store your light. How to use your light. How to get through that 10-hour day a little less frustrated and a lot more rested.
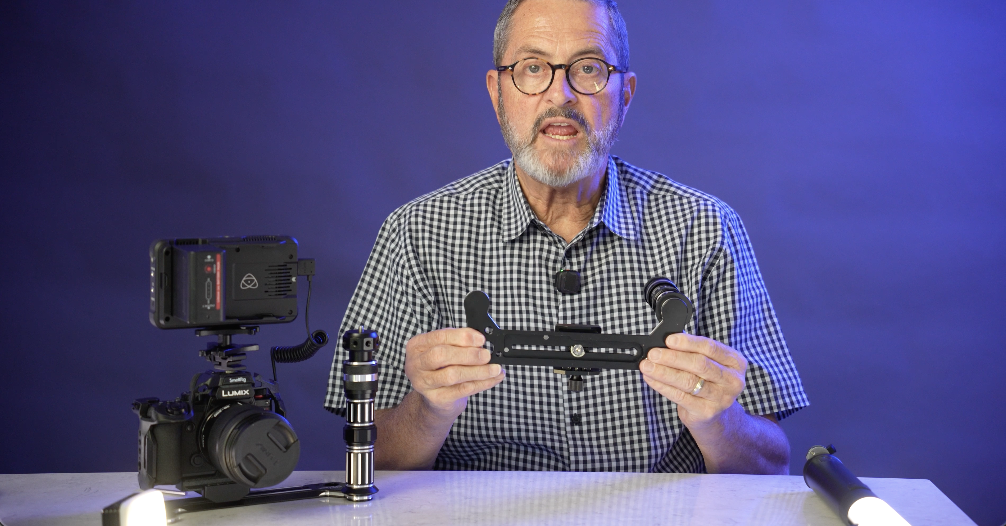
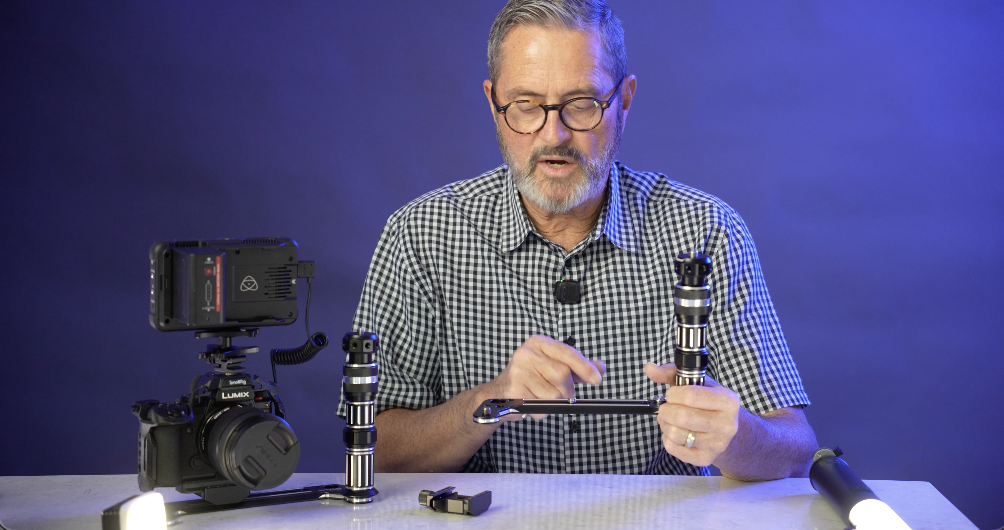
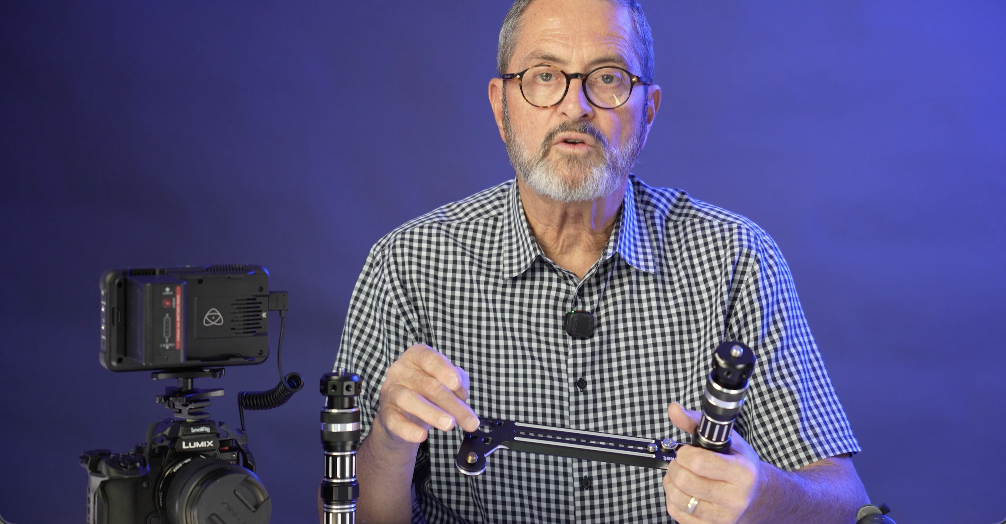
So, this is the Platypod Bracket. It’s basically a U-shape. On each side of the U-shape, we have 3/8 inch bolts. And on those bolts, we can put a handle. 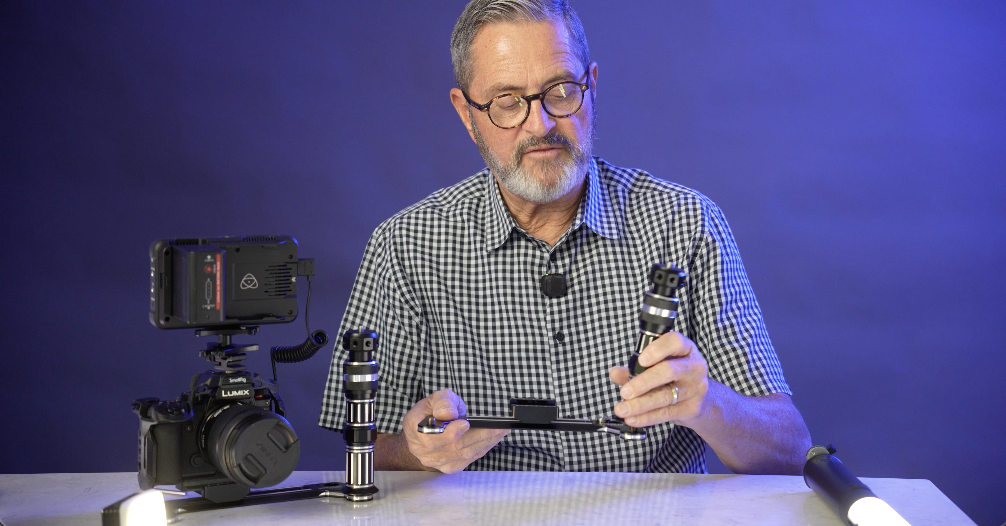
That handle just screws on very easy on that beefy bolt. And now we’ve got a little handle there. We can take this handle, we can raise it up or down, tighten that up. 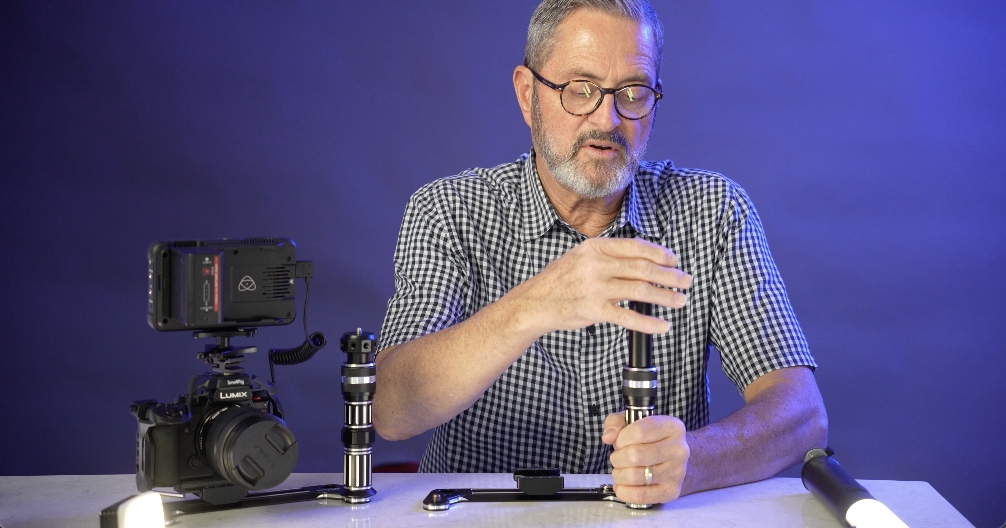
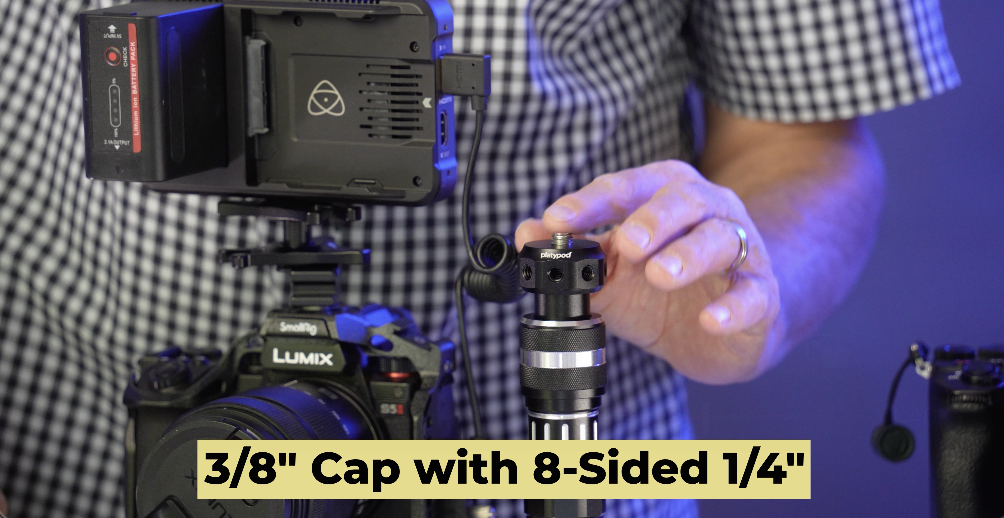
It’s got on top of it a small cap that’s either got 3/8 inch or you have here 1/4 inch. So you can use either one depending on what you’re mounting. 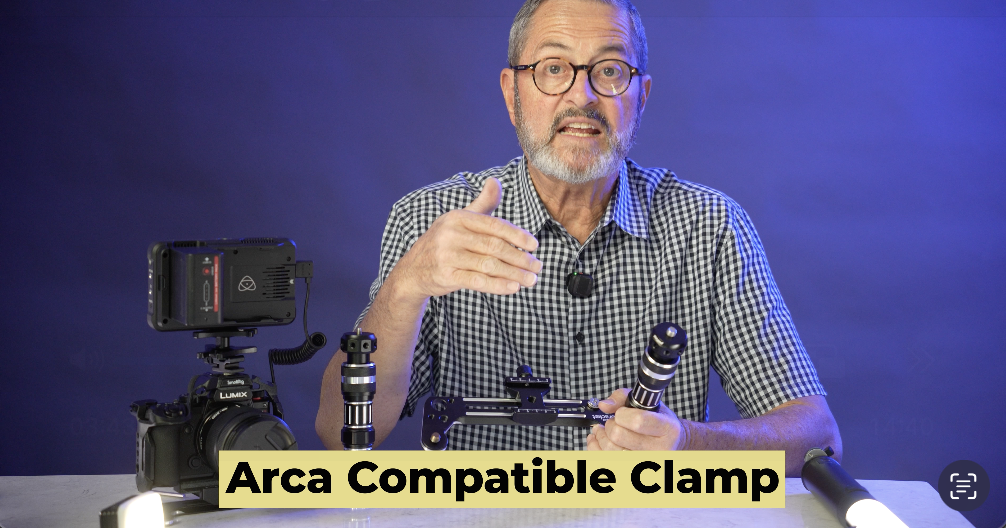
On the bracket itself, you have this Arca compatible clamp that allows you to set a cage in, allows you to set any kind of Arca-Swiss plate in this bracket and to attach that. The reality is on the bottom here though, we have a 1/4 20. And that 1/4 20, it’s got a little popup handle here.
I can go ahead and take this off and I don’t need to use that Arca compatible clamp. I can just simply put my camera right onto this railing. This has a 3/8 inch, but it also comes with 1/4 inch, which is what all cameras are. And you just set your camera on there. I shouldn’t say all cameras because there are some that are not, but most all cameras are 1/4 inch. Now, you can just put your camera directly on this. You don’t need to use that Arca compatible clamp at all. It just goes straight on there, like a cheese plate. And that you have 3/8 inch and 1/4 inch screw holes to be able to attach different items you don’t want to lose, to keep it all together there.
So, that’s a very simple device. It allows us now to get a light on the camera and get it up and over top or to the side, which gives us a lot of different options. So, there’s the Platypod Bracket. So, this is the Arca-Swiss. 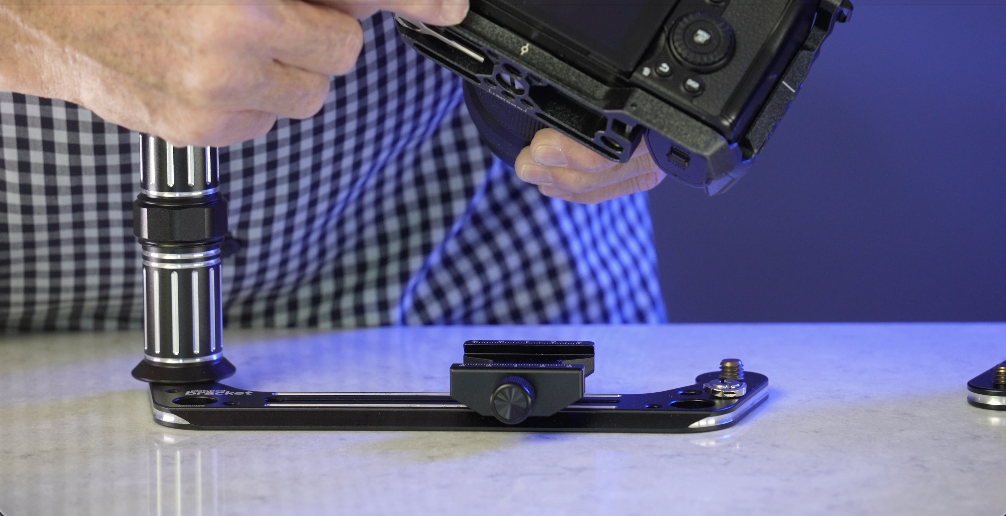
It runs all along the bottom of this Mamba cage that just drops right into our Arca compatible clamp and hooks right on. And now my cage is on the bracket. 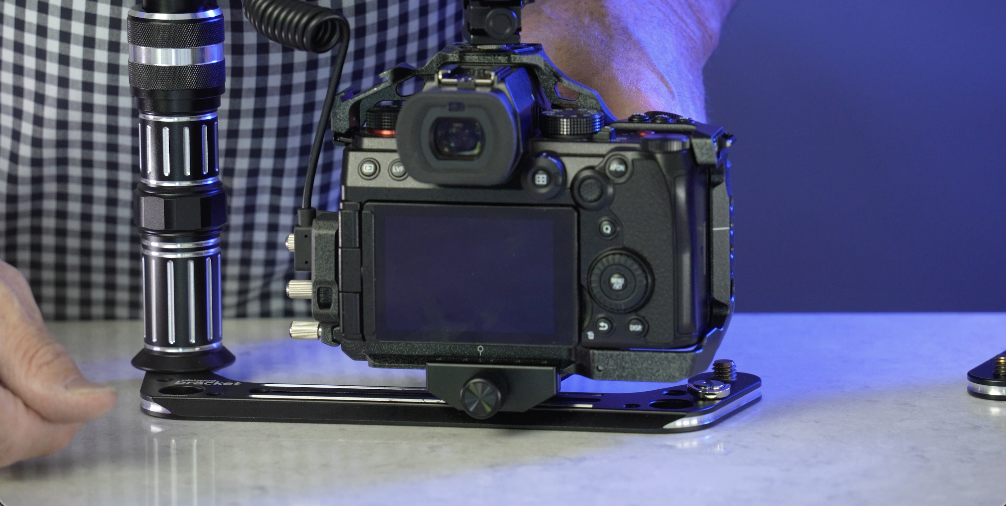
So the handle just goes on that 3/8 inch screw that it has on each side of the bracket. So it can go on right or left. We got several 1/4 20s on the bracket which allows us to store either the nut that’s going to attach through the Arca-Swiss plate or other devices. The 1/4 20 to 1/4 20 can attach to this so you always have it. So it just gives us place to store some of the other mounting devices.
So the easiest way to use the Platypod Bracket is to use it as a handle. So I’m going to use this as a handle when I’m shooting video. I’ve got my camera on it. It’s got the Arca type bracket here that I can slide back and forth on the track. I’m going to slide it to the right so I can get my hand on it here so I can now hit record. 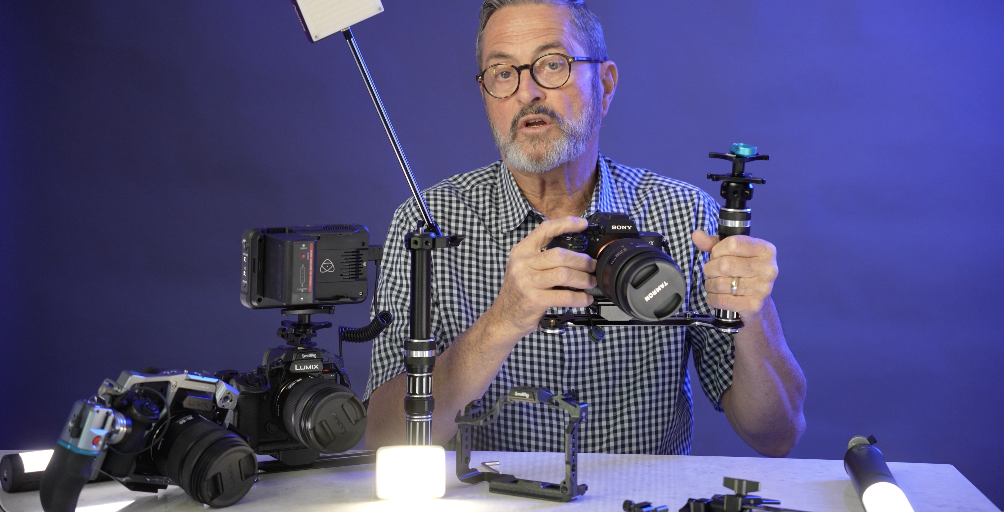
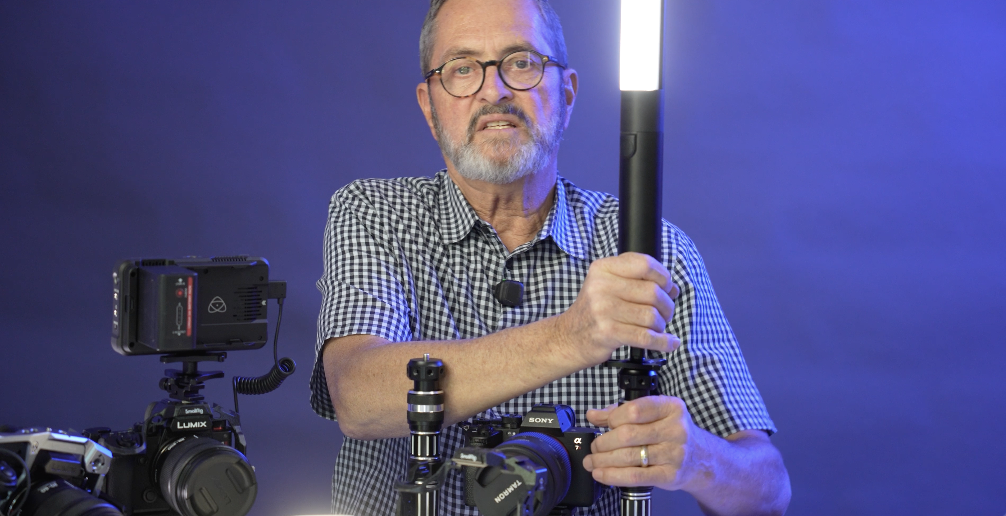
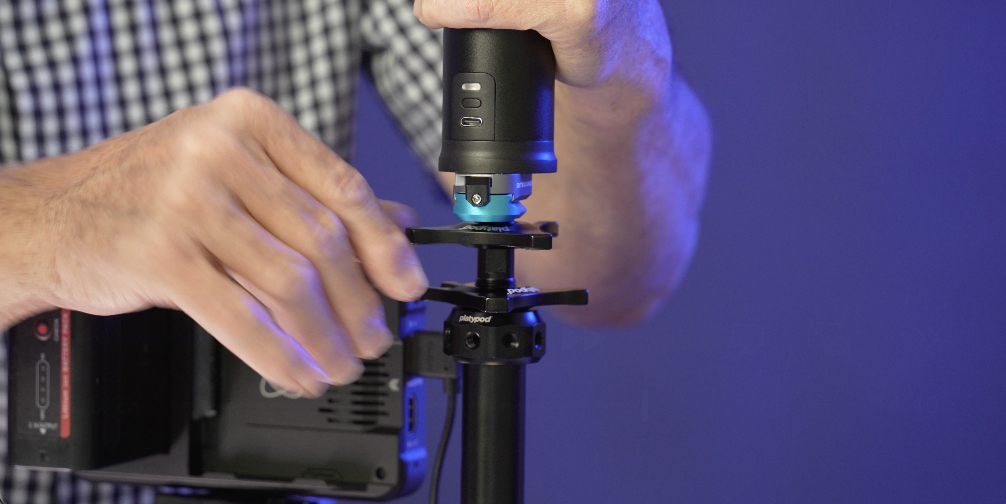
I can pull focus if I want to, but I’m going to use this as a handle. But do I need it just as a handle? No. The reason to do that is because I want to use it to hold my light. And so what I’ve done here with the super adapter is this is two flywheels here that allow me to lock in either a light, lock in a bracket. I’ve locked in, this is a little bracket from Kondor. It’s a quick release bracket.
I think a really effective light to use in this kind of run and gun video is the Ice Light 3 from Westcott. It’s an RGB light which gives you a lot of options as far as how you use the light, but it becomes a great on camera light. 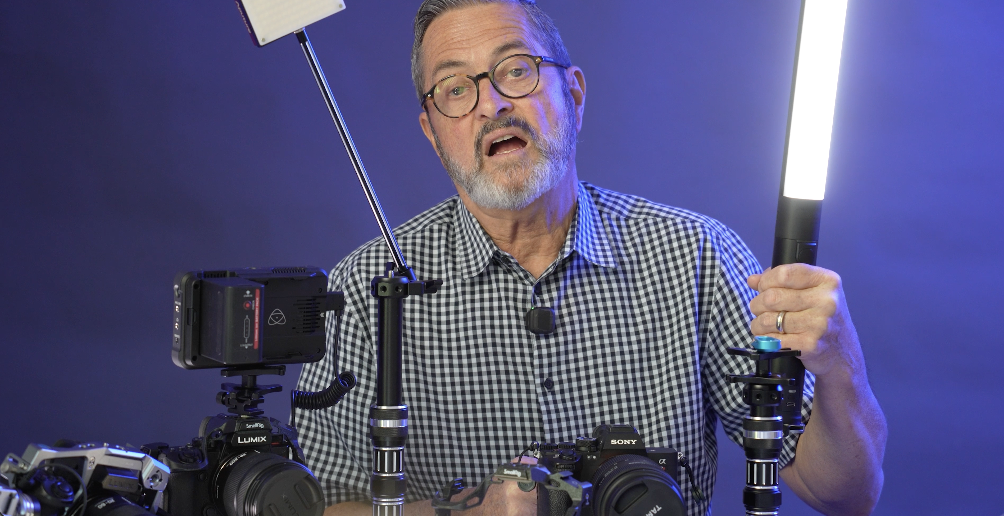
I put on a Kondor bracket on the bottom of this. That Kondor bracket allows me to just slide this onto the bracket and lock it in place. I use it backwards. And the reason I put it on there backwards is because when I get a hold of this, I can put my little finger right here and I can release it and I can pull it right off. 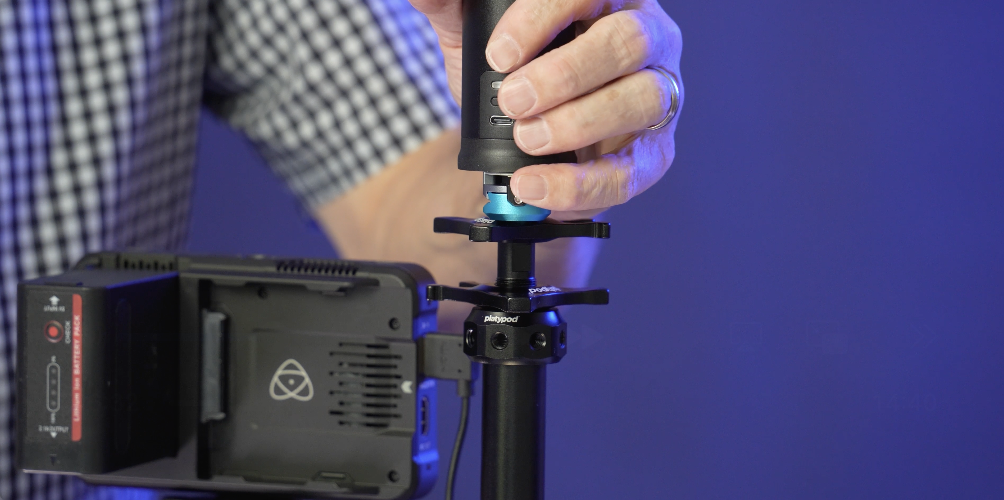
Or I can slide it right back on, back in place, and I lock it. Now I can pick this up and this becomes a light. It gets that light off from the camera. It’s up high, but it gives me the option if I’m shooting, I go, “Oh, you know what? I really want to get this in another place.” I can put it down low. 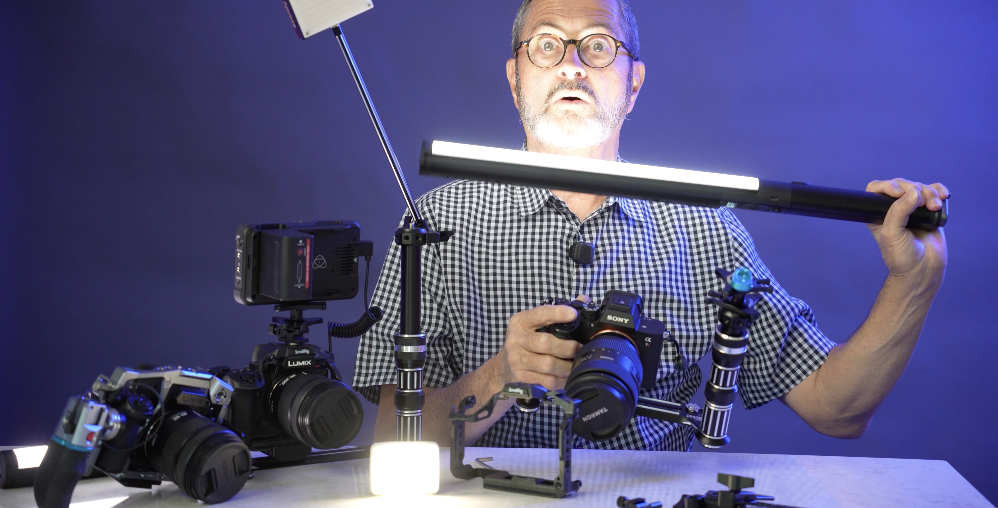
I can put it over to the side. I can move this around. And then I’ve got a great place for it to live. I just slide it right back onto my bracket. 
Wow. Really smooth. Right back onto my bracket and I’m ready to go. So, I just think this is a great setup here. It gives you that Ice Light 3. It gives you the ability to move the Ice Light. And I’m using this bracket as basically as a cage. I’m using it as a handle. That’s the first setup. Easiest setup to use.
With this setup, I can of course loosen this. And I can get this just a little bit higher. Anytime I can get it up higher, it means it’s going to get it up higher, give me dimension, a little more shadow in the face. It’s going to fall down. It’s going to look a little prettier. So, if I can get it high, it’s not a bad thing. It’s a great place for it to be. And off to the side just a little bit. It’s a really nice placement of a light. So, there’s a setup where I’m just simply going to use the bracket as a handle and I’m going to use it to hold my ice light. Let’s take a look at some examples with our couple using this setup.

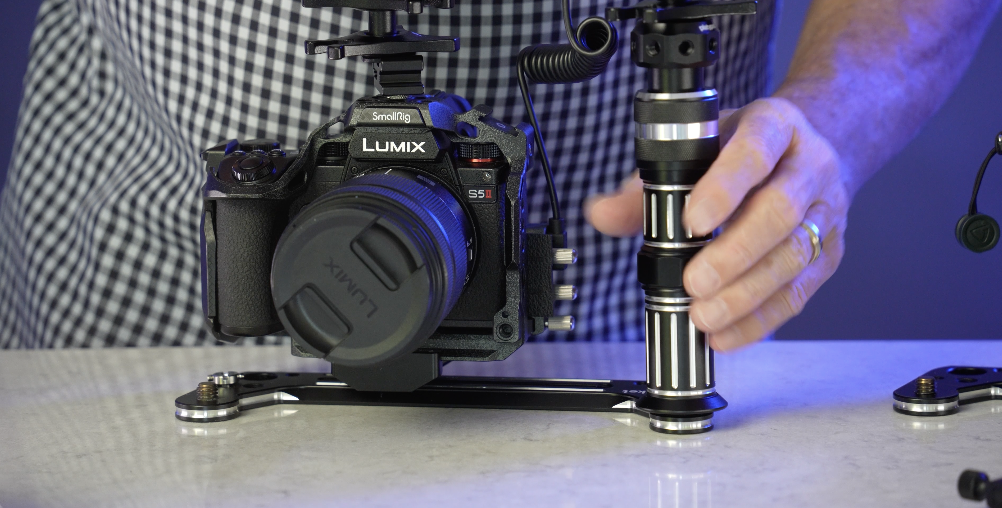
All right. So, an adaptation of this and it gives you a little more stability is if you have two handles, this really can become a double-handled setup. So, I’m going to take this handle off here. And I’m going to take over to my camera. 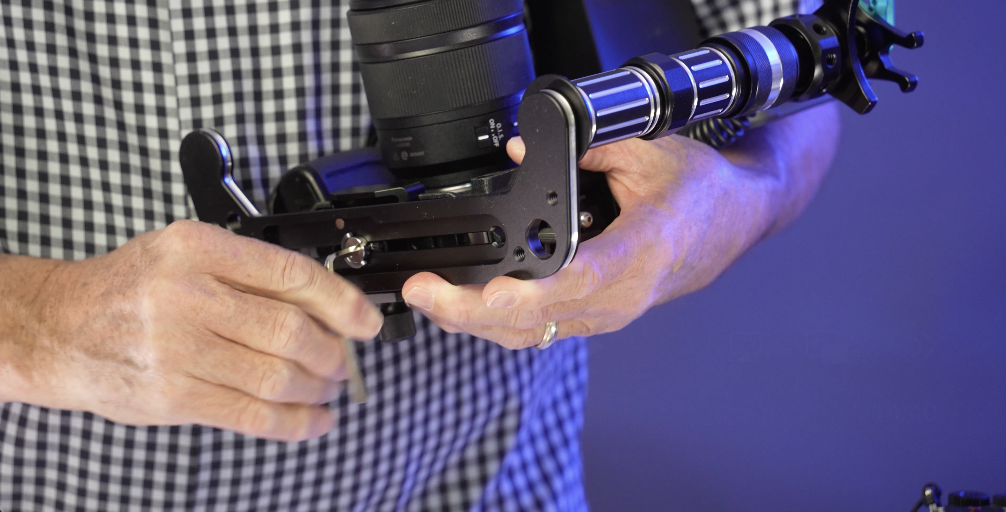
I’m going to loosen my camera up here. Slide it over to the side. So, it’s got that beefy 3/8 inch screw that I can put my handle on there. 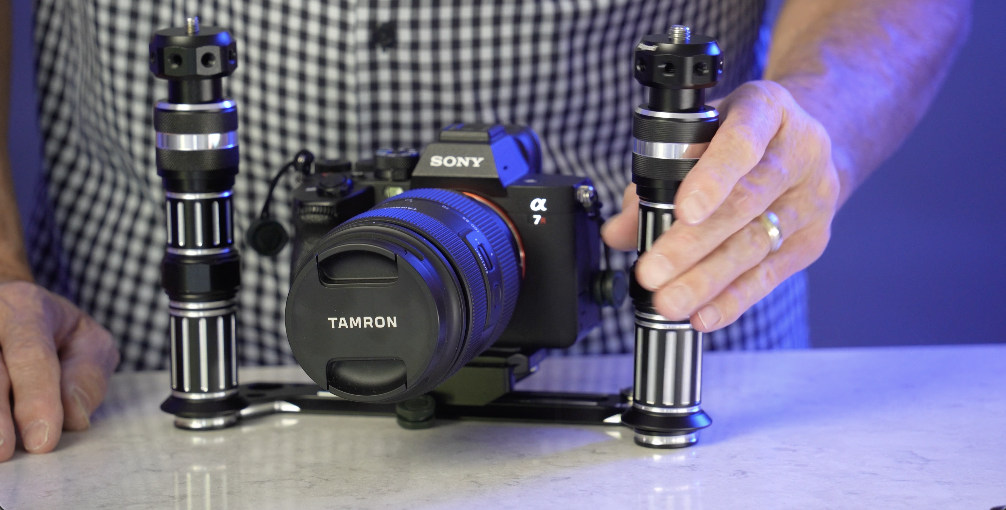
And it’s got that on both sides. It’s a U shape. So, I can put a handle on each side. So, I got one there. And I got one there. And there. Now I have a double-handled setup. I’m still within distance here.
I can hit the record with my thumb pretty easily. But that gives me more stability if I want to be able to walk and follow people. It just gives me two handles. And this becomes now a double-handled rig.
More stability. Just a simple adaptation to that first setup there. Still with my Ice Light. So I can still take my Ice Light off, pull it out here, work with it, put it back. So if I don’t want this high, I can always just drop this down and it becomes easy to get it down a little lower. So there’s a double handle setup there.
There’s not necessarily anything that’s going to change in the way the footage looks. It just is a little easier to put all the weight on two arms. You can drop your elbows into your chest and you’re able to use this a lot longer in the day. 
It’s a lot easier to use for a lot longer. I would also keep my strap on. I took it off so it’s just not in the middle of everything we’re doing here. So that when I’m resting, I can just drop this down, let it rest on that strap. Just take some of that weight away. But there’s that double handle setup.
So, can you use a cage with the Platypod Bracket? Absolutely. There’s a lot of different ways. This is a very simple, from Small Rig, Mamba cage. It’s got an Arca type, an Arca-Swiss all along the bottom of this cage. It’s made so you can drop it onto an Arca-Swiss kind of tripod head. 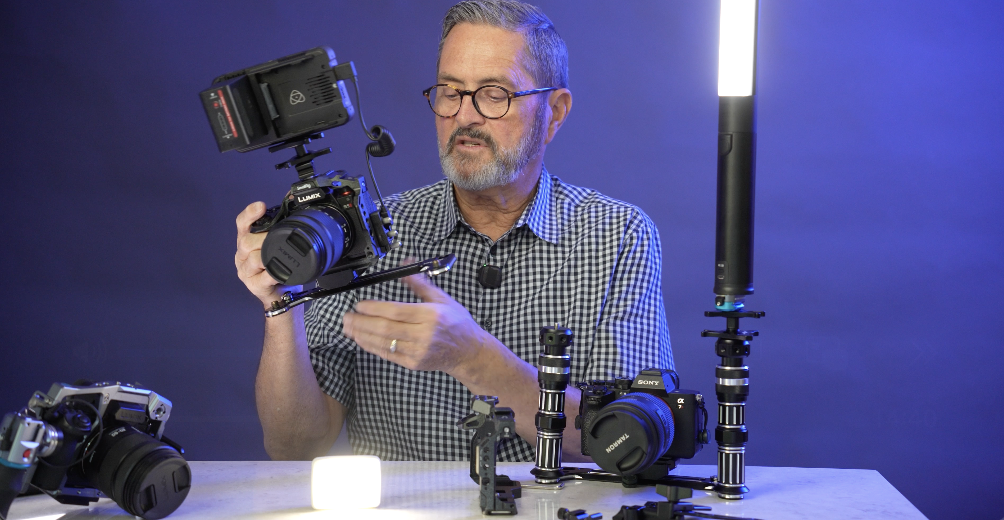
So, it drops perfectly right in on top of the bracket. It sets right on that bracket. And now I have it tied in and I can move it around anywhere I want in there. But I still have my cage. So now on my cage I can use my monitor if I want a monitor on there. I can attach sound to this if I want. It just gives me several attachment points and I can use the cage with it.
So, the nice thing about the super adapter is I can adjust this to get it really right where I want it and then I can tighten up with those flywheels on that super adapter and I can tighten this into place. And now it’s going to go exactly where I want it. That’s really a nice setup. I can loosen this one, move it around there. Once I tighten that up, it’s going to be tight and ready to go. So, it just gives me the ability to adjust and to put that exactly where I want it. It’s really a nice adapter.

So, there’s my setup. I’ve got my cage. I’ve got a handle on the right that holds my light. I’ve got my monitor. I can put my sound if I want on there. And I’ve still got the ability to pop this light off and to move it around if I need to be able to give myself some dimension, a little more interest of my light. 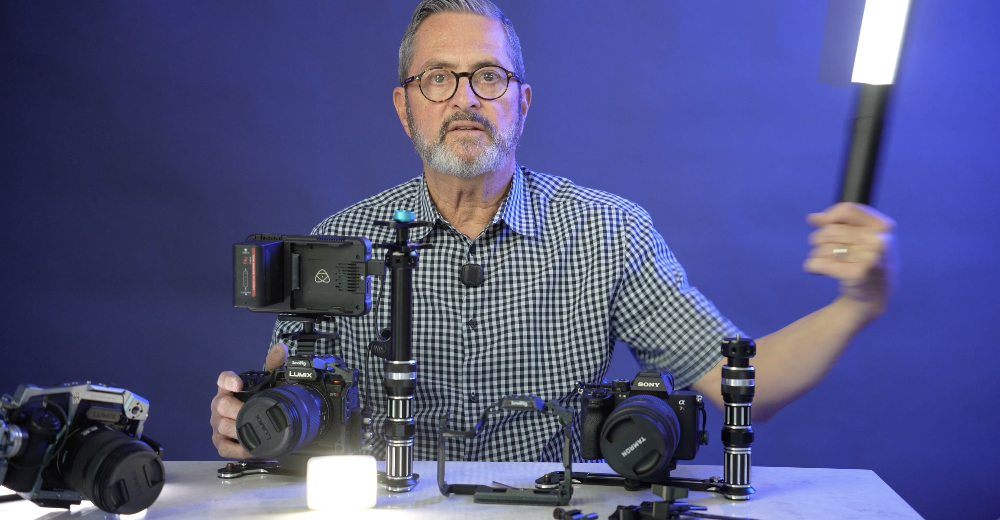
Then I can put it right back on and I’m ready to go. That’s my setup. So now I’ve got my cage attached to my bracket. Along the bottom there’s that Arca-Swiss that I can put it onto a tripod. But above that, I’ve got that Arca-Swiss assembly, which allows me to put the cage right directly onto that assembly, that Arca-Swiss assembly, because the cage comes with an Arca-Swiss on the bottom of it. Not all cages do. 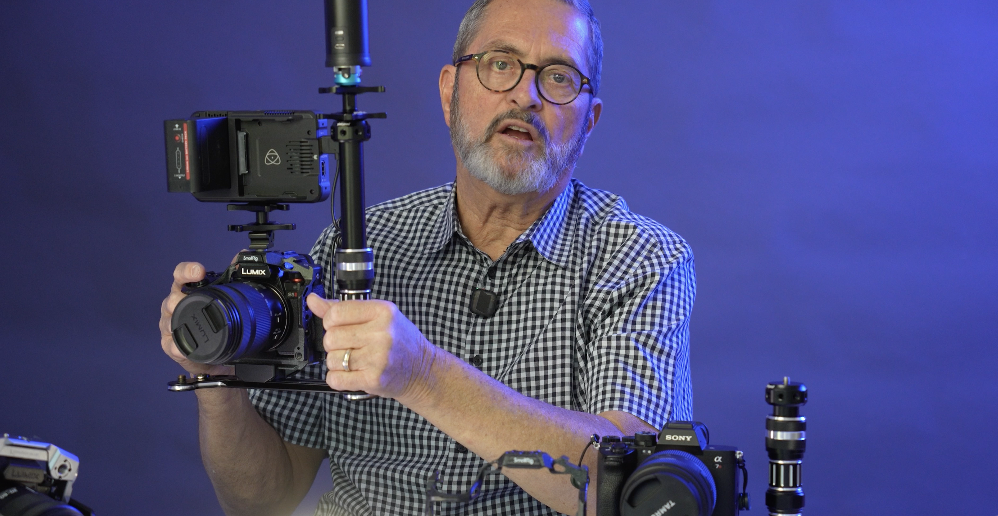
And if they don’t, in the case of a cage that doesn’t, I’ll just put a plate on the bottom, Arca-Swiss plate on the bottom, which allows me to take it on and off from the bracket if I need to.

This allows me to keep my cage, so I can put my monitor on if I want. I can put a sound device on. I’ve got all the attachment points to be able to make that happen.
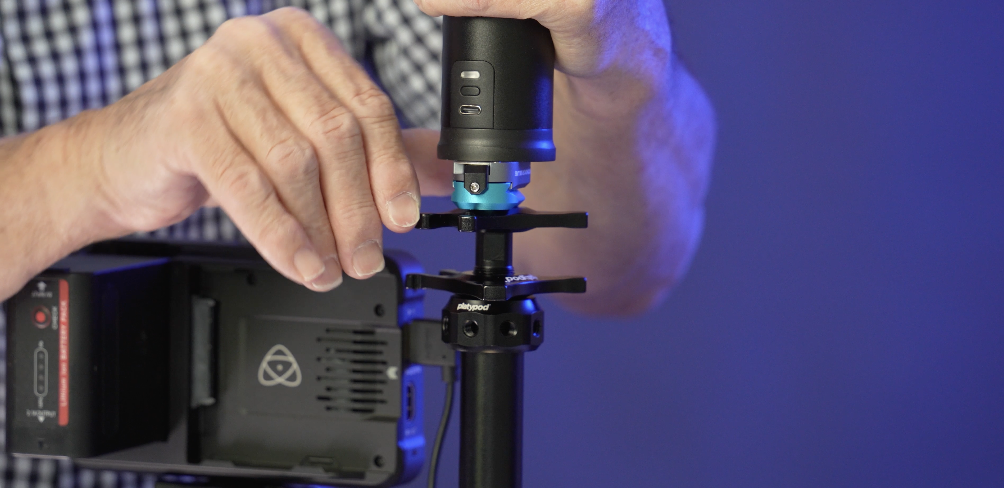
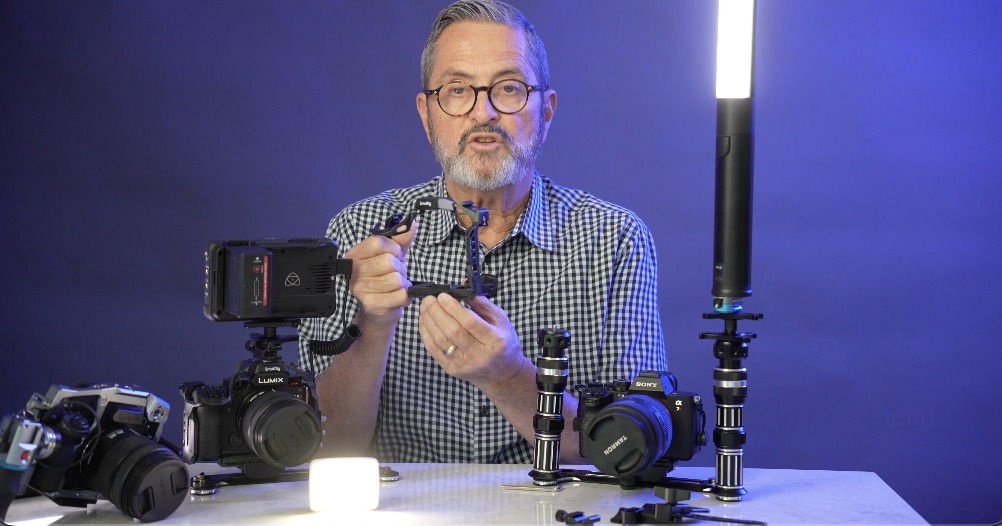
So, the bracket comes with a 3/8 inch cap with eight-sided quarter inch. And if I’m using that super adapter, this is what I’m going to want to use. I use that with my Ice Light 3 or it has a 1/4 20. So you have a 1/4 20 on top as well as 1/4 20 on the eight sides all around.
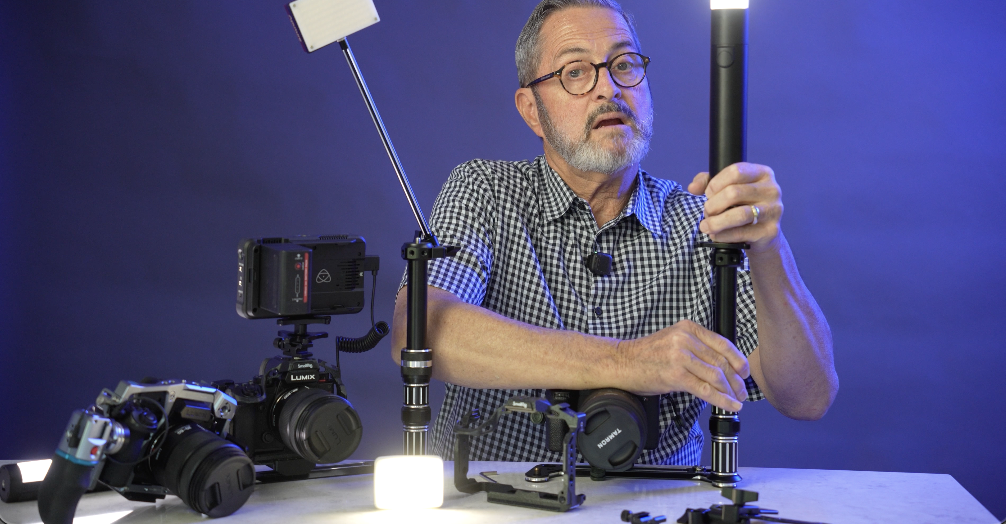
With the bounce assembly comes this bracket which allows me to attach this to the side. And it’s got a 10-in extension rod. On the end of that 10-inch extension rod using the 1/4 20 to 1/4 20 adapter.
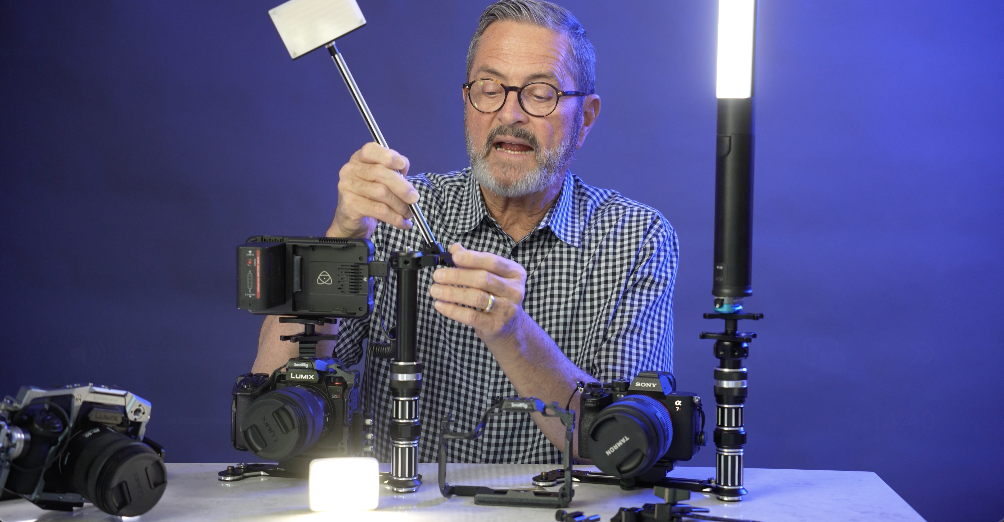
I just put my little light on top. Now I’ve got a light up above the camera, above my monitor. It gives me a little light up there to work with. So it gets up there pretty high. 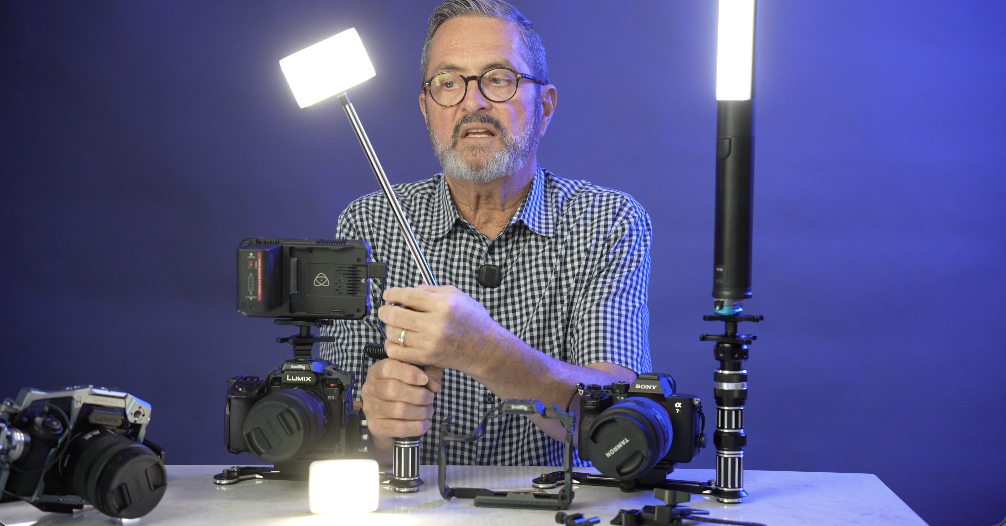
I mean, I can make some adjustments with this if I want, releasing this, going up and down. But I’m going to want it up there probably as high as I can get. So I’ve got my Ice Light 3. I’ve got my cage. I’ve got the ability to hold my monitor and my sound and a light. And I’m ready to do run and gun video. It’s just a nice setup.
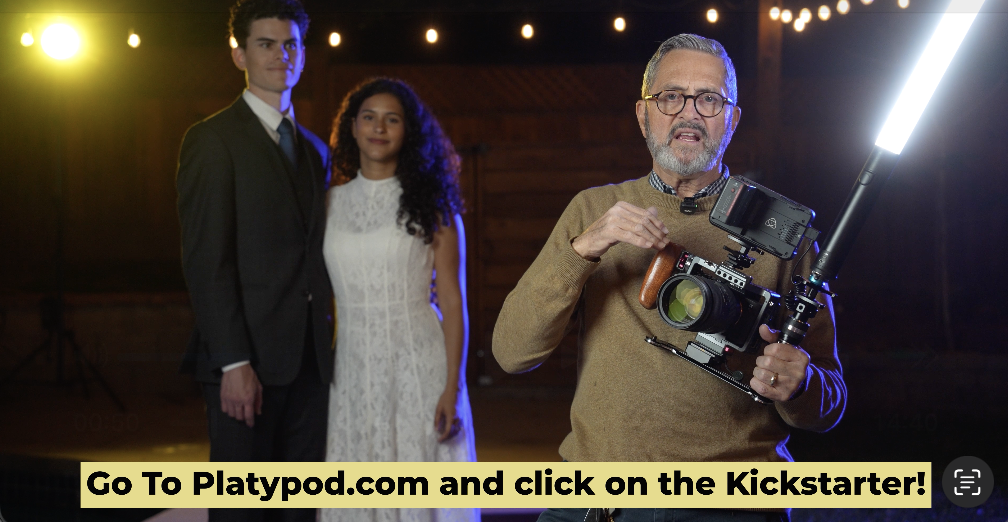
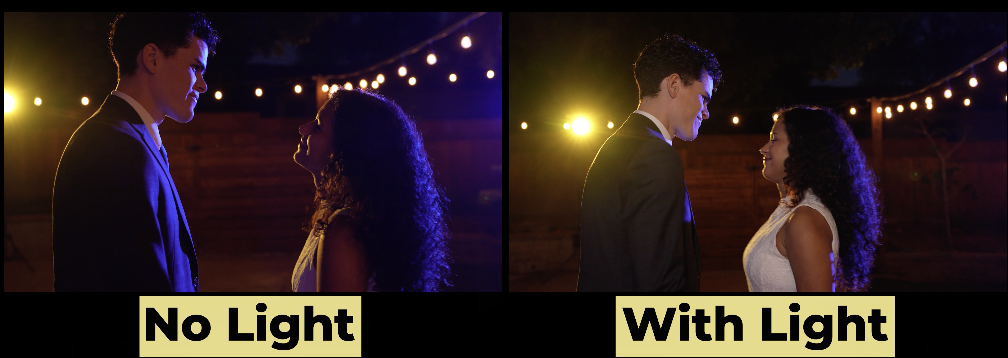
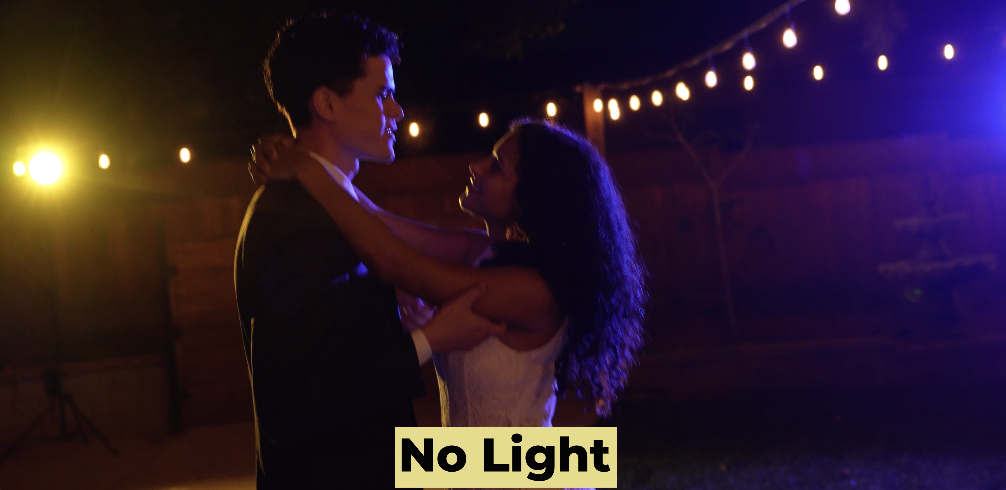
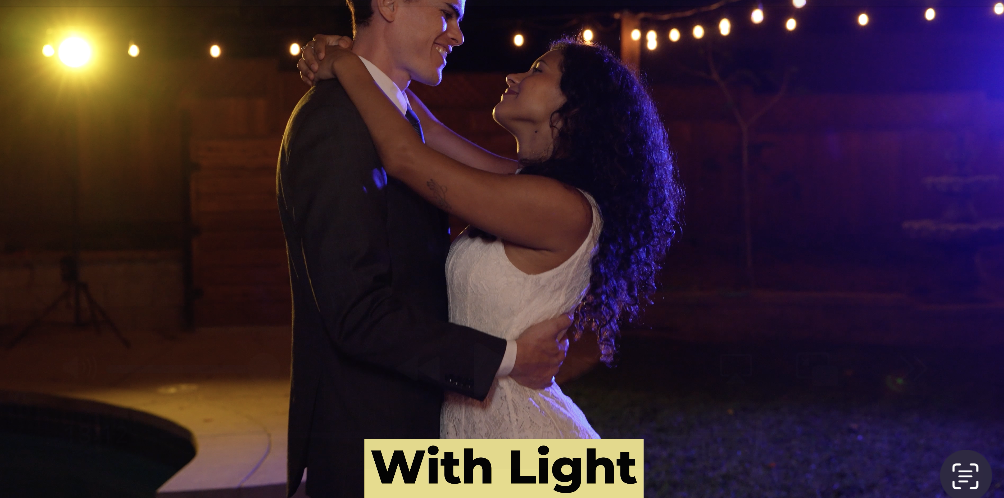
So, there’s several different ways to rig that Platypod Bracket using an LED on your camera. My favorite one is that Ice Light 3 from Westcott. We’re going to put that on the camera as we’ve got right now. We’re going to shoot some examples here of Barbie and Michael. Some slow motion, some regular motion, and just compare those and just see how that light just elevates the image so much. So, let’s take a look at those. Here we go.

So, let’s wrap this up. The Platypod Bracket, it really works for me because it does several things. Number one is it allows me to have a light that will move with the camera when I’m having to move with the subject matter. Whether I’m walking with them, following them, they come in narrative, you’re going down an alley, whether I’m following a couple when you’re doing a wedding, it just gives a place for that light to sit. And it stays with my subject matter with the camera. 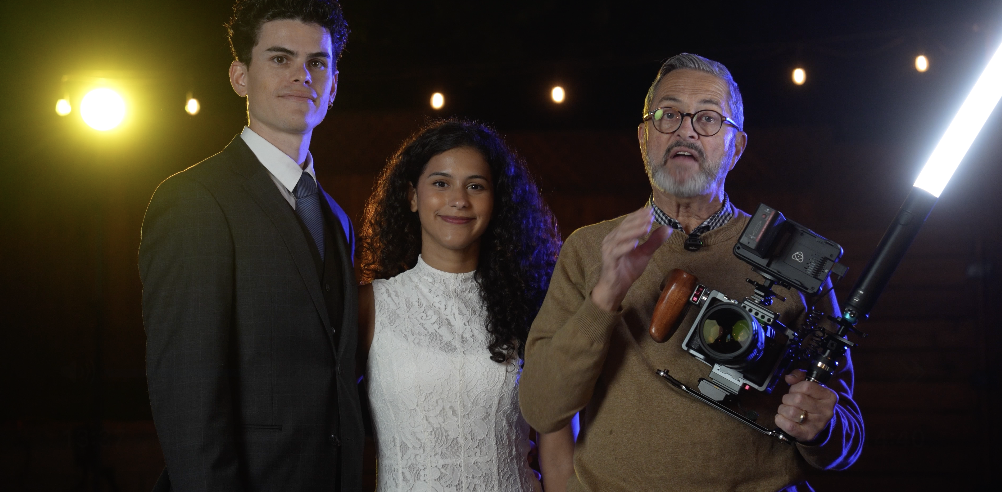
It’s a perfect way to have a light that moves with the subject. Also it gets that light off to the side and up a little bit. It just gives us nice separation and dimension. Better separation and dimension than when you just shoot it right into the person’s face right off from a hot shoe on top of the camera. Ideally, you get up way up high, but when you’re running and gunning, you have to give up a little bit because it’s not an ideal situation. You can’t put a light on a stand because you’re going to move in and out of that light. It’s not going to work.
You need a light that stays with the camera, gives us a little brightness on their face, and just helps separate them from the background. It’s a gorgeous look. Gives us separation and dimension. It’s a really pretty light. So, there’s a look at the new bracket from Platypod, the Platypod Bracket. So, you keep those cameras rollin’ and keep on clickin’. Yeah.