
Today we are talking about the different lighting setups you can do in one room. The idea is that you shouldn’t see your tiny space as a limitation, but rather find creative ways to shoot the room.
The main problem you have when working in a tight space is – space! It’s hard to use the lights you usually use in a tight space because they just don’t fit. It’s more common nowadays for people to film in actual houses and not on sound stages. This means being confined to the space that is available to you. With the Intellytech LiteCloth 120 and 160 version, you’re able to place these lights on the walls, the ceiling, or have it be flush against something. These low-profile lights are great for travel or working in these types of environments.
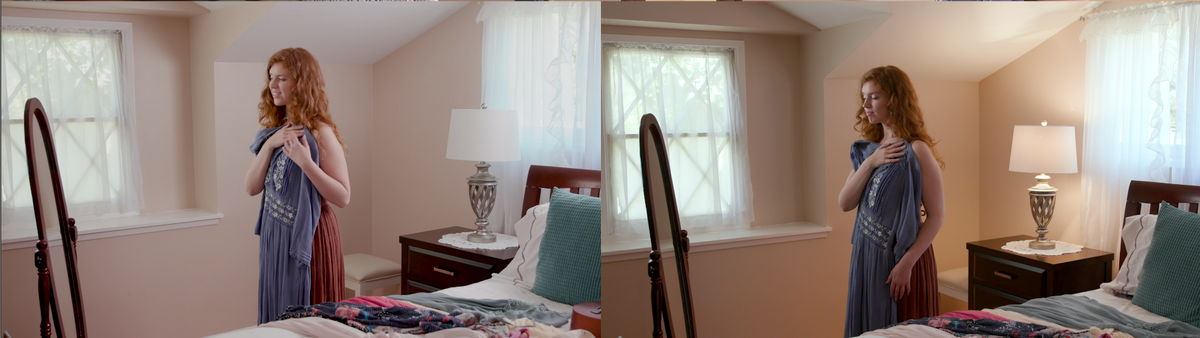
#1 Morning Window Light
For our first setup, we are going for a more natural look that is bright and open. We placed the LC-120 as a key light behind the mirror to simulate the light coming from the corner window. This really helped us open up her face.
Then we put two LC-160’s together on a 2×4 grid and were able to modify the lights separately. So we had the light closest to our model at 100%, and the light closer to the wall at 65% to just open up the shadows. If we had both lights at 100%, it might have been too blown out.
This was a simple setup that we came up with and being able to push the lights up against the windows really helped us work in this small room!
#2 Practicals and Window Light
The second setup we did was simulating window light and using practicals. Practicals are lights that are on in the scene to add some ‘realness’ to the shot. If someone was in this room, they would probably have the lights on! Our LiteCloths will add to that practical and intensify it for the camera.
We switched out the 70-watt bulb in the lamp for a 200-watt bulb. Then we placed a piece of parchment paper around the bulb to soften the light.
We had our 120 and 160 light in the same place but just dialed them back a bit. Now, this scene looks more like the afternoon light.
#3 Day for Night
For this setup, we set our camera white balance to 3200 K so that the outside daylight looks bluer to simulate moonlight. We also stopped down with four ND filters to darken the curtains from outside. Because if it was twilight, the light coming from the windows wouldn’t be very harsh. Since we are stopped down so much, we put a 300-watt bulb in our lamp.
Then we put the 120 on the left of our model and put an unbleached muslin on it, dialed it way down to just kick a little-diffused light on her face. With one 160 panels, we pushed it to 100% and close to her so it simulates the same type of light that is coming out of the lamp.
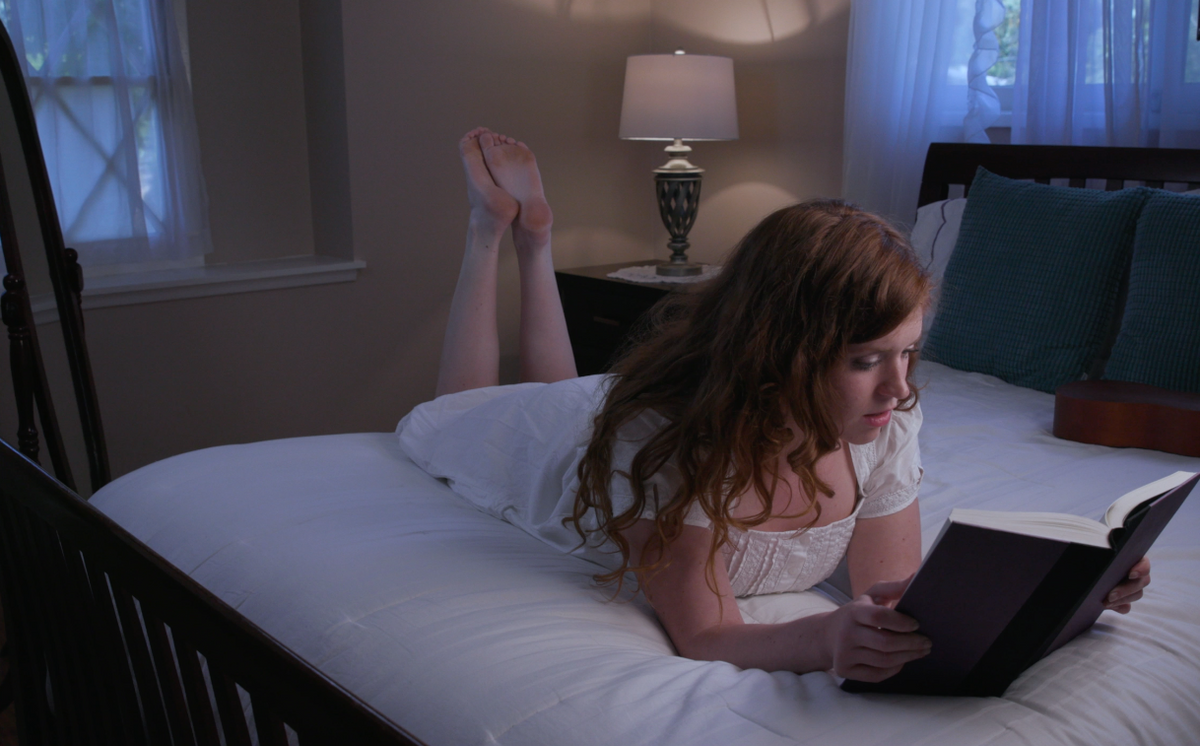
#4 Night Bedroom
The Intellytech LiteCloth is perfect for these types of situations because of its low profile. We were able to tape it to the ceiling to get this over-head light. We put the practical lamp back at 75-watts and used our unbleached muslin 120 light on the side to just fill in the shadows.
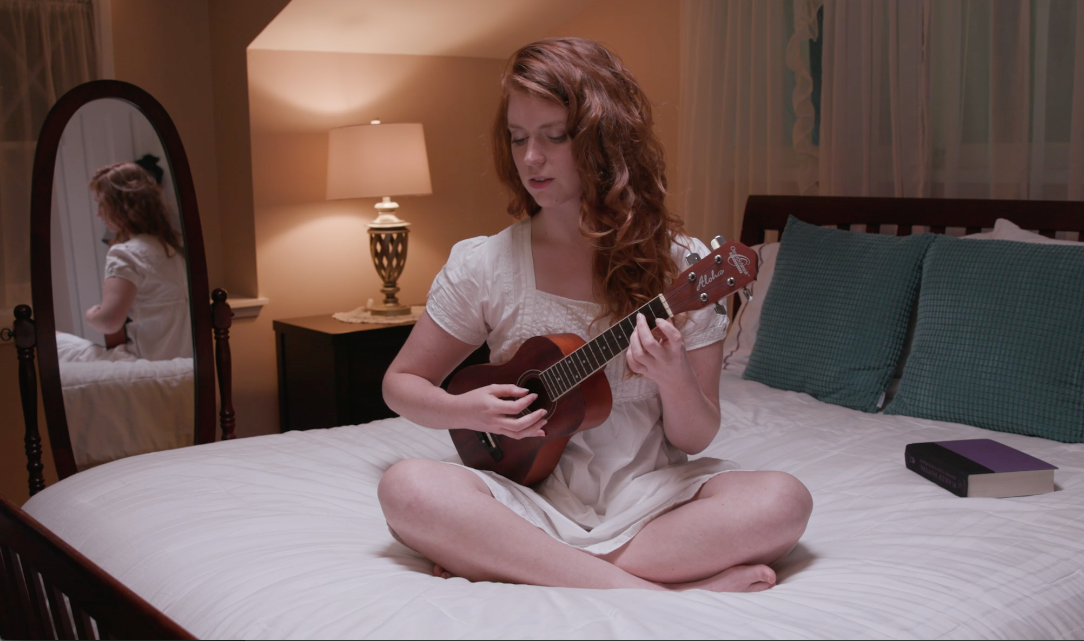
#5 Music Video
For this setup, we set our white balance to 3200 so that our 160 light on the floor could look really blue. The practical lamp we set on the side to go with this bi-colored scene we have going on. For the other 160 light, we flipped half of the light onto the 2×4 black frame and taped on some red gel to get some cool looks.

Gear Used
Intellytech LC-120 – B&H
Intellytech LC-160 – B&H
Unbleached Muslin – B&H / Amazon
75-watt Bulb – Amazon
200-watt Bulb – Amazon
300-watt Bulb – Amazon